How to Add an Embroidered Side Panel to Jeans
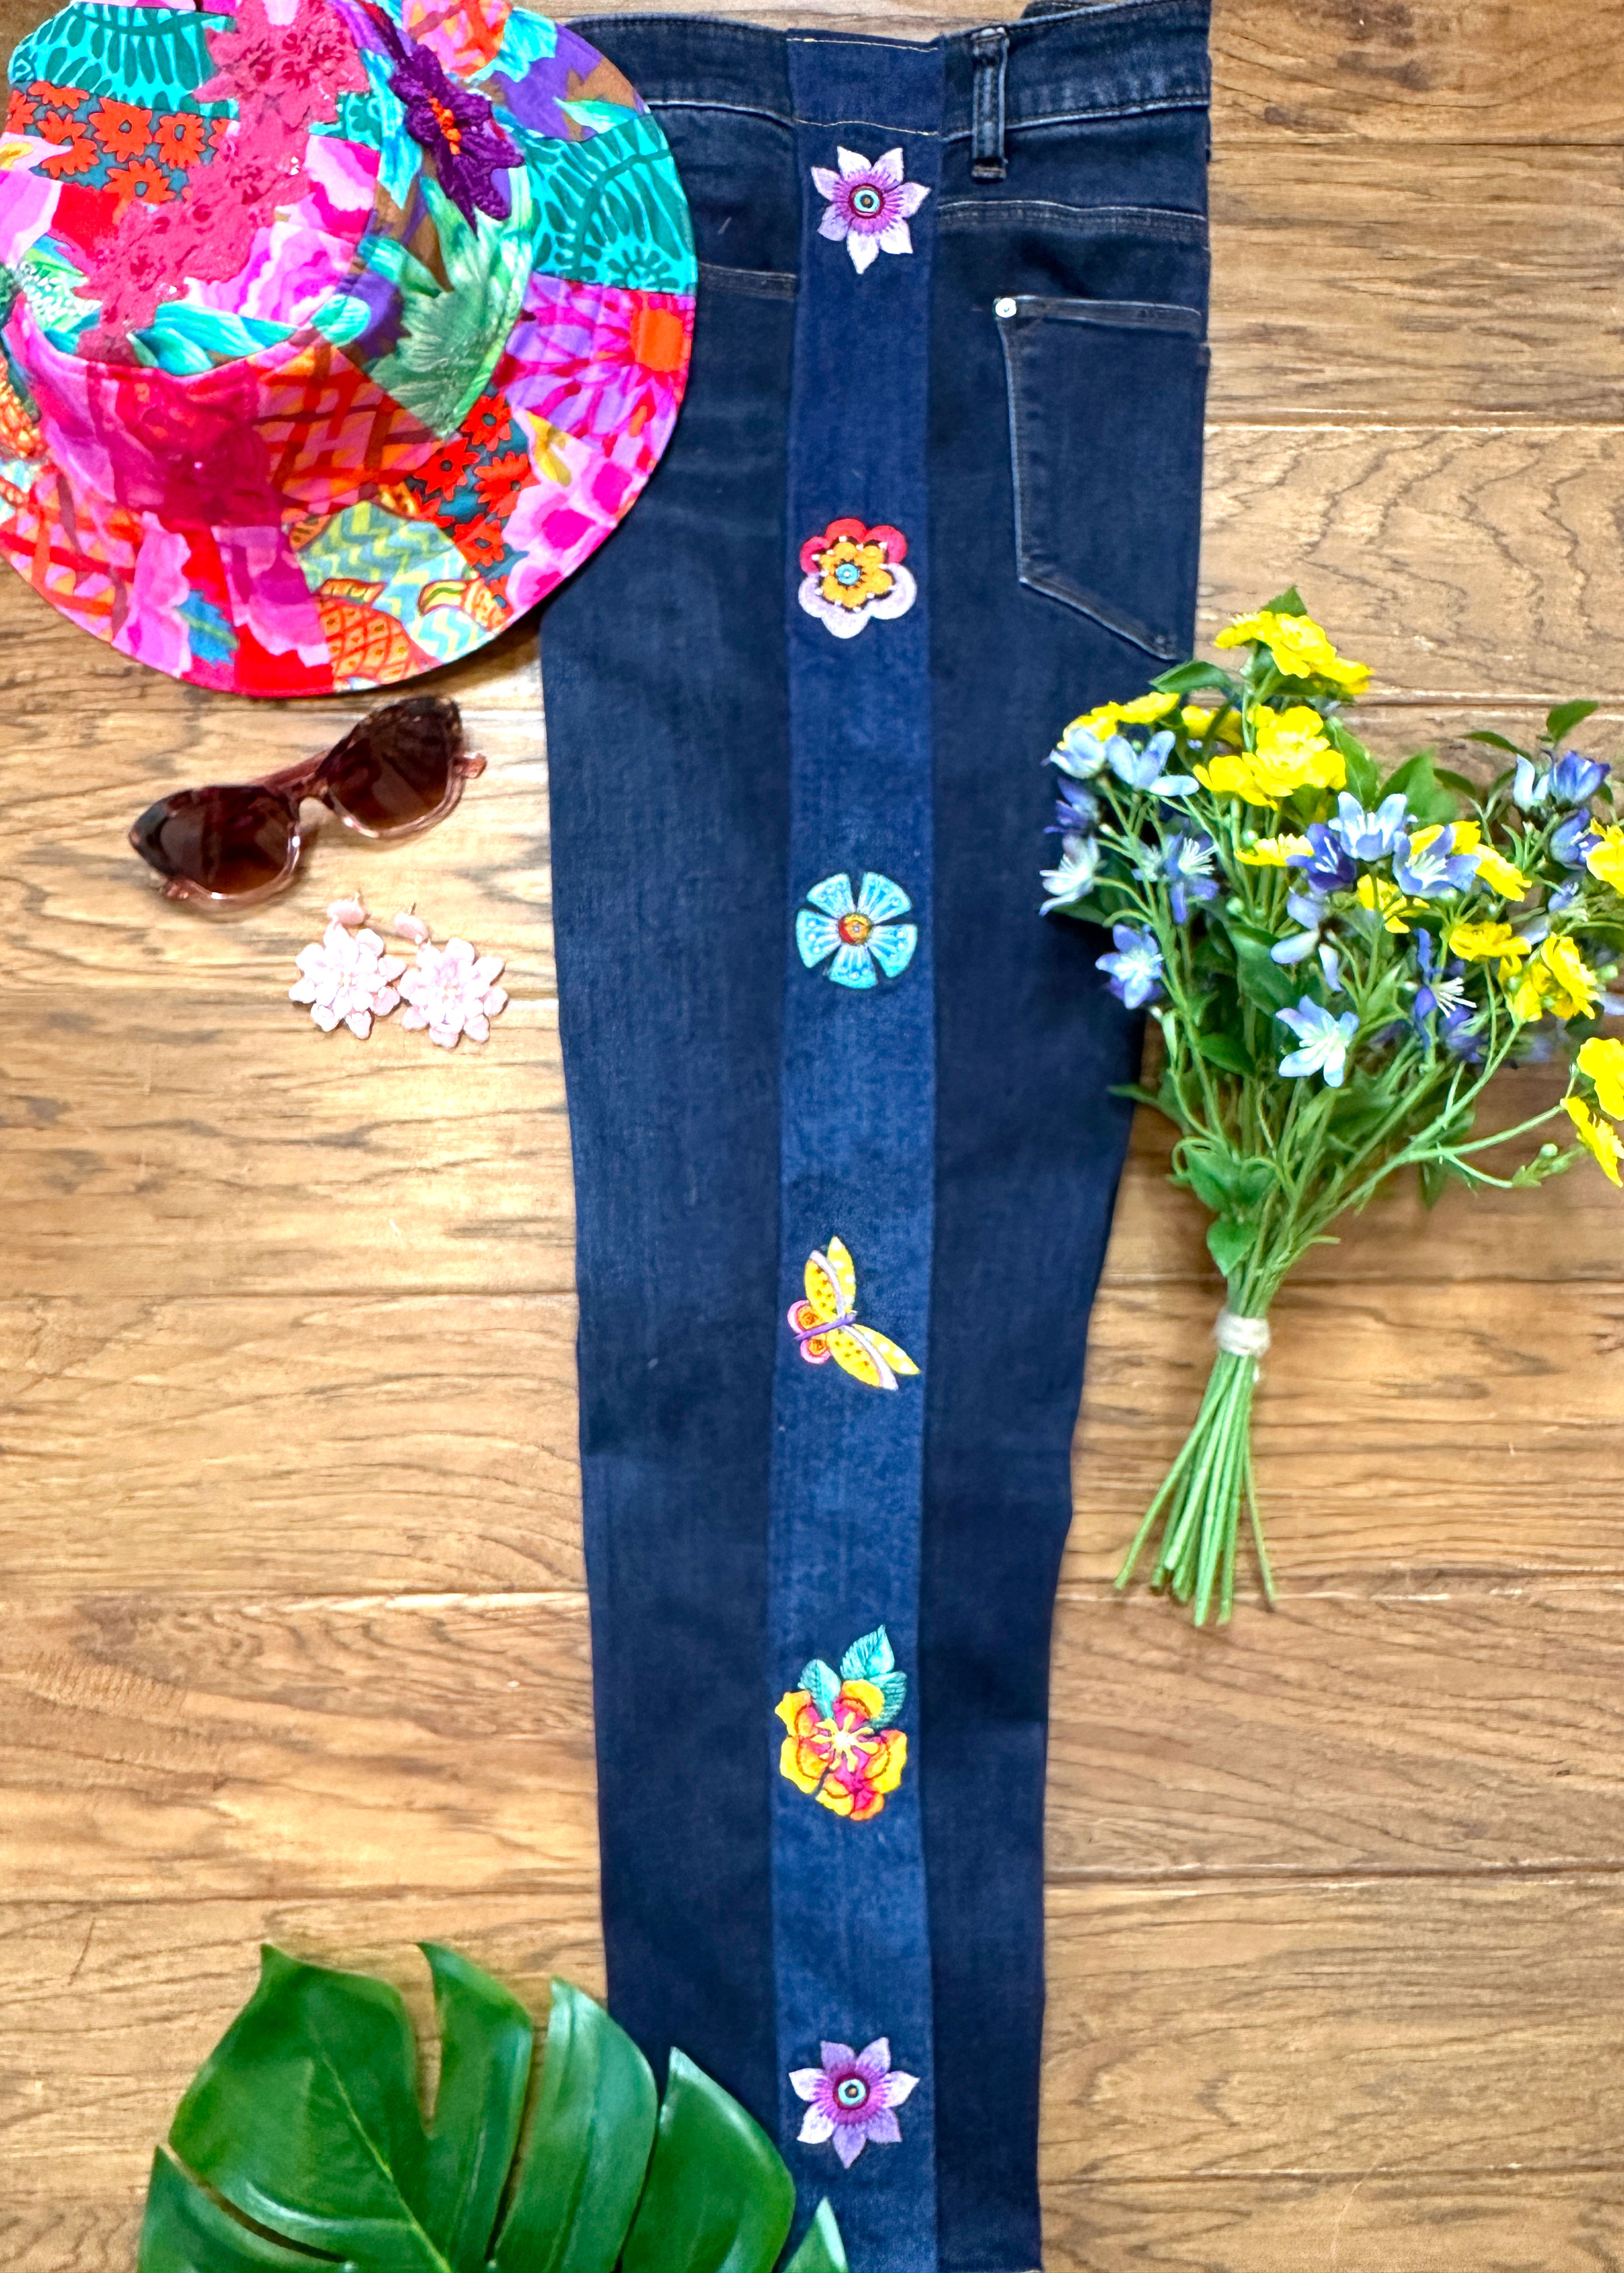
If you’re like me, you probably own a pair (or two) of jeans that no longer fit quite right. To give a pair of my too-small jeans a bit more room, I added machine embroidered panels along the side seams. The bold, colorful flowers add a stylish and custom touch, turning the jeans into a fun, one-of-a-kind piece. Jeans that were headed to the thrift shop (or worse, the landfill) are now back in my regular rotation.
Hello everyone! It’s Sharon Madsen from Sharon Sews, a sewing enthusiast and instructor. You can connect with me on YouTube and Instagram, where I share sewing tips, projects, reviews, and fashion sewing ideas.
Let’s get started.
Materials Needed to Add a Side Panel on Jeans
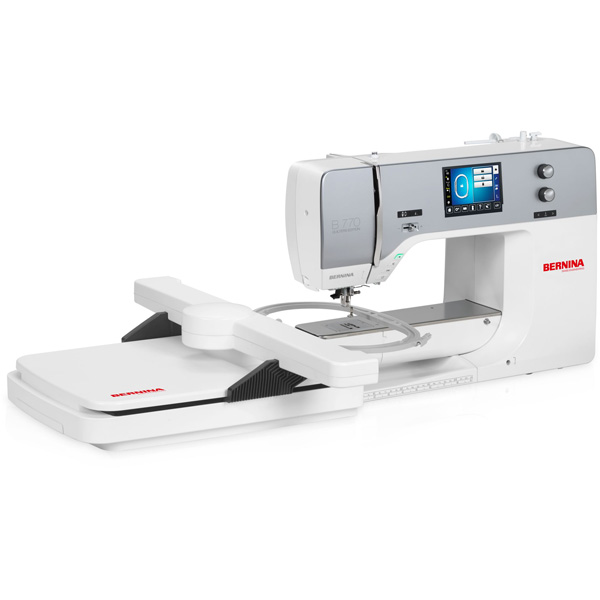
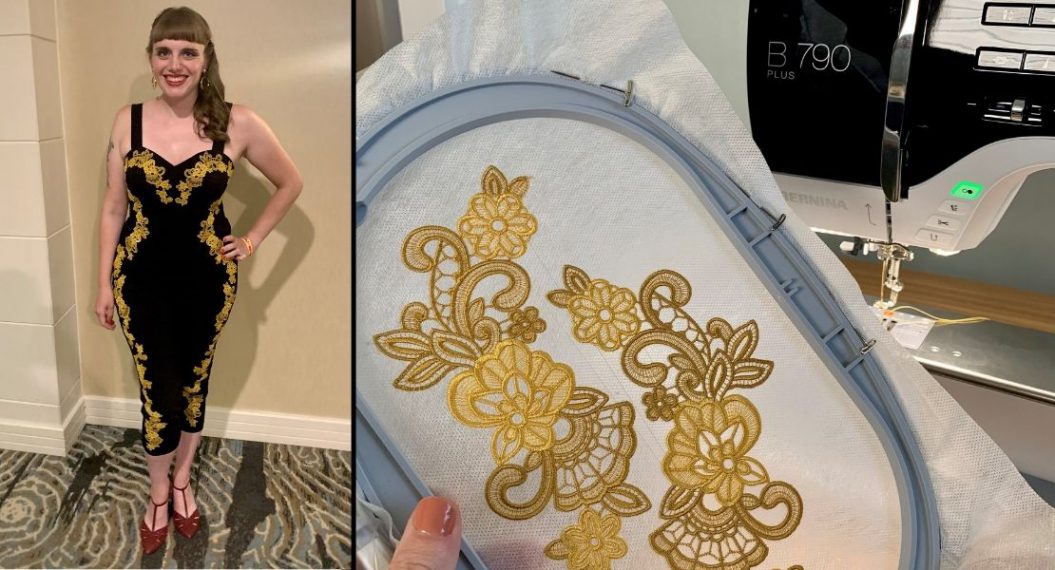
- Sewing and embroidery machine – I used my BERNINA 770 QE PLUS
- Jeans – the pair you want to make larger
- Denim – for the side panel
- Note: You can use another woven fabric, but it is best to keep the weight of the fabric similar to your jeans. My denim came from a thrifted 90s-era maxi jumper.
- Scissors
- Pins or clips
- Thread
- Coordinating thread to sew the panel to the jeans
- Contrasting jeans thread
- Measuring tape
- Quilting ruler
- Chalk or removable fabric marker
- Iron and pressing surface
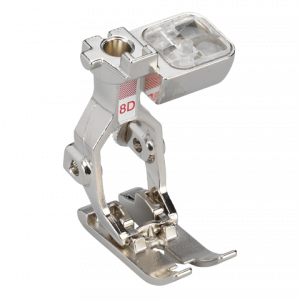
- Jeans foot #8D
Materials to Embroider the Side Panel on the Jeans
- Embroidery module – I used my Embroidery Module L – with Smart Drive Technology
- Stabilizer
- Medium embroidery hoop
- Droped-Shaped Embroidery Foot #26
- 80/14 embroidery needle
- Bobbin thread – I used OESD expert embroidery bobbin thread 60 wt
- Embroidery thread – I used Isacord embroidery thread, colors based on individual designs
- Embroidery design – I used flowers from the Florals II by Laurel Burch (provided by OESD)
- Small scissors to snip threads
- Perfect Scoring Tool from OESD
Prepare the Jeans for Adding a Side Panel
Determine the Width and Length of the Side Panel
Using a measuring tape, measure around your waist (where the jeans will sit) and around the waist of the jeans. Subtract the jeans measurement from your waist measurement, then divide it by 2 (as there will be two panels). Now add 1″ for seam allowances. This is the width that each side panel will be cut.
Measure the side seam of the jeans from the top of the waistband to the bottom of the hem as well as the width of the waistband. Add together the side seam and waistband width measurements, then add 2-1/2″ (allowance for the hem and waistband). This is the length that each side panel will be cut.
Note: The side panel can be cut to the correct length during the hemming step if it is a little bit too long.
The difference between my waist measurement and the jeans waist was 5″. I divided that by 2 giving me 2-1/2″. I then added 1″ for seam allowances, resulting in a cut width of 3-1/2″ for each side panel.
The length of my jeans was 38″ and the width of the waistband was 1-1/2″, for a total of 39-1/2″. I then added 2-1/2″ for a total of 42″, the length of the fabric for each side panel.
I cut fabric 3-1/2″ width by 42″ length for the panels to add to my jeans.
Cut and Mark the Side Panels
Using the measurements determined in the previous step, cut two panels from denim fabric.
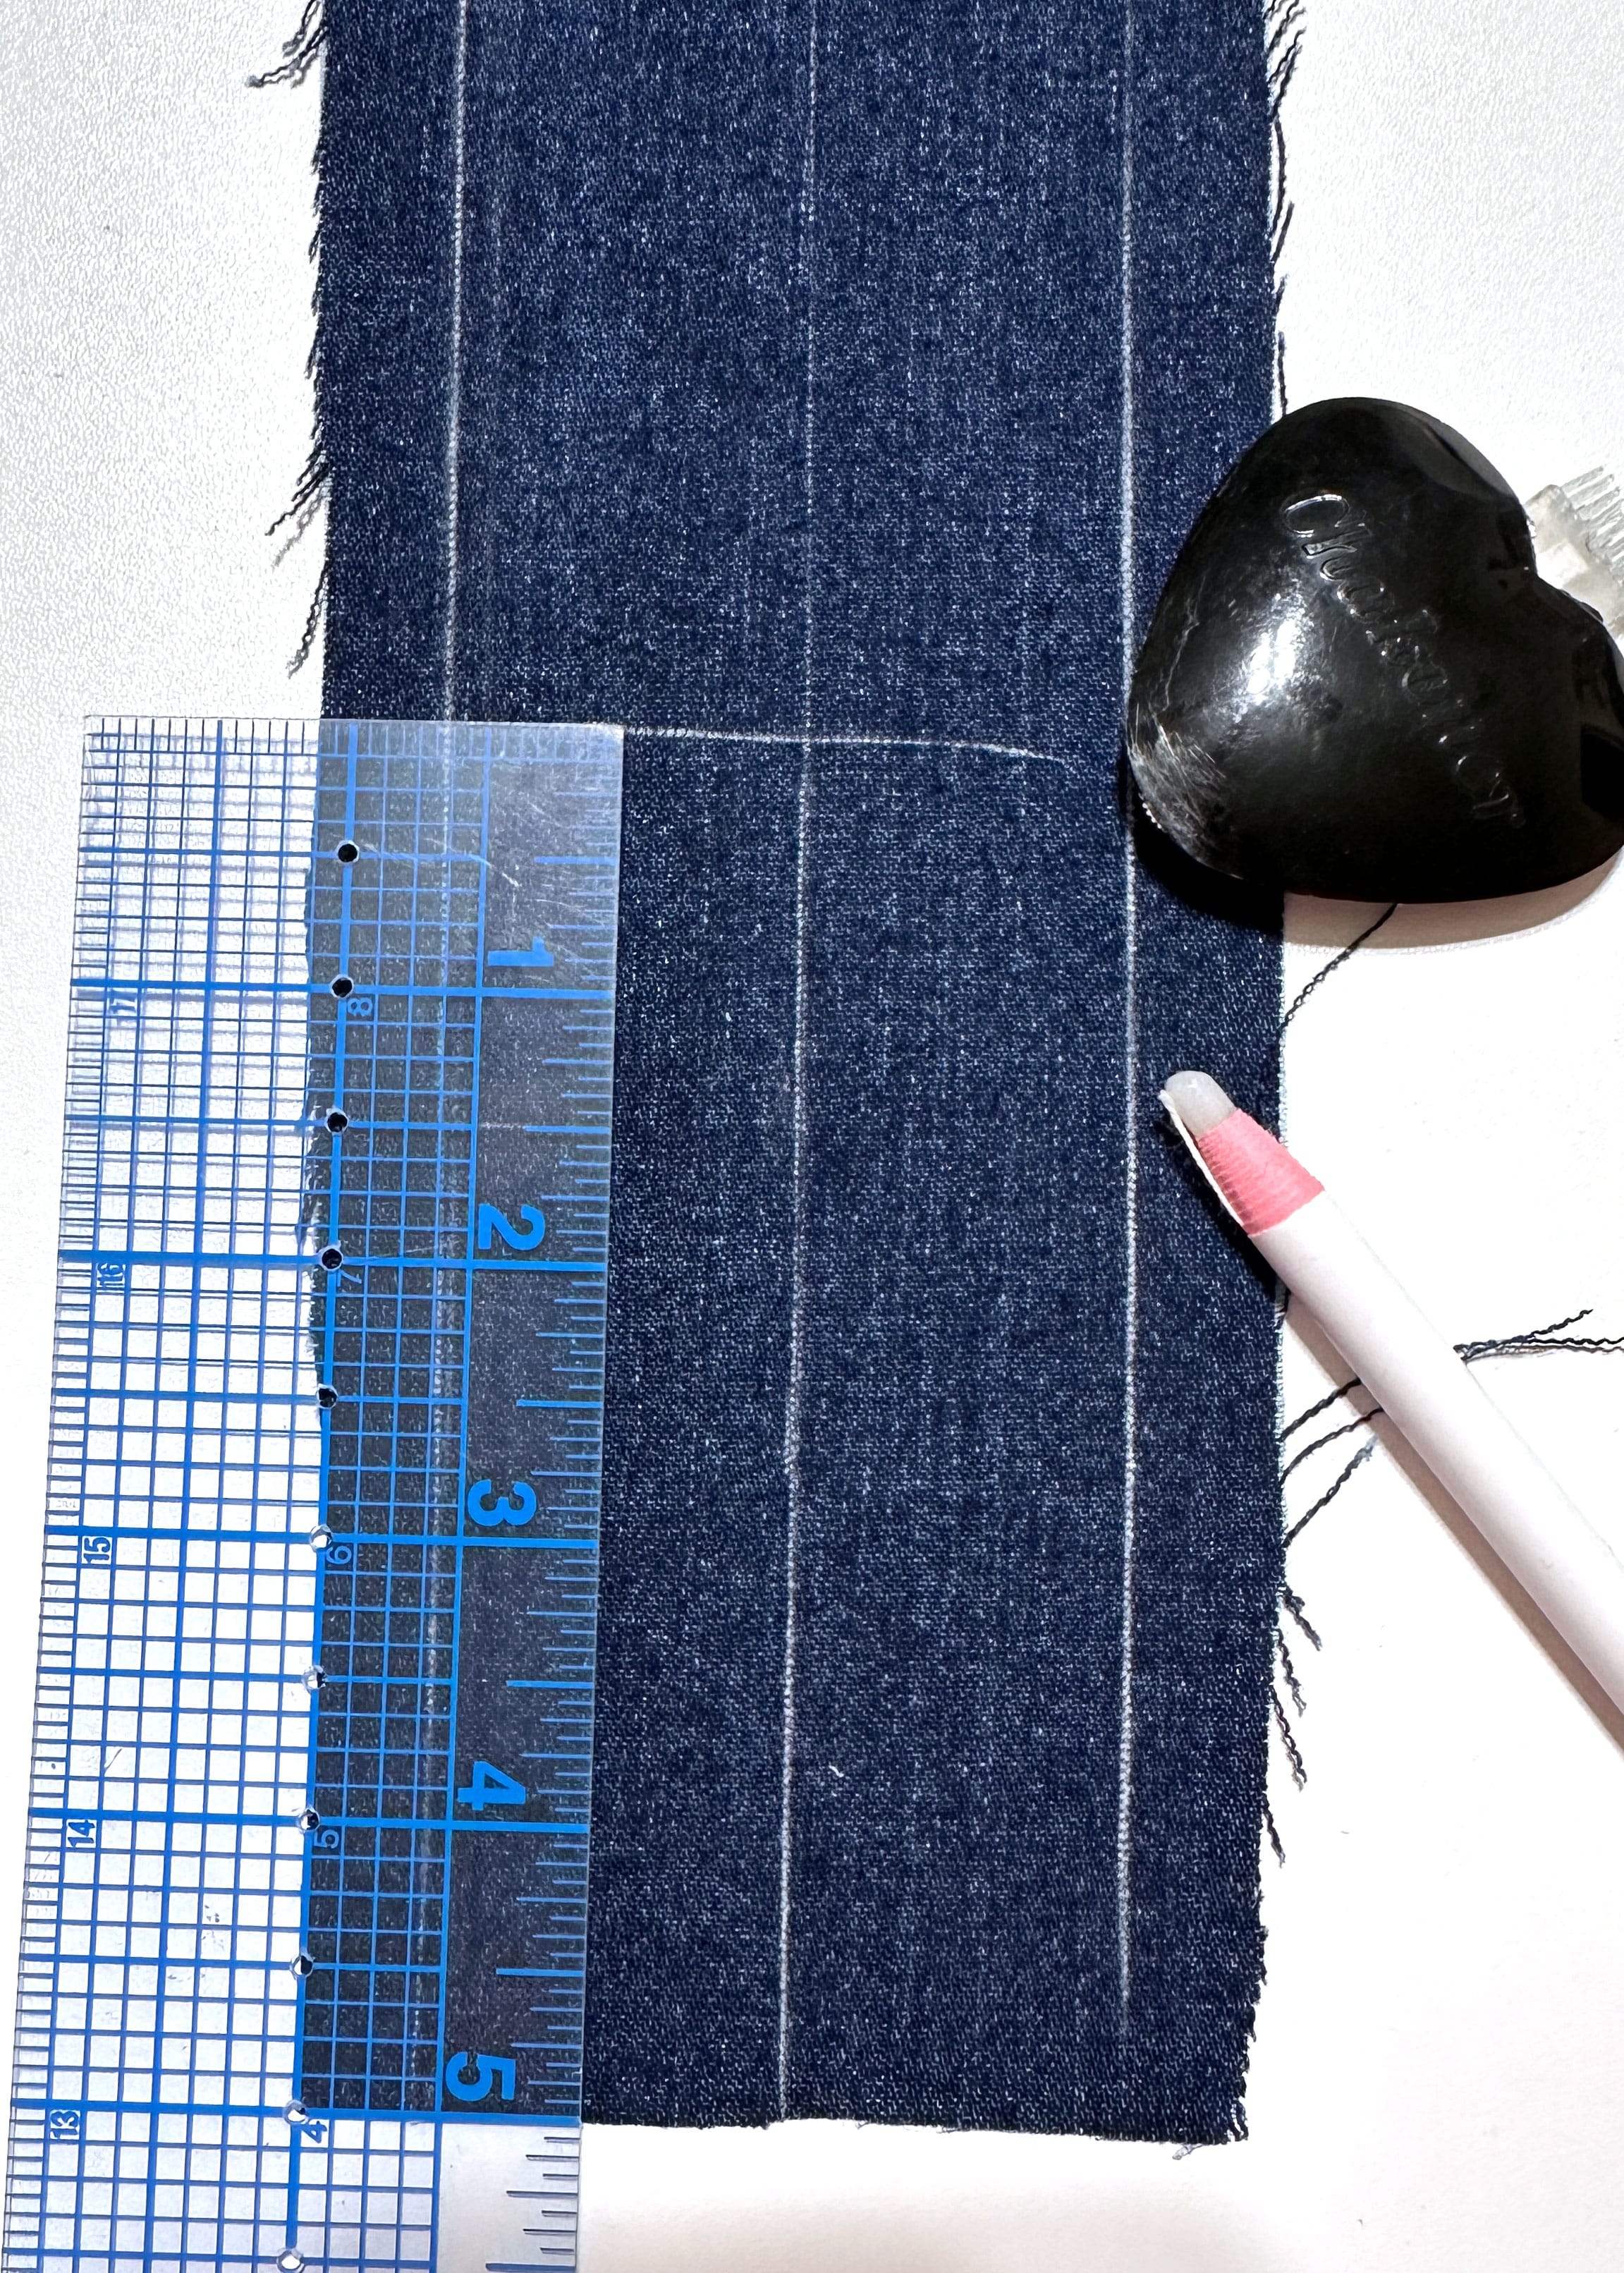
Use chalk or a removable fabric marker to mark the center of each panel from top to bottom. Next, measure and mark 1/2″ from each side edge. This is to make sure the embroidered design does not end up in the seam allowance. Measure and mark 5″ from the bottom edge. Set the fabric panels aside.
Open the Side Seam of the Jeans
Using a seam ripper, remove stitches from the hem about 4″ from each side seam.
Open the side seam by cutting along the existing seam, cutting through the waistband. My jeans had rivets at the side seam pockets so I was careful when cutting. Set the jeans aside.

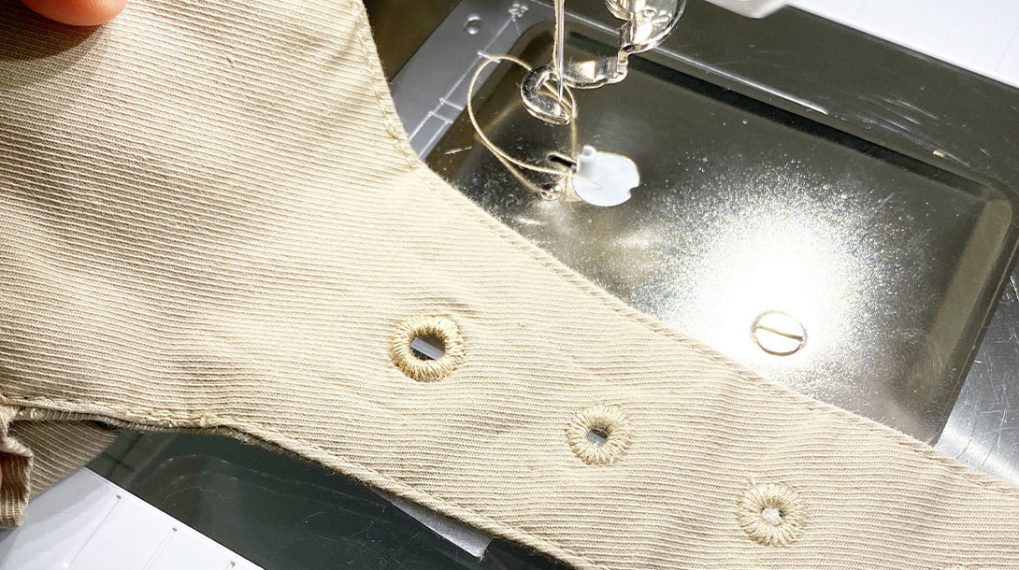
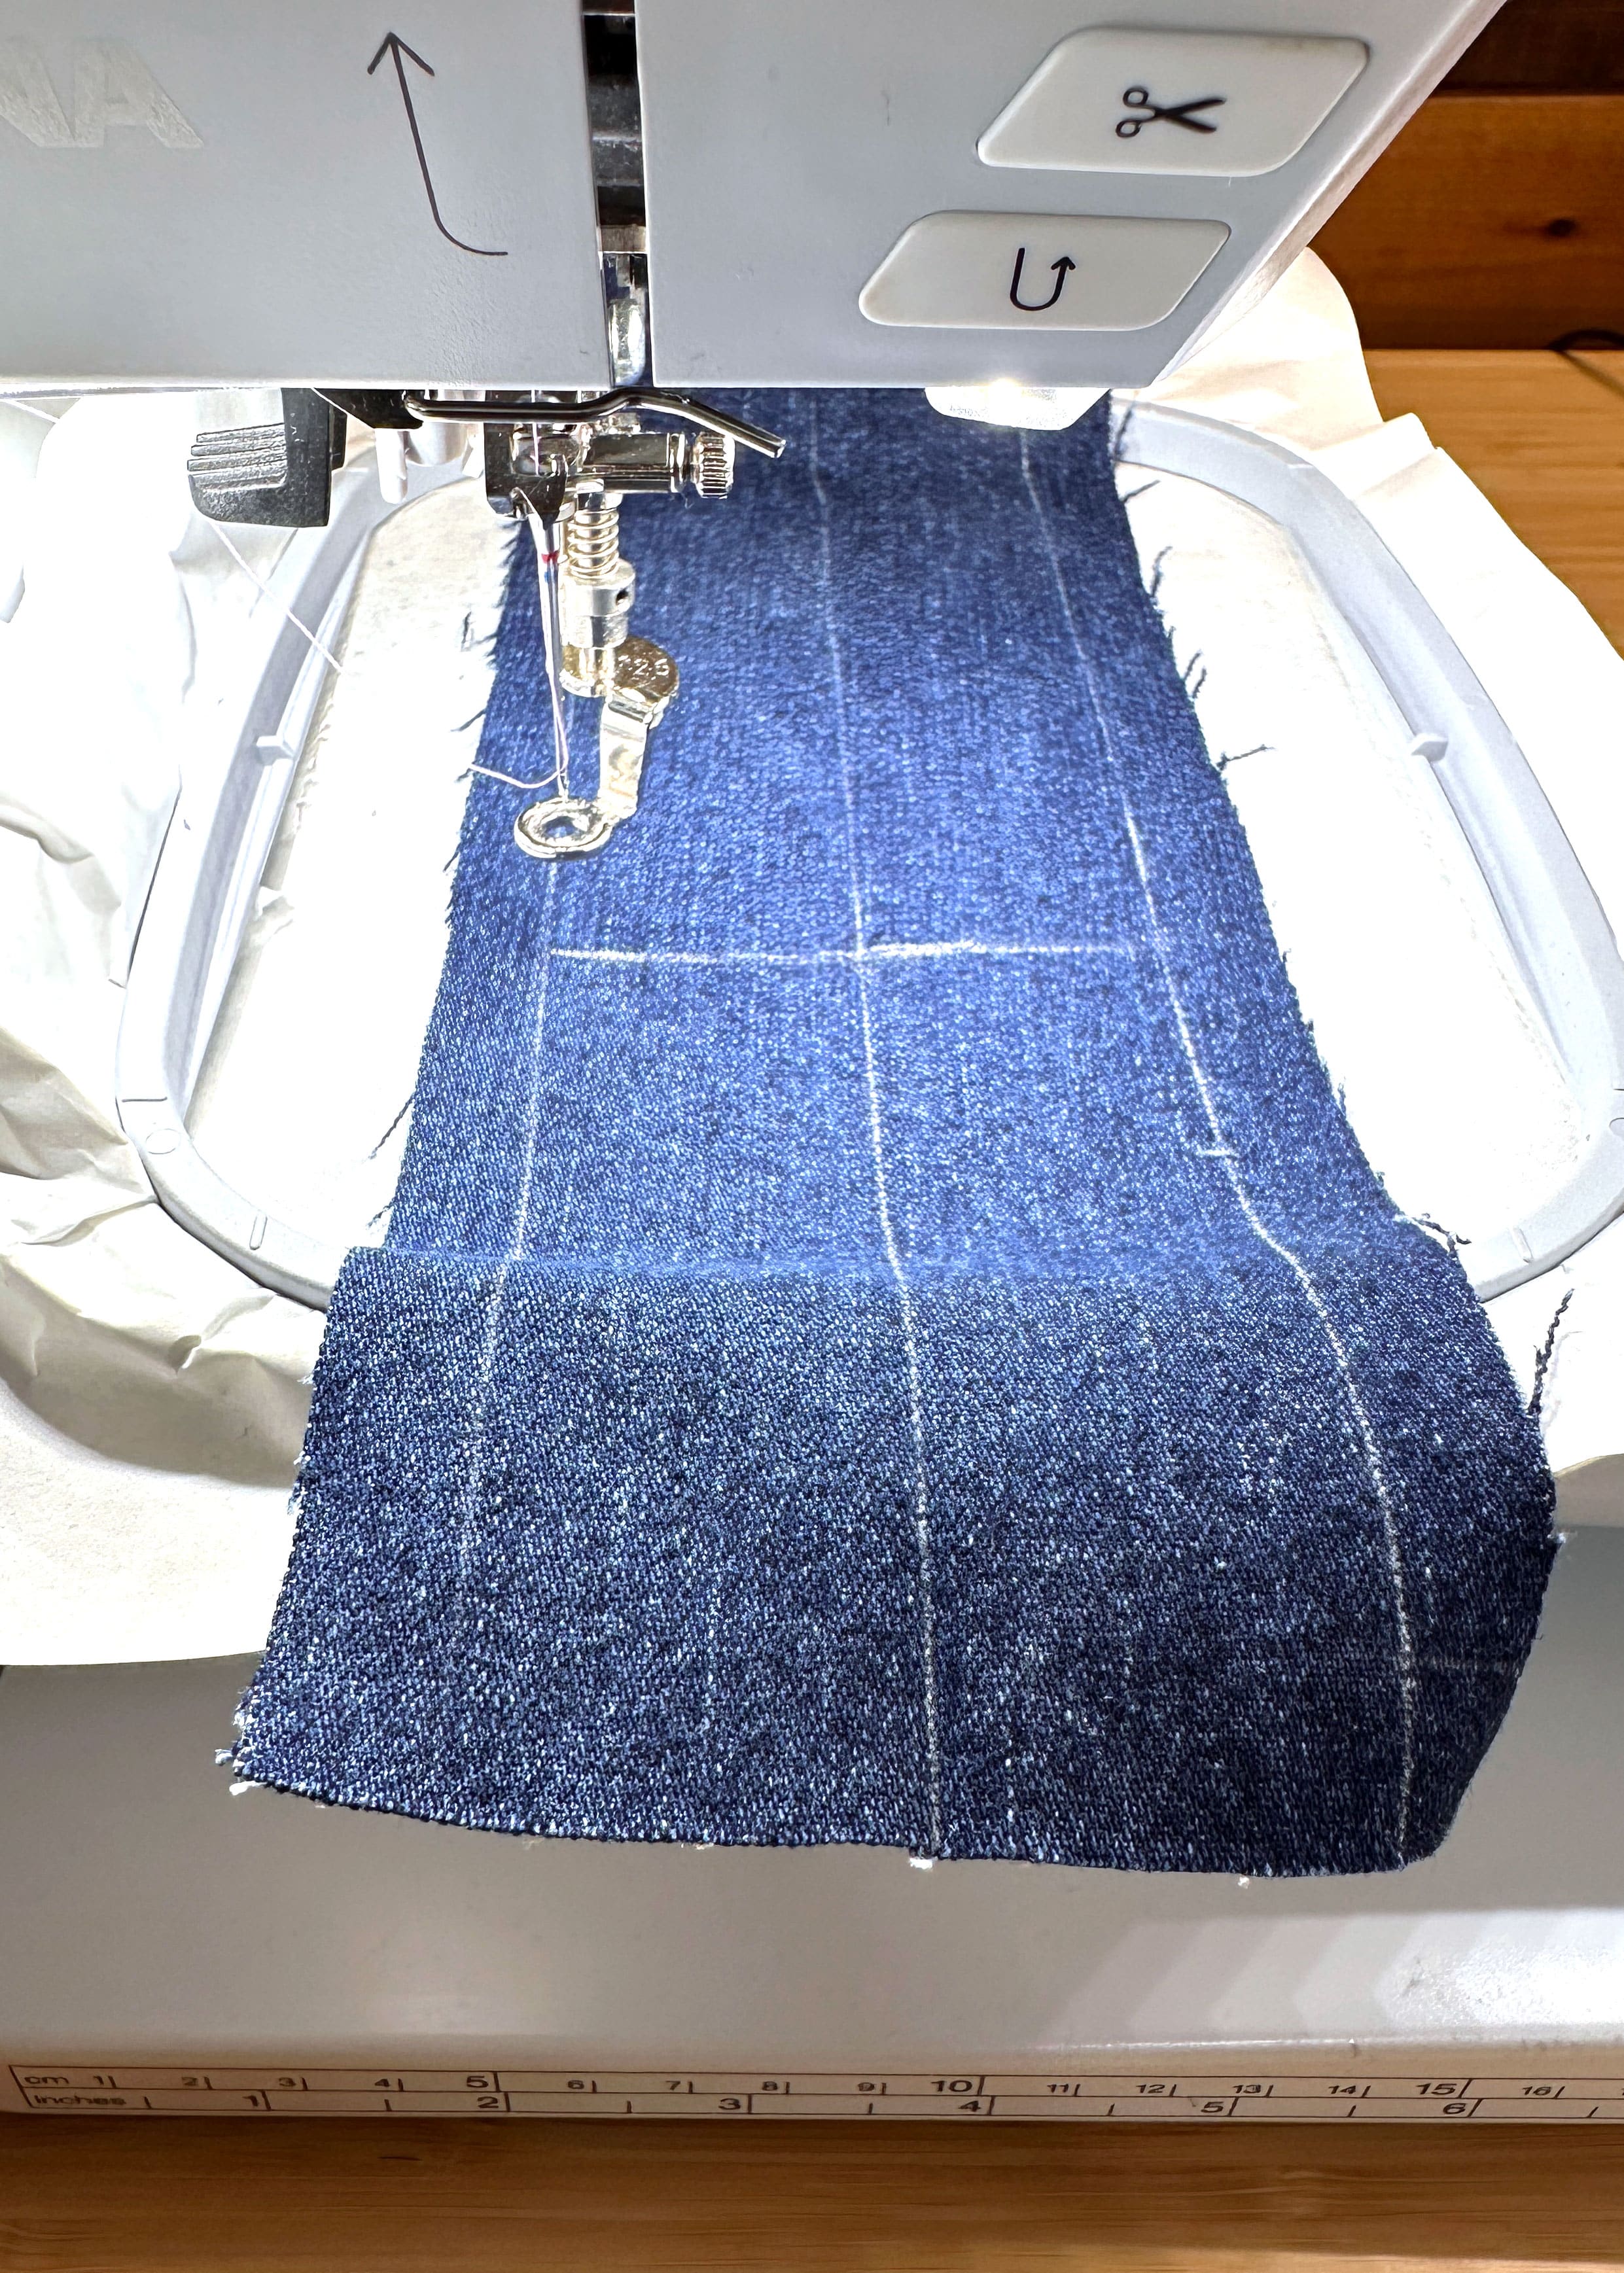
Embroider Designs on the Side Panel
Clean and oil your machine, attach the embroidery module, install the embroidery foot #26 and a new 90/14 embroidery needle, put on the straight stitch plate, lower the feed dog, and insert a bobbin with embroidery bobbin thread.
The Designs Used on the Side Panels
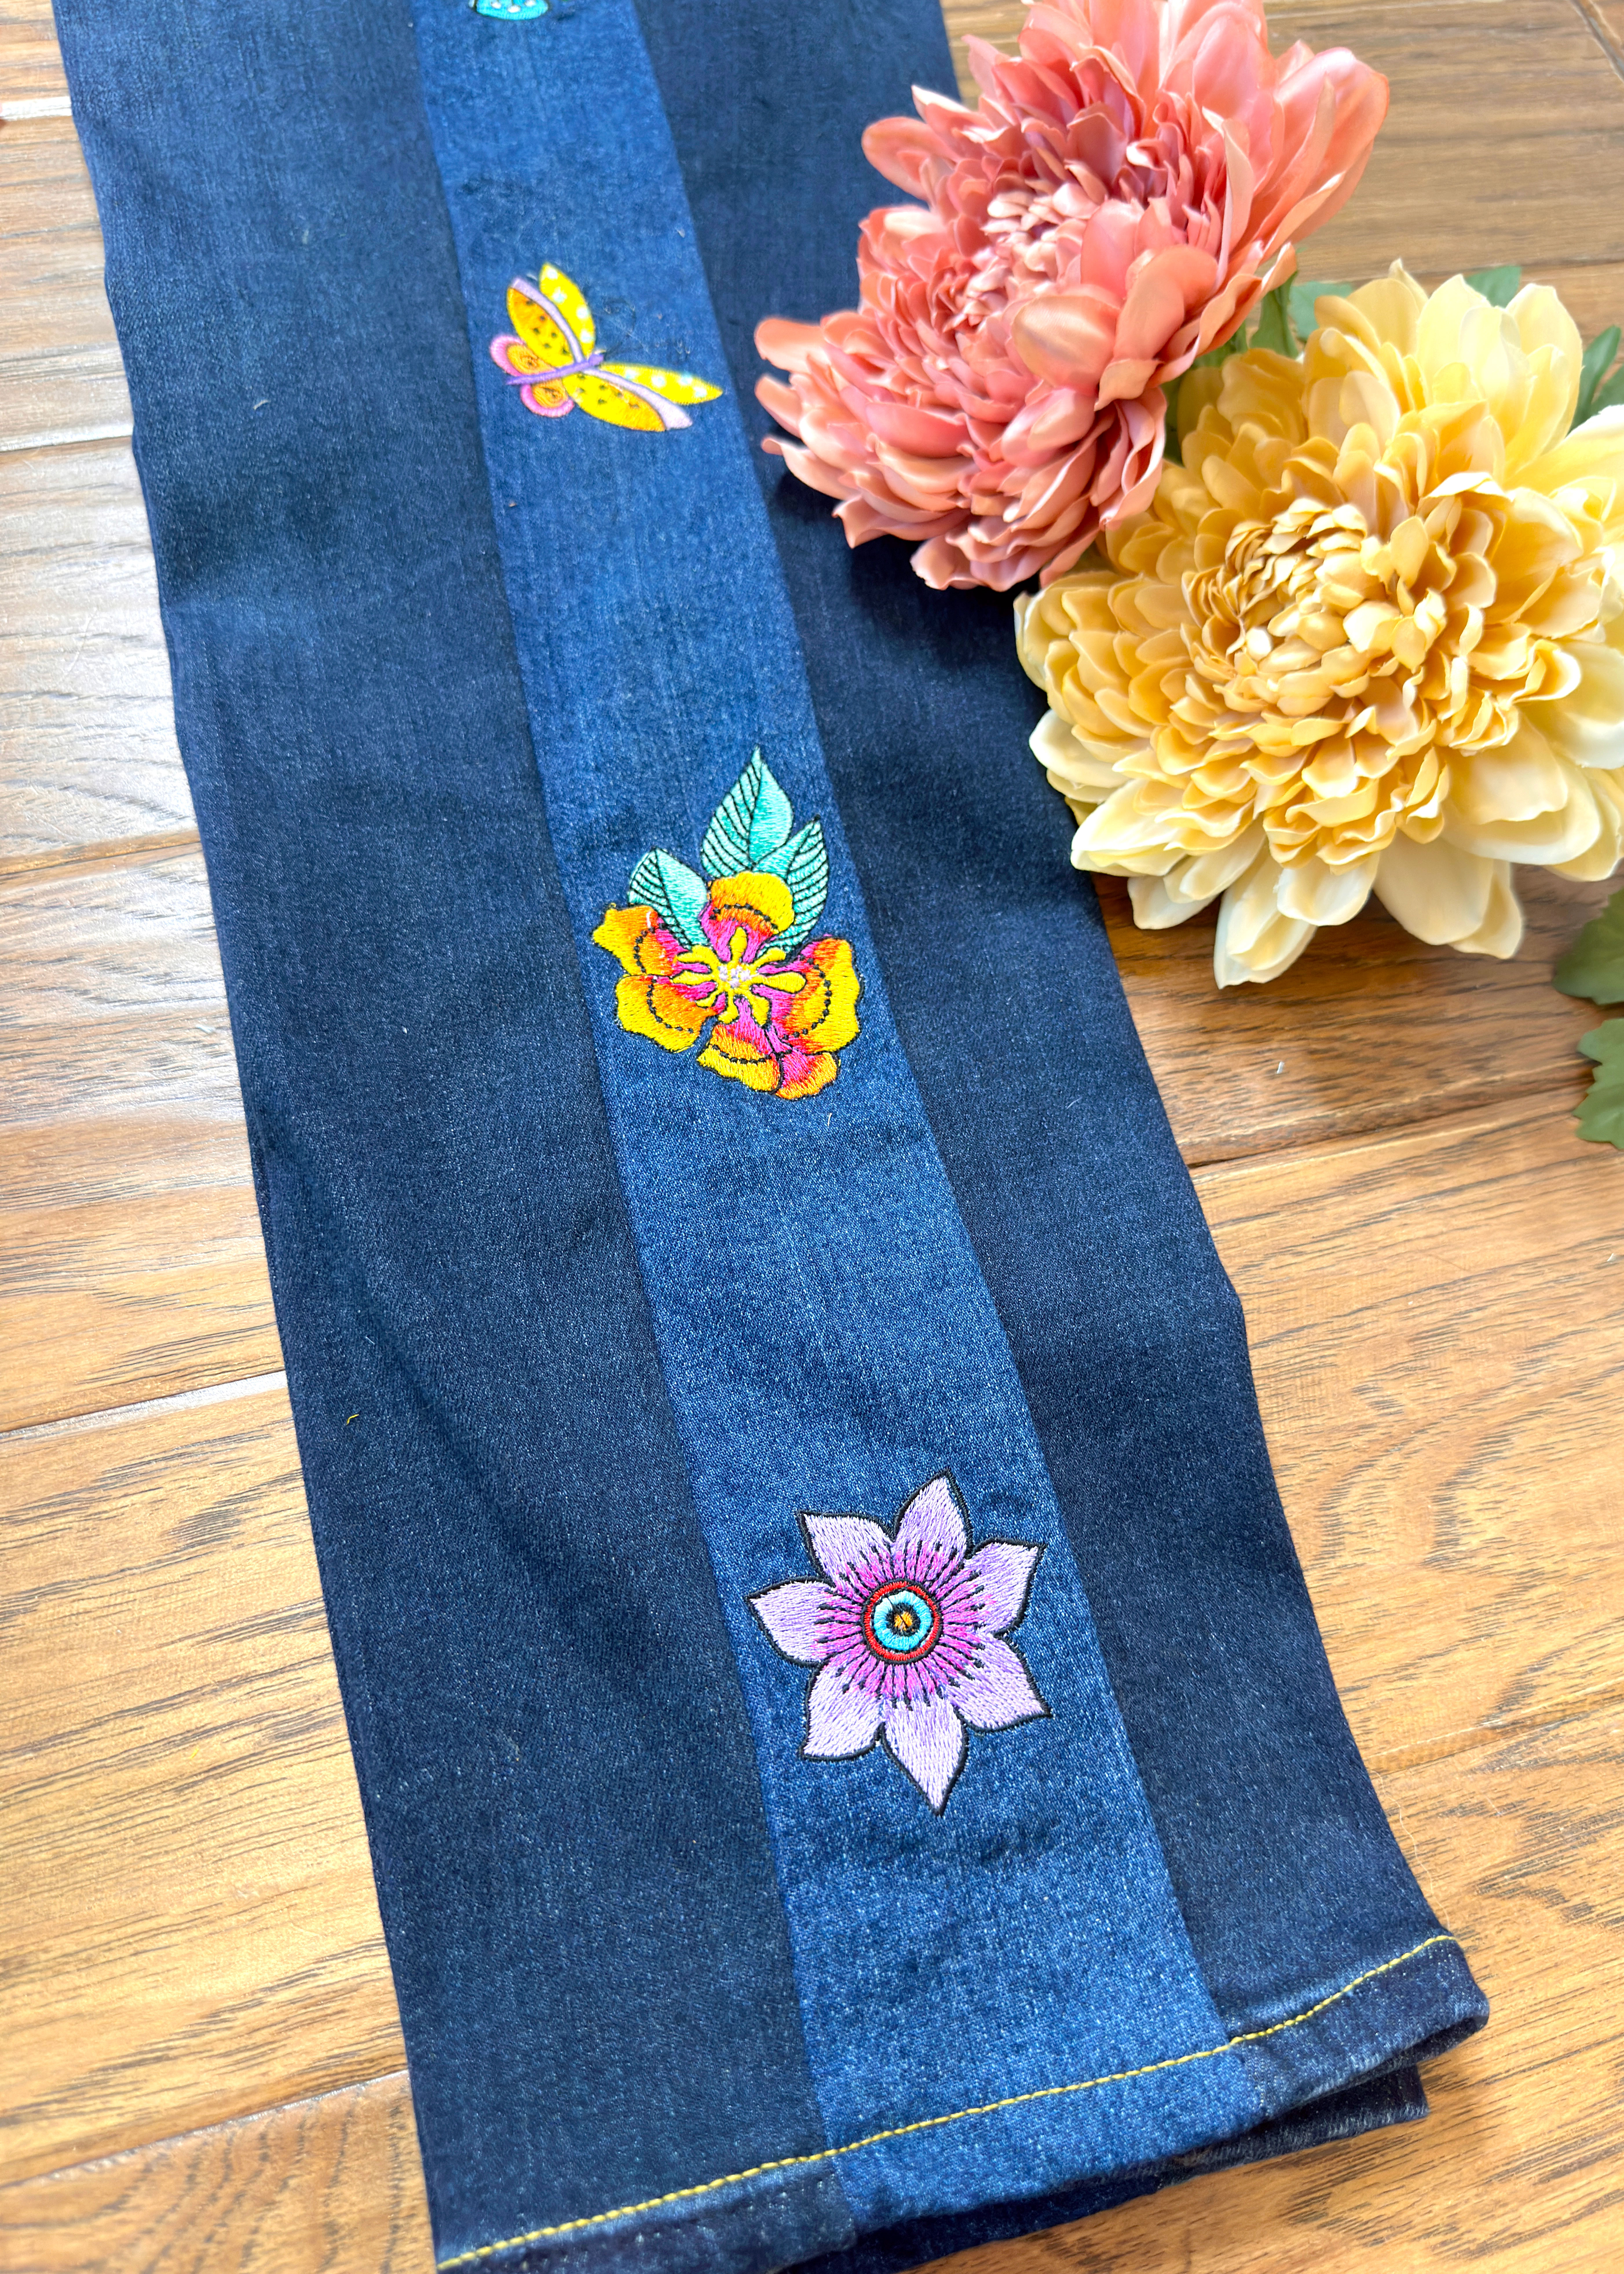
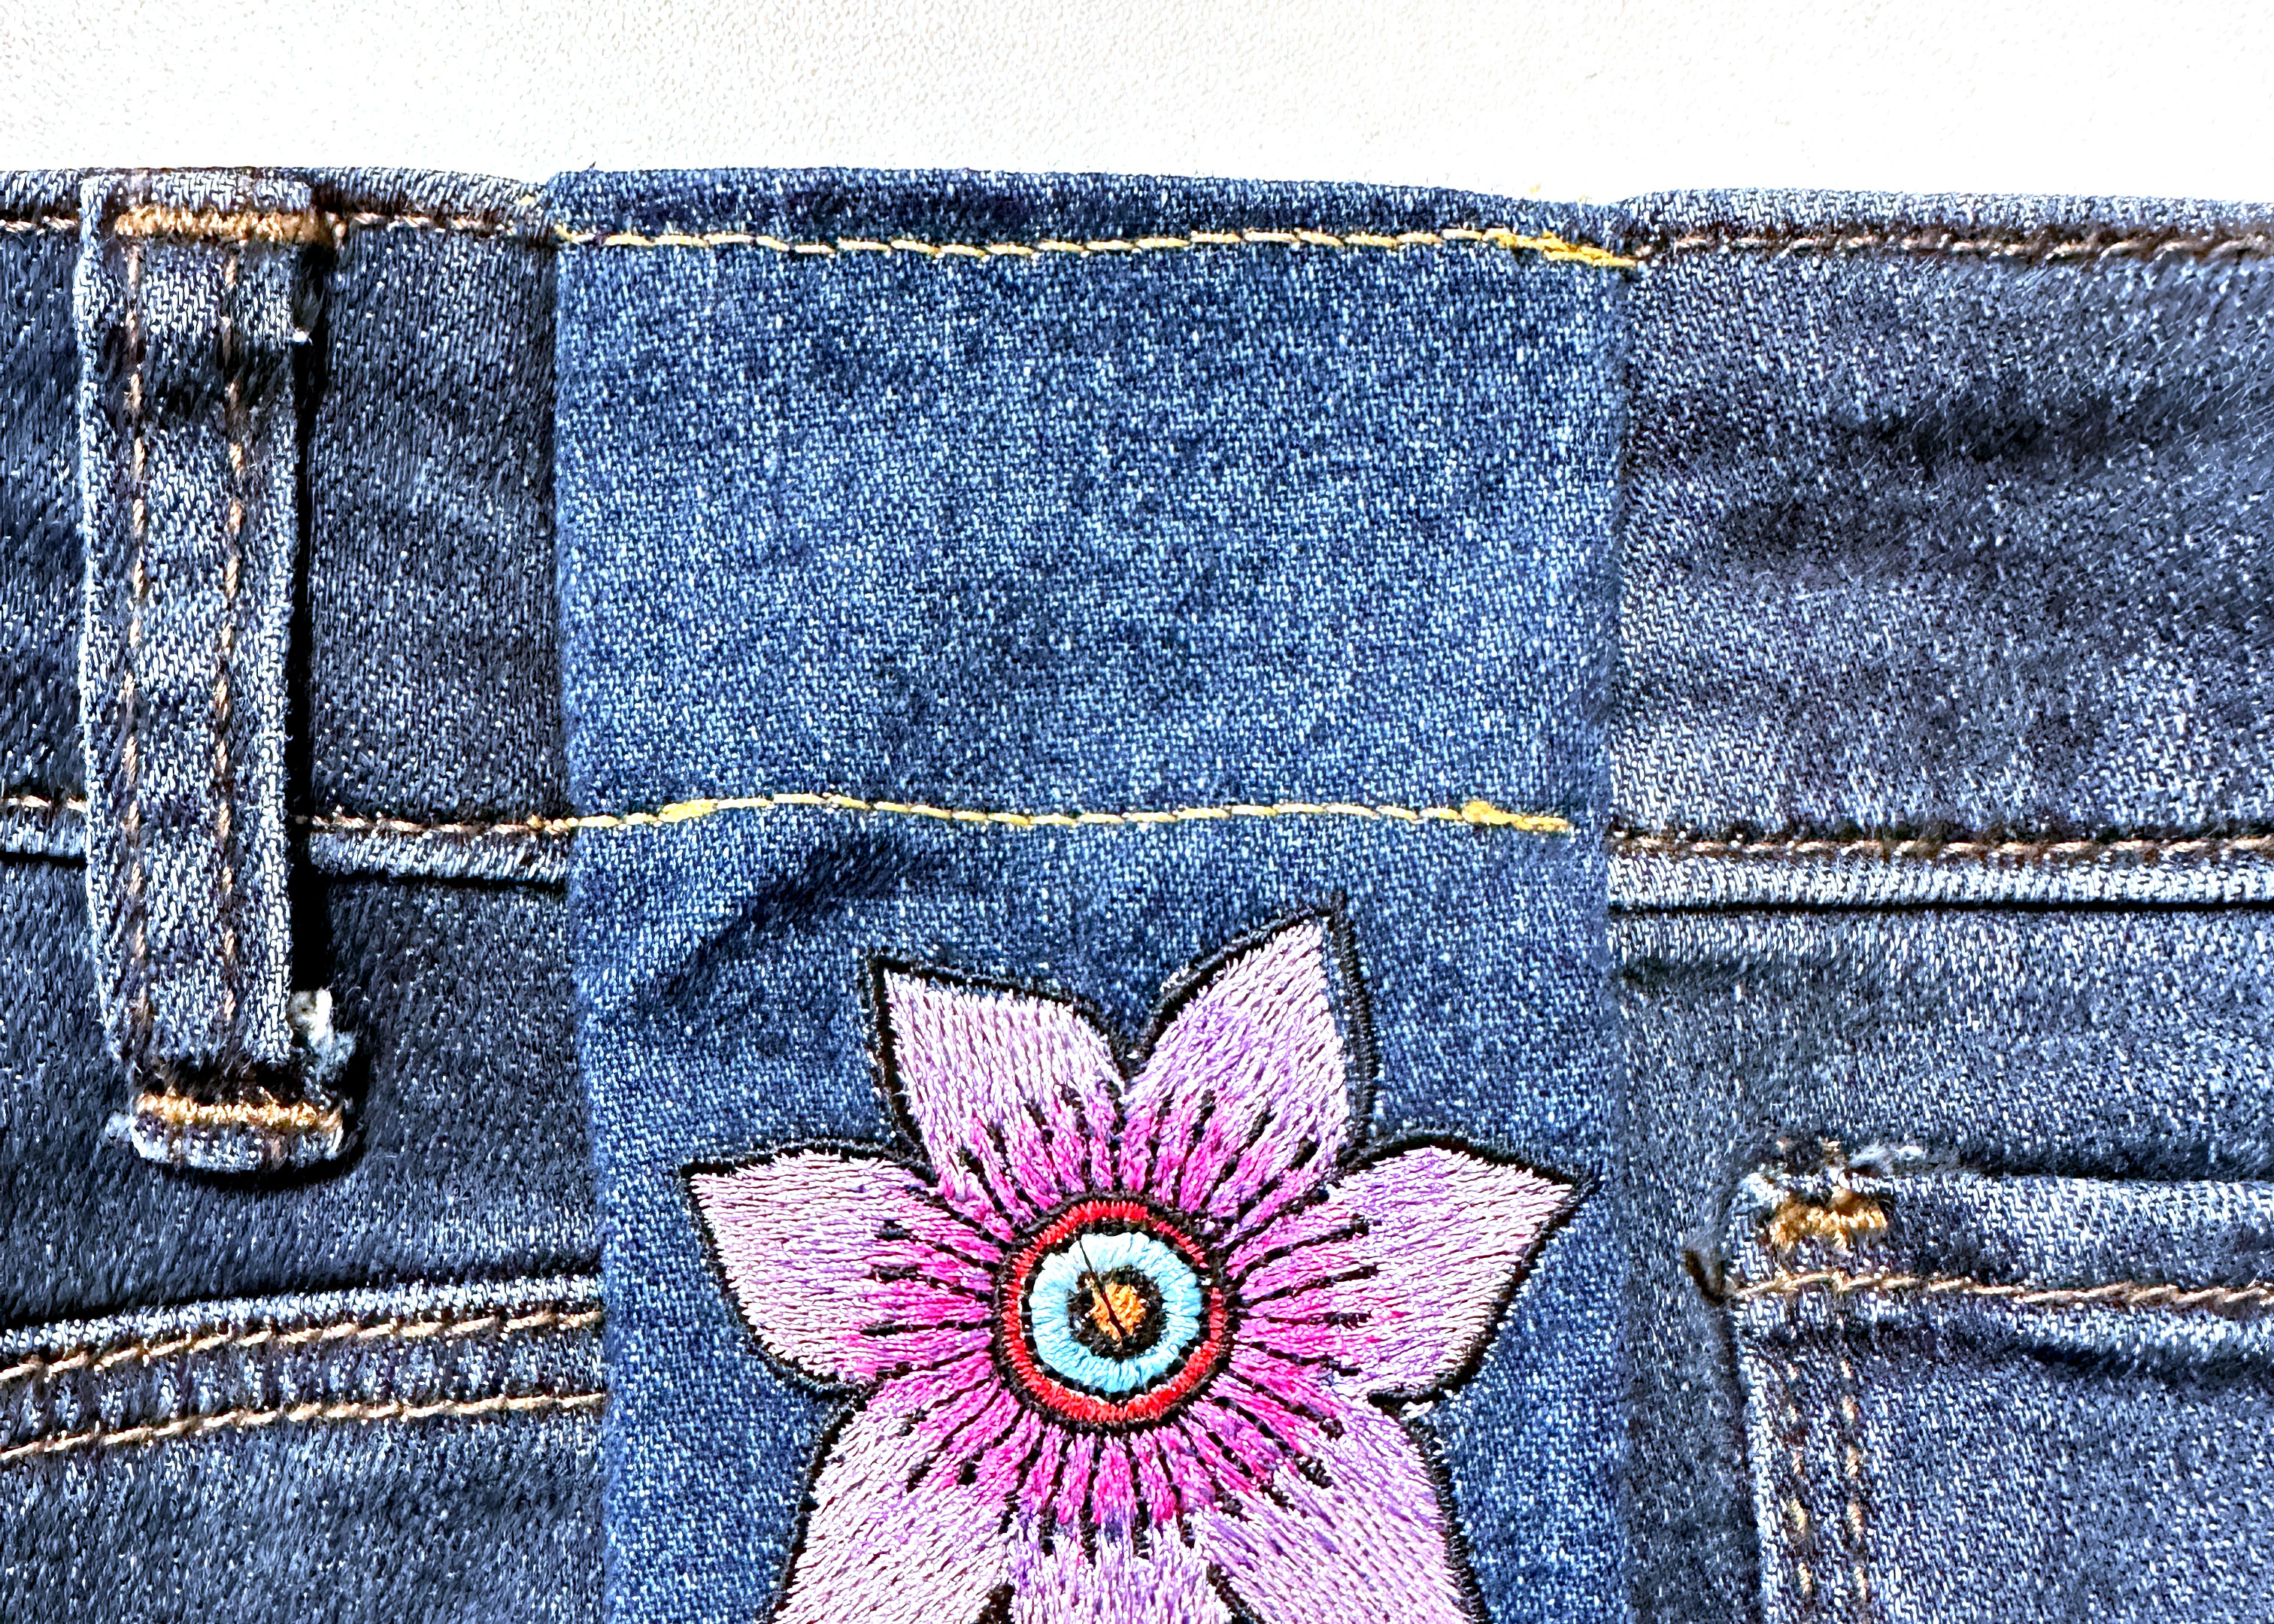
I wanted the designs on the side of my jeans to really pop, so I used florals and a butterfly from the Florals II by Laurel Burch Collection . I decided to embroider six, but you can add more or less depending on your personal preference. Each design was made smaller to fit inside the 1/2″ seam allowance. I also decreased the density of each design to 87%.
The designs used: Flower 4 (size decreased to 90%), Flower 1 (rotated 270%, size decreased to 89%), Butterfly 3 (size decreased to 80%), Flower 3 (size decreased to 76%), Flower 6 (size decreased to 82%), and a repeat of Flower 4.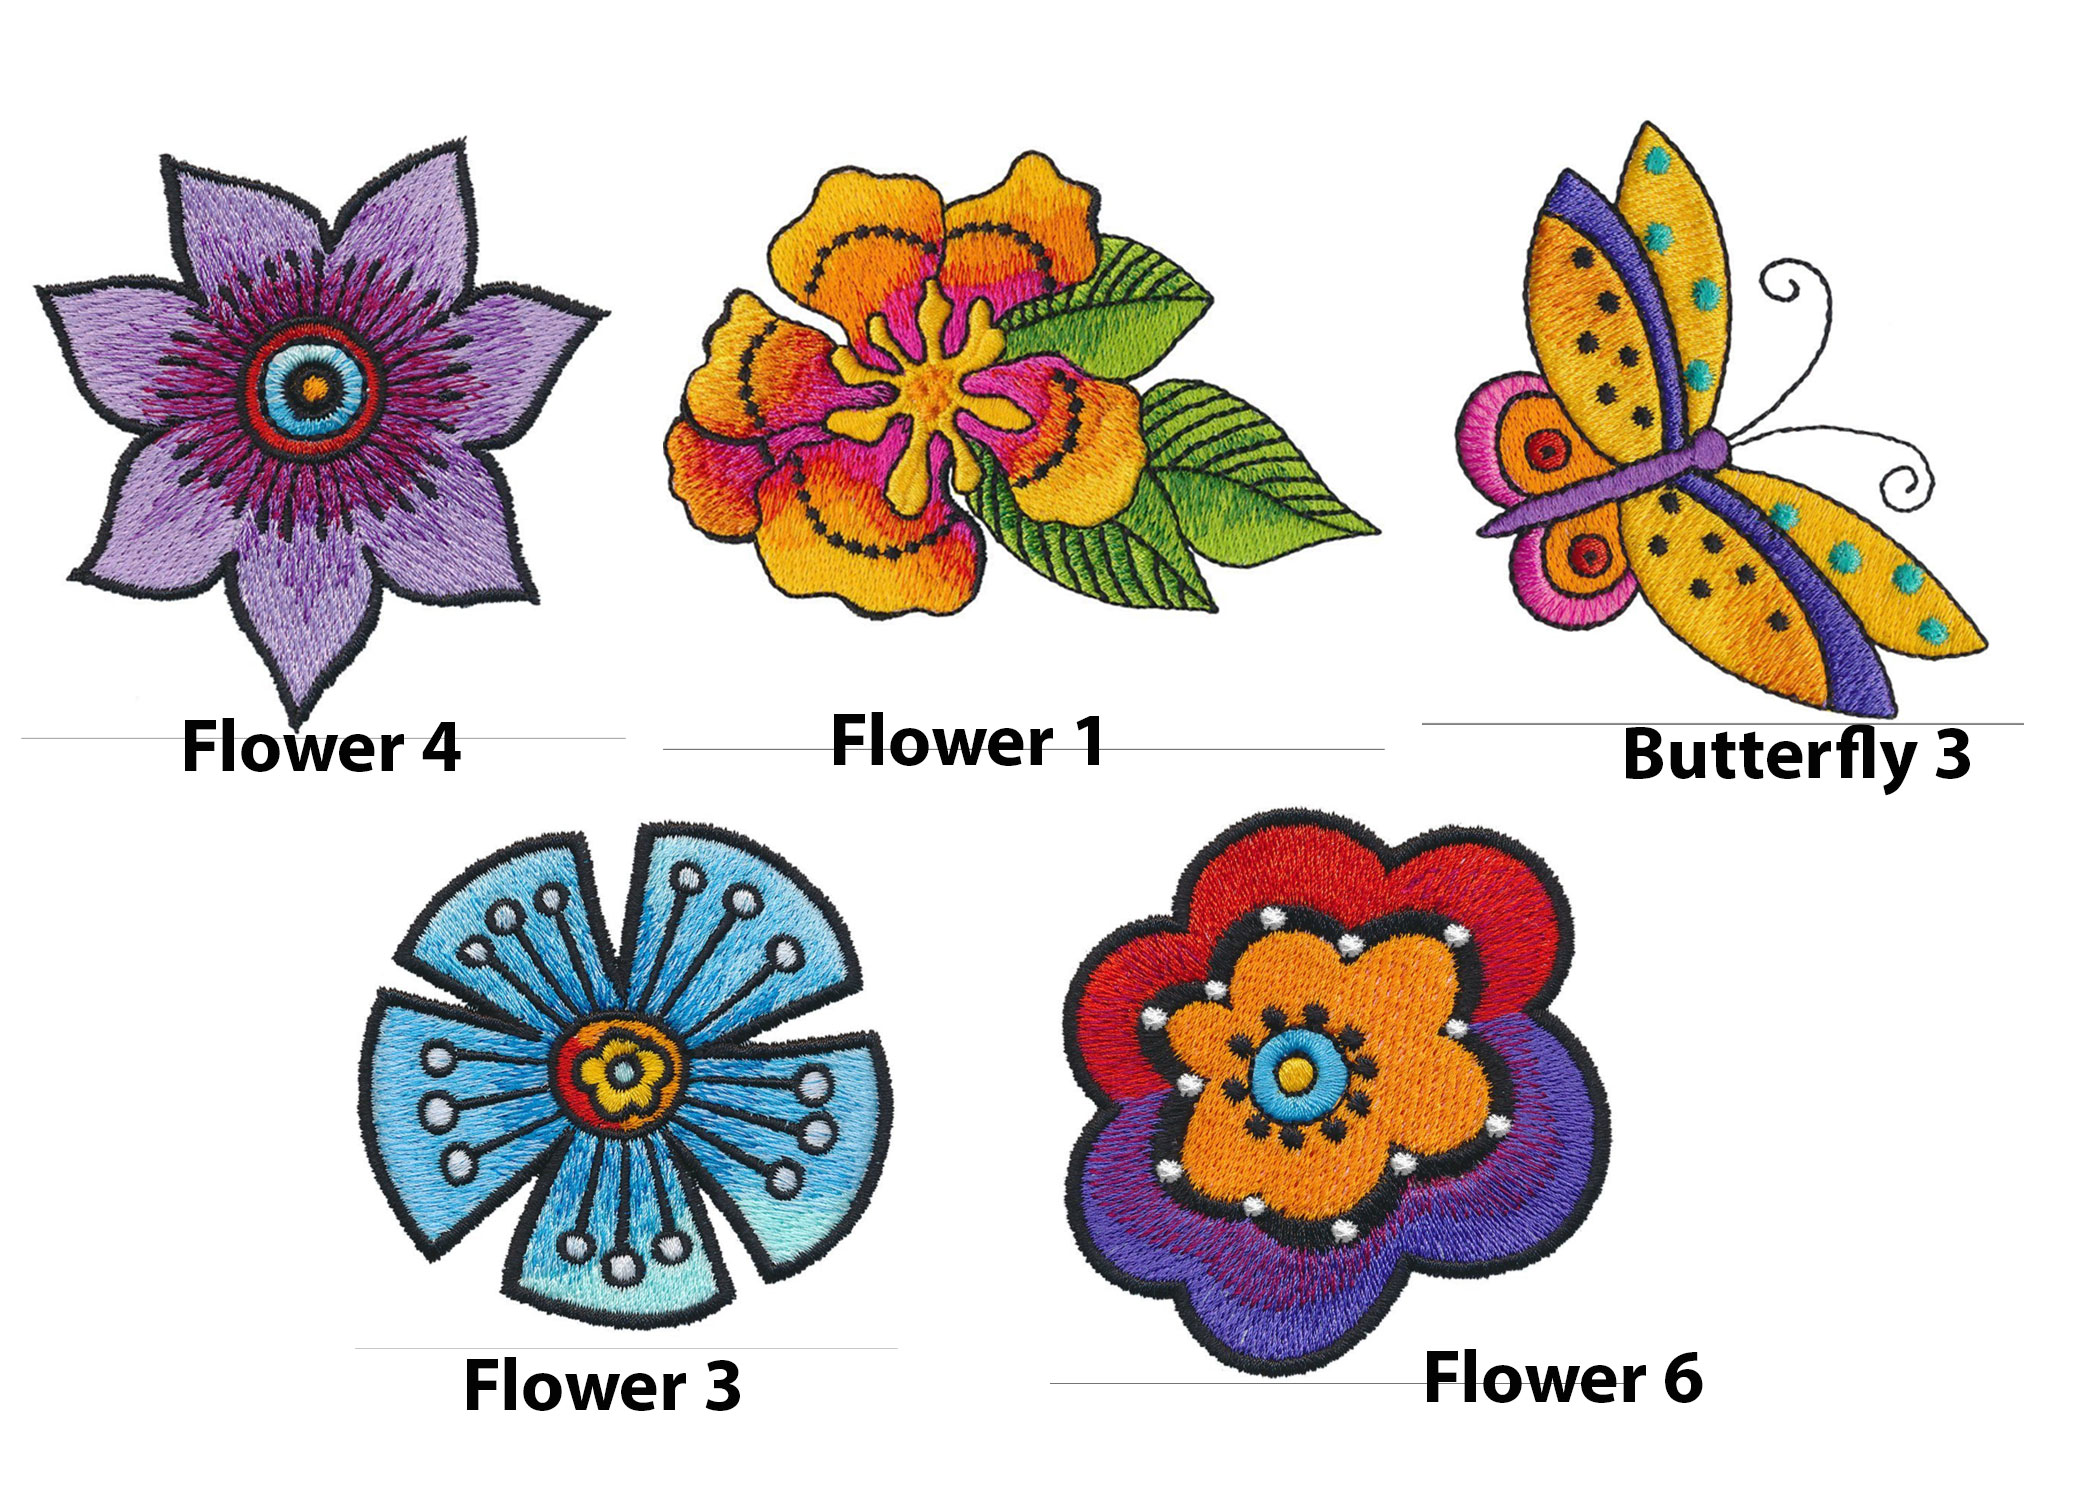
Hoop the Stabilizer and Float the Fabric
Only the stabilizer will be hooped with the fabric floating on top.
Layer a piece of Tear Away Stabilizer and StabilStick (with StabilStitck on top) and hoop in the medium hoop. Using the OESD Perfect Scorer Tool, score the StabilStick and remove the paper.
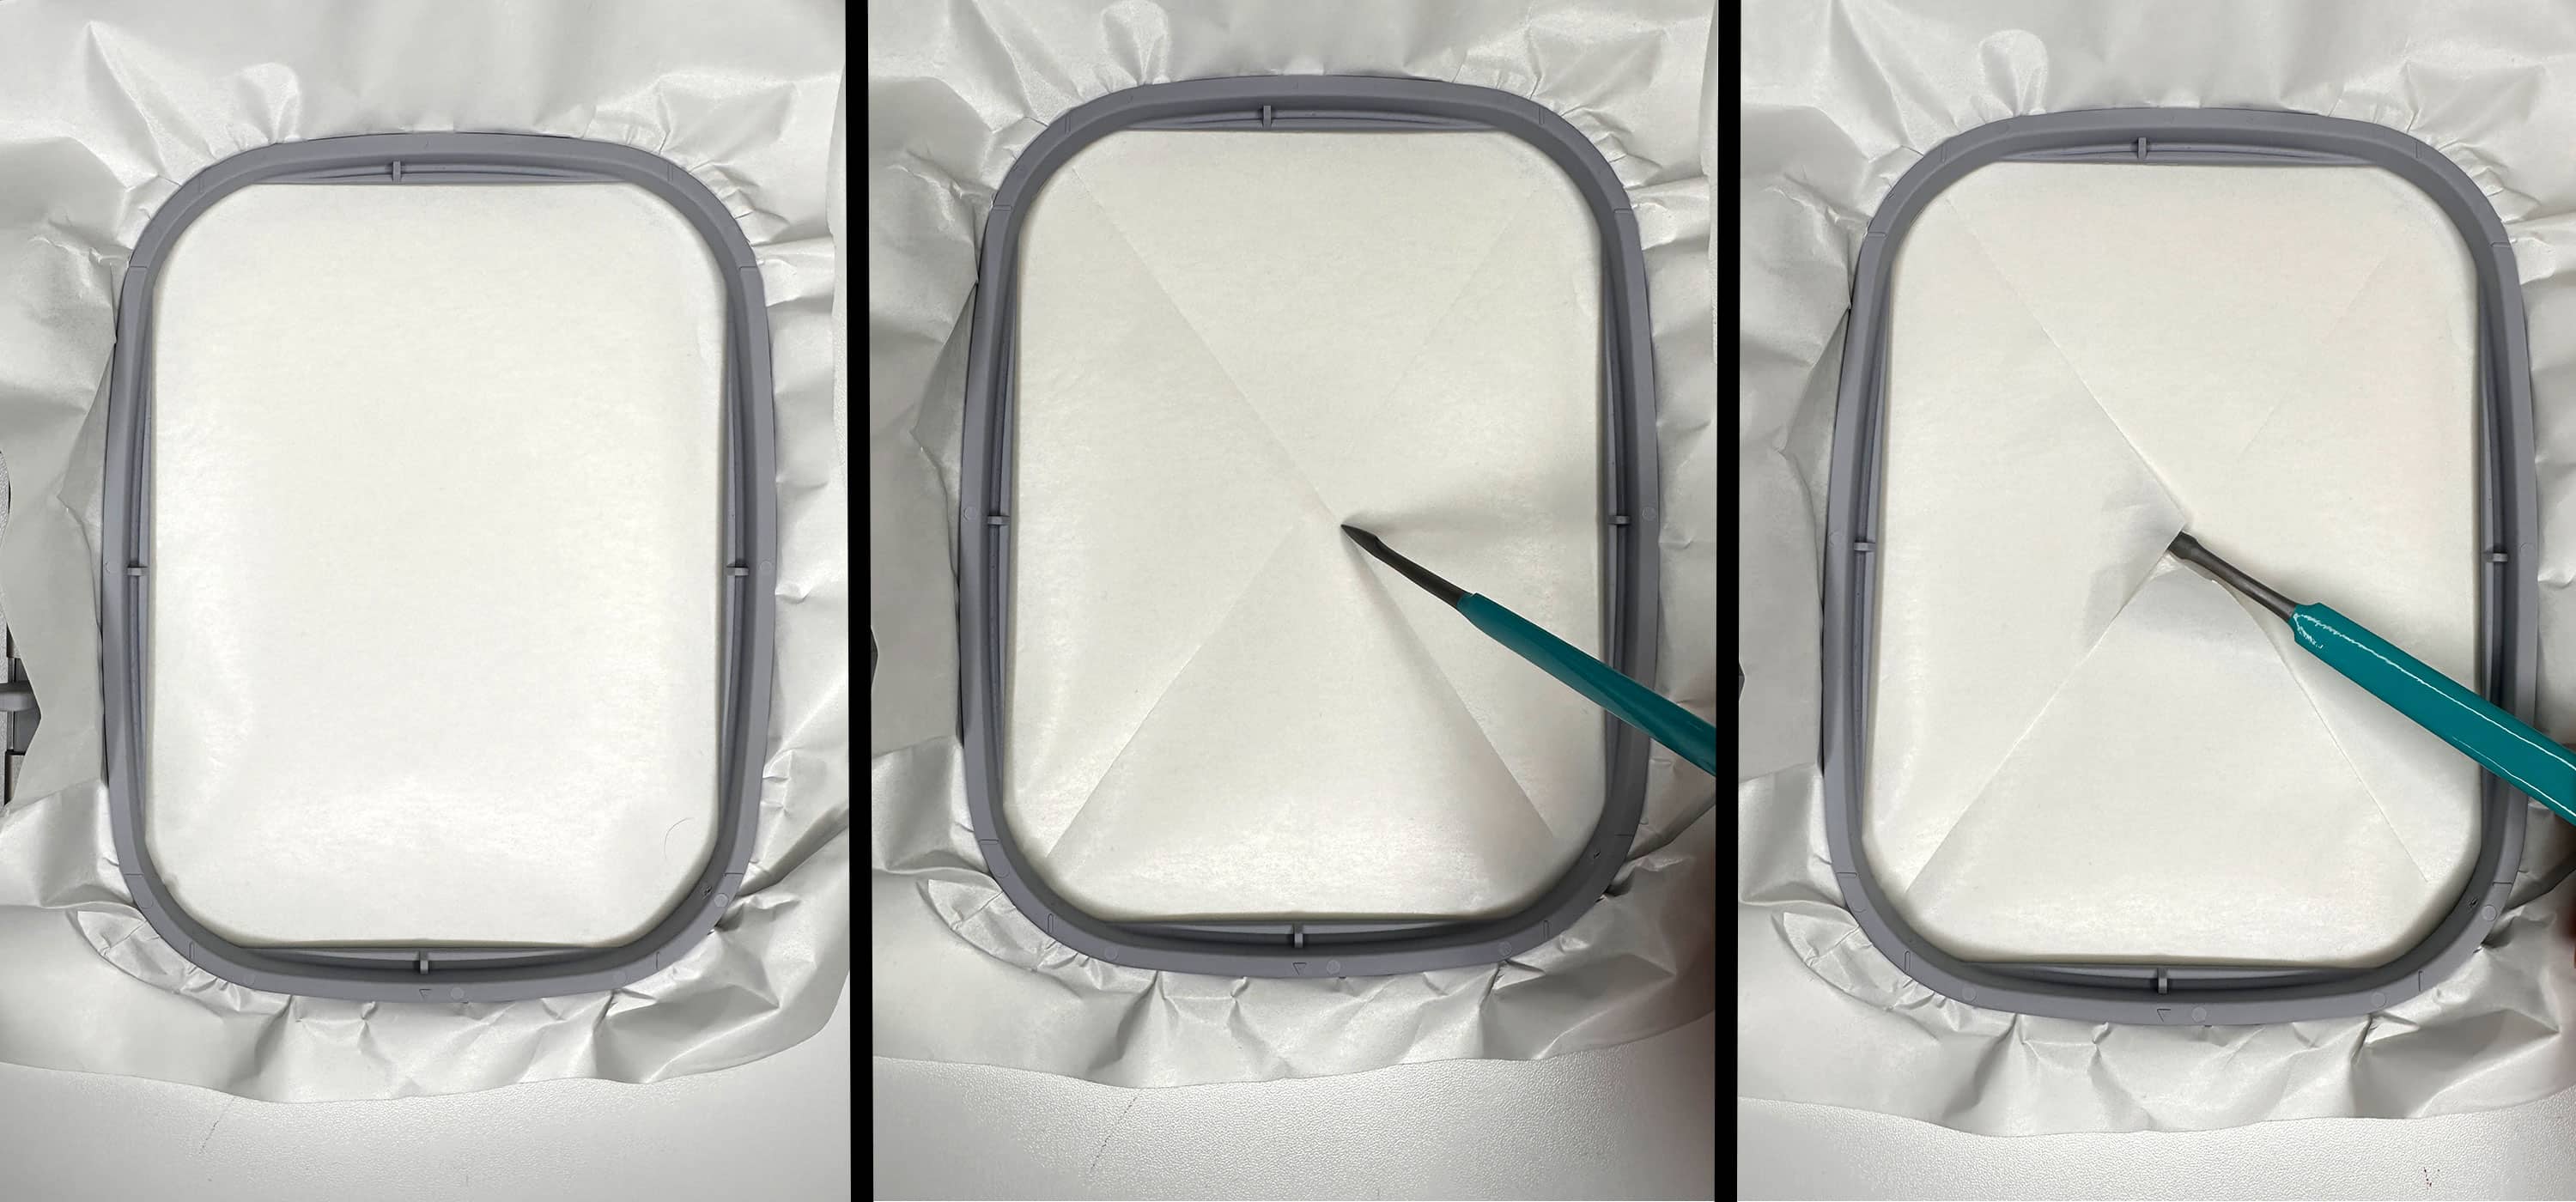
Center the vertical line on the fabric panel in the hoop with the horizontal line about 1-1/2″ from the center of the hoop. The horizontal line will be used to mark the bottom of the flower design. Finger press the fabric to the StabilStick stabilizer.
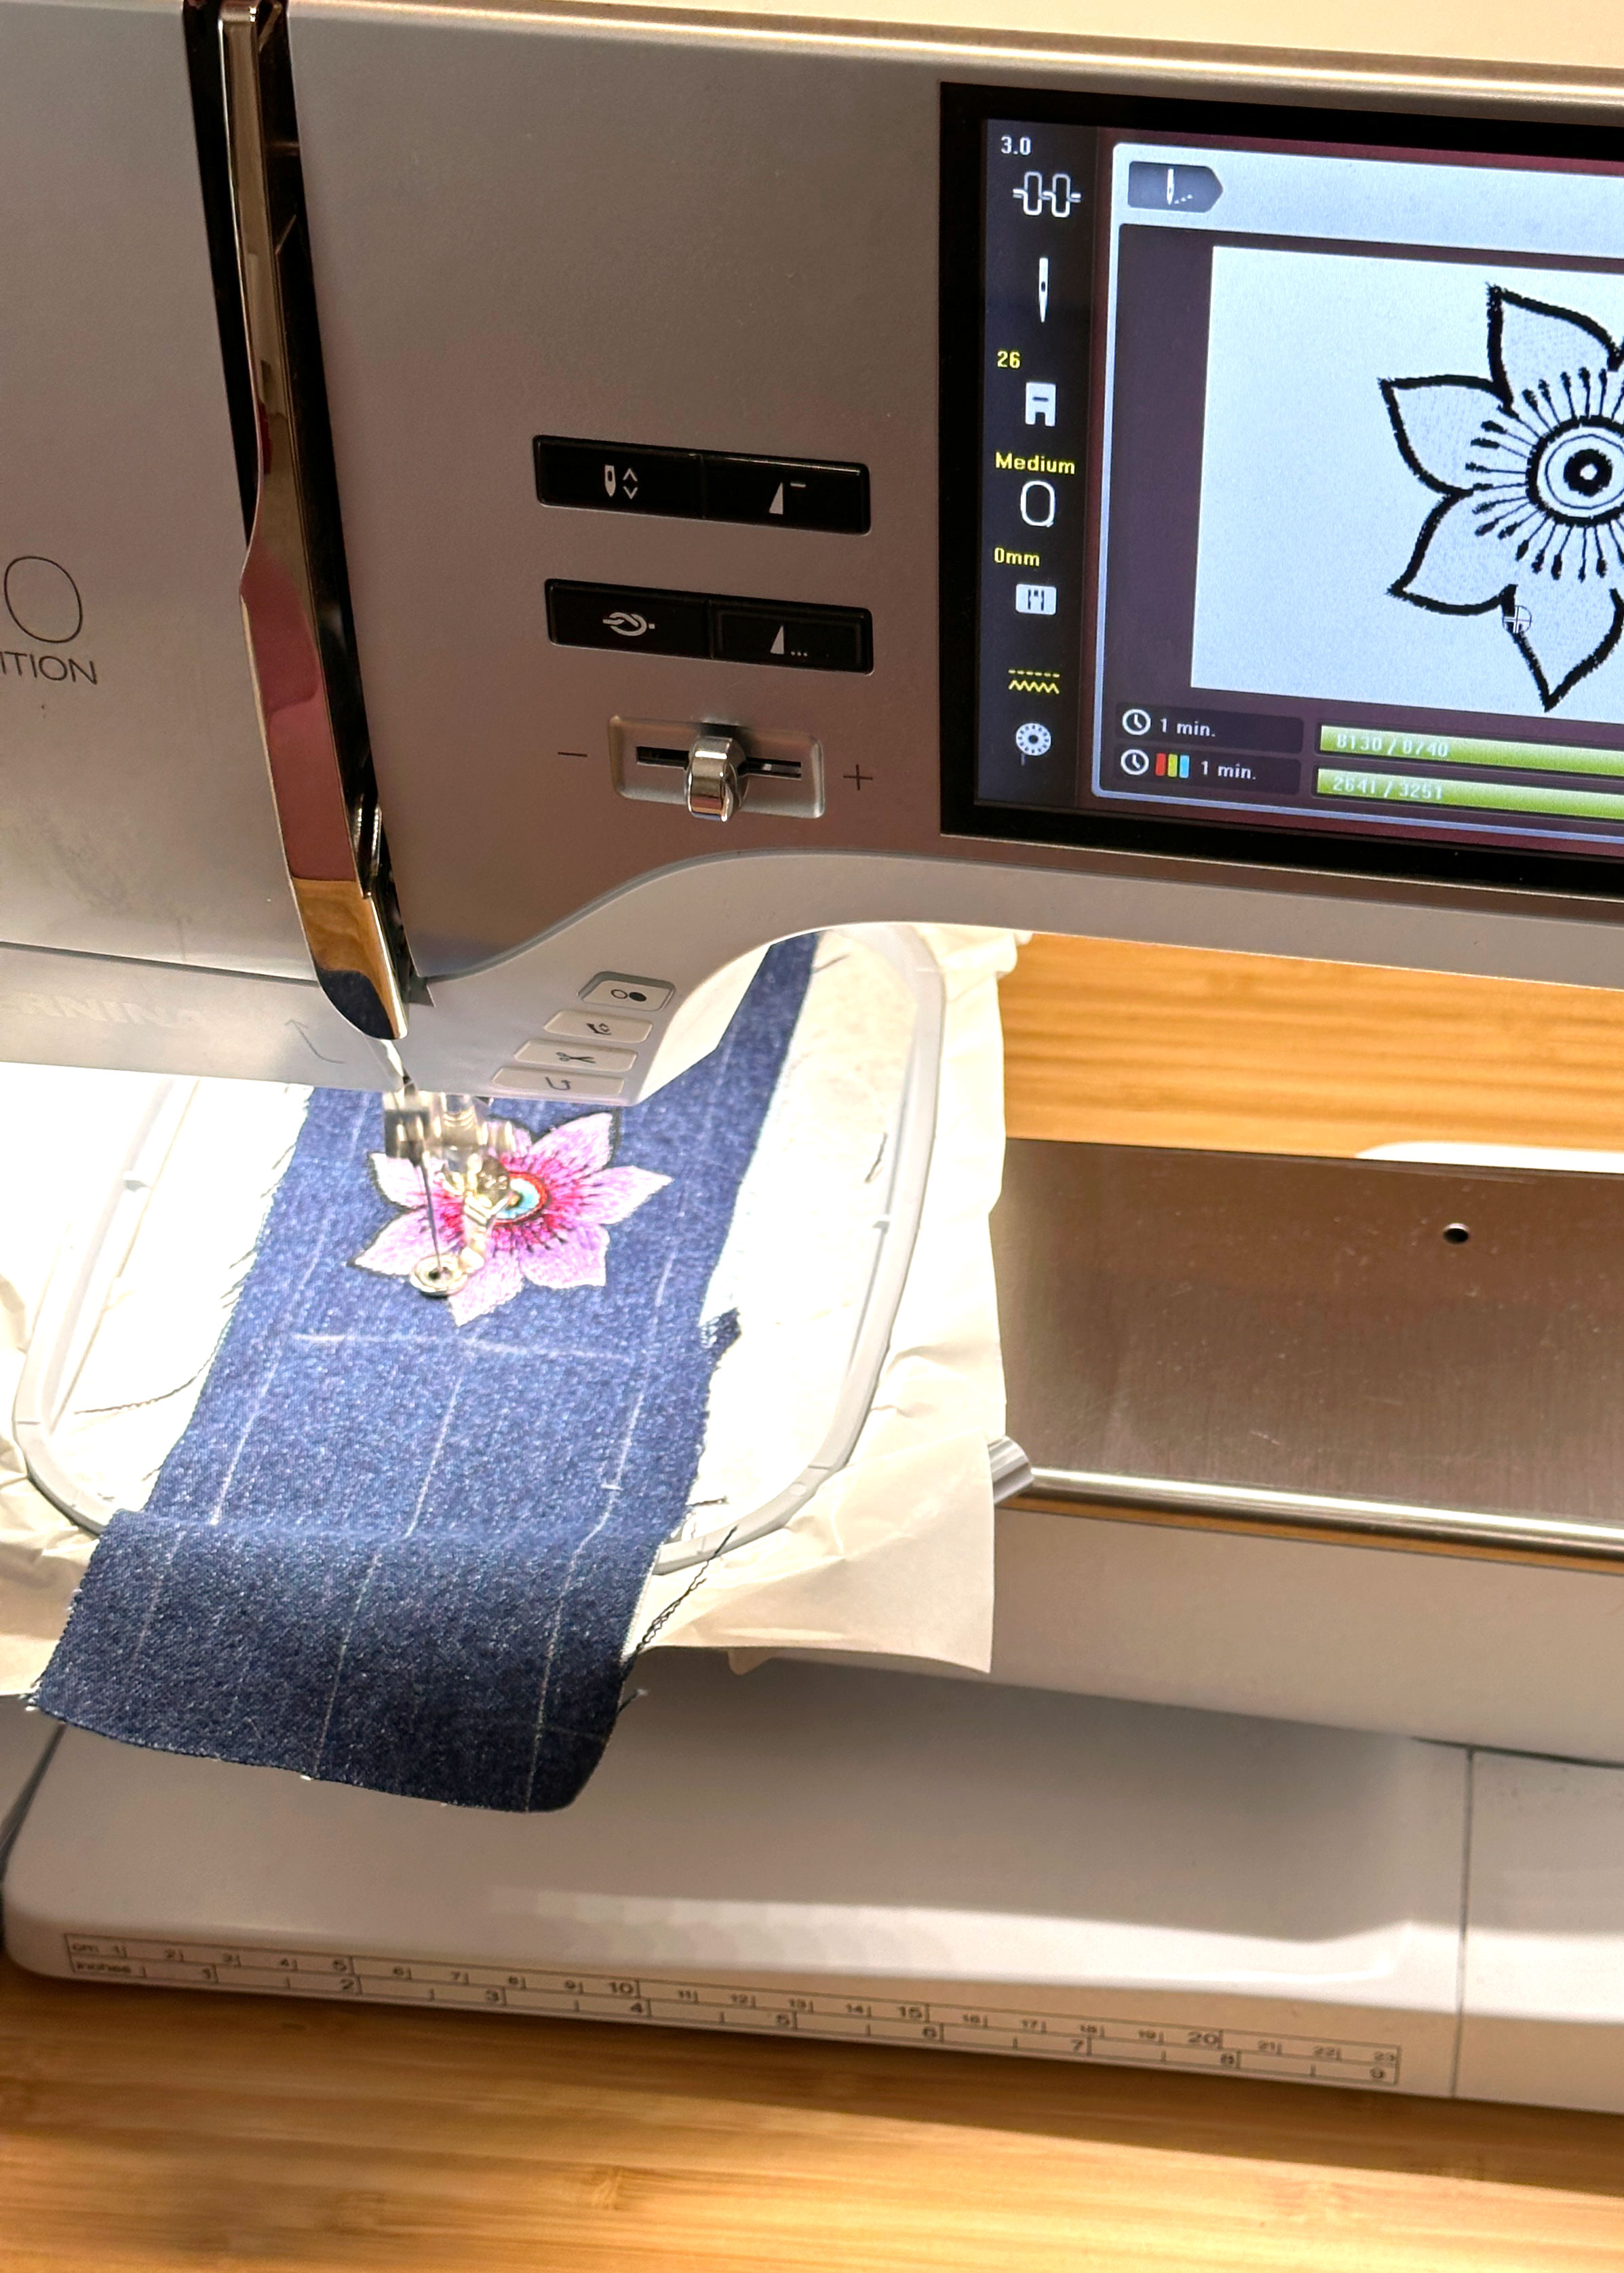
Verify that the first design (Flower 4) will be inside the 1/2″ seam allowance, and that the bottom of the design will be along the marked line. To do this, touch the “i” icon, select the Check icon, and touch each corner arrow which will move the needle to the outer corners of the design.
Once you know the design is positioned correctly, stitch out the flower changing thread colors when prompted.
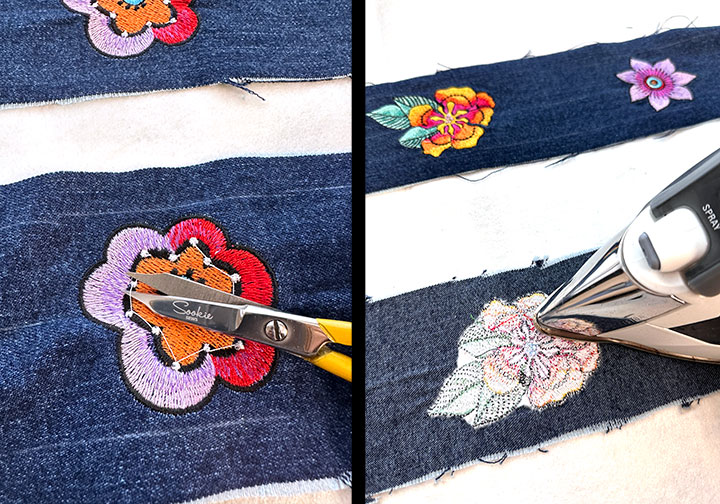
Once the design is done stitching, remove the hoop, remove the fabric, and carefully remove the stabilizers from around the design.
Continue Adding Designs on the Panels
To position the next design, measure 5″ from the top of the finished flower and make a small horizontal line crossing the center line. This is the center of the next design.
Note: You can adjust the distance between the designs to be closer together or farther apart.
Hoop the medium hoop with Tear Away Stabilizer and StabilStick, then score and remove the paper. Position the fabric panel with the cross mark centered in the hoop. To verify that the design will be centered on the mark, select the Check icon and press the Crosshairs icon. The needle will move to the center of the design. If it is not centered, adjust as needed, then stitch the second flower design (Flower 1).
Repeat the steps to embroider all six designs on both of the fabric panels.
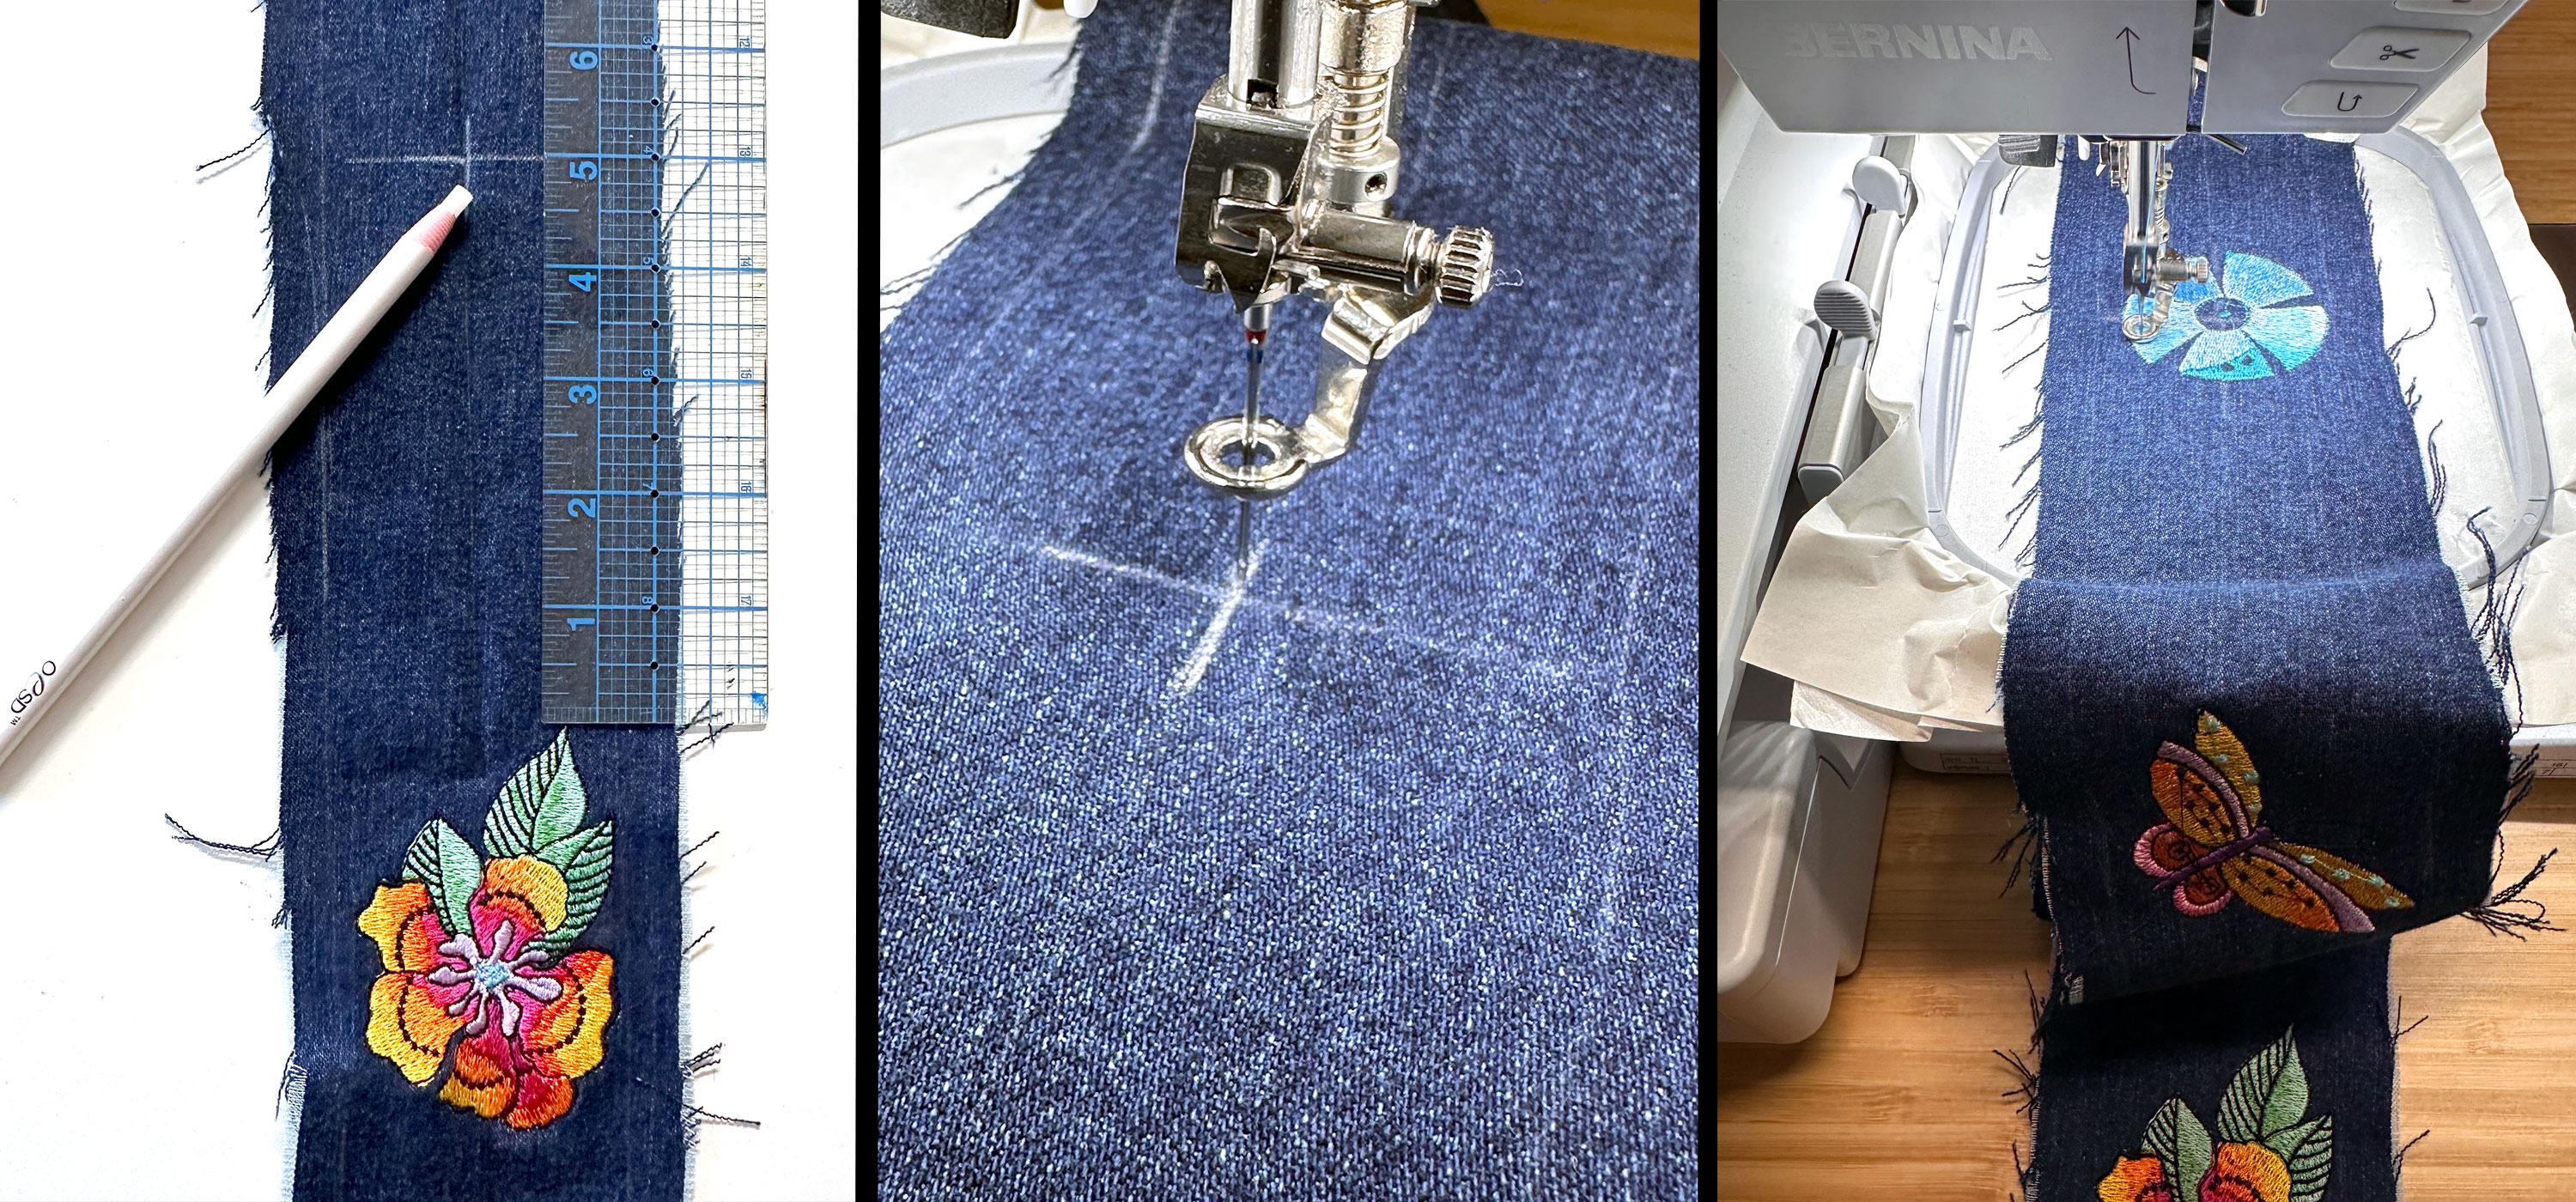
Snip the threads on the designs and press using the OESD Perfect Embroidery Press Cloth, which helps keep the embroidery texture from getting crushed.
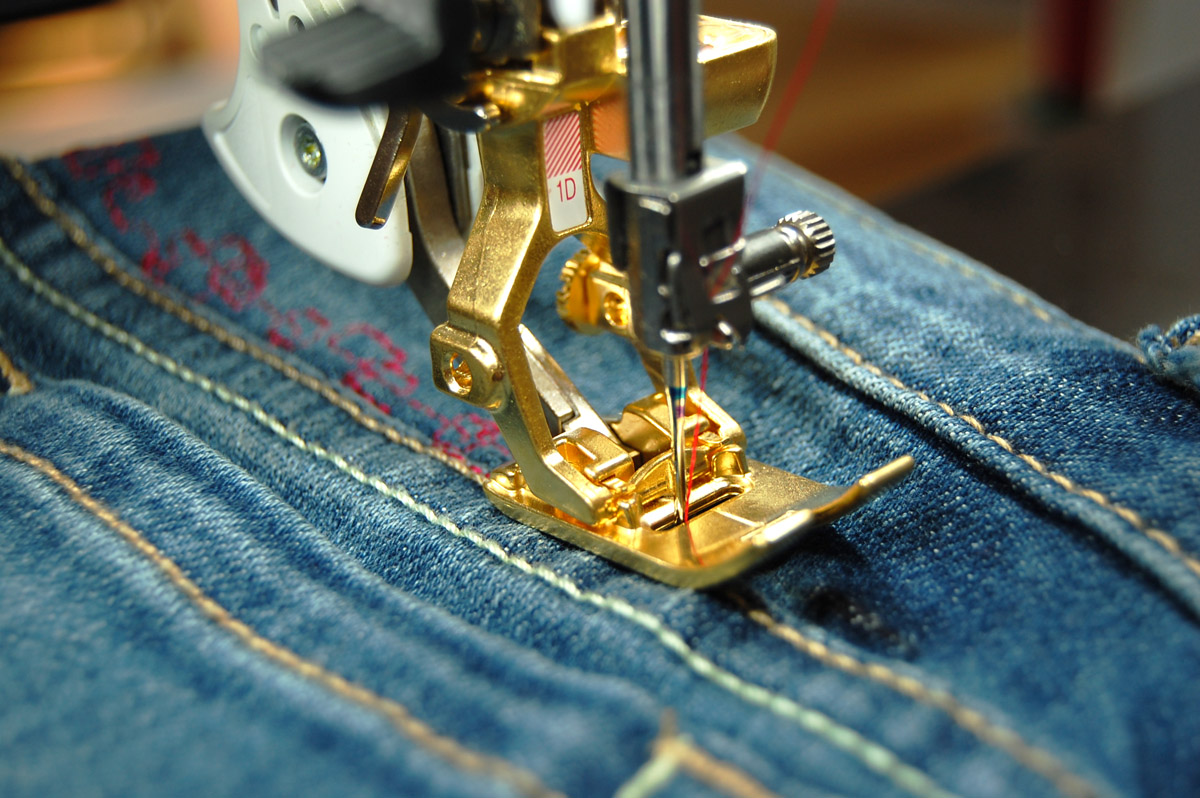
Sew the Side Panels to the Jeans
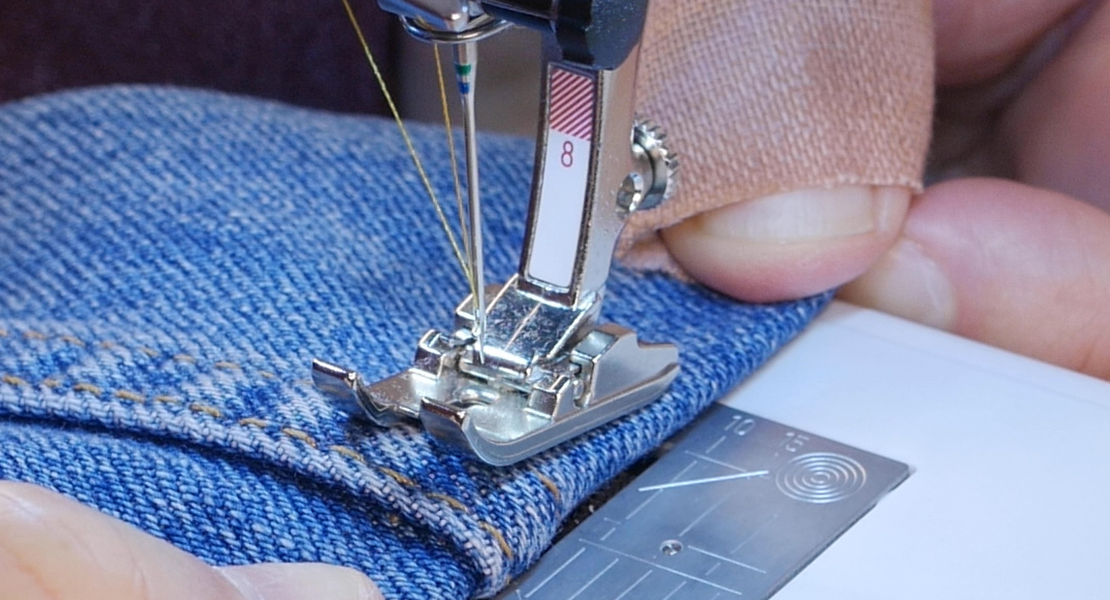
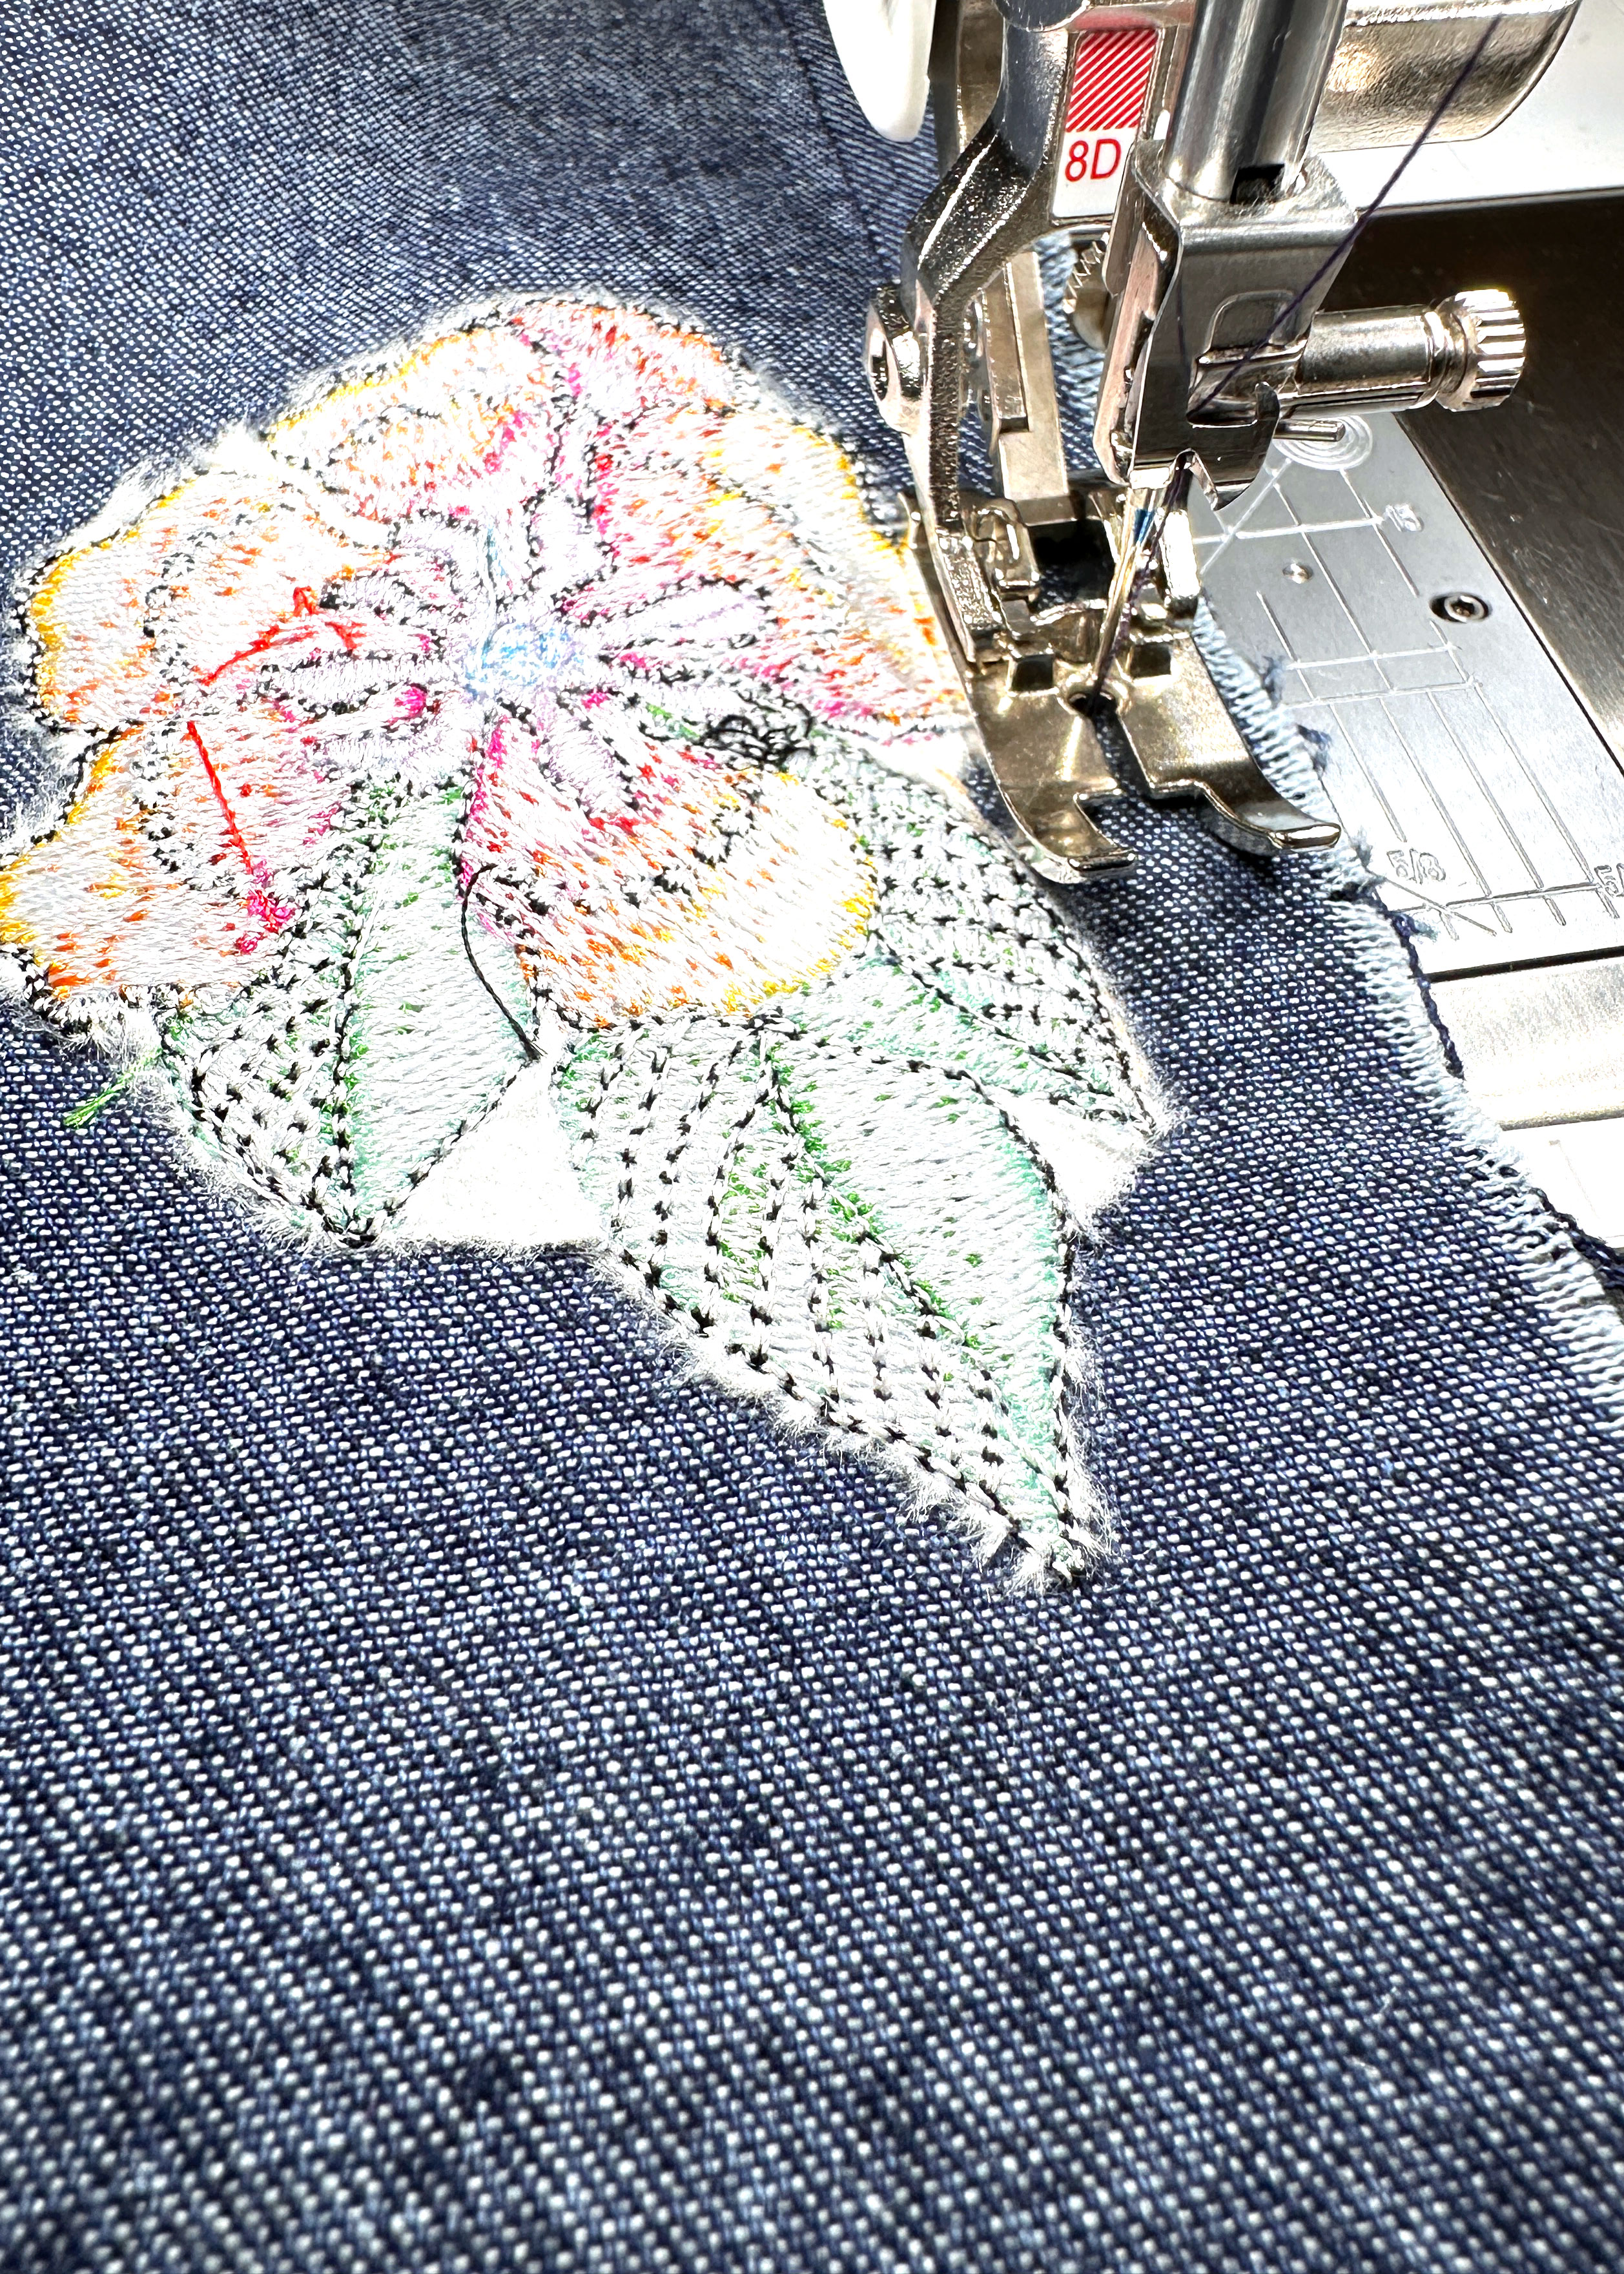
Replace the embroidery foot with the Jeans Foot #8D and raise the feed dog.
Press 1/4″ to the wrong side on the top edge of each panel, then press again the width of the waistband.
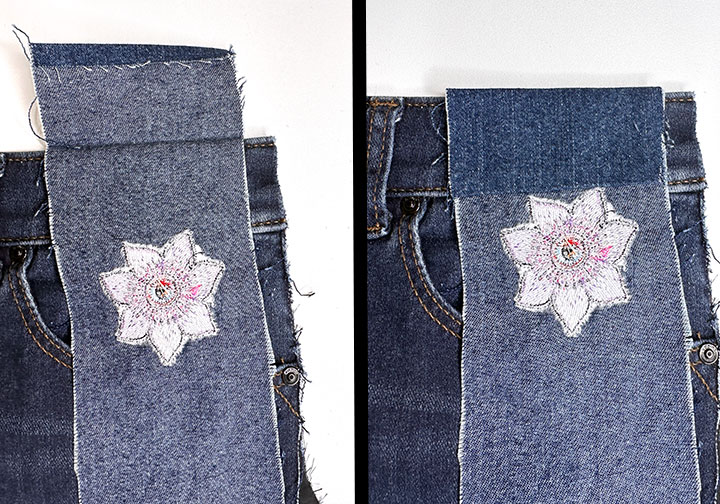
With right sides facing, match the pressed upper edge of the panel to the upper edge of the front section of one jean side seam. Pin or clip in place.
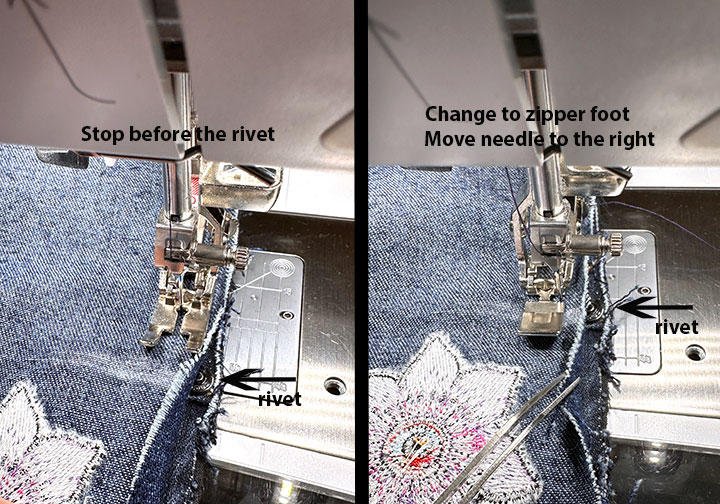
On the wrong side of the fabric, mark the location of the rivet. This will help you avoid sewing over it when attaching the side panel.
Next, pin (or clip) the other side of the panel to the back section of the jean side seam. Repeat to attach the other panel to the jeans.

Sew using a 1/2″ seam allowance.
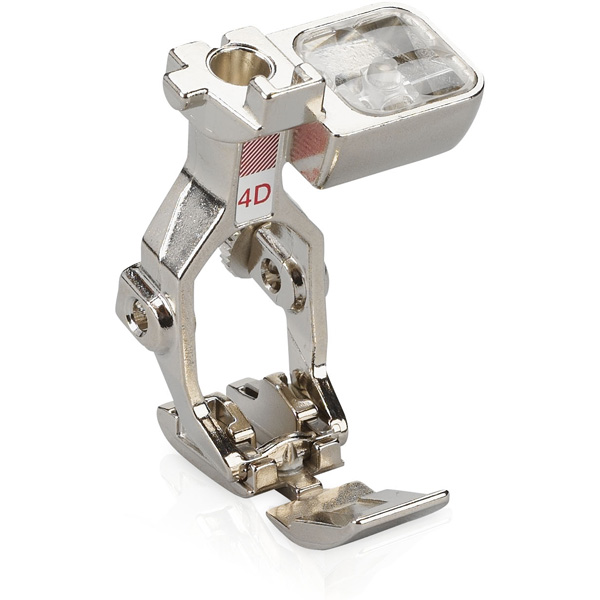
When you get close to the rivet, stop and remove the Jeans Foot #8. Then switch from the straight stitch plate to the 9 mm width plate, attach the Zipper Foot #4D and move the needle to the right and stitch the seam. Go slowly, making sure the needle will not hit the rivet. Once past the rivet, change back to the Jeans Foot #8D, move the needle back to the center, and continue sewing the seam.
Press the seams toward the panel.
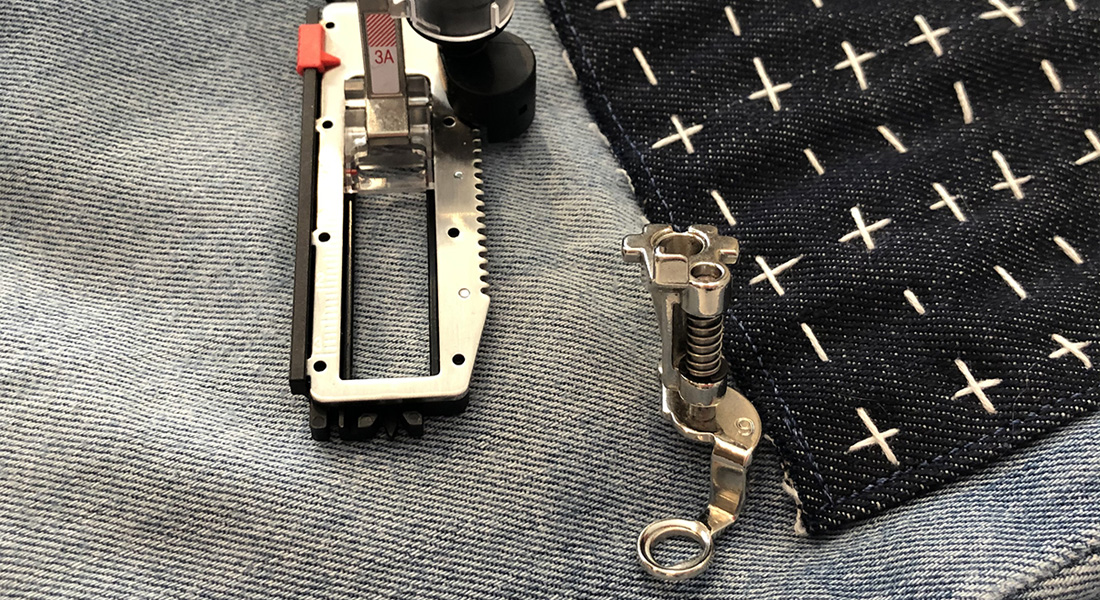
Note: The denim I used for my panel raveled so I finished the seam allowance using the Overlock Foot #2A taking care not to sew over the rivet.
Hem the Jeans
Using the original jean hem as a guide, fold the bottom edge of the panel to the wrong side and press. Unfold and clip into the seam allowance at the fold line, stopping at the seam. Press the lower portion of the seam away from the panel to help eliminate bulk when pressing and stitching the hem.
Double fold the hem to the wrong side and press. Using jean topstitch thread, stitch the hem in place.
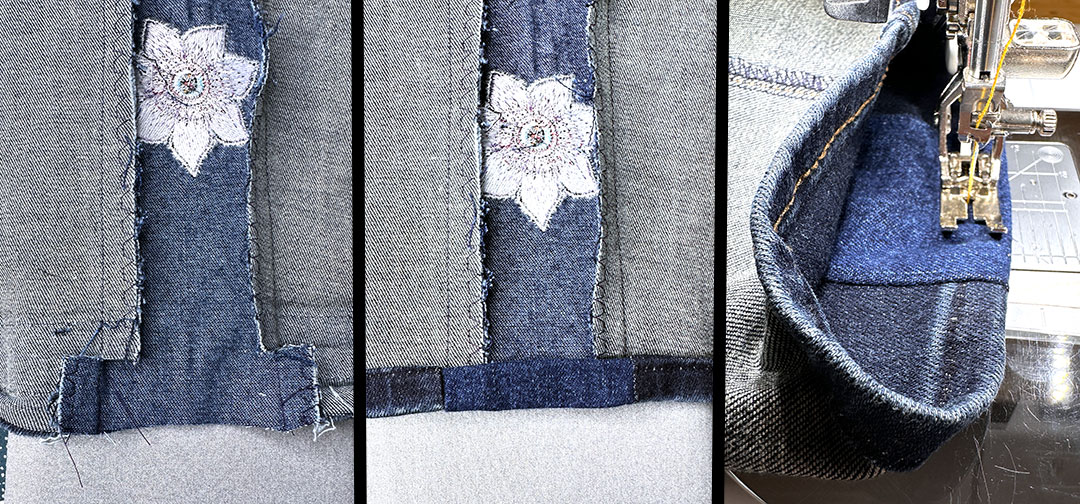
Use the jean topstitch thread to stitch the top and bottom of the panel between the existing waistband, catching the folded edge inside the jeans.
The Reveal!
That’s it! You altered your jeans for a more comfortable fit and turned them into a one-of-kind pair that shows off your creativity and personal style. Wear them with pride!