How to Join Quilt Blocks with a Spanish Hemstitch
Looking for a way to spice up your patchwork and quilted projects? Try BERNINA Spanish Hem Attachment #47 for a unique and easy way to join the quilt squares.
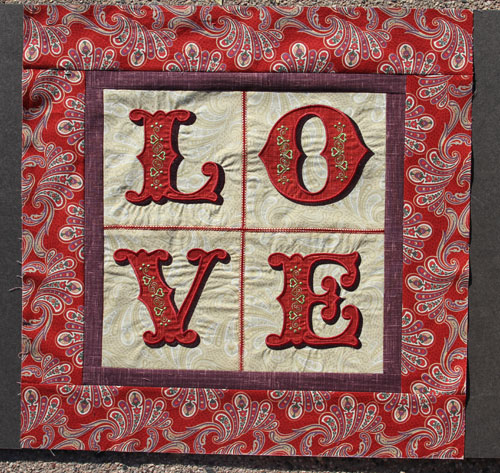
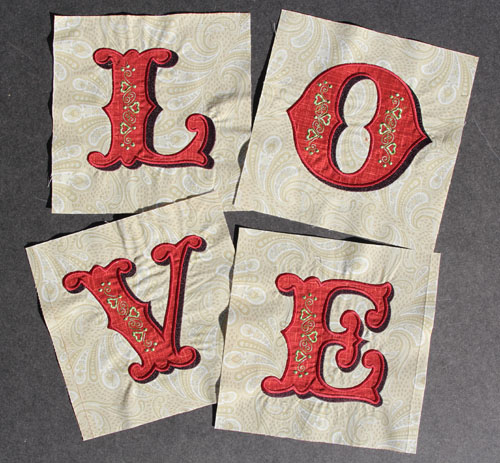
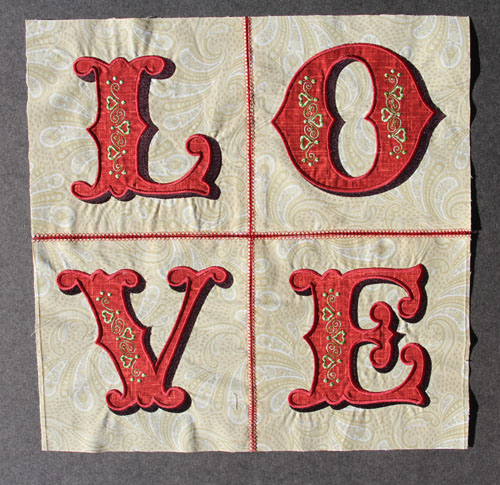
TIP: Just in time for Valentine’s Day, send a heart-filled message to your loved ones by combining L-O-V-E blocks from Lunchbox Quilts “Love Letters” embroidered applique collection to make a heart- mini-quilt or pillow.
It was time for me to step outside of the box from the same way of applique embroidery and piecing quilts and try something new. Recently I was introduced to the BERNINA Spanish Hemstitch Attachment #47. After seeing the beautiful stitching it created I was now motivated to try this technique on one of my quilt block designs. I have always wondered how the Spanish hemstitches were created with the tiny gap between the two pieces of fabric.
I had a set of blocks stitched out and laying around that used the big LOVE embroidery design from the Lunch Box Quilts® pattern “Love Letters” and they were ready to be pieced together. I found myself wondering, “What if the inner seams were pieced the using the Spanish hemstitch?” Lucky for me I had not yet trimmed the blocks to size. This gave me the extra fabric needed to properly sew them squares together using the Spanish hemstitch.
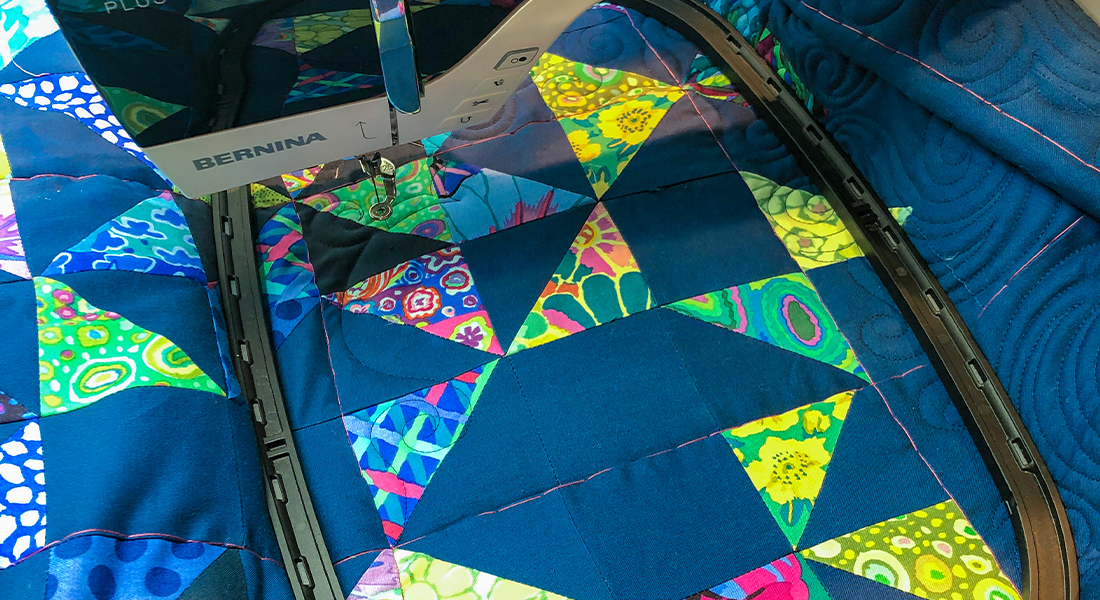
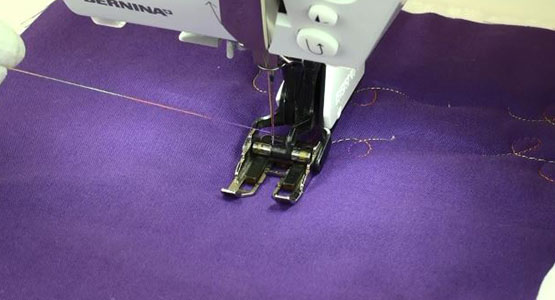
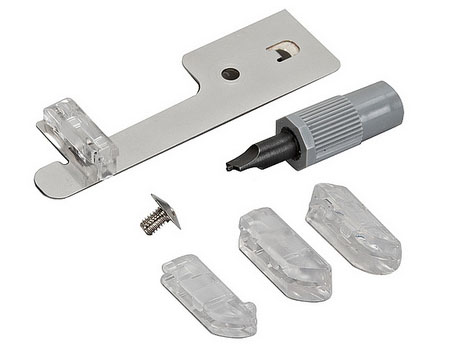
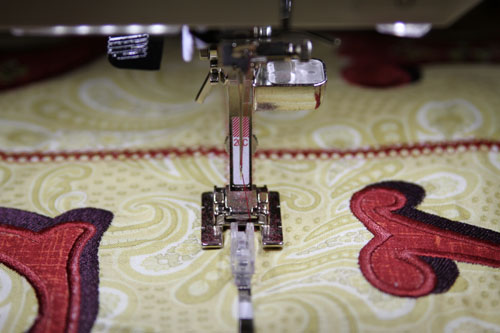
First I needed to experiment using the Spanish hemstitch on some scraps of fabric before starting on my finished blocks. Setting up the Spanish Hemstitch Attachment on my BERNINA 780 was easy. First you attach Edgestitch Foot #20/20C and then make sure you have the zigzag stitch plate on your machine. The attachment has several parts to install, but it is very easy once you get the hang of it. [Scroll to the end of the page for a video showing how to properly set up the attachment on your machine.]
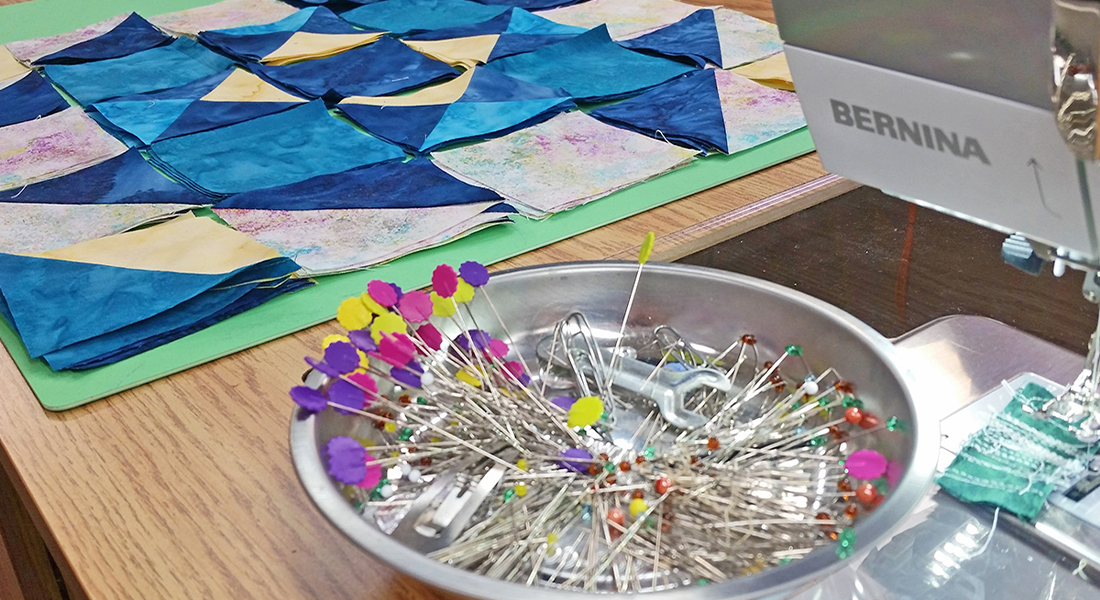
Hmmm… what stitch should I use? Taking some pieces of scrap fabrics approximately 12” square, I marked and then pressed a ½” fold from the edge of the fabric over onto wrong side. Making sure that I pressed the fabric down, I used a bit of starch. This was done to two separate sections of fabric to form my tester blocks.
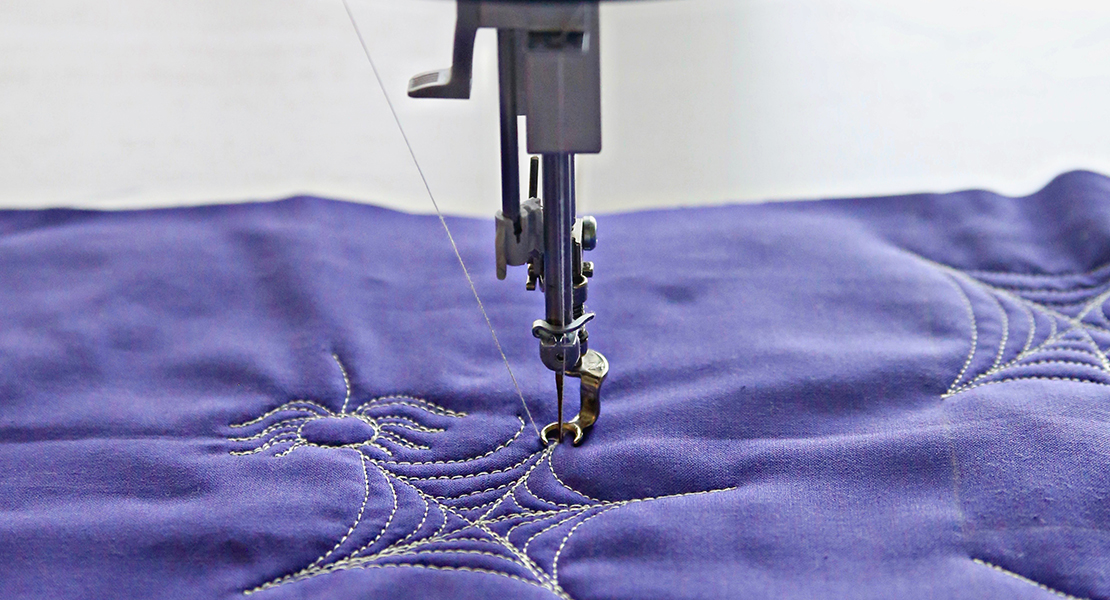
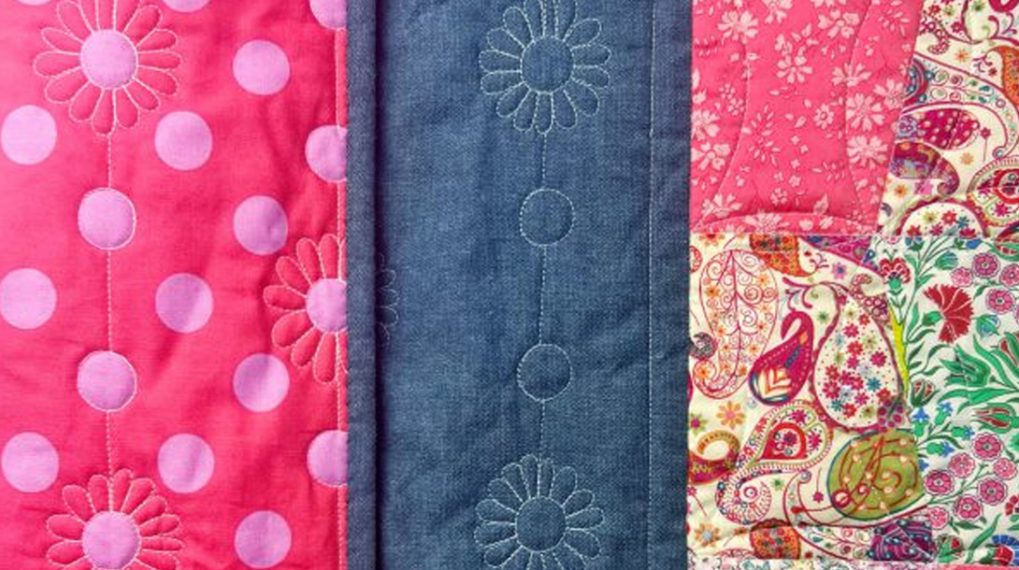
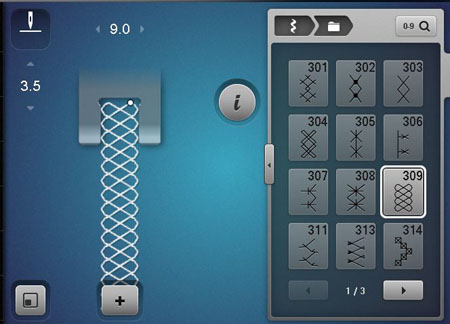
I threaded my machine with Aurifil 40-weight cotton thread in the needle and bobbin, then guided both sections of the fabric parallel to each other through the attachment, one on each side. I experimented with several different stitches to see which one would give the best results for my project. The stitches that worked the best were simple patterns that were wider and moved from side to side to easily catch both fabric blocks. After auditioning several stitches, I decided to use stitch #309 (default setting) on the BERNINA 780 machine.
Finally, after all the experimenting on Spanish hemstitch it it time to start the project.
Icut each block 1″ larger than the required block size specified in the pattern. This provided the additional space needed to sew the blocks together with the Spanish hemstitch.
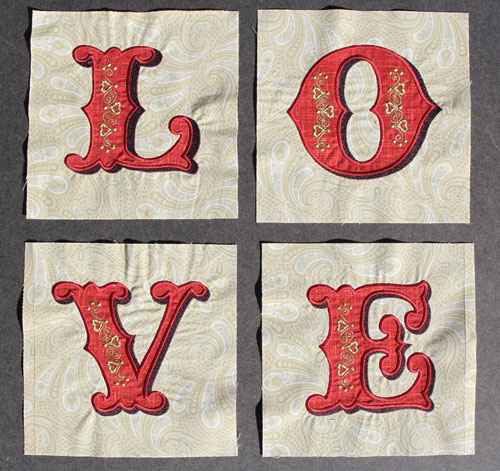
After marking 1/2″ away from the edge on the vertical inner seams of the blocks, I pressed the material using starch to the wrong side of the fabric. First I stitched together the L and the O, then the V and the E.
After stitching the vertical seams together, I marked 1/2″ from the edge on the horizontal inner seams of the blocks, and then pressed with starch to the wrong side of the fabric. Finally, I stitched the LO to the VE.
Remember that I added an extra 1” to the blocks before starting? The extra 1/2″ on the outer edge was not needed, since I attached the borders using a traditional 1/4″-wide seam allowance, so I trimmed the extra 1/2″ off all four sides of the L-O-V-E block.
I used Patchwork Foot #37 and a 1/4″-wide seam allowance to attach a 1-1/2″ cut inner border and 3-1/3″ cut outer border to the L-O-V-E center block.
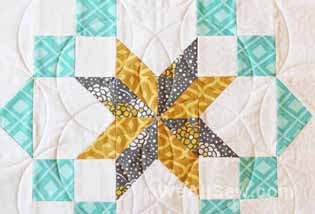
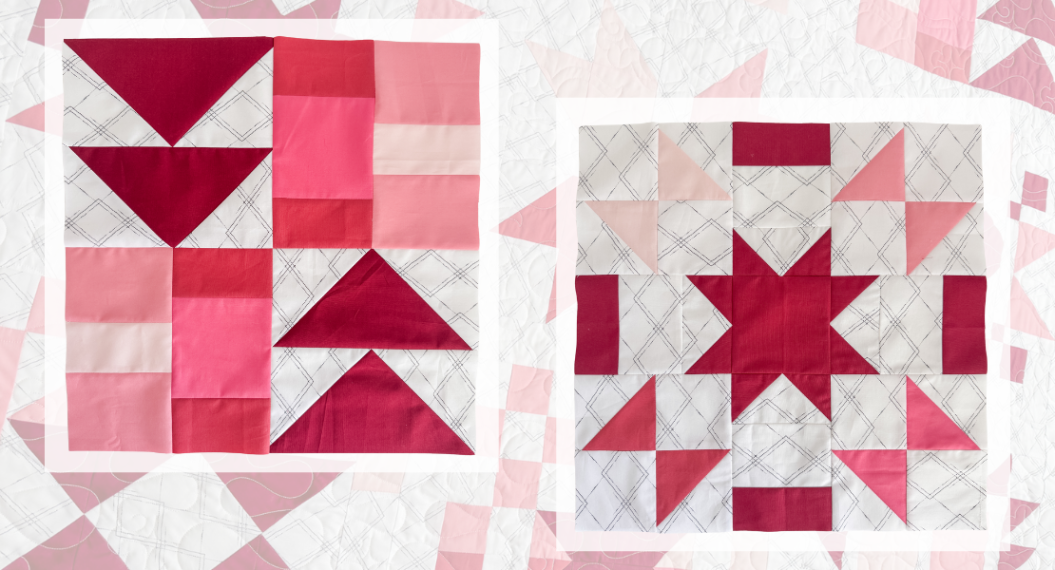
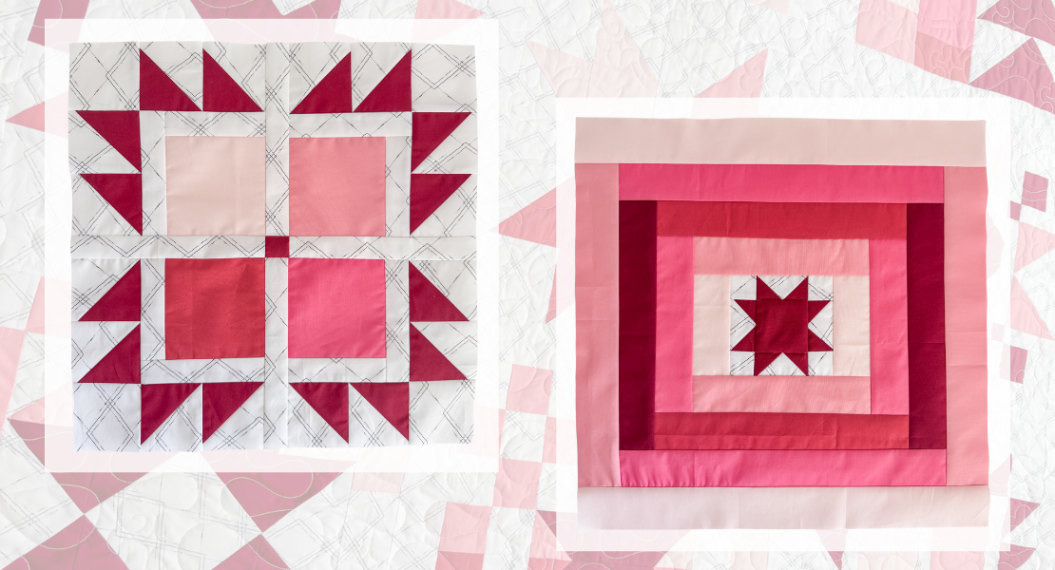
These blocks turned out stunningly using Spanish Hemstitch Attachment #47. Your blocks will also look stunning when pieced together using this method. Get creative and see where the stitches take you!
Happy Valentine’s Day!
Angie
Here’s the Spanish Hemstitch Attachment video:
http://www.youtube.com/watch?v=KprBhfBP6FQ