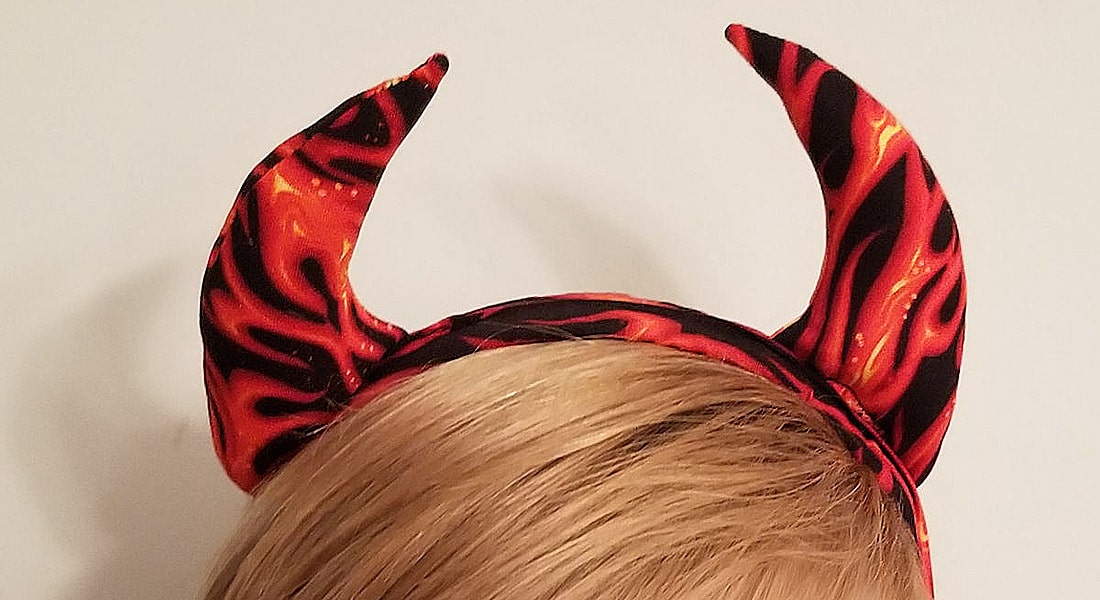
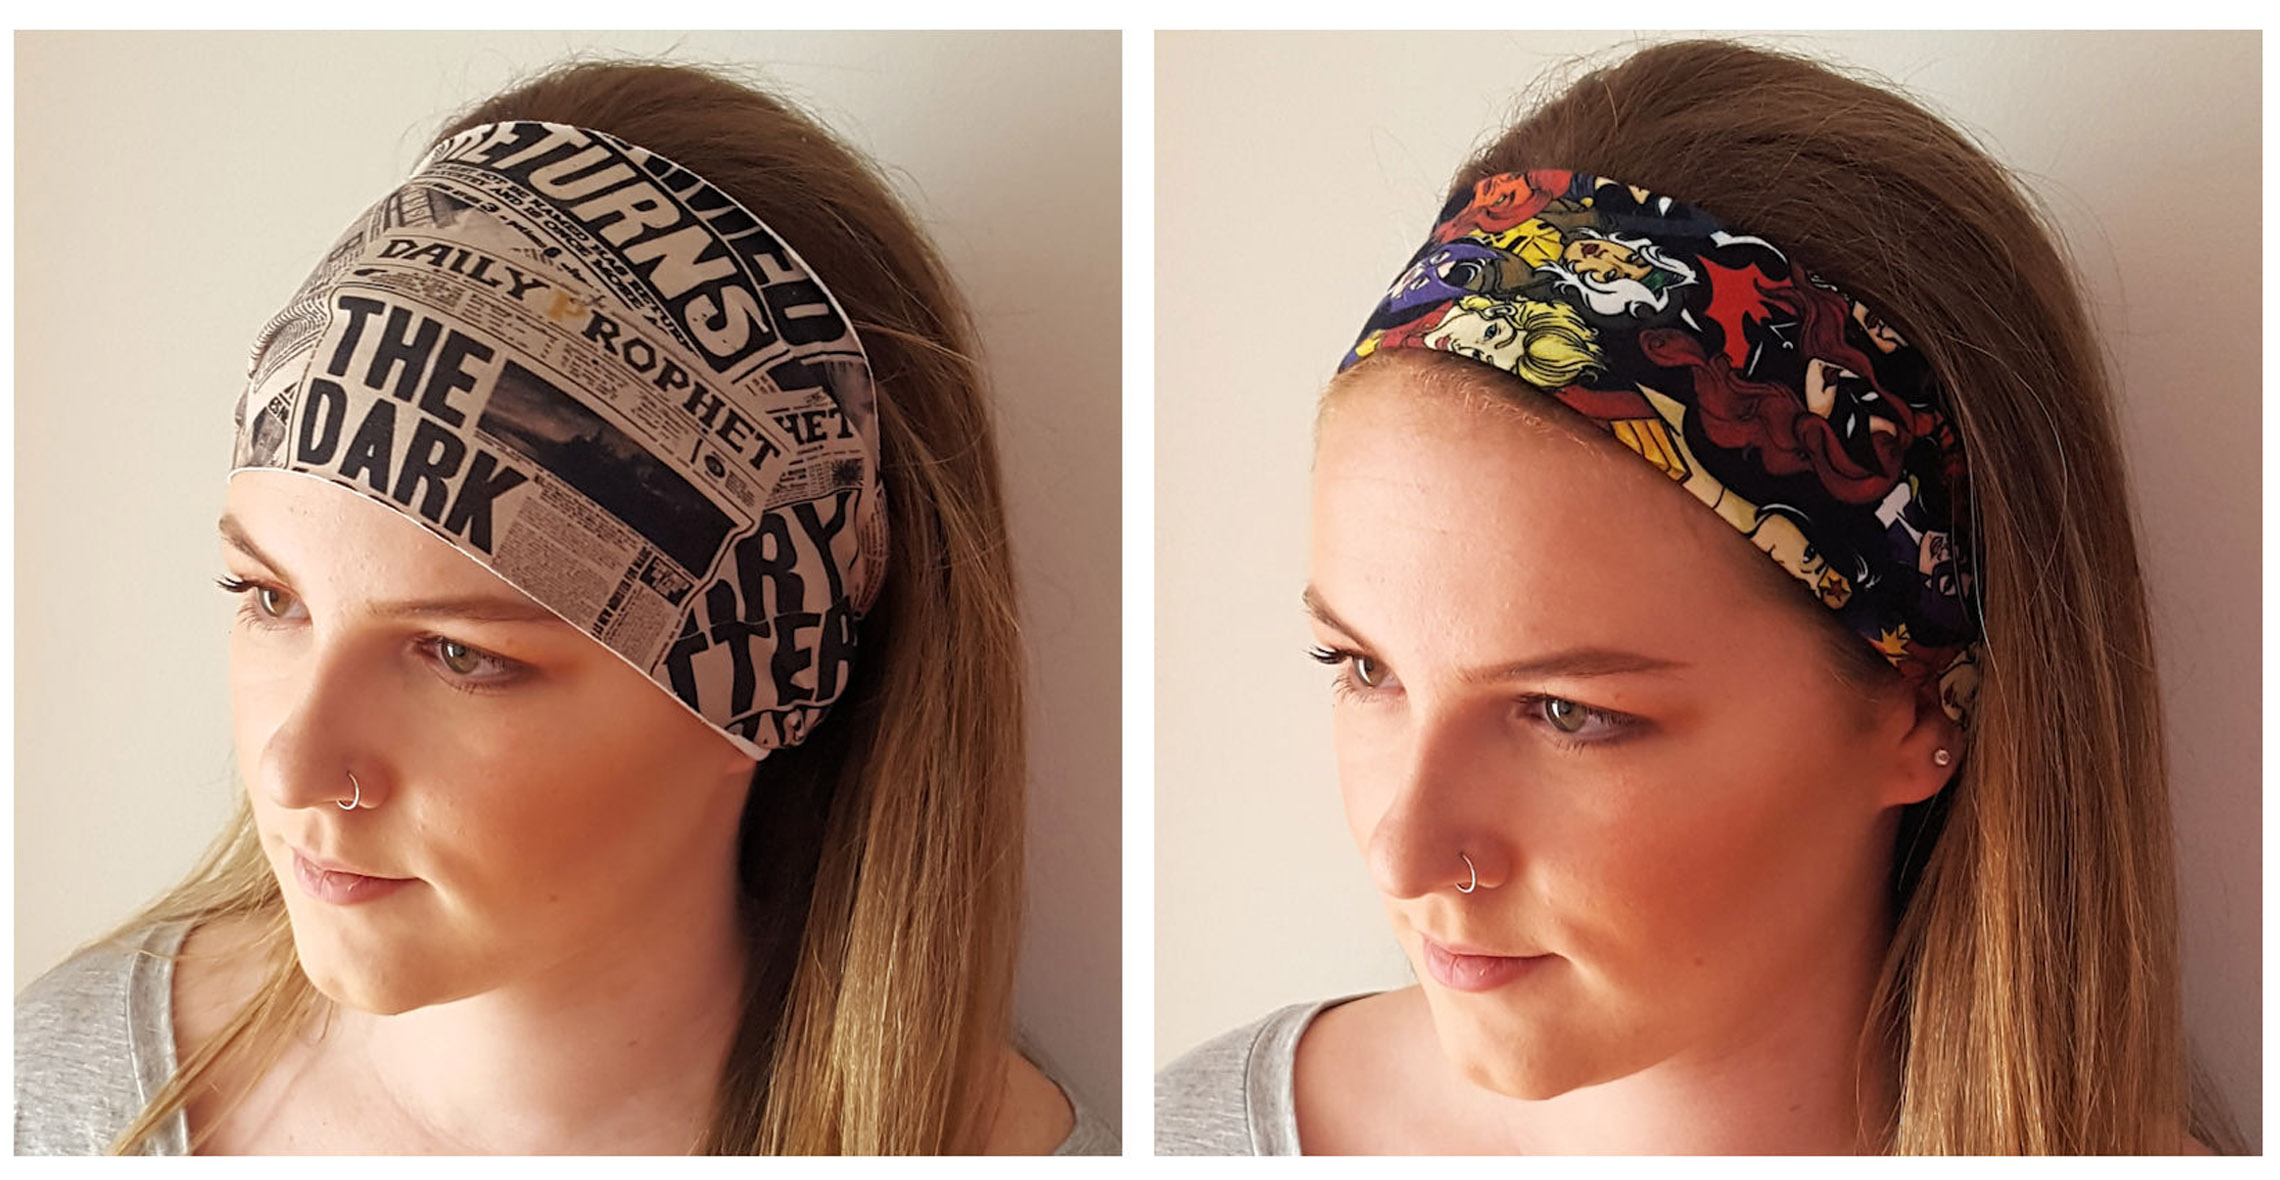
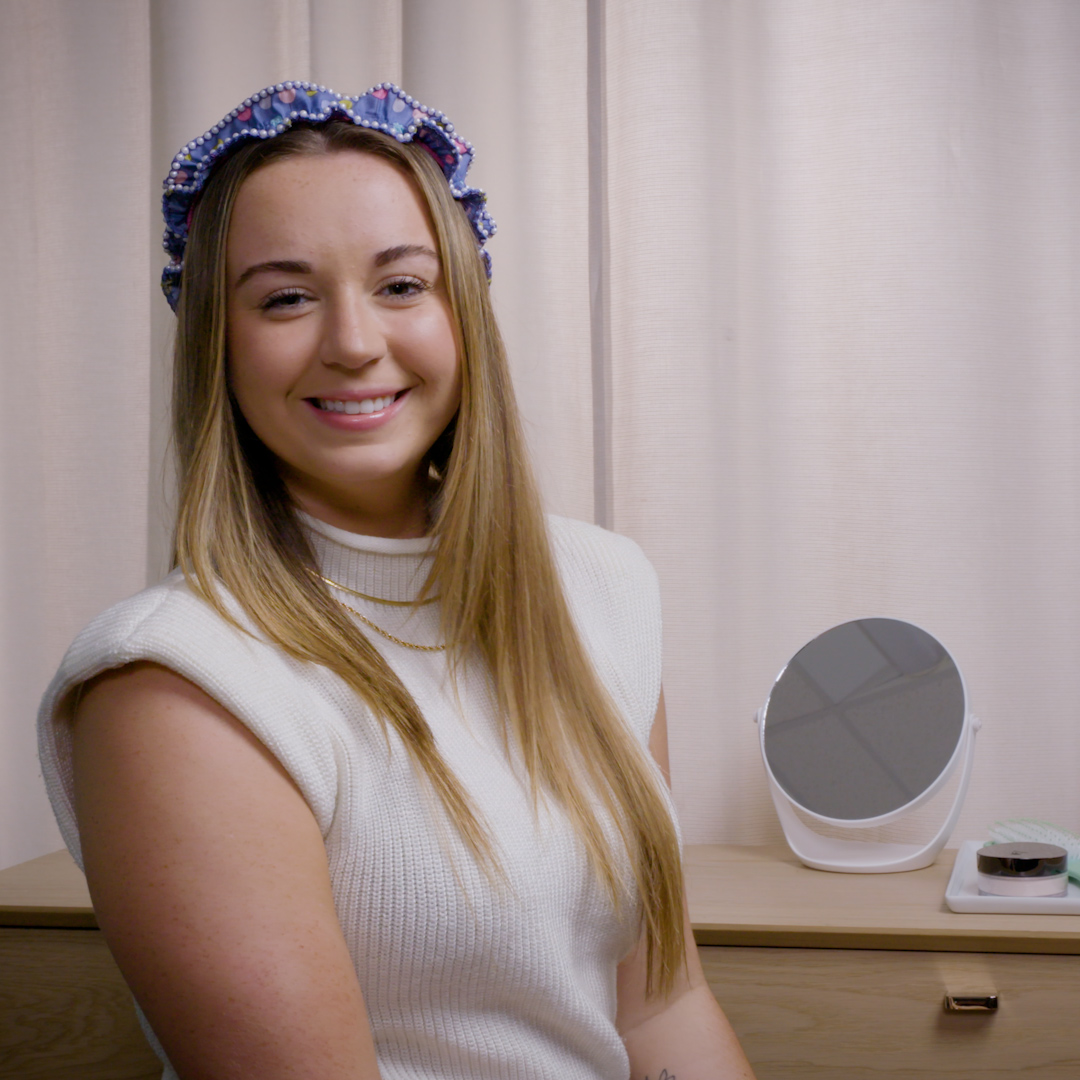
How to Make a Beaded Headband
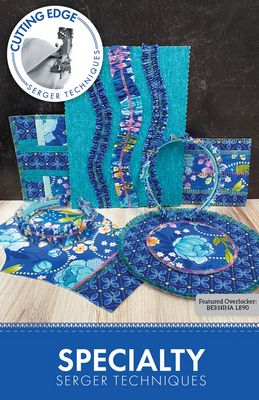
Headbands don’t have to be boring! In this tutorial, I’m going to show you just how fun they are by adding beads. The inspiration for this one came from Barbara Goldkorn’s pattern, Cutting Edge Serger Project Specialty Techniques. Check it out for other ideas for using your serger “beyond the seam.”
I’m going to follow the basic instructions, but then I’m going to go a step further and add some beads along the fabric edge using the Beading and Sequin Foot on the bernette 68 AIRLOCK. .
.
Materials for Sewing a Beaded Headband
- Overlock/Coverstitch Combo machine, such as the bernette 68 AIRLOCK
- Beading and Sequin Foot
- Gathering Foot
- Presser Foot Spring (if using bernette 68)
- Headband (plastic or fabric-covered plastic)
- 2″ strip of fabric 2 1/2 times longer than the headband (a width of fabric strip works nicely)
- 3 spools of thread to match the fabric
- 4 mm faux pearls on a string 2 times the length of the fabric strip PLUS another 12″
- Chalk pencil and ruler
- Basic serger supplies
- Hot glue
Set Up for Serging
Let’s start serging!
On the right side of your fabric strip, mark the center, down the length, with chalk or pen. Another option is to press the strip in half-lengthwise, wrong sides together. This marked line or pressed crease is used in the gathering step.
Set the machine up for a 3-thread Picotstitch Stitch #8. This stitch is similar to a rolled hem, but with a longer stitch length, which allows space for the beads. Because we are using the largest beads possible for the foot (4 mm), place the needle in the LEFT NEEDLE position and thread along the yellow thread path (instead of the green thread path).

Beading Step
Attach the Beading and Sequin Foot. I found that my fabric was puckering a little bit when I was stitching on the beads, so I decreased the Differential Feed to 0.6. I also wanted a little more fabric rolling under, so I increased the Cutting Width to 6. Then I adjusted the mtc (Micro Thread Control) to (+). Make adjustments that are pleasing to you.
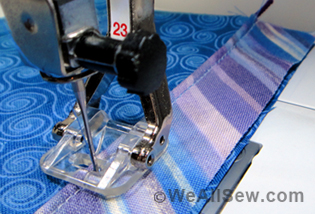
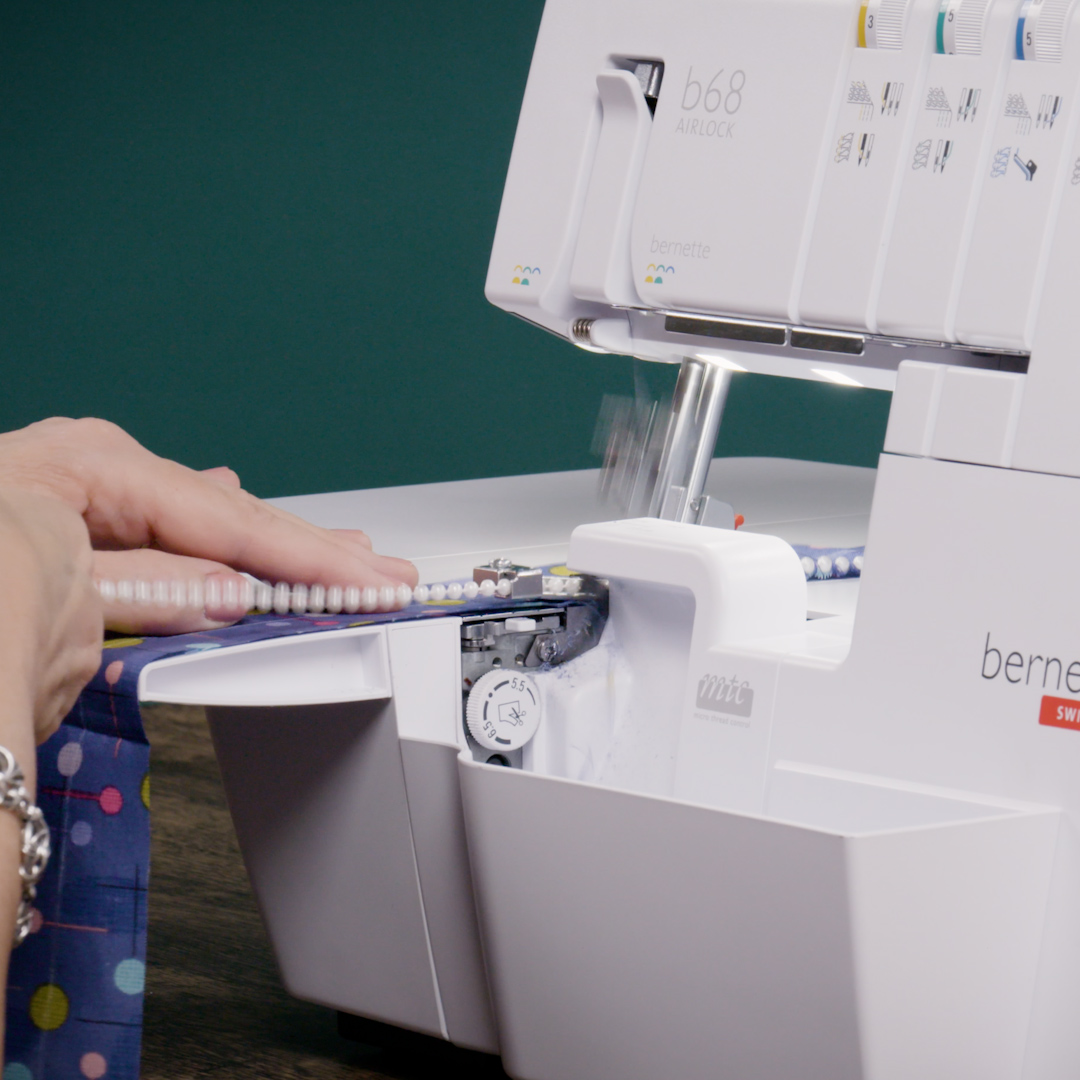
Place the beads into the foot through the opening at the front and under the groove in the back. You want about 2″ extending behind the foot. Take a few stitches to secure the beads (if you don’t, the beads will come out of the foot when you let go and end up on the floor!).
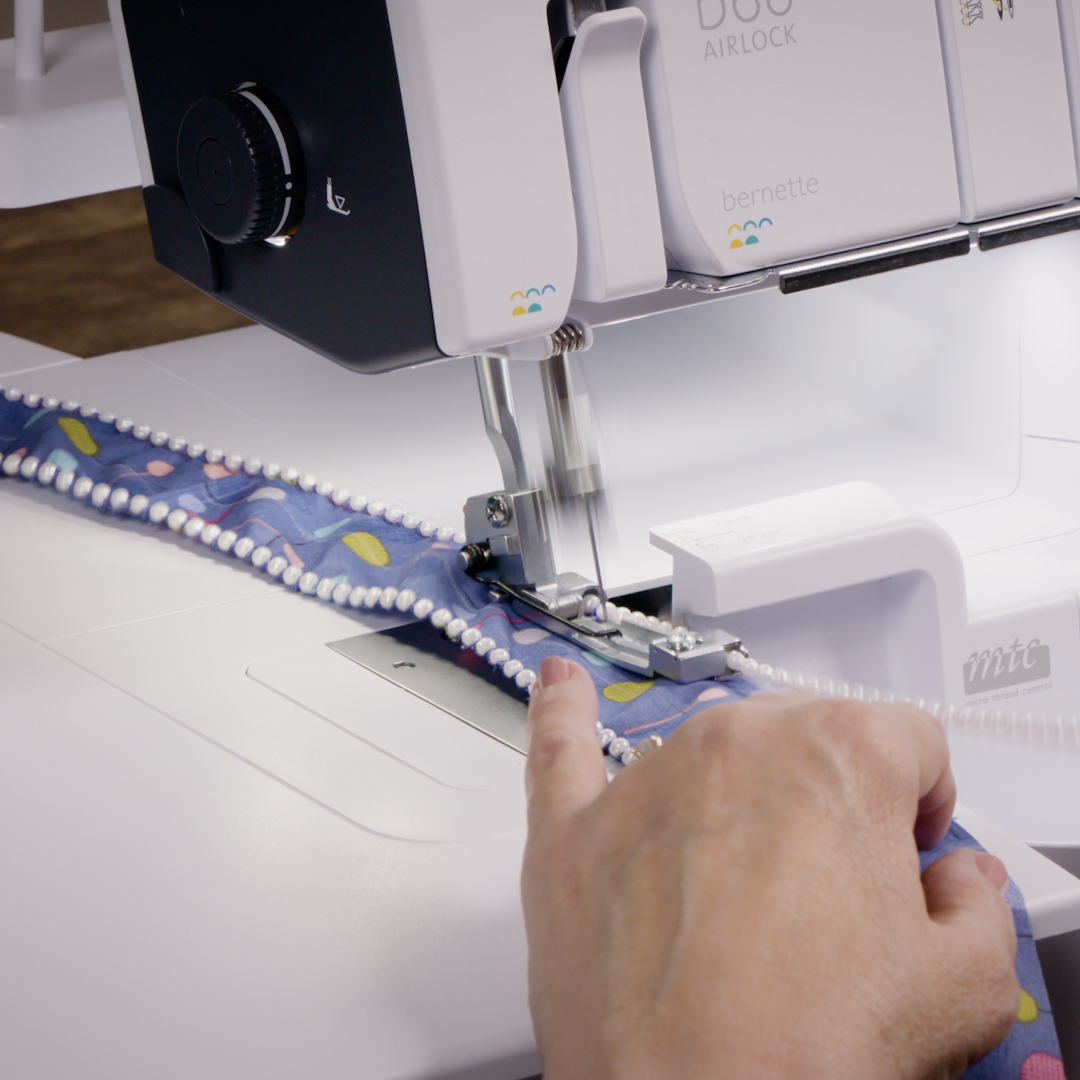
Place the long edge of the strip of fabric right side up under the foot with the fabric even with the right edge of the stitch plate. The fabric should just skim the knife, trimming off no more than 1/8″. Take your time and stitch the beads to the fabric edge. Because the stitch finger has been retracted, the raw edges of the fabric will be folded under and finished. TIP: You might have to pull slightly on the beads behind the foot until the fabric gets moving under the foot.
Now repeat on the other long edge. Wasn’t that easy?
Gathering Step
The bernette 68 AIRLOCK machine is an Overlock/Coverstitch Combo machine, which means not only can you stitch overlock stitches, rolled hems, and flatlocks, but you can also stitch cover- and chainstitches. The coverstitch is most often seen on hems. Check out the shirt you are wearing right now … If you see two lines of stitching on the front and looped stitching on the back, that’s a coverstitch!
The chainstitch looks like a sewing machine straight stitch on the front. The back of the stitch looks different because of the chain looper. Decorative threads in the chain looper give a really fun look to this stitch. This stitch is also easily removable. Do you own a pet? If you buy food in bags for your fur baby, the stitch that comes out so easily along the top is a chainstitch.
We are going to use the chainstitch to gather the headband. The stitching is going to be down the center of our beaded strip of fabric.

For gathering, increase the Stitch Length to 5 and the Differential Feed to 2.0. I also increased the needle tension to 7. You will want to do a test sew to check your settings. On the bernette 68 AIRLOCK, I found I had the best result on quilting cotton using the Gathering Foot (which is actually an overlock foot). If you look closely at the foot, you will see there is an opening for the Center Cover needle, which is just what I needed to gather with the chainstitch. Note: The Gathering Foot is not compatible with the bernette 62 AIRLOCK coverstitch machine.
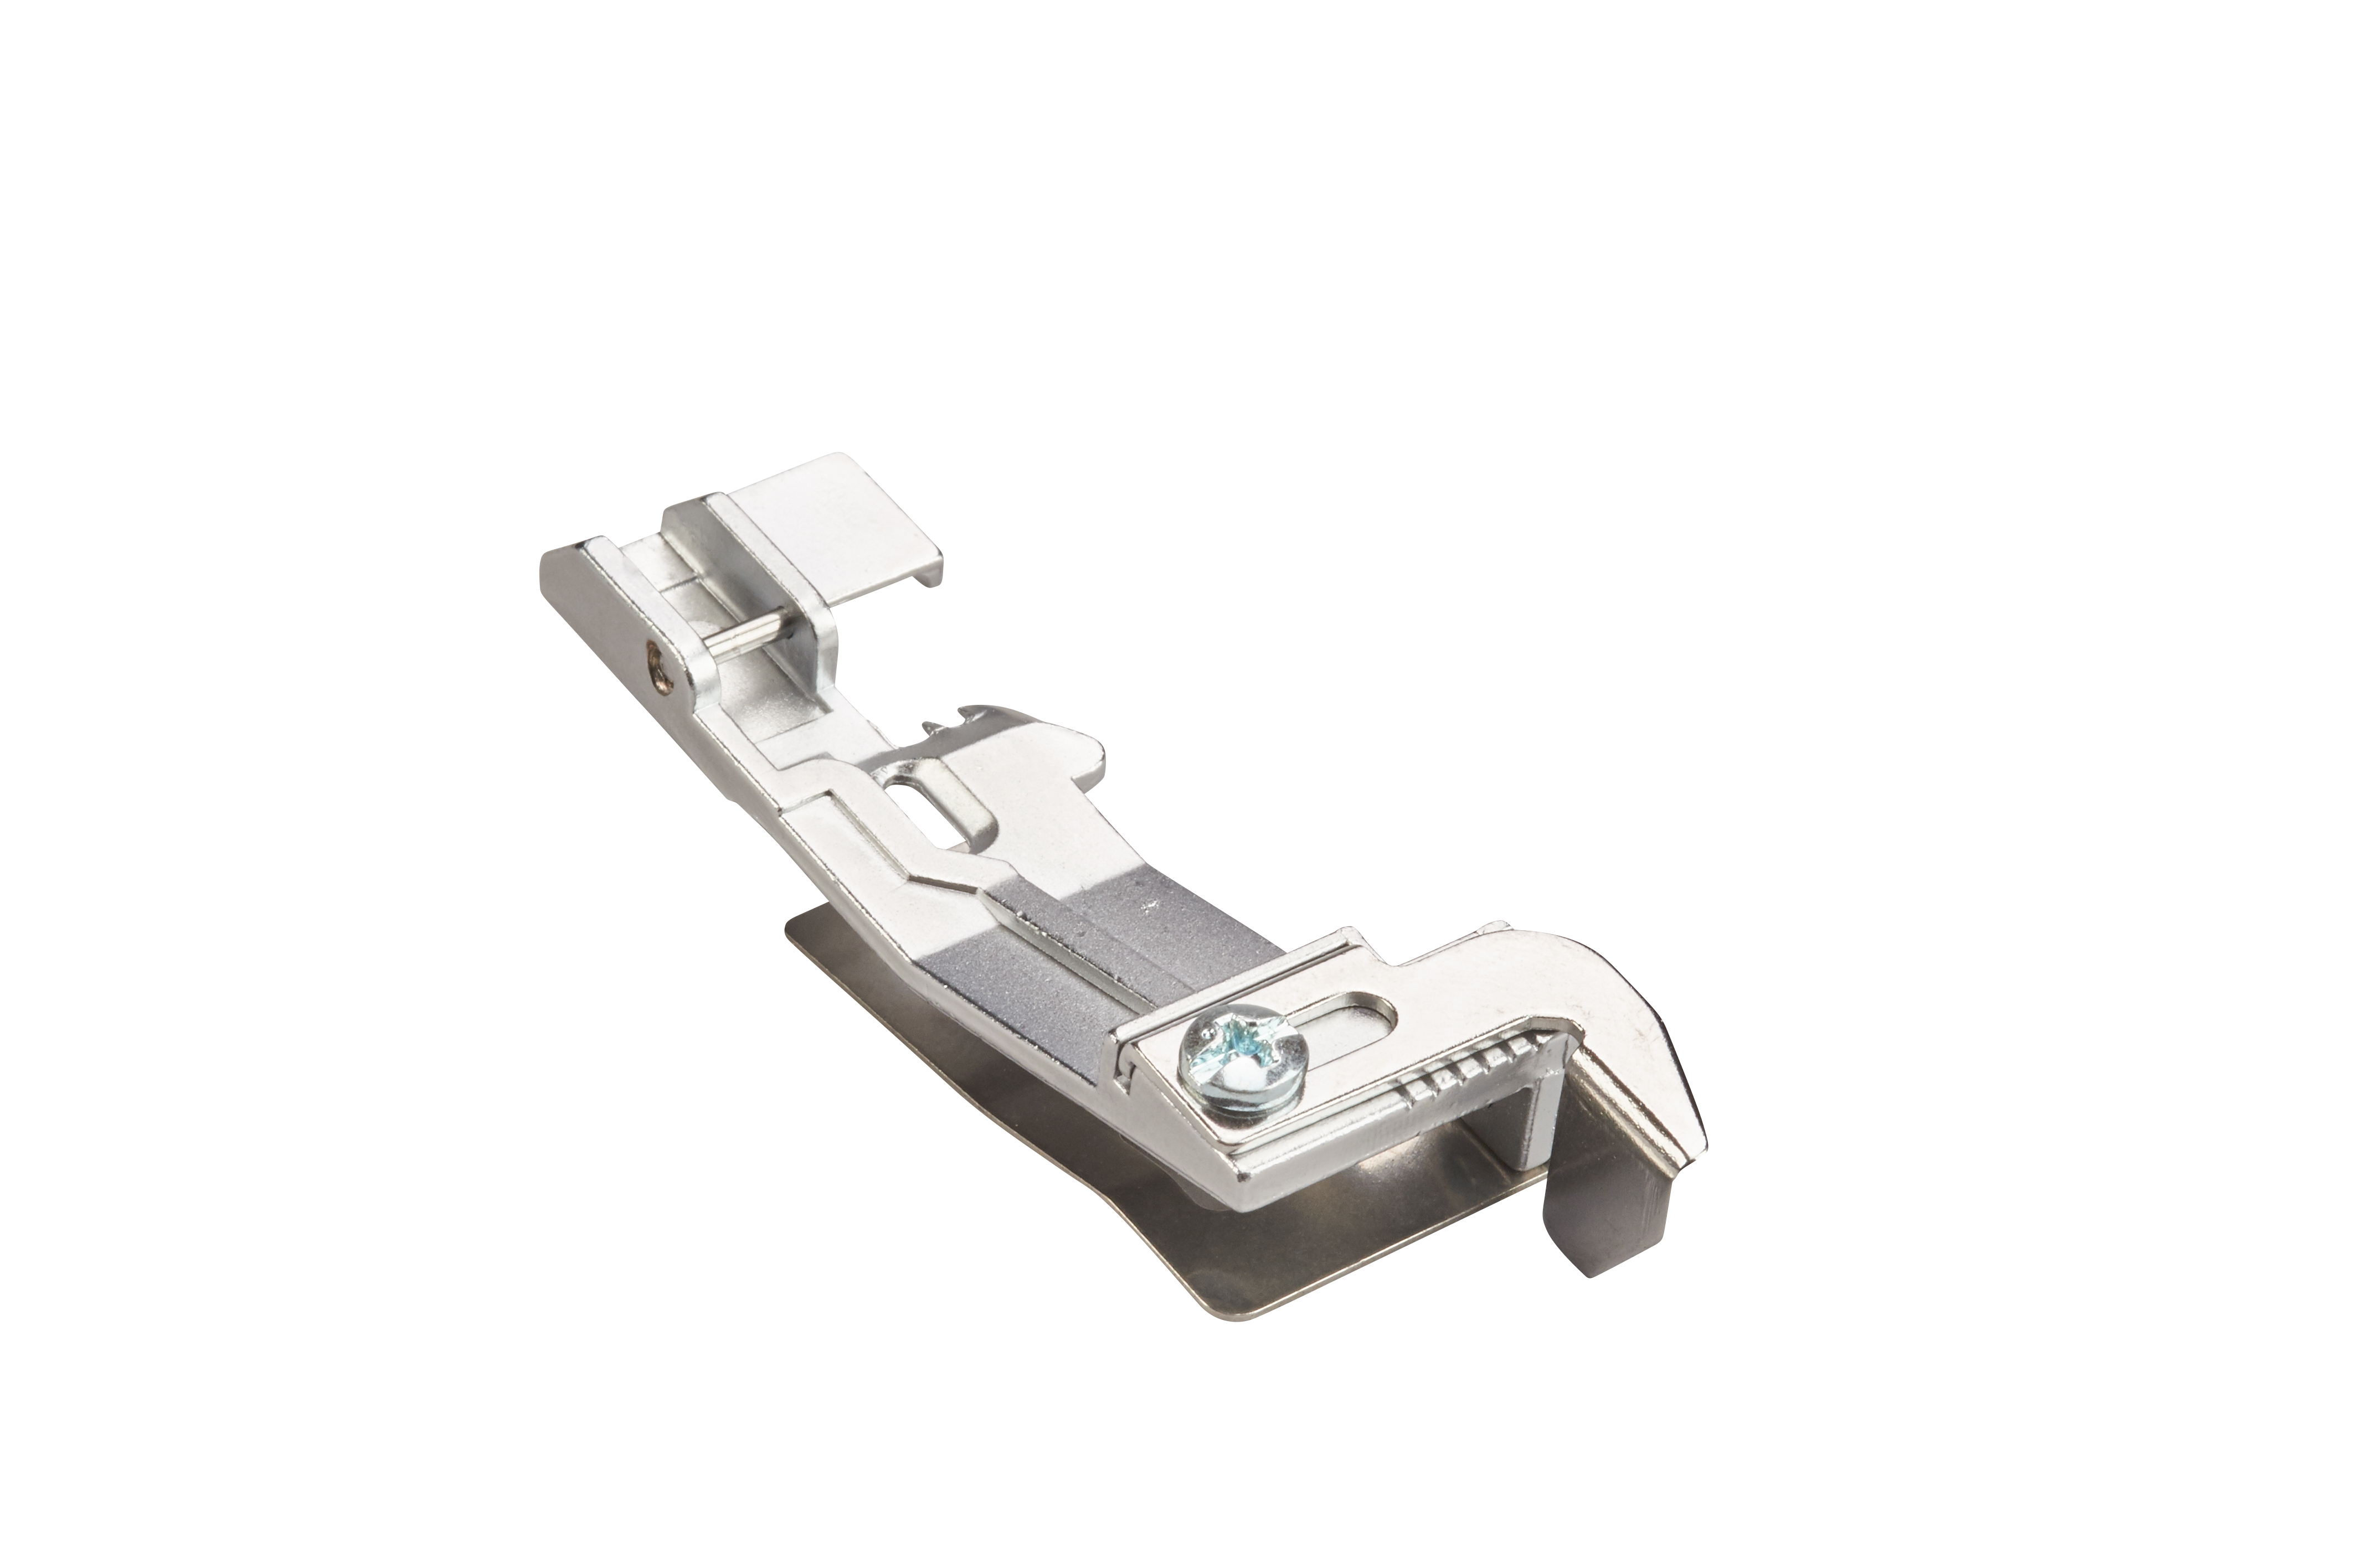
You will need to change to the shorter presser foot spring to use this foot on the b64 and b68. Click HERE for directions on how to do that.
Side note: There are a variety of accessory feet available for the bernette FUNLOCK and AIRLOCK machines. The overlock feet are metal and the coverstitch feet are transparent. It is best practice to use the appropriate foot for the chosen technique. However, the Elasticator Foot is designed for use with both overlock stitches and coverstitches. Accessory feet for the bernette overlockers may be purchased individually or in sets (Presser-Foot Set b44/b48/b64/b68 and Presser-Foot Set b42/b48/b62/b68).
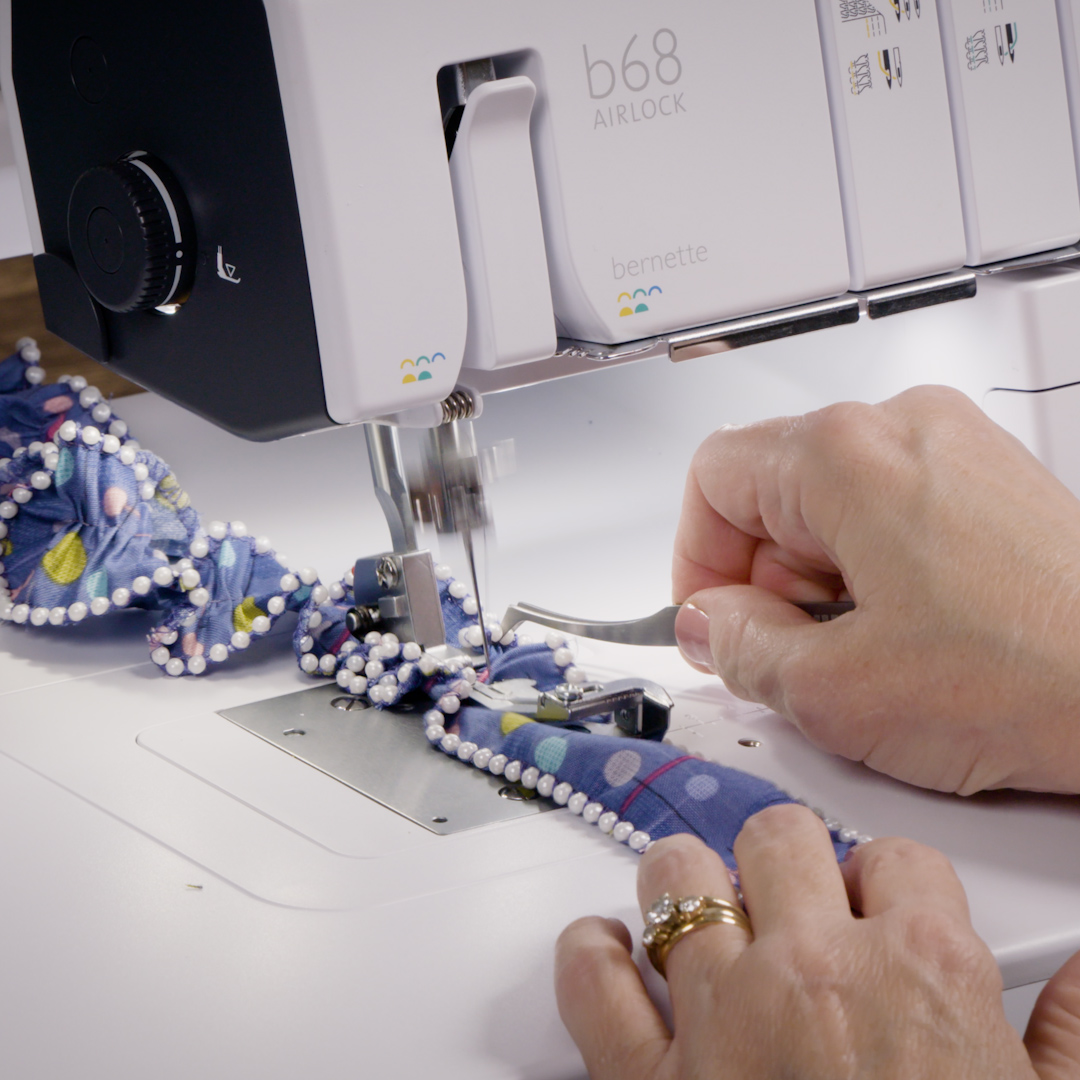
With the fabric right side up, stitch down the center of the beaded strip, placing the stitching on the drawn line or pressed crease. You will find tweezers helpful to guide the beads along the right side so that they aren’t caught under the foot. Take your time as you gather.
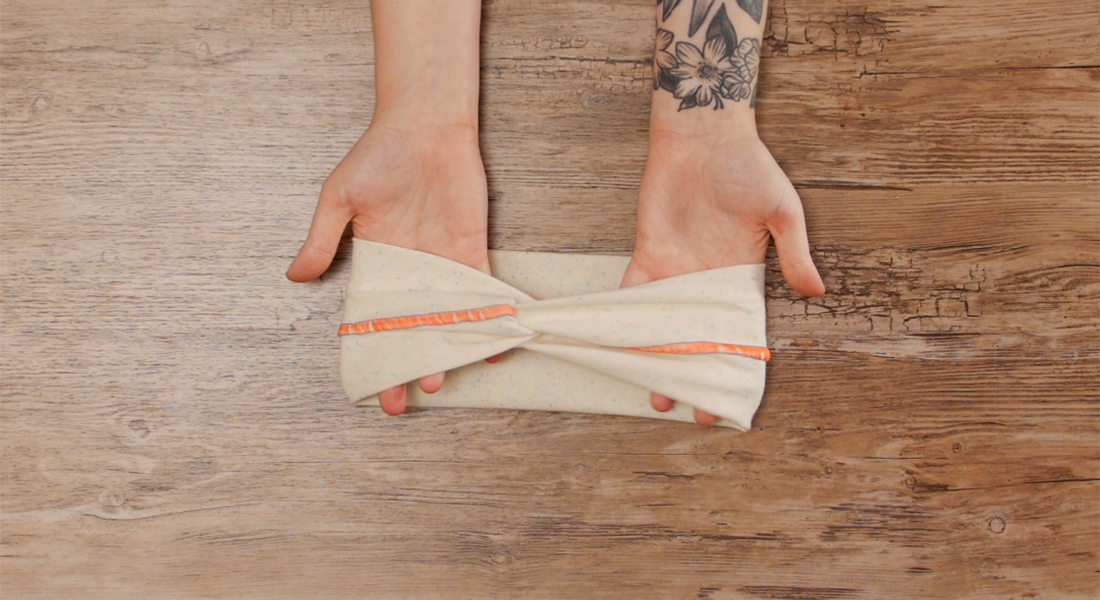
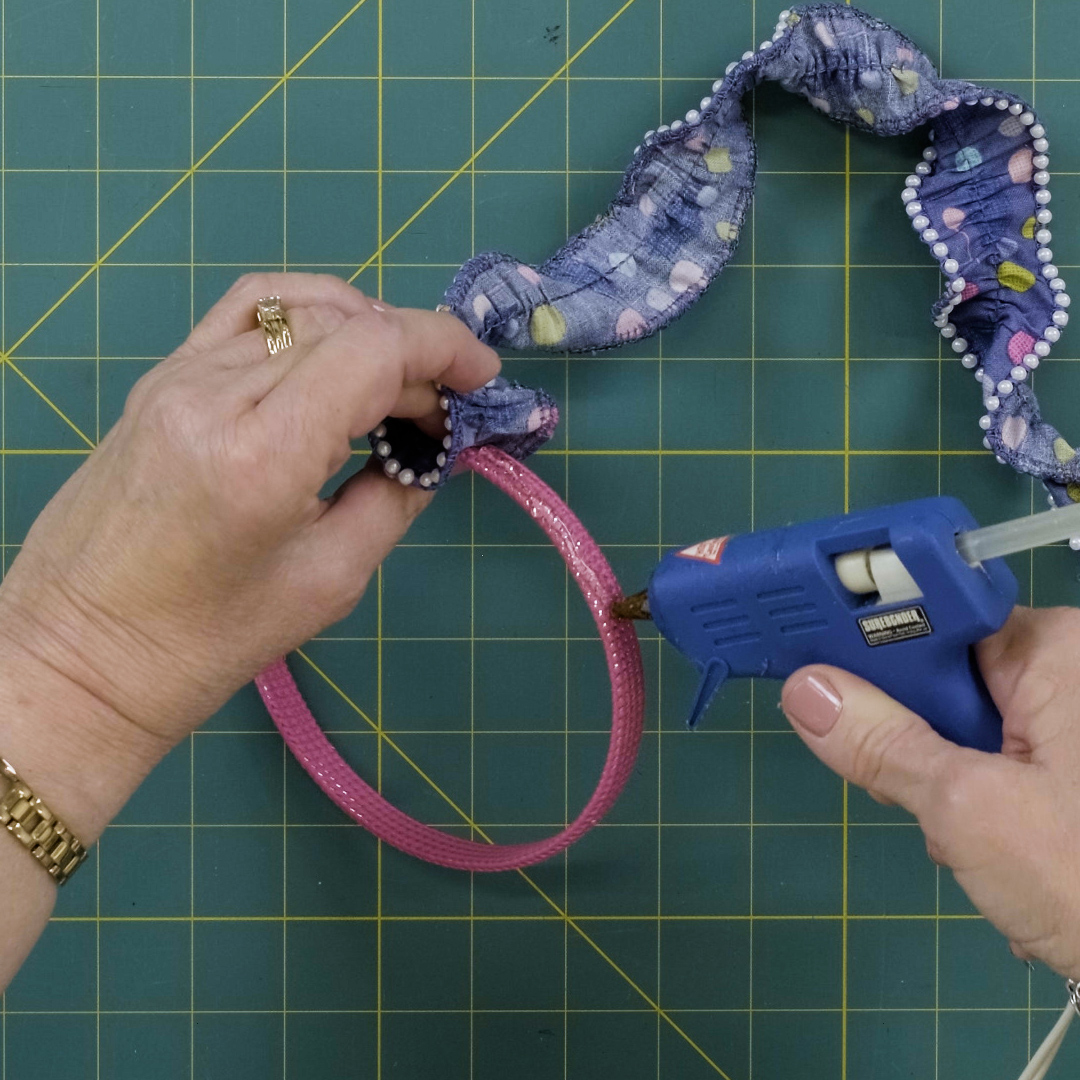
Trim the strip so that it is 2″ longer than the headband. Fold under one end 1″, wrong sides together, and hot glue to the outside edge of the headband at one end. Hot glue the strip along the top of the headband, then fold under the remaining 1” of fabric and glue at the other end.
Your headband is complete!

Now that you know how easy it is to embellish with beads, what will you create next? Until next time, happy serging!