How to Make a Temperature Quilt, Part One
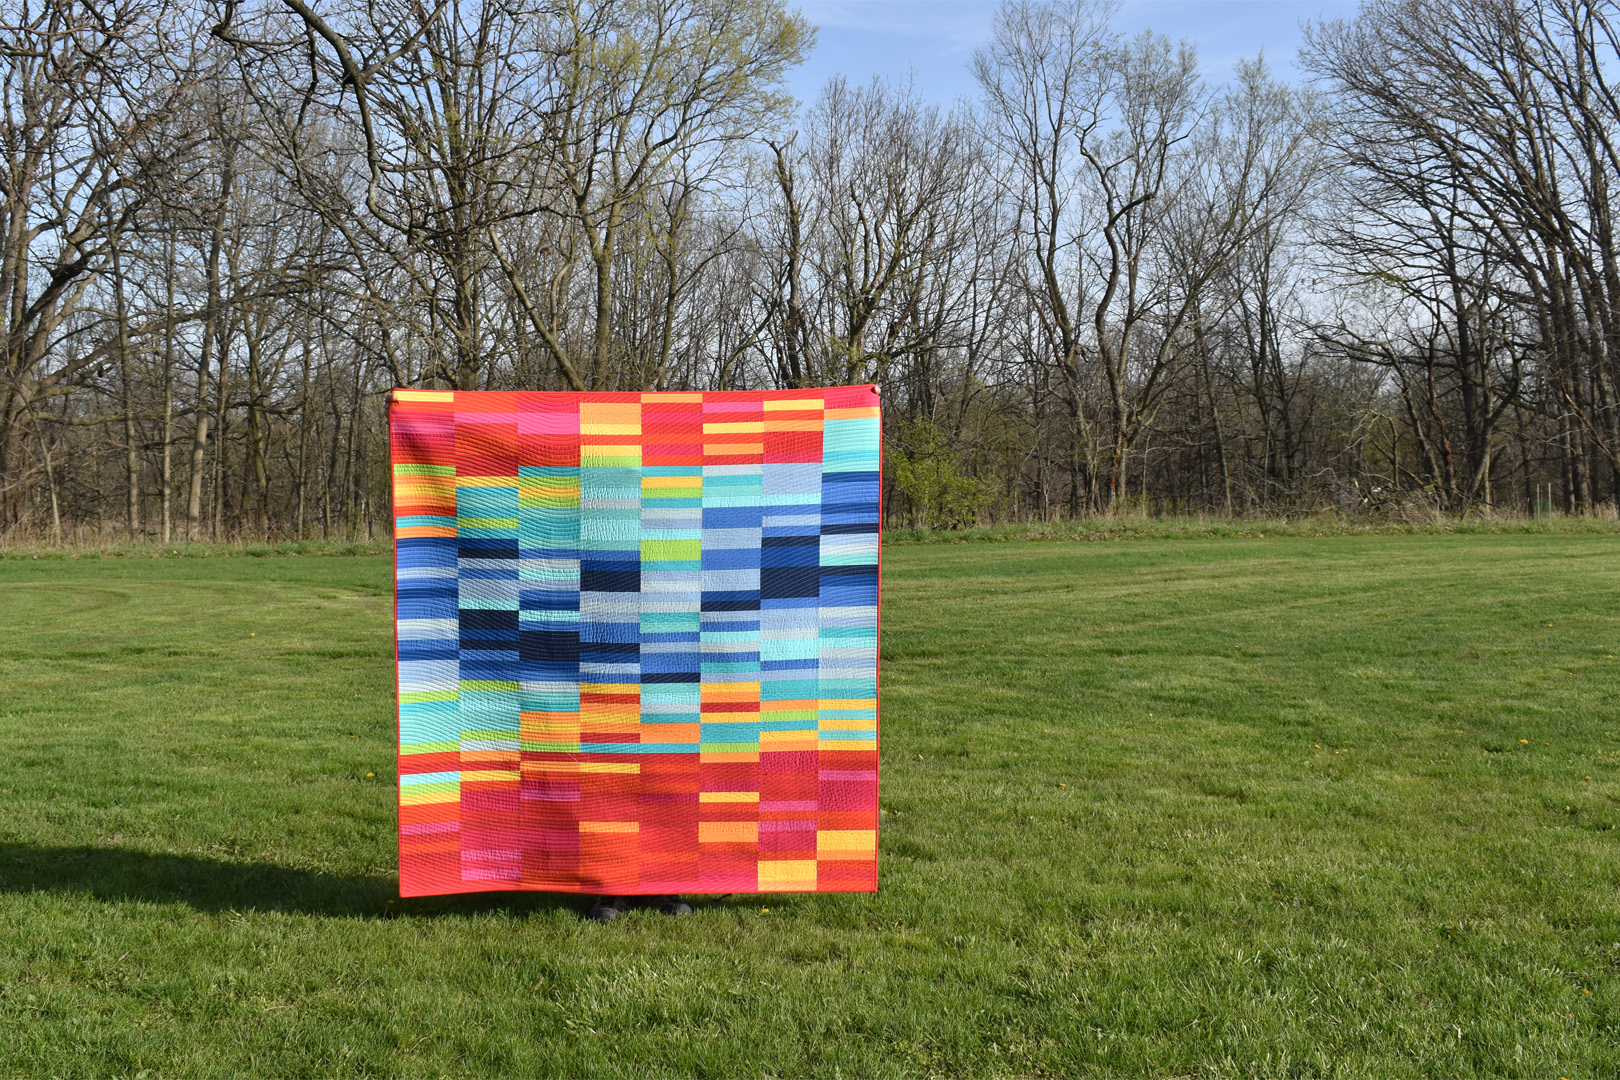
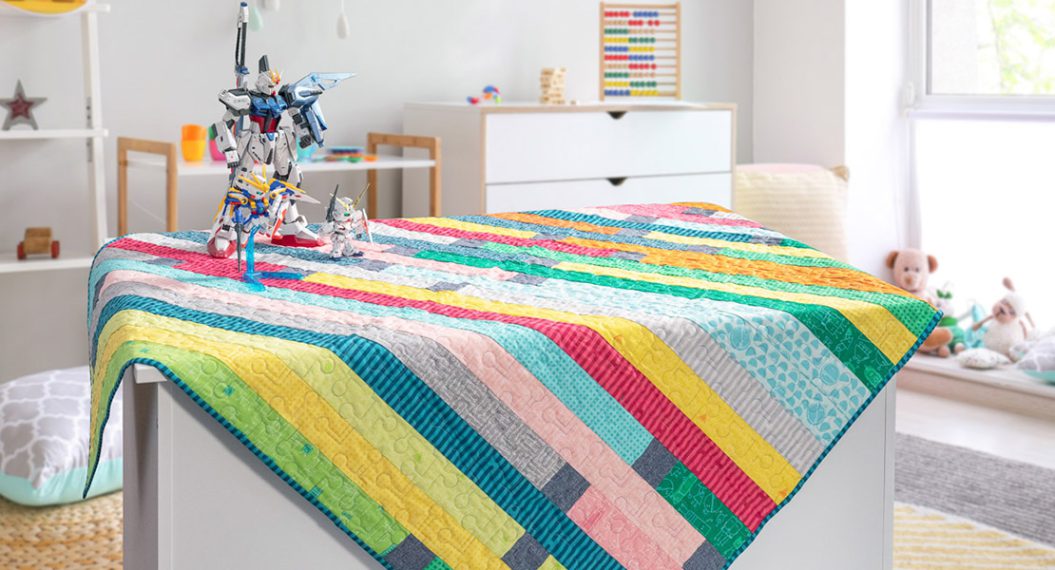
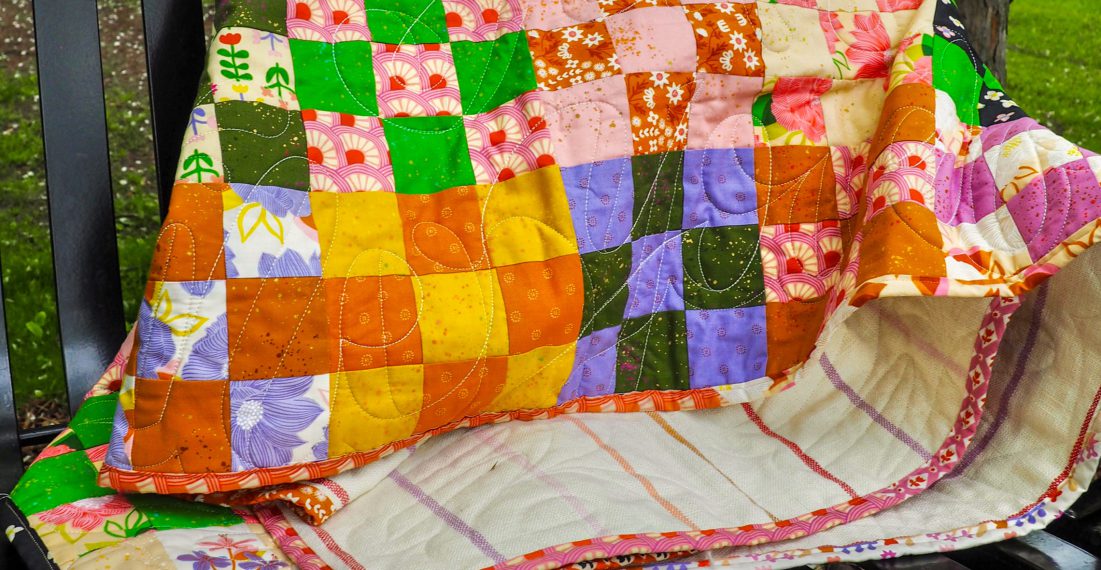
Learn how to make a simple temperature quilt that chronicles daily high temperatures throughout the period of a year. This quilt finishes at 4 1/2′ wide by 5′ long, the perfect size for cuddling up on the couch.
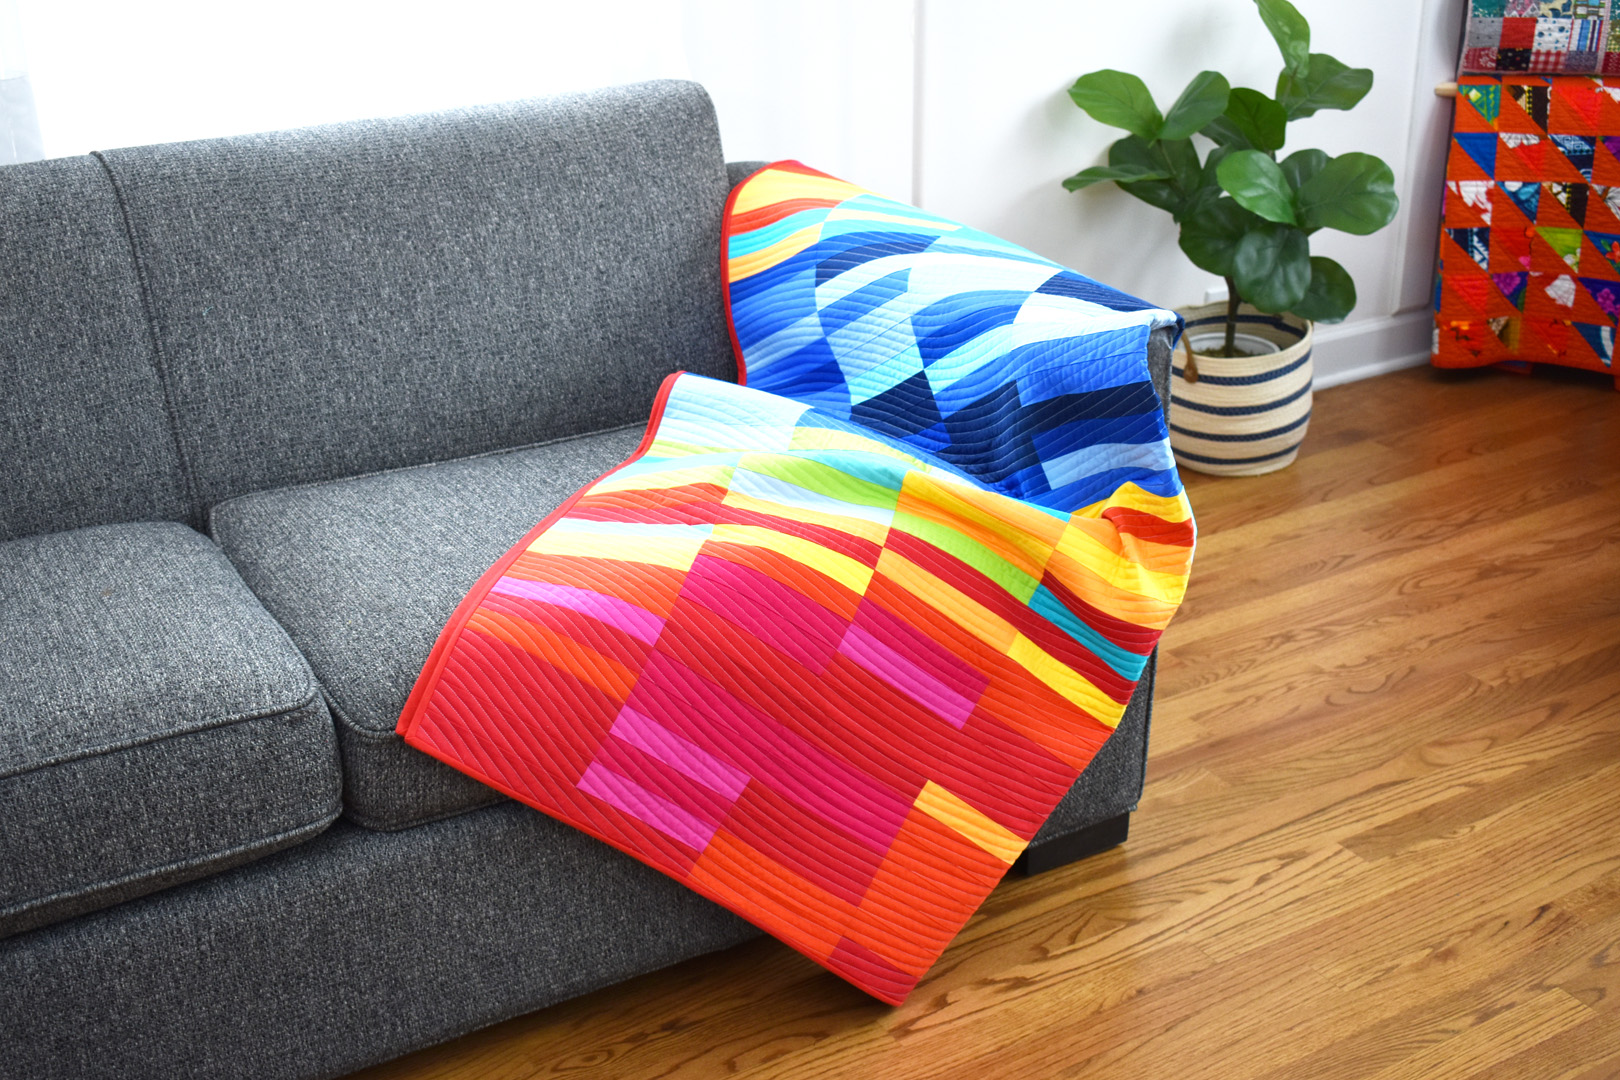
You might be wondering, “what even is a temperature quilt?” This type of quilt uses colors to indicate temperatures through a determined time period. Some temperature quilts record a high temperature for each day, some record both high/low temperatures for each day, some that show just one year, and some that show an extended period of time. In this simple quilt, I’ll show you how to display high temperatures through the period of a little over a year – almost any year! You can start with any date to highlight an important year. My quilt shows the first year I was married, starting at the top with the week of our wedding, and ending at the bottom with our first wedding anniversary.
Materials to Make a Temperature Quilt
- Download the Temperature Quilt Block Template here
- Fabric requirements:
- 1/2 yard or two fat quarters for each color in the quilt
- 1 2/3 yard 108″ extra wide quilt backing fabric, or 3 1/3 yard 45″ fabric for backing
- 1 yard 45″ fabric for bias binding
- 100% cotton quilt batting cut to 67″ x 62″ (full sized will work)
- Sewing machine (I use a BERNINA 570 QE)
- Straight stitch needle plate
- Patchwork foot (I use Patchwork Foot #97D with Dual Feed)
- Walking Foot #50
- All-purpose polyester thread in neutral color for patchwork construction (gray or tan)
- Quilting thread of choice (I use a white polyester thread)
- Rotary cutter, cutting mat, and quilting rulers
- Scissors and thread snips
- Steam iron and pressing surface
- Fabric glue stick
- Fine tweezers

Planning Your Color Palette to Make a Temperature Quilt
This tutorial gives you the tools to make a total of 56 blocks, each with a slot for 7 colors to represent 7 days of one week. What will you represent in your temperature quilt? You can start charting daily temperatures when you begin making this quilt and finish it up a year and two weeks from now, or you can look back at historic weather data to make a temperature quilt to highlight a special year. And, you don’t have to begin the blocks with January, you can begin with any week in a year to highlight a birthday or other special time (read more on finding historical temperature data here). My temperature quilt is an anniversary quilt, and represents the first year I was married back in August of 2007! It’s fun to cuddle up with the quilt and think about our wedding and all our adventures in that first year represented in color. Here are some tips to start planning your color-coded temperature quilt
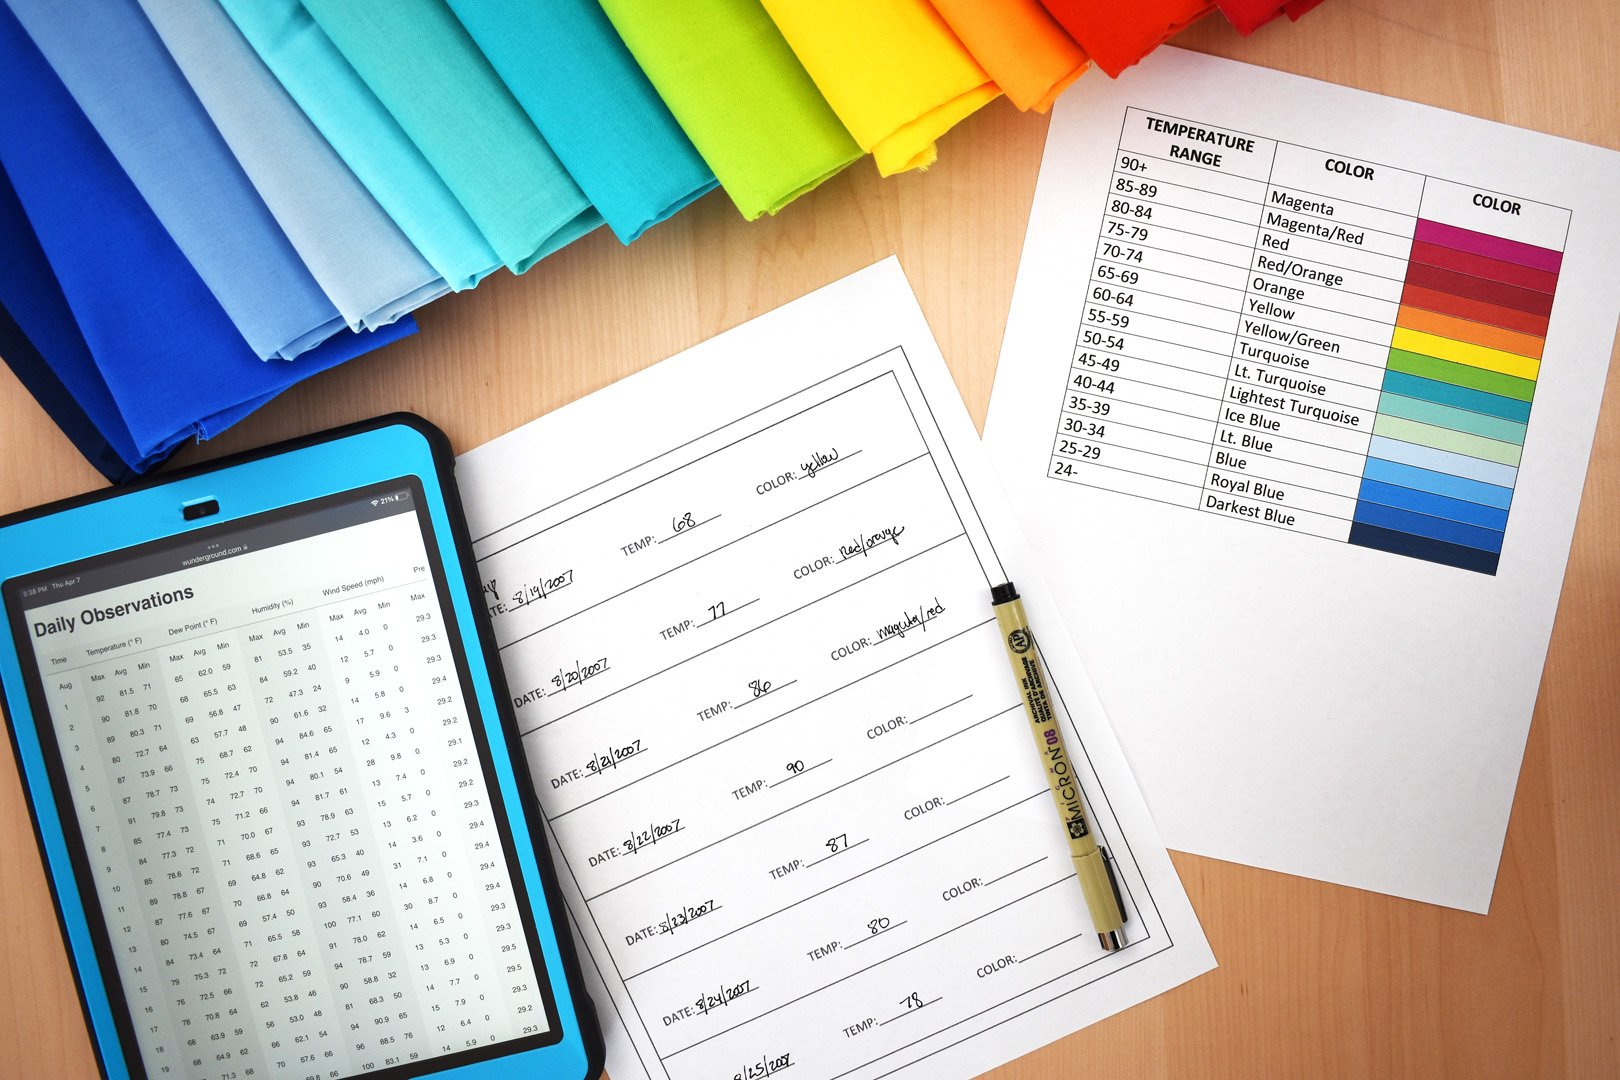
You will need to plan for at least 15 colors to make an interesting temperature quilt, and these colors represent a specific range of temperatures. Begin by deciding the temperature range, which should be a minimum of 15 different temperature ranges. If you use less than 15 colors, there will not be enough variety with the color range and the final quilt will look more like big blocks of just a few colors. Look at my simple temperature range and color chart below.

I live in Chicago, and we have a wide range of temperatures throughout the seasons. We can have temperatures over 100° and temperatures below 20°, but not that often. I decided to make my temperature chart beginning with 20° or below, and end at 100° or above, organized in 5° increments. You may have to fool around a bit to find the perfect temperature range for your specific climate. If you live in a place where there isn’t as much range in temperature, try making smaller increments in degrees like a 2- or 3-degree increment.
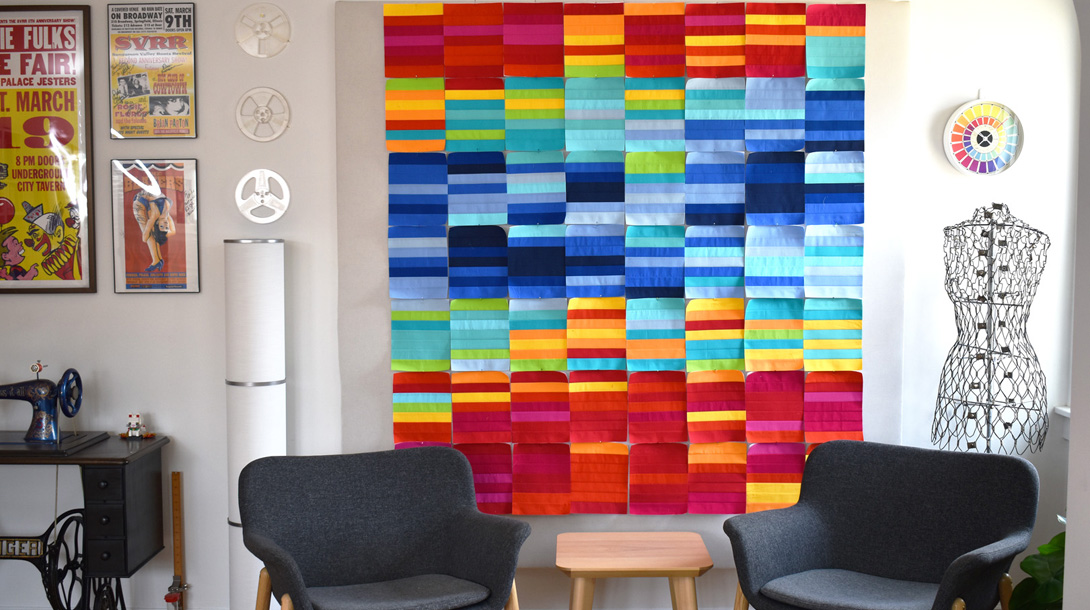
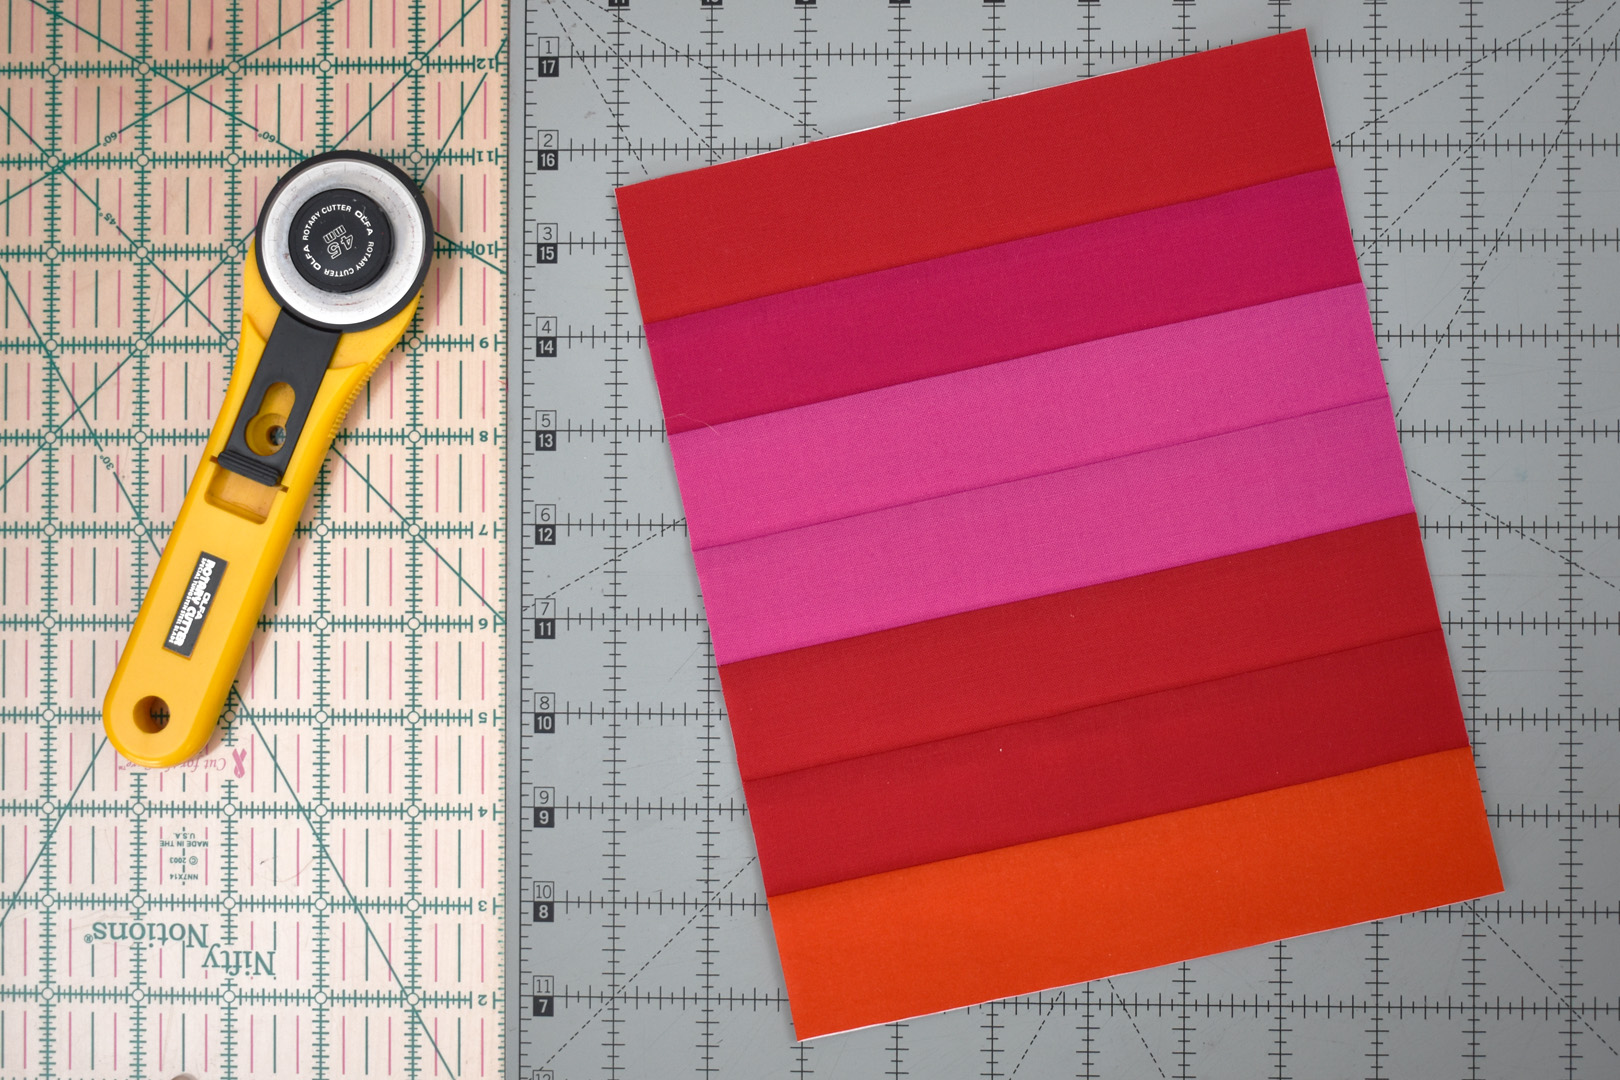
When selecting colors, make sure to put them in color order (like a rainbow or the visual spectrum), and use “warm” colors (red, orange, yellow, yellow-green) to represent warmer temperatures, and “cool” colors (green, blue, violet or purple) to represent cold temperatures. Solids or near-solids (single color batiks, very small prints that look like one color from far away) will give you the best results. Kona cottons are a good place to start as they offer a really good range of different solid-color cotton fabrics. Read more about fine-tuning fabric colors for your temperature quilt here.

I shopped in person and looked at multiple 100% cotton quilting solids to create my palette of colors for this quilt.
Preparing the Templates to Make a Temperature Quilt
Print the template at 100% (do not shrink or stretch to fit) to start the process. You will need a total of 56 templates to create this quilt. Here’s a quick explanation of what you’re seeing in the template.

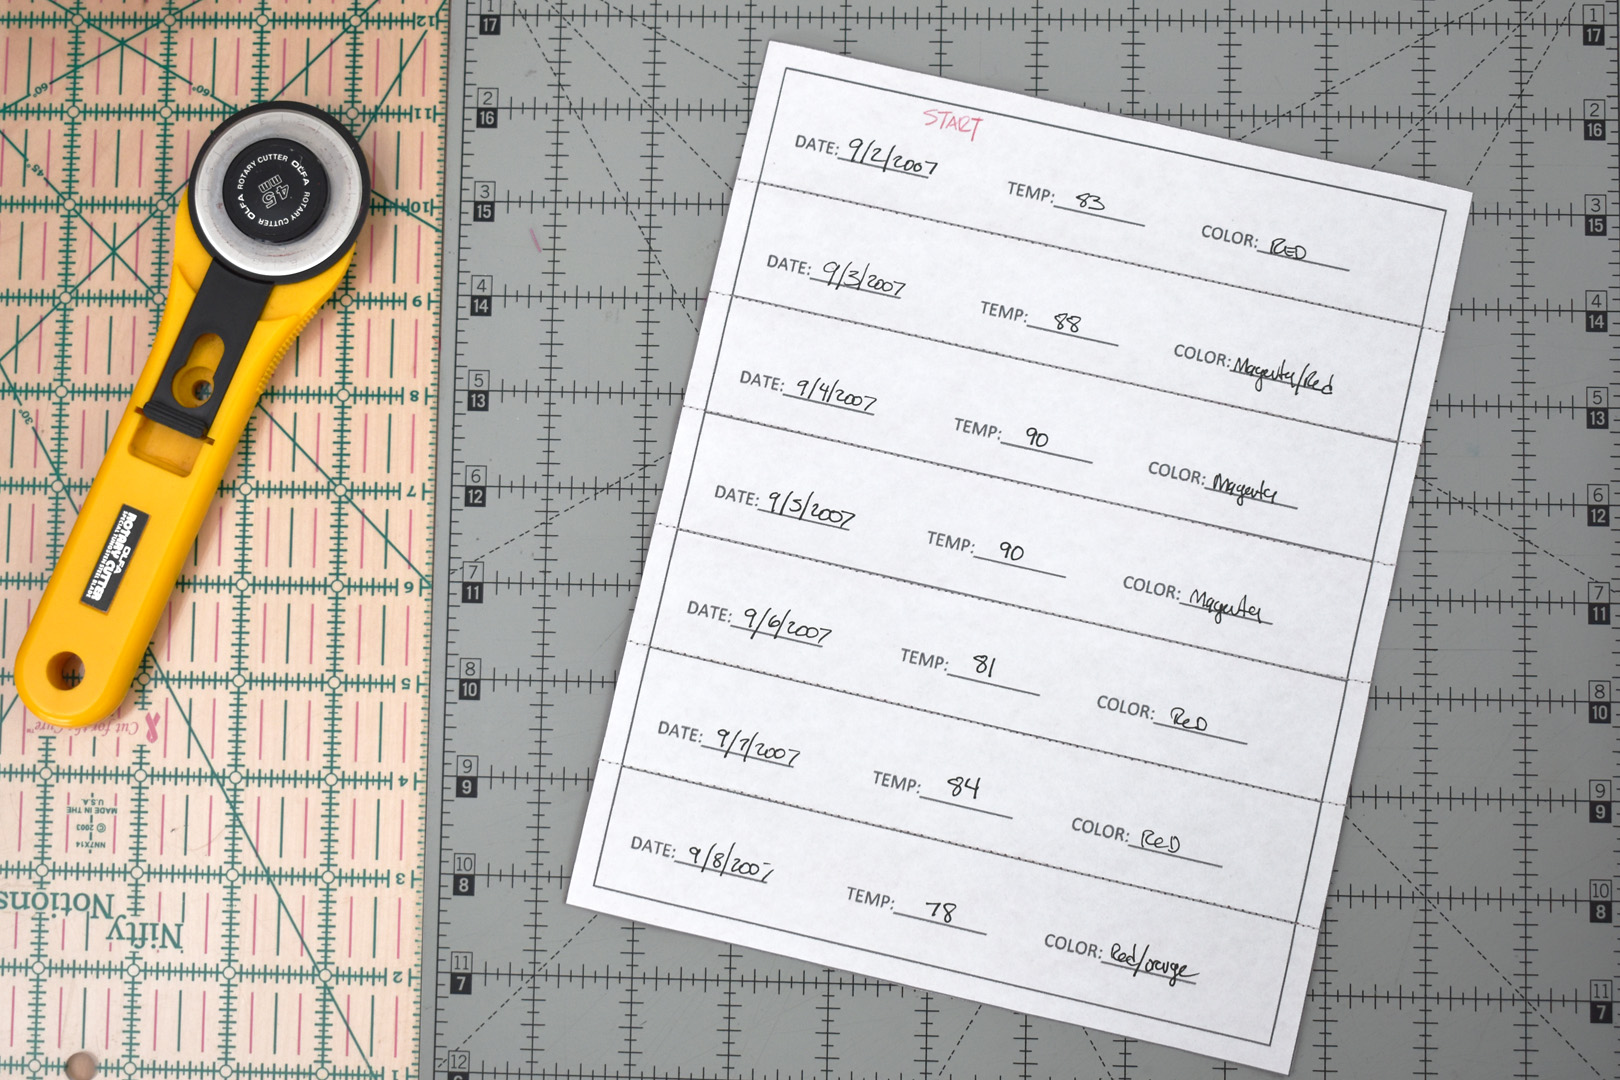
The red lines are stitch lines, and the solid double lines surrounding the block represent the seam allowance. The patterns used in this tutorial show a black line; the stitch line has been highlighted with red to help those of you who may not be familiar with paper piecing patterns. Each of the 7 sections of the paper piece pattern represents one day in a week. You can decide how to organize each week (are you beginning at the top with a Sunday, or a Monday, or are the dates more important to you than the days of the week?). Recording the date, the high temperature, and the color on each block makes it easier to track all of this information before you are ready to sew.
Printing tip: if you want to save toner and printing ink, look to see if you can update the printer settings to use less ink, or choose the “draft” mode when printing. Either of these options will still print a readable template for you to use.
Fabric Requirements and Preparation to Make a Temperature Quilt
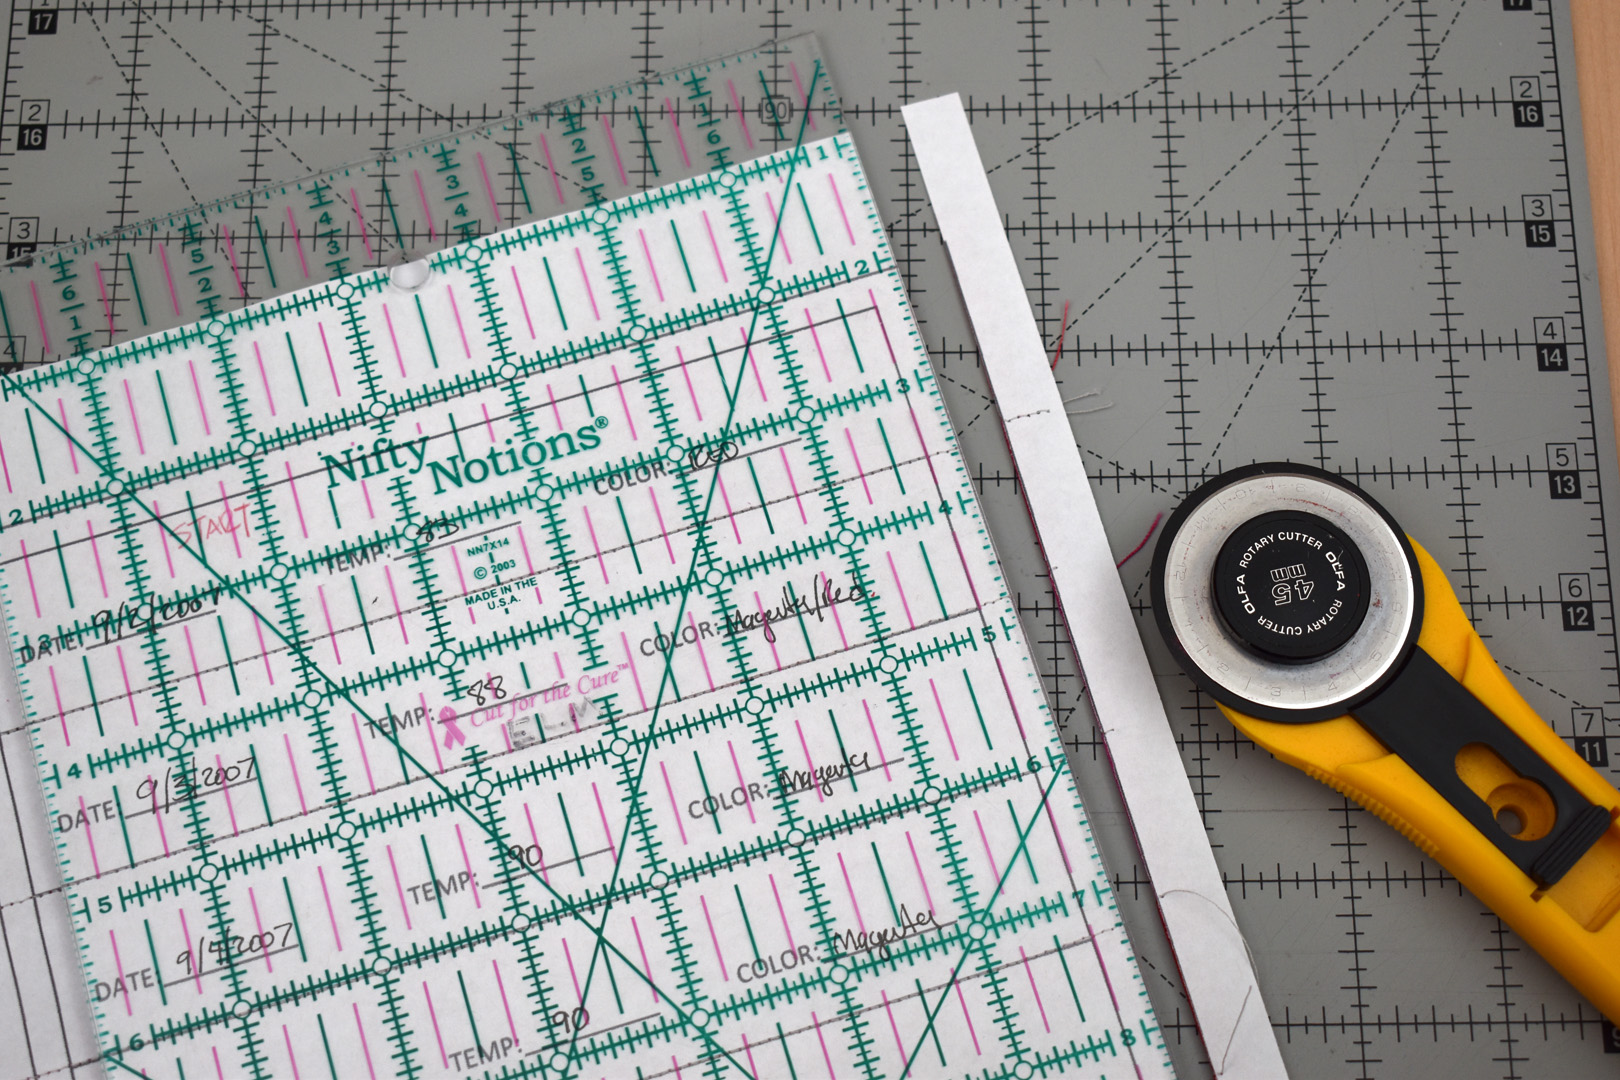
Here’s what you will need to create a temperature quilt using the templates. Grab your 56 printed templates, a regular pencil with eraser, a red pencil or highlighter, your temperature/color chart (and a device to display online weather data for historical temps).
First, decide your start date/day of the week, as the first template will be the first block in the upper left side of the quilt. Use pencil for this step to make changes if needed (read here to learn how to fine-tune the color layout in the weekly templates). Work at your own pace with these templates – you can sew as many at a time as you like. Because the templates are dated, you will always know the correct order to sew the blocks together when they are all completed.
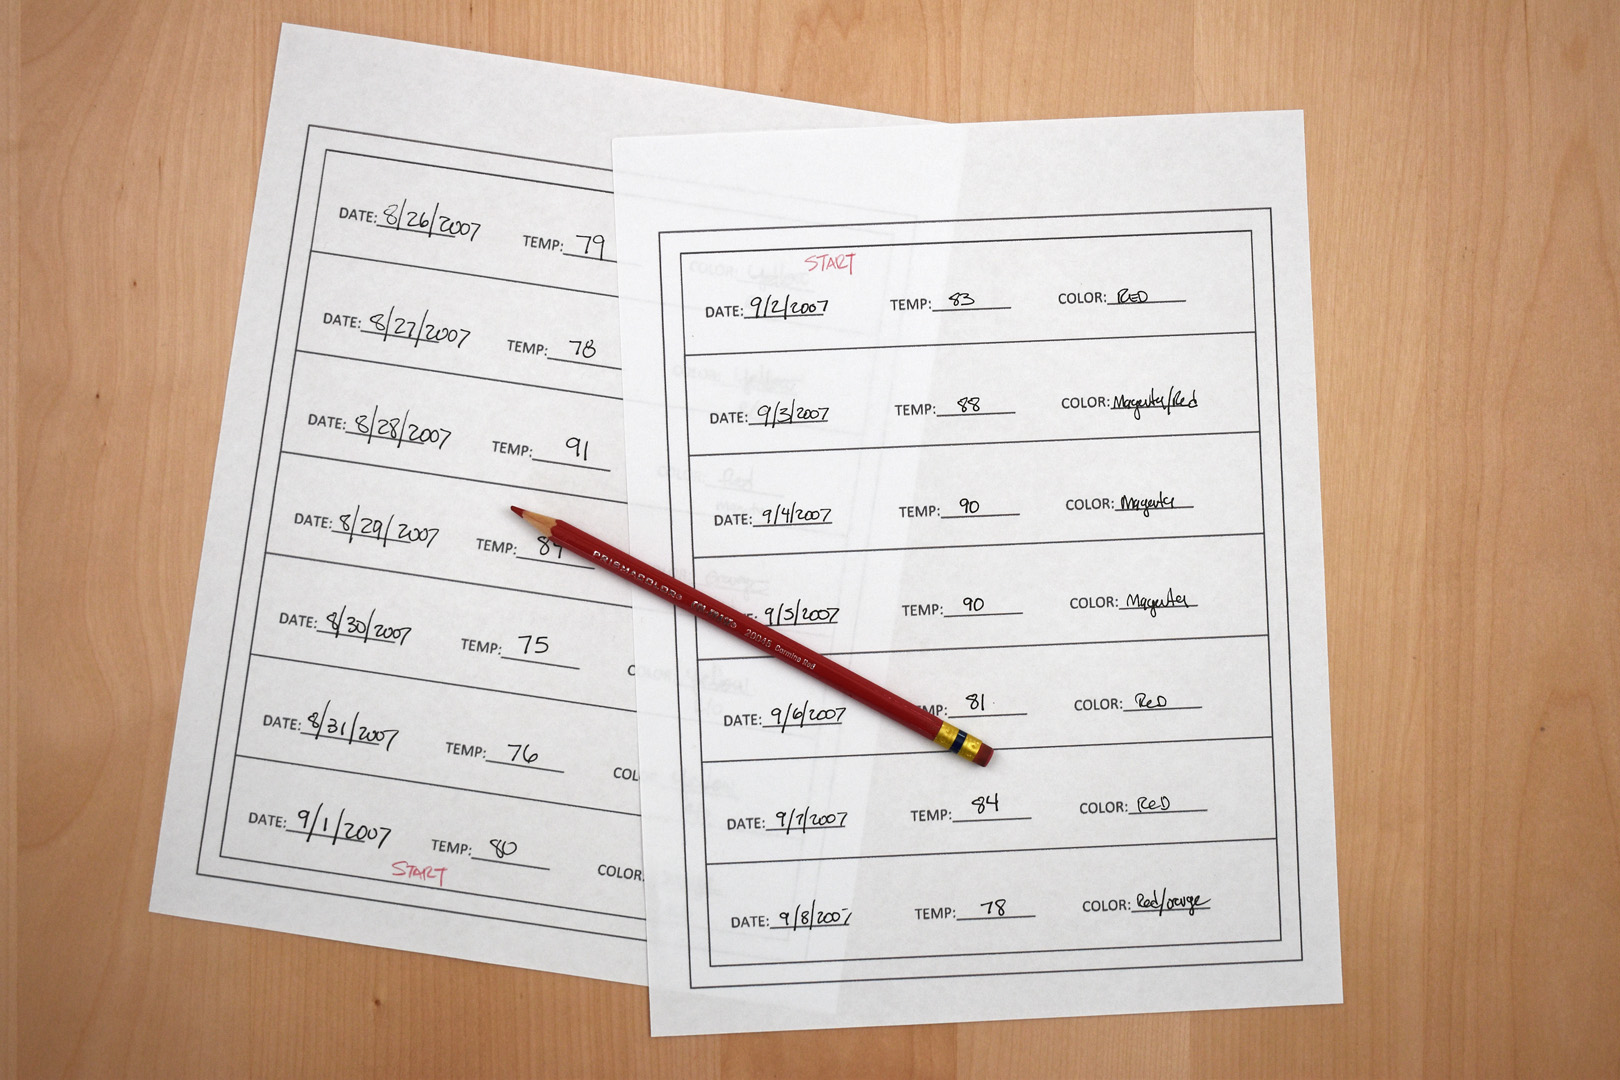
As a last step, use a red pencil or a highlighter to mark the STARTING point to sew each block to create blocks sewn with seams in opposite directions. When it comes time to sew these blocks together, having seams sewn in opposite directions will make them nestle together nicely and cut down on bulky seams. So, if you start sewing at the bottom of one block, start sewing the next consecutive block from the opposite end. I marked a big “START” in red pencil as a reminder across all the templates.
Sewing a Simple Block to Make a Temperature Quilt
Ready to sew your first block? Here’s what you’ll need.
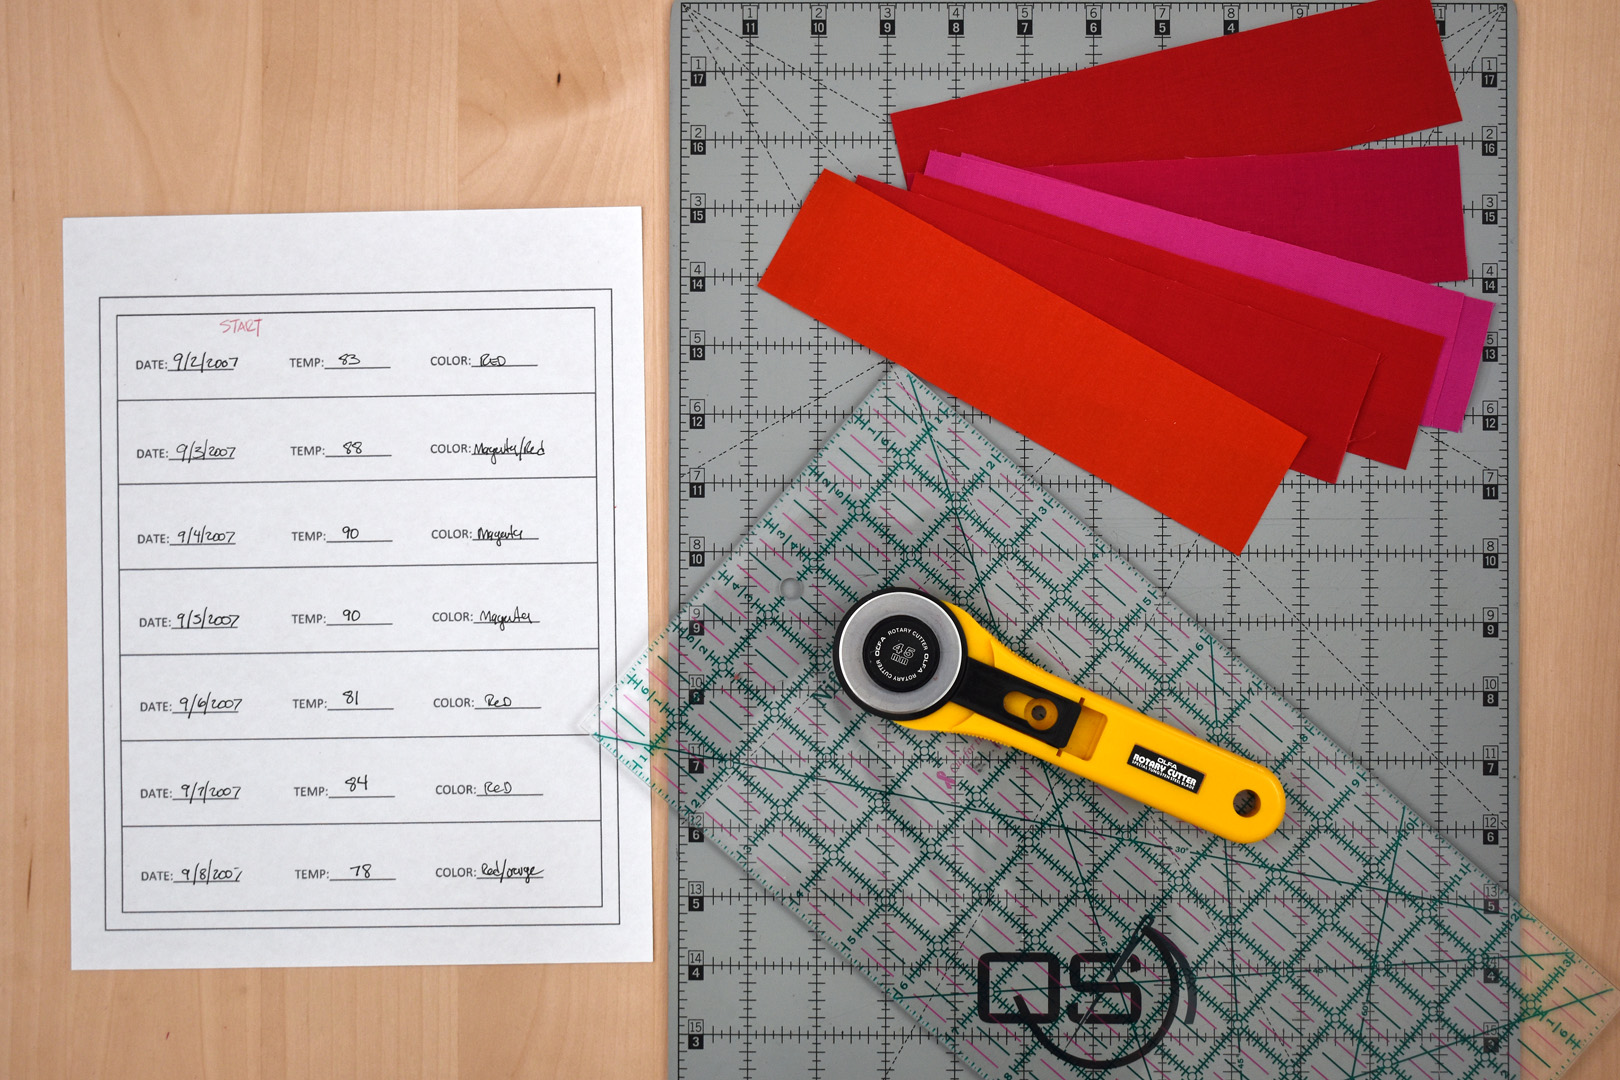
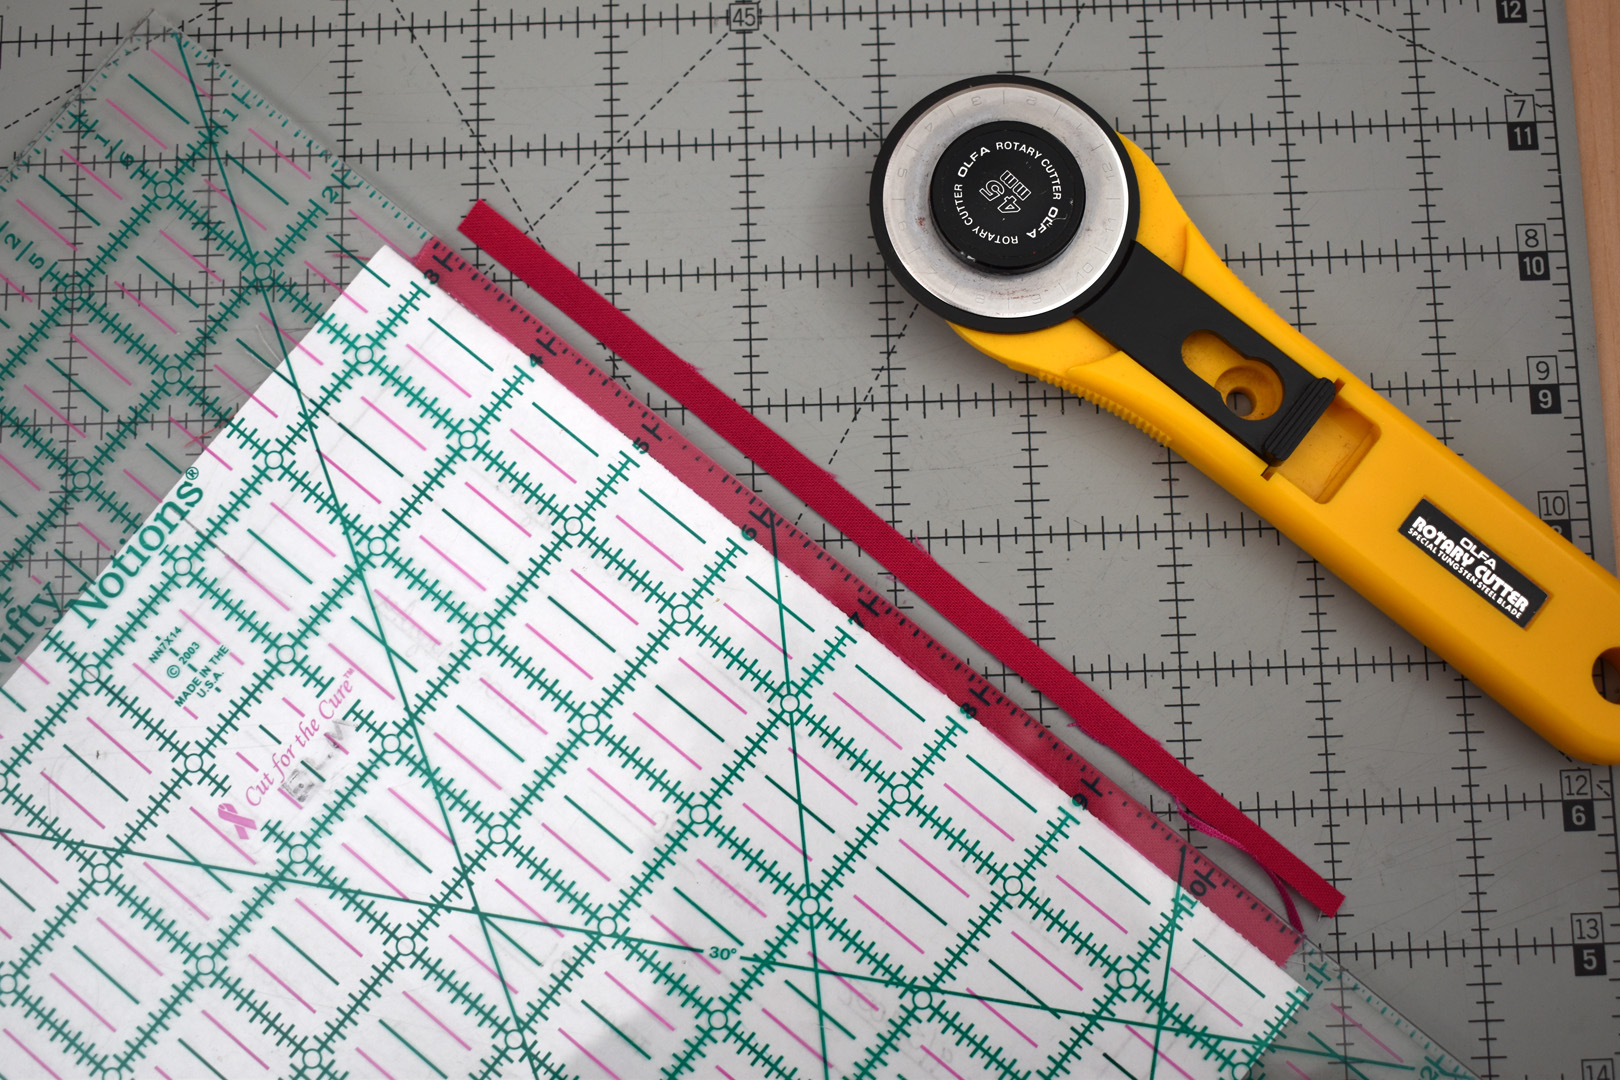
First, cut the 7 colors needed to complete the block into 2″ x 8 1/2″ strips.
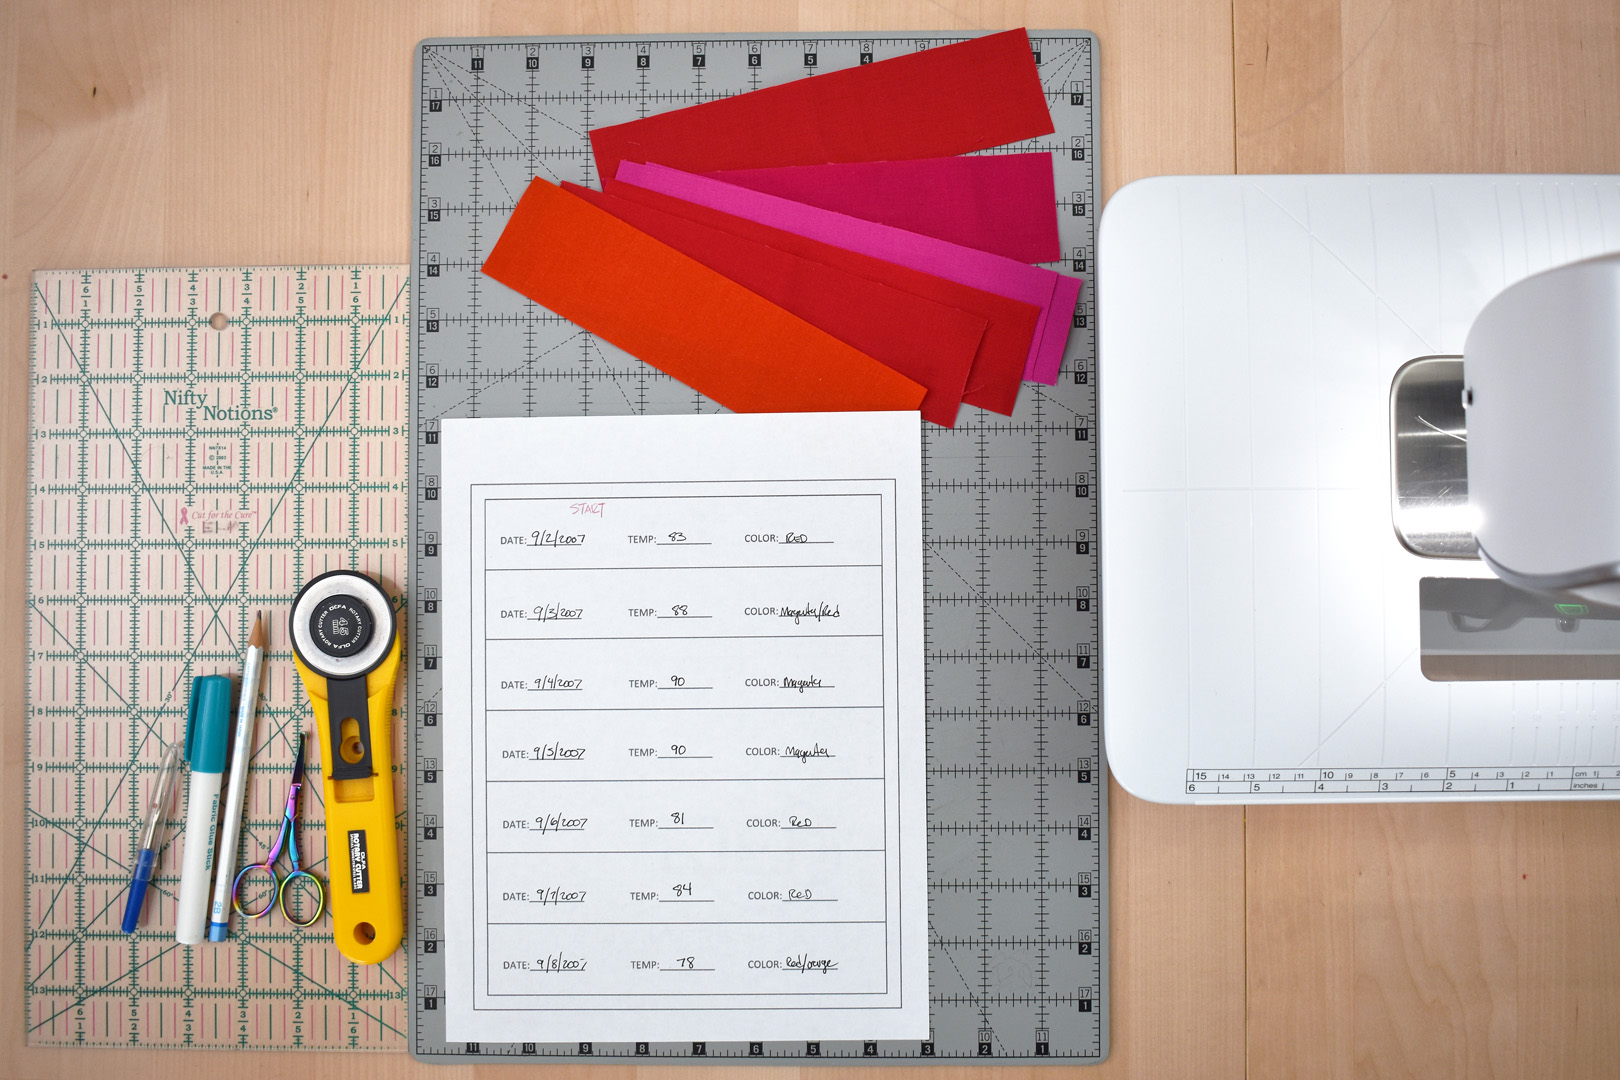
Gather together everything you will need to sew the block. Paper piecing works best if you have all of your tools next to your sewing machine, within arm’s reach. You will need a small cutting mat, rotary cutter, small ruler, thread snips, fabric glue stick, seam ripper, and pencil. I am right-handed, so these tools are on the left of my machine.

You will be pressing each seam after sewing, and if you can set up a pressing surface next to your machine this will make the process go faster (and keep you from a lot of up-and-down while sewing). Also, a good tip is to have a trash can handy, as you’ll be making a lot of little cut-offs during the process.

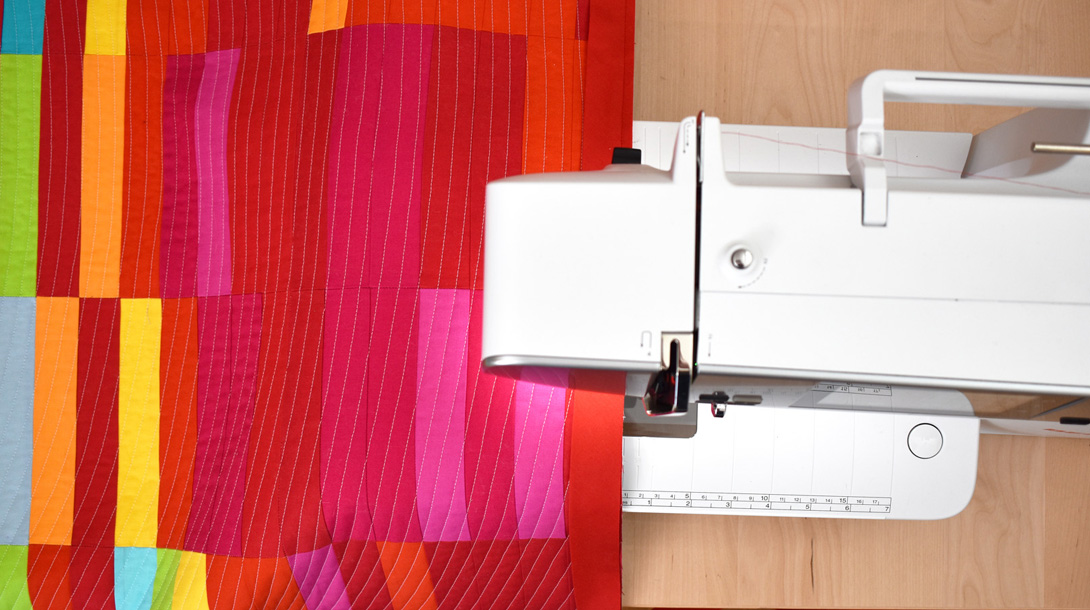
Set up your sewing machine with a neutral color thread such as a medium gray, tan, or dark cream. I use a 100% polyester all-purpose sewing thread for piecing a quilt that I know will get lots of use, and multiple washes. Use your favorite BERNINA patchwork foot, I am using Patchwork Foot #97D with Dual Feed. Install a straight stitch needle plate for this project. Use a small straight stitch with the paper pattern to help create a nice perforation, it will make pulling the paper backing off in the last steps a lot easier.
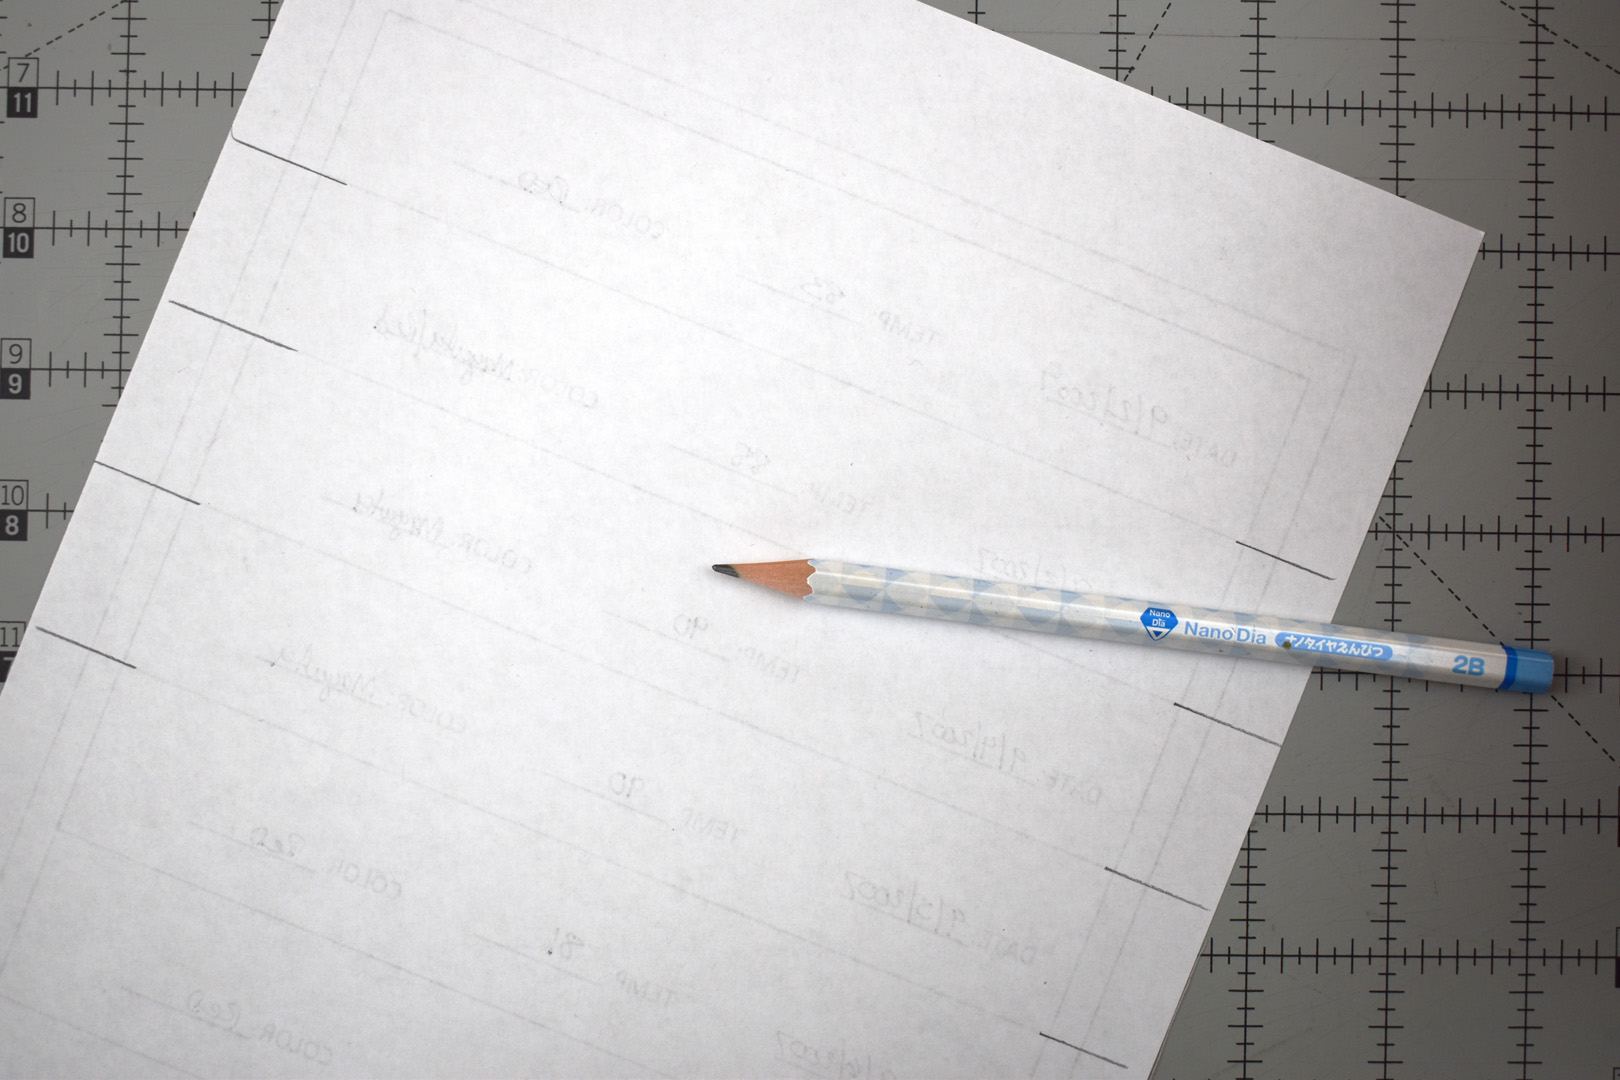
On the back side of the paper pattern, use a pencil and ruler to extend the red stitching lines to the edge of the paper. This will help you determine where to place the next piece of fabric on the back of the paper. You may not need to do this step after getting the hang of using the paper pattern.
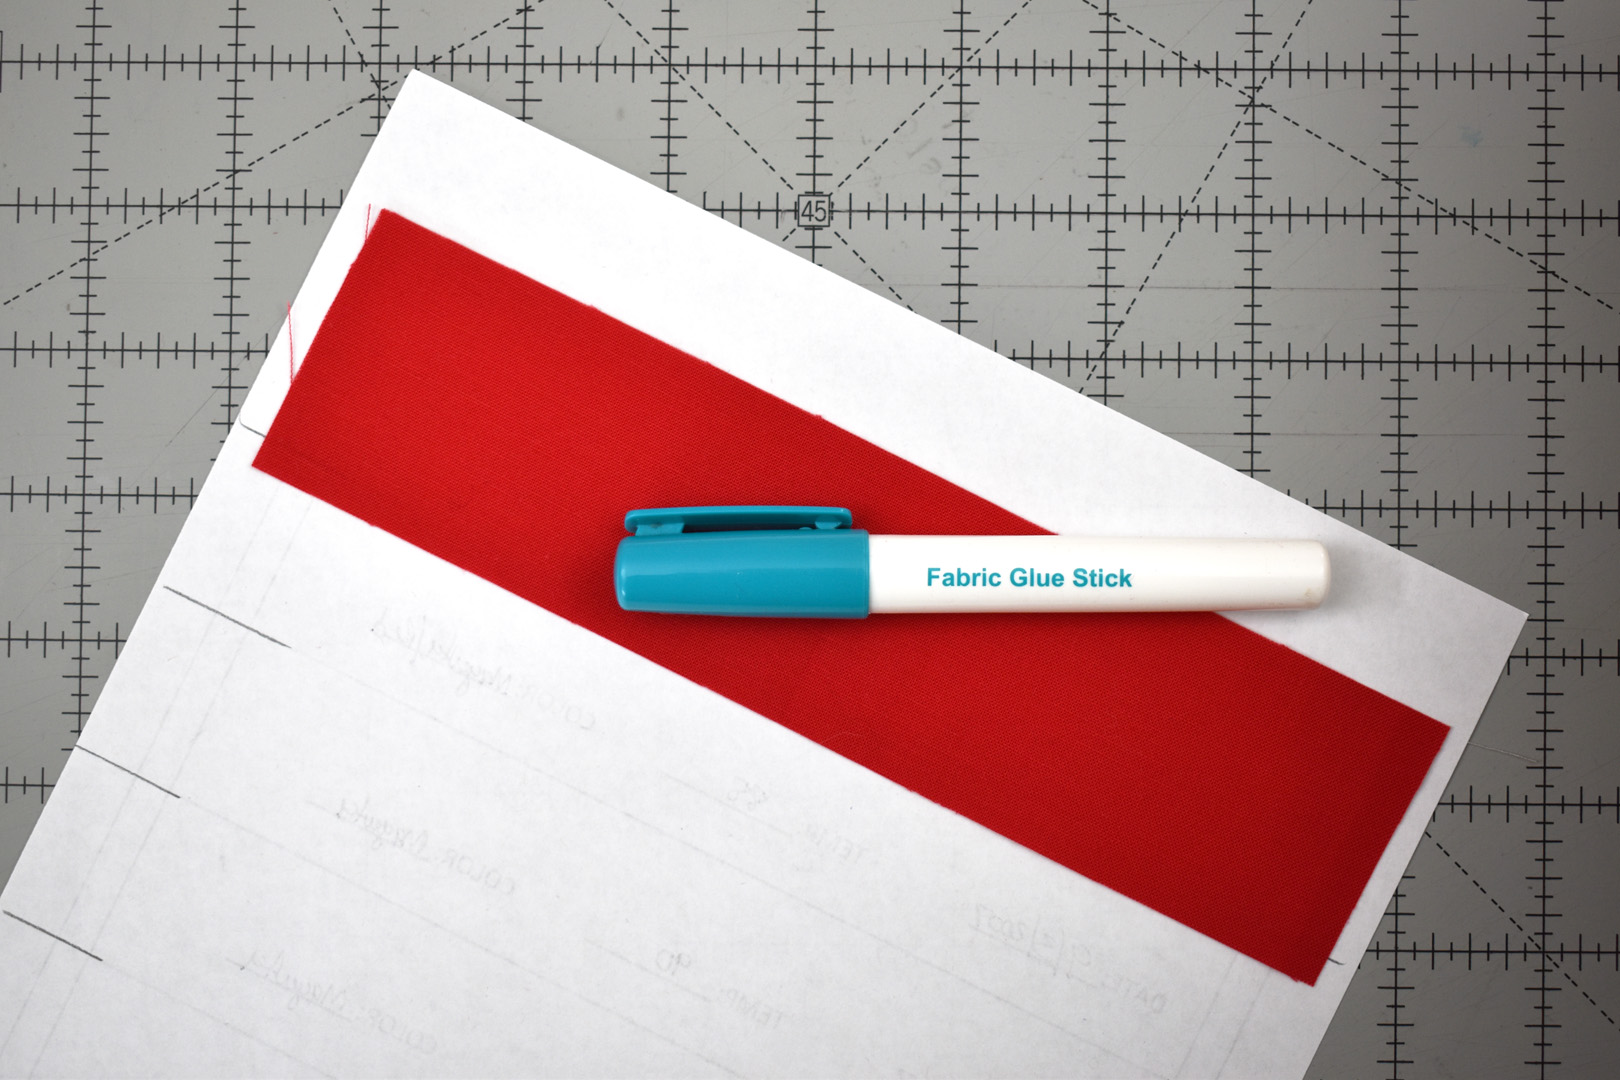
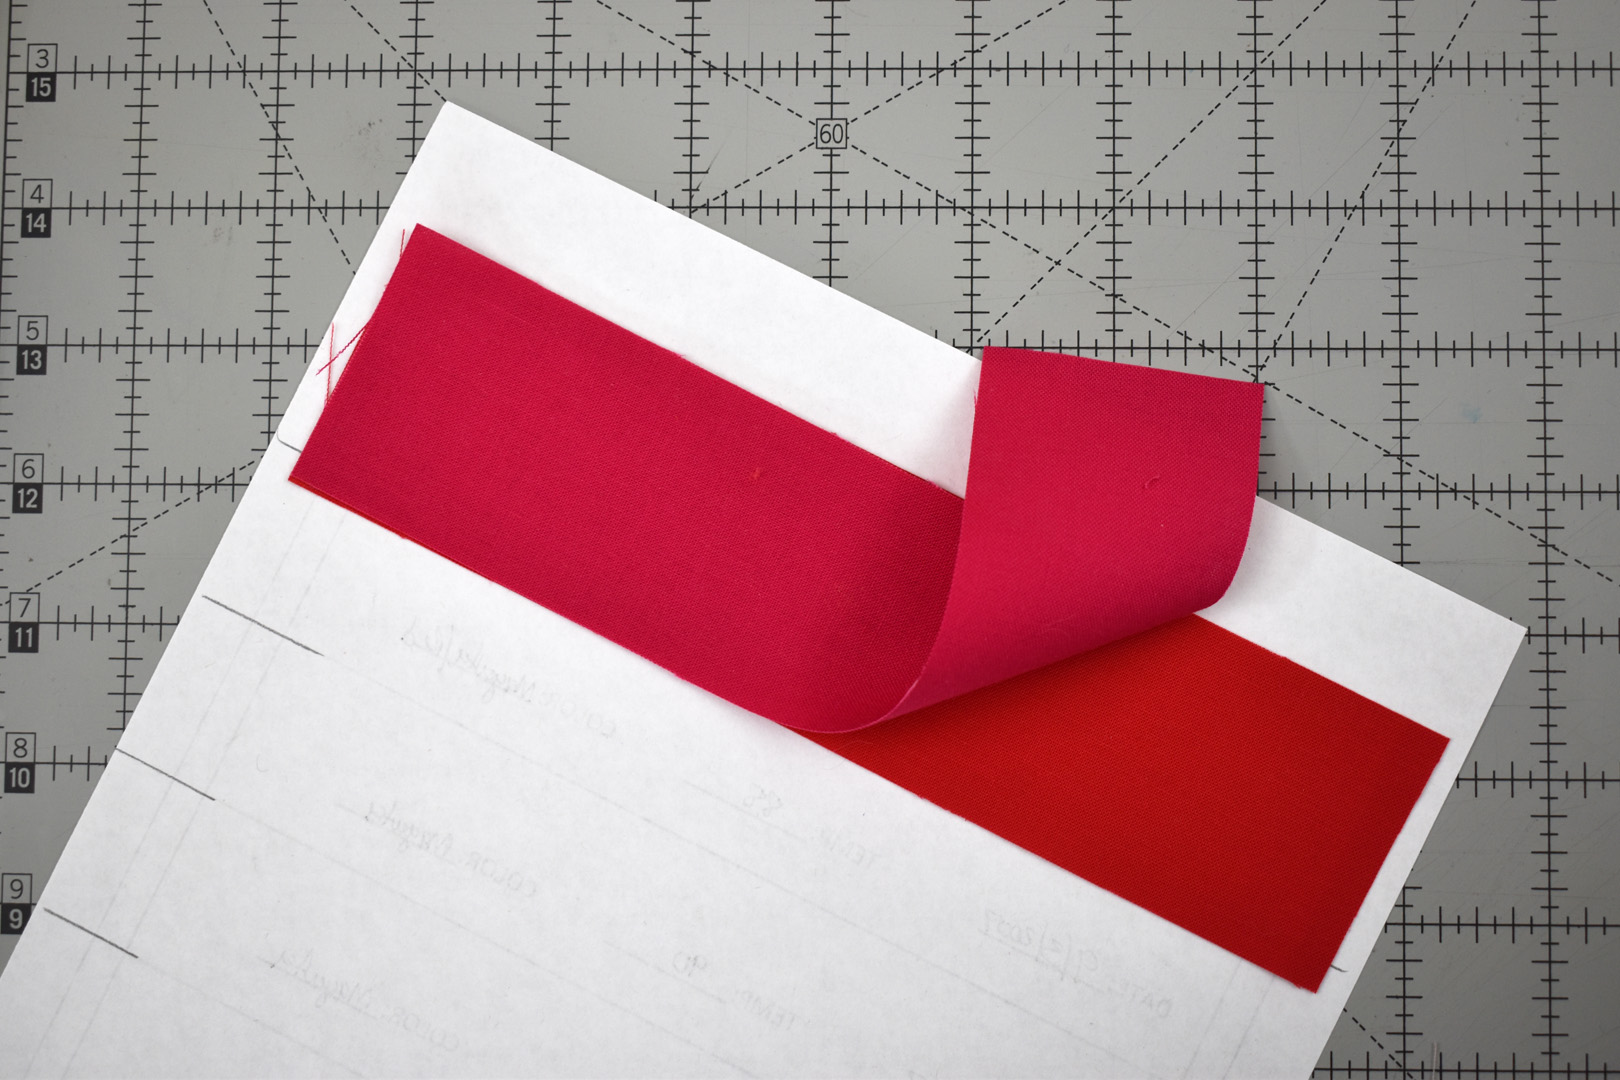
Always add the fabric to the back side of the template. Determine the “START” end of the block, and place the correct color over the first section. Make sure the sides cover the template and overlap the stitching line that you’ve extended with pencil by 1/4″. My technique is to fold-up the end of the fabric to see where that stitching line is, and then line-up the edge 1/4″ past this stitching line – use whatever method you find will work best for you.
Use your glue stick to hold the fabric in place once you have it lined-up. A word about using the glue stick; use just enough to hold the fabric in place, and no more. Too much glue will make it difficult to remove the paper in later steps. You can always add an extra dab of glue, but you can’t take it away.
Grab the color needed for the next section of the paper template, and lay it exactly on top of the first piece. Carefully flip the template over, printed side up, holding on tight to the fabric strips on the back side to keep them from shifting. Add a few pins through the top of the template if needed to secure the fabric in place.

Sew all along the first red stitch line, sewing directly on the printed line.

Bring the stitched template back to the cutting mat next to your machine. Fold the long end of the template over at the stitching line to reveal the seam allowance.

Check the seam with a ruler, and if it is wider than 1/4″ trim extra with rotary cutter.
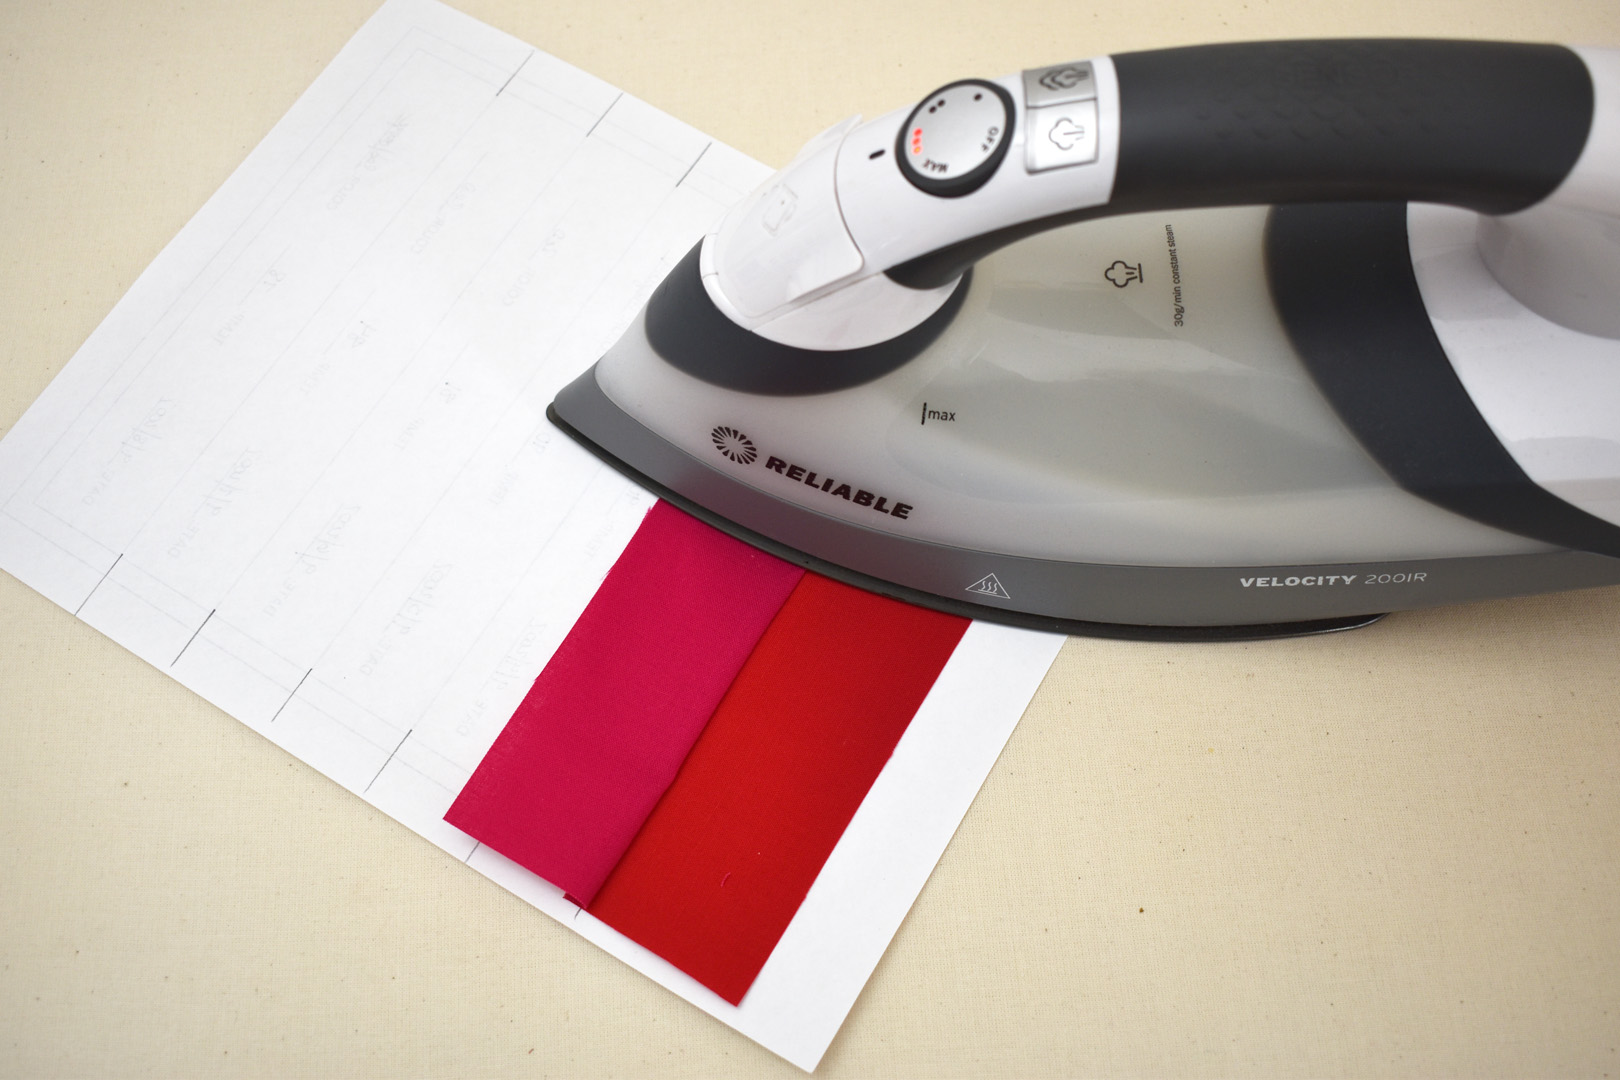
Unfold the paper pattern and press the piece of fabric over the seam.
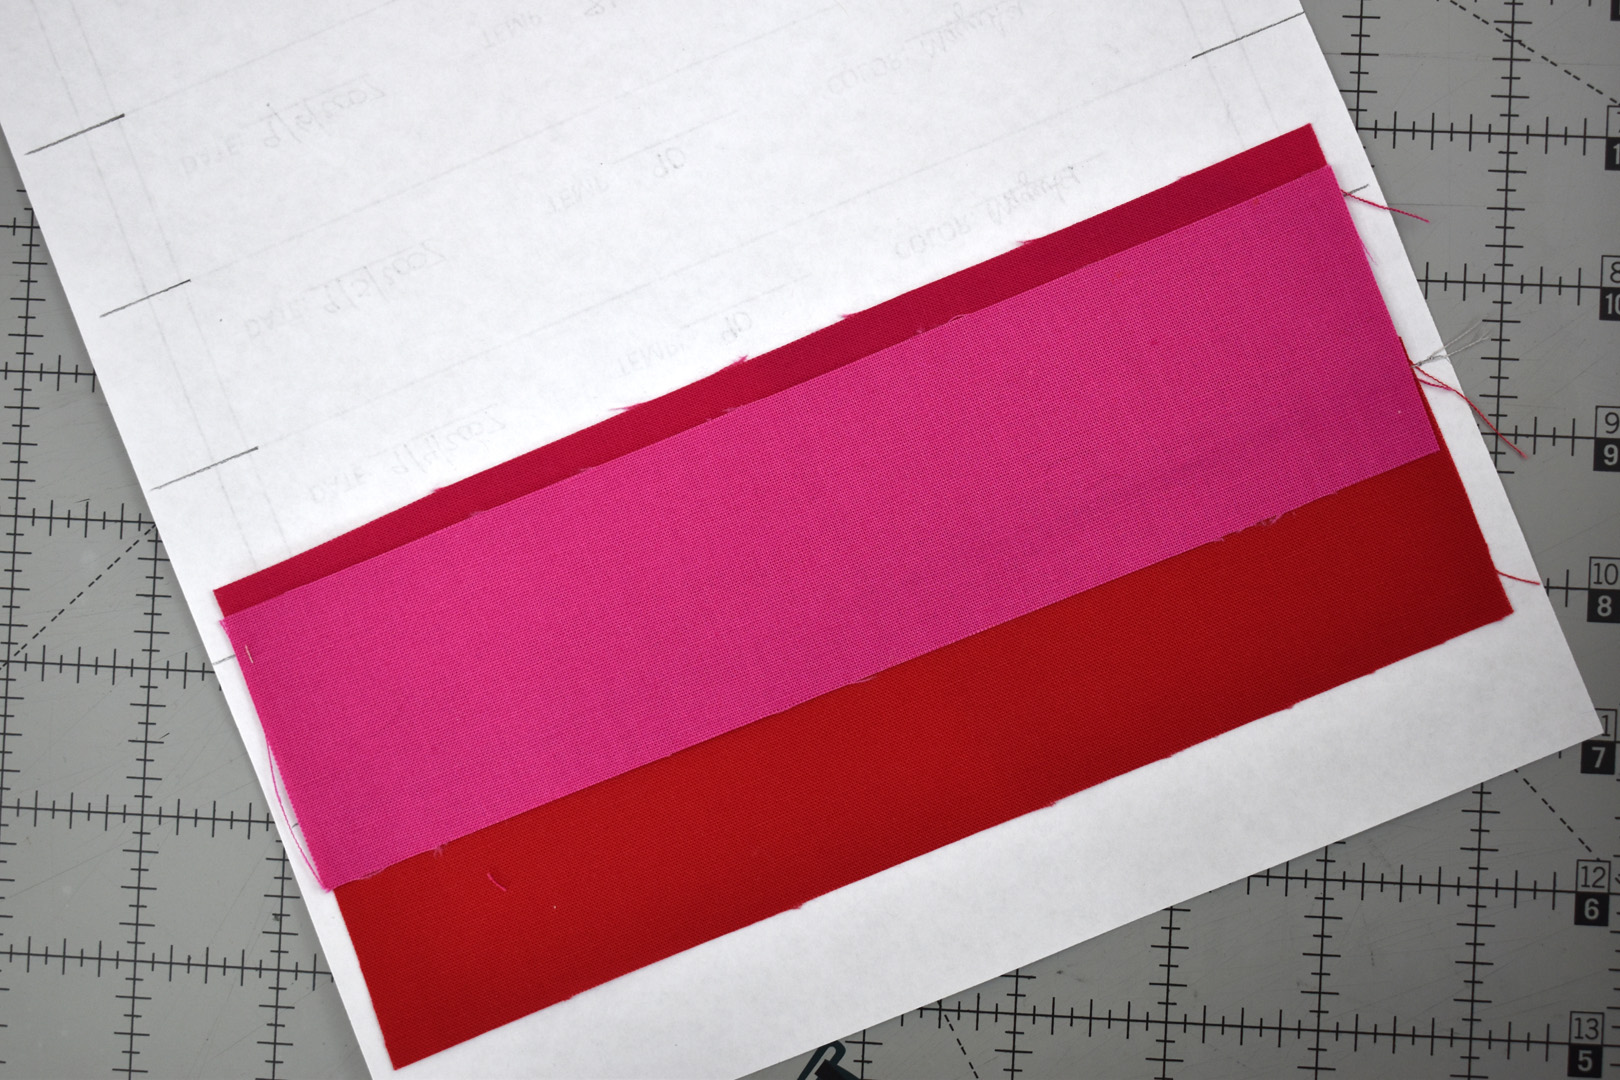
Add the next colored fabric strip on top of the last strip, lining up the top edge of the strip about 1/4″ past the stitching line (here is where those pencil lines may come in handy, I keep using my fold-back-and-look method). Continue with the same process as above for flipping the paper template over carefully, pinning the strip from the other side if needed, and stitching on the next red stitch line.
After stitching, fold the paper pattern back at the seam and trim seam allowance to 1/4″. Fold paper pattern flat and press strip over seam. Keep following these steps of adding a strip, stitching, trimming, and pressing until all strips are stitched to the paper pattern.

Use a bit of glue stick to secure the very last strip to the paper pattern.
On the back side of the printed paper pattern, trim extra paper on all sides with a ruler and rotary cutter.
You have completed the first block! Leave the foundation paper pattern in the block until the top is completed. You can sew these blocks at your own pace. Because dates are recorded on the blocks, you’ll always know the correct order for arranging the blocks when the time comes to sew the top together.

Join me in the next post to learn how to sew the blocks together, and how to prepare the top for quilting. Until then, enjoy the process of planning out your simple temperature quilt!