How to Put Embroidery on ANYTHING – Without Stitching On It!
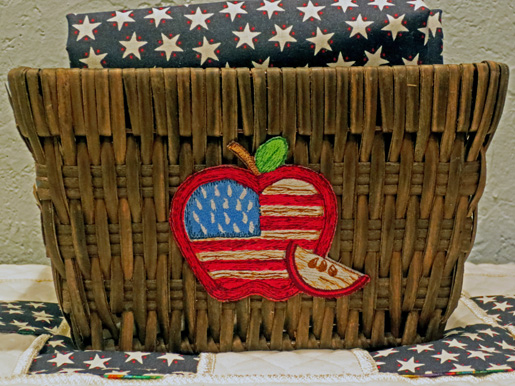
Have you ever wanted to have embroidery on a garment or item, but didn’t want to actually embroider on the item? Or maybe you want to add a design to the leg of jeans, but don’t want to take that seam out? Or perhaps add an embroidered design, like this apple, to the side of a basket?
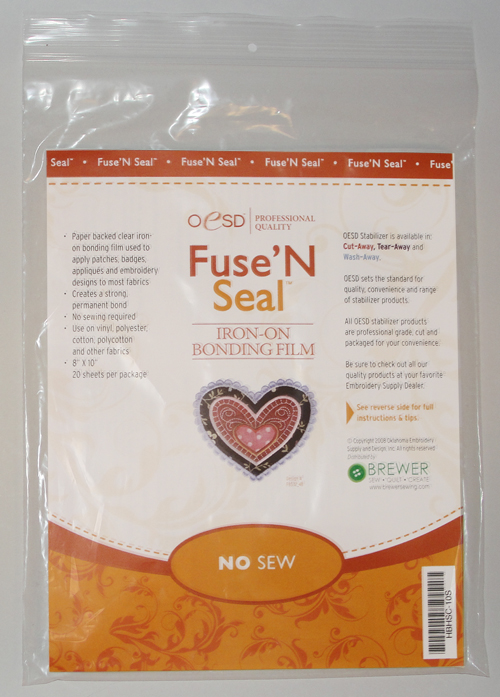
Fuse & Seal is the perfect product to use for that. If you think about the fusible coating on the back of scout badges, you will have a pretty good idea of what this product is like. The product is permanent (and I do mean PERMANENT) when it is adhered with an iron. Add it to the back of a stitched design and then adhere it to the project. It is not a good idea to stitch through it since it will gum up the needle a lot, but if adhered correctly it will NOT come off, even through repeated washings.
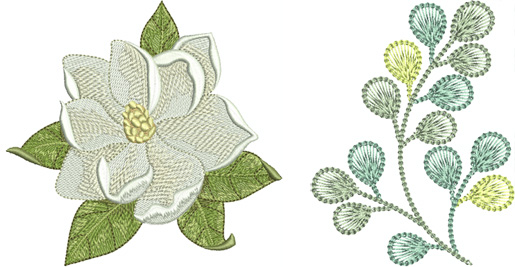
Pick a design that can easily be “cut out.” A large magnolia is easy to cut around (left), but a design with lots of spindly vines and pieces would be impossible to cut around successfully (right).
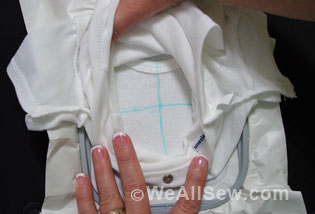
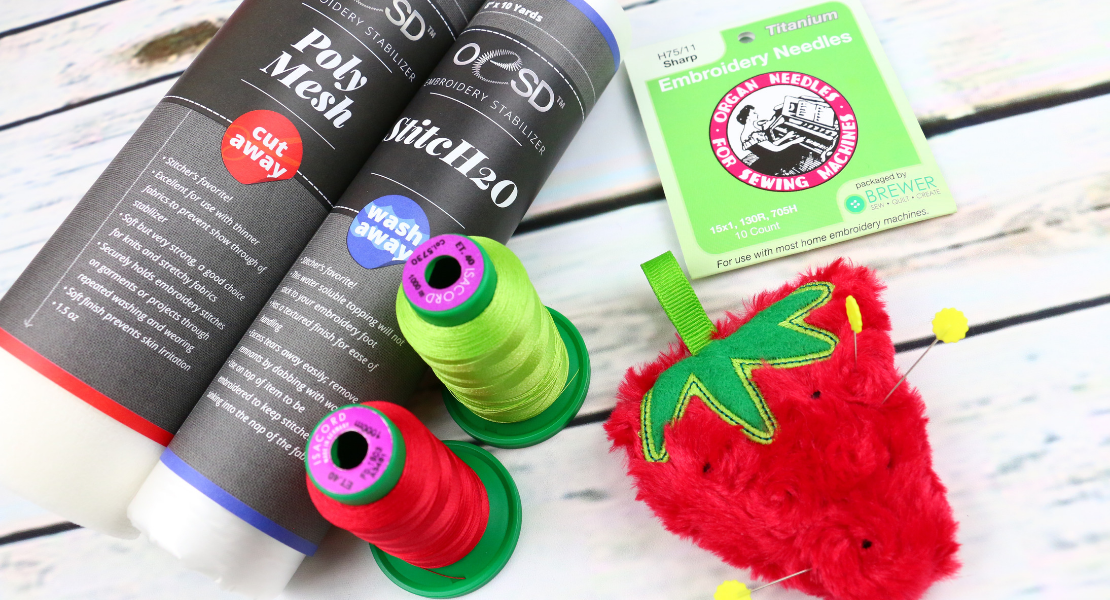
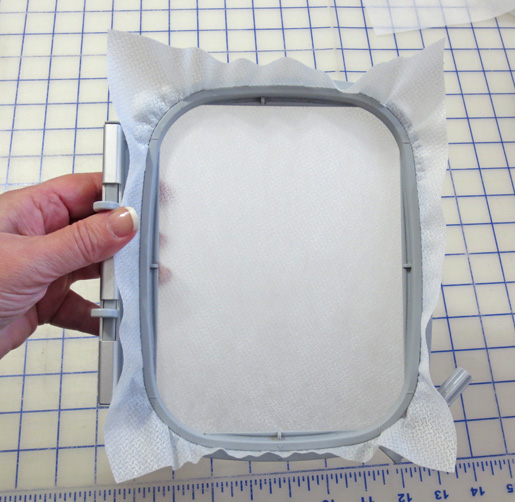
Hoop your fabric and/or stabilizer. I usually just hoop a stabilizer by itself. Most of the time I use two layers of PolyMesh because it keeps the design fairly lightweight but is easy to cut. But you can really use almost any cut-away or tea-away stabilizer.
Since you will adhere the Fuse & Seal to the back of a design after it has finished stitching, even your old test sew outs on fabric will work.
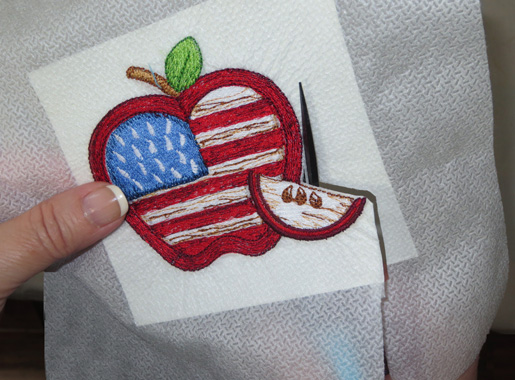
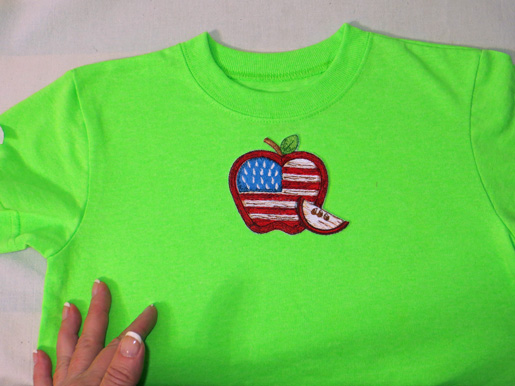
Stitch your design. For this project I embroidered design #80028-04 from #80028, American Icons.
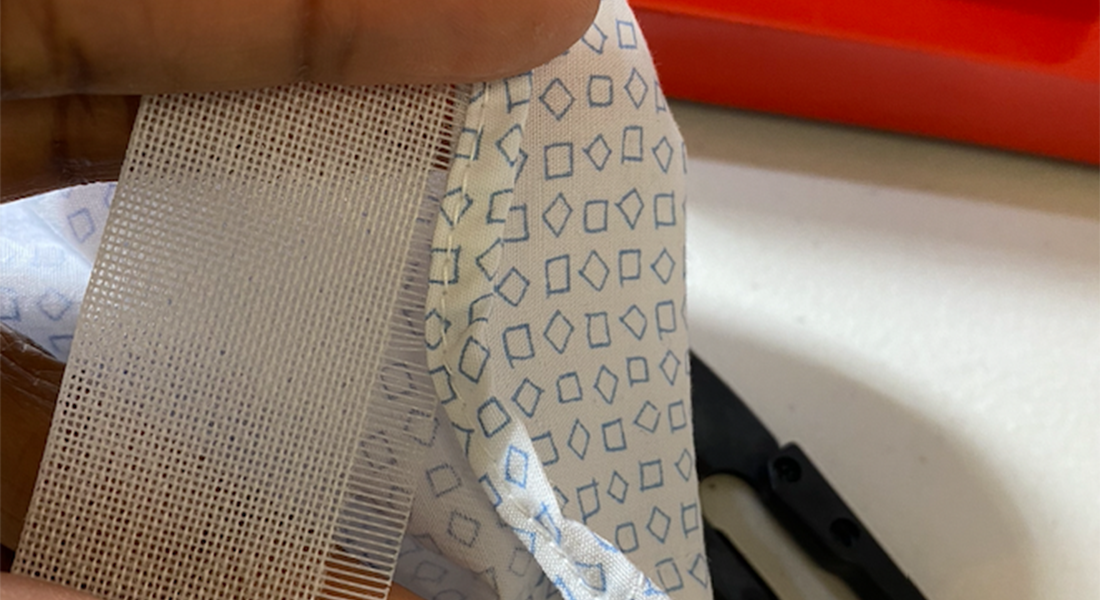
Cut a rectangle of Fuse & Seal slightly bigger than the design itself and place it over the wrong side of the design with the paper side up.
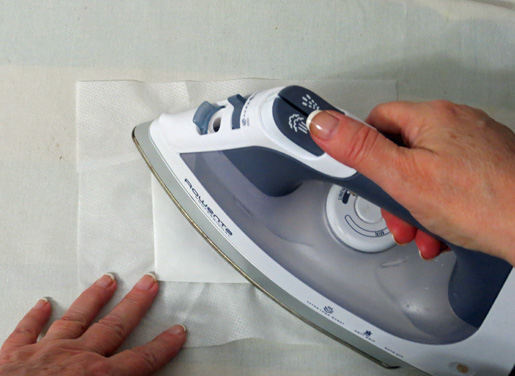
Heat the iron to the wool setting. Hold the iron to exposed white paper 8-12 seconds. Don’t worry about any puckers this may cause, since you will be cutting the fabric away later. It will be very hot to the touch, so allow it to cool.
Before removing the paper, cut the design/Fuse & Seal as close to the stitches as possible.
Note: The instructions on the back of the package tell you to cut out the design, and then cut the same shape and size of the Fuse & Seal. But it really is much easier to adhere the square and cut both at once.
Tip: Depending on the stabilizer or fabric that you use, you may notice the white edges around the design. Use a permanent marking pen to color those areas if the edges are too noticeable.
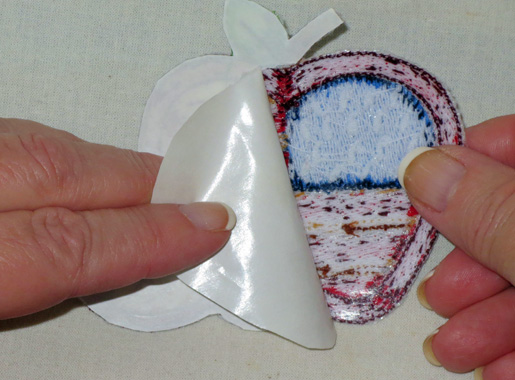
Remove the paper. You will now see a film coating on the back of the design.
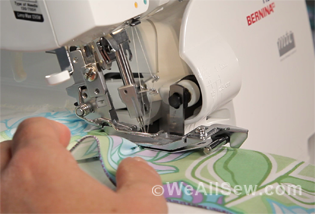
Place the design with the film side against the right side of the project. POSITION CAREFULLY! – you only get one shot at this!
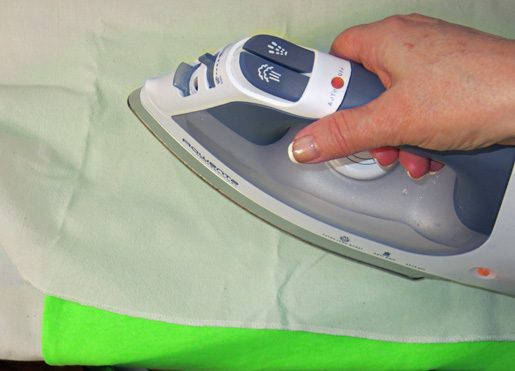
Cover with a press cloth and adhere with an iron for 8-12 seconds using the wool setting.
This technique isn’t just for fabric! It should work with most things that will withstand the heat of an iron – wood, metal, ceramic, glass, etc. This product does NOT work well with most plastics, as many of them will melt before the Fuse & Seal is hot enough to adhere.