How to Sew a Reusable Snack Pouch
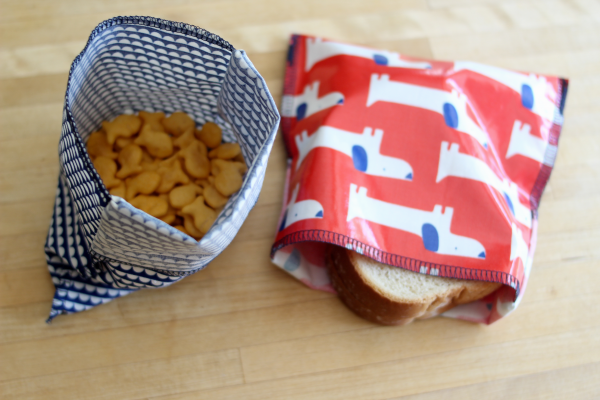
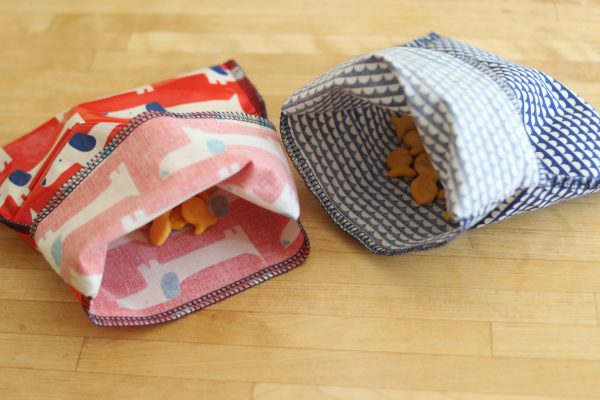
I don’t know if you are like me, but things like holidays and special days such as back-to-school and teacher’s day always sneak up on me. That being said, I tend to rely on quick projects that are still fun and useful. Also, when I pack my kids’ lunches, it really pains me to use disposable items, so I look for more sustainable options. With that in mind, I created this super easy reusable snack bag and I love how quick these come together. My kids take apple slices, grapes, goldfish, crackers, and also sandwiches in those. They are great for school lunches but also for long car rides and picnics. I love that if we are out and about, maybe on a hike, my kids don’t need to touch their sandwiches with dirty hands. They can just flip the pouch top and use the pouch as a wrapper.
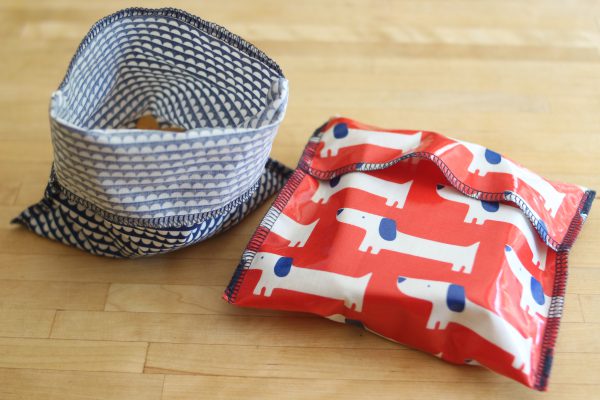
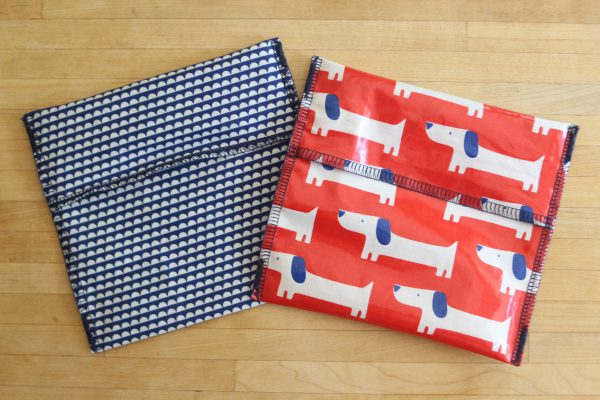
The other great thing is how easy they are to clean. Just turn it inside out and shake them, rinse them under warm water or spot clean with a wet sponge and dish soap, if necessary. Interested in making this reusable snack bag? Let’s get to it. You need minimal materials and they are pretty much fail-proof. To make these reusable snack bags, I like using PUL, also known as laminated fabric (like the red pouch) because it is very easy to clean. Alternatively, you can use waxed canvas or Quilting cotton and wax it yourself (like the blue pouch).
Materials to Sew a Reusable Snack Pouch
What You Will Need
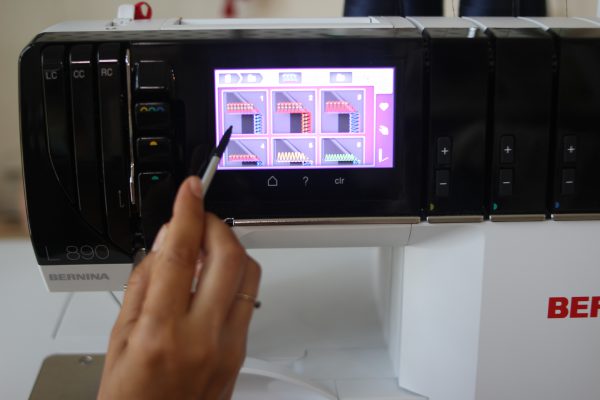
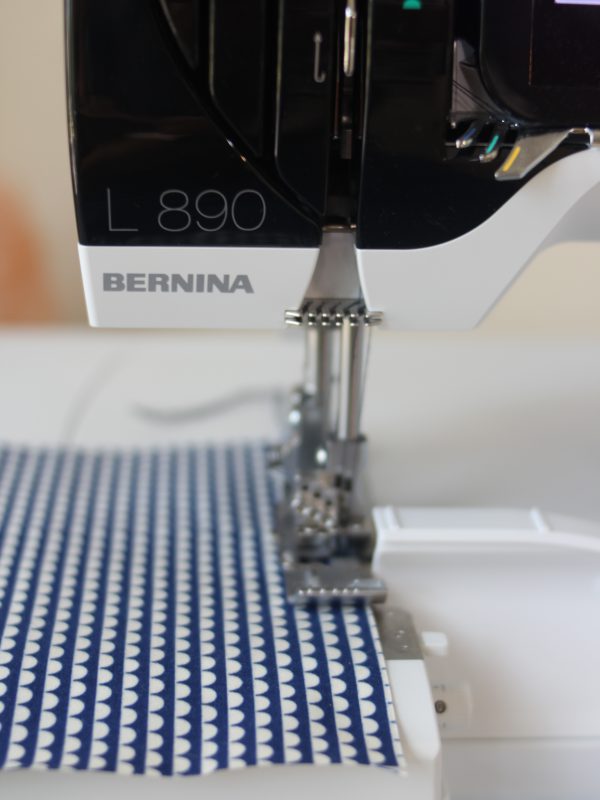
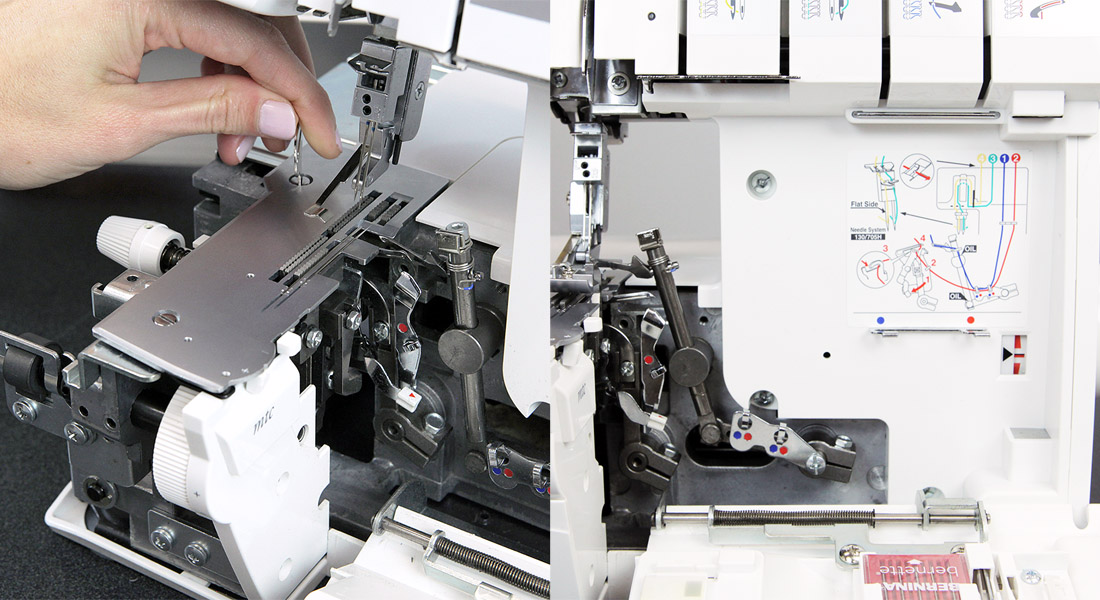
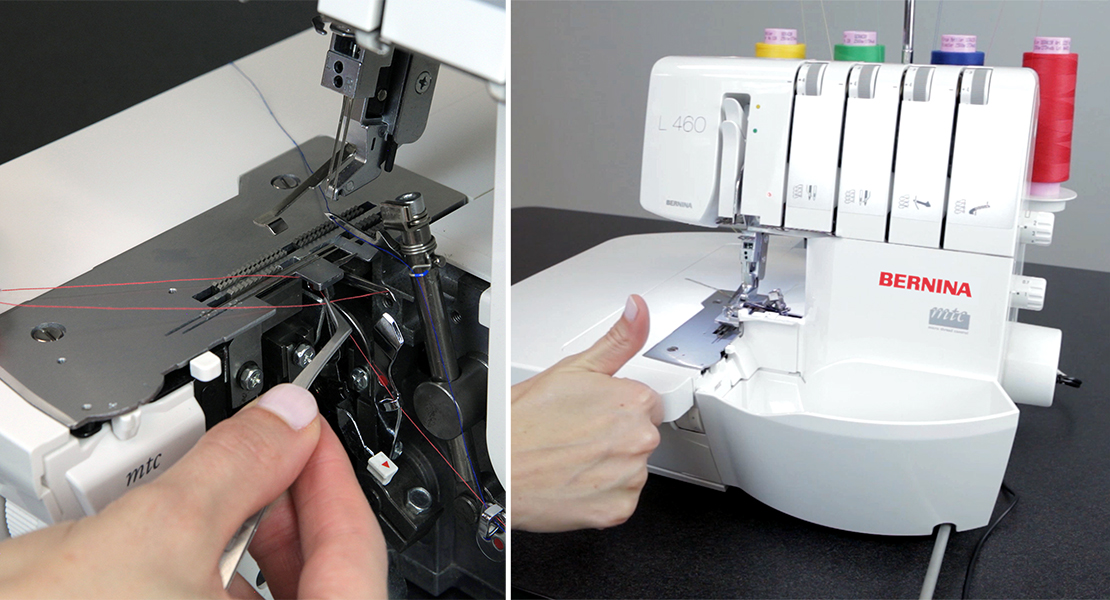
- Overlocker (I use a BERNINA L 890)
- A Fat-Quarter or Fat-Eight.
- Serger thread such as Seracor by Mettler or if you want a little texture you can use something like SoftLoc by Wonderfil on the loopers.
- Flat bodkin or tapestry needle, such as this one.
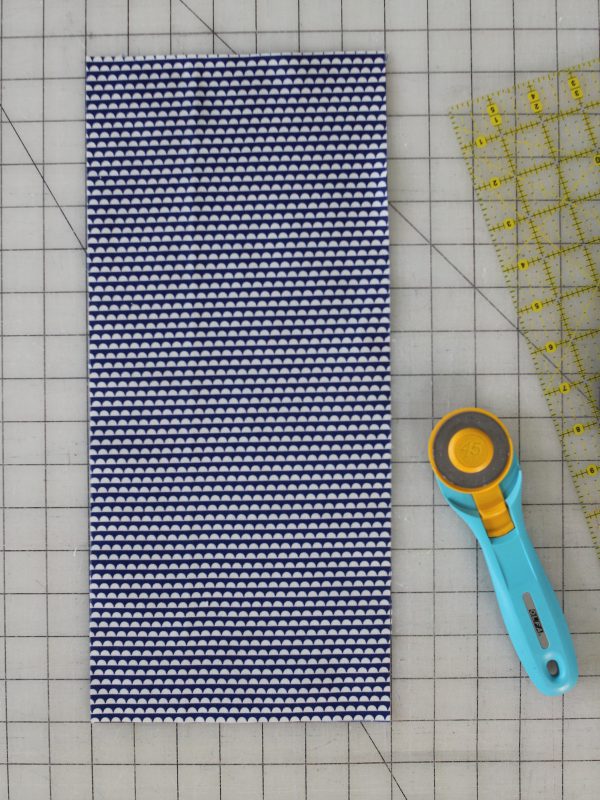
- Ruler, rotary cutter, and mat
- Fabric sealant (optional)
- Washable marker (optional)
Tip: Use clips instead of pins, especially if using PUL so it does not create holes on the fabric.
Cutting
Cut your fabric into (1) 7” wide x 15 1/2” tall rectangle. If using a directional print, the top should be at the 7” end.
Steps to Sew a Reusable Snack Pouch
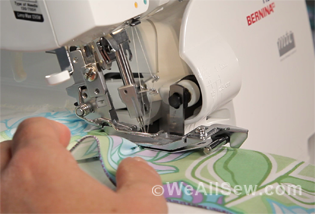
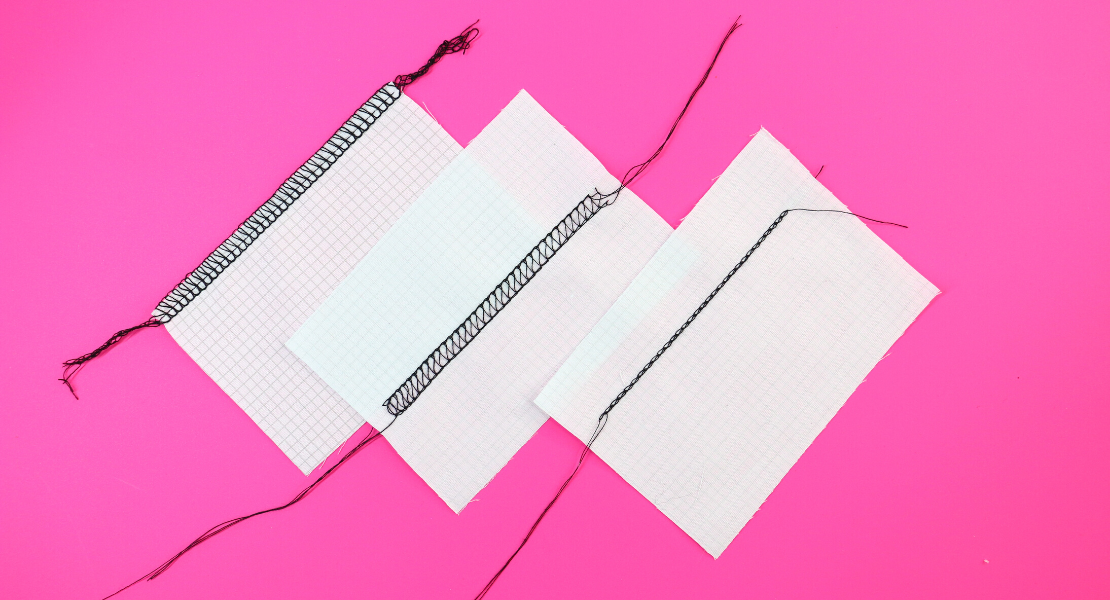
Step 1. Set your overlocker to a 4-thread overlock stitch (stitch number 1 on the L890). If you want a more decorative look, you can use a 3-thread overlock wide (stitch number 3 on the L 890).
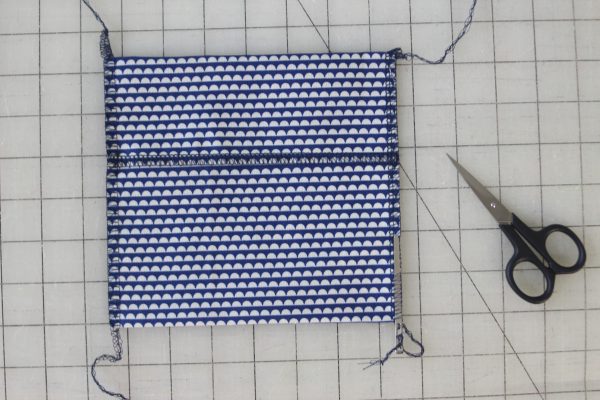
Step 2. Serge the short ends (single layer) leaving a tail in the beginning and end. These will be cut off at the next step.
Step 3. With the fabric laying right-side-down, form your reusable snack pouch by folding the bottom up to 6 1/4” and clip, then folding the 2 3/4” left at the top down and clip. If using a directional print, the top should be at the bottom before folding the 6 1/4″ up. Now, the right side of your fabric should be showing.
Step 4. Serge the side leaving a tail at the beginning and the end. Repeat for the other side of the snack pouch.
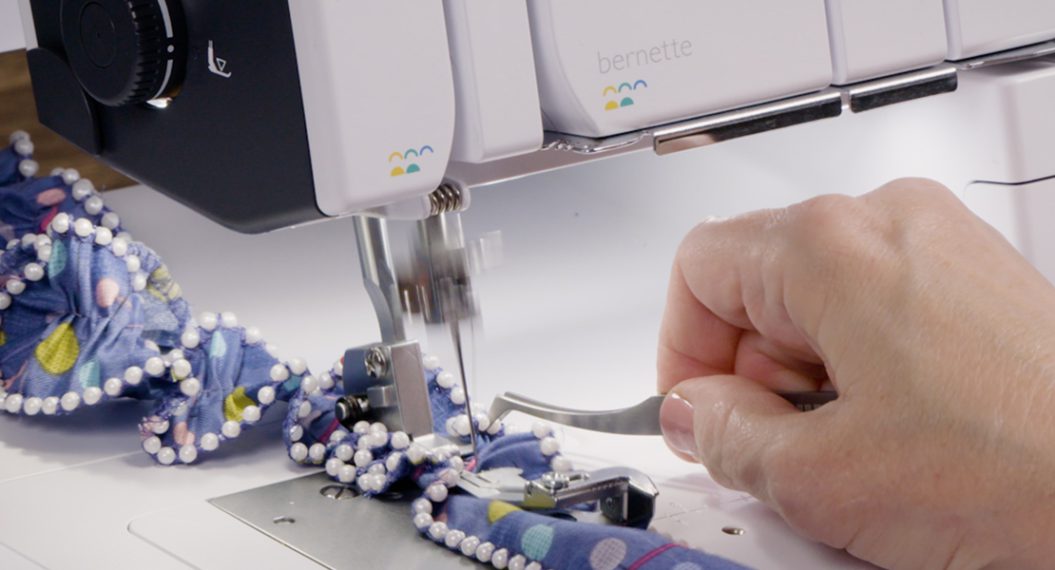
Step 5. Thread the tails using a flat bodkin or a tapestry needle and fabric sealant if desired.
Step 6. Flip the top to open your reusable snack pouch, add your snack, flip it to close, and enjoy your quick project!
Tip: If desired, you can add a sticky velcro dot on the opening for security, but I never had a problem with small food spilling from it.
That is ALL you have to do. Wasn’t that easy? Now you have a cute snack bag for you, so go ahead and make more for your family to enjoy it too.
Share your own version in the WeAllSew Community section!
What you might also like
4 comments on “How to Sew a Reusable Snack Pouch”
-
-
I forgot to mention that I had the C27 clear foot on my serger and the fabric wouldn’t feed. Once I put on the “medal” foot, it fed through just fine.
-
I don’t have a serger; I have Bernina 570 quilters edition.
What stitch and pressure foot would I use?
Thanks -
I love this idea, but is the laminated fabric food safe?
Leave a Reply
You must be logged in to post a comment.




What a wonderful idea! I made three tonight after seeing this. So easy to make and so useful!
I’d post the picture of the snack bags but I don’t know how to do that on this page.