How to Sew an Elegant Scarf-style Bib
In this tutorial, I will show you a simple method to sew an elegant scarf-style bib. You may have someone in your life with a special need who can use this simple accessory during meal or medicine time.
My mom is a woman who always cared about fashion. She modeled for a local department store when she was a young mother and had the best shoe and jewelry collection ever. If you know anything about teenage girls, the fact that I used to “borrow” her clothes speaks volumes about her style. And later as a young mom myself, I was always first in line when she cleaned out her closet.

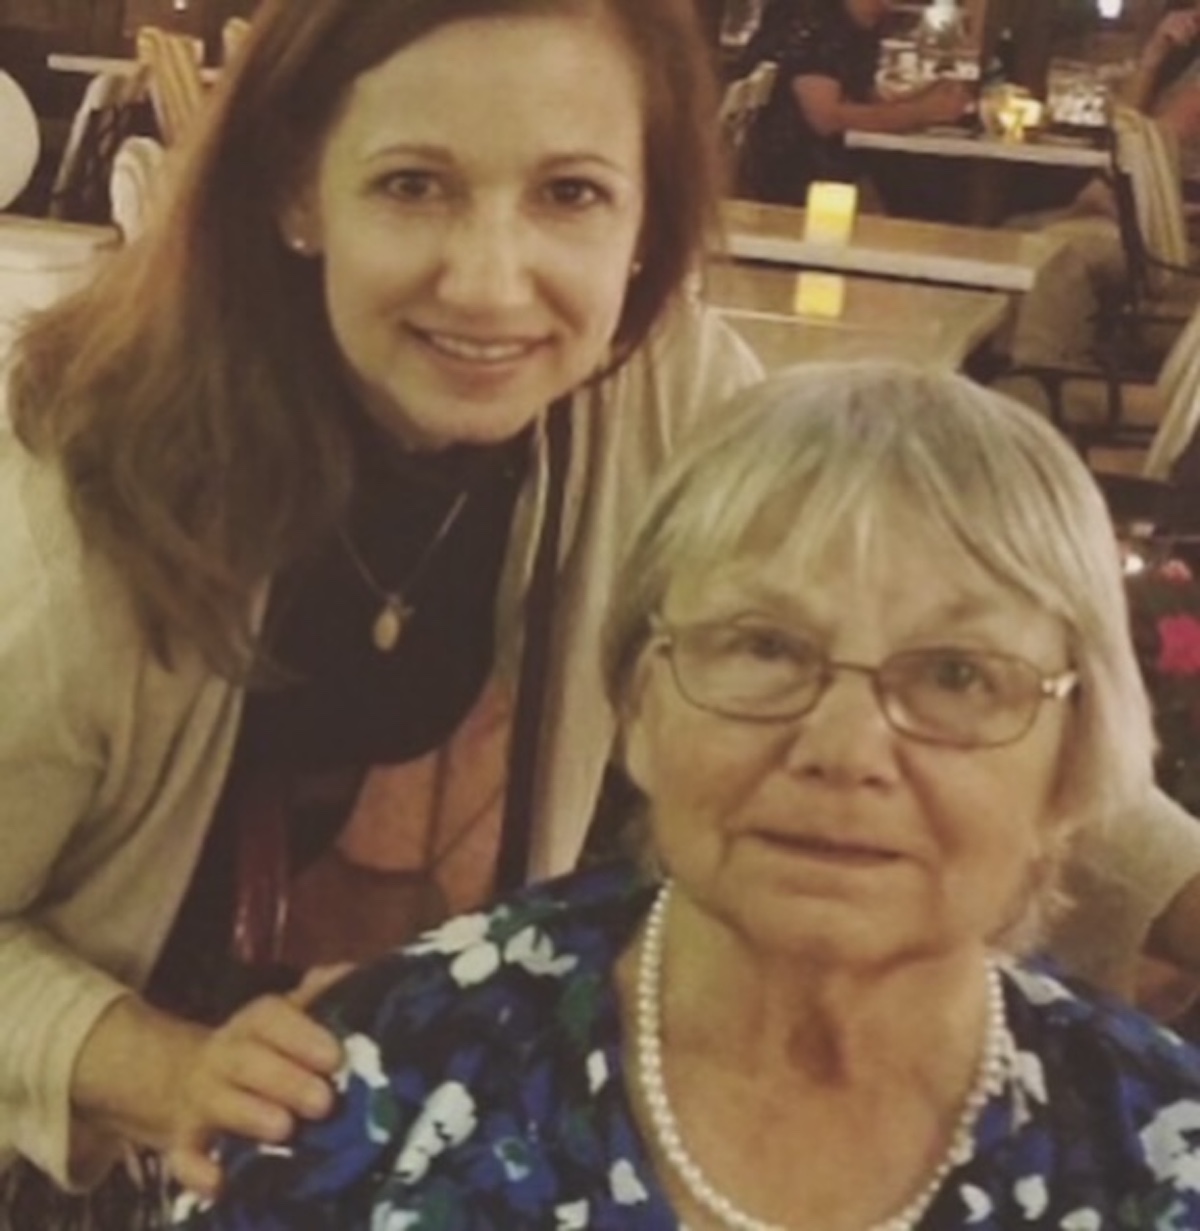
My beautiful mama is now in her 80s. With this milestone came her diagnosis of dementia and an increased need for help at mealtime.
I hope you find this simple project helpful for someone you love.
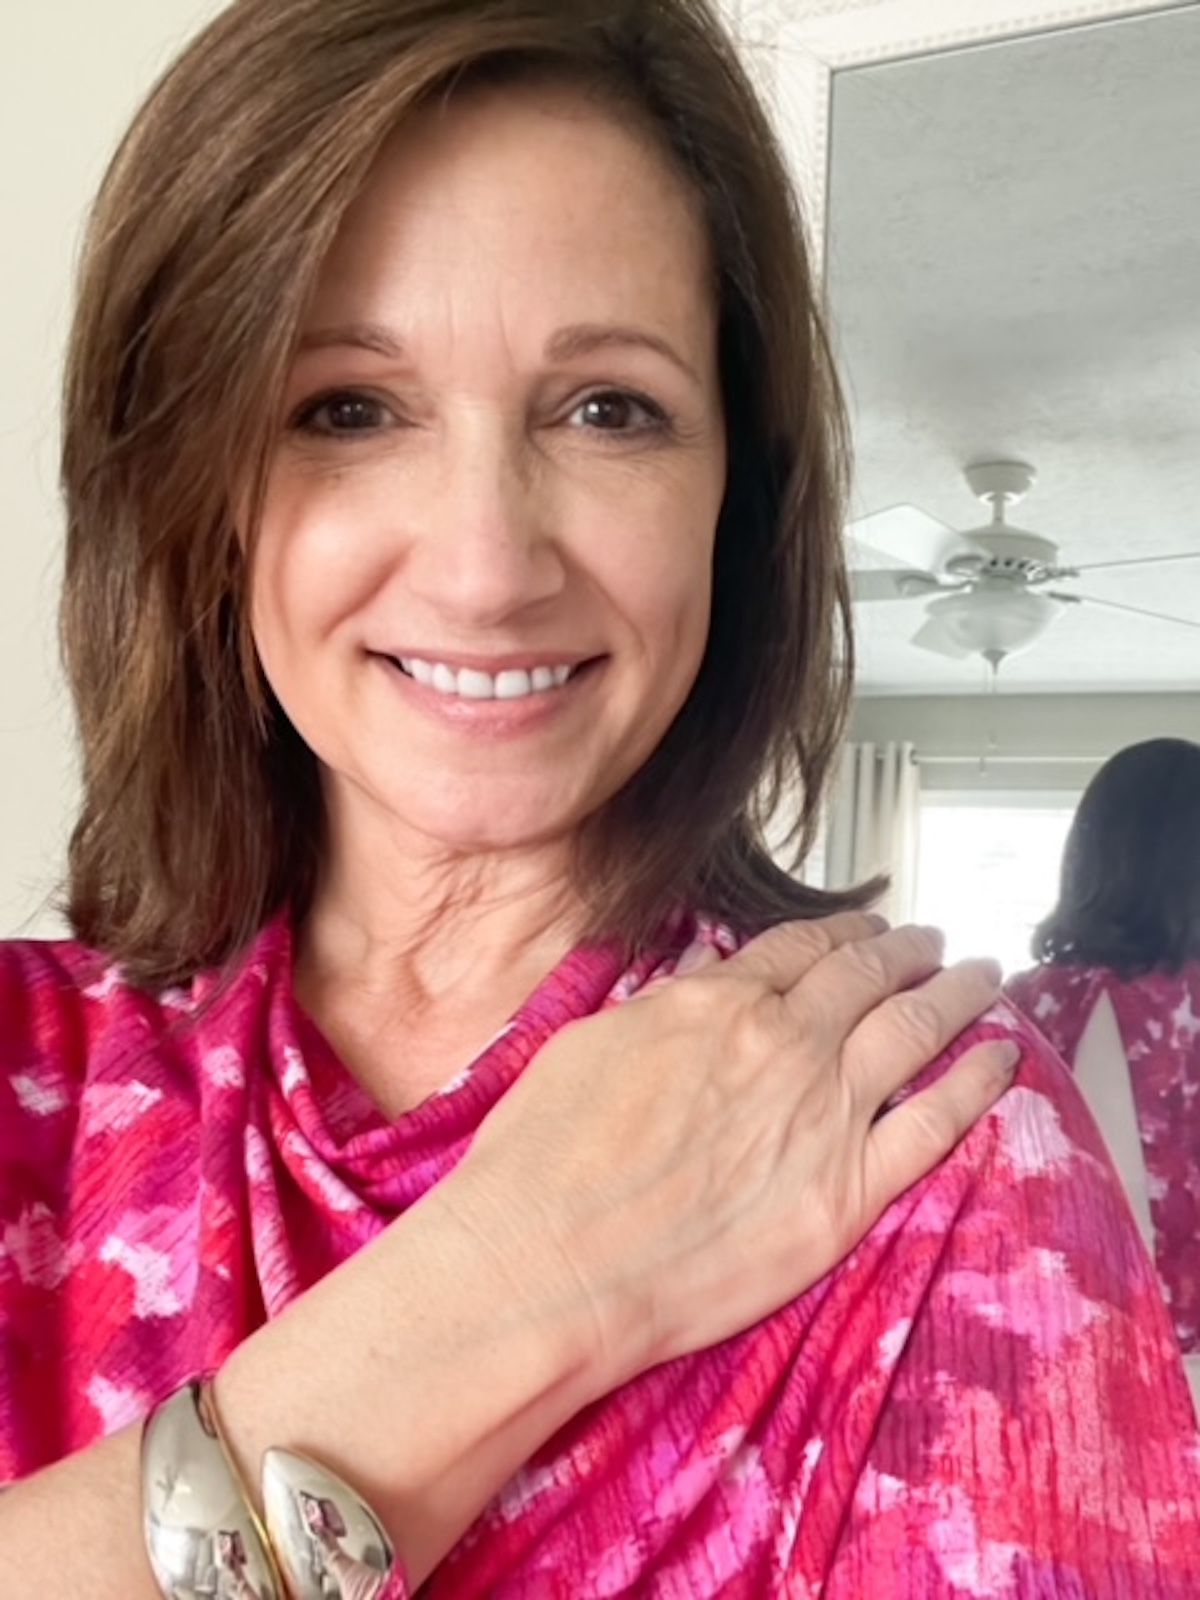
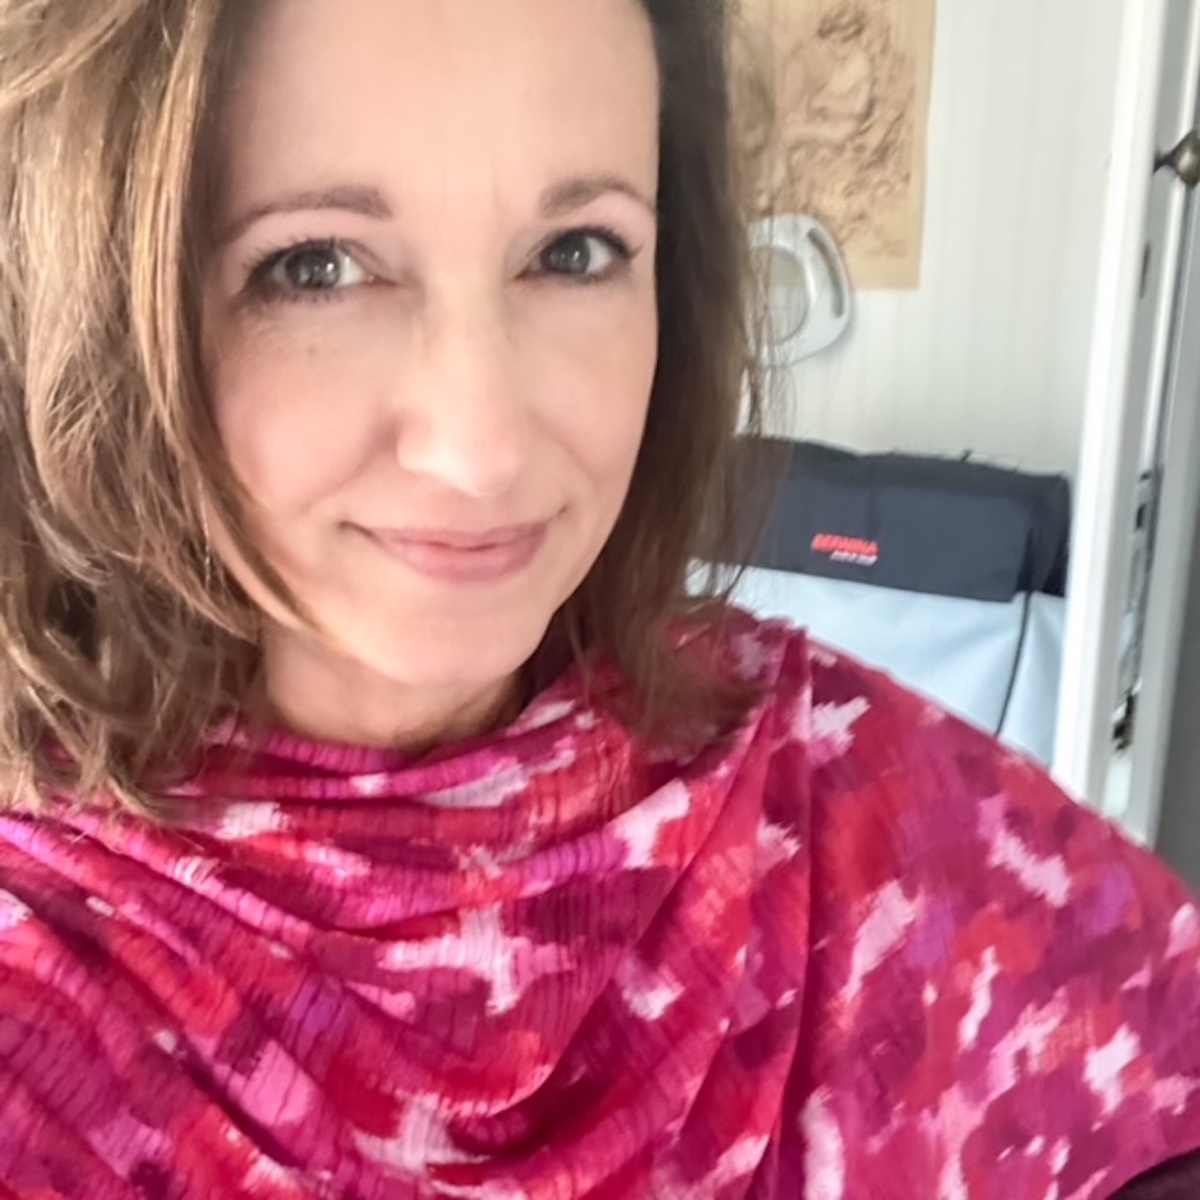
Here’s me wearing the mama-inspired scarf and the bracelet she wore during her modeling days. ?
Materials to Sew an Elegant Scarf-style Bib
- Clothing item for repurposing or fabric of choice (You’ll need a rectangle approximately 18 inches long by 44 inches wide)
- Thread
- Measuring Tape
- Yard Stick
- Seam Gauge
- Fabric Marking Pen
- Sewing Shears
- Sewing Clips or Pins
- Iron and Pressing Cloth
- Closure/Fasteners of Choice
- Presser foot and sewing machine needle suited to your fabric
Instructions to Sew an Elegant Scarf-style Bib
Step 1. Choose the Fabric
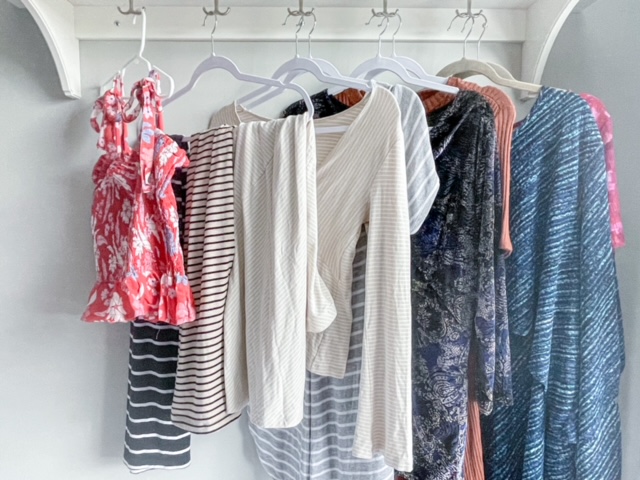
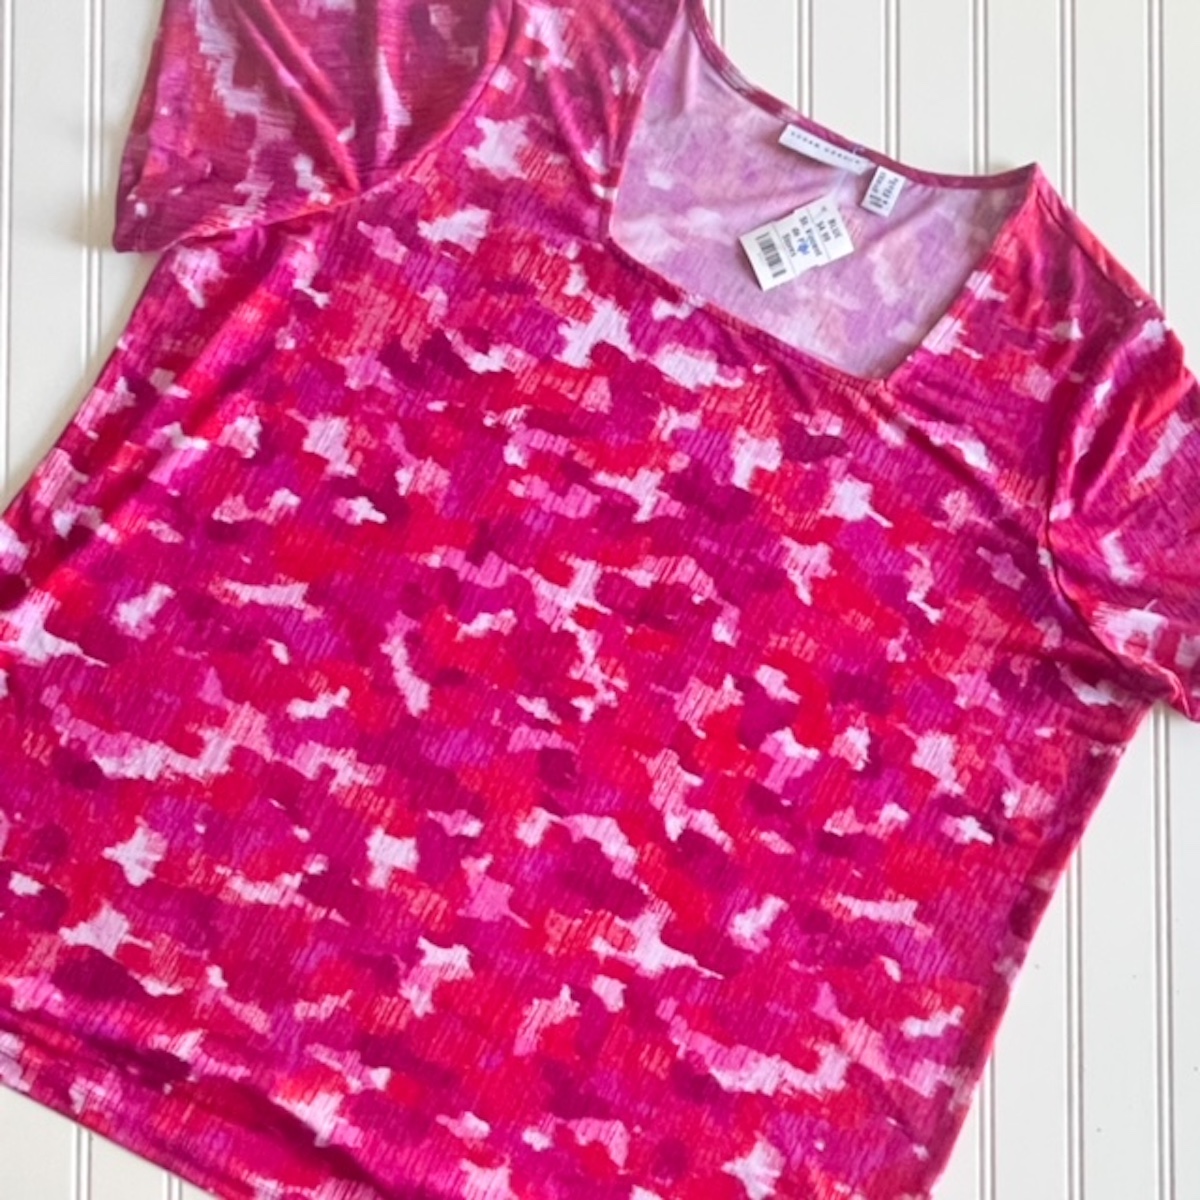
My mom always loved a good thrift store find. She had a knack for getting the best deals for home goods, clothing, and accessories. She even volunteered for years at a local thrift store helping to raise money for the hospital auxiliary. I like to think I continue in her footsteps as I support our local thrift stores. Here in Knoxville, my favorites are KARM and Ladies of Charity. The finds pictured above are from the St. Vincent de Paul Store on a recent shopping trip with my daughters while visiting Cincinnati. I think my mom would love to know her granddaughters now appreciate the art of thrifting while supporting a good cause. These items will all be transformed into up-cycled projects, starting with this one. The bright pink shirt peeking out on the far right side of this line-up is the lucky winner to become my mom’s new scarf!
Because it has a soft drape, I prefer lightweight knit fabric for this project. When I am thrifting, I generally head over to the plus-size area to find cool fabrics and get the most fabric for my thrifting dollar. For this project, you are welcome to shop new, shop your stash, or try your hand at second-hand treasures. If you are nervous about sewing with knits, this is the perfect project to practice with.
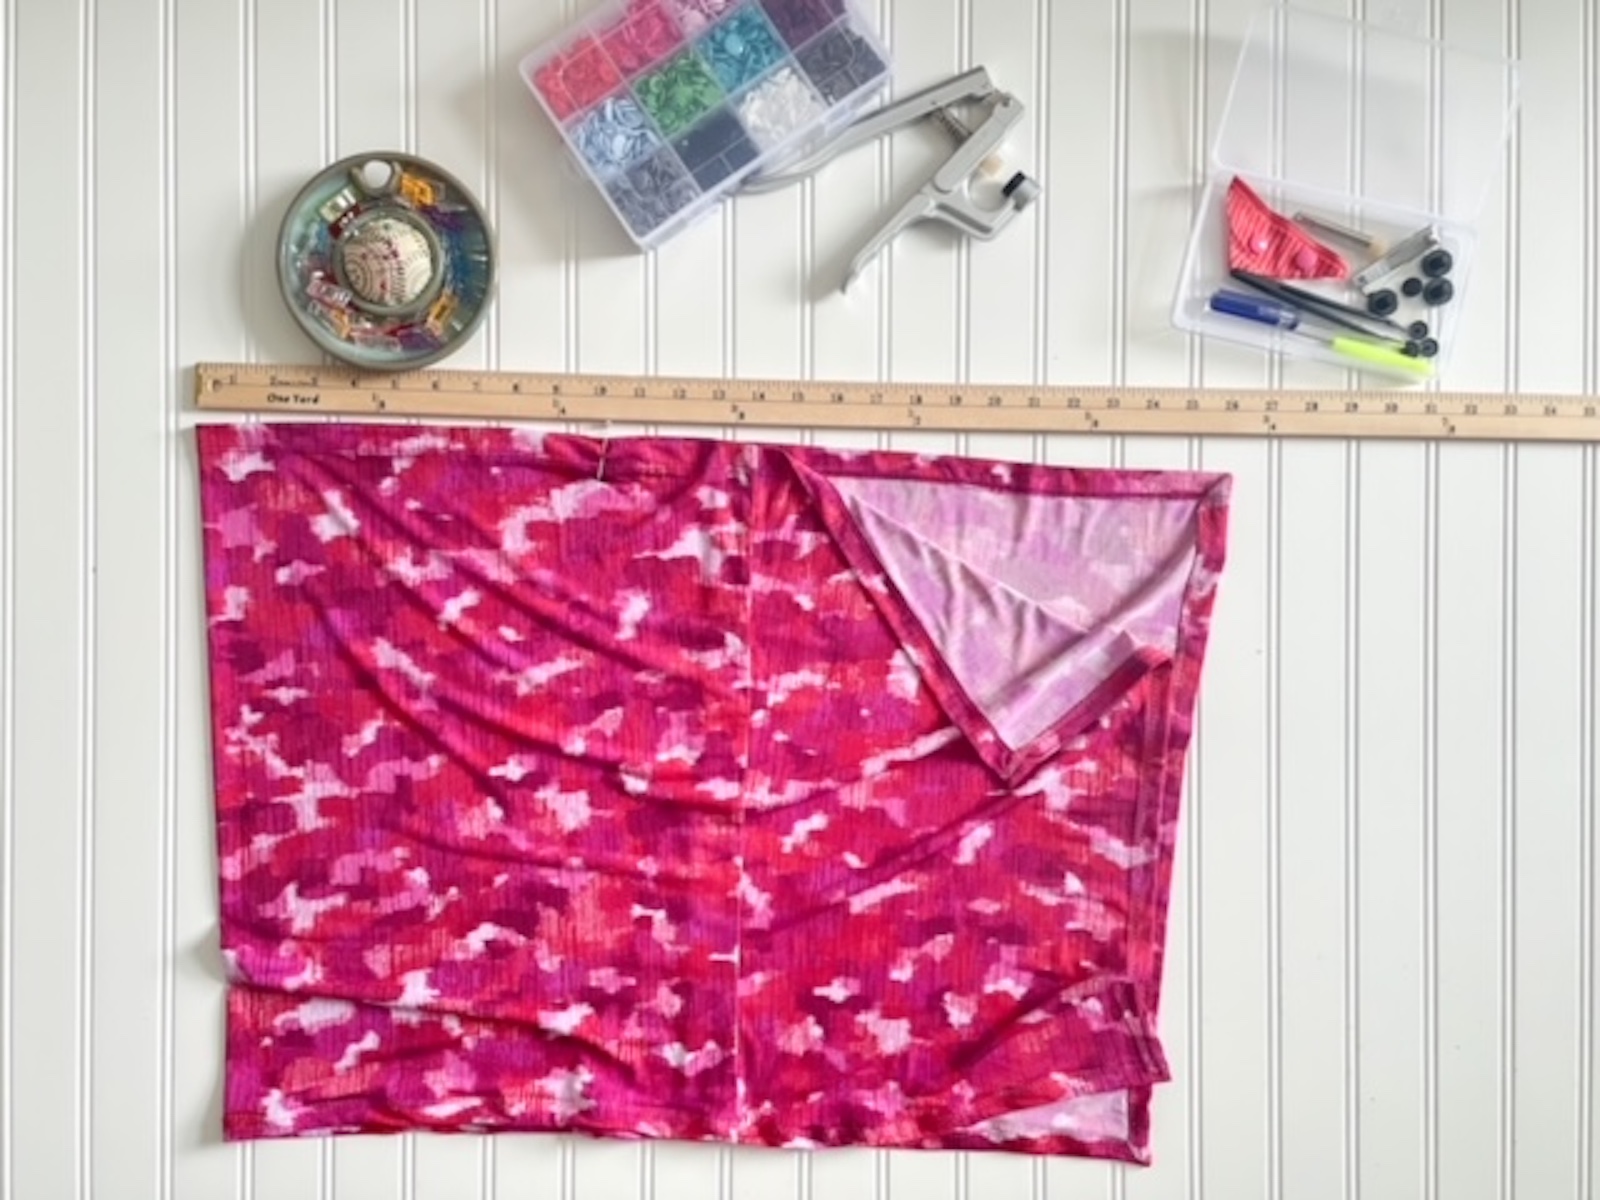
Step 2. Cut the Fabric
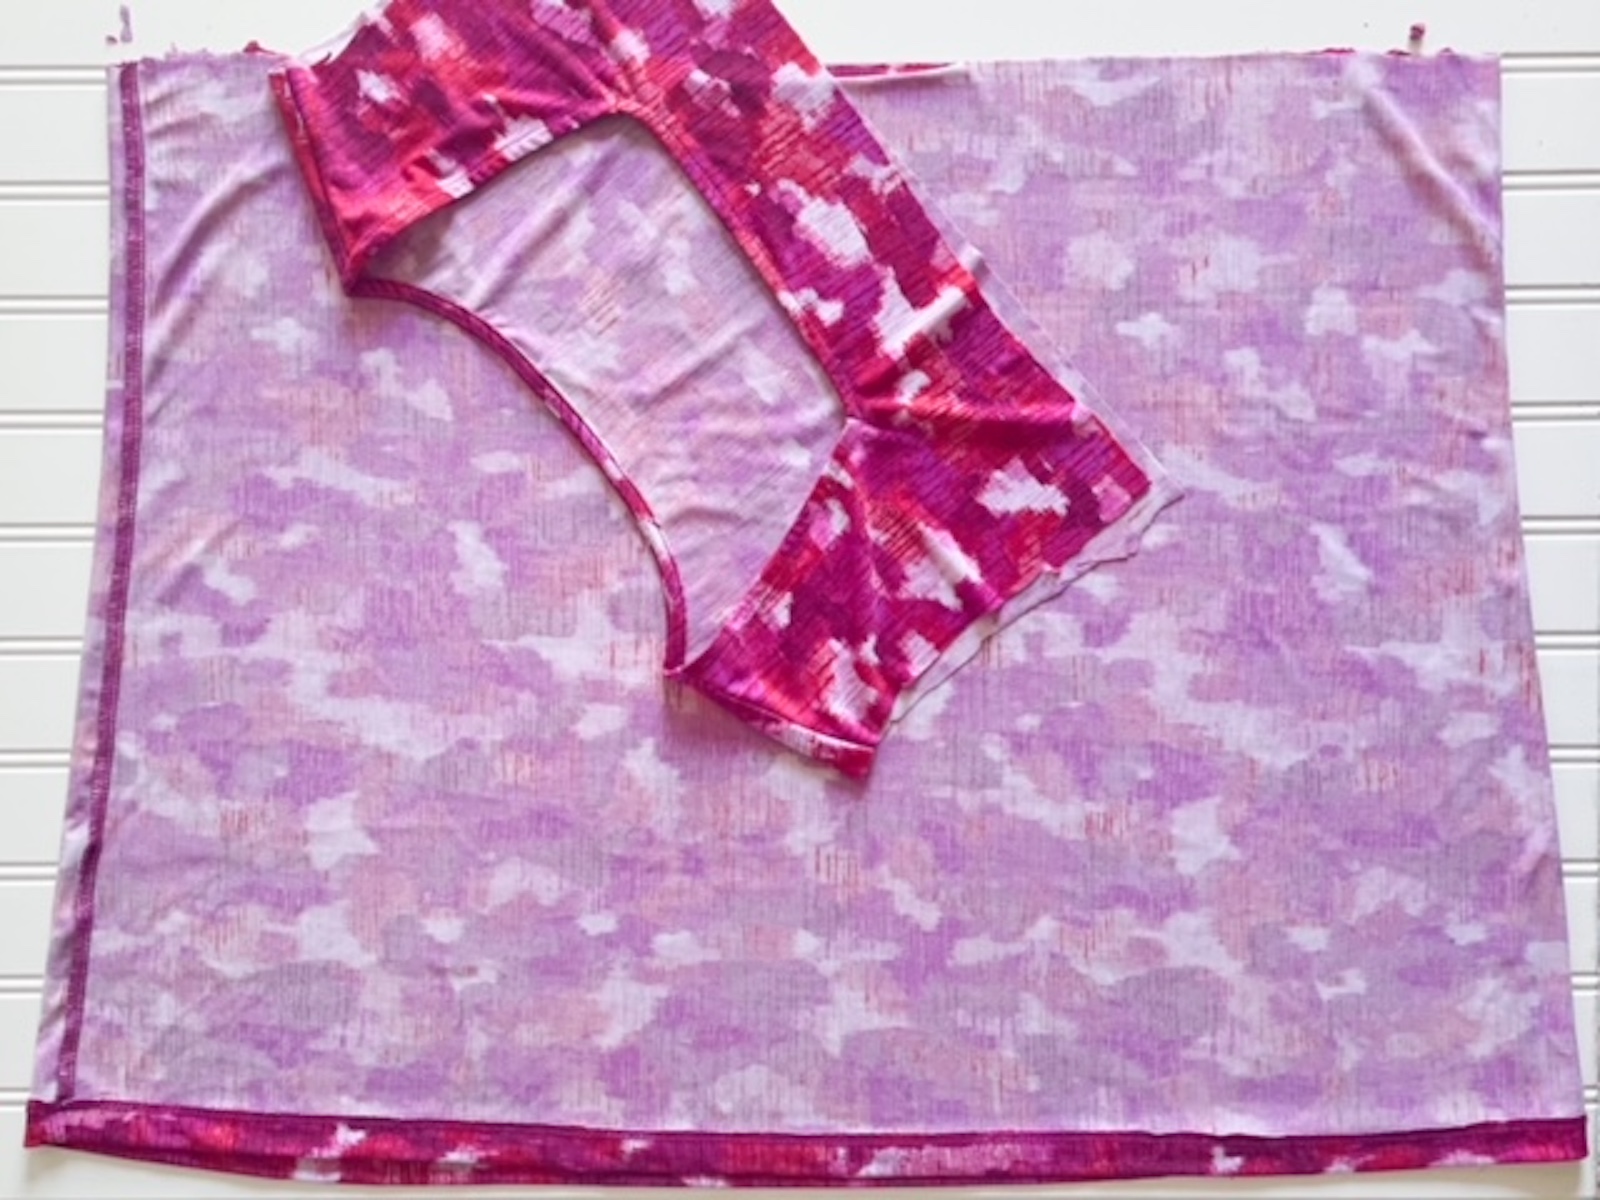
Cut a rectangle the width of the fabric you are using. As you see here, I just cut straight across the shirt below the armholes. If you are using fabric yardage, simply cut a piece about 18″ long and use the full width of the fabric. This does not have to be exact. I chose my dimensions based on the garment I was repurposing. Note: I cut a vertical line in the center back of the shirt in order to have a flat rectangle without having the seams from the shirt landing in the center of the bib. Skip this step if you are using yardage instead of up-cycling.
Step 3. Hem the Fabric

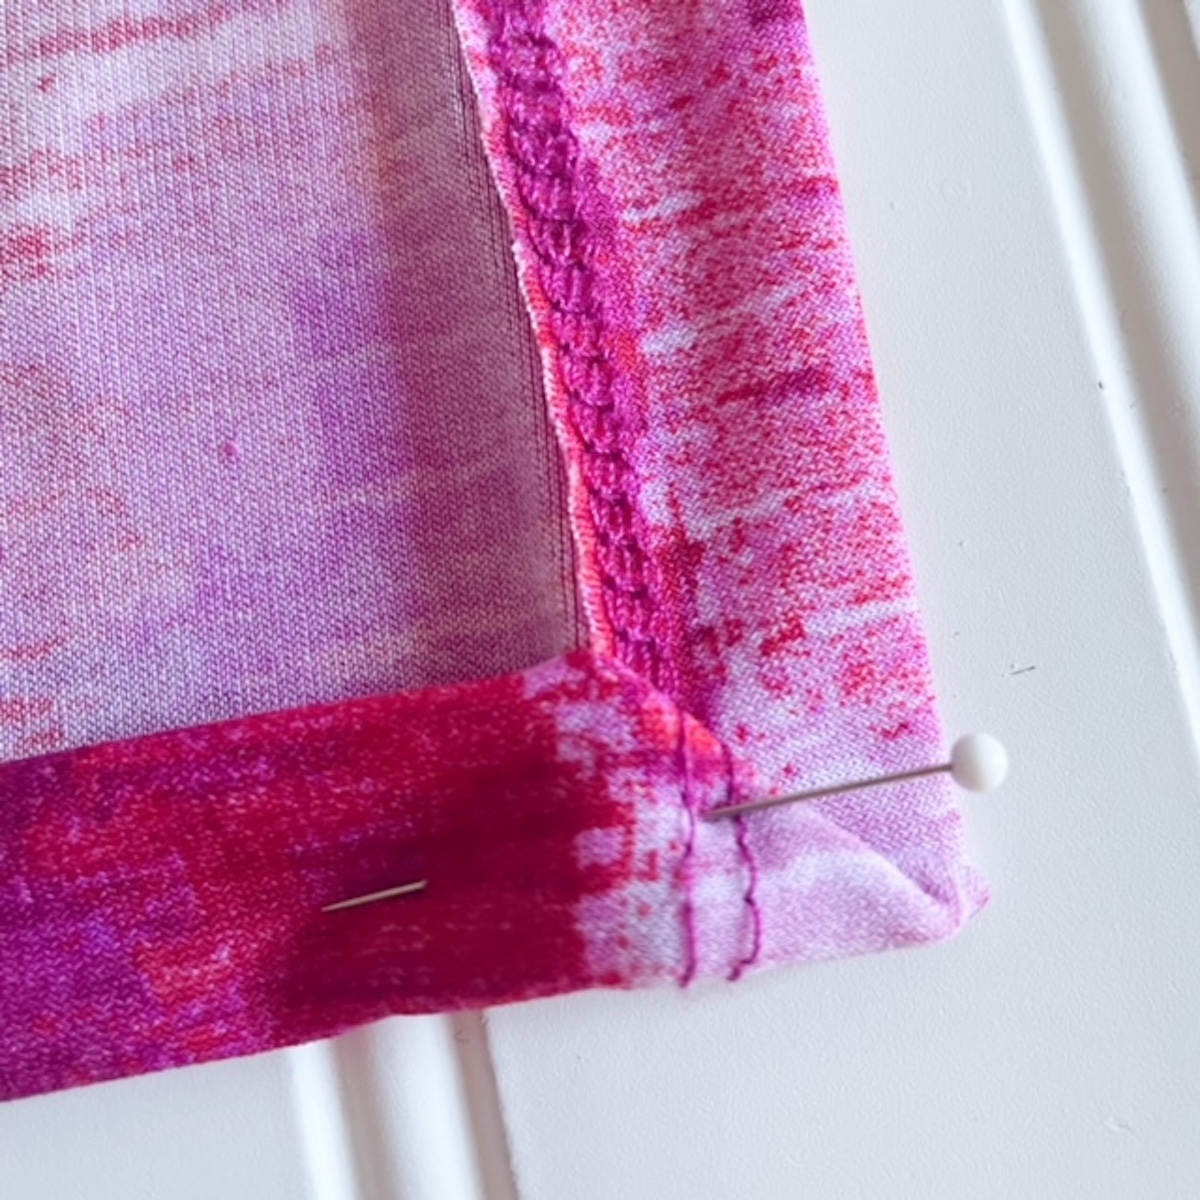
Sew a hem around the perimeter of the rectangle. I got to “cheat” because one edge of my fabric was already hemmed. Make sure to use the proper foot and/or stitch setting for your machine that is best suited to your fabric. I chose the BERNINA Reverse Pattern Foot #1 and used stretch stitch #8 in the practical stitch menu. I like the decorative style of this stitch in addition to allowing the fabric to maintain its draping ability. Check out this tutorial if you want to learn more about sewing with knits.
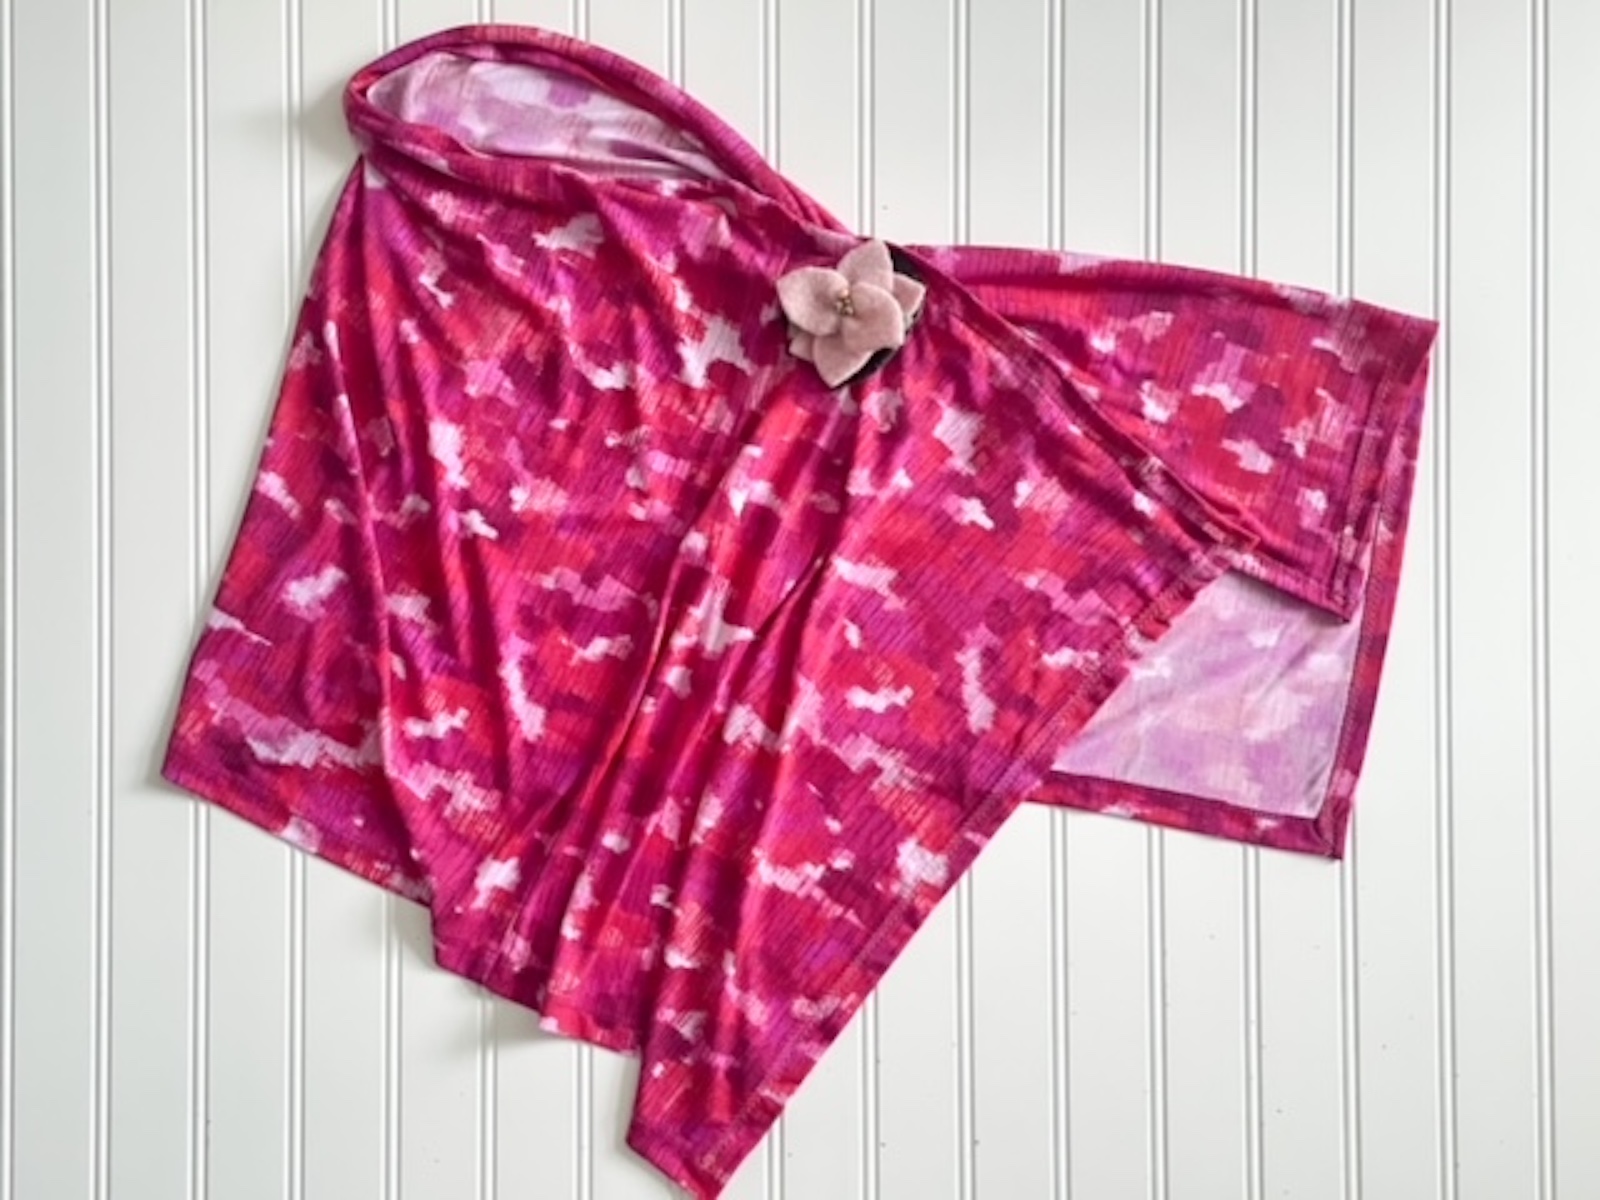
Step 4. Choose Scarf Draping Style
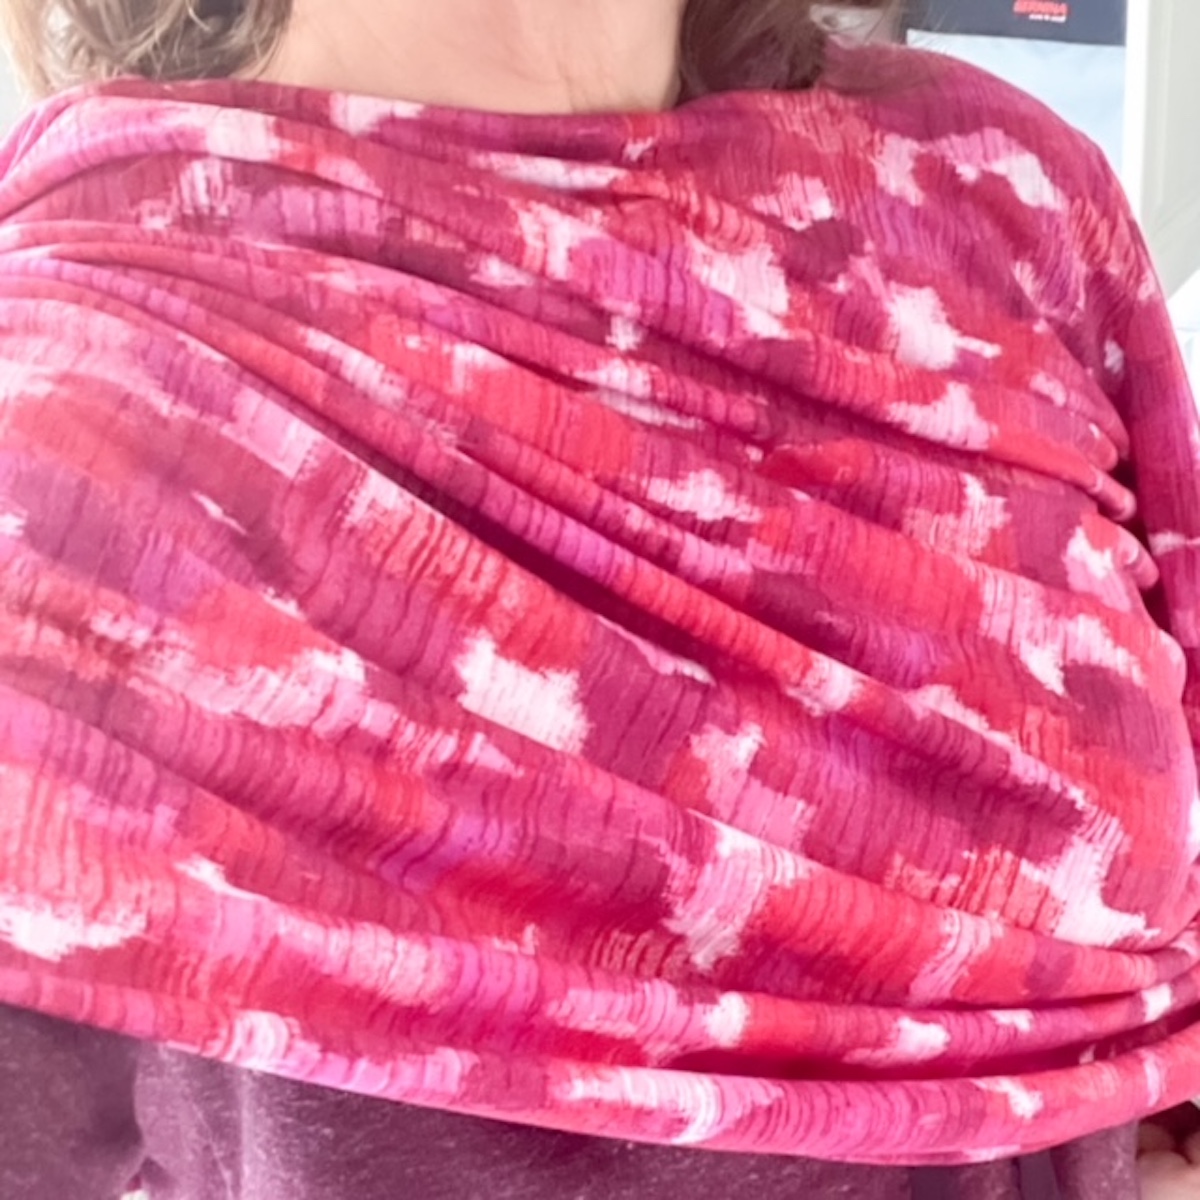
This is where your creativity comes in. I chose an asymmetrical drape with a closure at the shoulder. I decided to put snaps along the edge in order to allow flexibility for styling the scarf with a front drape as well. A quick Pinterest search can give you some ideas. Just search “How to style a scarf” to get your creative juices flowing.
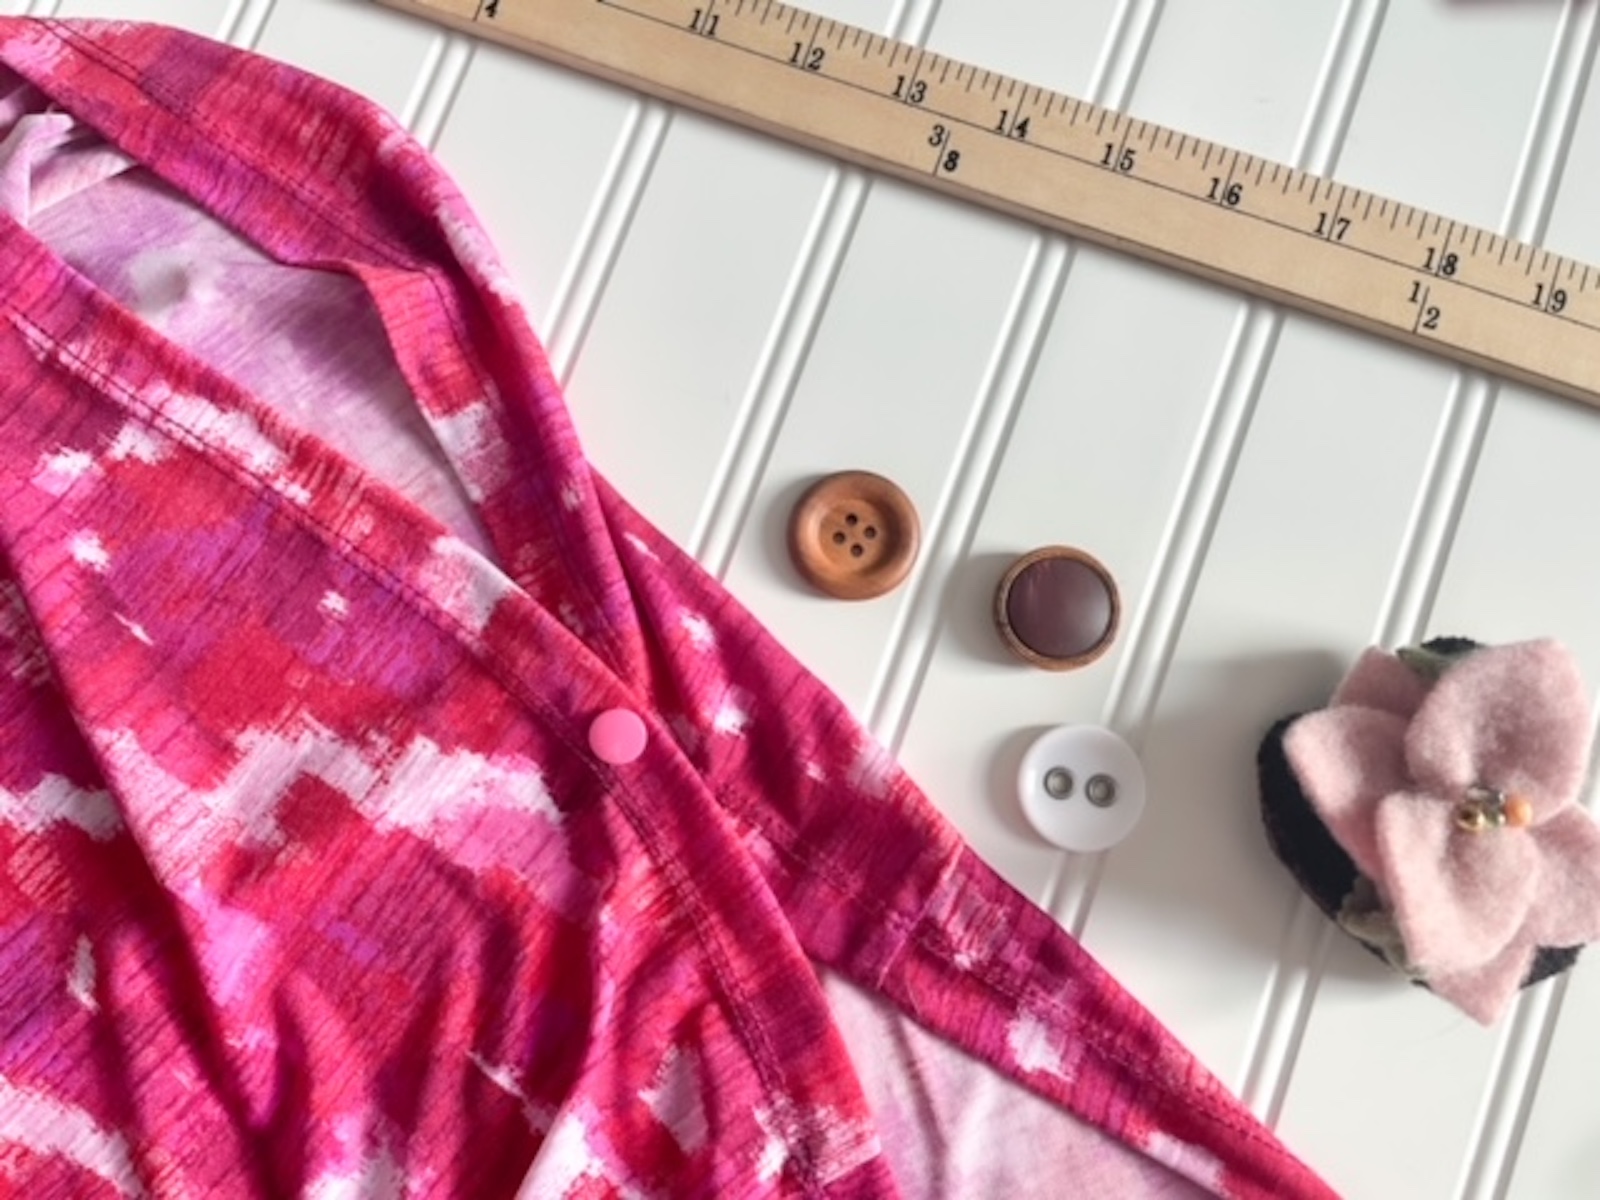
Step 5. Attach Closure/Fasteners(s) of Choice
I decided to use plastic snaps in order to allow the flexibility I wanted in this project, but also added a decorative pin to hide the snap when the scarf is fastened at the shoulder. You may choose to use any of the following ideas for your project:
- Velcro
- Buttons
- Snaps
- Decorative Pin/Brooch
- Or a combination of these. I like the look of a fun button or fancy pin attached to the outside, but using Velcro for fastening the scarf.
Enjoy!