How to Sew Ruffles with the BERNINA Shirring Foot #C24

First introduced during the Renaissance Era, ruffles have stood the test of time when it comes to fashion design. It’s no surprise they have trickled into the home sewing industry! While there are many ways to ruffle fabric, I recently learned that I can gather on my BERNINA L 890 using the Shirring Foot #C24. Who knew!
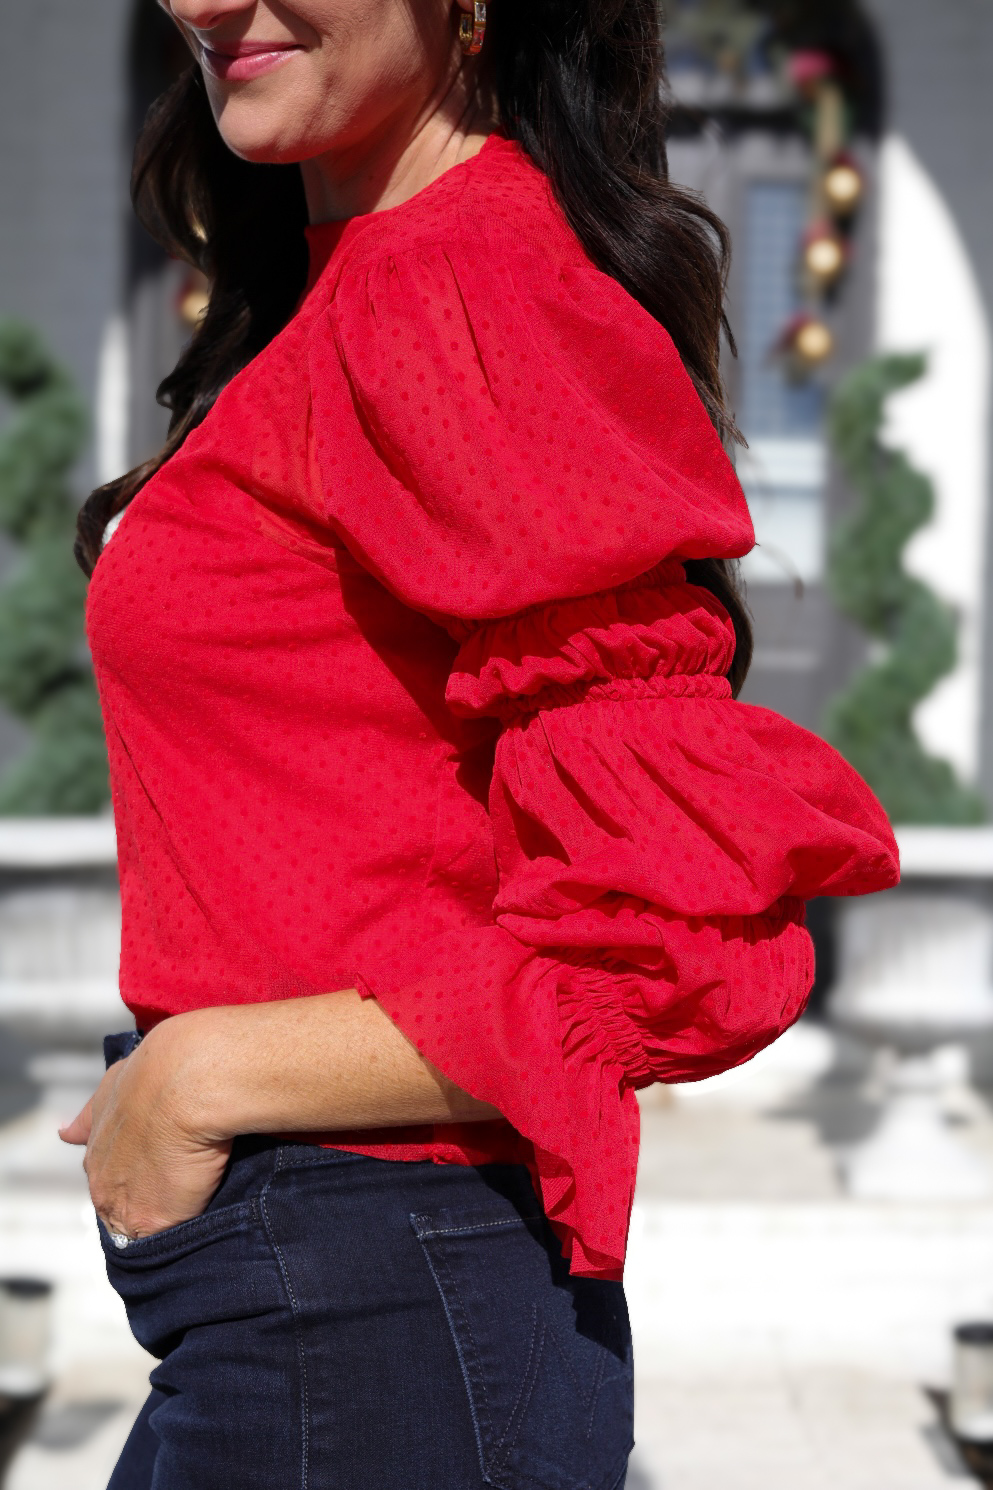
In today’s blog post, I will walk you through how you can do this technique at home, too! I will be using Simplicity’s Easy-to-Sew pattern S8839 to demonstrate this method. The voluminous puff sleeves are the perfect pattern piece for shirring.

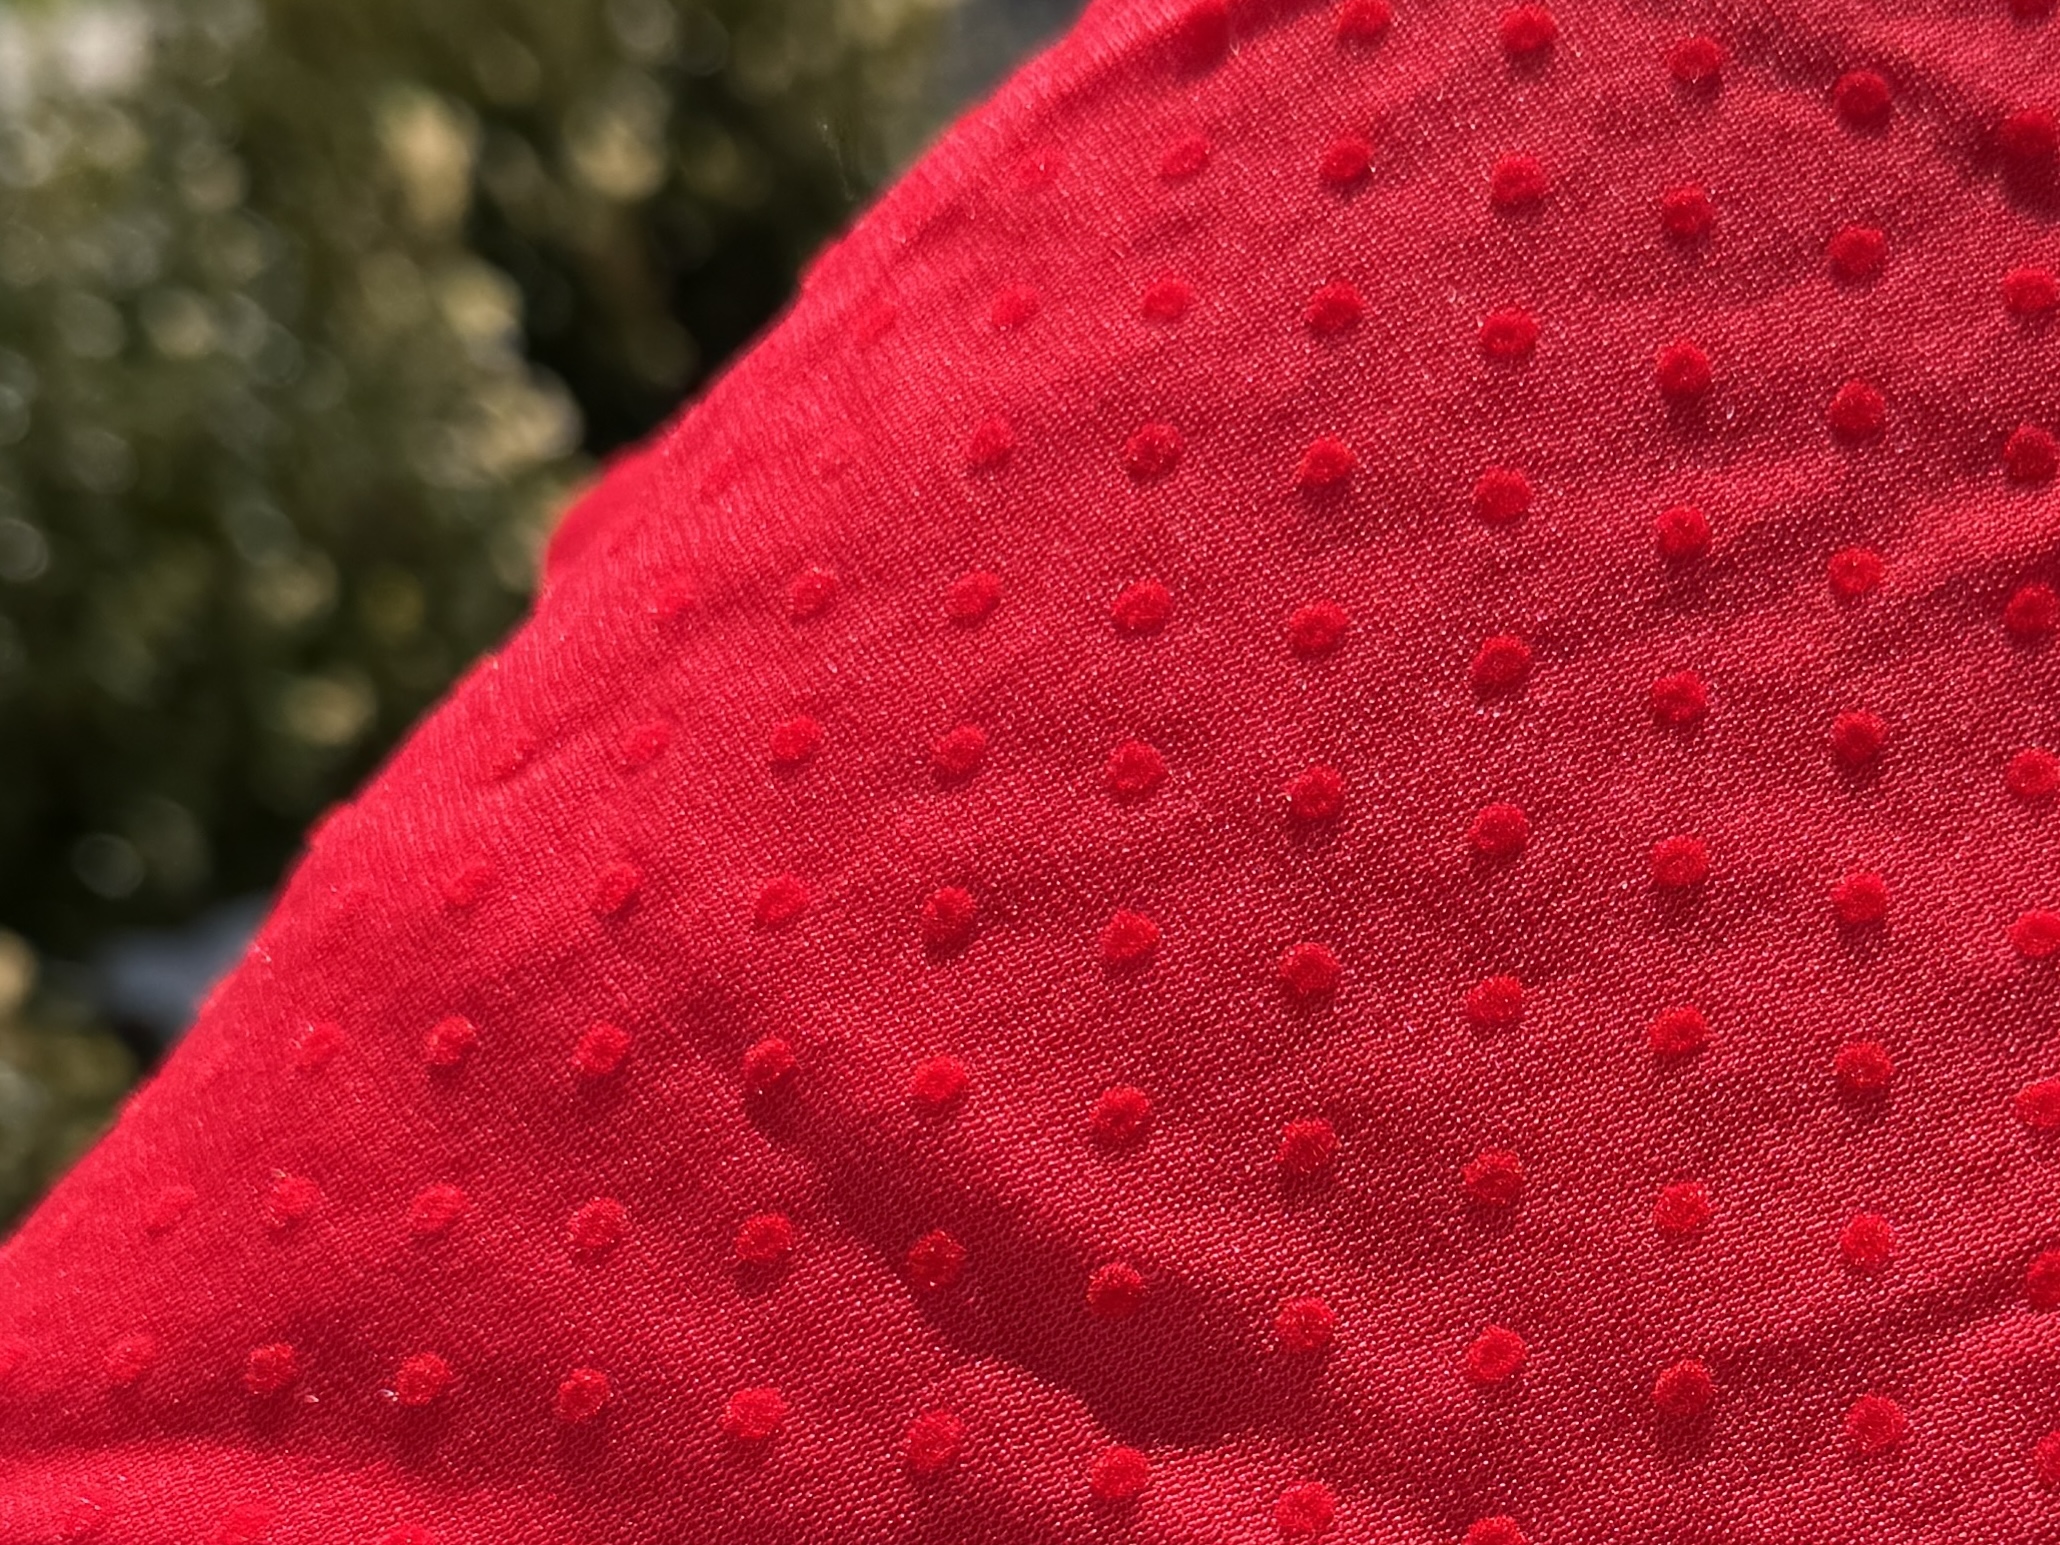
For the fabric, I am using a thin sheer mesh fabric featuring small polka dots. My plan is to create a sheer top to wear over a red tank for Valentine’s Day!
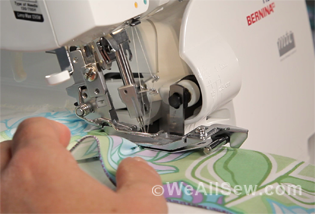
While the sewing pattern originally calls for bias tape and elastic to create the gathering, we will be completing this ruffled effect in one simple step using BERNINA’s Shirring Foot. The Shirring Foot is perfect for gathering lightweight single-layer fabrics. Doubling the layers of fabric may lessen the amount of shirring, so stick to one layer at a time! Let’s take a detailed look at the Shirring Foot #C24.
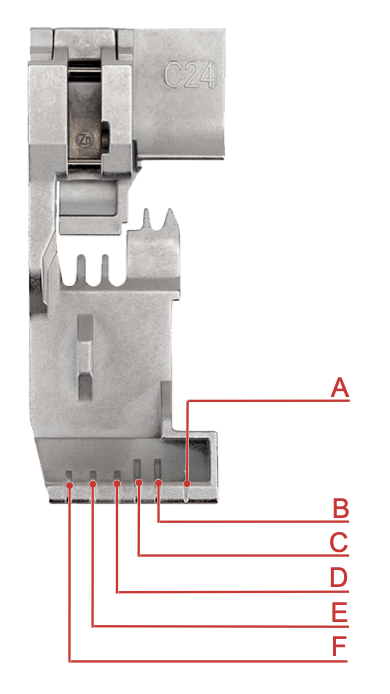
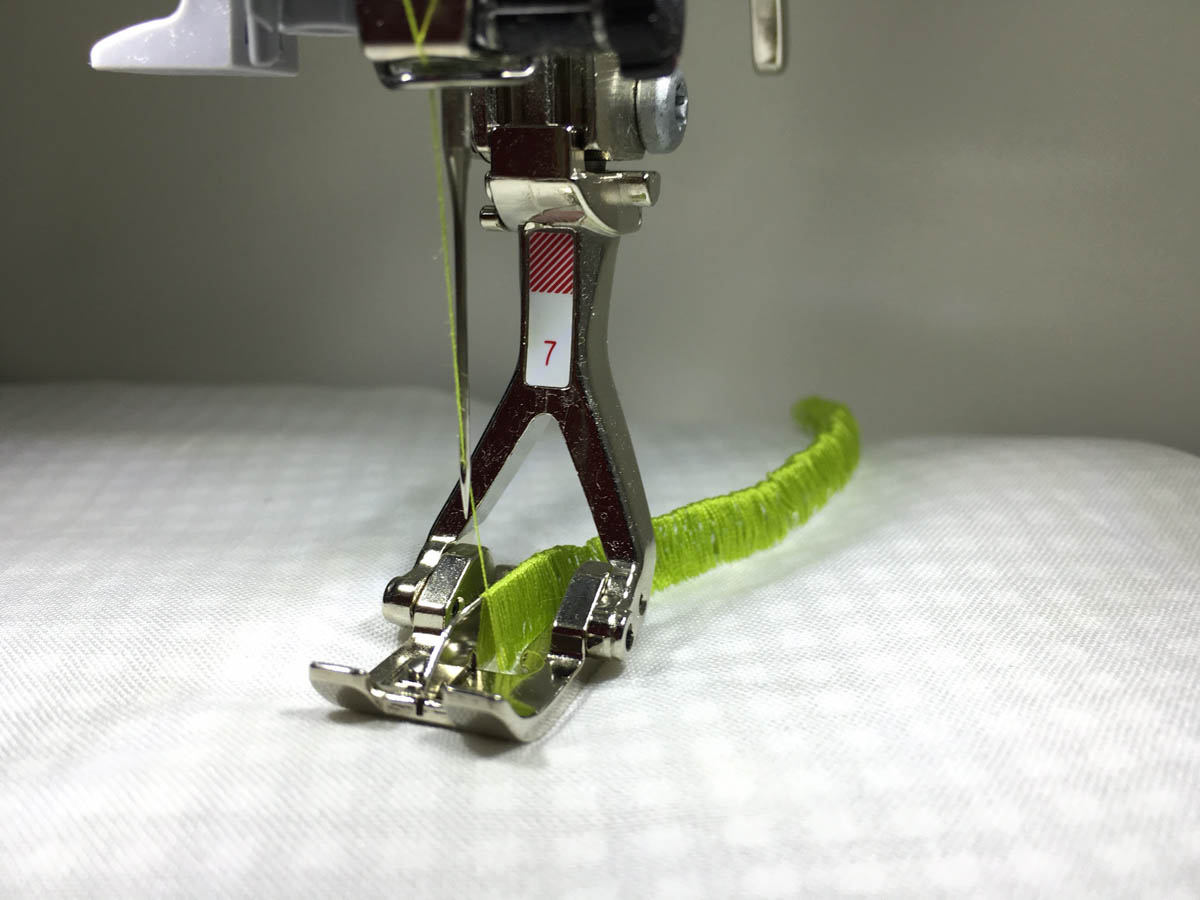
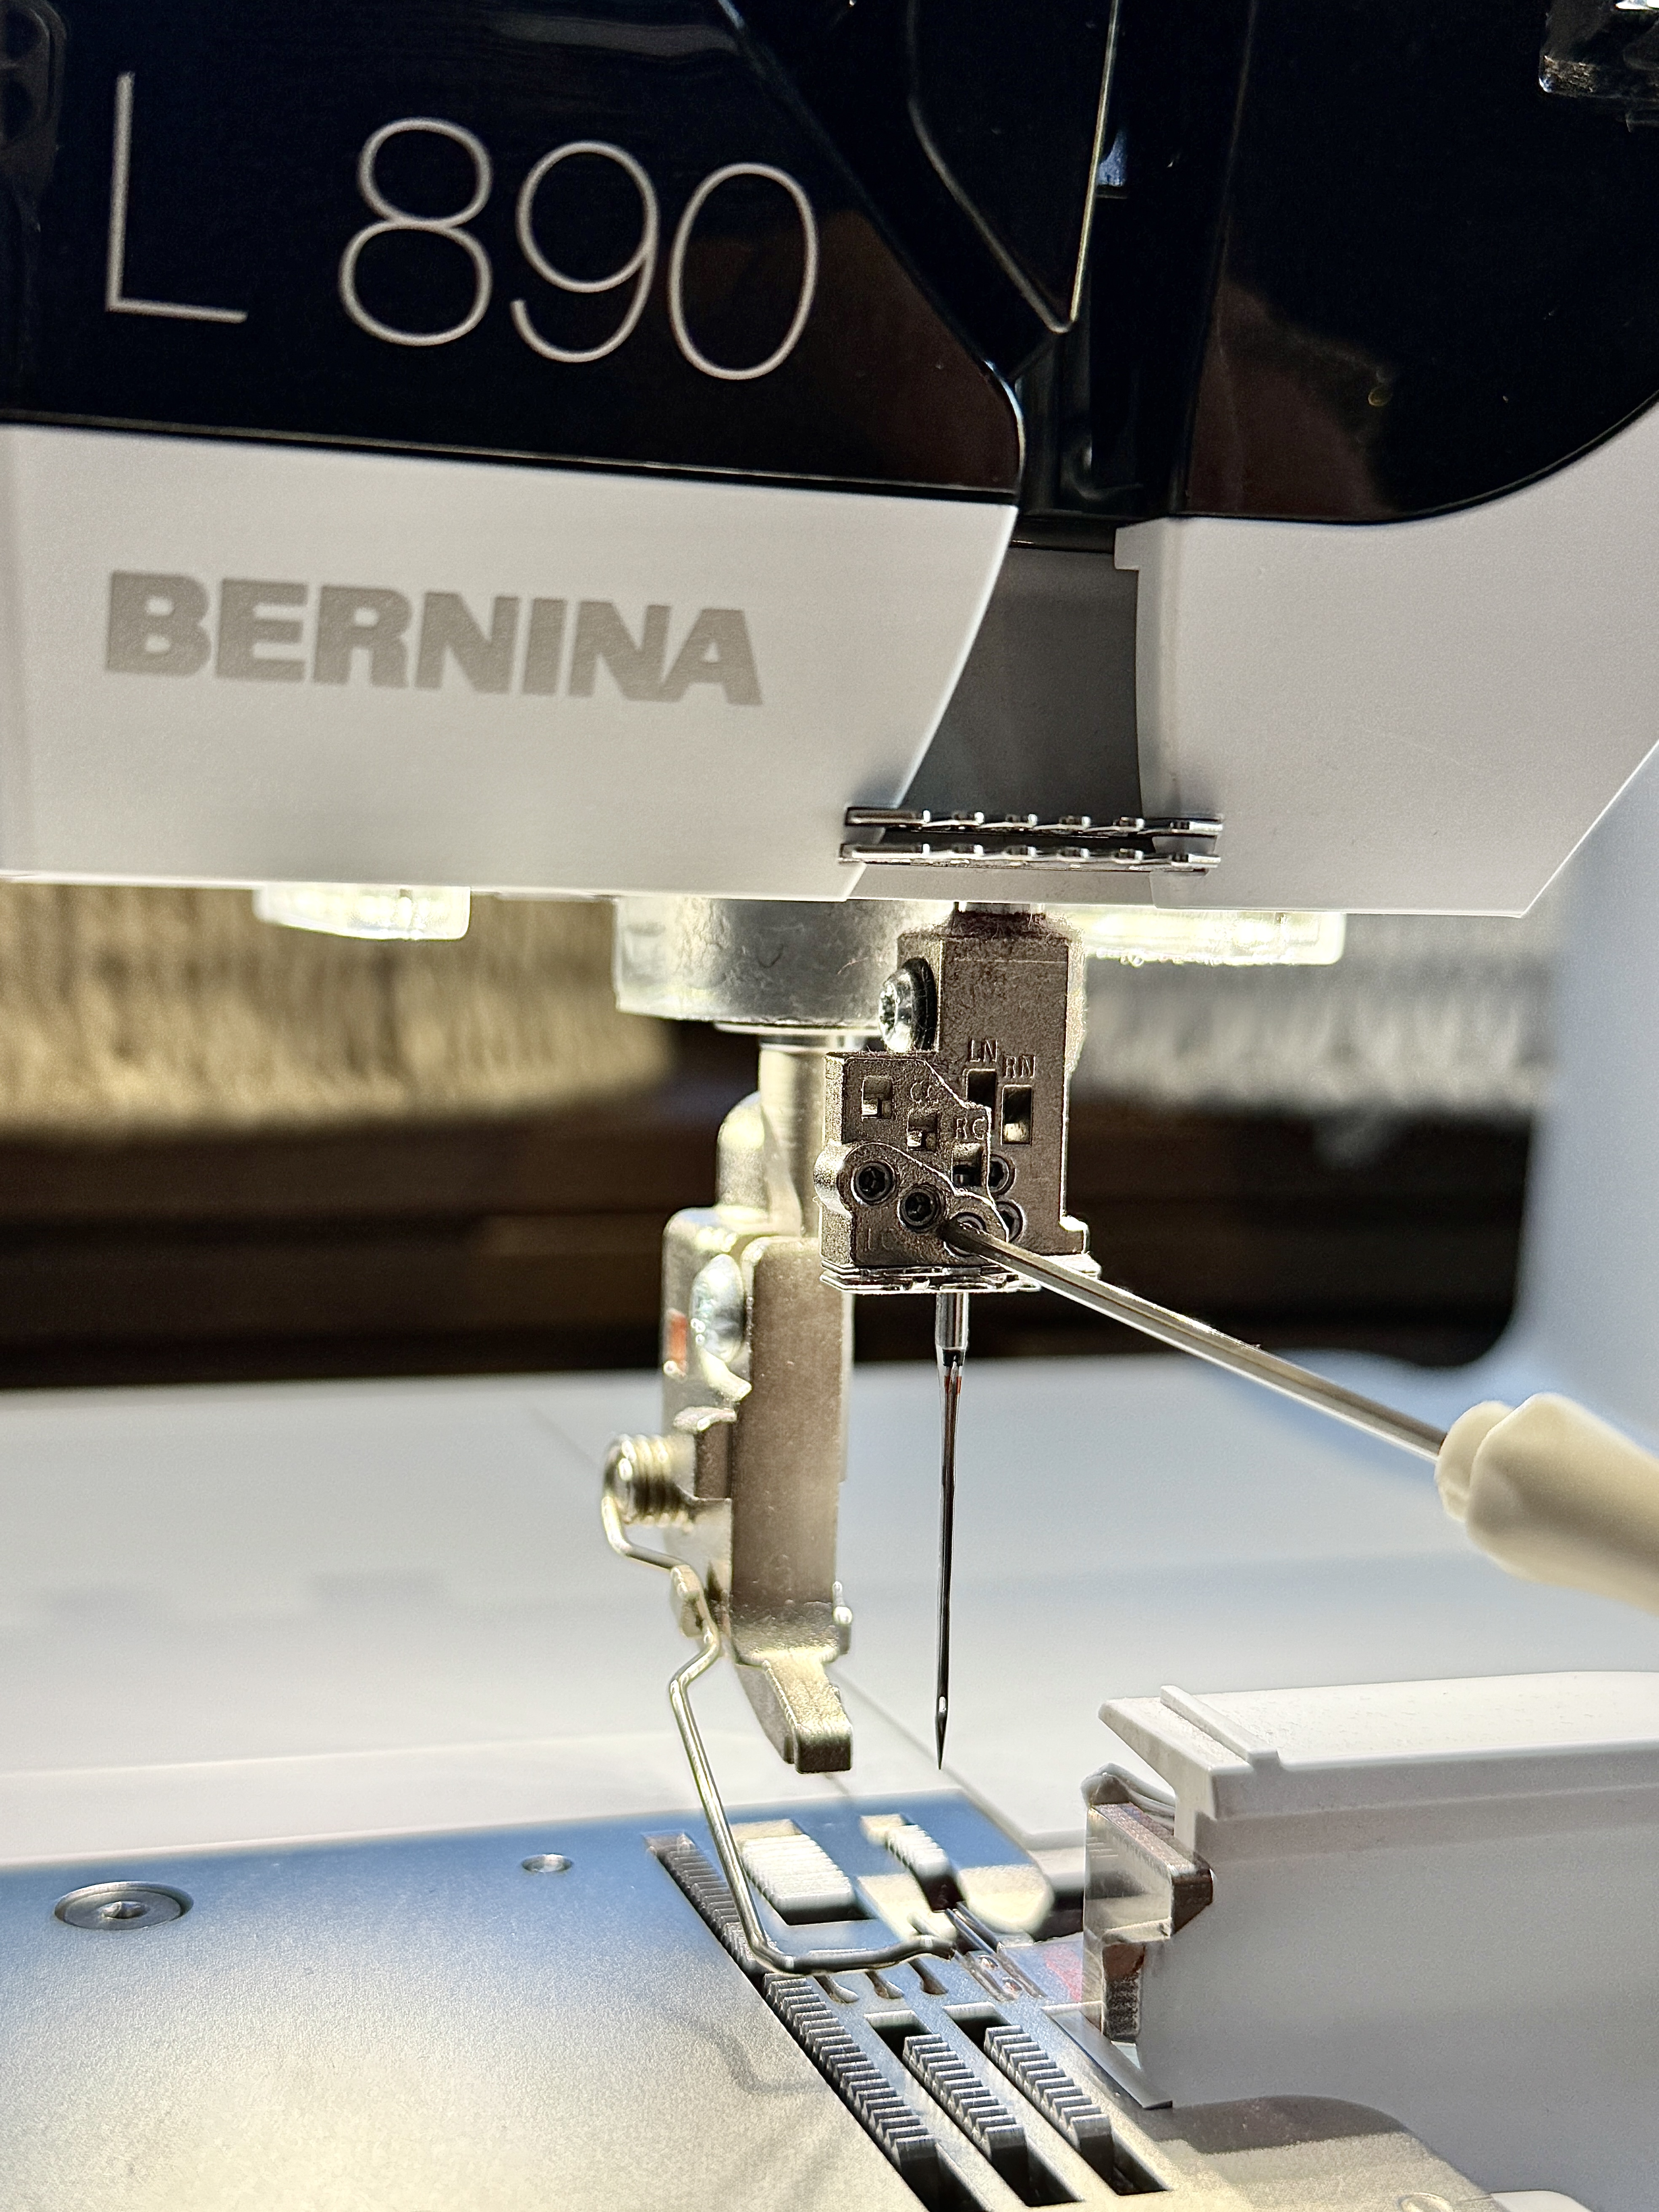
There are many markings on the Shirring Foot, but the main marking you will need to pay attention to for this project is marking D (right coverstitch needle placement). This marking will be the guideline you follow when creating your chainstitch.
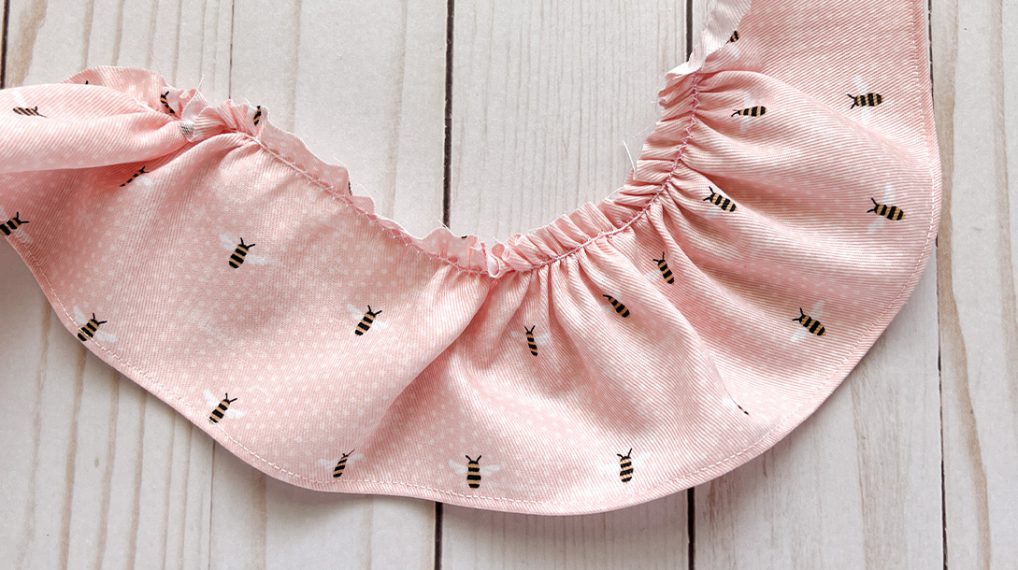
Now, when it comes to gathering the fabric using this foot, you can either gather the fabric to be rigid, or you can gather the fabric so that the stitches stretch. In this post, I will be showing you how to create a stretchable gather of fabric, otherwise known as “shirring”.
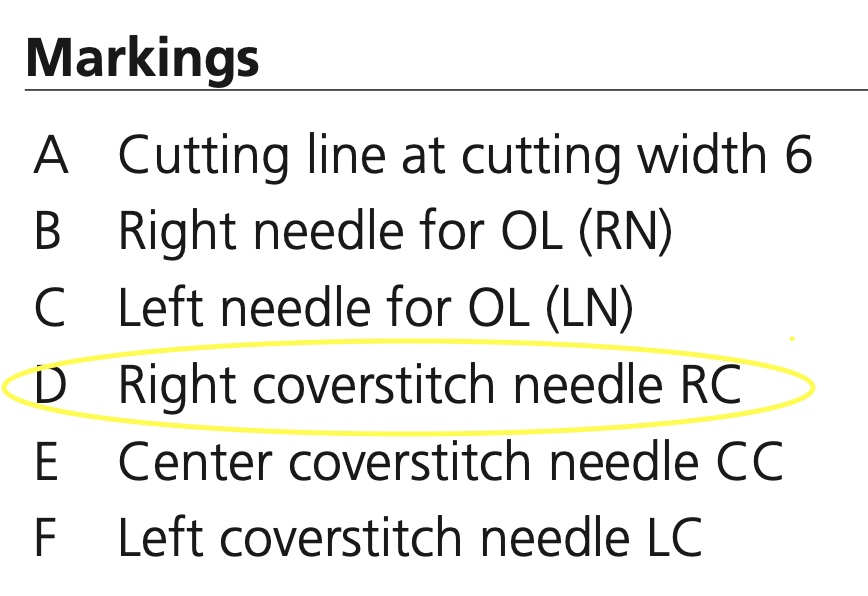
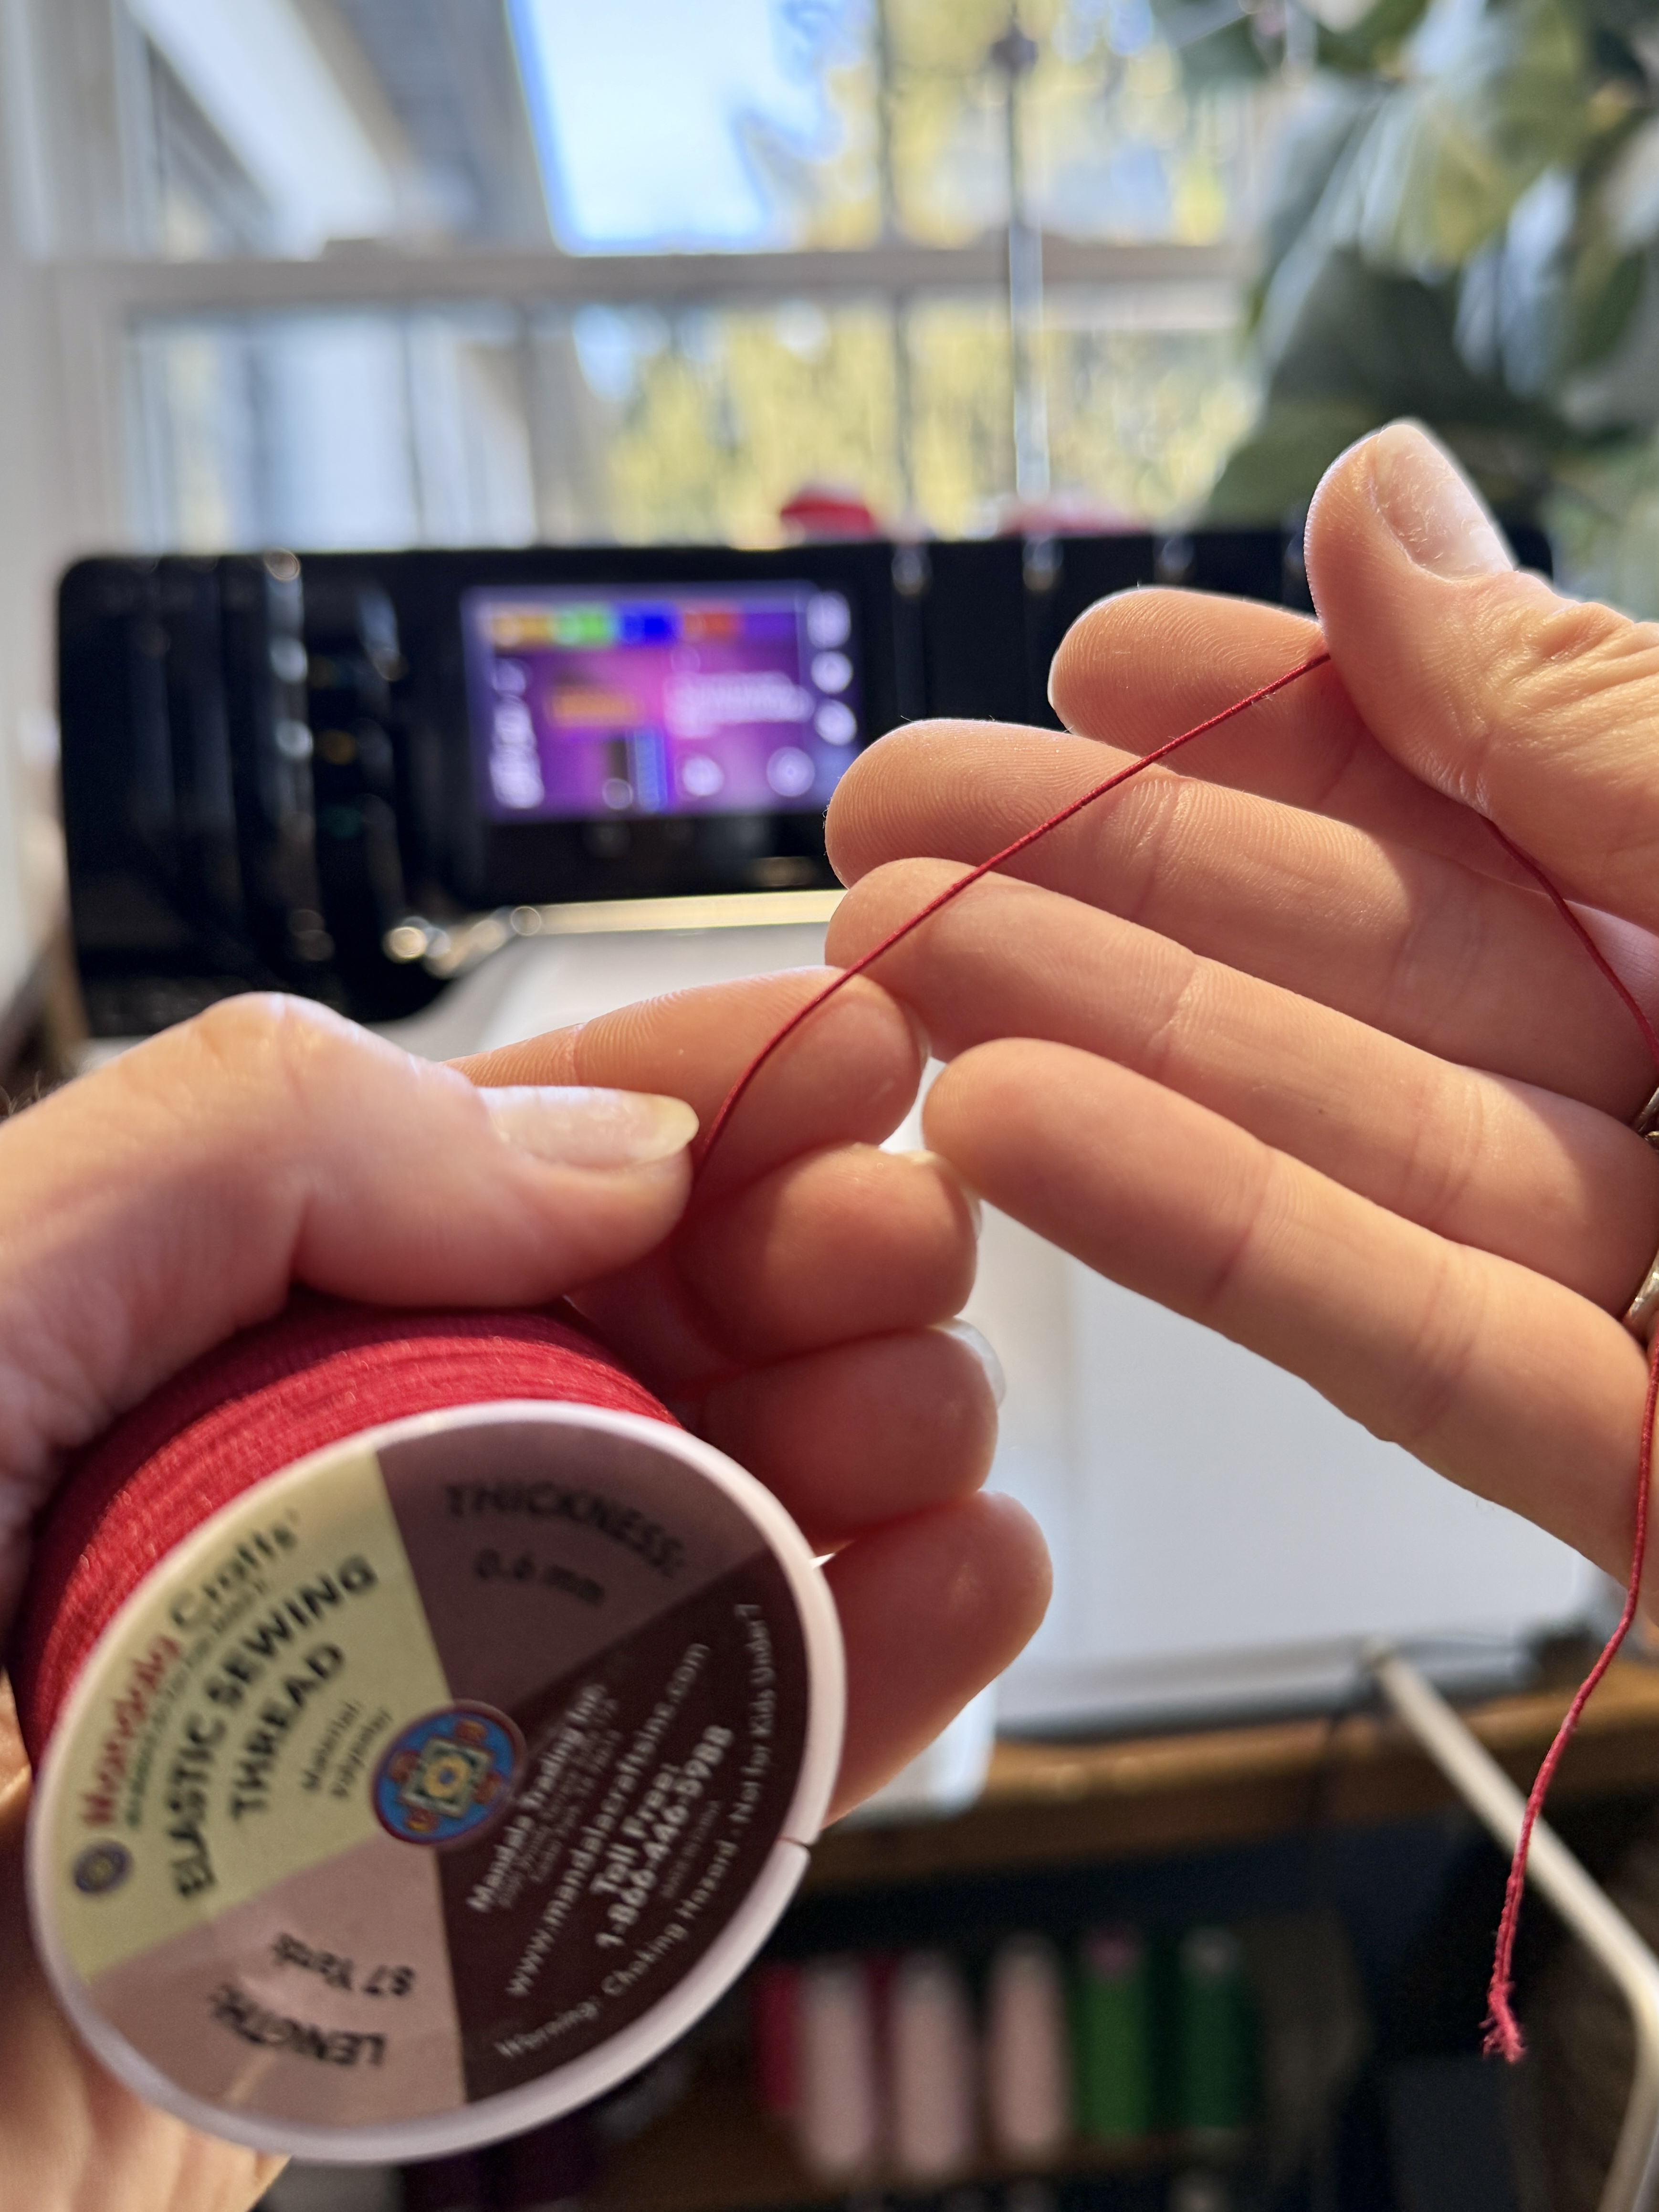
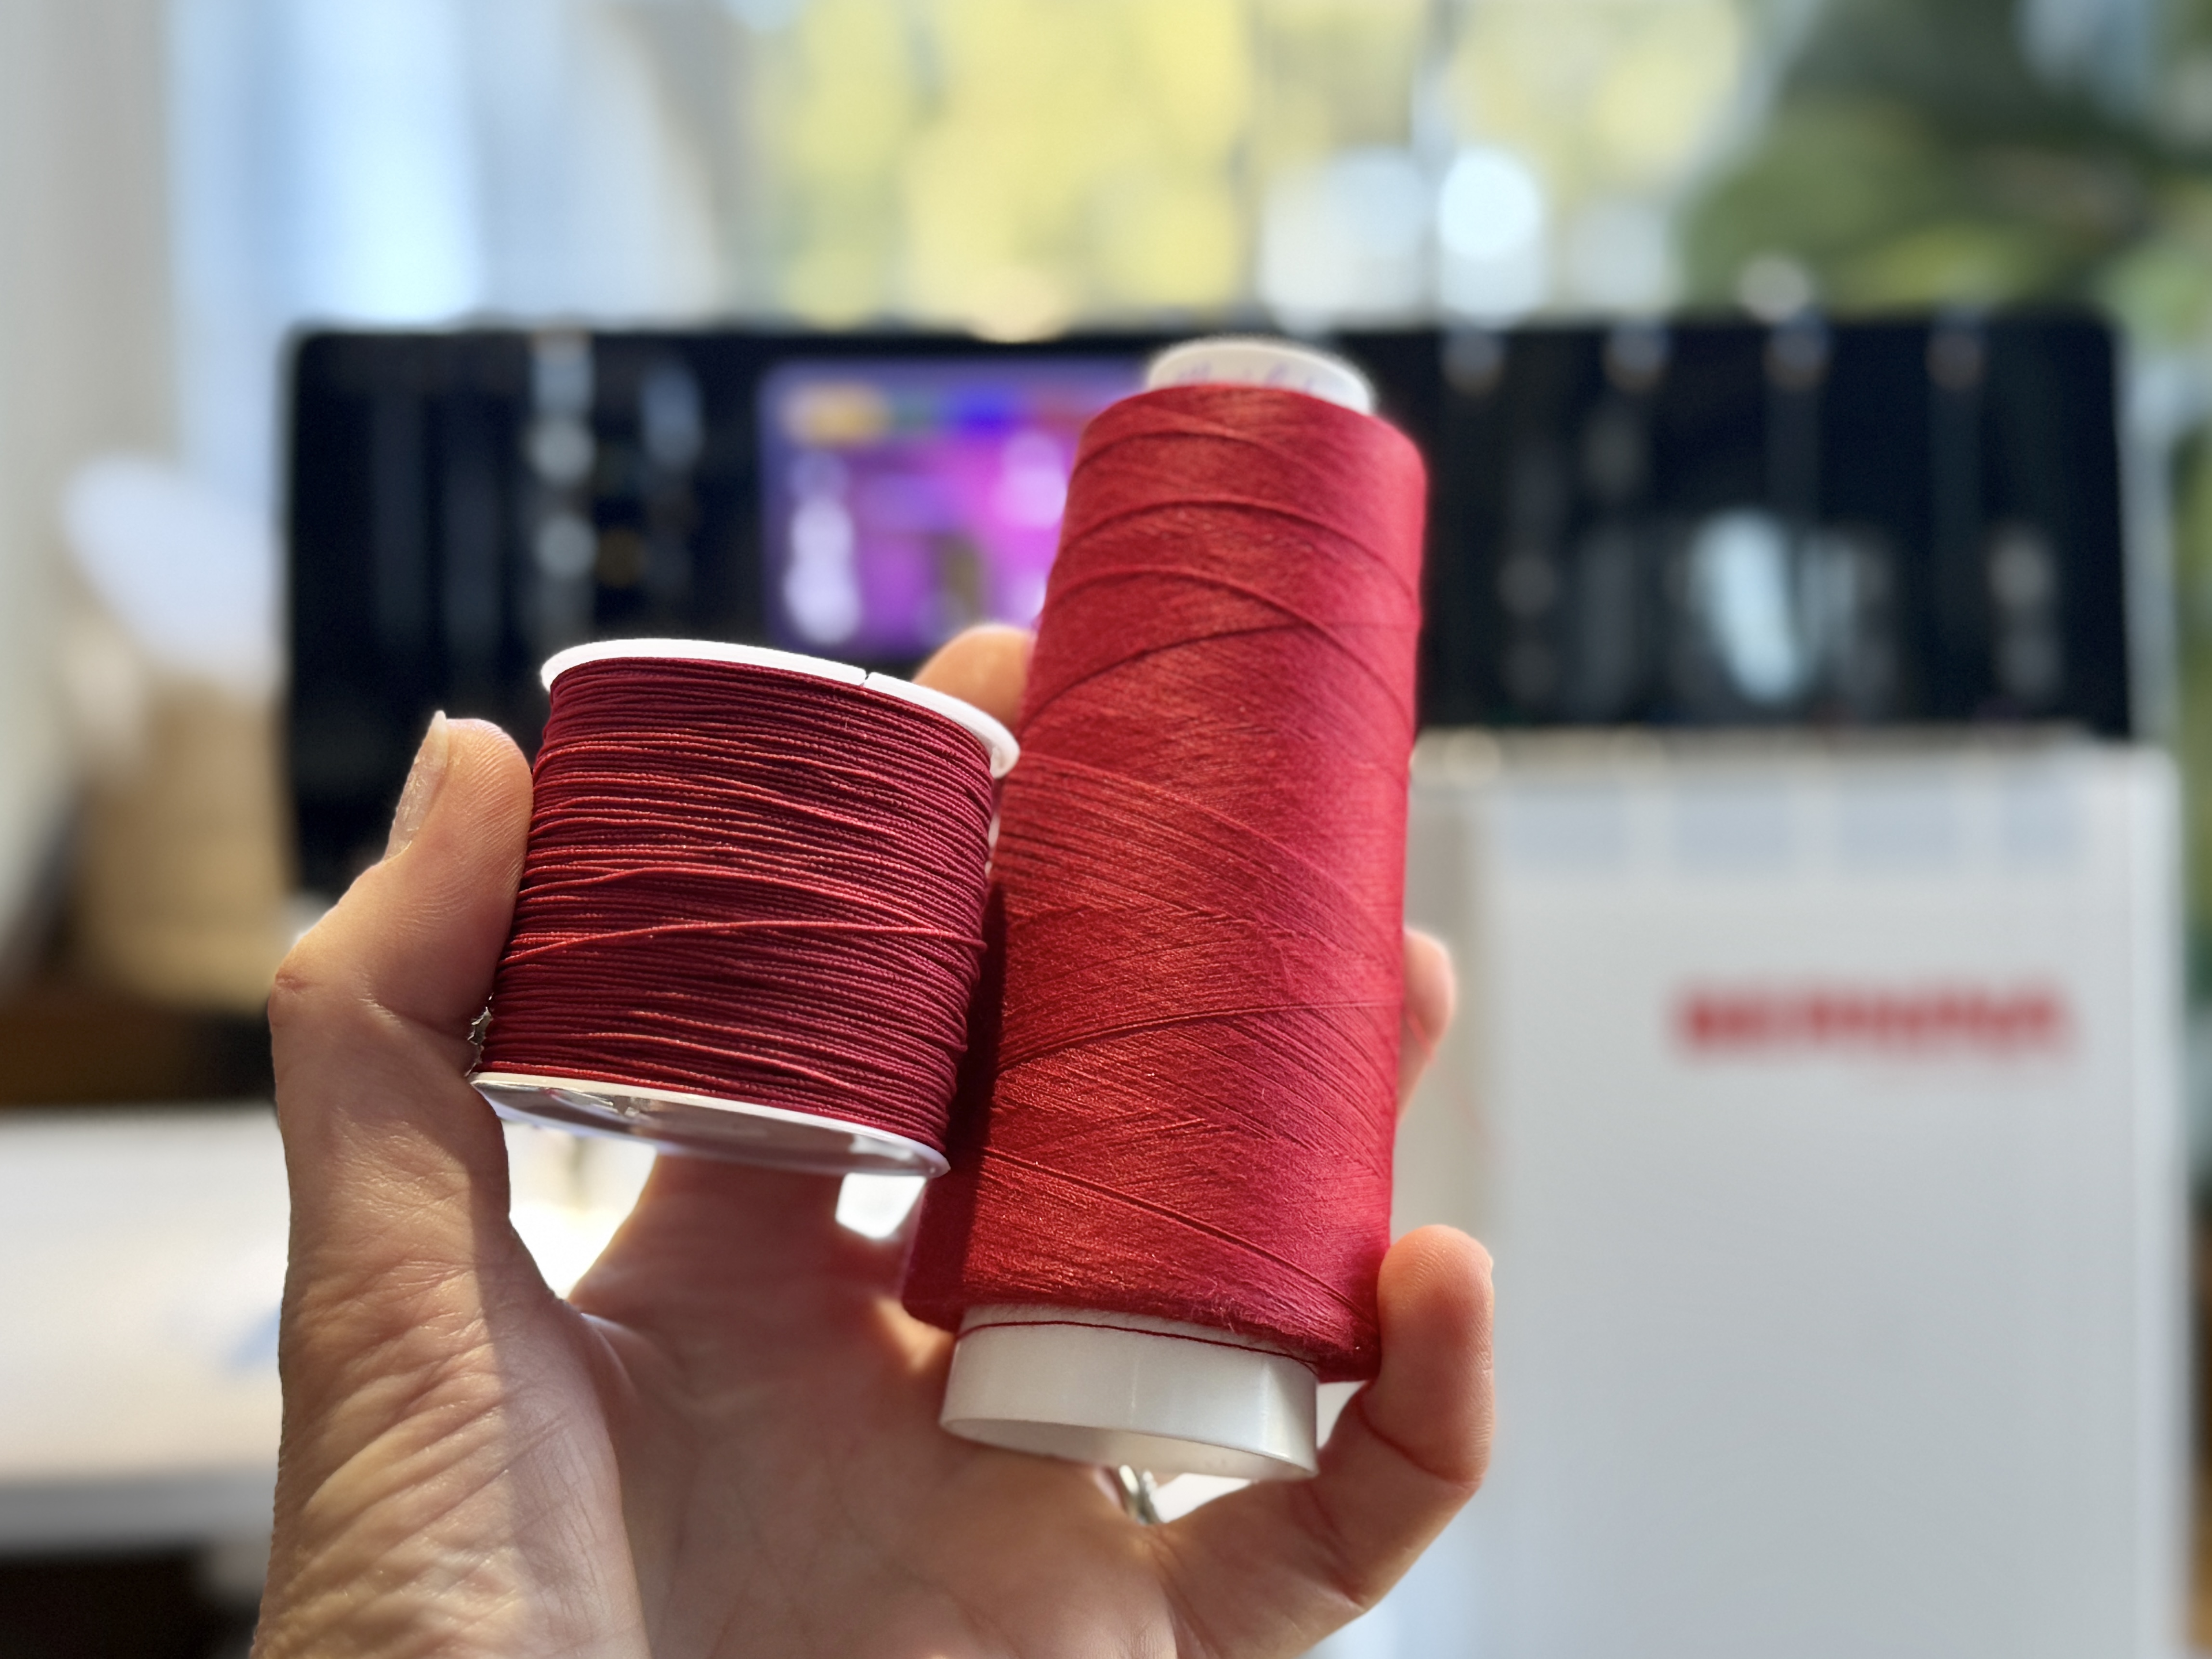
For this technique, you will need to purchase Elastic Thread. Unlike flexible thread (like Eloflex, Seraflex, or Wooly Nylon thread) that stretches slightly once sewn, elastic thread is a speciality thread which allows seams to stretch significantly without breaking. It essentially is elastic wound together in a small thread form.
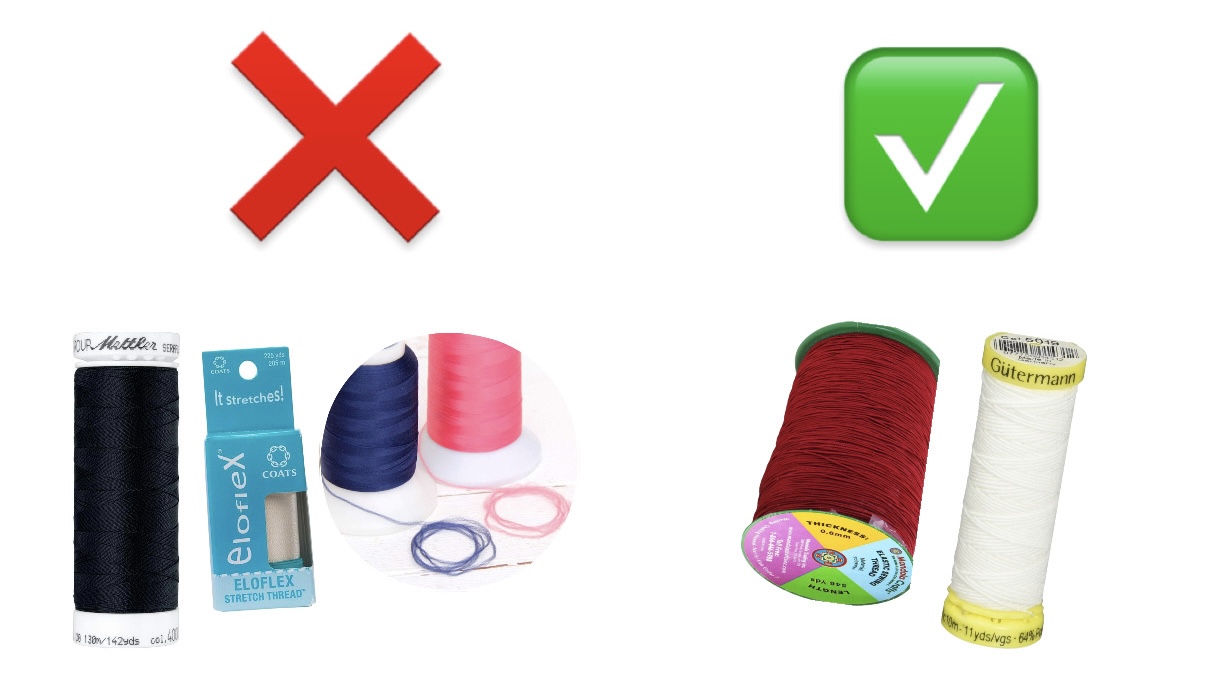
You will notice that elastic thread is much thicker than regular thread.
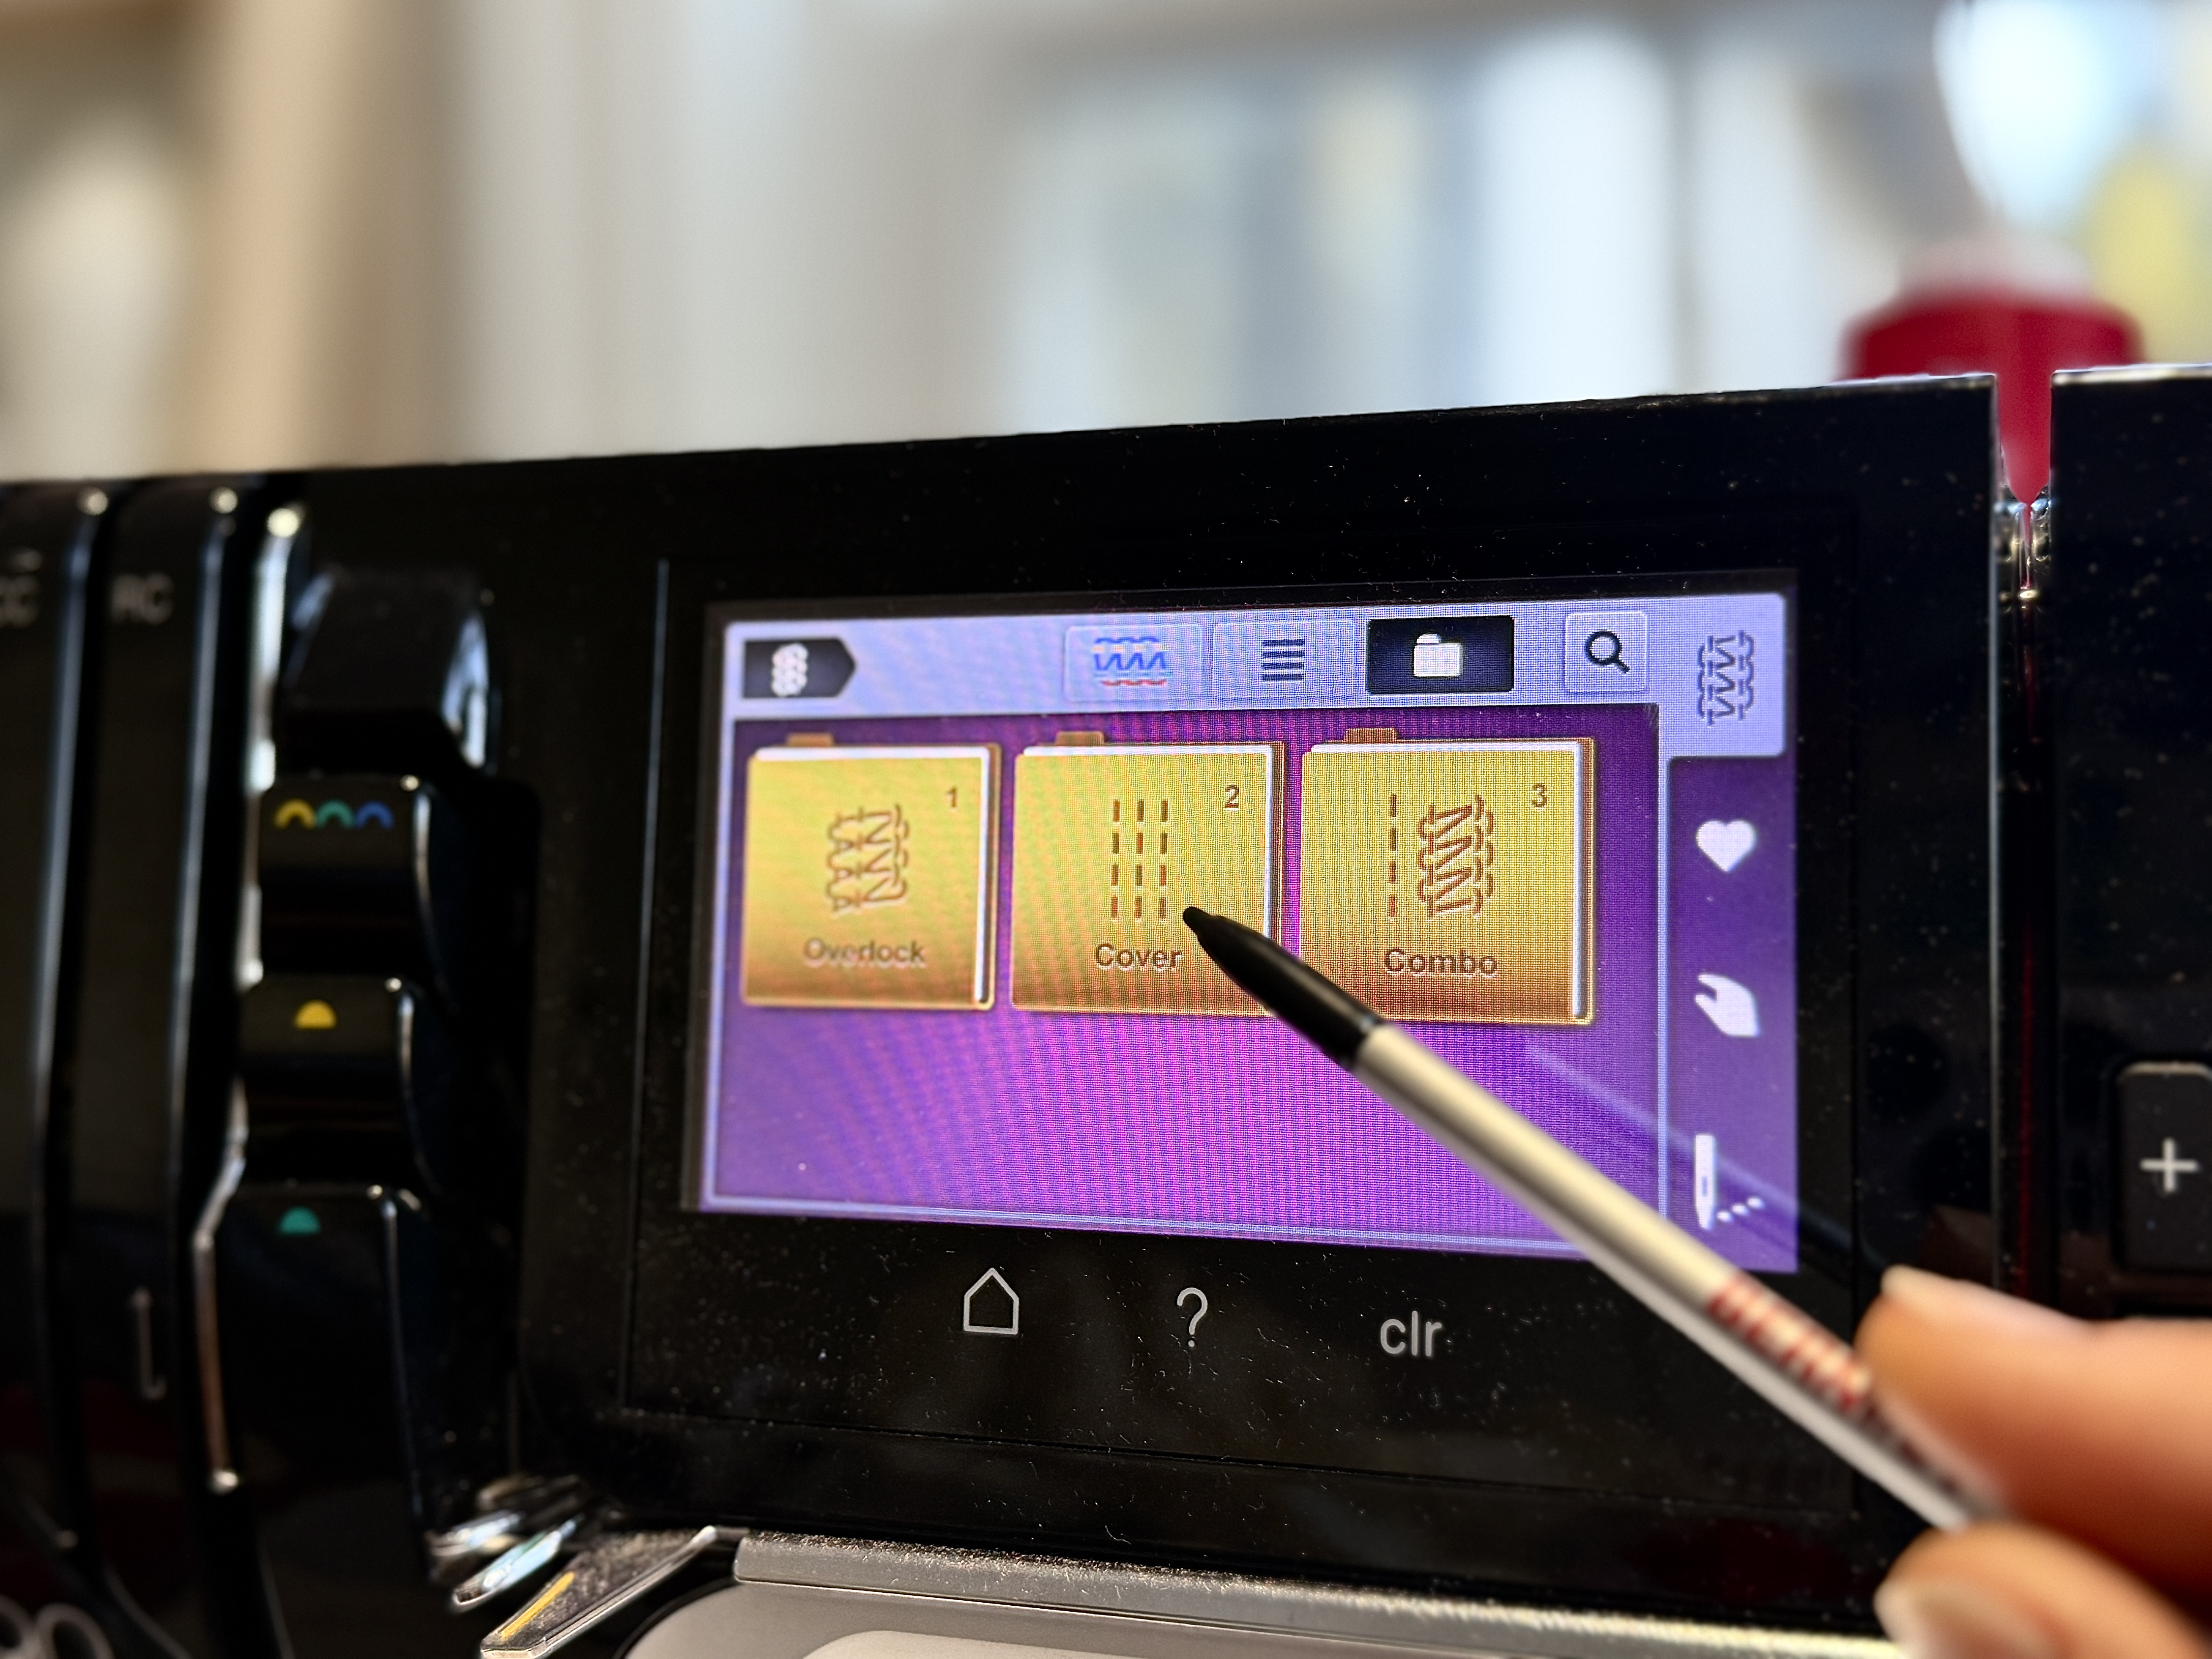
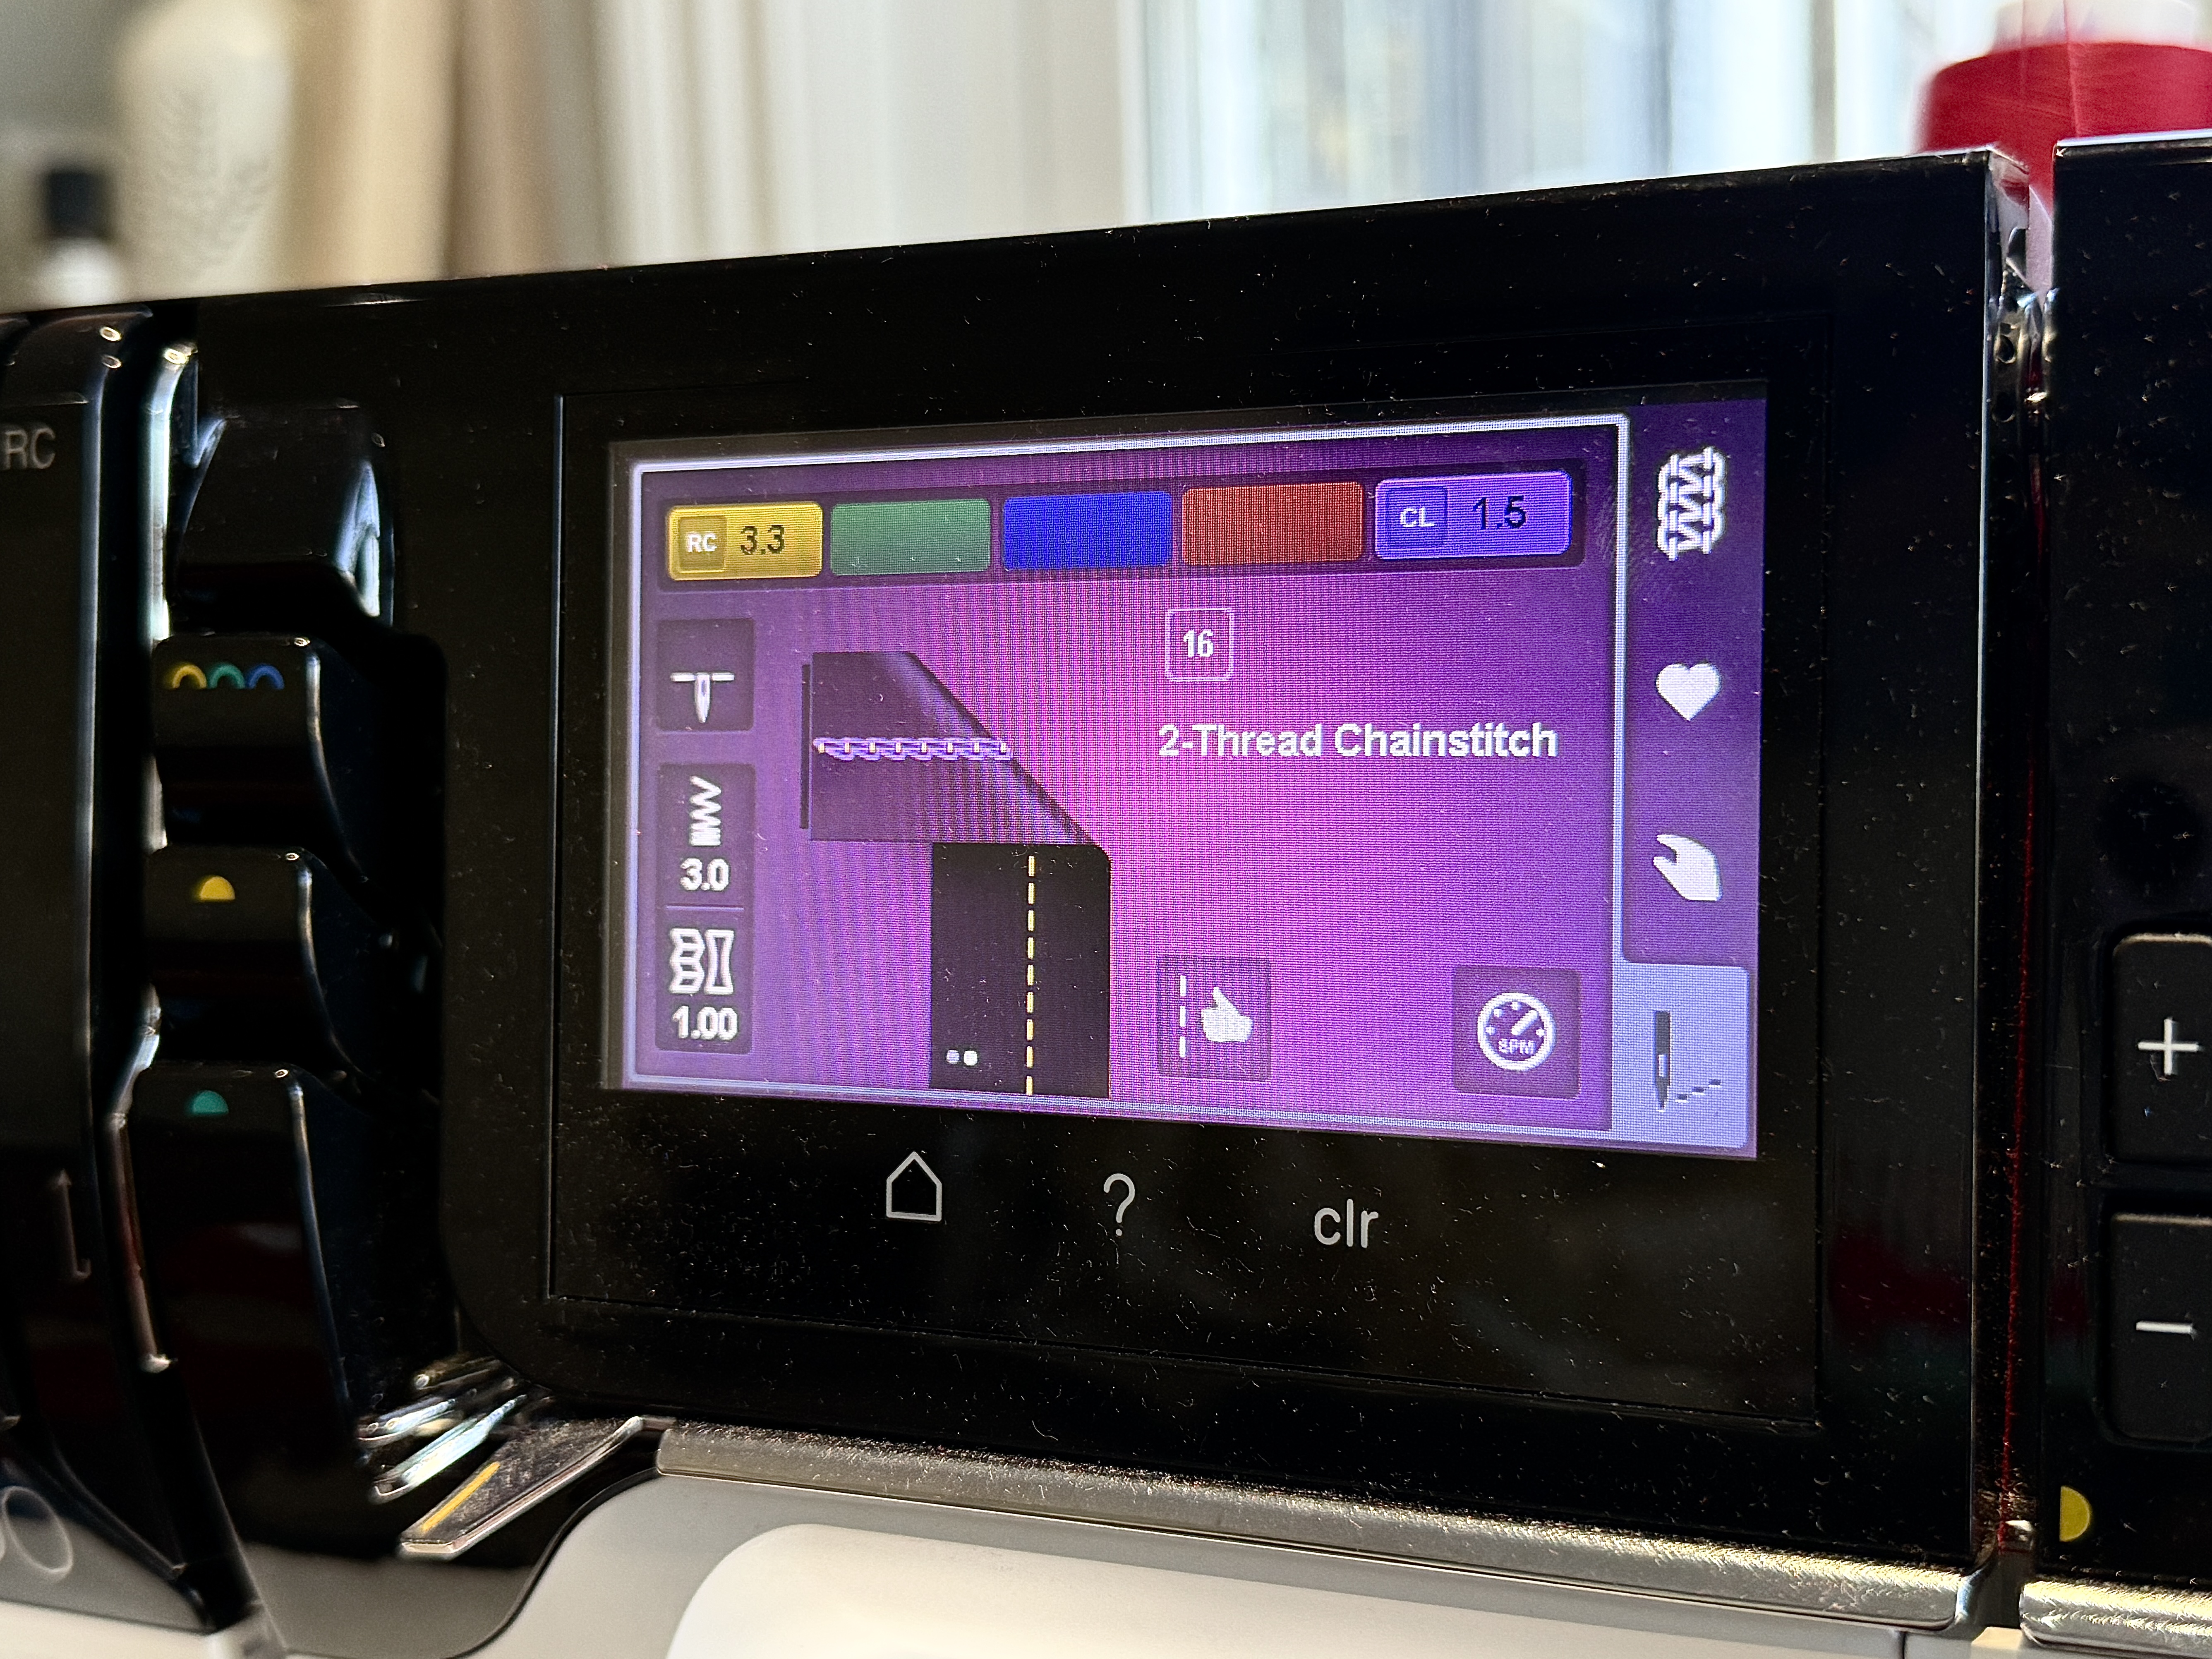
We will begin by setting the L 890 up for a chain stitch, stitch number 16. The chainstitch is best suited when shirring in the middle of a fabric piece. This stitch can be found within the Coverstitch folder.
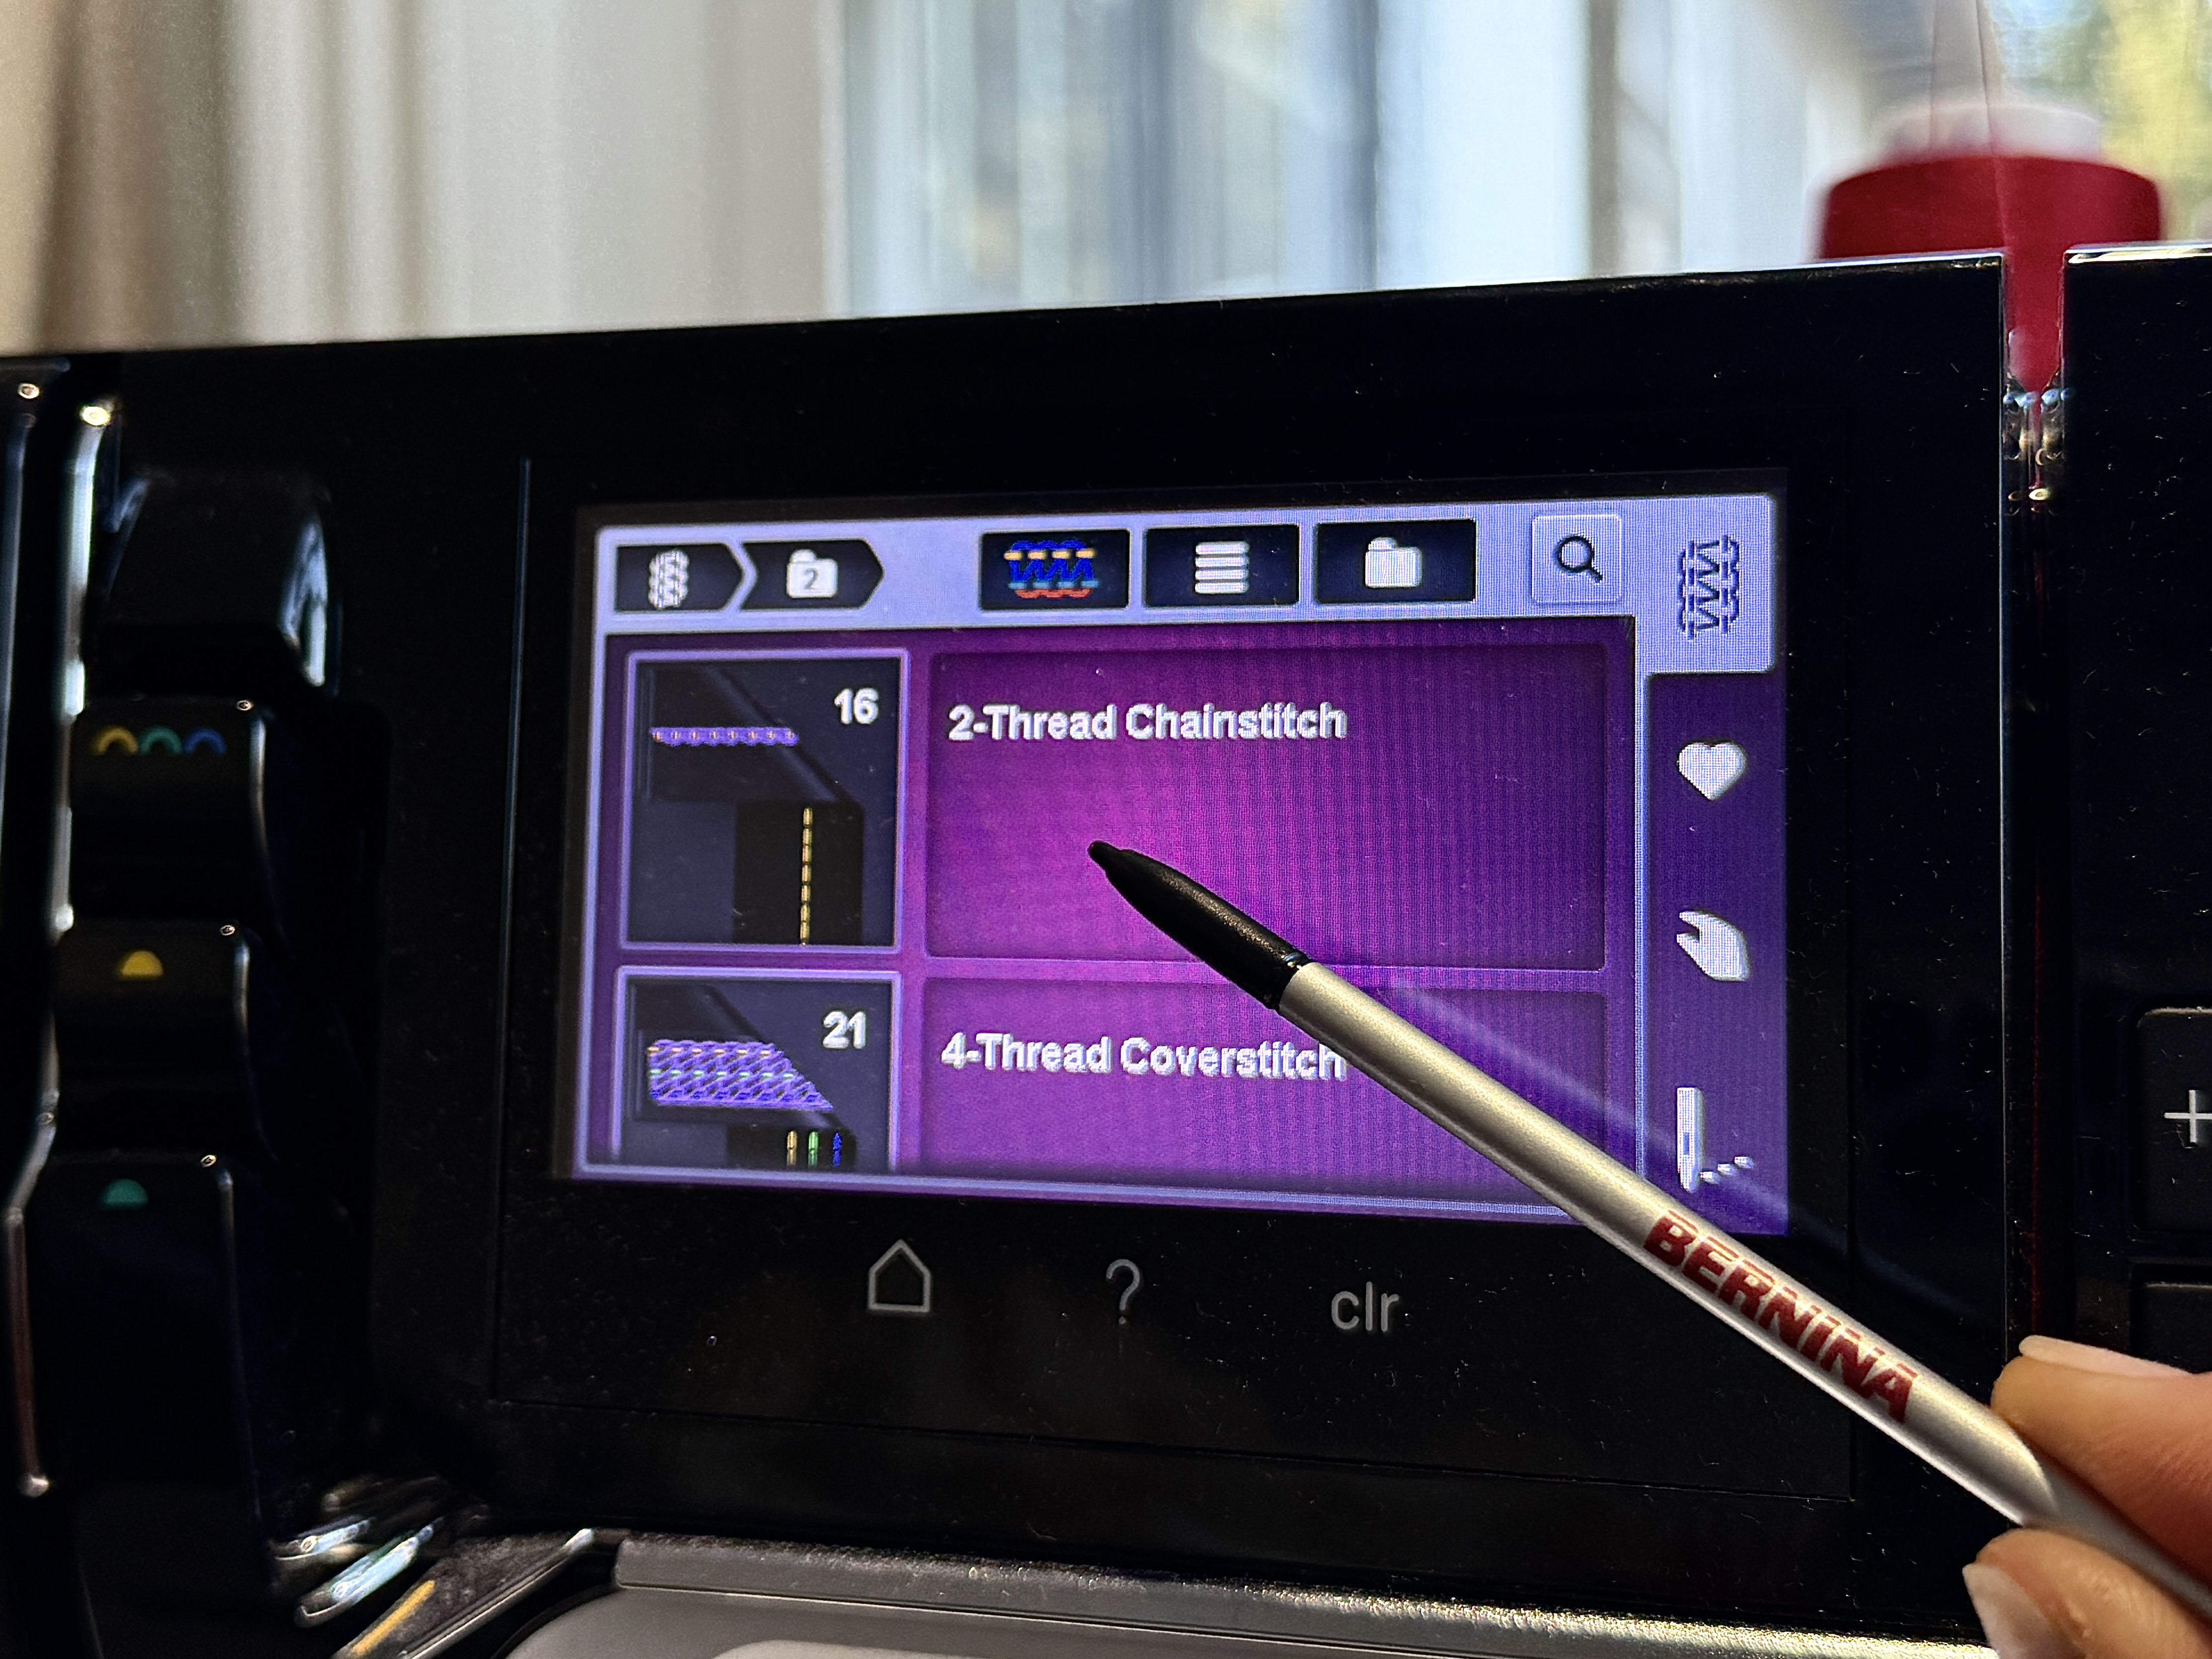
Select the chain stitch, and do not adjust any of the settings. (The settings would only be adjusted if not using elastic thread.) The elastic thread will be doing the gathering for us.
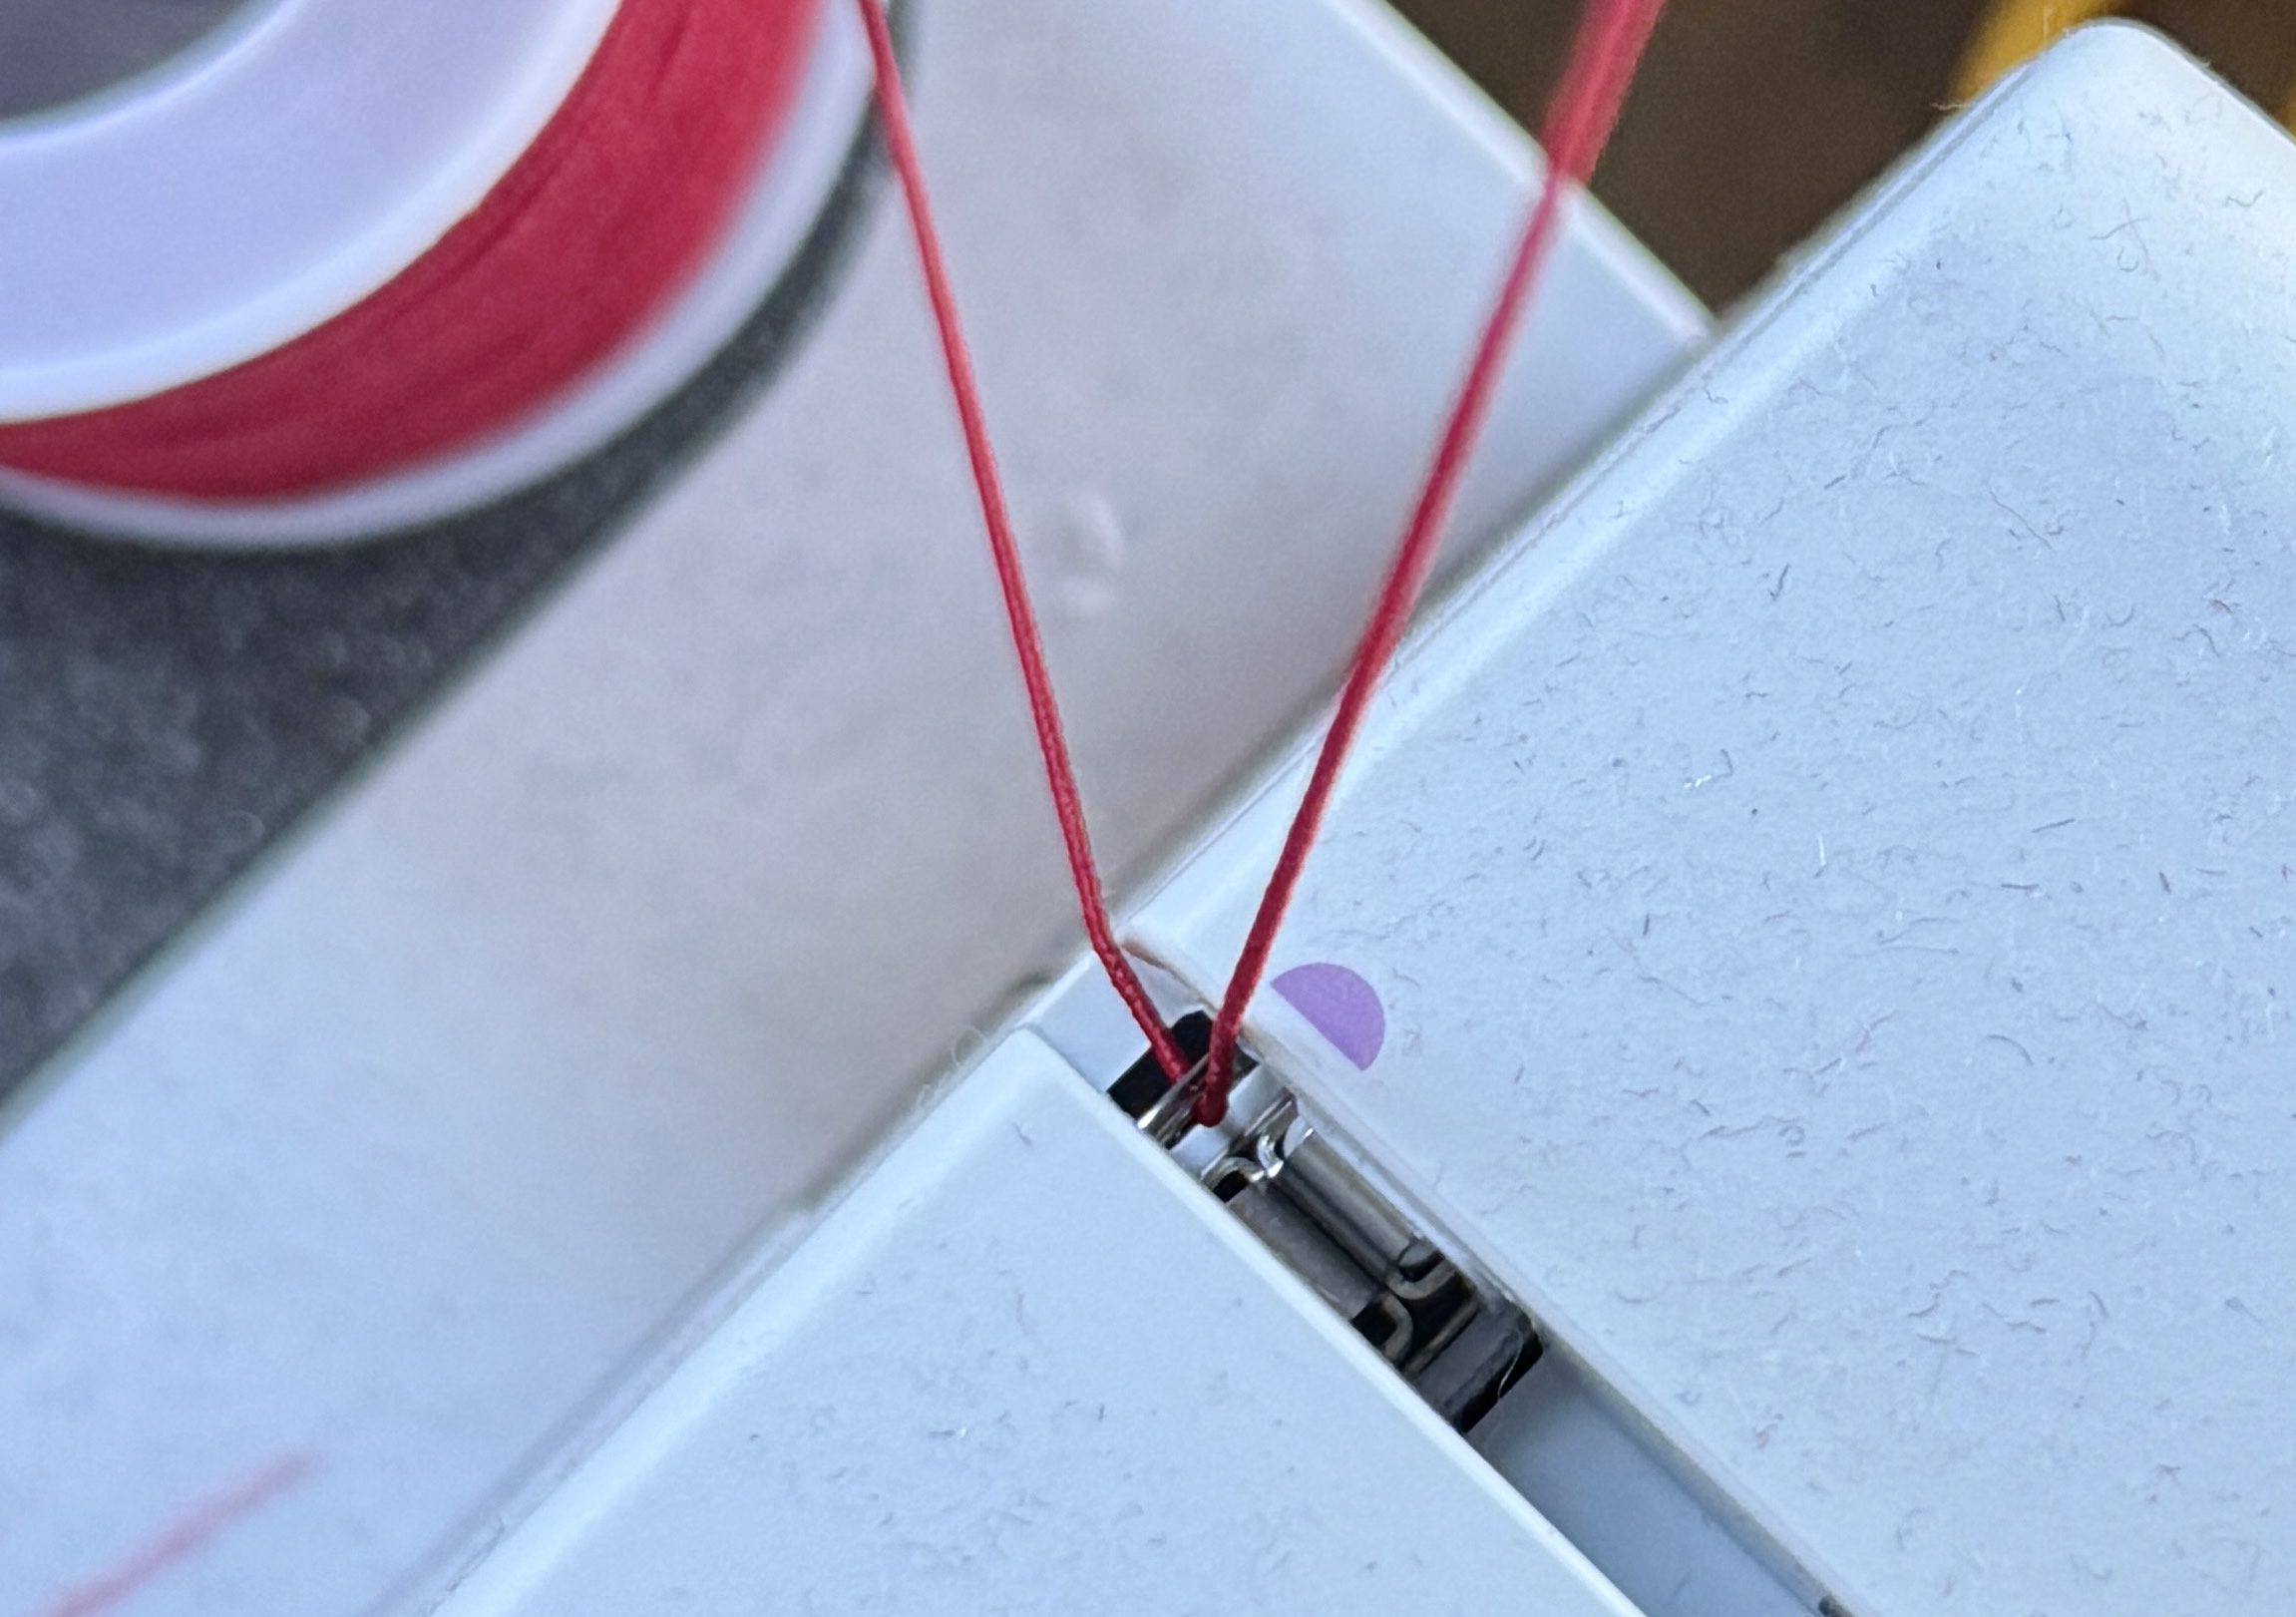
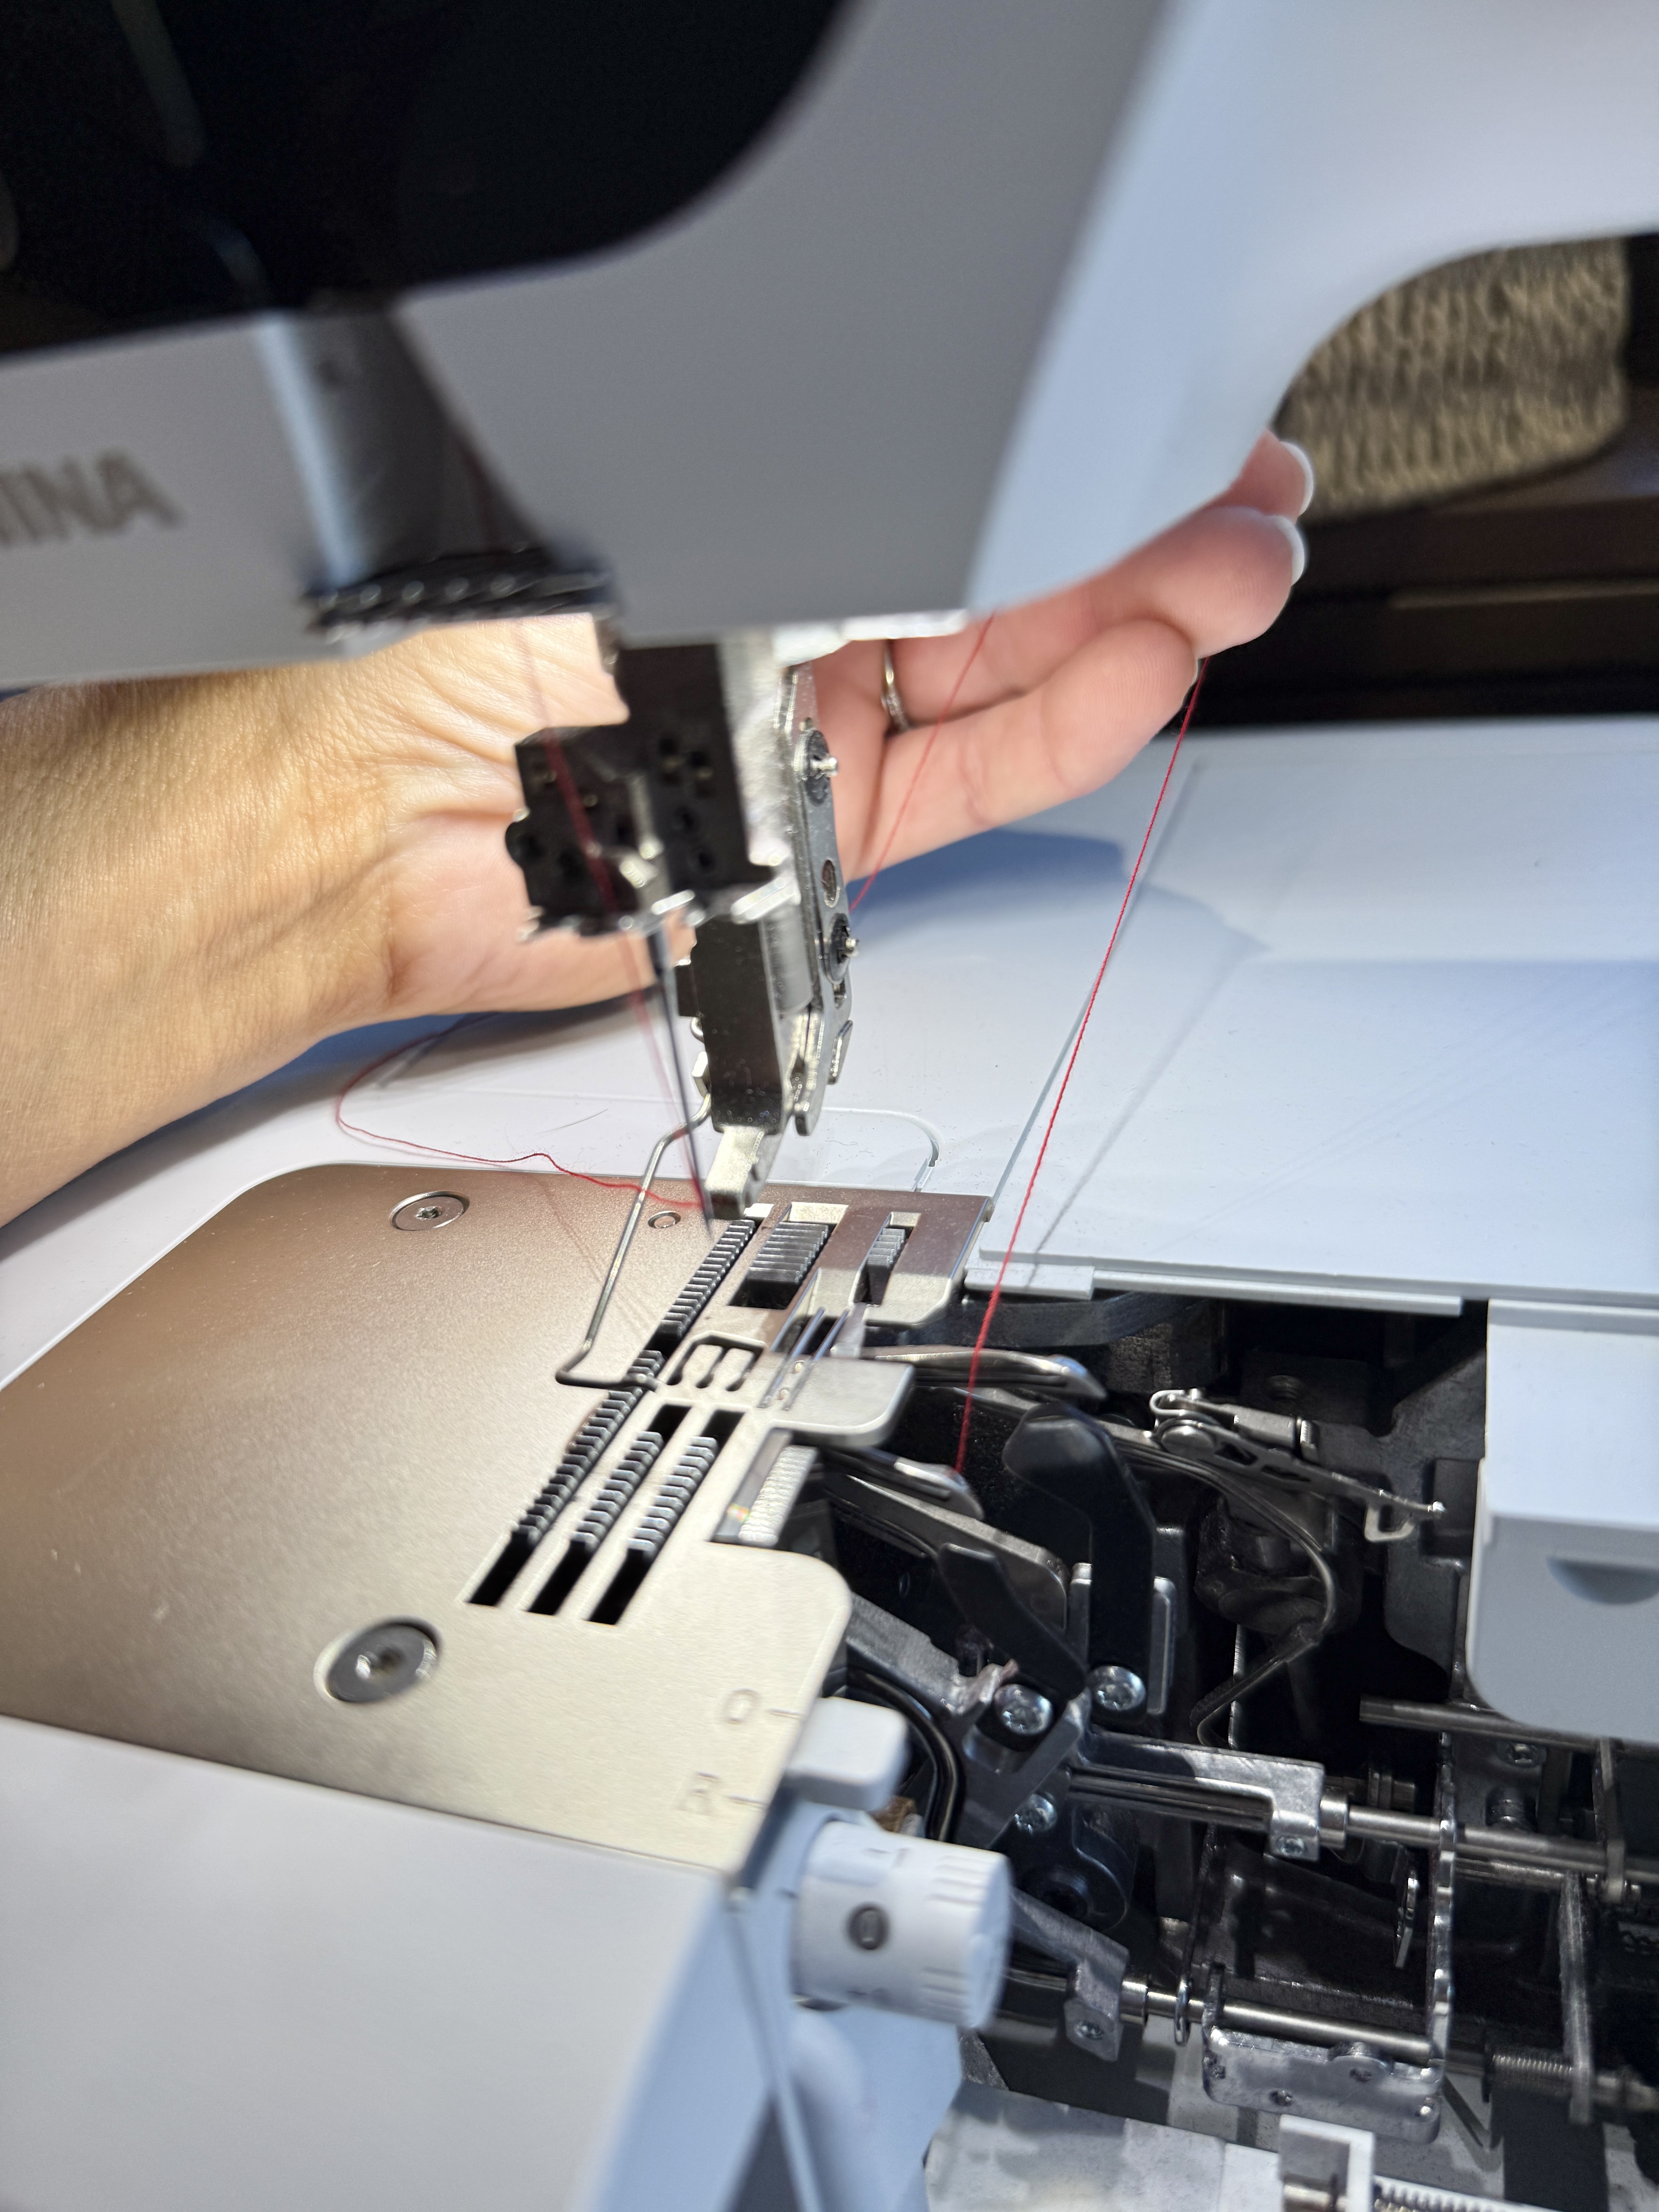
You will only need two spools of thread for the chainstitch. One regular serger thread, and one elastic thread. The regular thread is threaded into the needle, and the elastic thread is threaded into the Chain Looper.
Place one needle into the Right Coverstitch (RC).
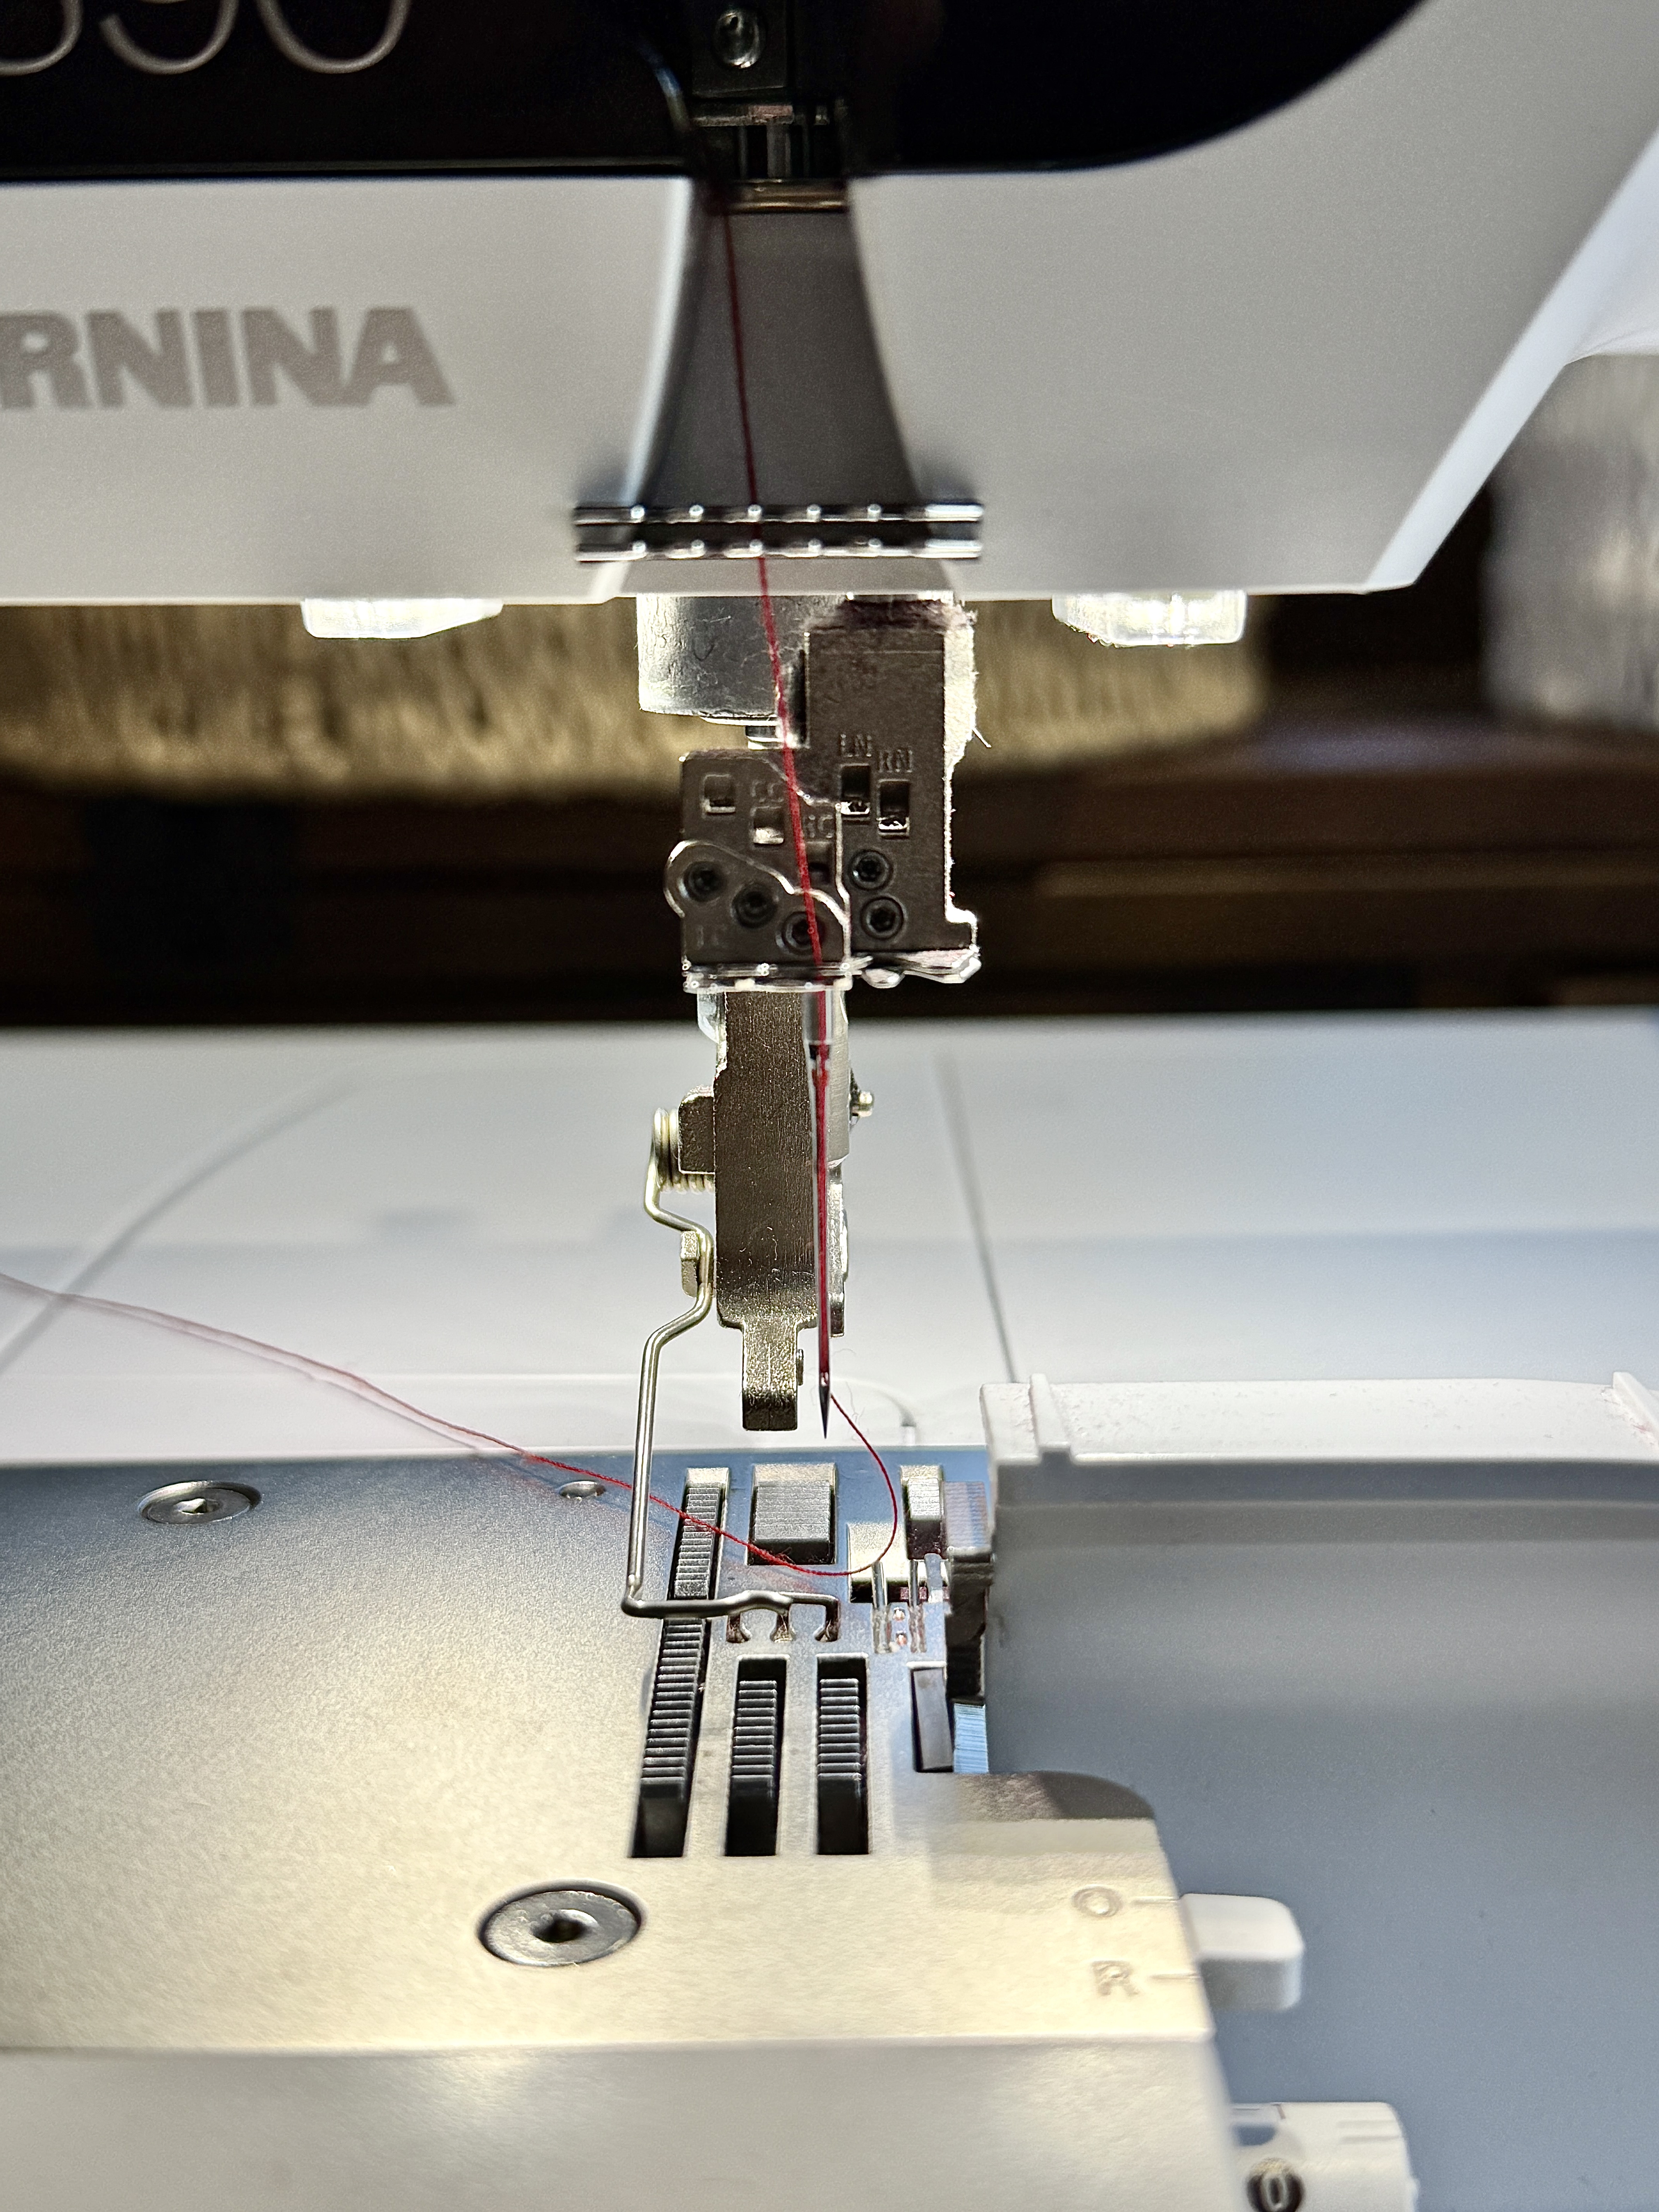
Place your regular serger thread in the YELLOW threading slot between the thread tension discs. Then follow the path for coverstitch threading and place it in the RC coverstitch thread slot and down to the RC needle.
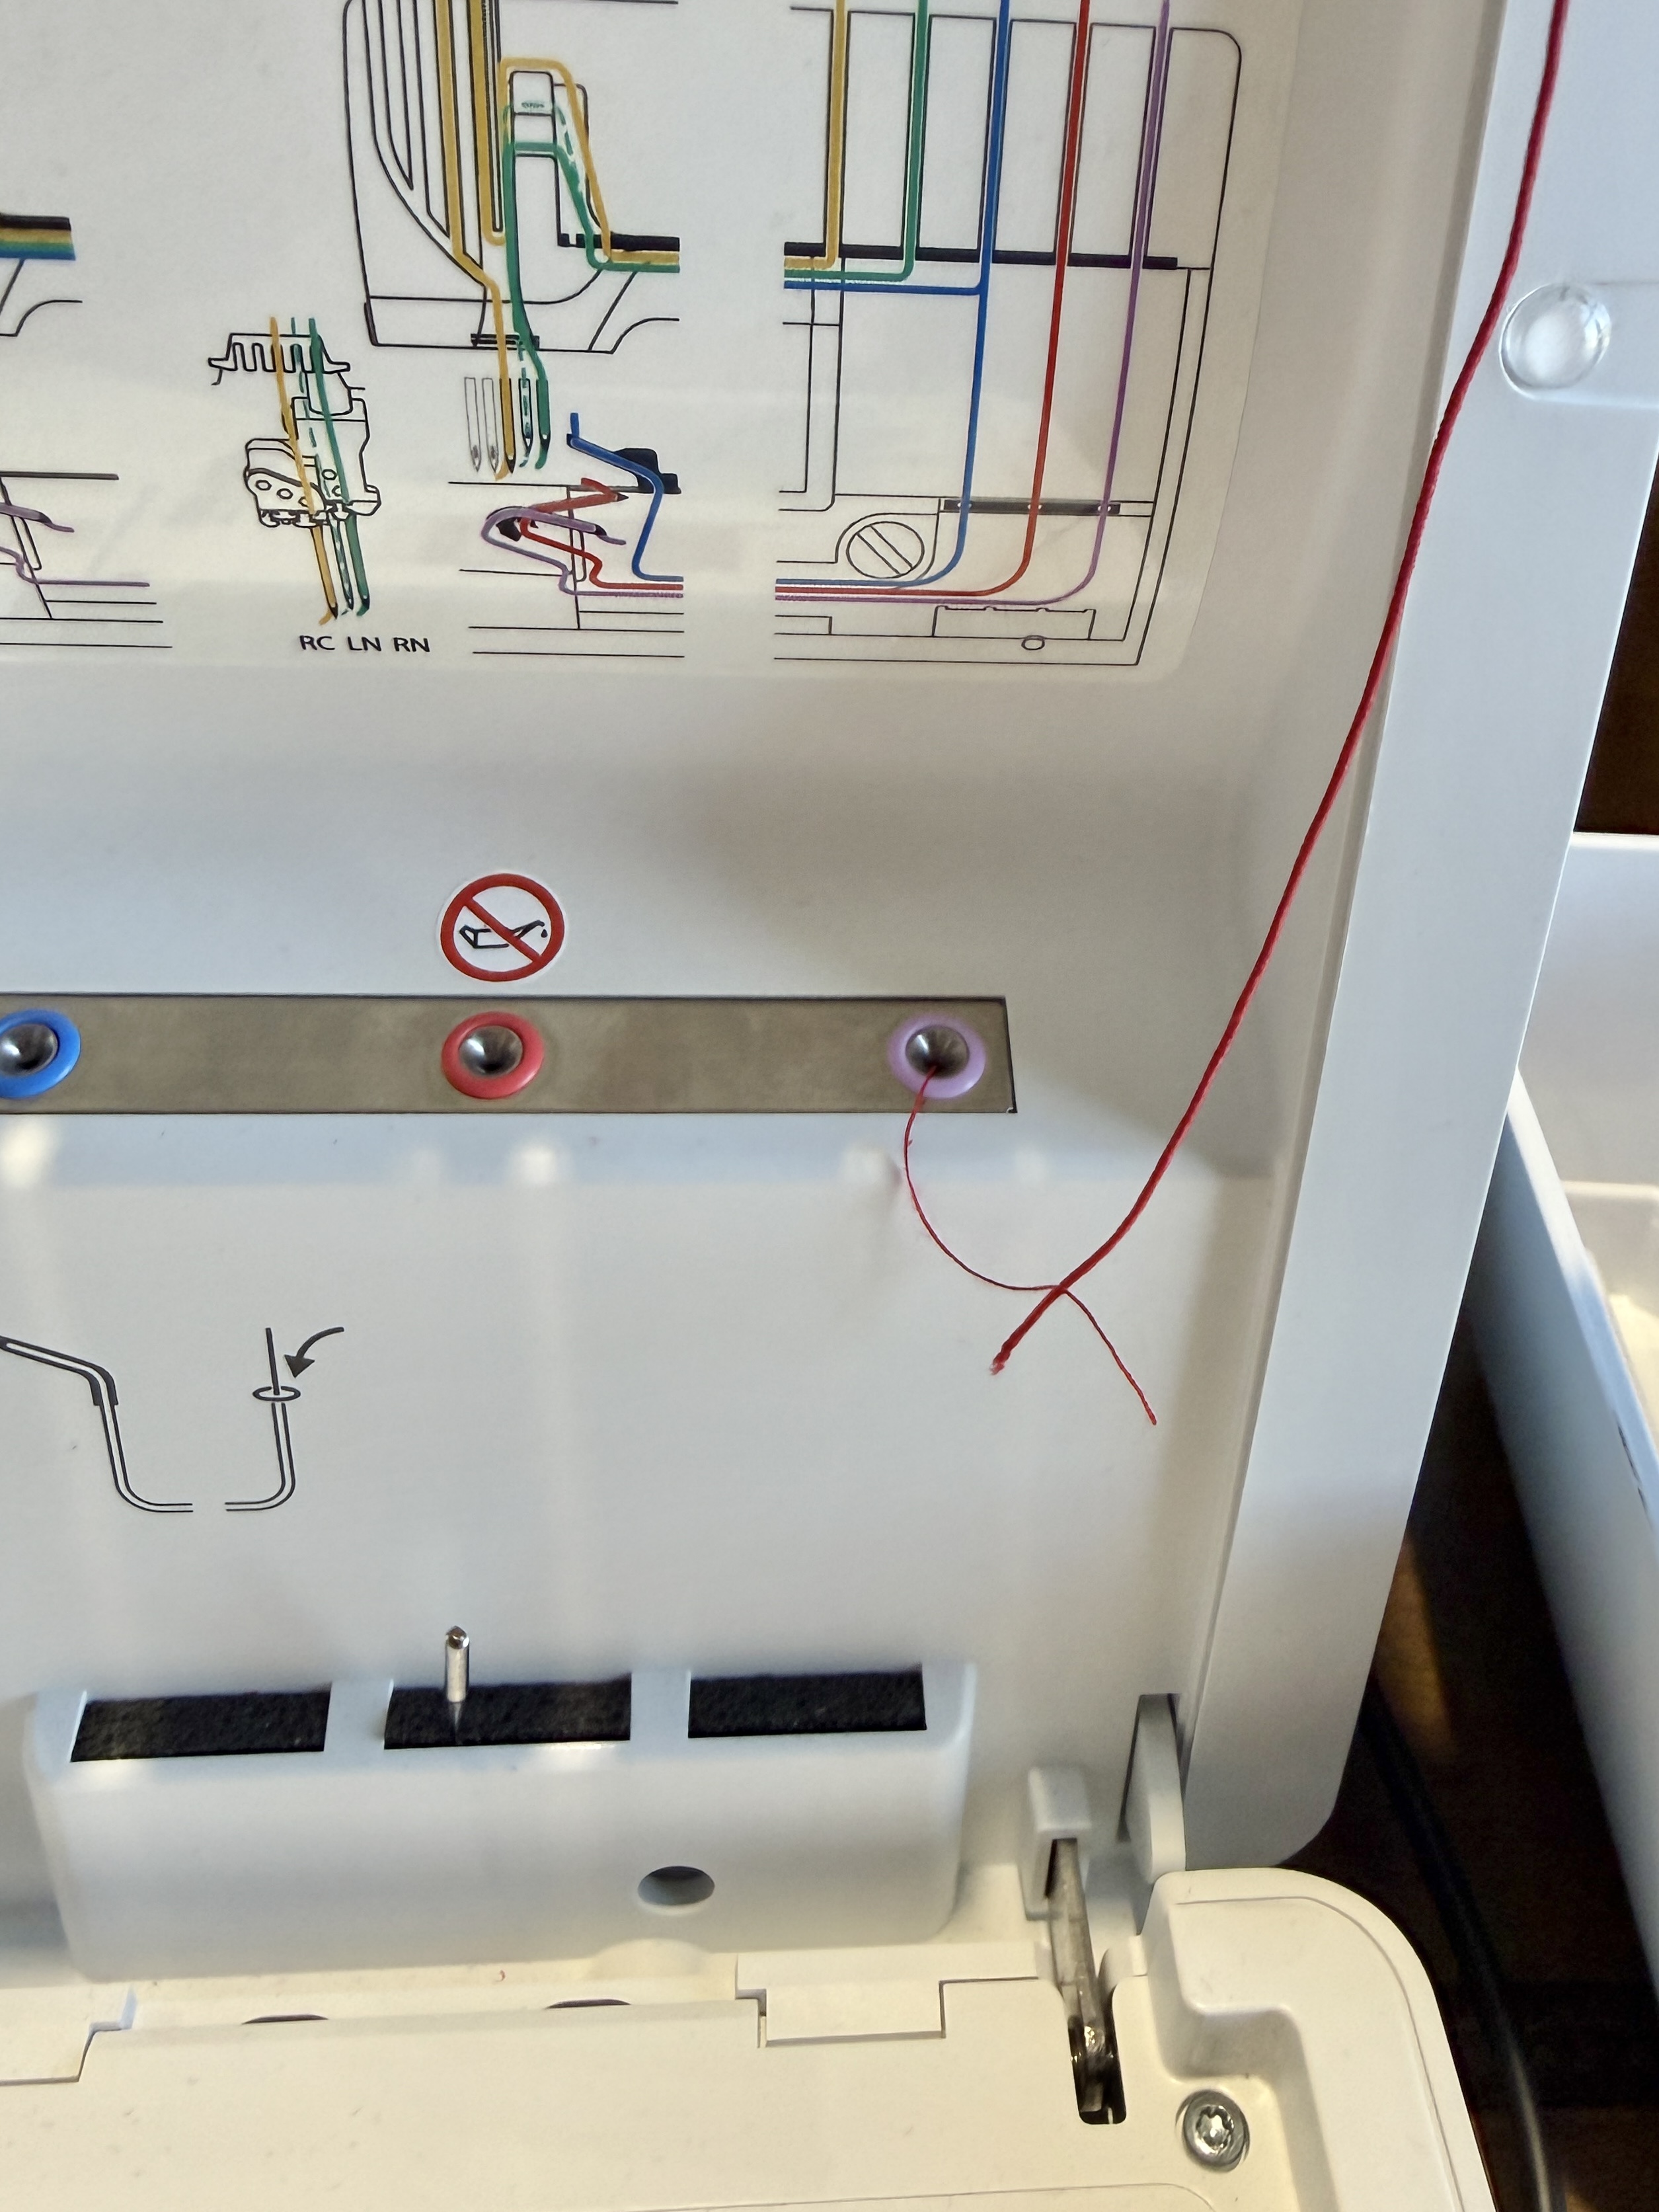
For the Chain Looper, we will need to make a few adjustments in order to properly thread the elastic. The first step is to remove the thread from the tension discs at the top of the machine. If the elastic thread is threaded through the tension discs, the thread will stretch out while serging, creating shirring that has little stretch. To avoid this, we will snap the elastic thread into the back guide so that it sits underneath the hook.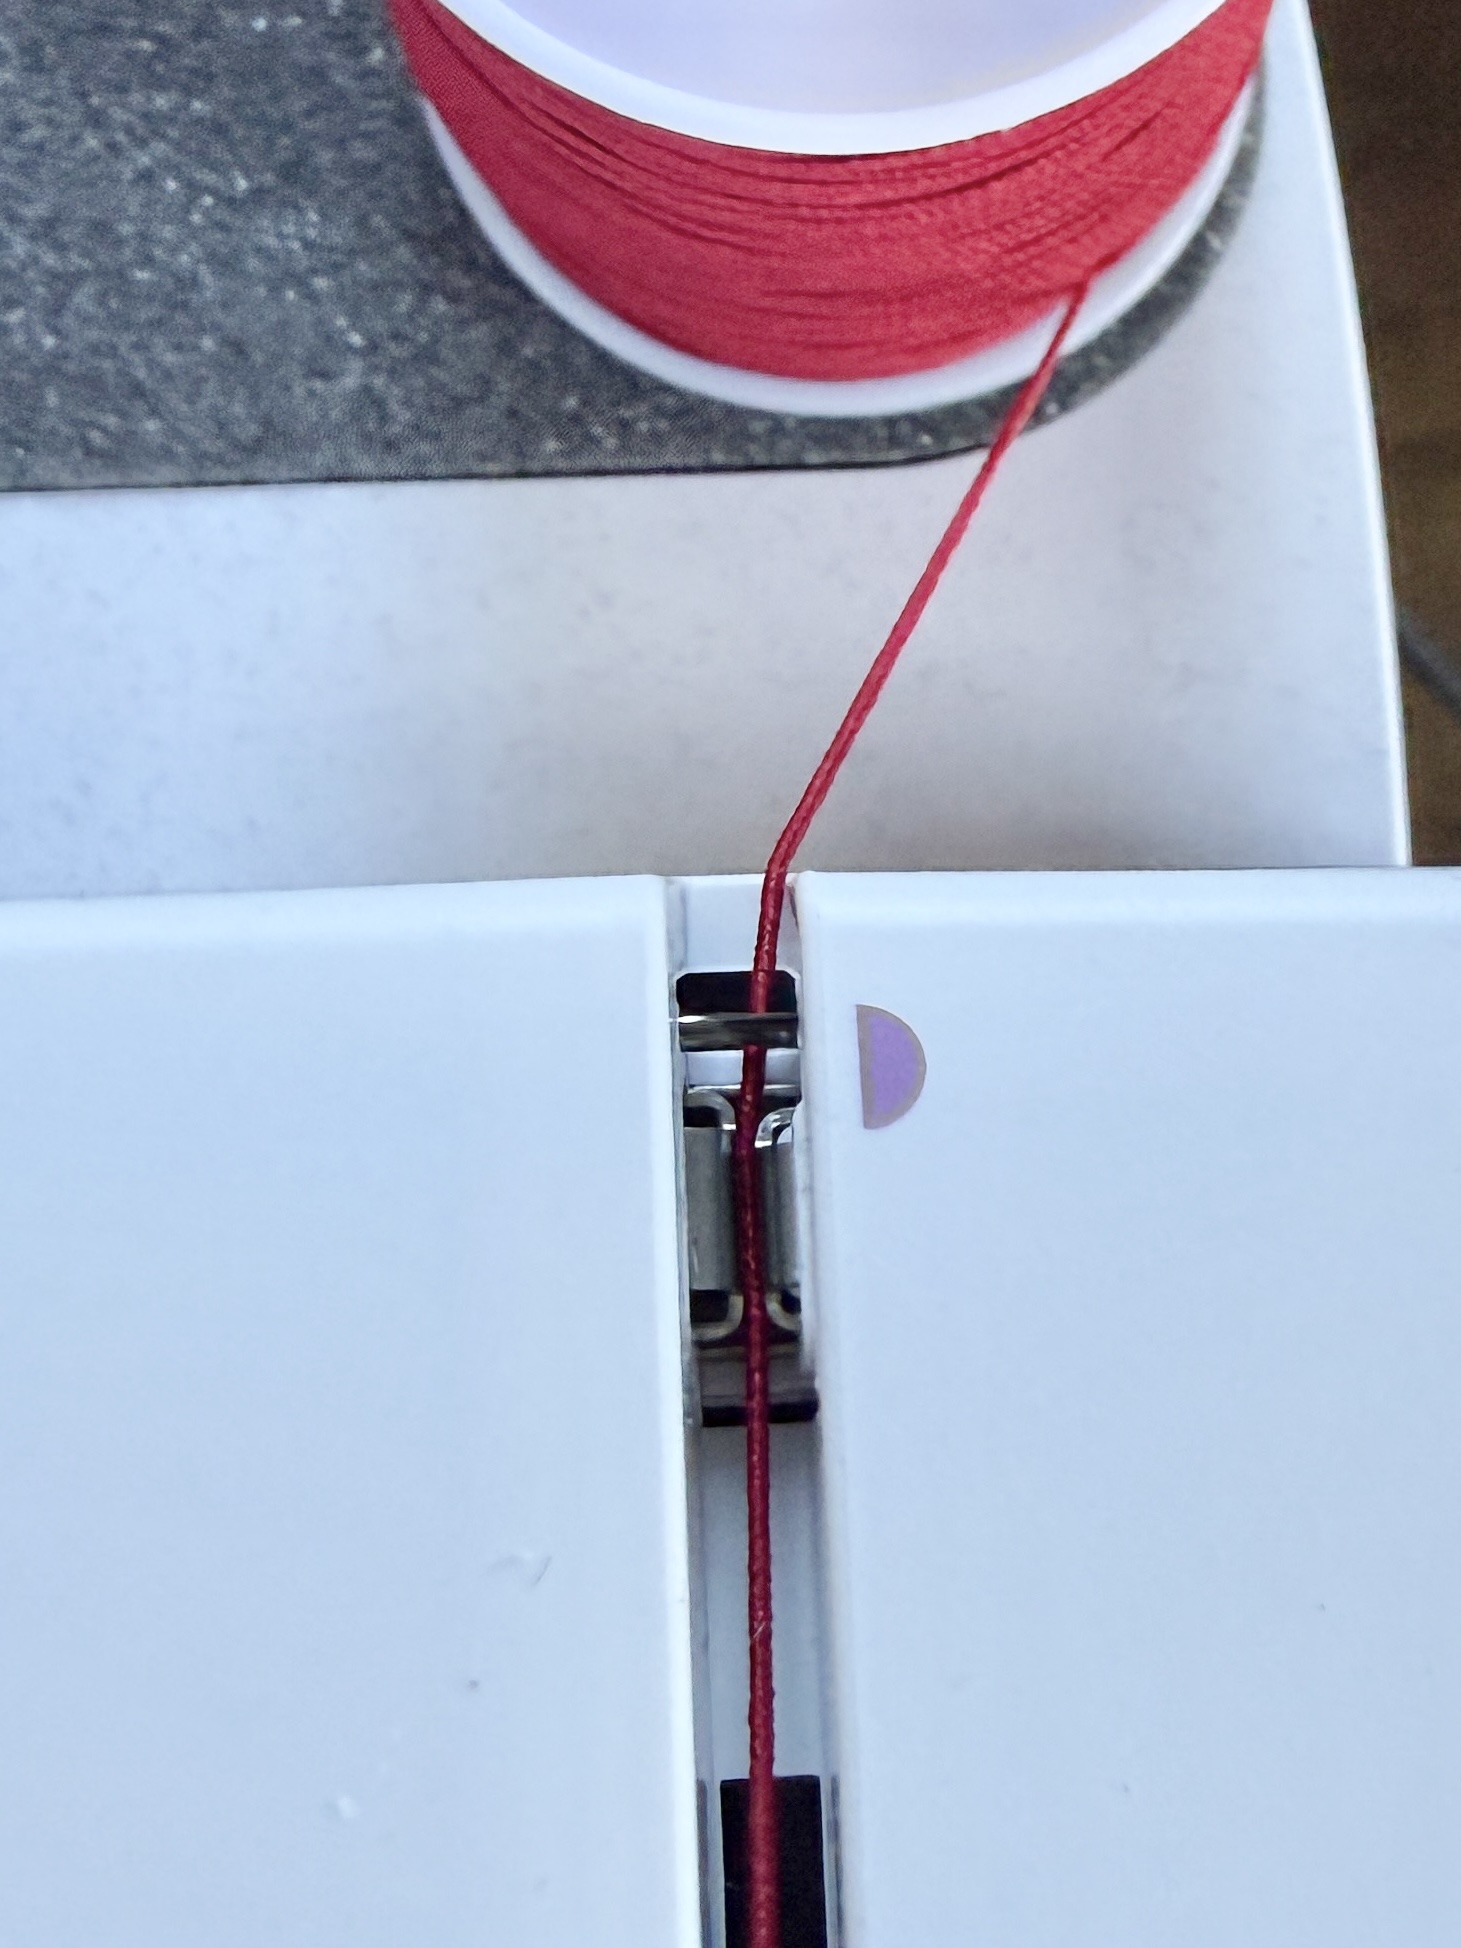
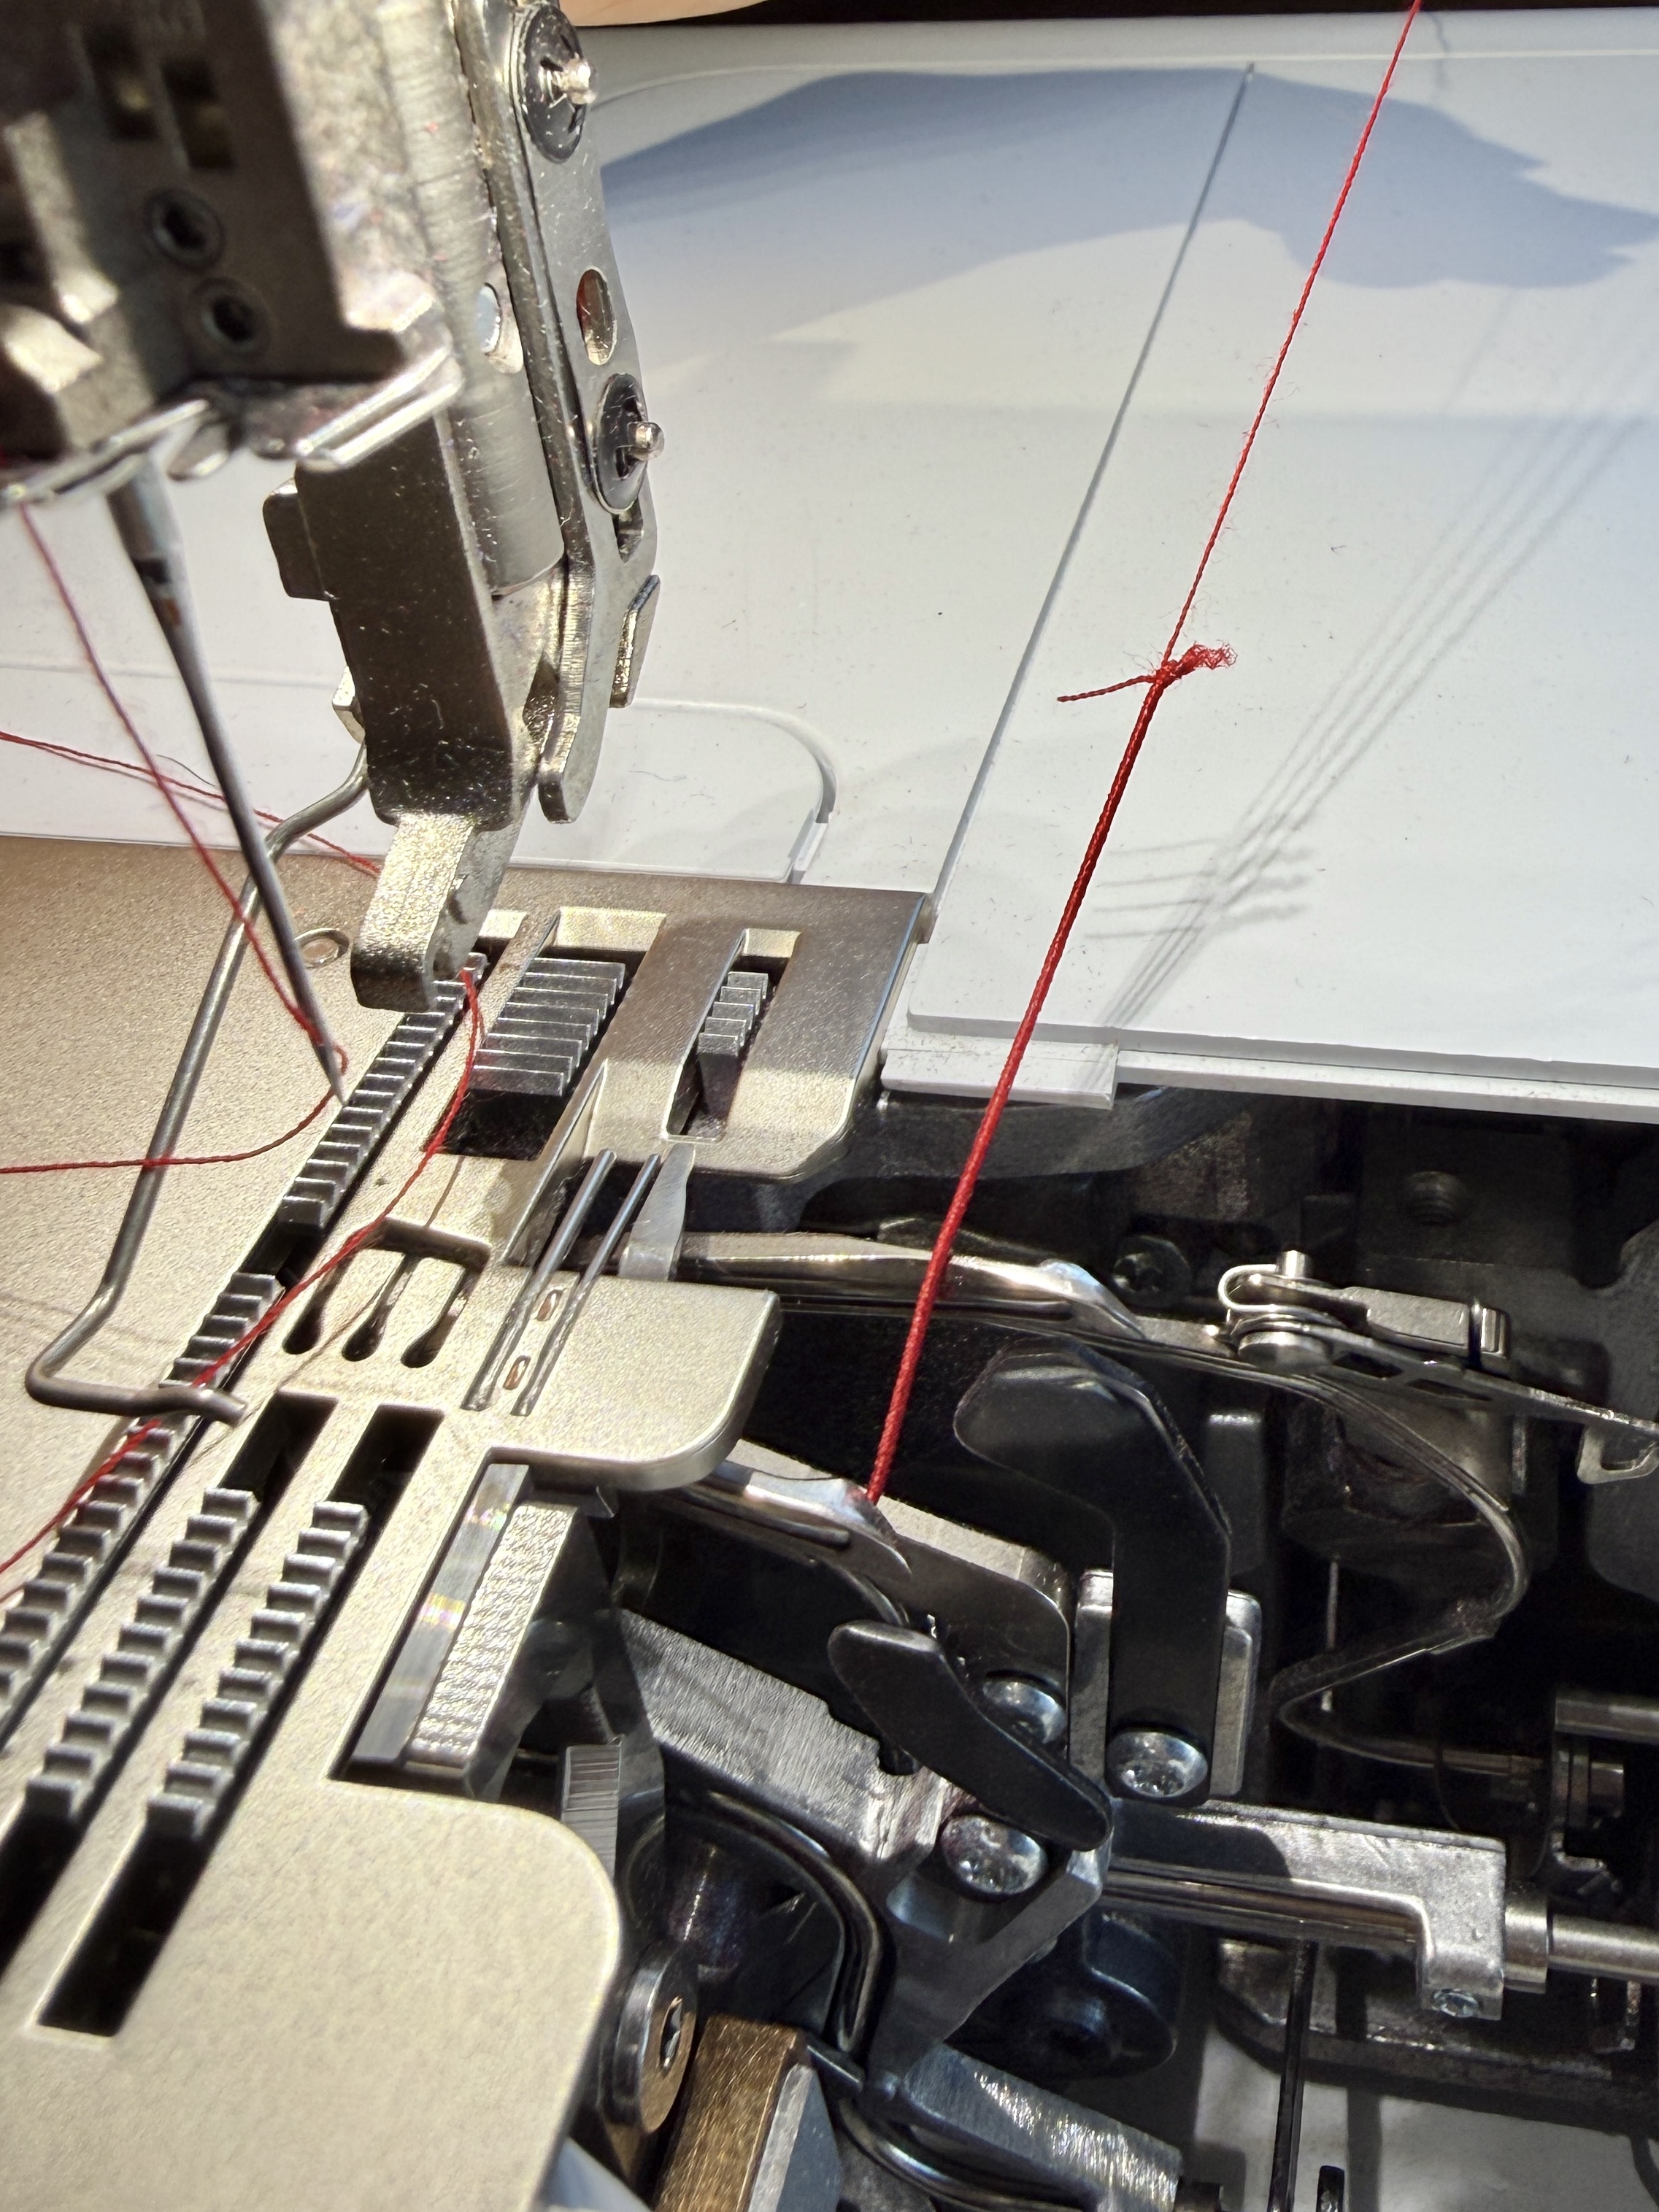
But we will remove it from the tension discs. This allows the fabric to glide easily through the hook without stretching.
Next, we will need to create a cradle with another piece of thread in order to guide the elastic thread through the Chain Looper. Unfortunately, the elastic thread is too thick to use the air threading technology. To create a cradle, cut a long piece of regular serger thread. Create a loose knot at the end of one side of the thread. Slide the elastic thread end through the knot opening, and pull the knot tightly closed. This will secure the elastic thread to the end of the regular thread strand.
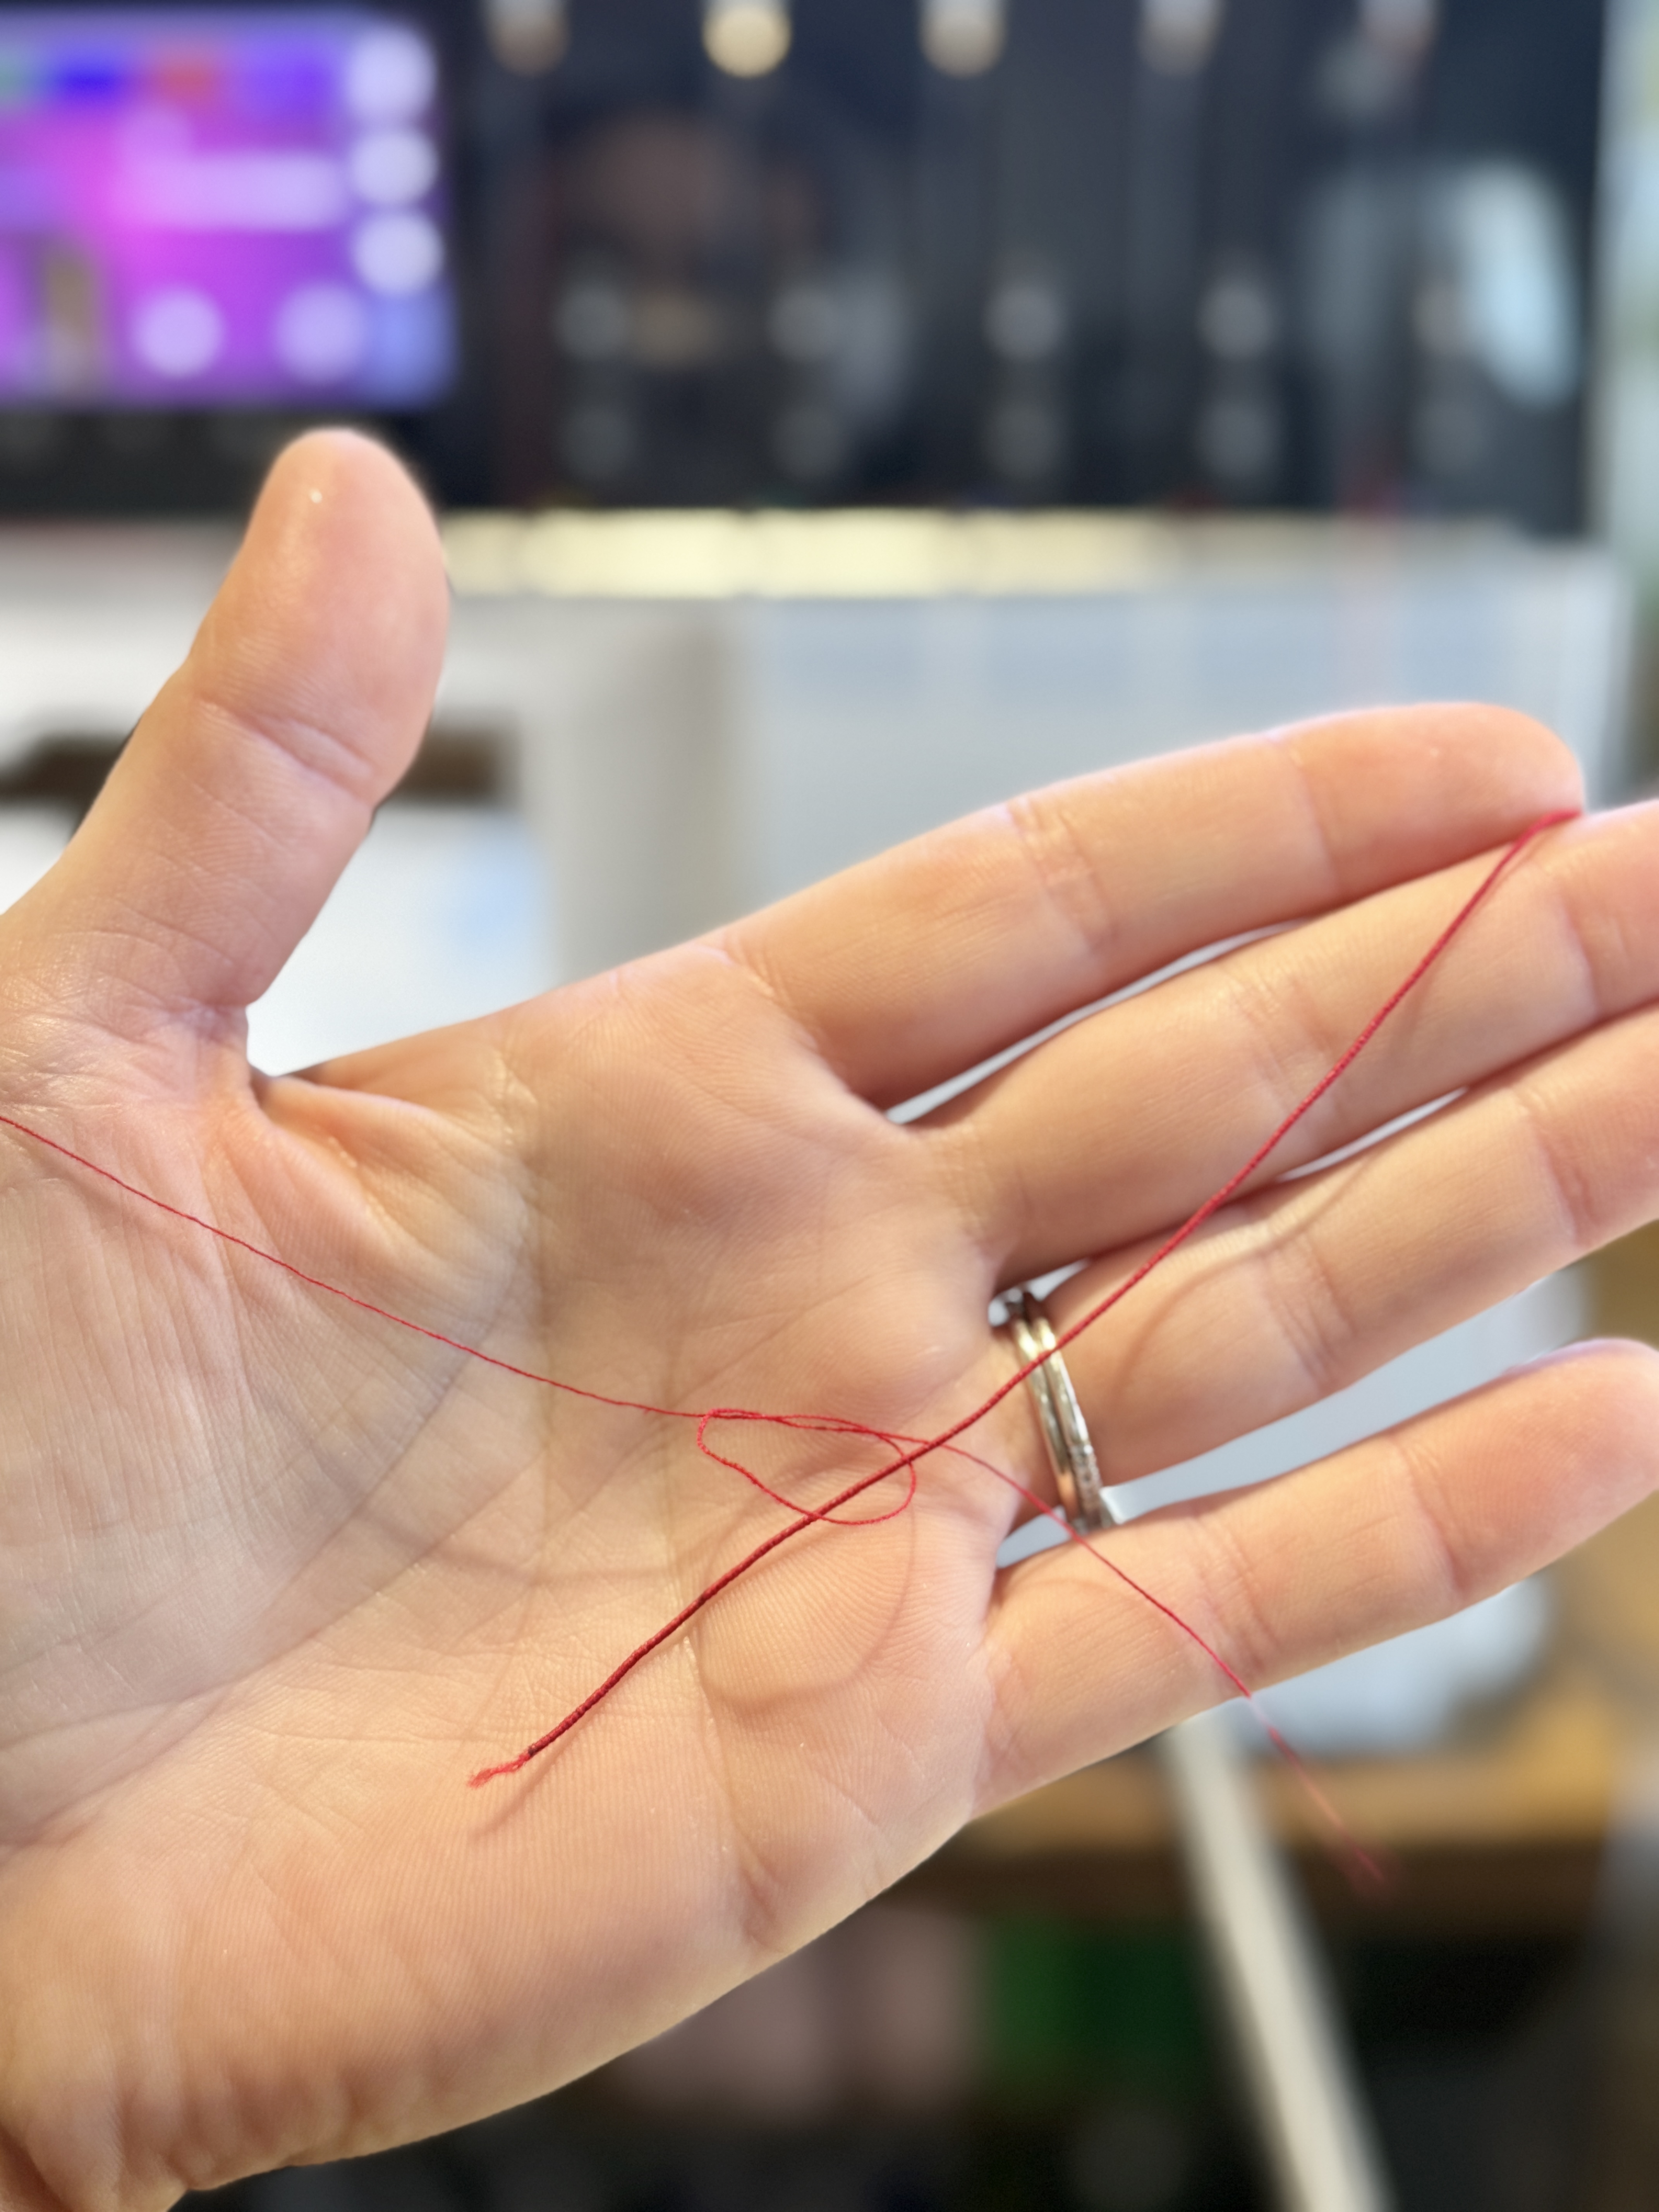
Make sure to clip the thread tails so that there is less bulk when threading through the machine.
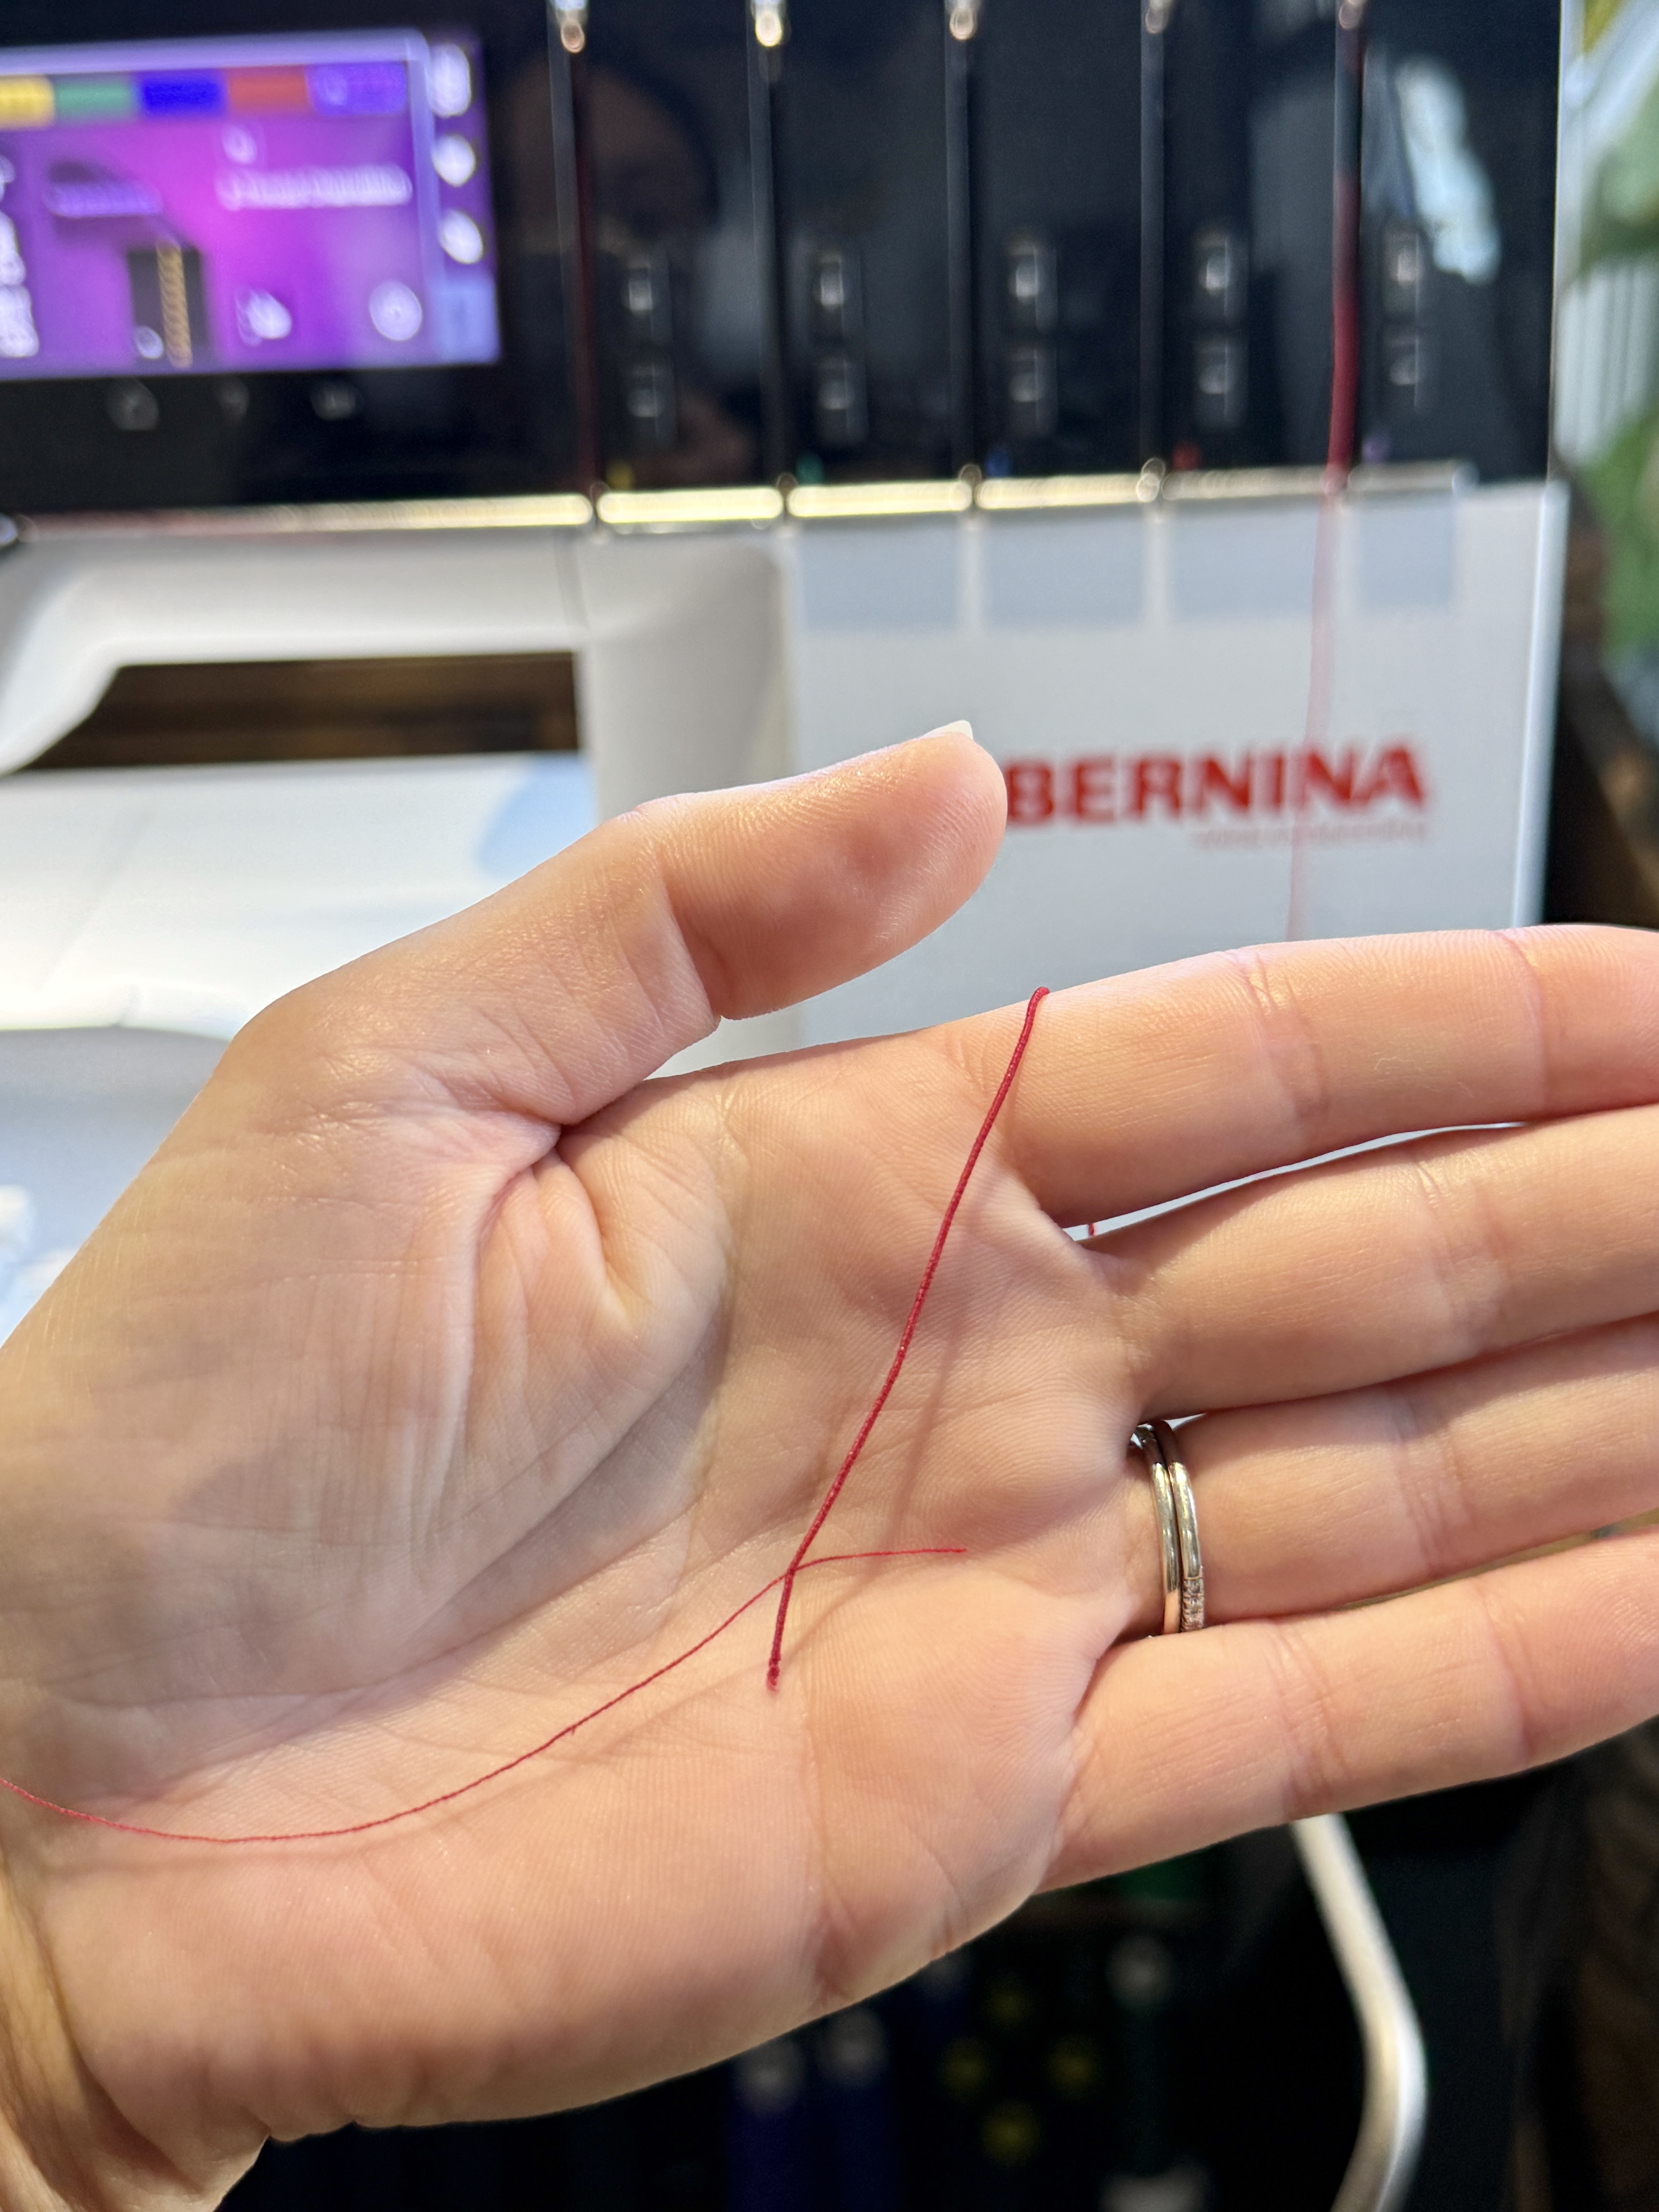
Now feed the regular thread through the Chain Looper using the air threading function until the thread spits out on the other side.
Grab the thread and continue pulling through the Chain Looper until the elastic thread reaches the other side. Cut the regular thread off and guide the elastic under the needles.
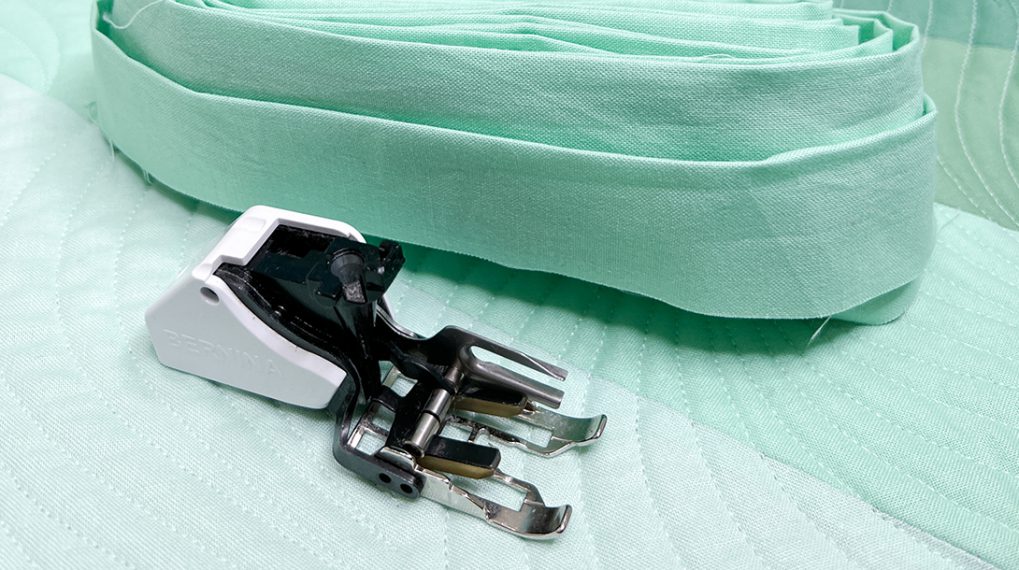
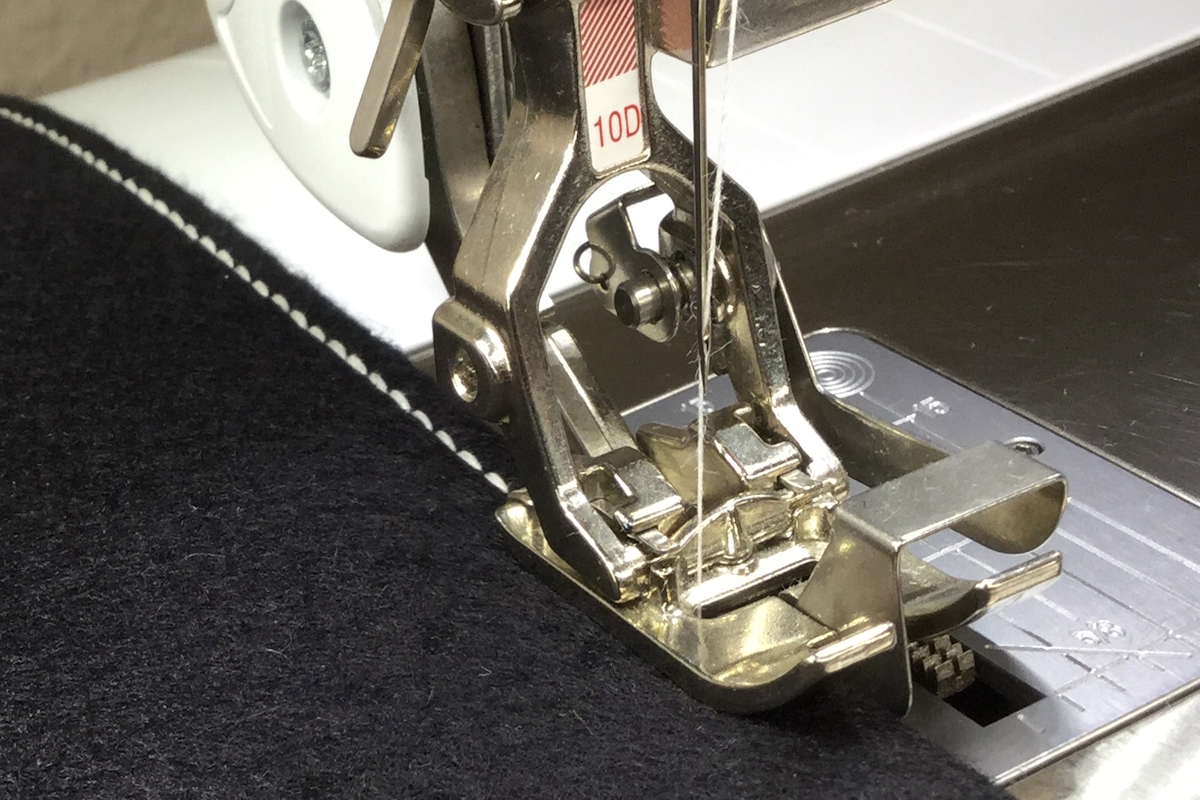
Now that the machine is threaded, attach the Shirring Foot.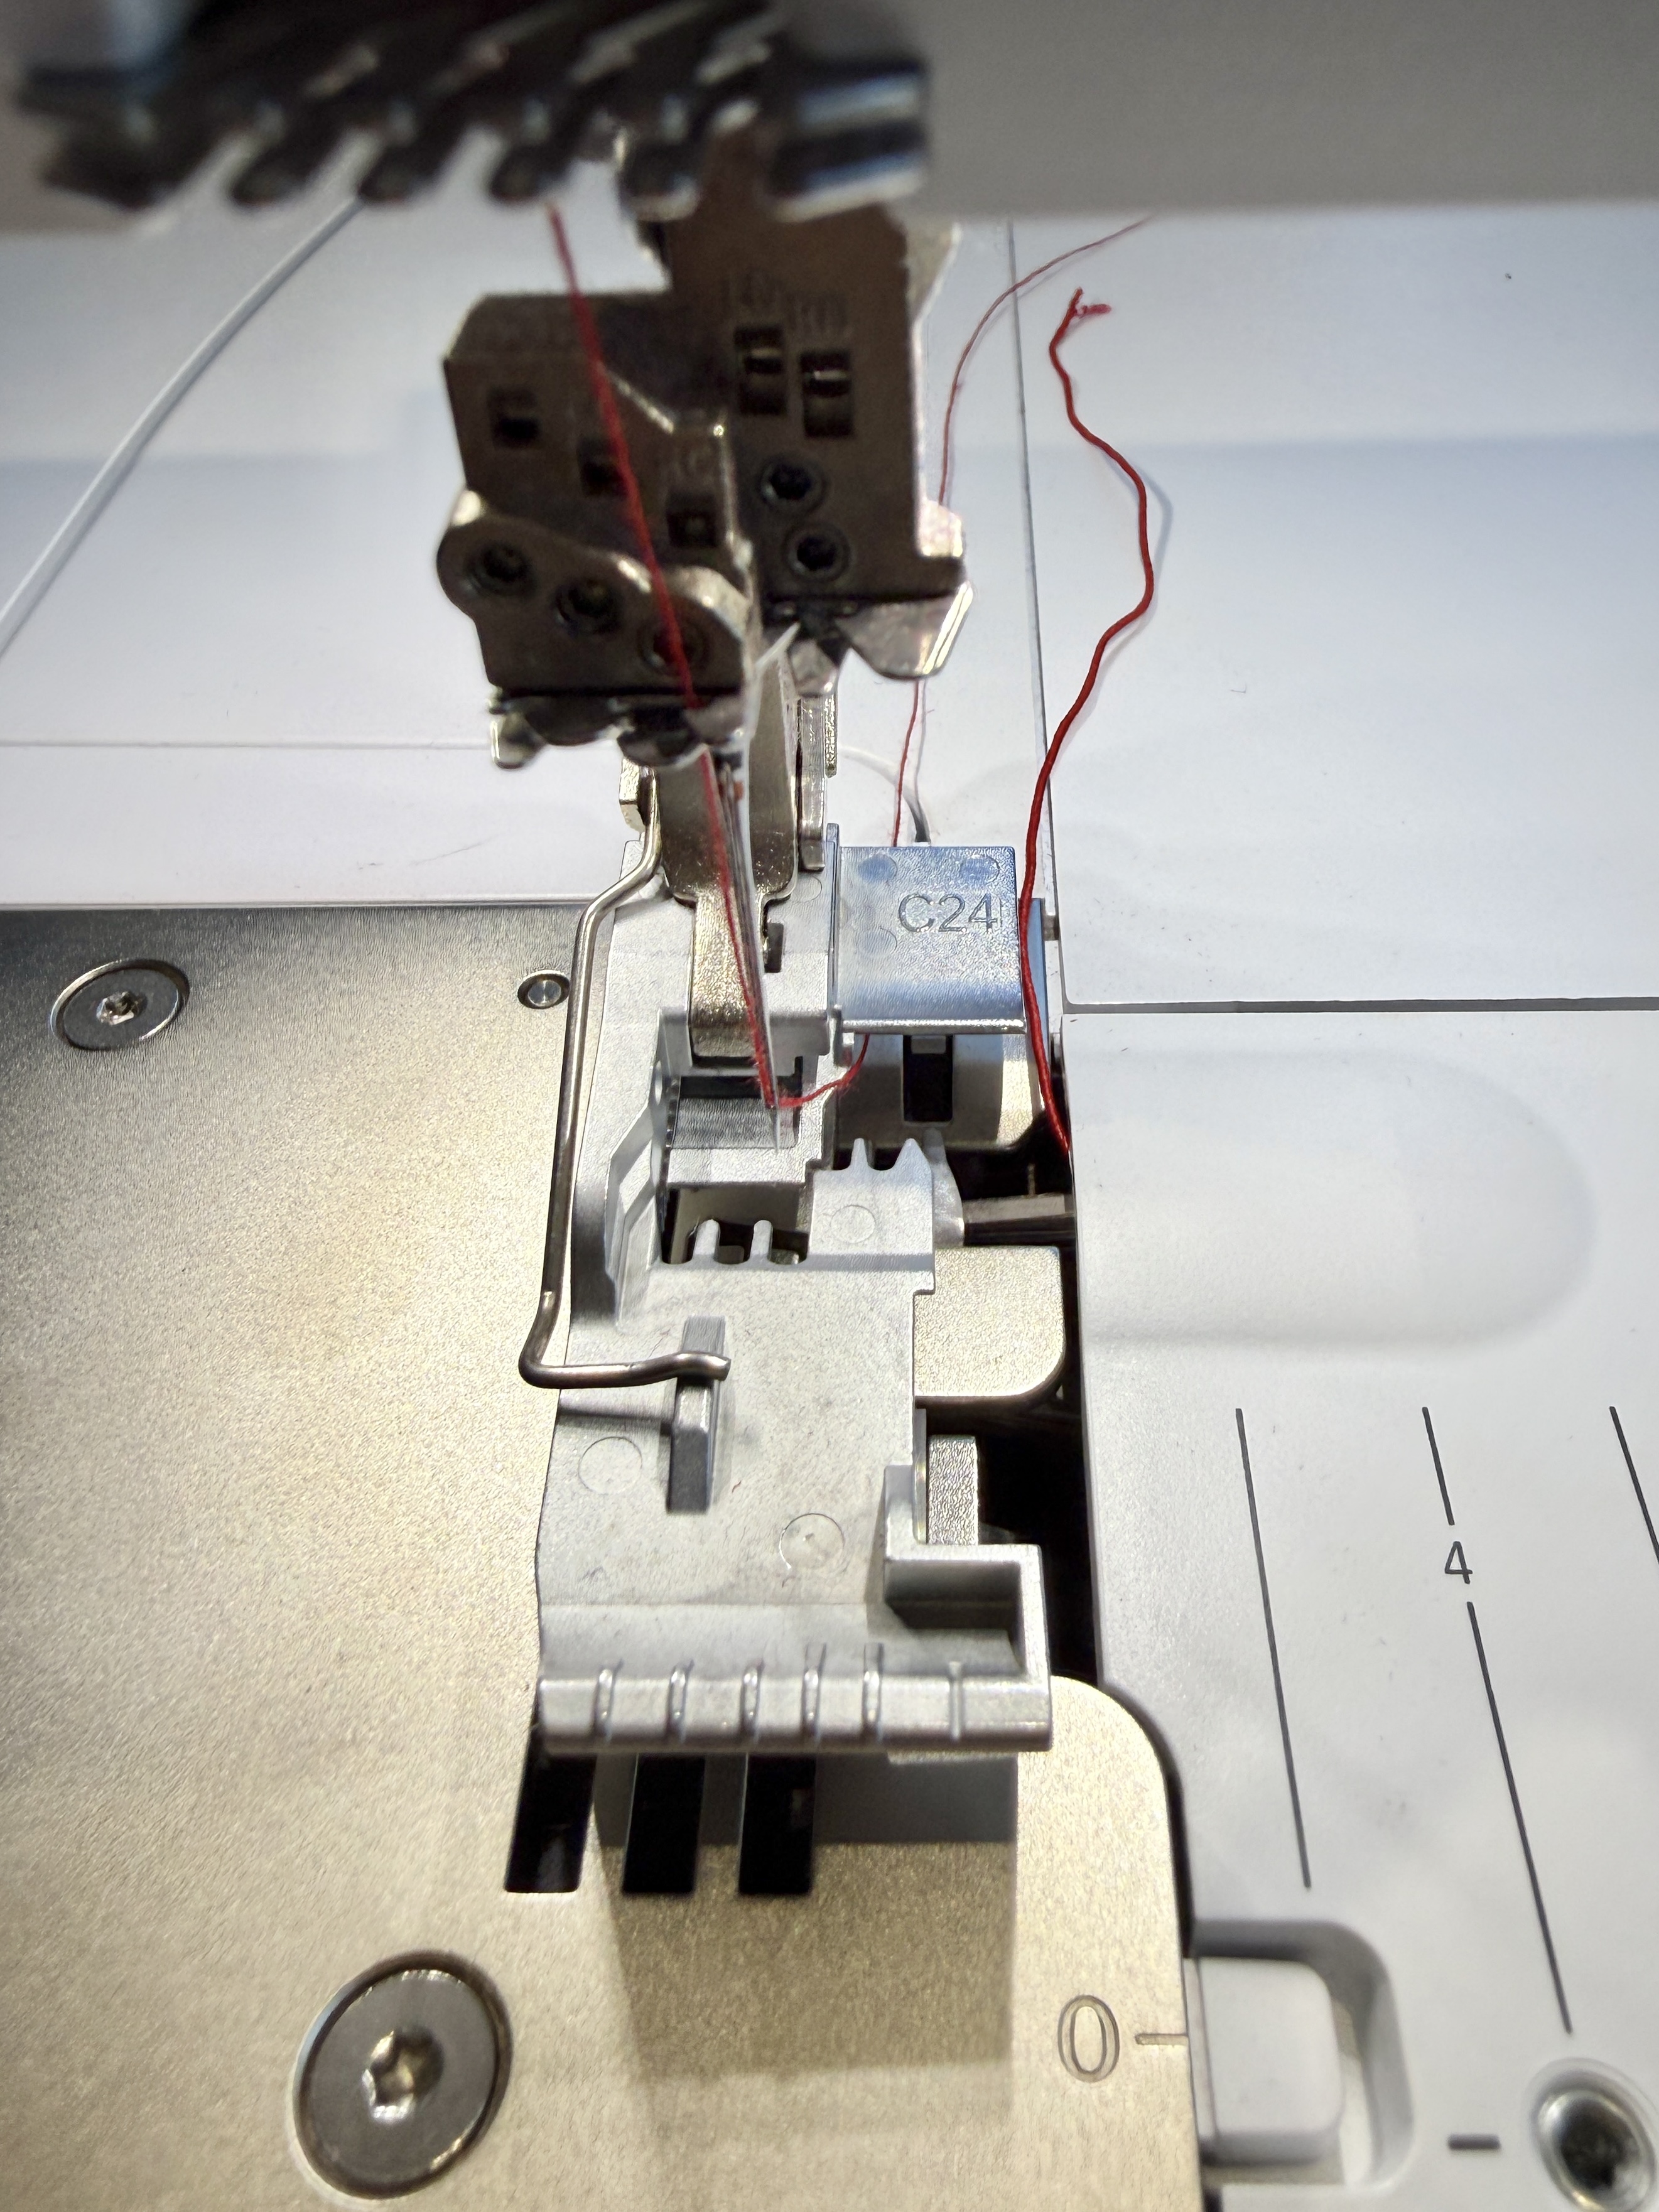
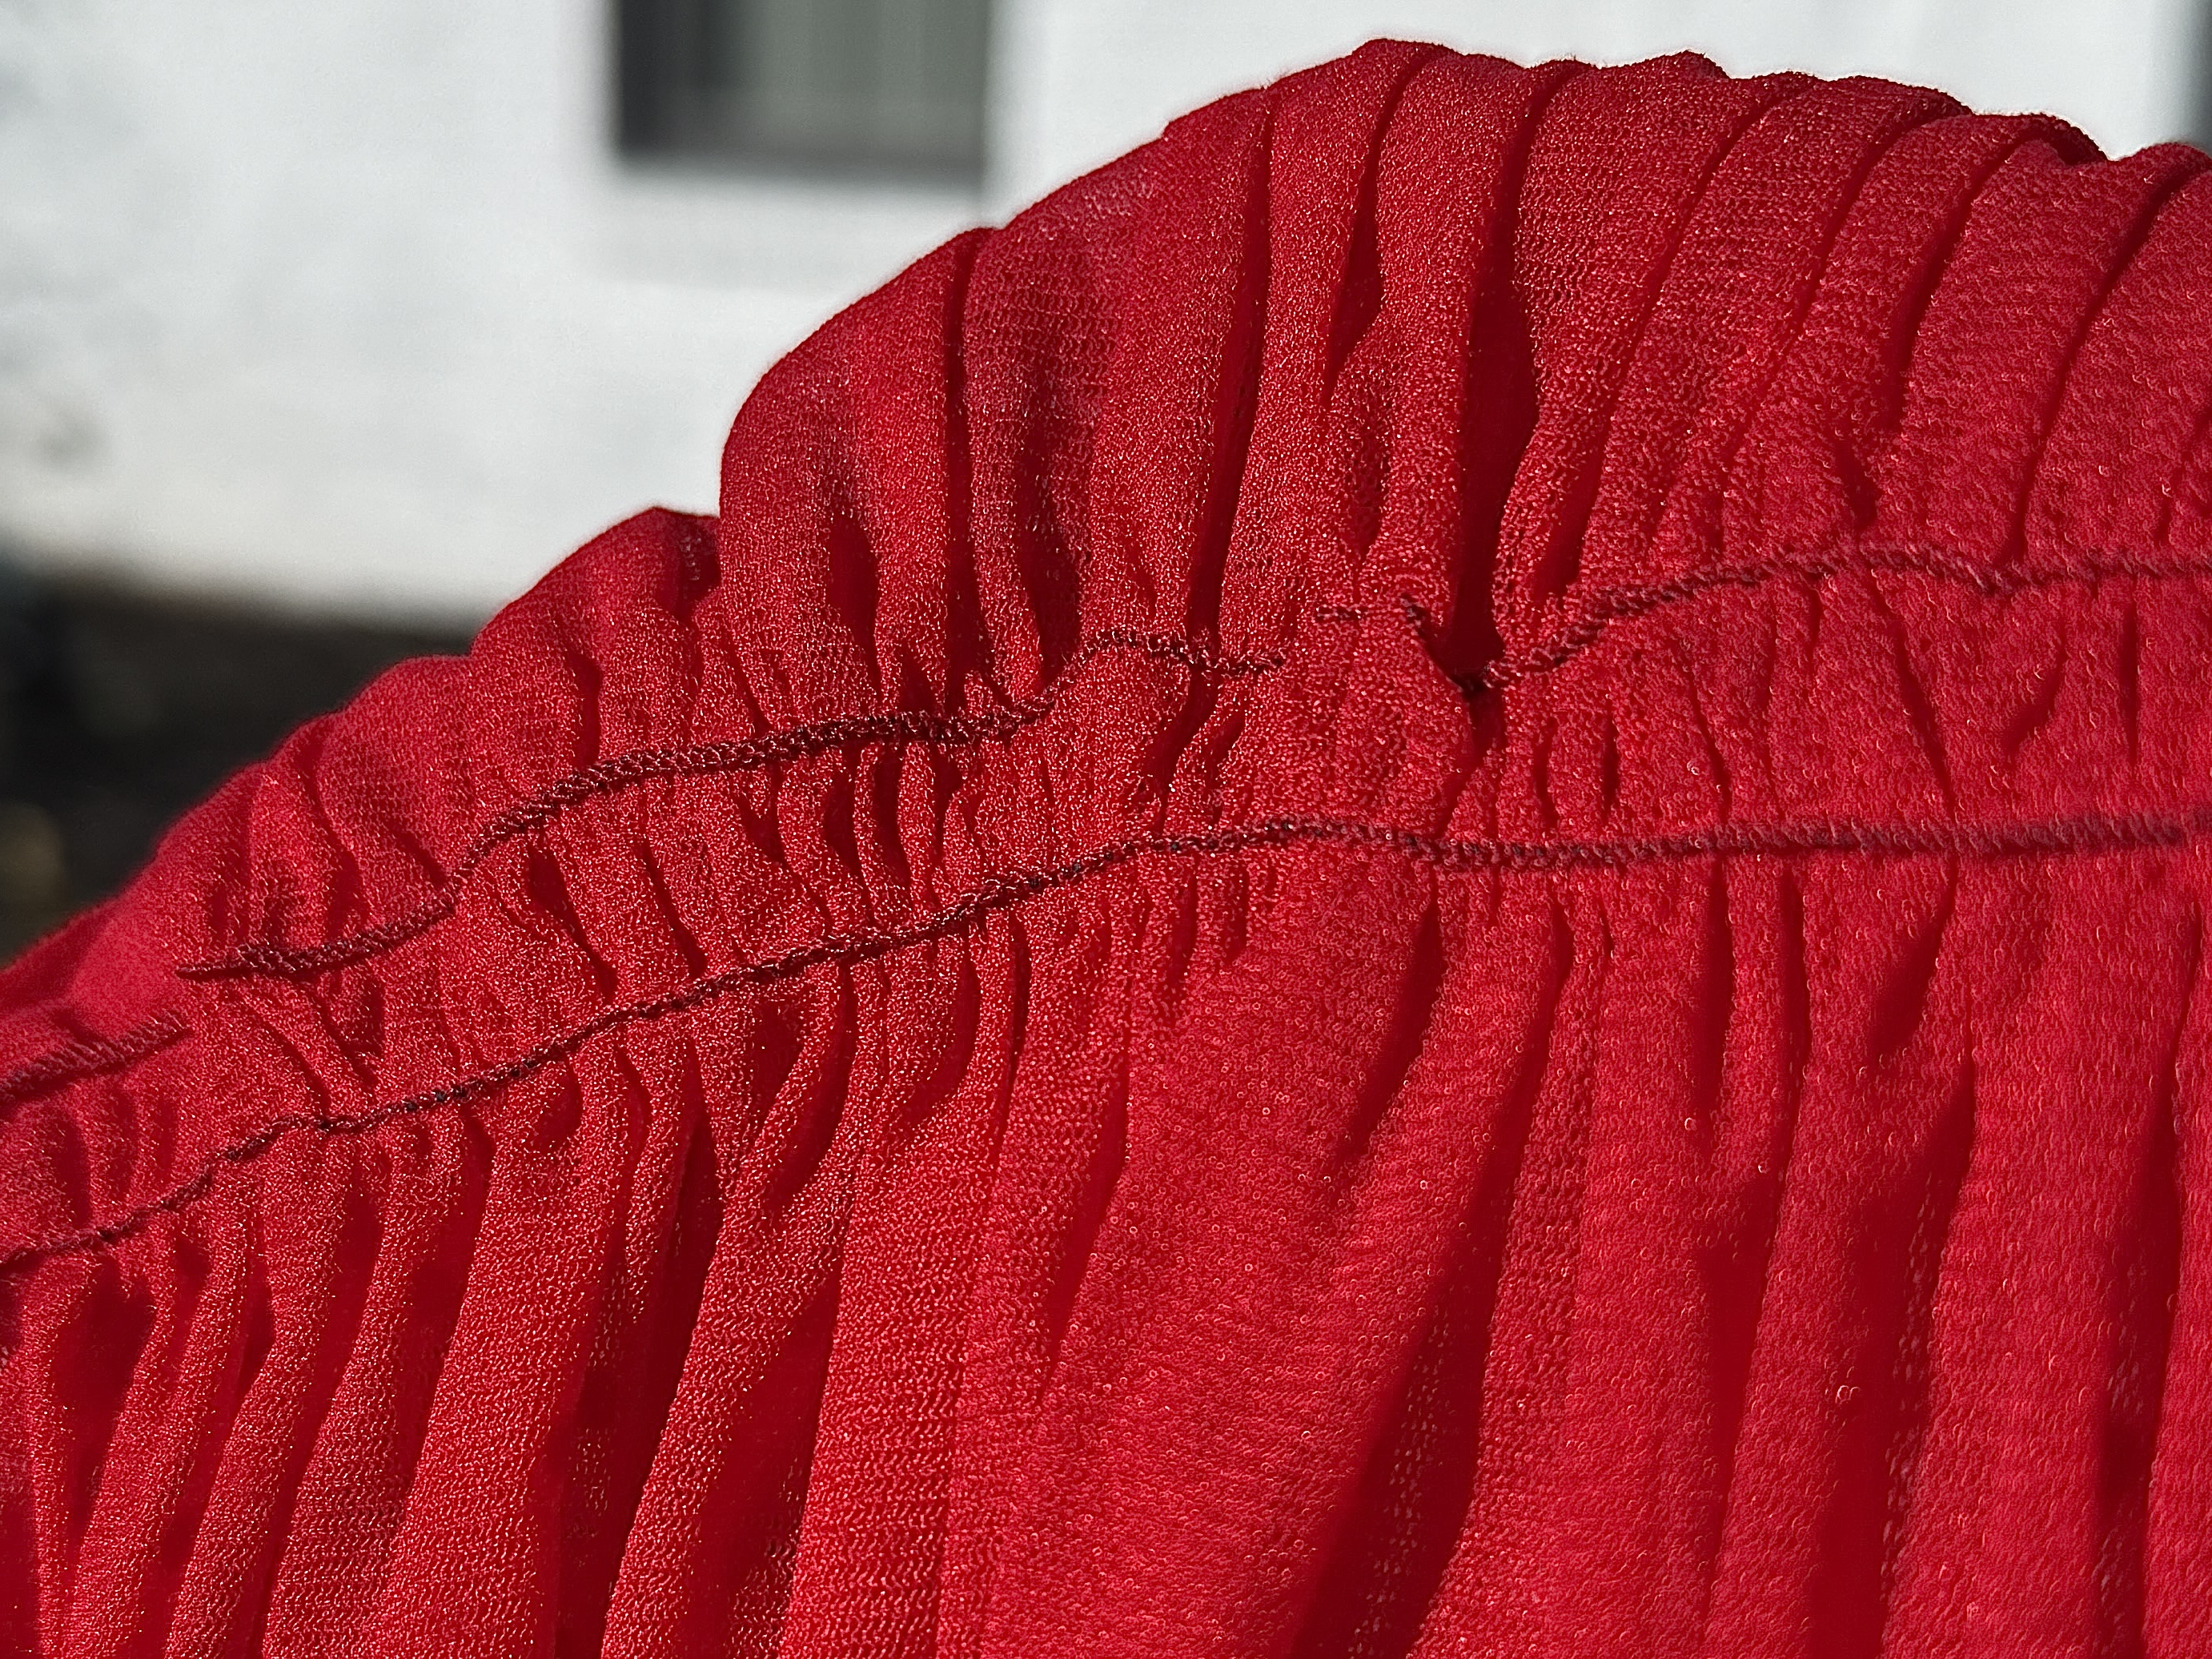
Place the fabric right sides up, and serge over the areas you need shirred.

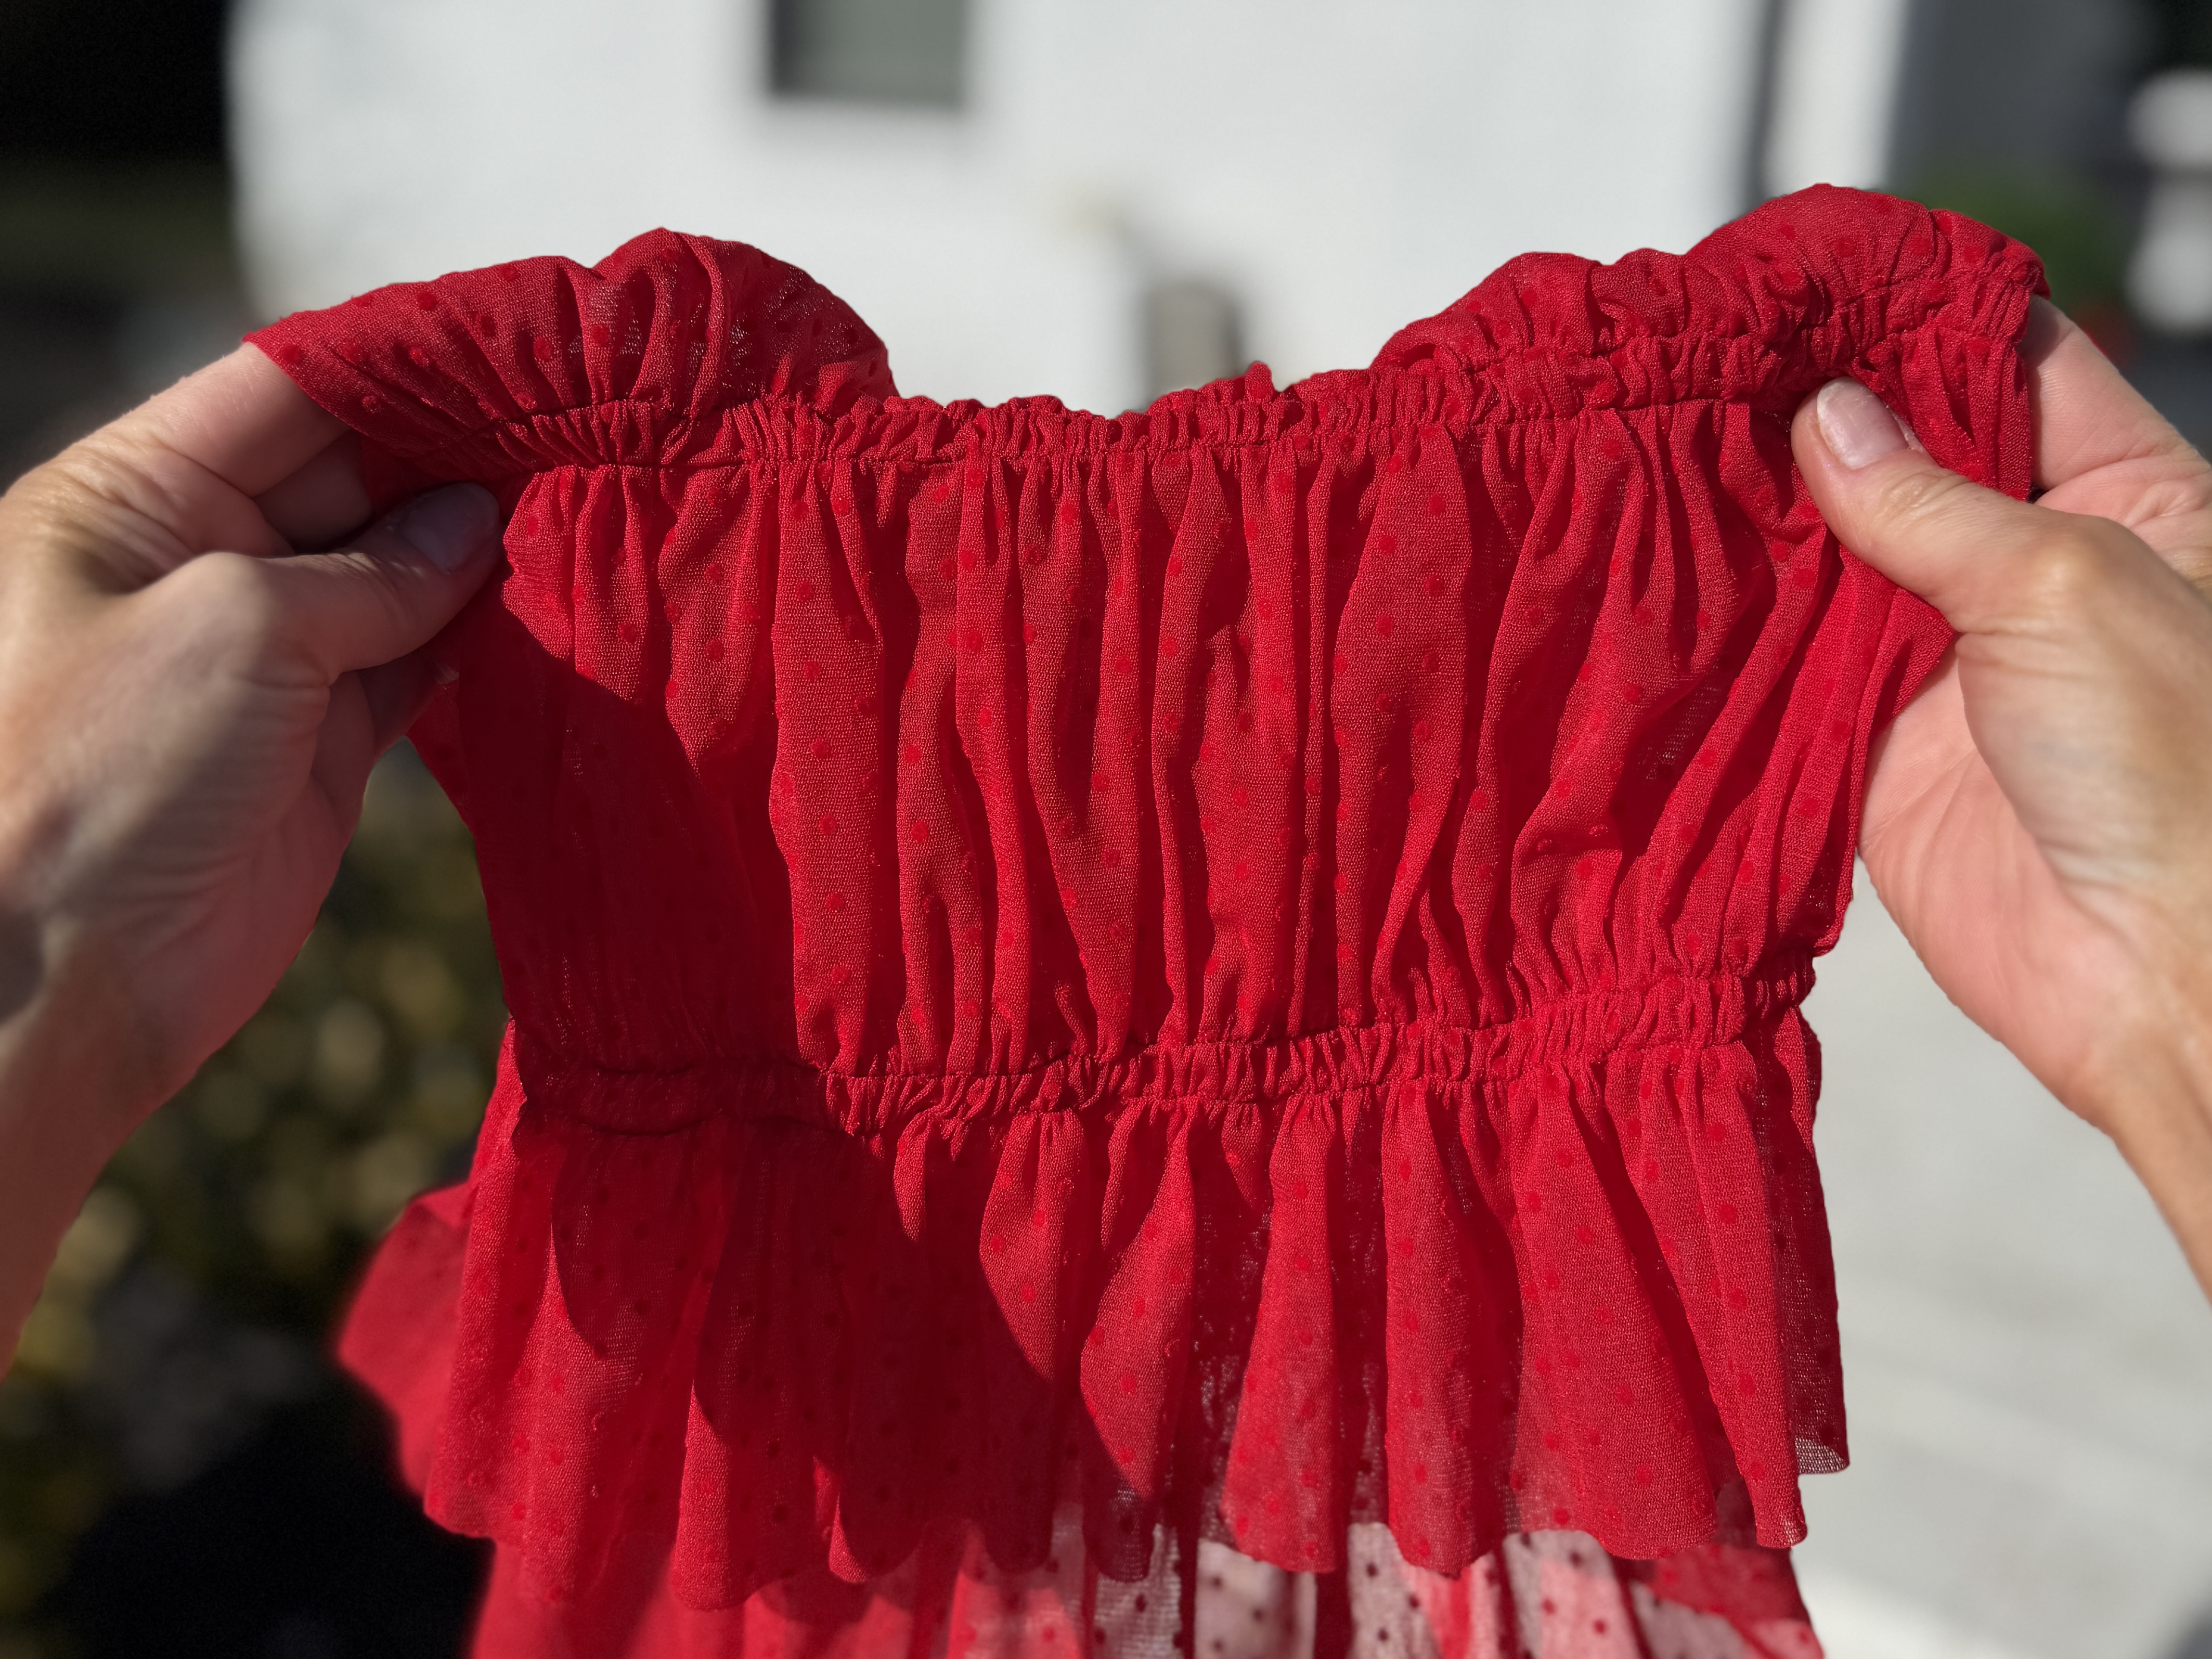
For this Simplicity S8839, I am following the guidelines on the sleeves and shirring two lines, 3/8″ apart. When you reach the end of the guideline, cut the threads and tie a knot to secure the shirring.
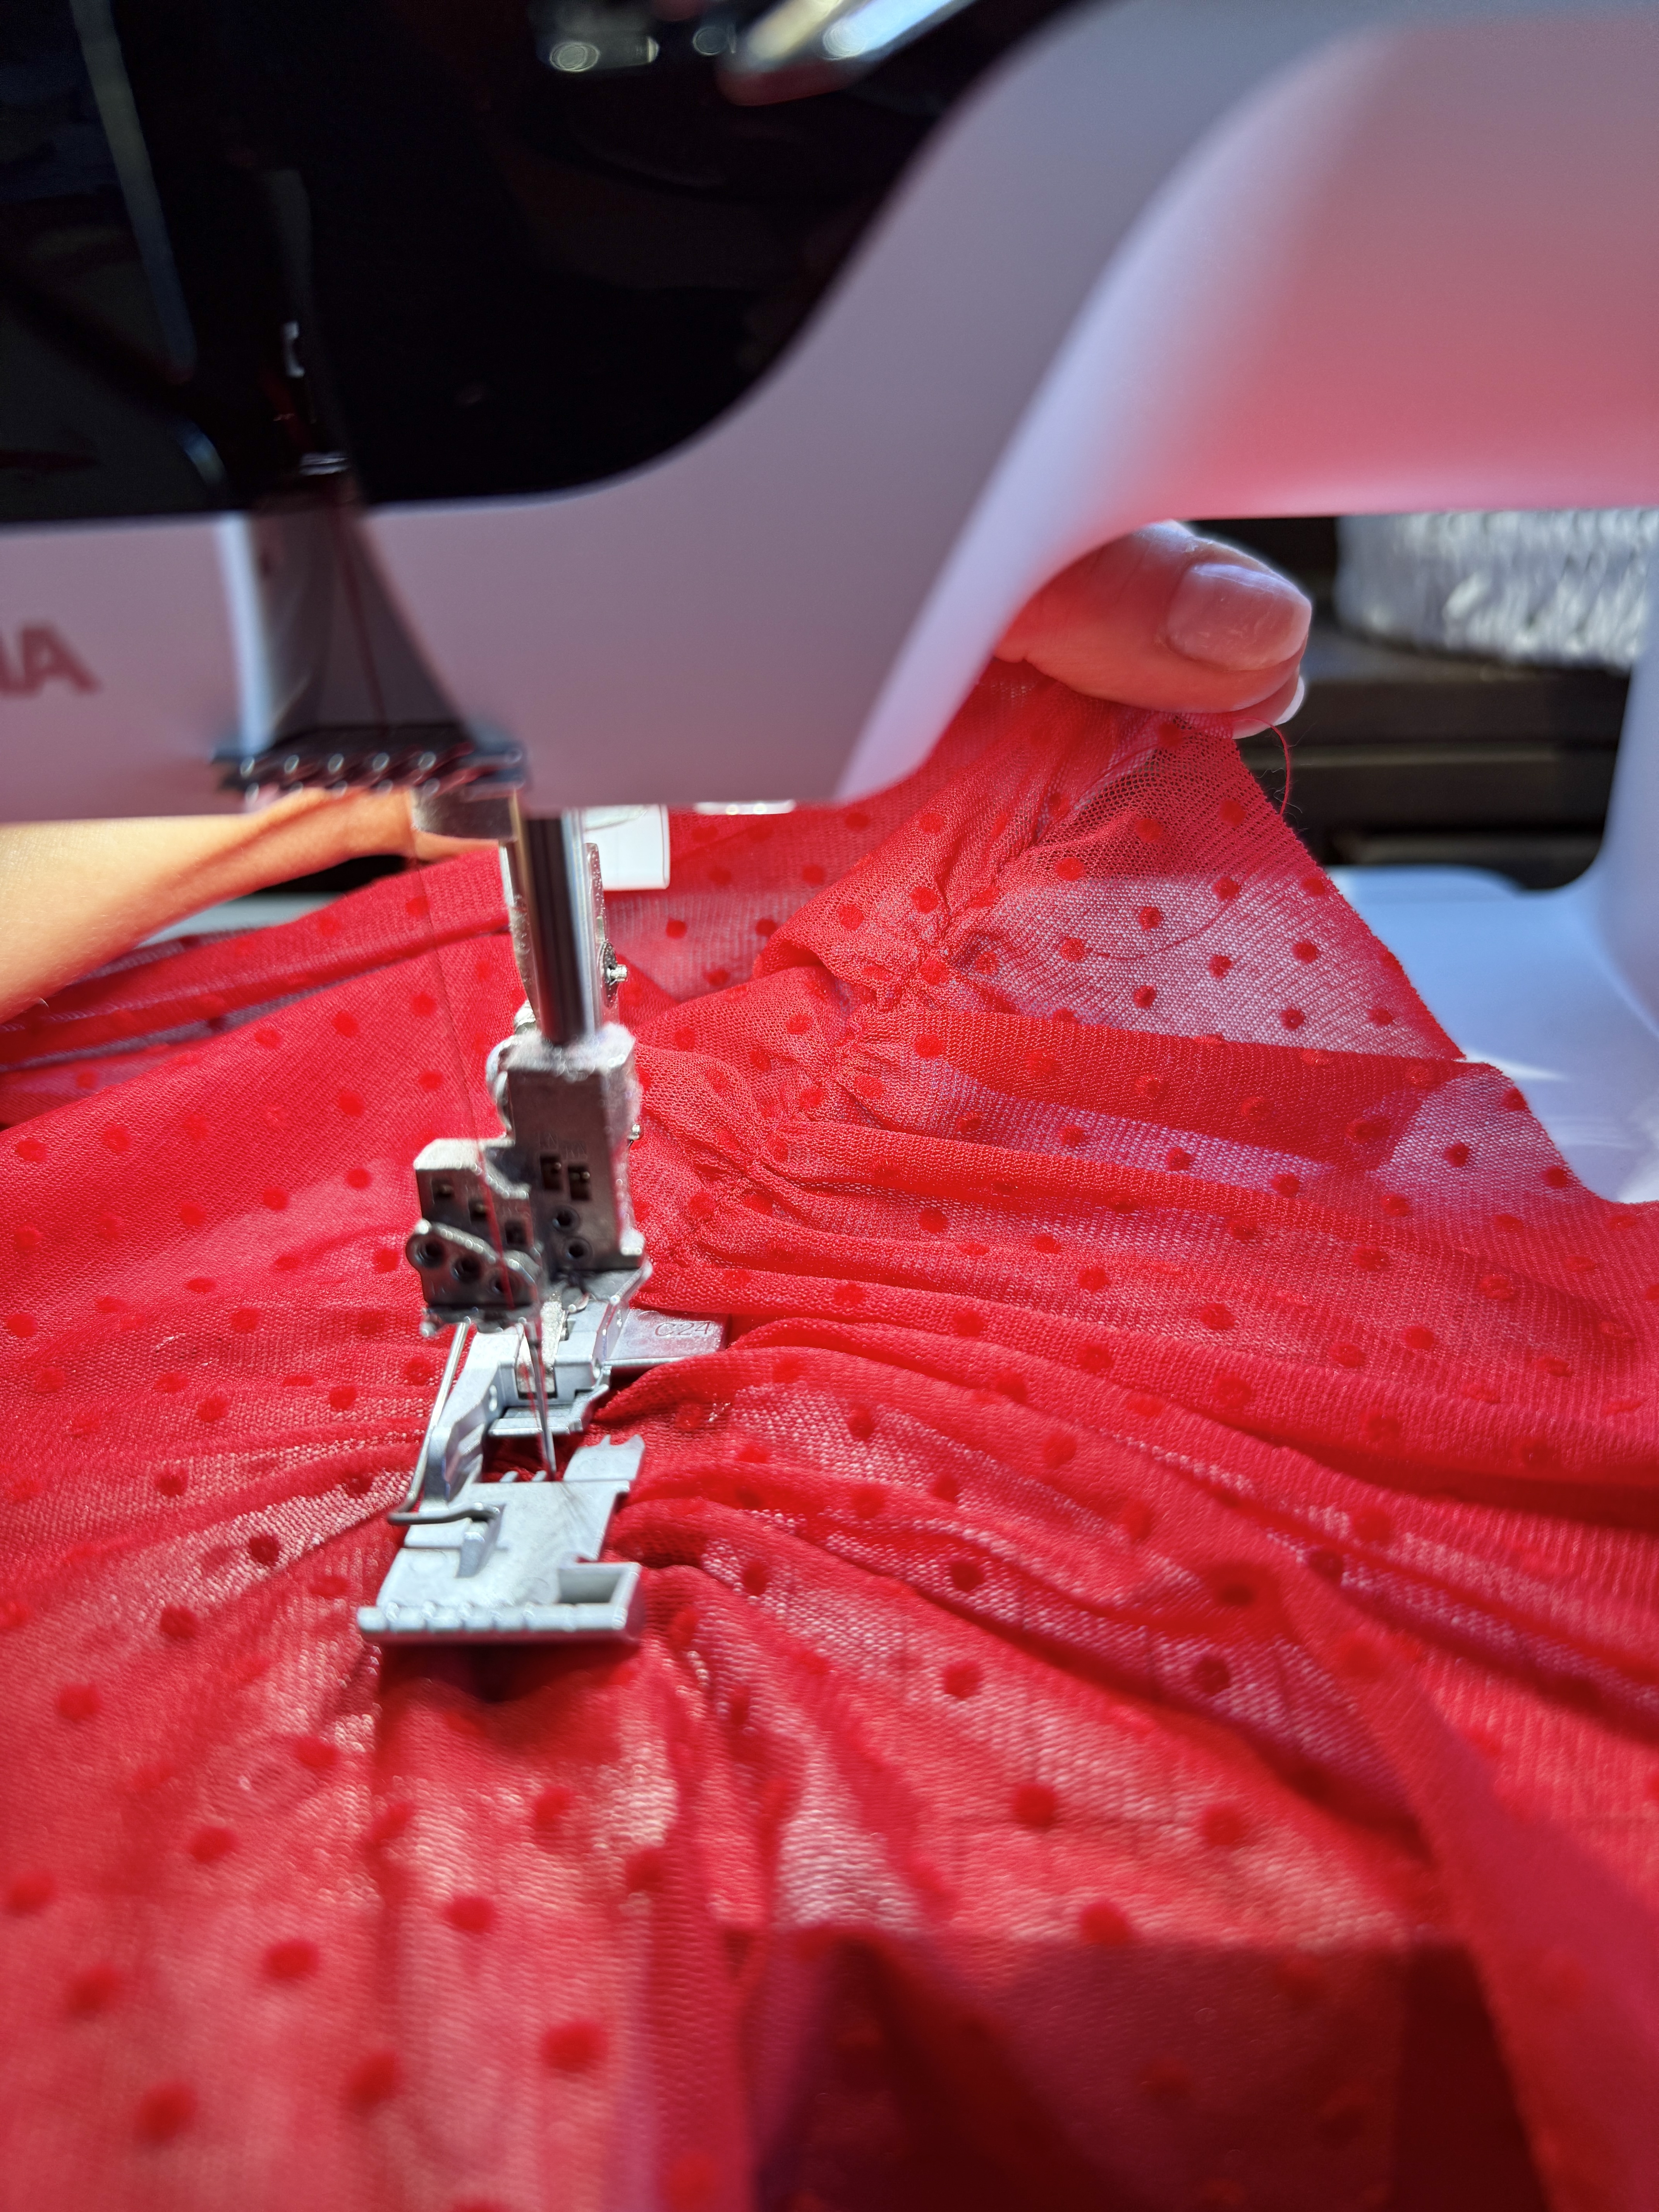
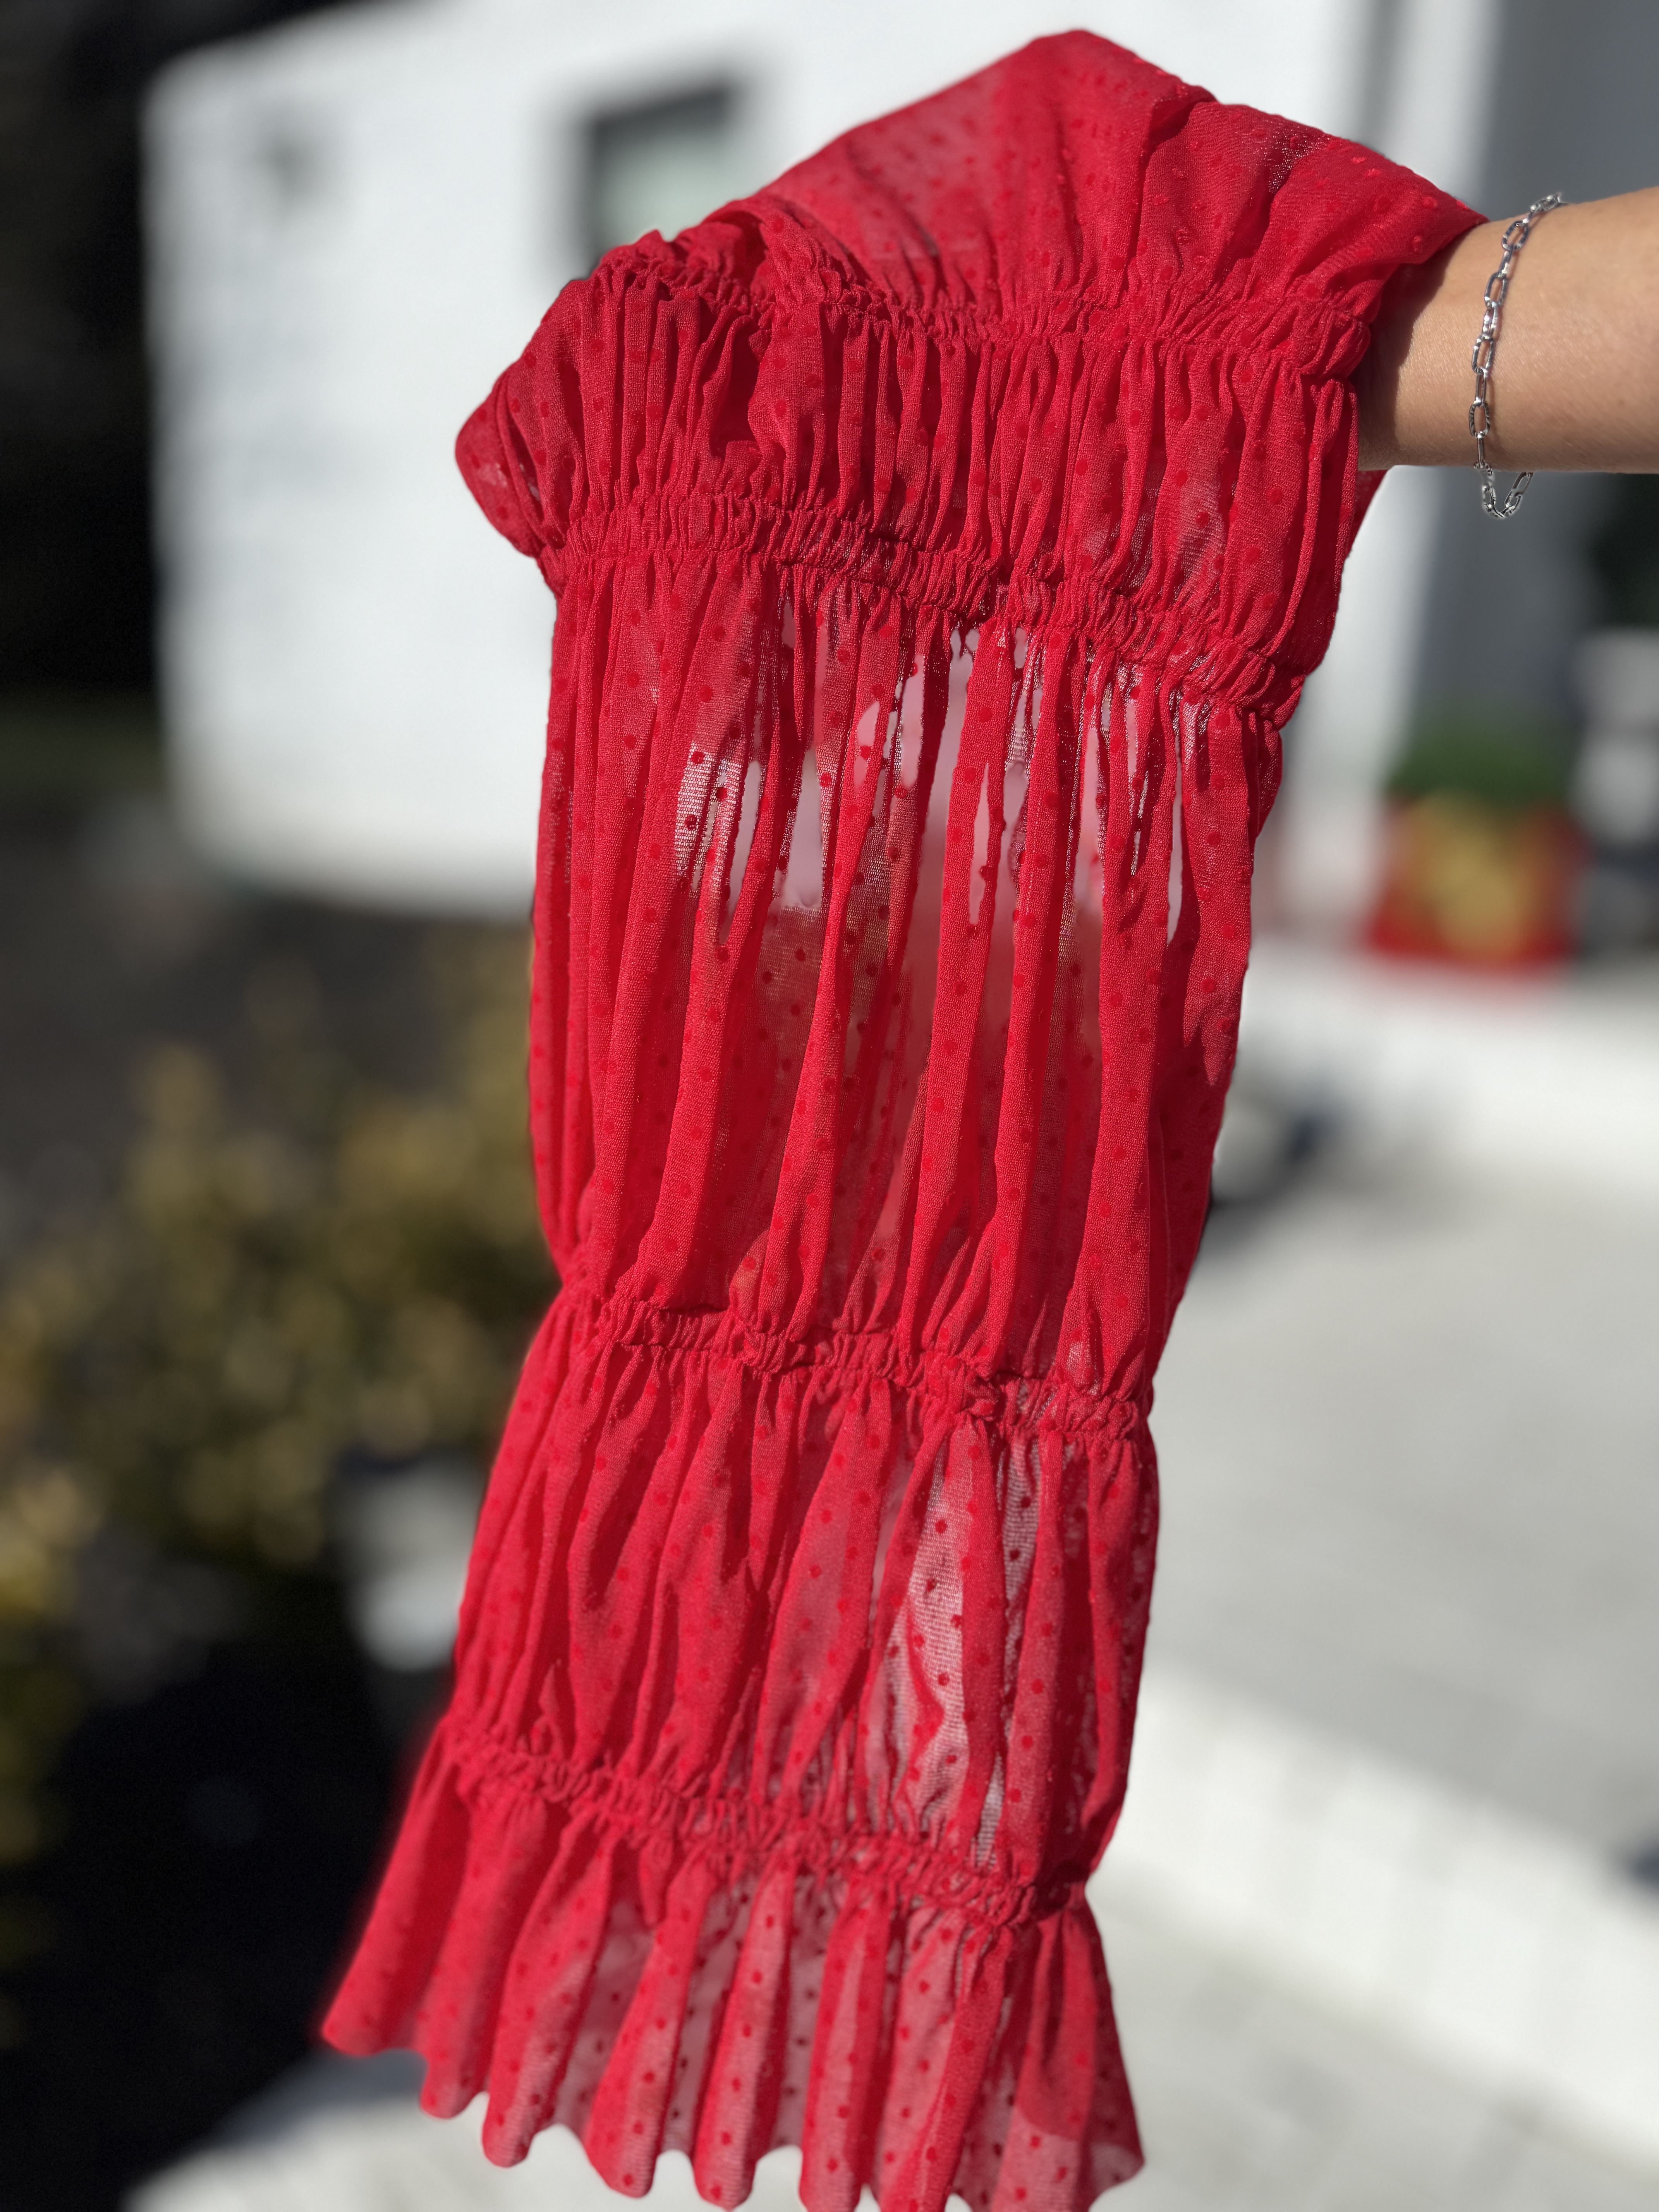
When completed, your fabric will be gathered, but have the ability to stretch out!
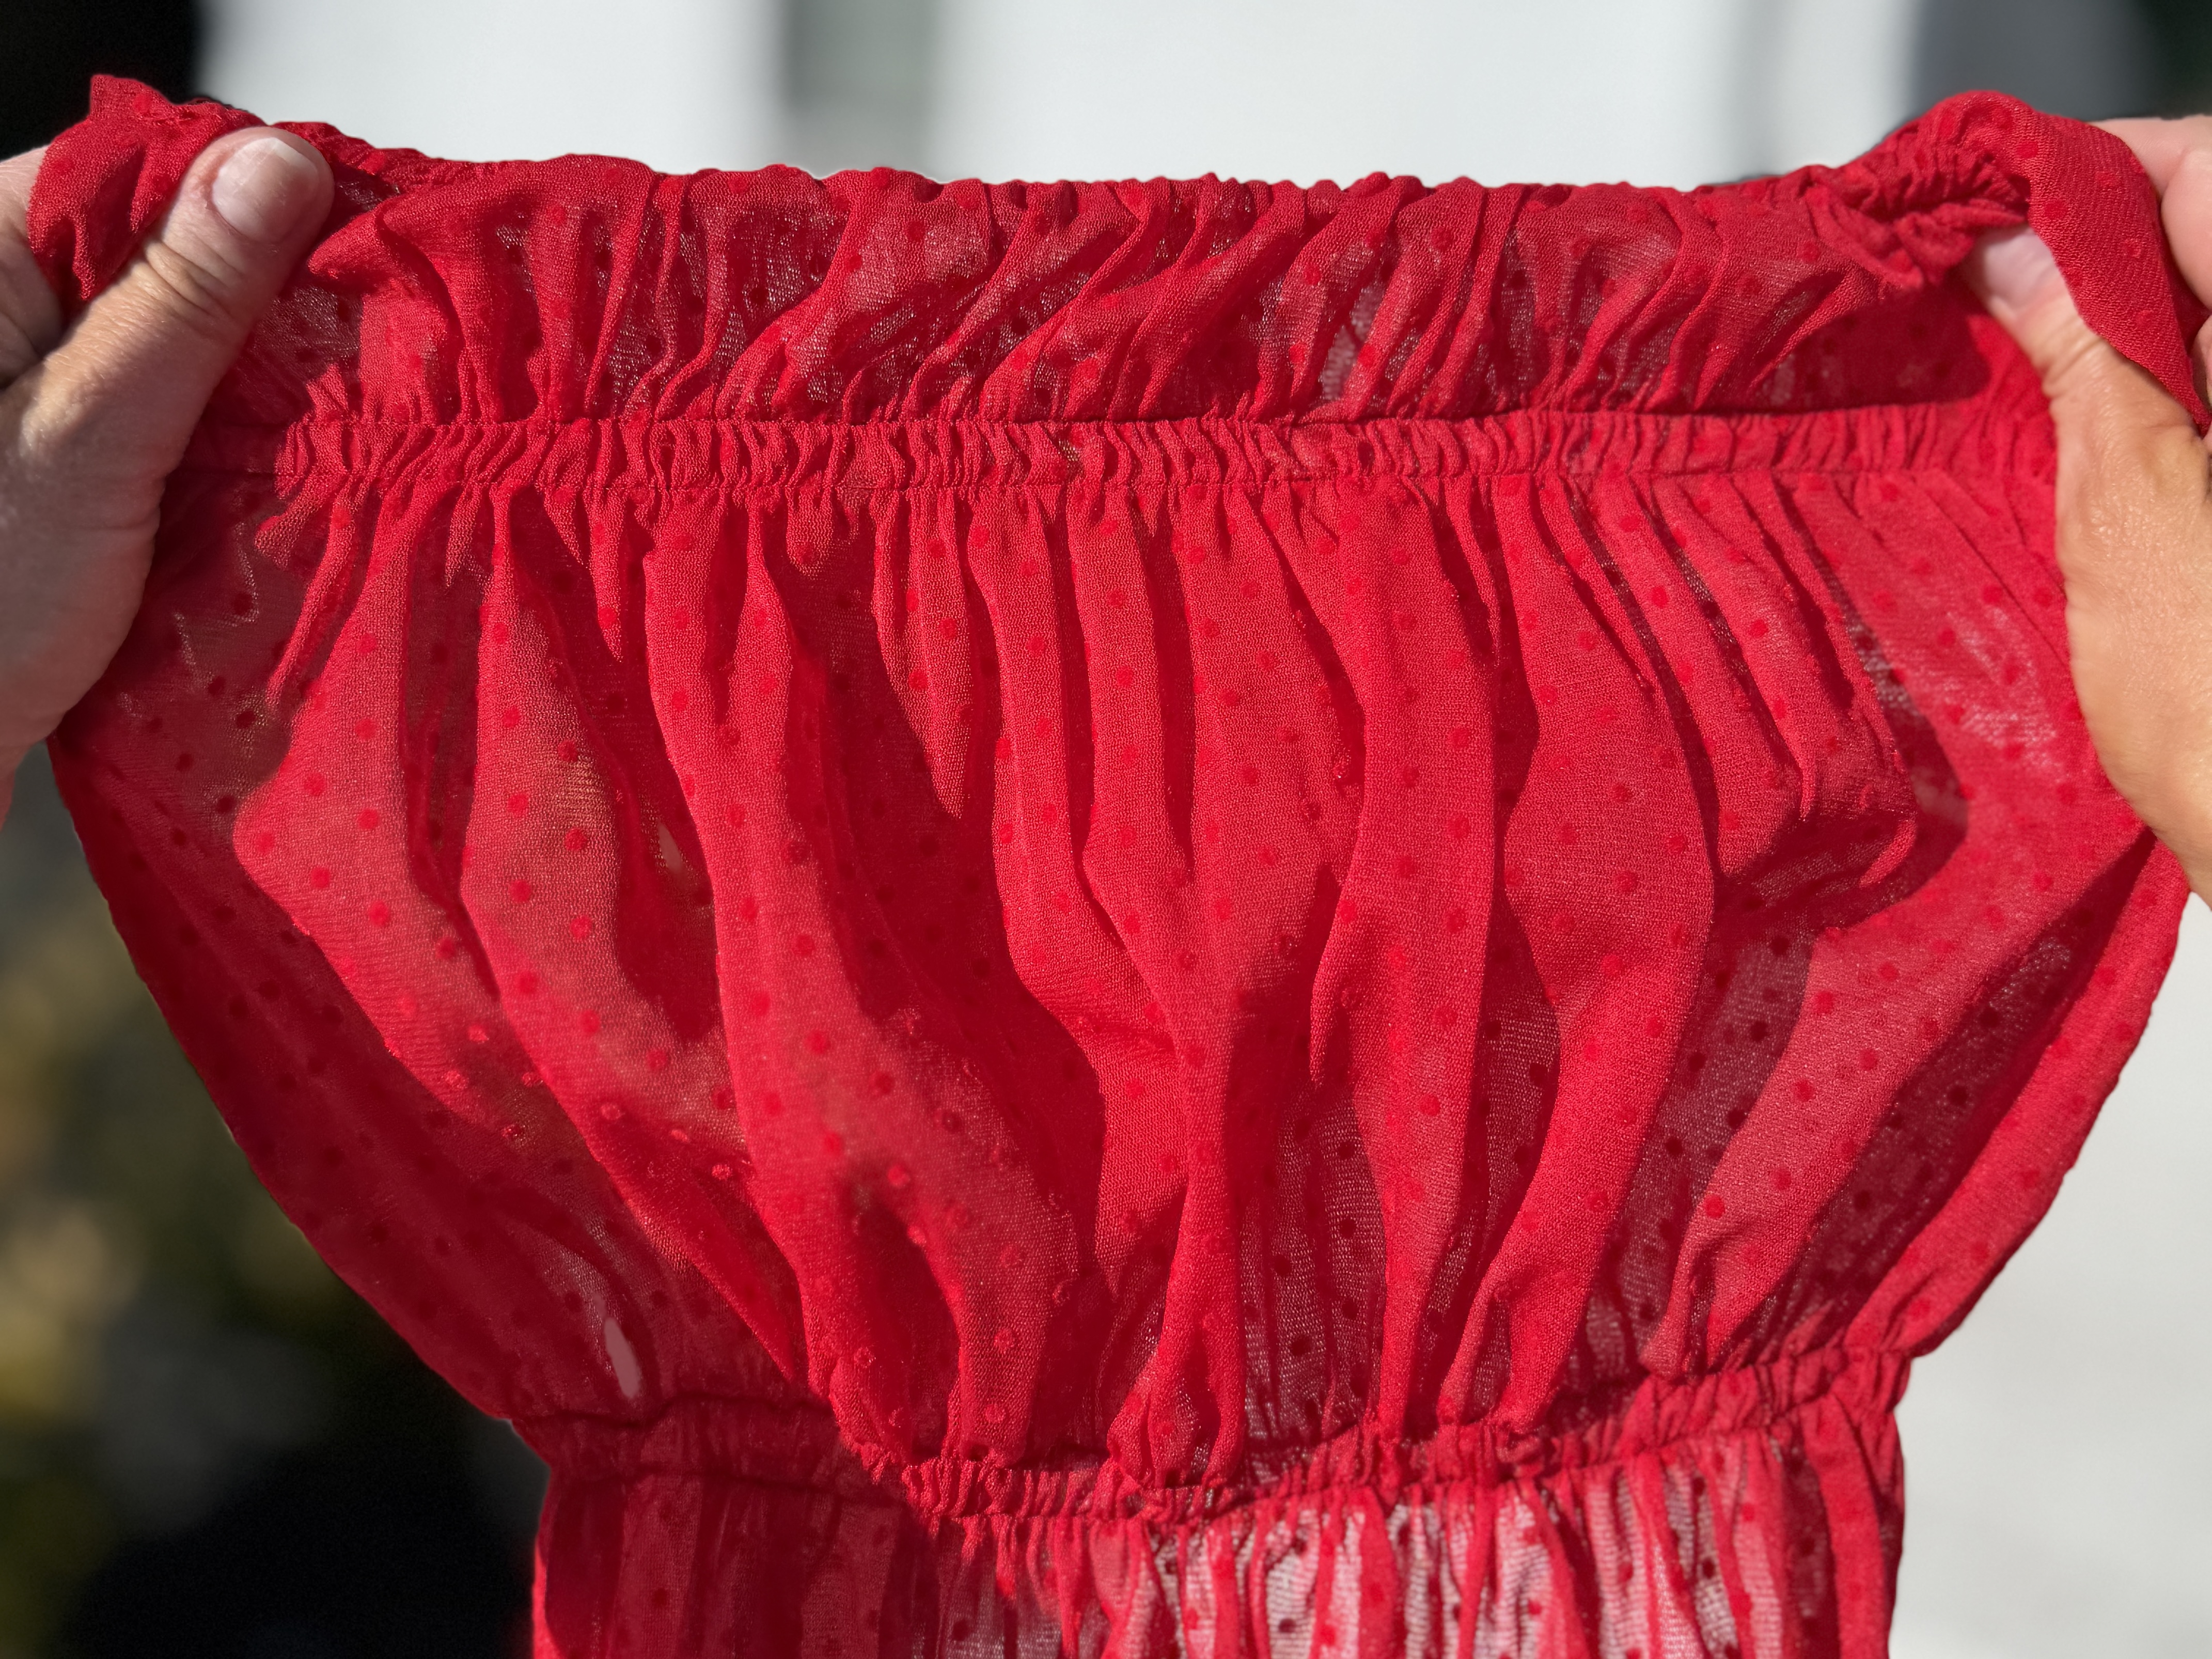
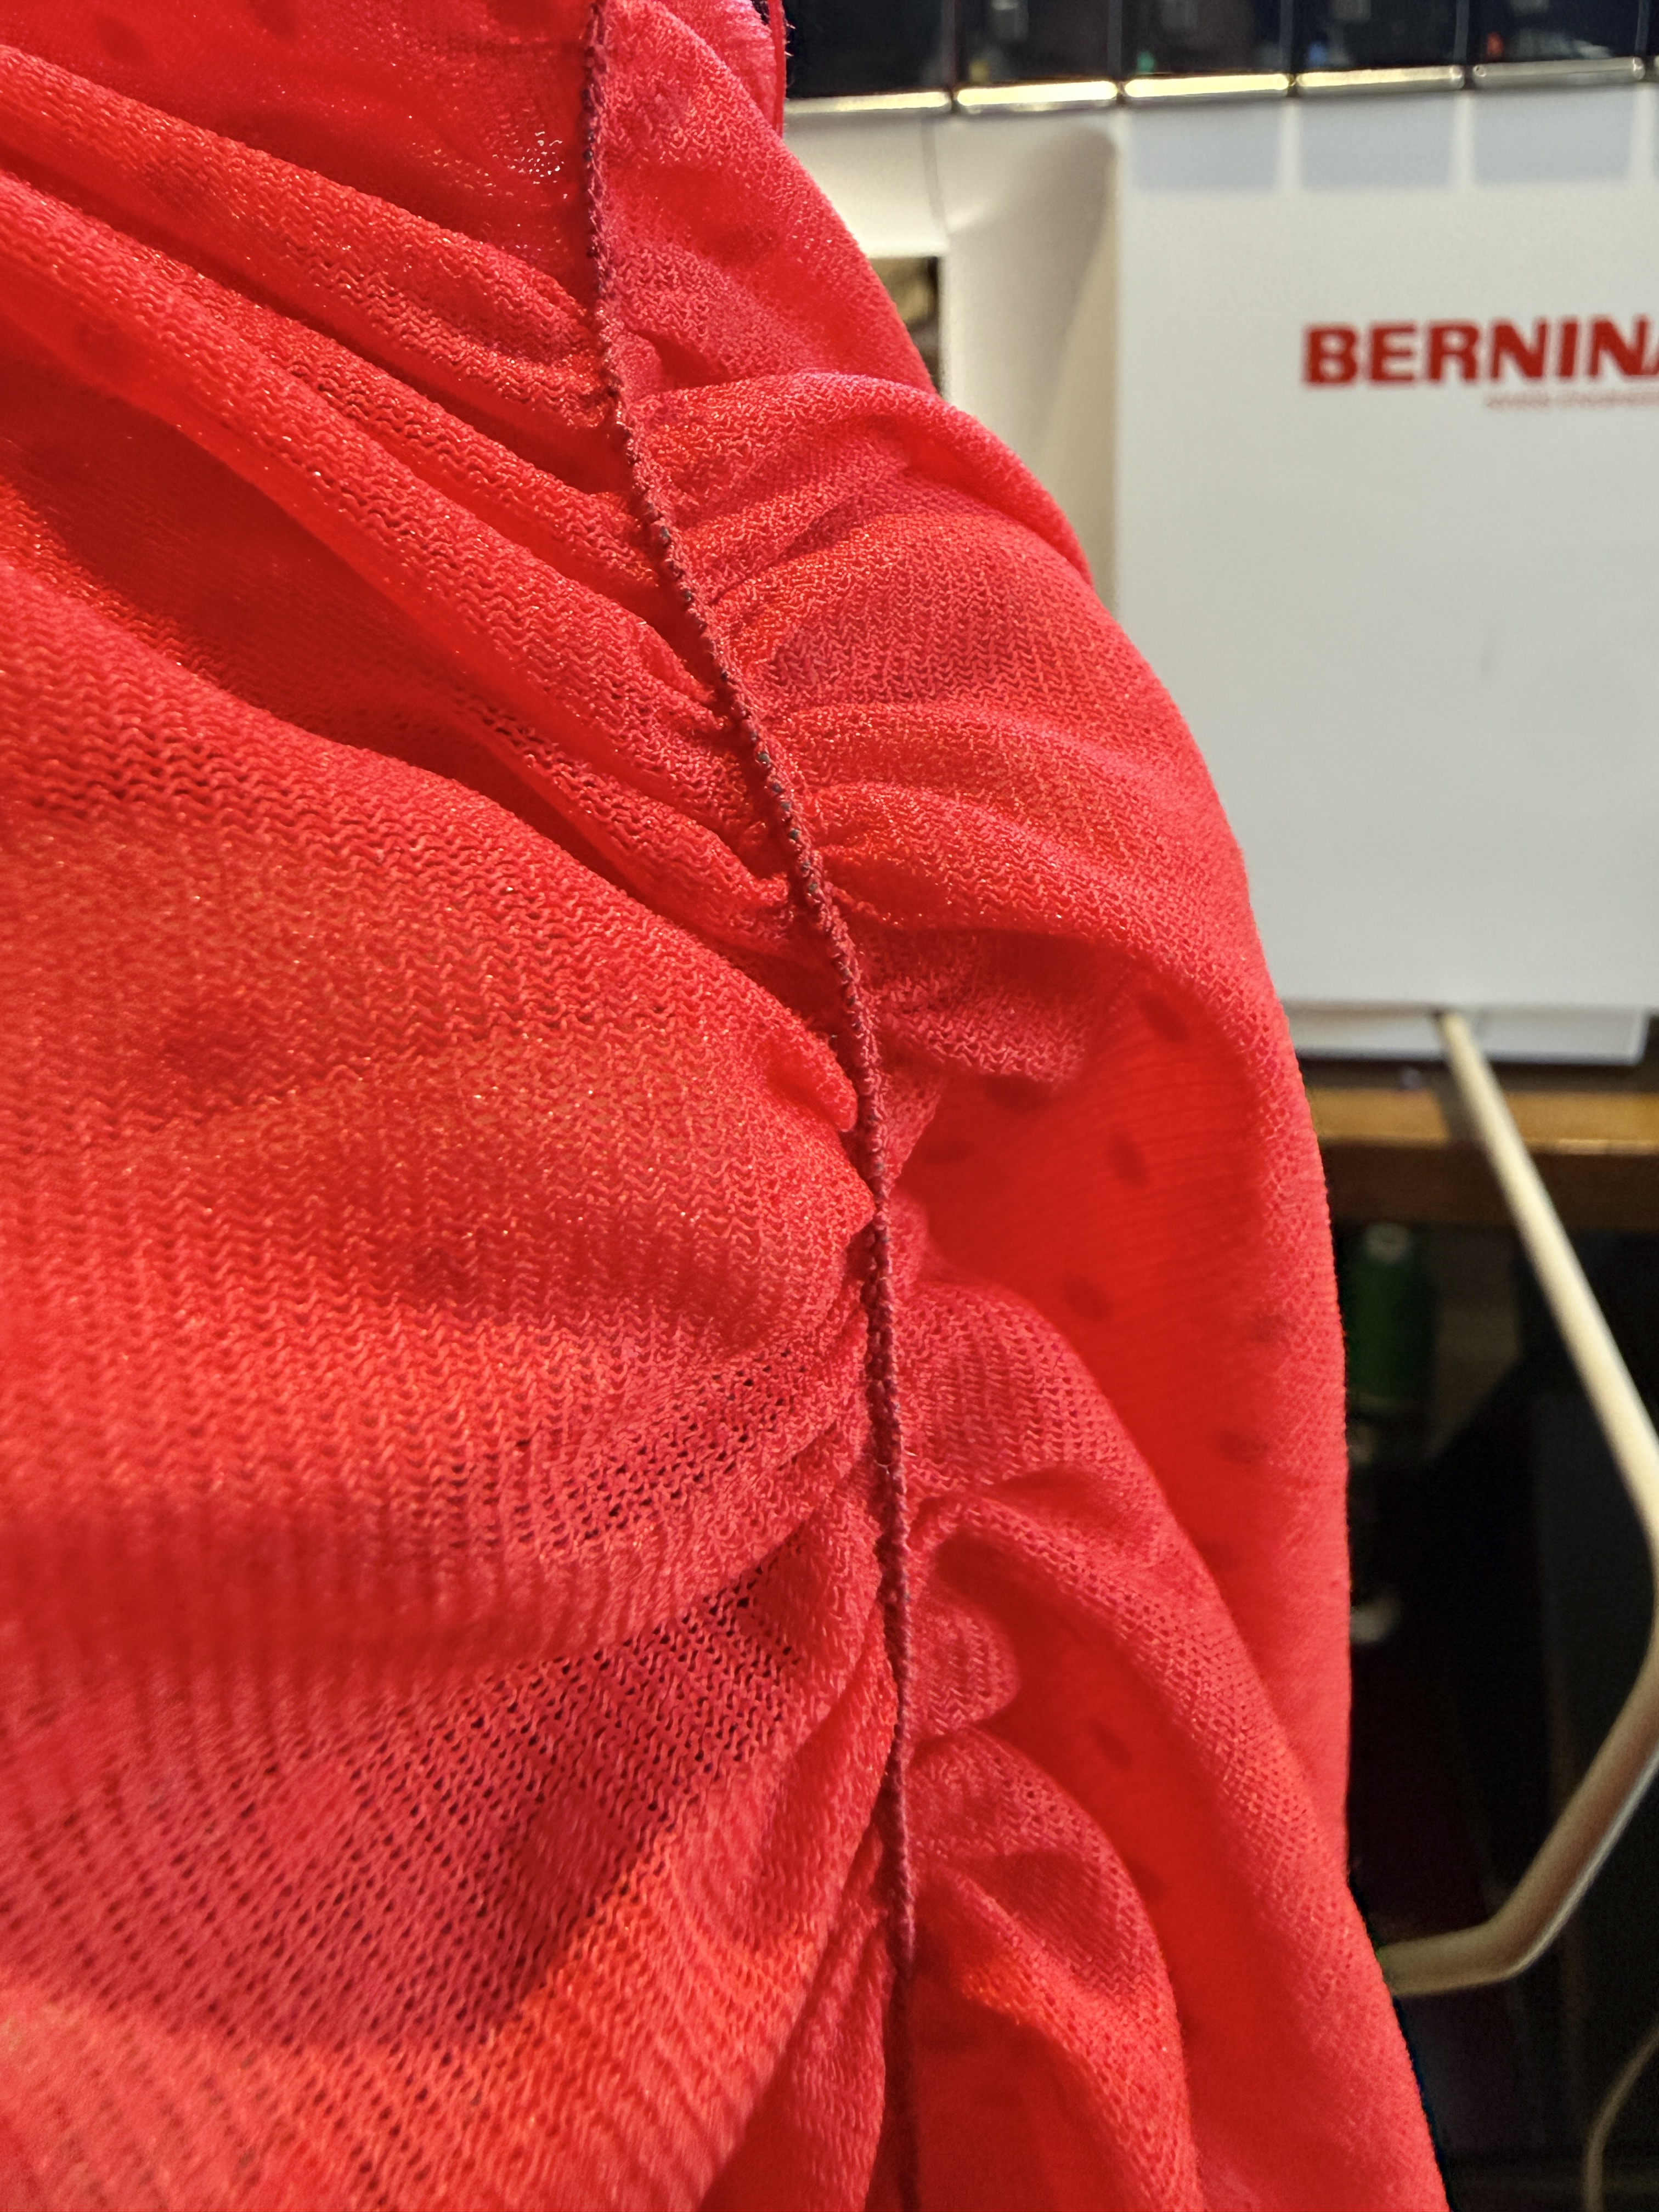
Not to mention, the wrong side of the stitch looks neat and professional.
Using the Shirring Foot on my L 890 made creating S8839 a total breeze! I was able to whip this top up in a single afternoon, using only 5 pattern pieces. I love how the voluminous sleeves makes this top stand out and look difficult to make. But the reality is, it’s an easy-to-sew pattern. Anyone can make this with their handy dandy #C24 Shirring Foot!


 I hope you give it a try!