Leather Monogram Patch
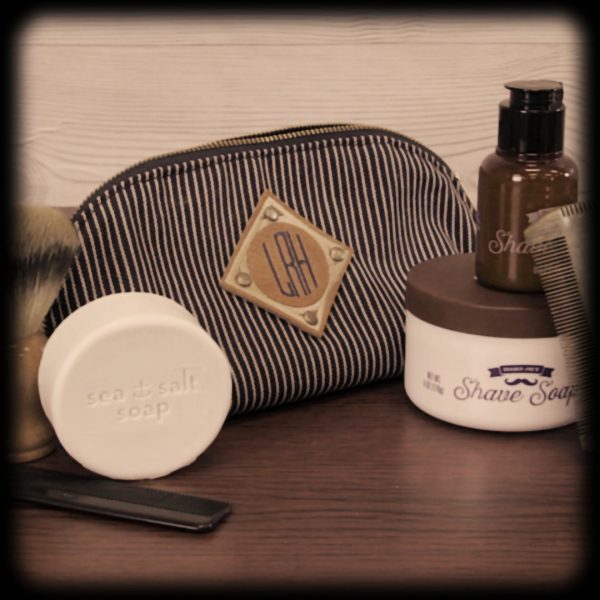
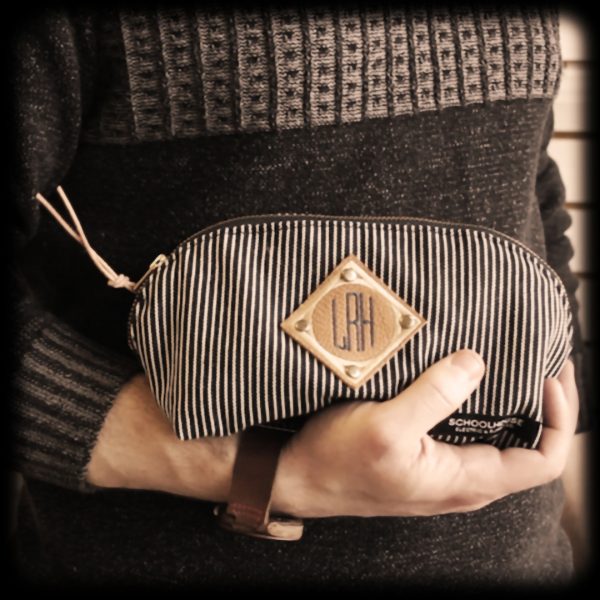
Monogramming a gift for the guy in your life is a classy way to make it personal. I have always been a fan of the manly monogrammed cuff, briefcase or bag. There is something sophisticated and serious about personalizing your belongings this way. With this “no-sew” project you can take your gift giving to the next level.
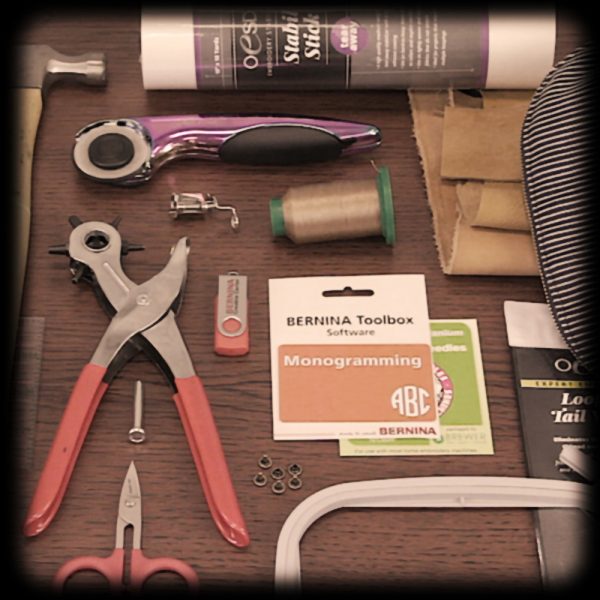
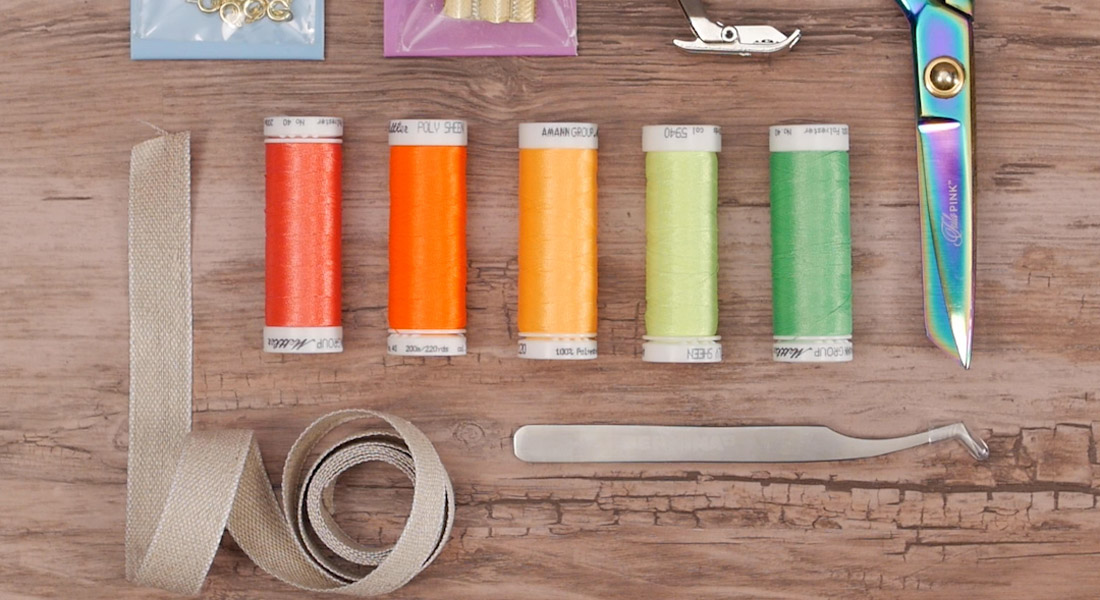
Materials to Create a Leather Monogram Patch
- BERNINA B 700
- Embroidery Foot #26
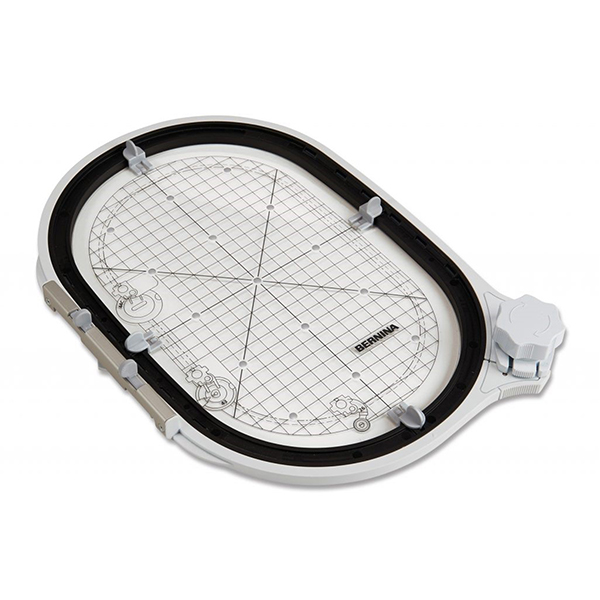
- BERNINA Midi Embroidery Hoop
- BERNINA Toolbox Software: Monogramming
- Leather Scrap
- Isacord embroidery thread
- Stabil Stick Stabilizer
- Titanium Embroidery Needle 80/12
- Leather Hole Punch
- Rivets
- Rotary Cutter
- Fabric marker
Steps to Make Leather Monogram Patch
Step 1: Create Embroidery Design
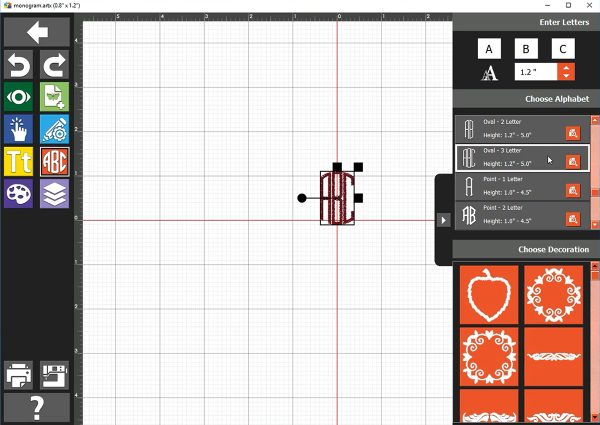
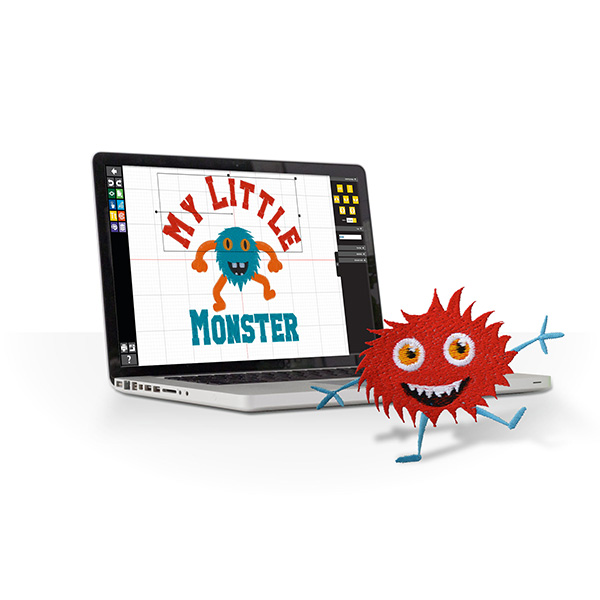
With the BERNINA Toolbox Embroidery Software, you can choose what you want to do most and purchase the module for the task. I love the simplicity and variety of options provided in the Monogramming module of this software.
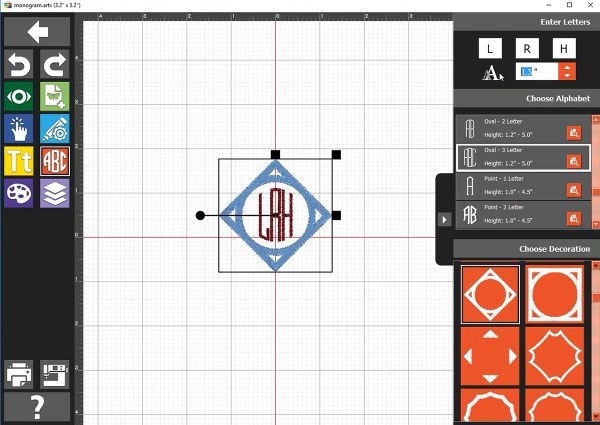
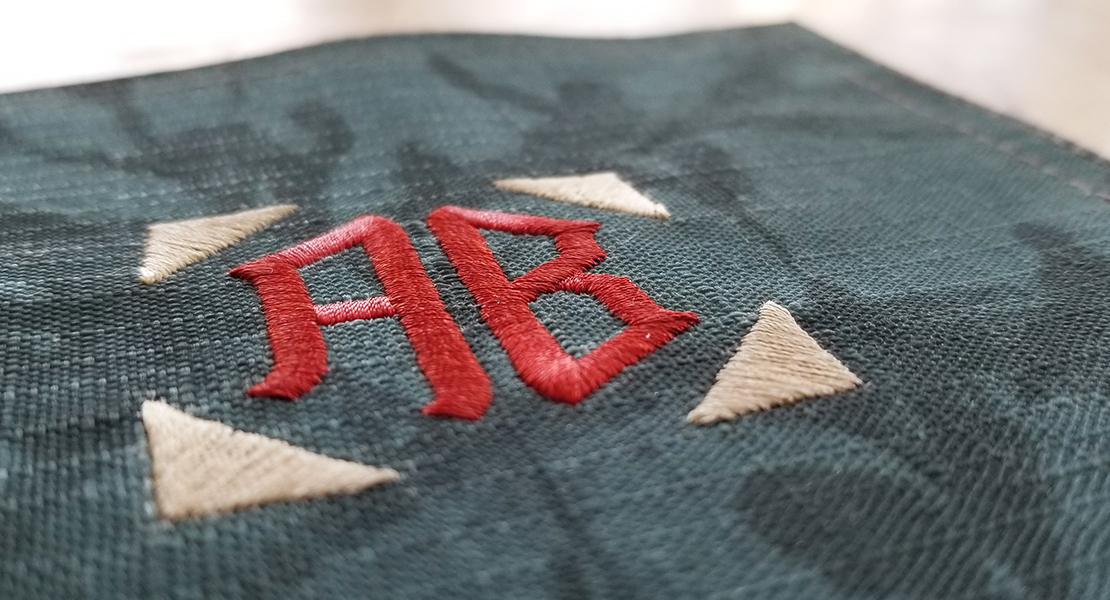
Start by opening up the Monogram module and selecting the font and type of monogram you want—some fonts are available with one-, two-, or even three-letter monograms! Select the “Oval – 3 Letter” style.
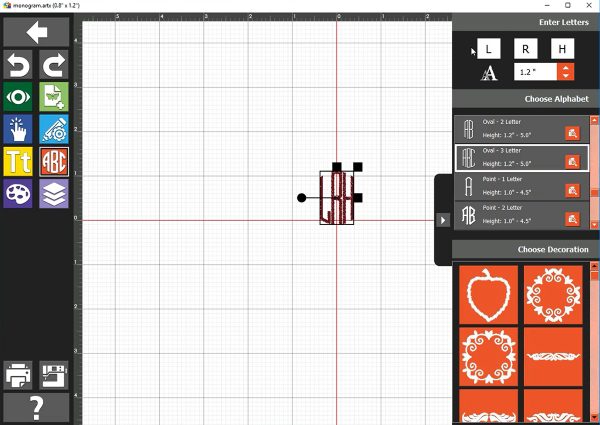
Next, enter the initials you want to use in your monogram.
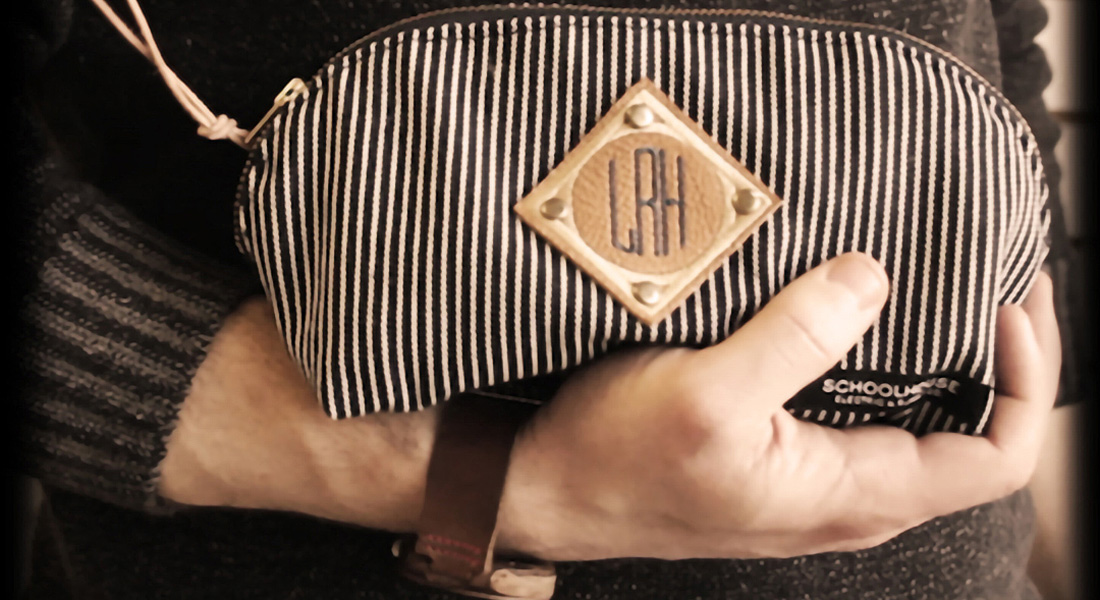
Choose the shape of your monogram border, like this “on point” square with a circle inside! This gives us the perfect little corner for our rivet placement. Additionally, increase the size to 1.5”. This will make the triangular openings at the points of our shape exactly the right size to set a ¼” rivet.
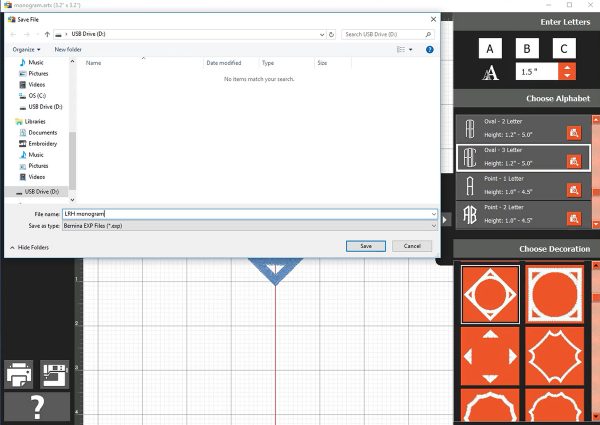
Once you have the design complete, load it onto a USB stick and to your embroidery machine we go!
Step 2: Embroider the Design
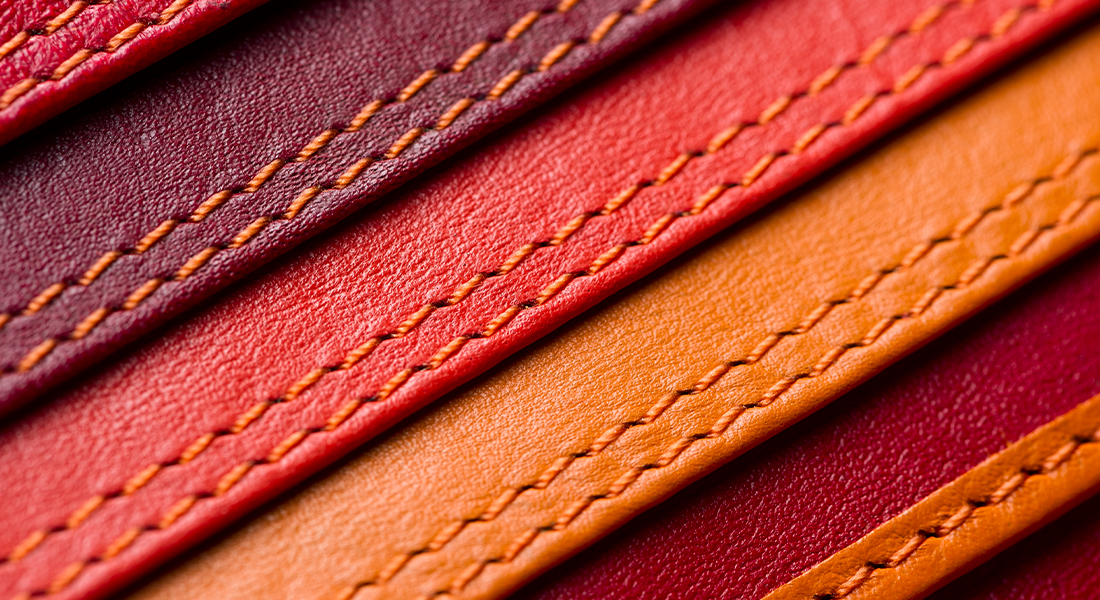
Now you are ready to embroider the design onto some leather. I was able to pick up a mixed bag of leather scraps at my local Tandy Leather store. This provided me with plenty of possible thicknesses, colors and hands of leather to work with.
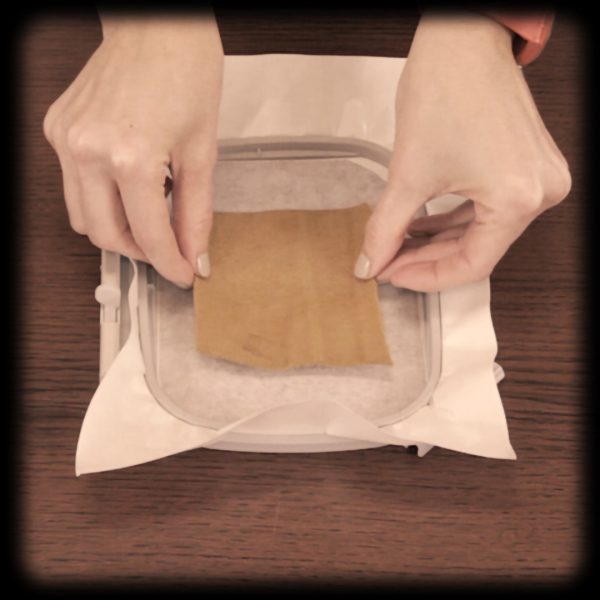
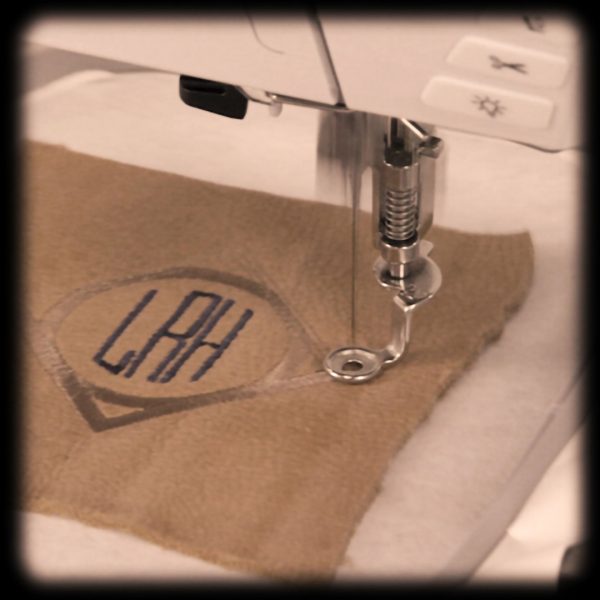
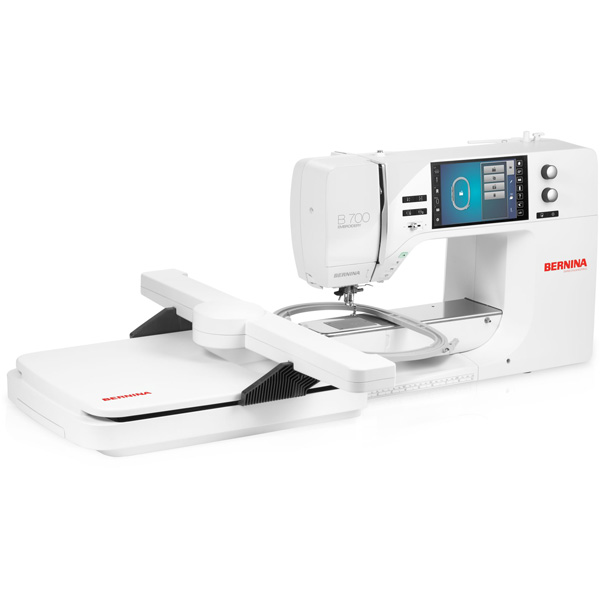
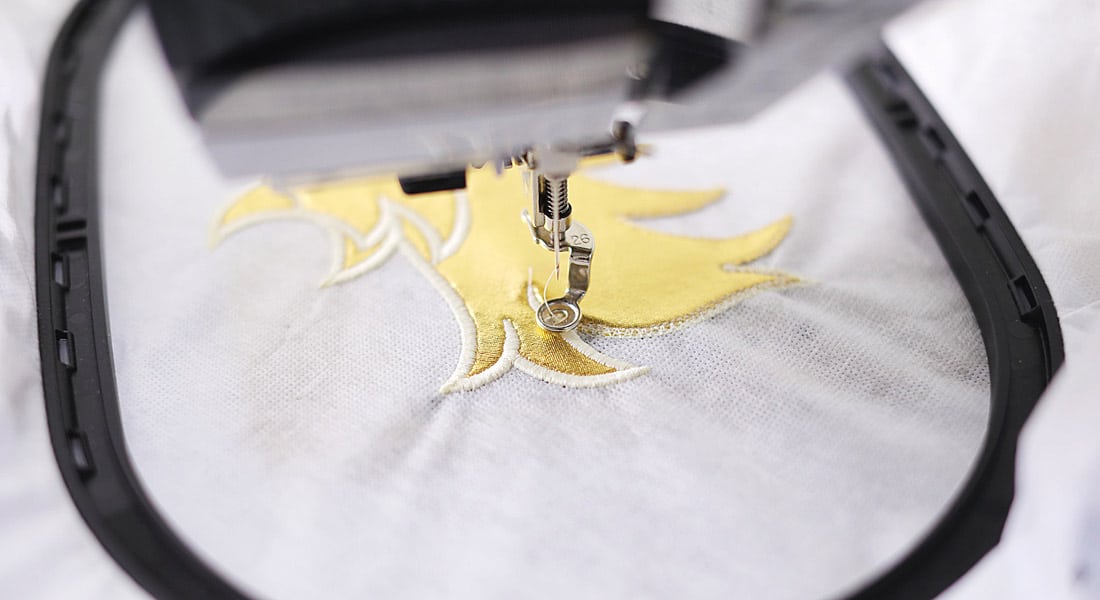
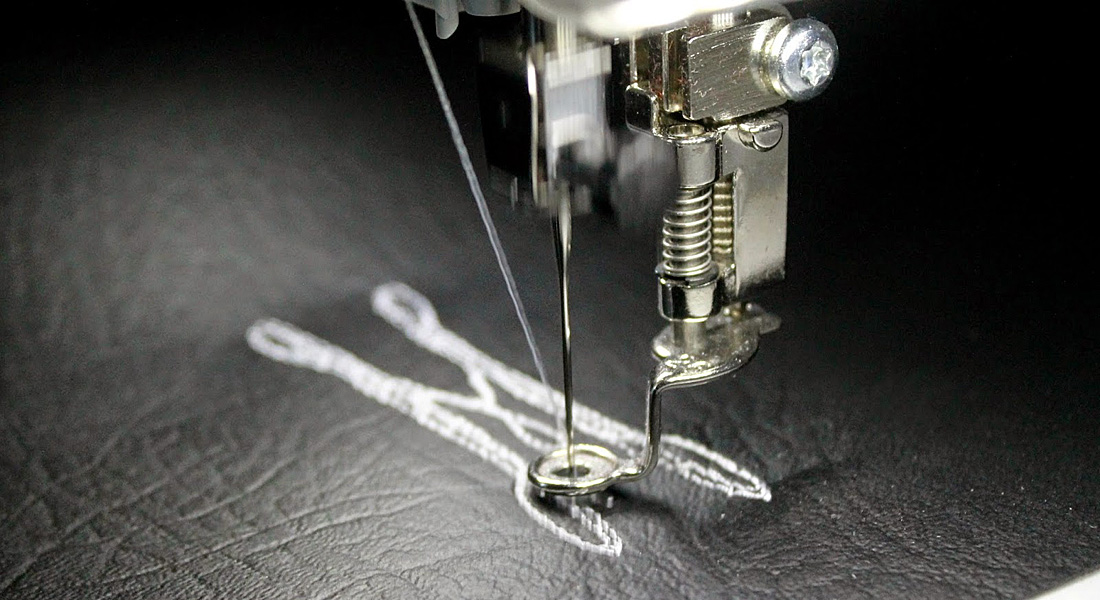
Prepare your machine for embroidery. I used the BERNINA B 700 E, an embroidery only machine, for this project. It comes with a single-hole stitch plate and the Embroidery Foot #26. Choose your hoop and stabilizer. I used a medium weight tear-away OESD Stabil Stick stabilizer. This enabled me to hoop the stabilizer, remove the paper coating and then adhere my leather on top without ever hooping the leather. A good sharp Titanium embroidery needle will pierce the leather easily and the titanium coating means the adhesive on the stabilizer will not gum up the needle as quickly. Finally choose your embroidery thread color. Isacord embroidery thread comes in many lovely colors and has a nice shine for the finished look.
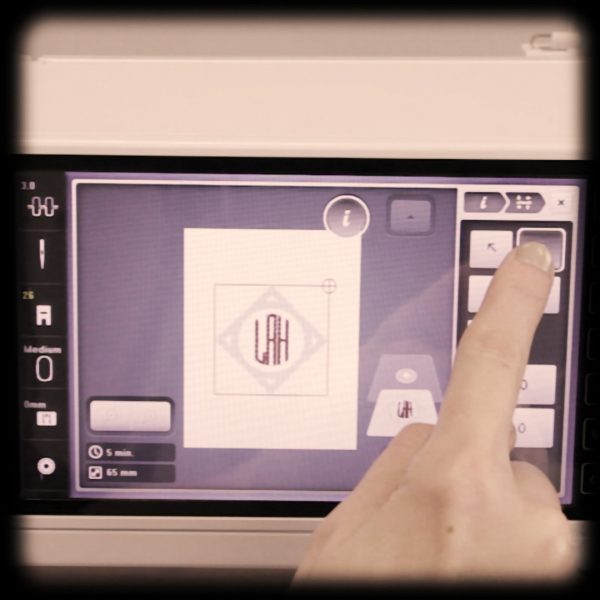
Load your embroidery design onto the machine, check the positioning and start the stitching.
Step 3: Prepare the patch
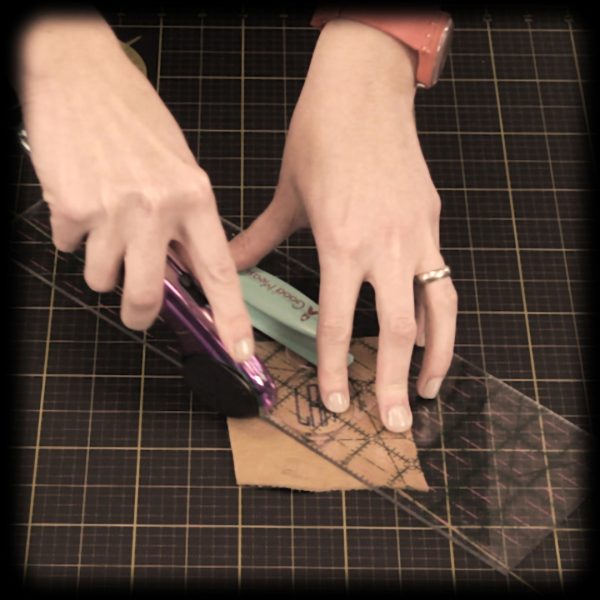
When the design is finished, remove the leather from the hoop and gently pull away the stabilizer that is remaining. Now you can use a rotary cutter and ruler to trim up your patch. Be careful not to cut into the stitching. I like the look of leaving just a bit of leather at the edge.
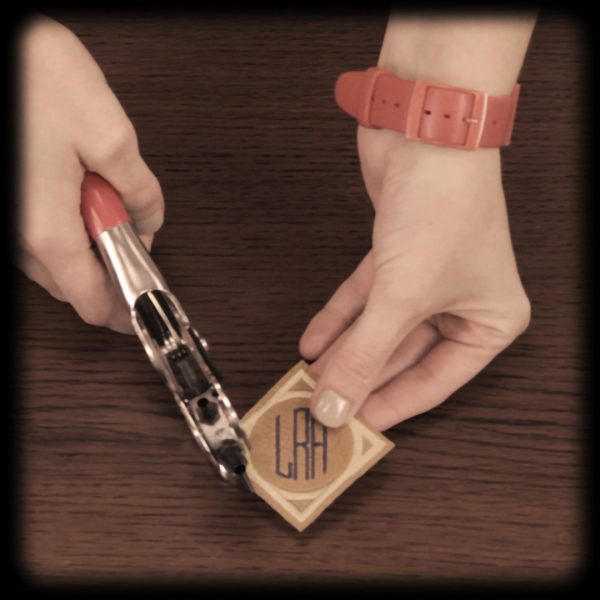
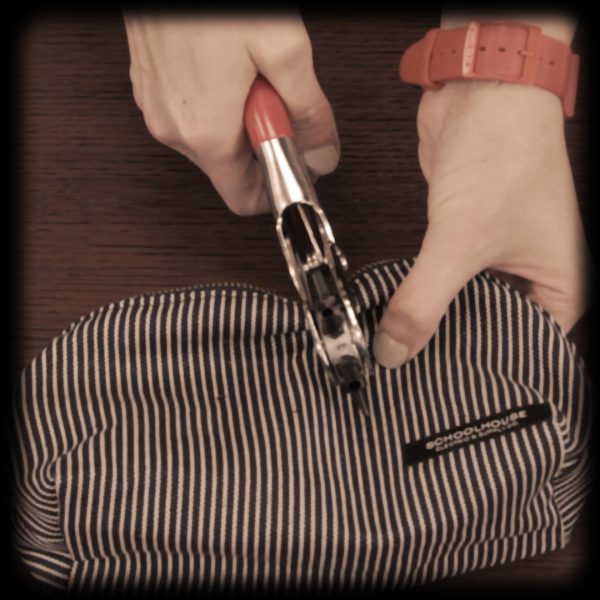
Using a leather punch tool, create the holes in the corners of the patch. Make sure that the size of hole you punch corresponds to the size of rivets you are using. I was able to get a leather punch with a multiple sizes at the leather works store. Because of the clever monogram design the placement of these holes was easy.
Step 4: Attach the patch
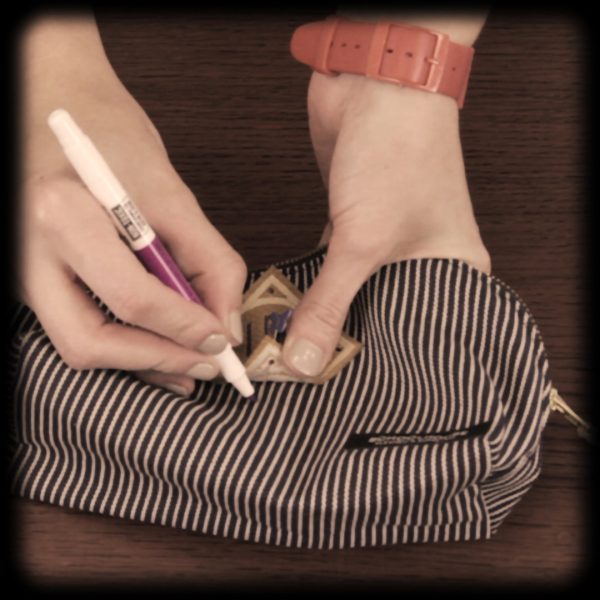
Determine the placement of the patch onto your finished piece and use a fabric marker to mark the hole.
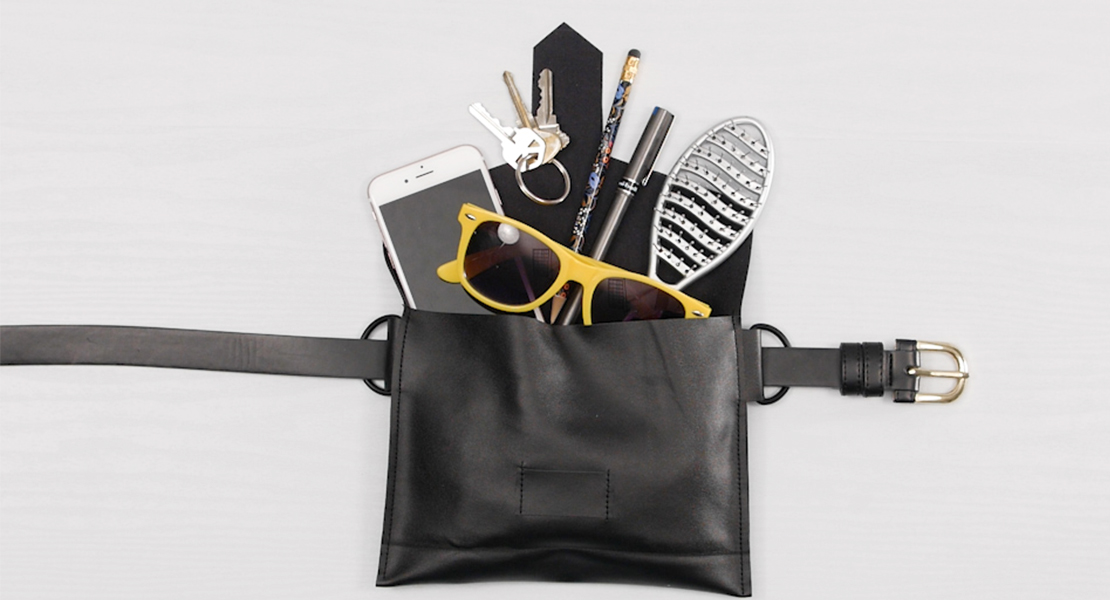
The purchased zippered bag that I used had a lining in it also, so I needed to make sure that I could punch a hole through both layers with my tool easily. If your project is too large or stiff for a hole punch, you could also use an awl or drill to create a hole.
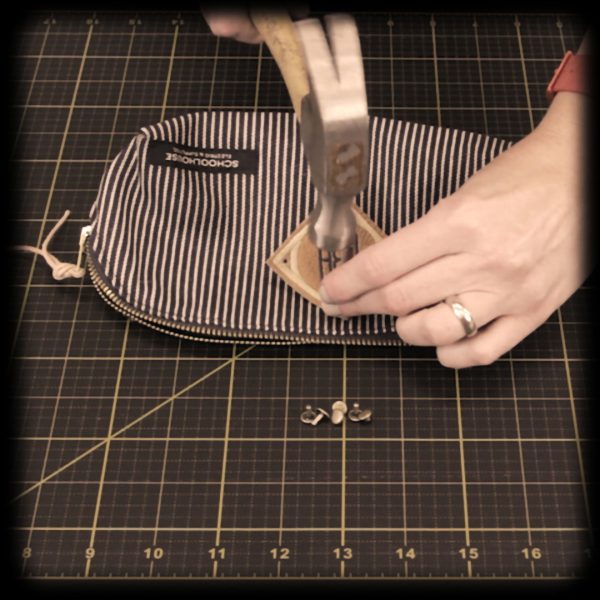
Align the holes of the patch and project and attach your rivets as required.
Fill the personalized gift will all his favorite bits and bobs and now all you have to do is give it away!
What you might also like
2 comments on “Leather Monogram Patch”
-
-
I had a mixed bag of leather scraps, so I don’t recall but my guess would be 3-4mm.
-
Leave a Reply
You must be logged in to post a comment.





what thickness of leather did you use?