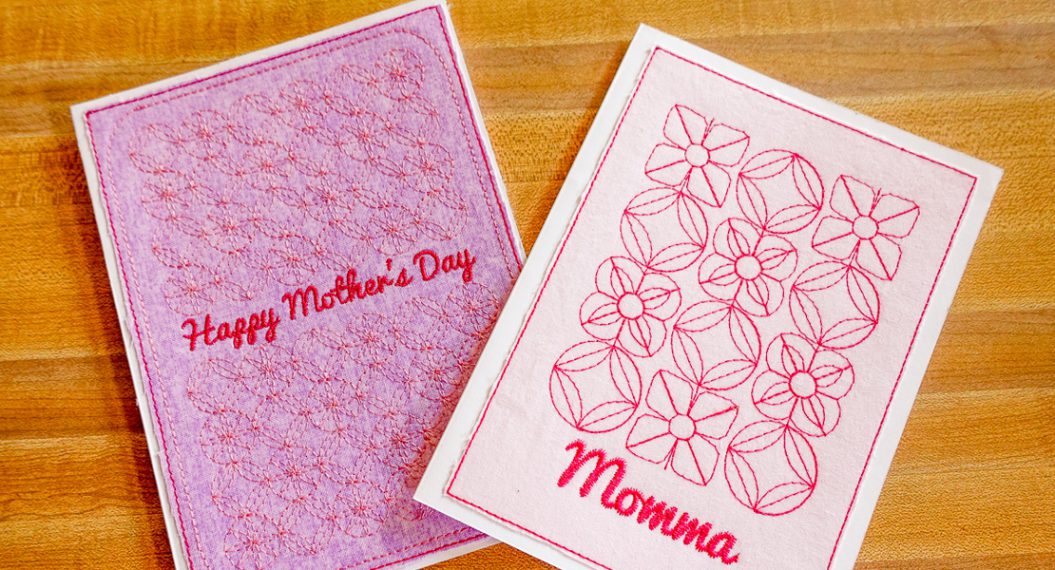
Mother’s Day Postcard
Hello my fellow makers!
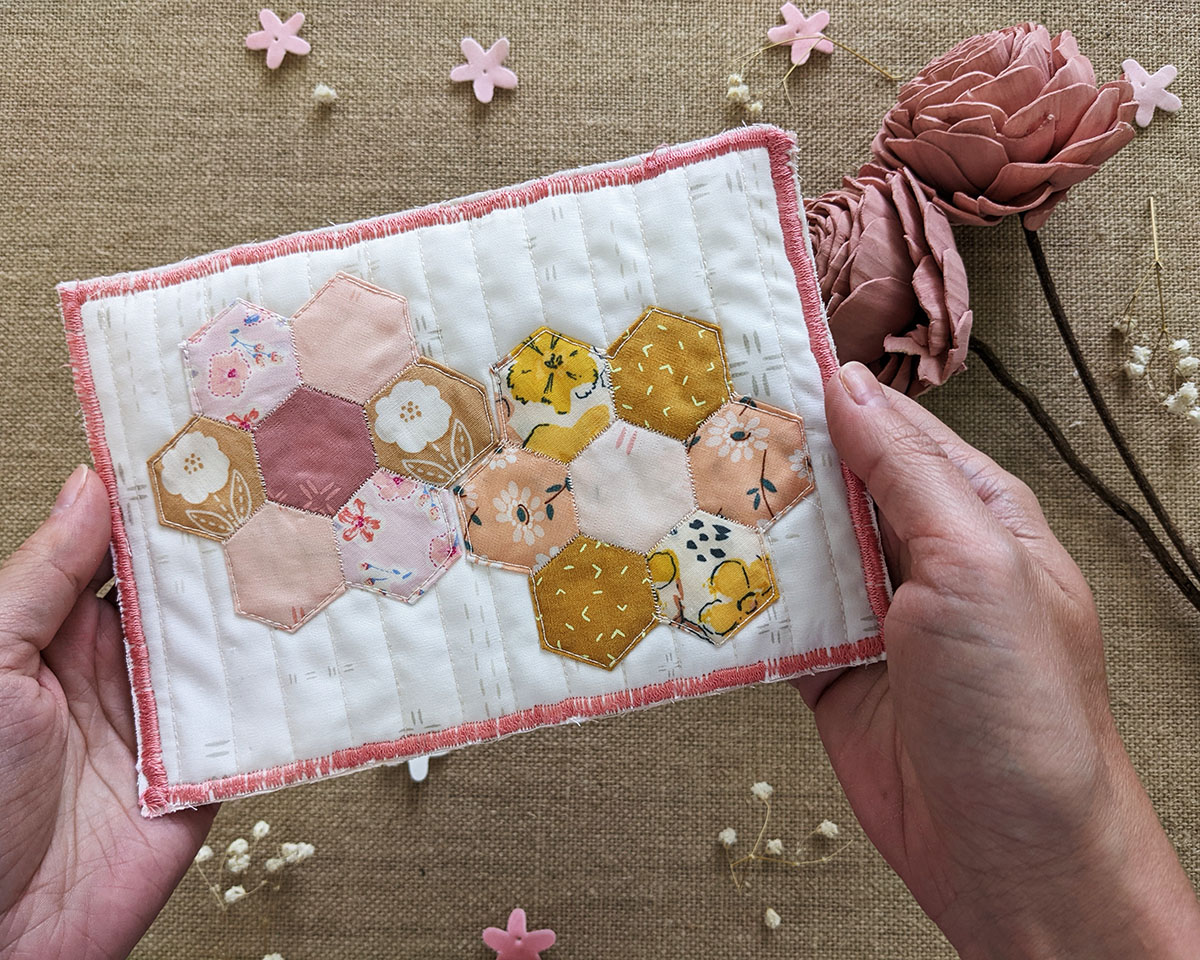
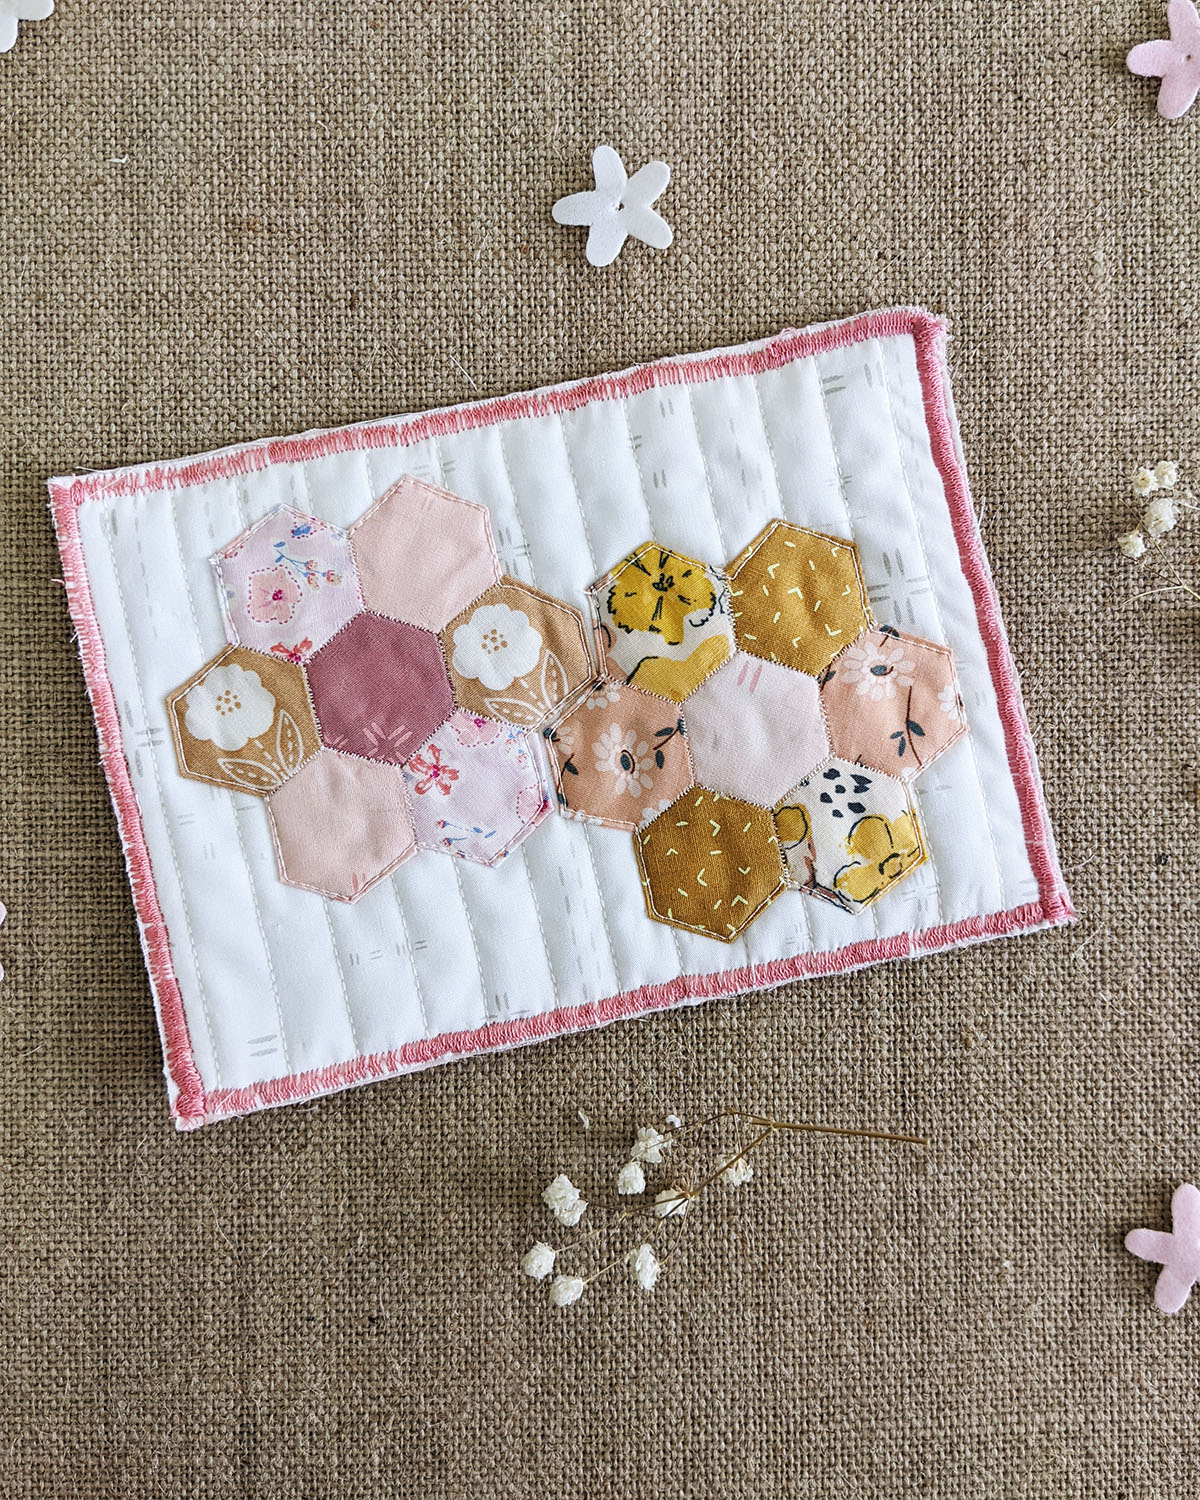
With Mother’s Day on the way, the best way to say “I Love you Mom” is with a quilted postcard made with English Paper Piecing.
I always wanted to make a handmade postcard and I thought this would be great timing to make for all mothers, aunts and grandmothers out there.
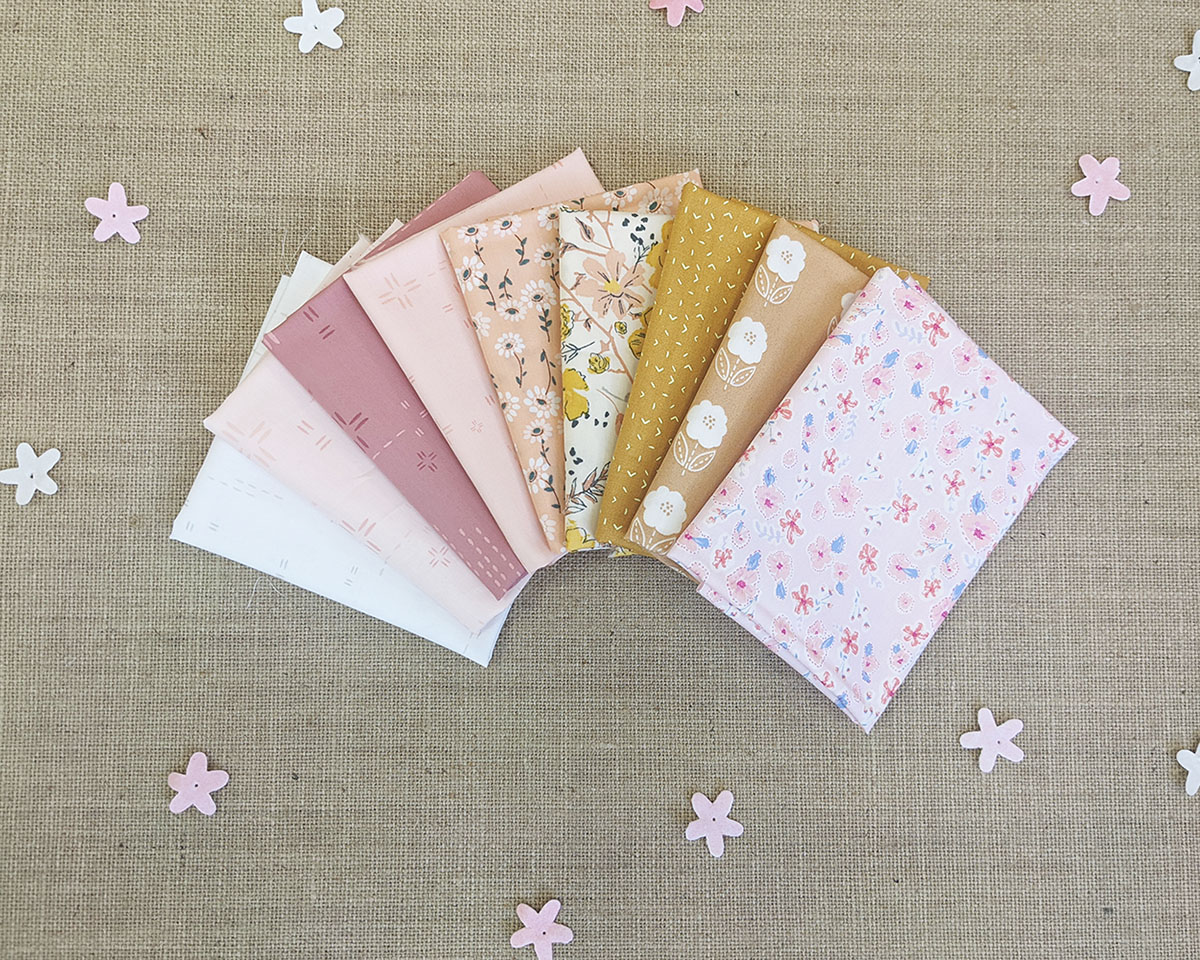
This project features Patty Bassemi’s latest collection Tails and Threads, Pat Bravo’s Matchmade fabric Indication Gold, Sharon Holland’s Shine On fabrics and combined with our AGF’s Decostitch Elements.
You’re going to love making this cute postcard. Now let’s get started.
Materials Needed to Make a Mother’s Day Postcard
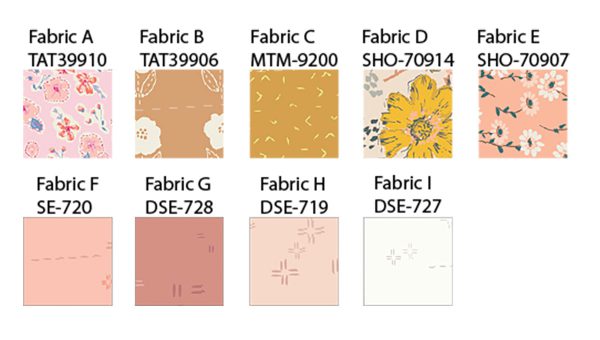
Fabric
- Fabric A TAT39910 F8
- Fabric B TAT39906 F8
- Fabric C MTM9200 F8
- Fabric D SHO70914 F8
- Fabric E SHO70907 F8
- Fabric F SE720 F8
- Fabric G DSE728 F8
- Fabric H DSE719 F8
- Fabric I DSE727 F8
 Additional Materials Needed

- 9” x 9” rectangle of batting
- Quilting and sewing thread
- Embroidery thread
- Embroidery needle
- Paper scissors
- Reverse Pattern Foot #1D
- Steam a seam double-sided fusible interfacing
- Hexie template
- Medium weight interfacing

Cutting Directions
- Two (2) template 1 from fabric A.
- Two (2) template 1 from fabric B.
- Two (2) template 1 from fabric C.
- Two (2) template 1 from fabric D.
- Two (2) template 1 from fabric E.
- Two (2) template 1 from fabric F.
- One (1) template 1 from fabric G.
- One (1) template 1 from fabric H.
- One (1) 8 1/2’’ x 6 1/2’’ from fabric H.
- One (1) 8 1/2’’ x 6 1/2’’ from fabric I.
Instructions to Make a Mother’s Day Postcard
Step 1
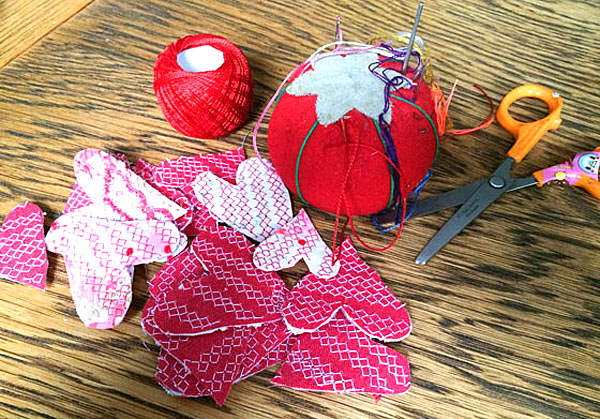
Start by cutting out the hexie template that you are going to use for fabrics A through H.
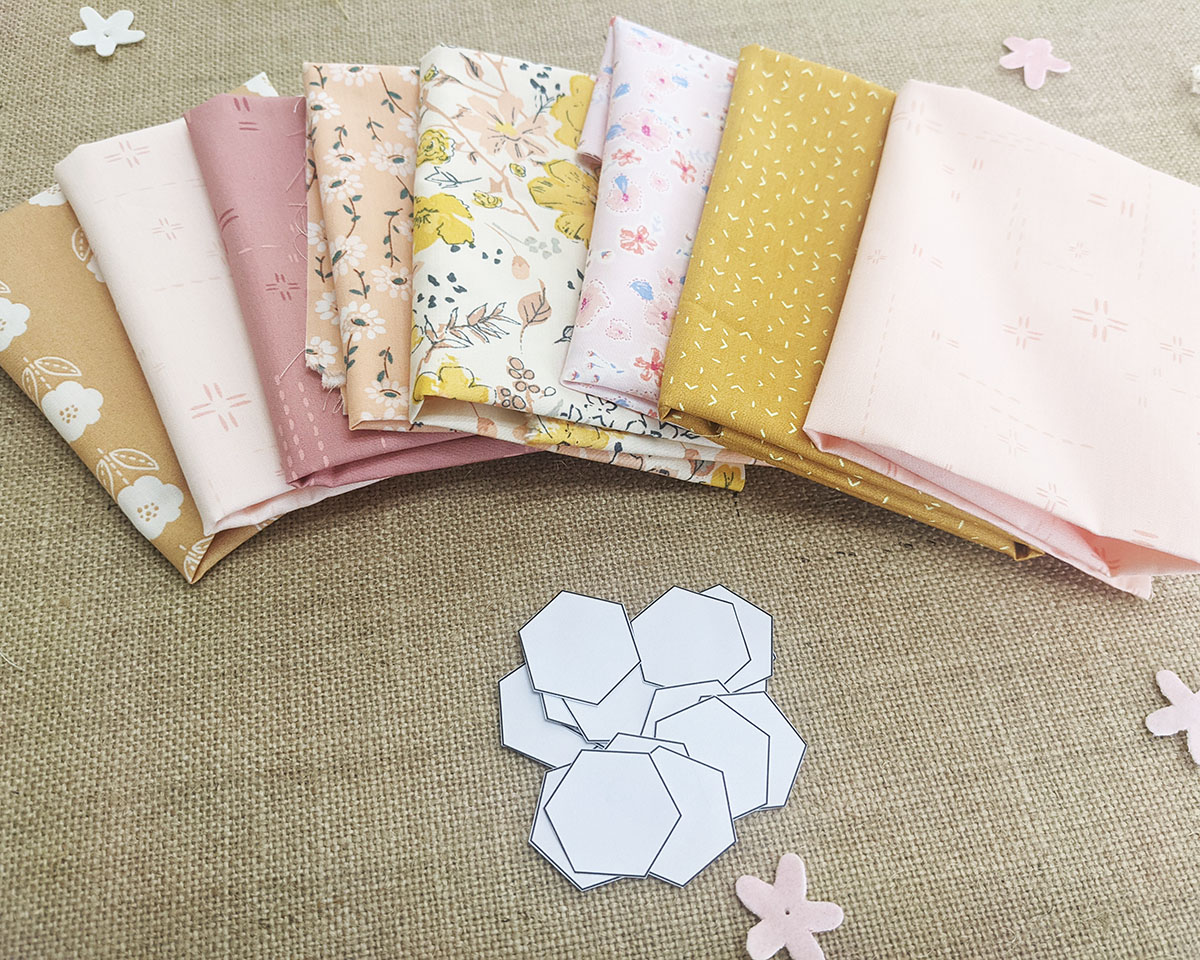
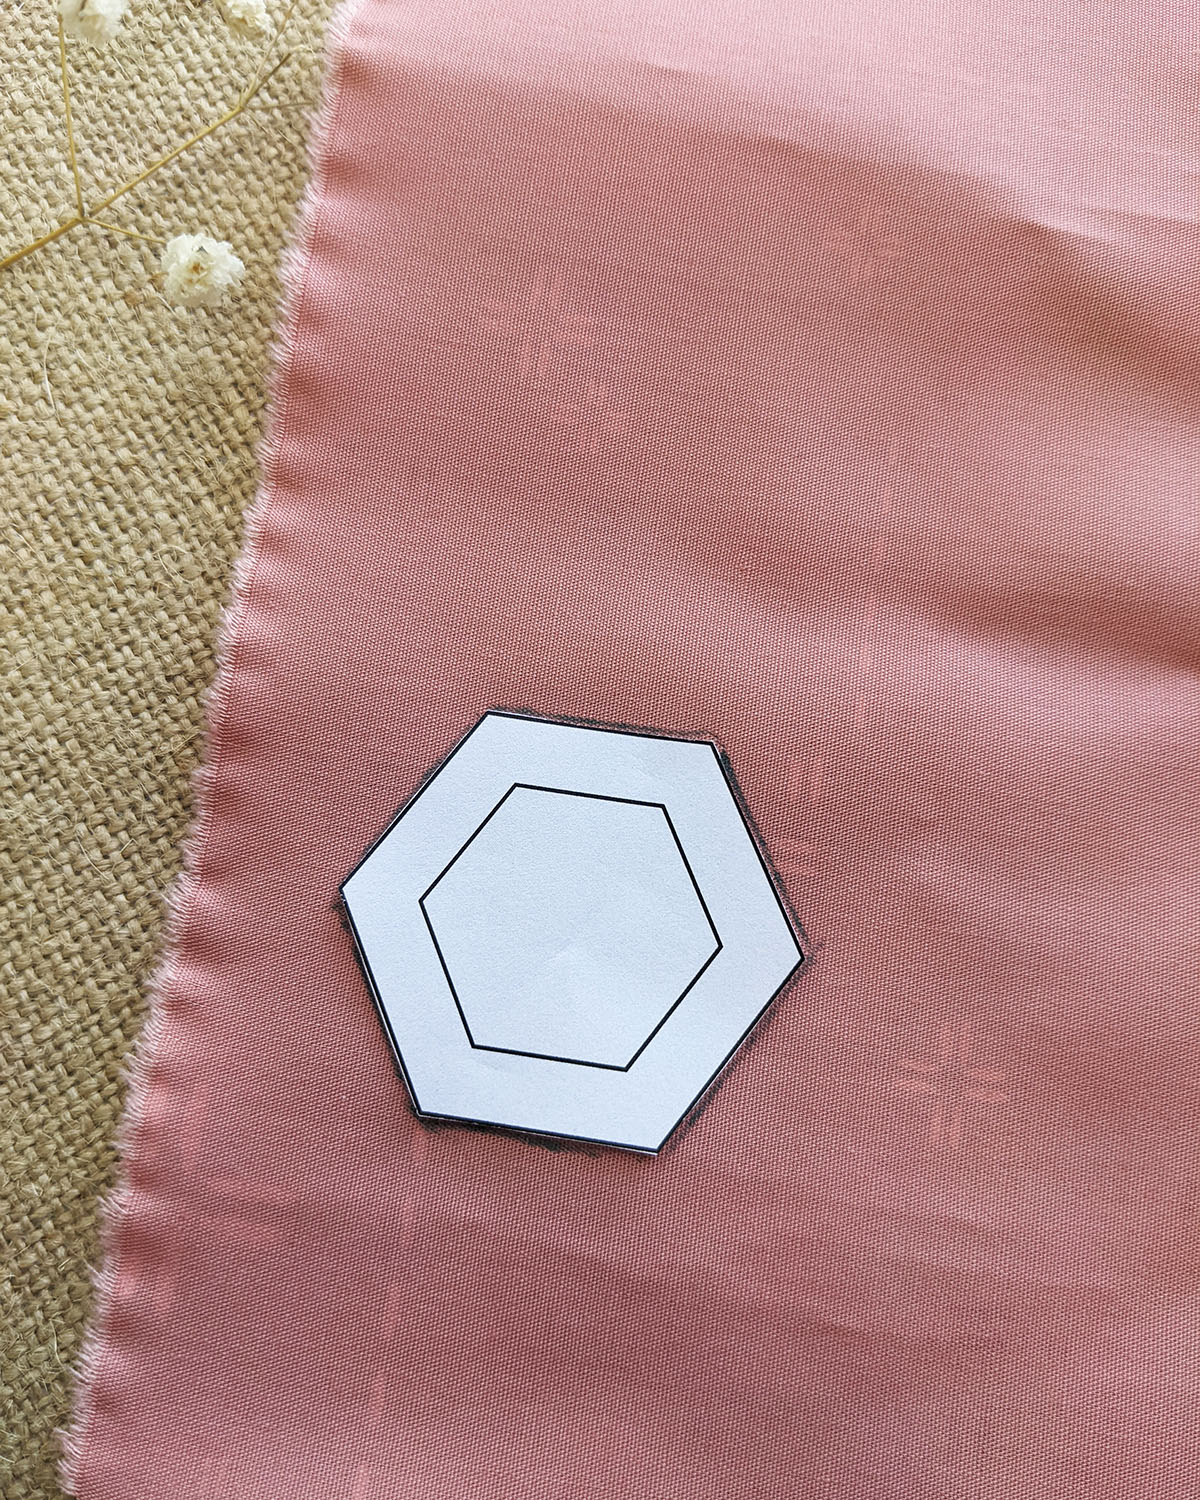
Step 2
Use the hexie template with the 1/4” seam allowance included to trace your pieces. That way, your seams are all even.
Step 3
Once you have cut out your pieces take your other hexie templates and apply a light dab of glue and put your paper hexie on your fabric.
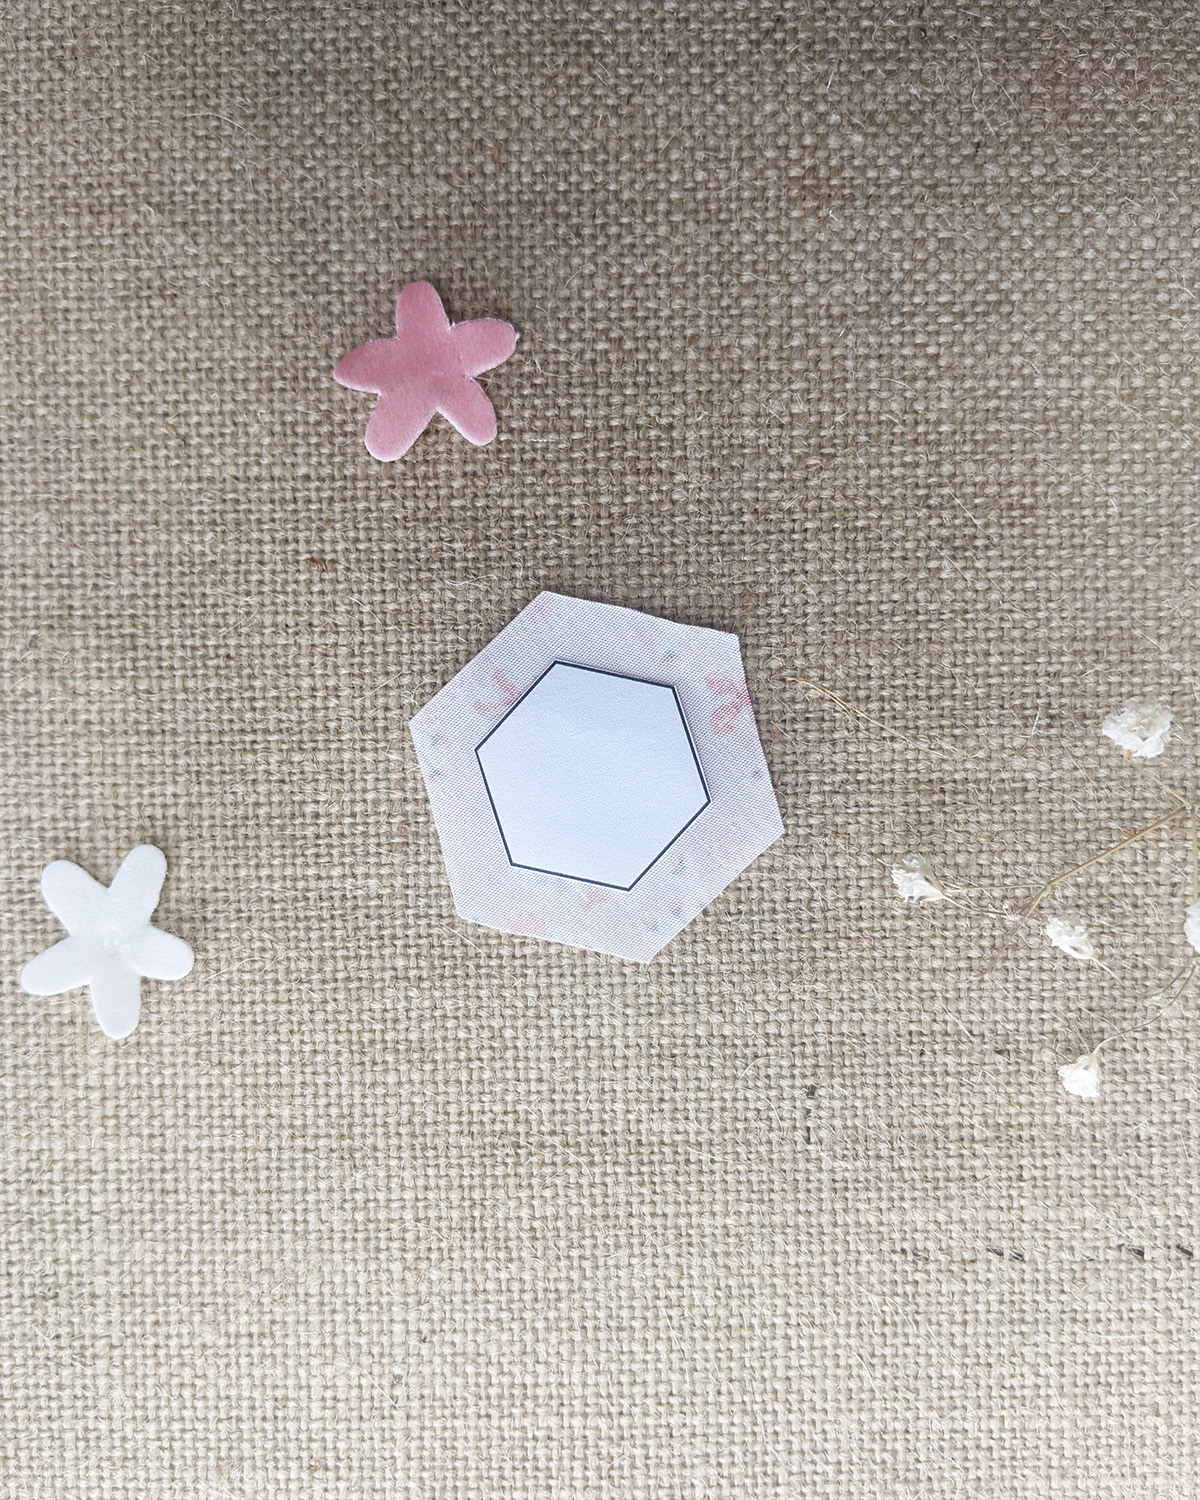
Use your finger or a bone folder/presser to tightly crease each edge along the paper.
Repeat this method with all of your pieces.
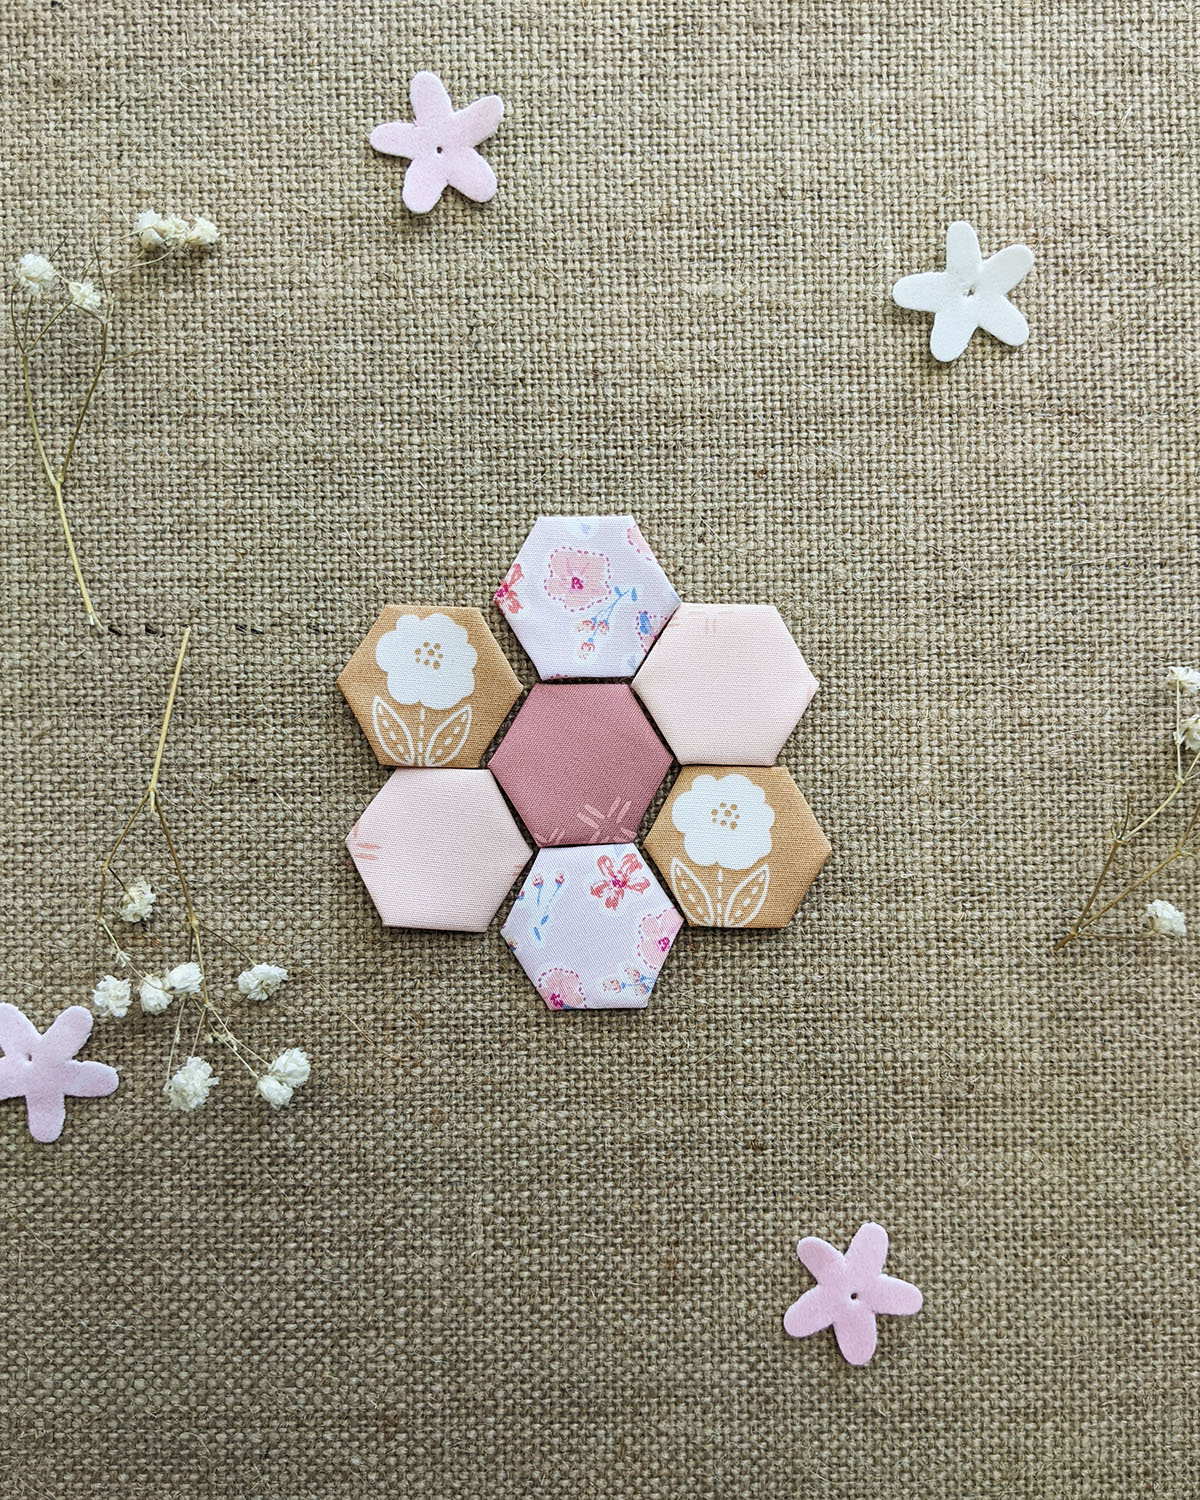
Step 4
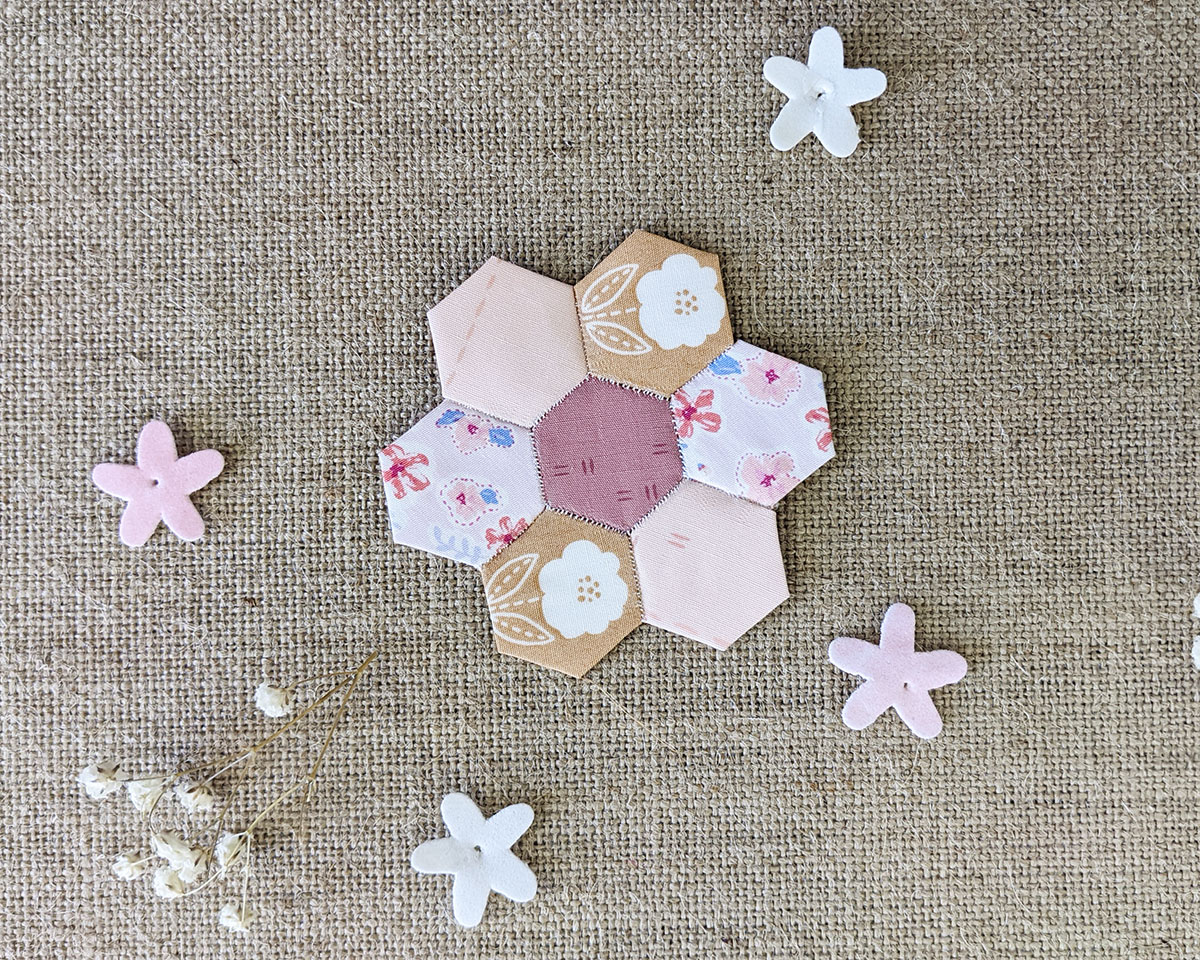
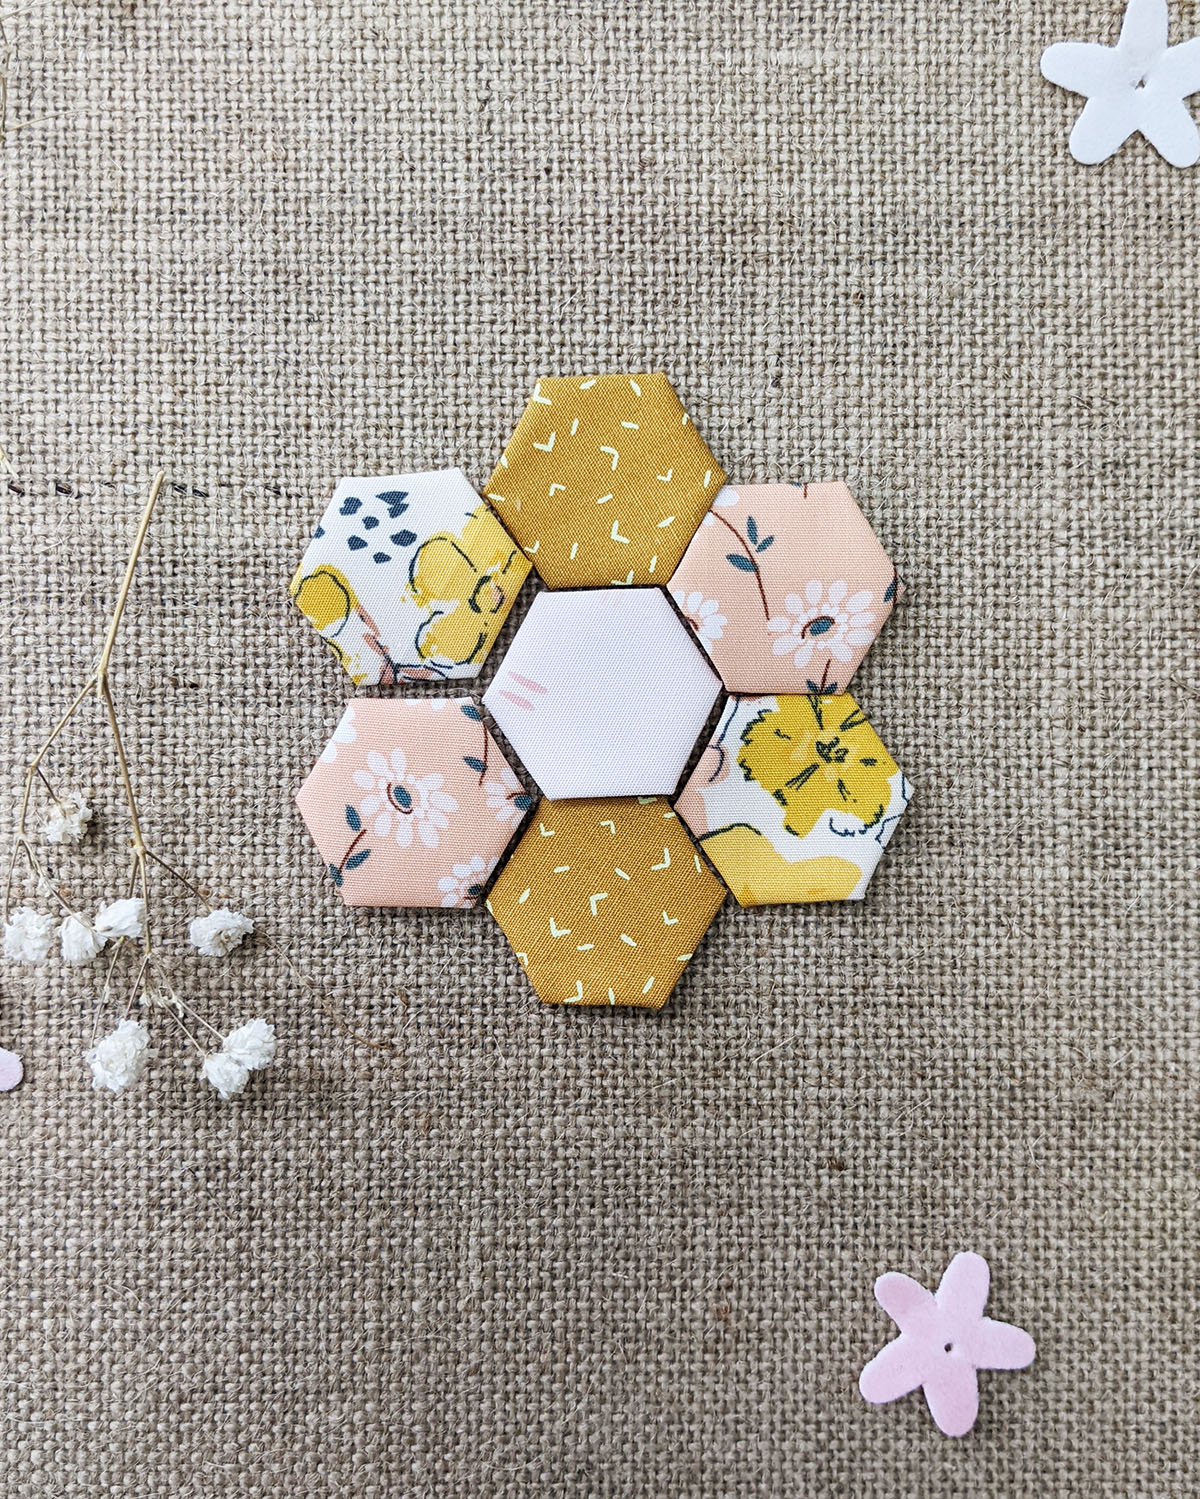
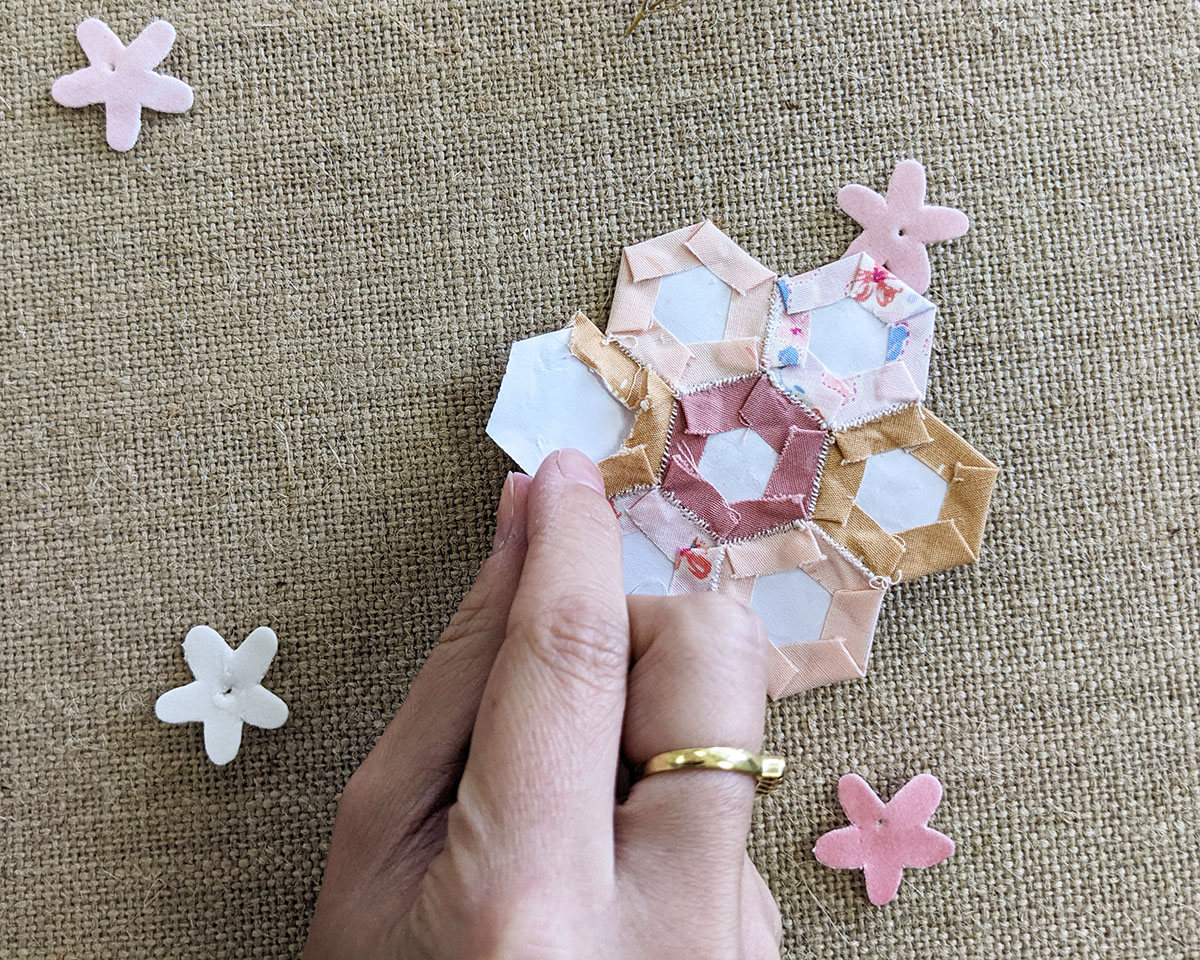
To make your first EPP flower, take two (2) fabric A, two (2) fabric B, two (2) fabric F and one (1) fabric G following the image below.
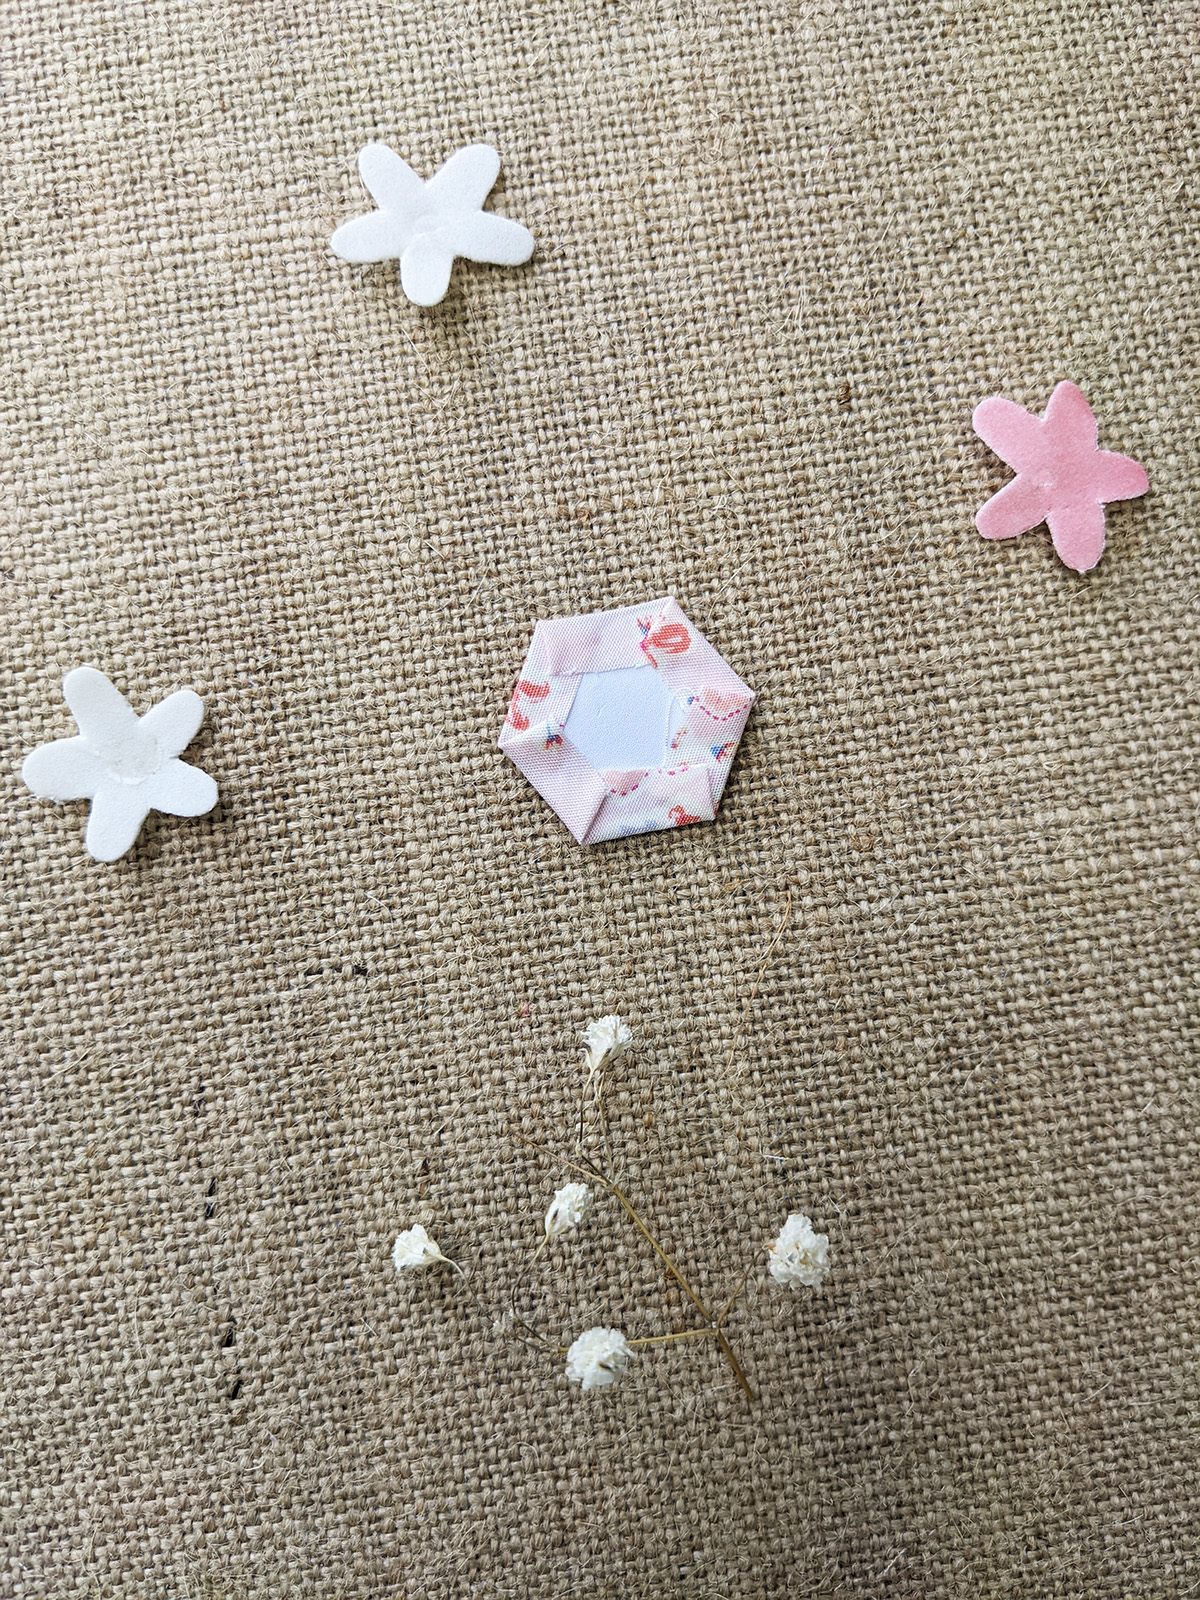
Start by stitching together fabric G with fabric A, right sides facing together with a whip stitch, just barely going through the edge of each side, not even 1/8’’ of an inch in.
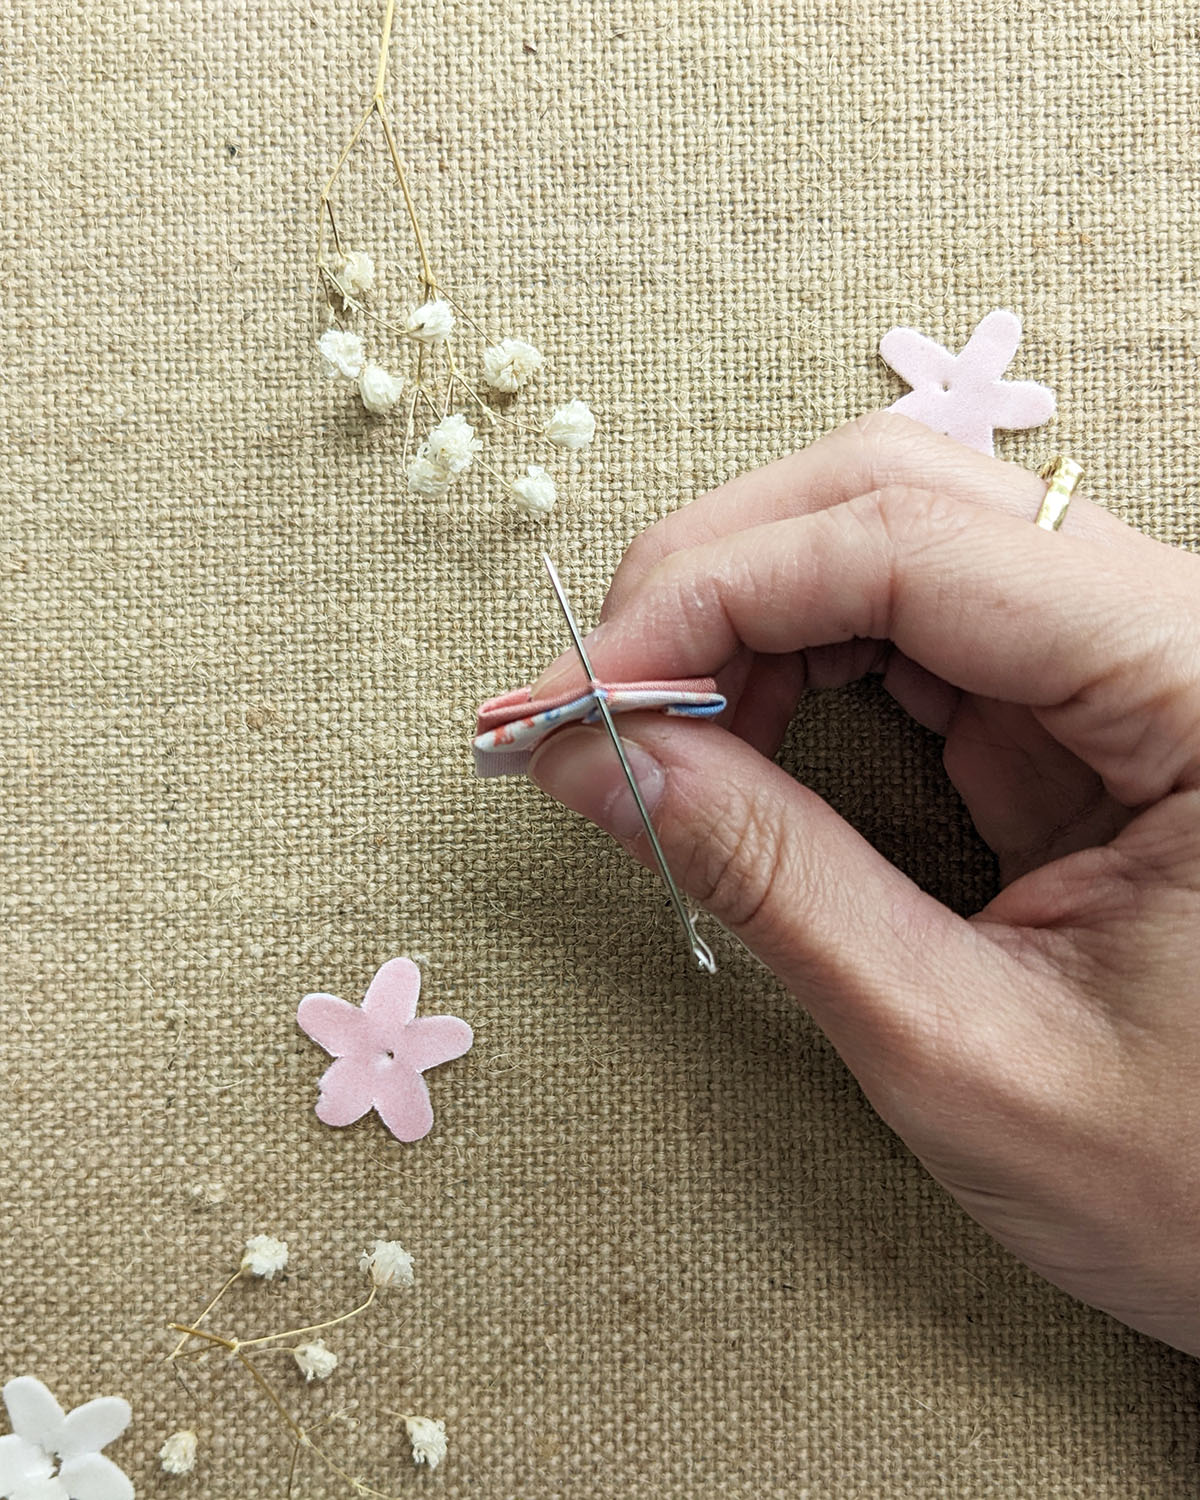
Secure your stitching with a couple of stitches repeated in the same place at the end of the hexagon side.
Take the next hexie fabric and repeat the same method. You need to fold the paper hexagons in order to stitch certain sides together.
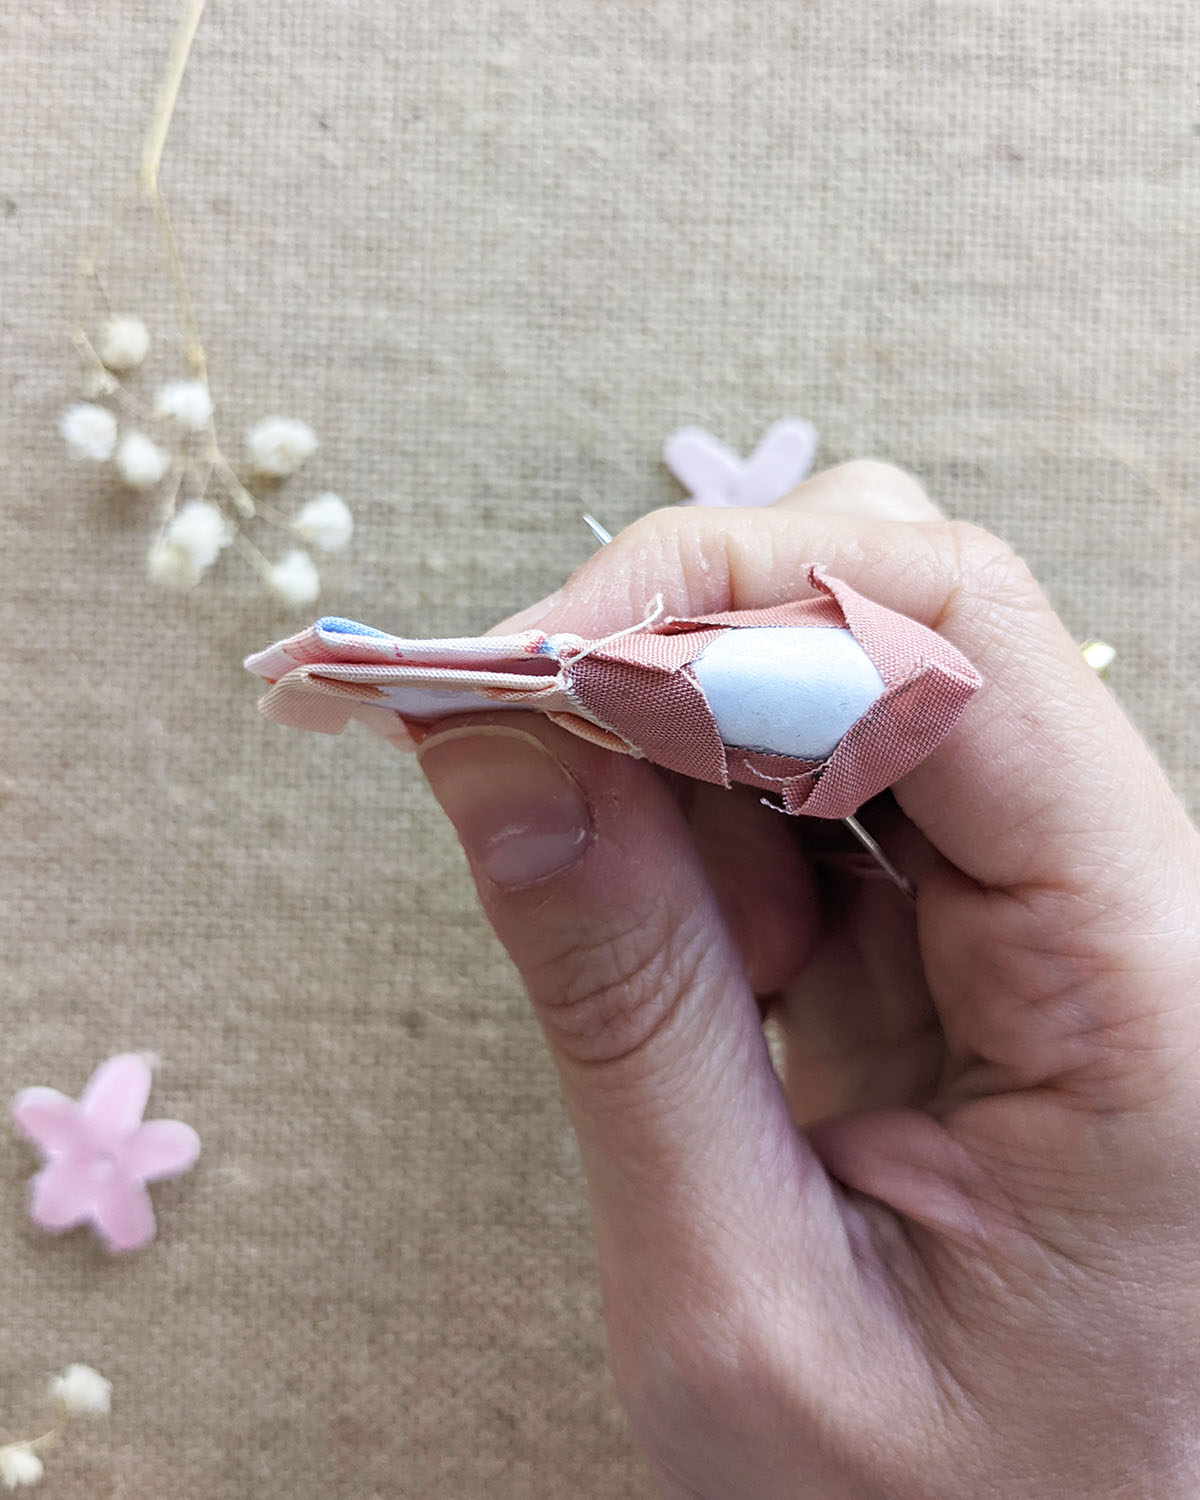
Your flower will start looking like this:

Continue until you create your first EPP flower.
Step 5
Take two (2) fabric C, two (2) fabric D, two (2) fabric E and one (1) fabric H and repeat the same EPP construction, create your third flower.
Step 6
Now, start removing the papers on each piece. Carefully remove the papers by lifting up the fabric on one side of the back of the hexagon and sliding your finger along to tease the fabric from the glue.
Press the back of each hexie with a warm iron.
Step 7
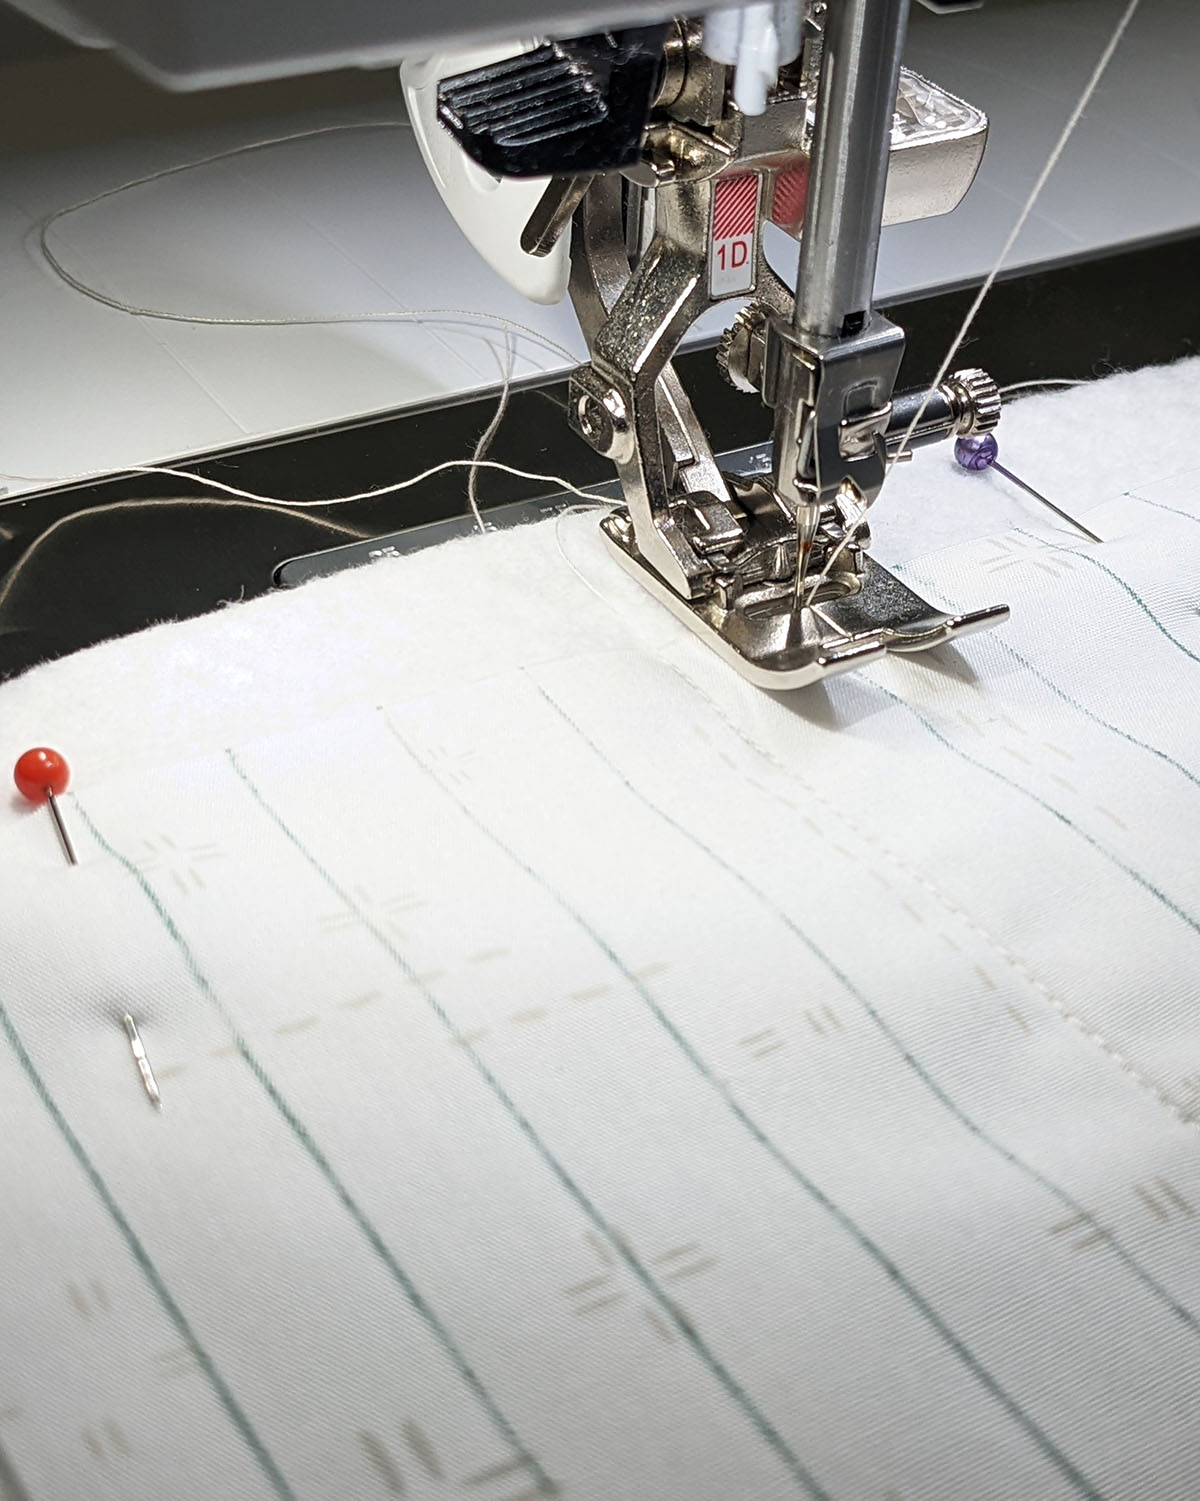
Take your batting rectangle and place it on the wrong side of fabric I rectangle.
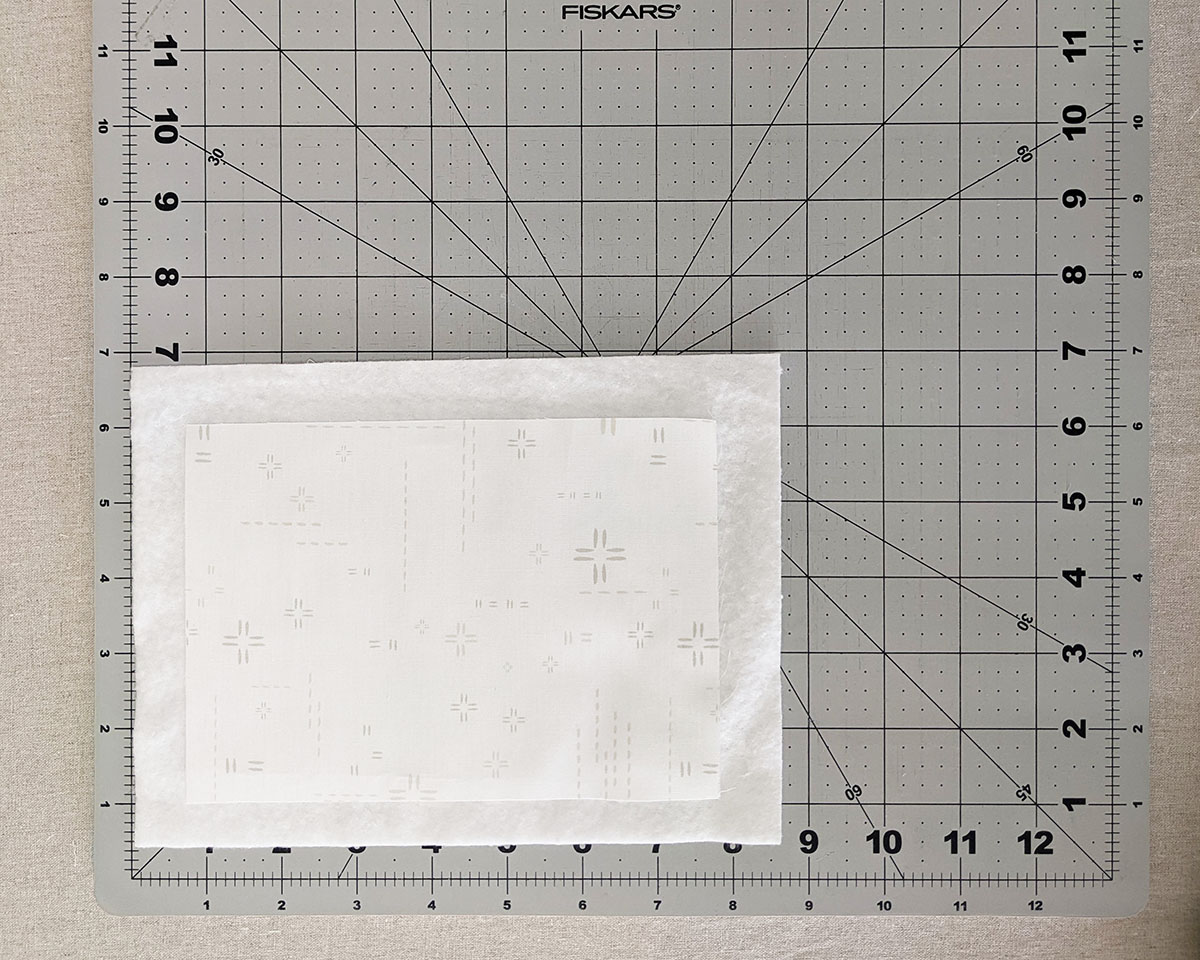
I decided to trace vertical lines at a 1/2” distance to quilt my piece and using the Reverse pattern Foot #1D I was able to make perfect stitch lines.
Step 8
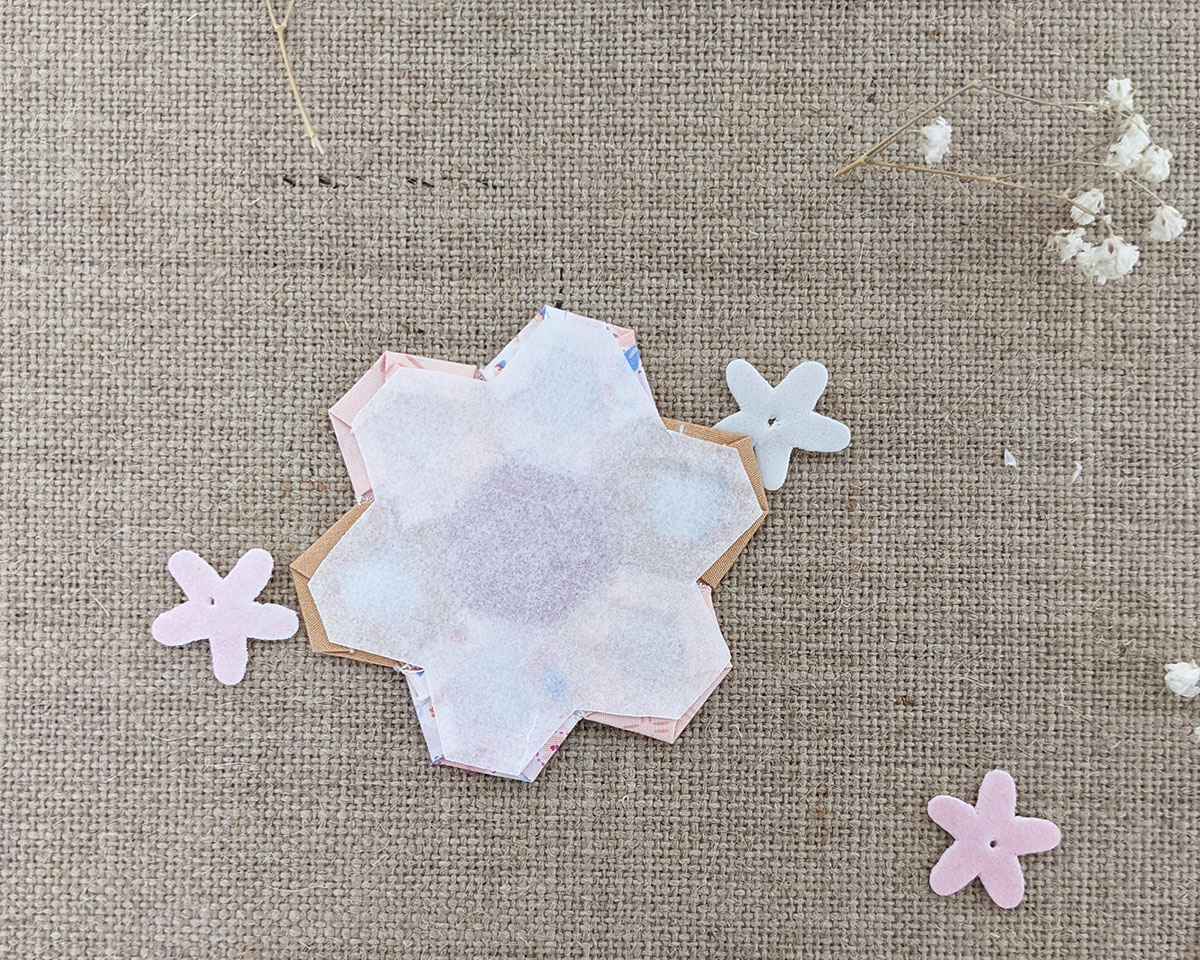
Take your EPP flower and trace your flowers on the paper side of the steam-a-seam. Cut out the shape at a 1/4” in from the traced area. Press with the iron to secure the back of the hexies.

Step 9
Peel off the backing paper for each hexie flower and place it on top of fabric I quilted piece. Once you are satisfied with the position on the flowers, press with your iron so it sticks to fabric I.
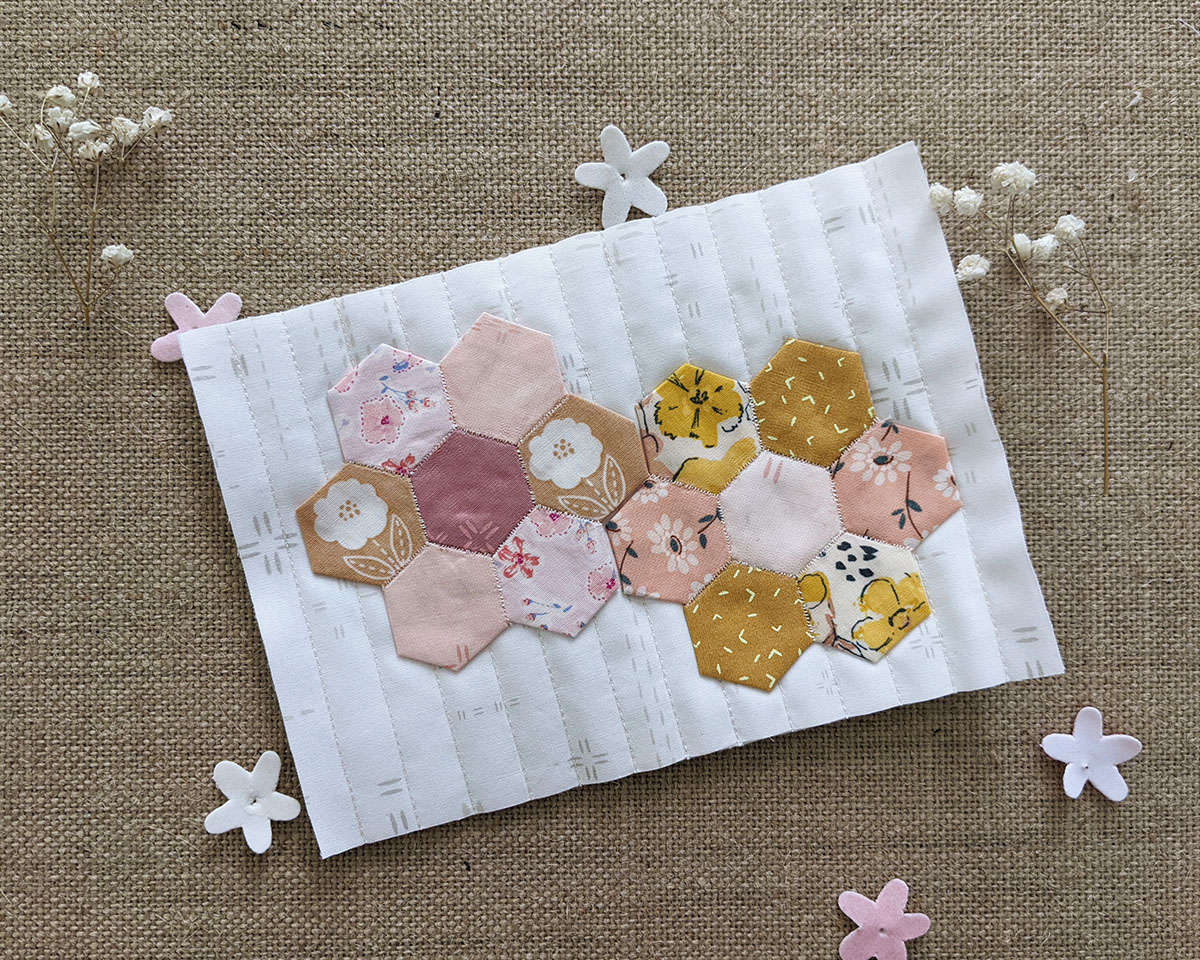
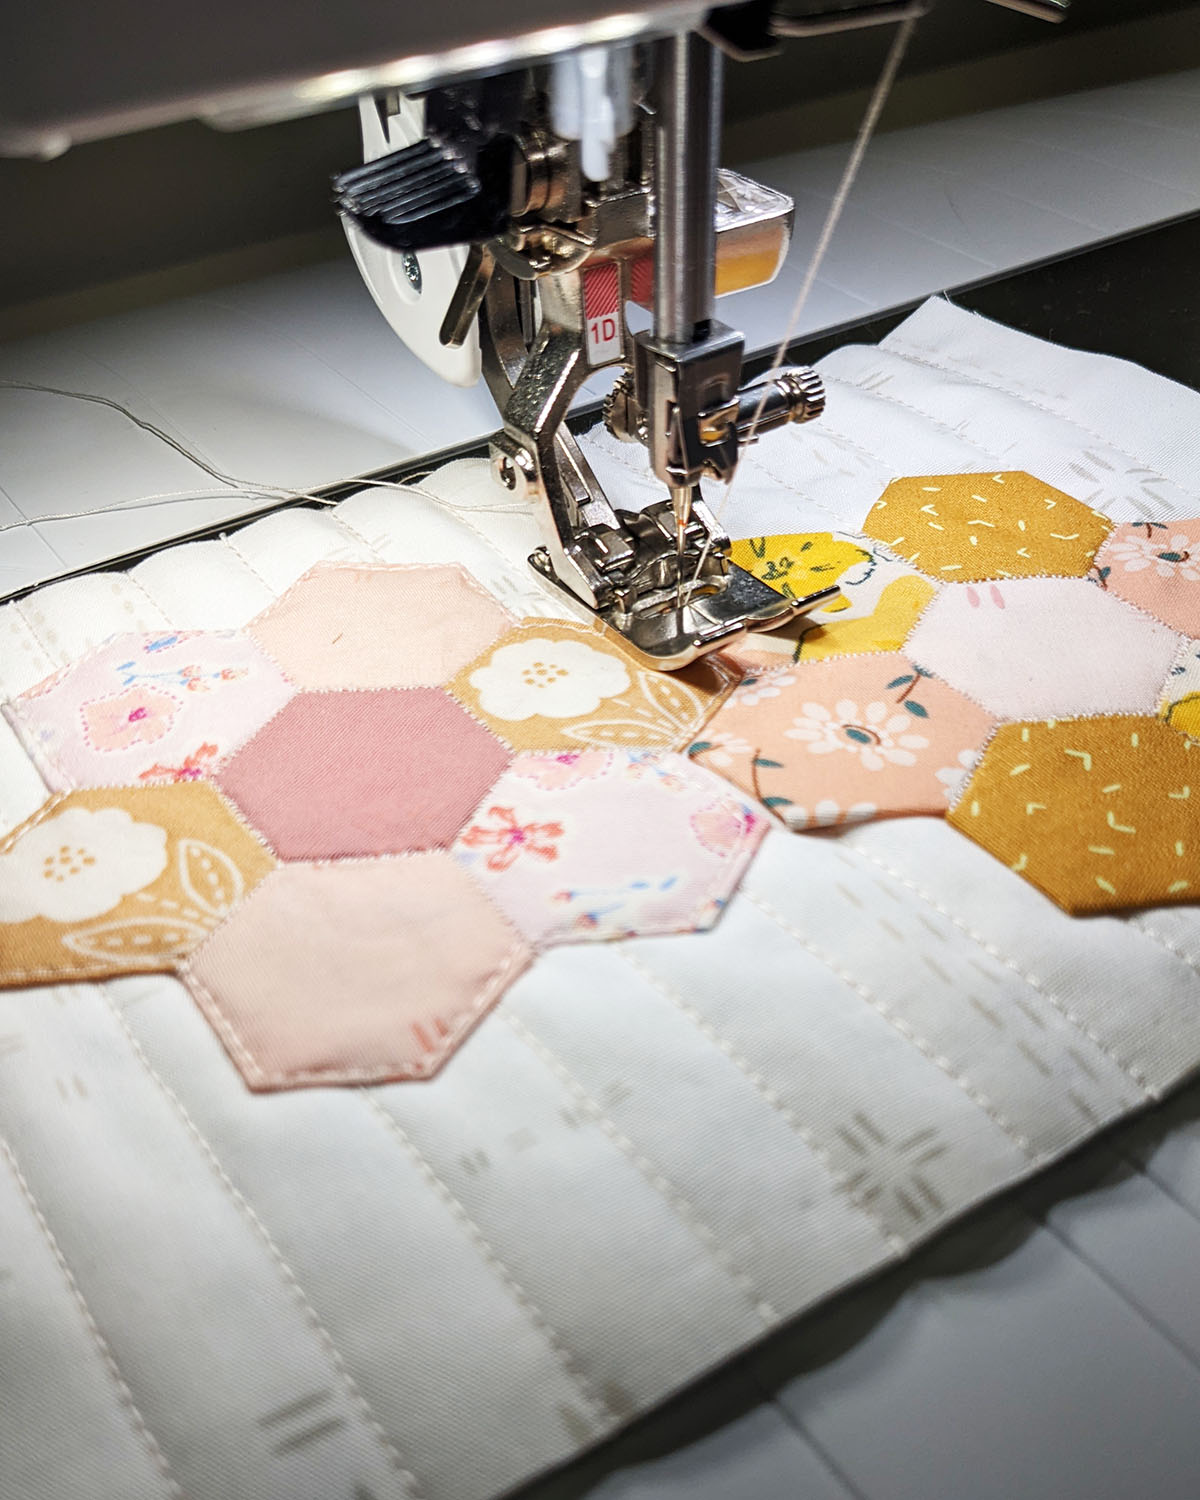
To secure your hexie flowers, edge stitch all around.
Step 10
Take one (1) 8 1/2’’ x 6 1/2’’ from fabric H and place one piece of medium weight interfacing. Make sure the interfacing is at least 1/4” less than the fabric H rectangle.

Step 11
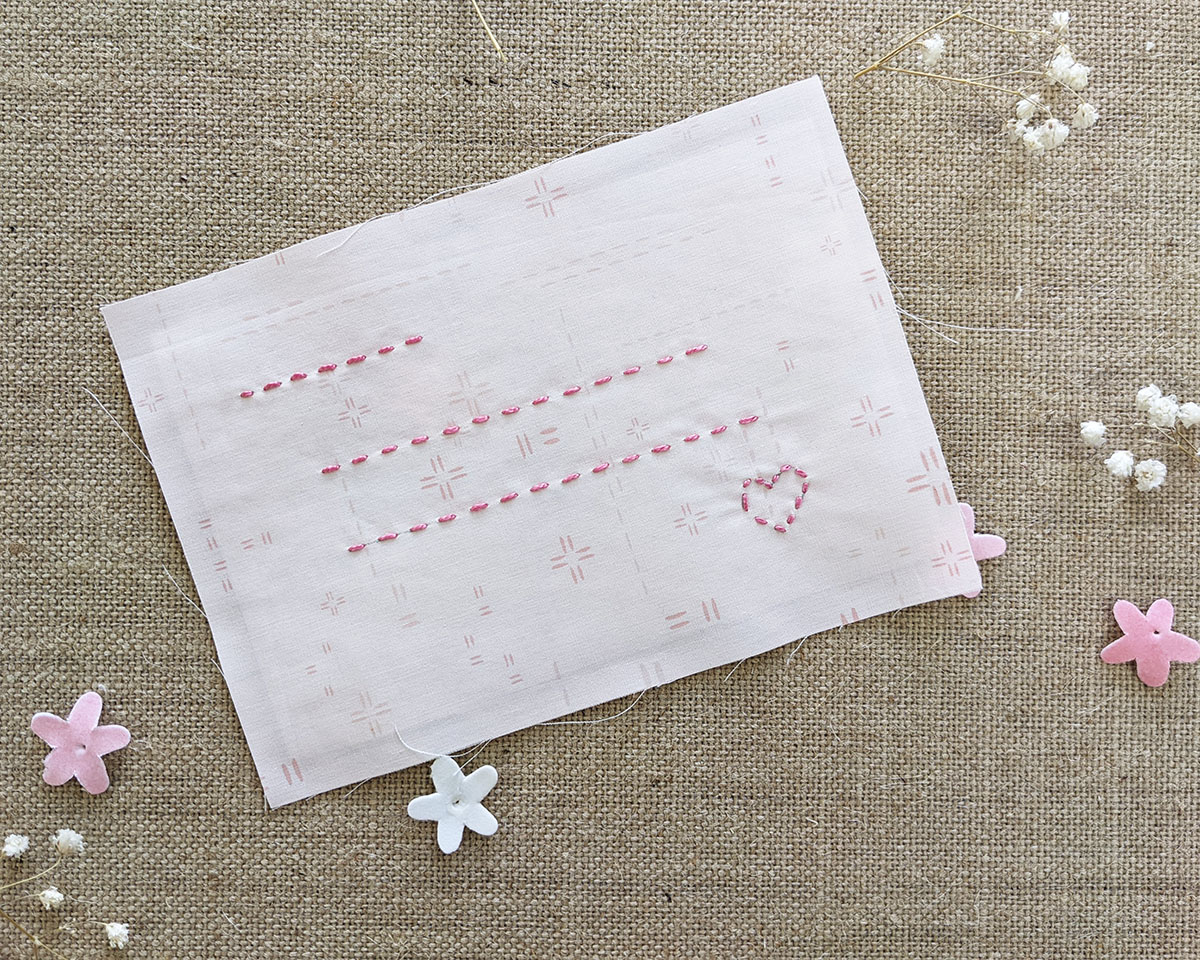
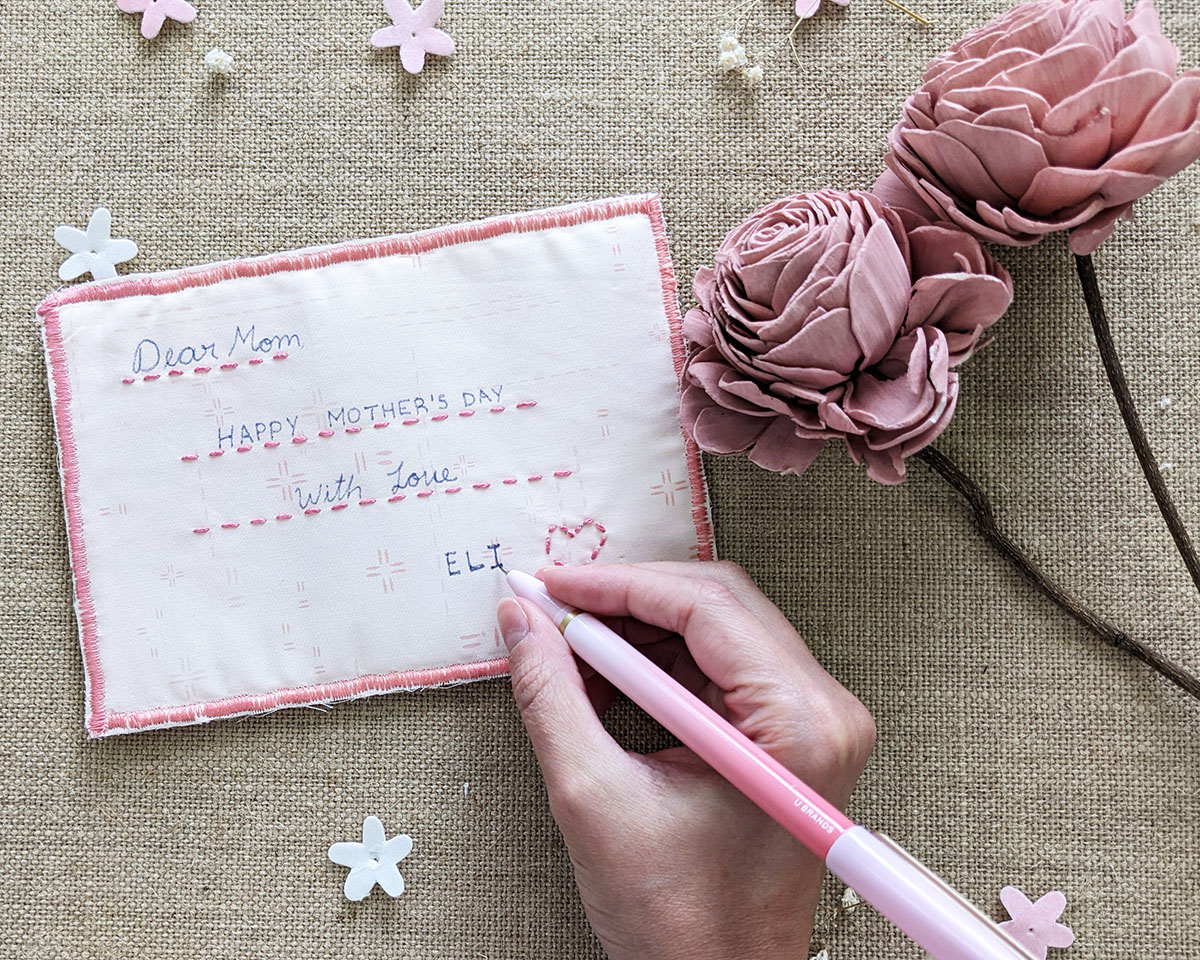
Take a Frixion pen and trace a couple of lines. You can add more lines if you want to write a longer letter to mom.

Take your desired color of embroidery thread and thread on the marked lines. Press carefully with the iron to remove the marked lines.
Step 12
Place both pieces wrong sides facing and pin around.

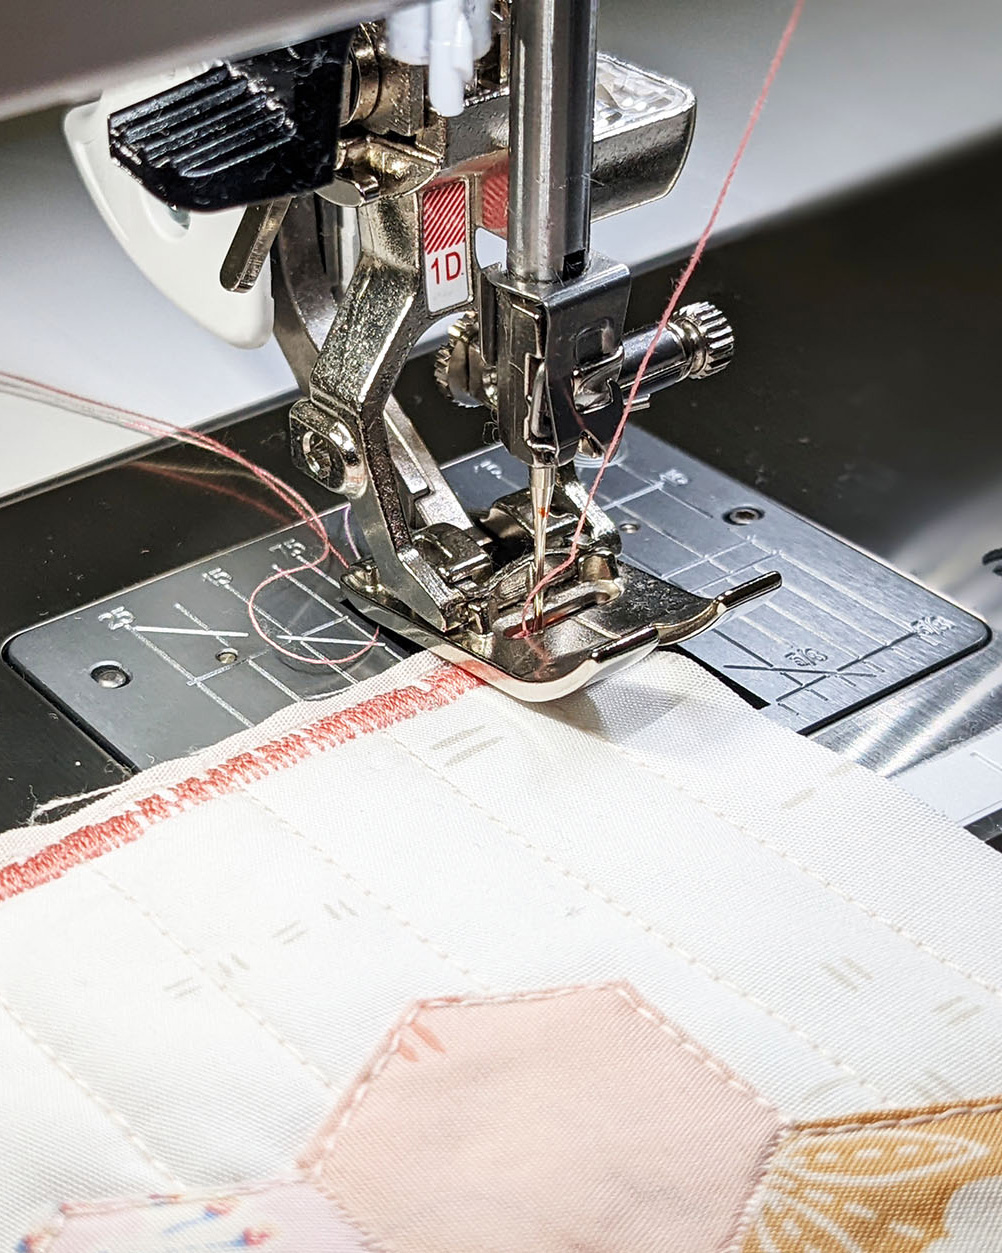
Finish the postcard with a zigzag stitch. What I did was to set my machine to a length of .10 and width of 4.5 to create a sating stitch effect.
Sew all around and then trim carefully the excess fabric.
And voila! Write your letter to mom and send away your postcard!!!
Happy Mother’s day!!!
Used Products

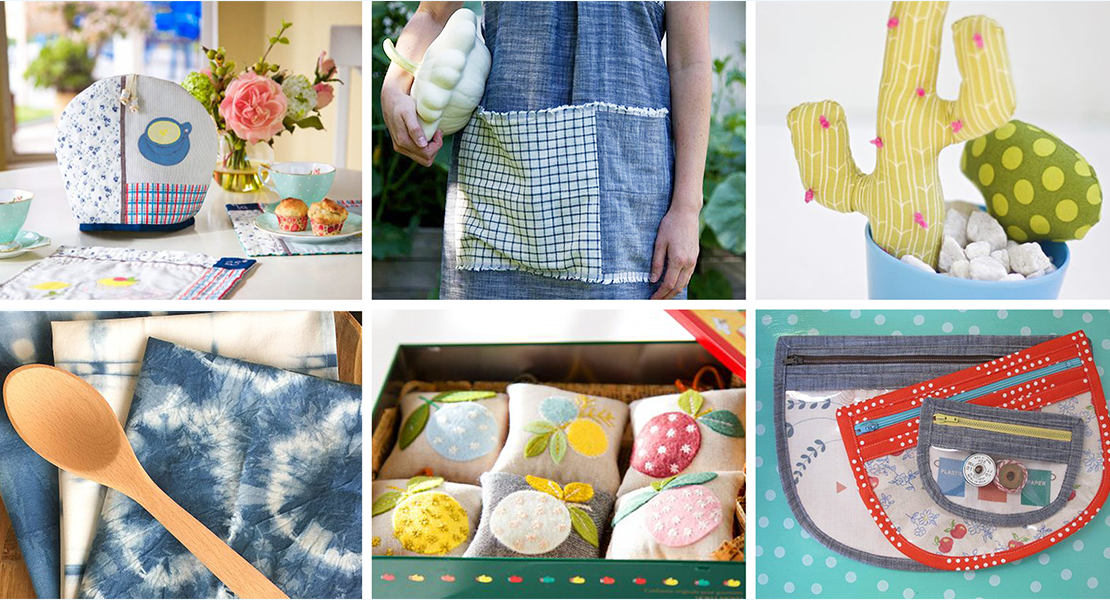
What you might also like


5 comments on “Mother’s Day Postcard”
-
-
Hello!
Yes!, It has to be a permanent one.
-
-
Great projects for sewing and love my Bernina sewing machine . !
-
I loved this idea. But I went and embroideried a bouquet of flowers put a applique basket under them. And than fixed the postcard. But when I went to send it through the post office they told me it was too thick to be a postcard. So I paid for a regular stamp. When my kids were growing up the neighbor lady had them go pick a few flowers (out of her garden) and walk through the neighborhood and ring doorbells on May 1 and tell whom ever answered the door “Happy May Day” So I embrodiered that on the basket. It was so cute I almost didn’t send them to my friend’s. Thank you for the idea!!
-
Oh, I forgot! They gave the person at the door a couple of the flowers they picked.
So this was my redision of that–as my friends live on the West side of Washington and I live on the East side of Washington State
Leave a Reply
You must be logged in to post a comment.

What pen did you use to write the letter? I’m assuming it will be permanent?