How to Make a Striped or Patchwork Mug Rug
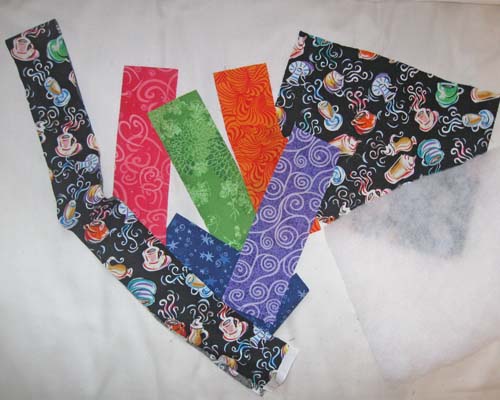
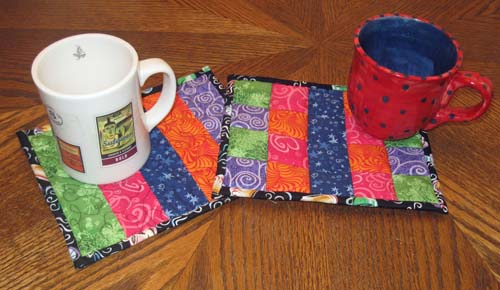
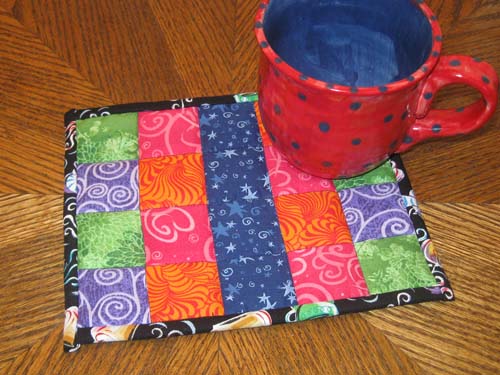
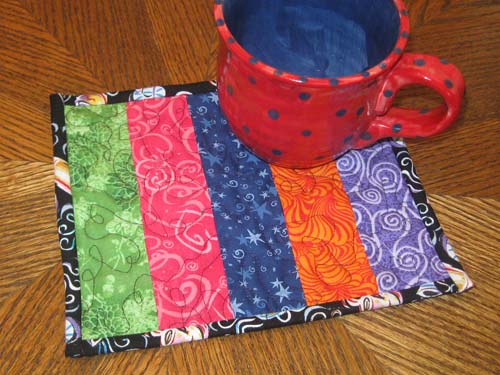
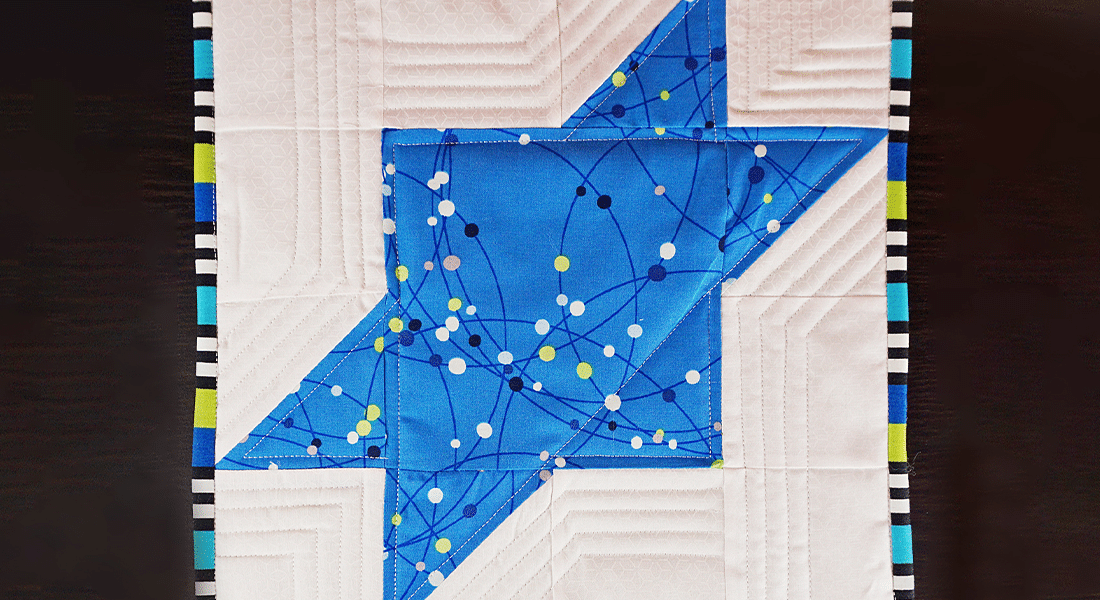
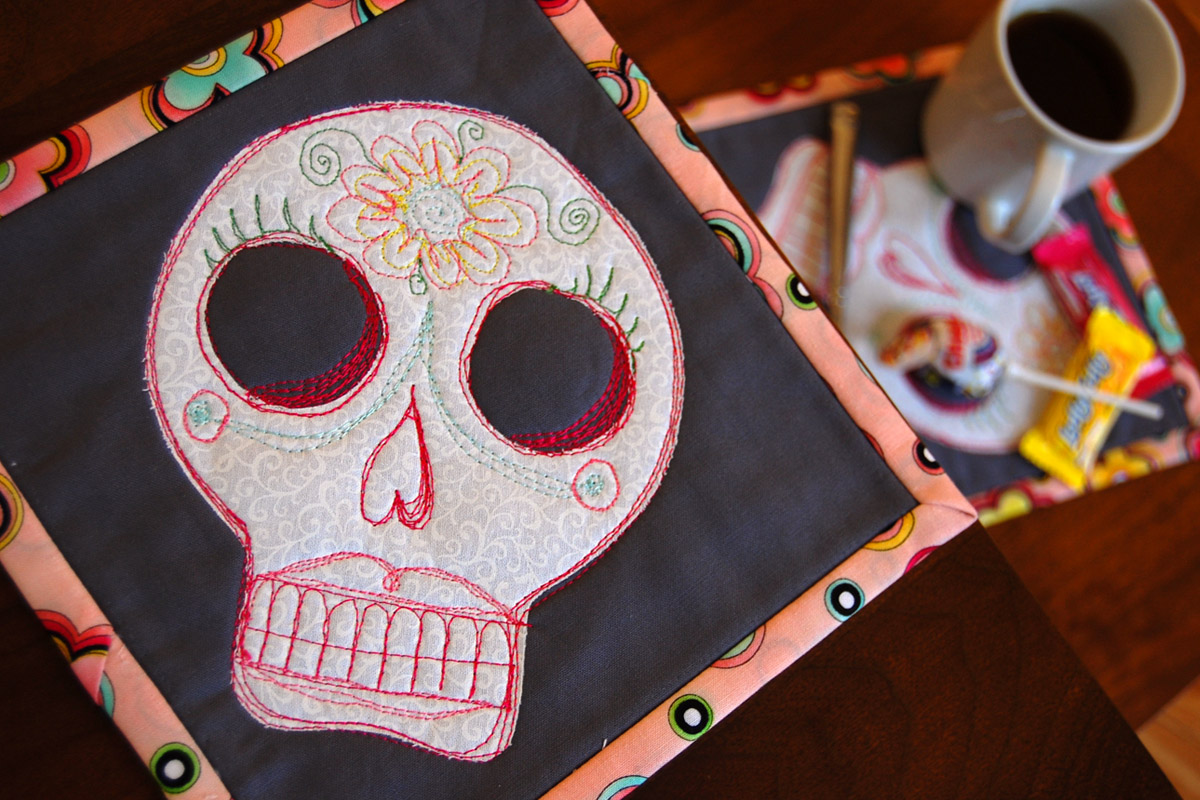
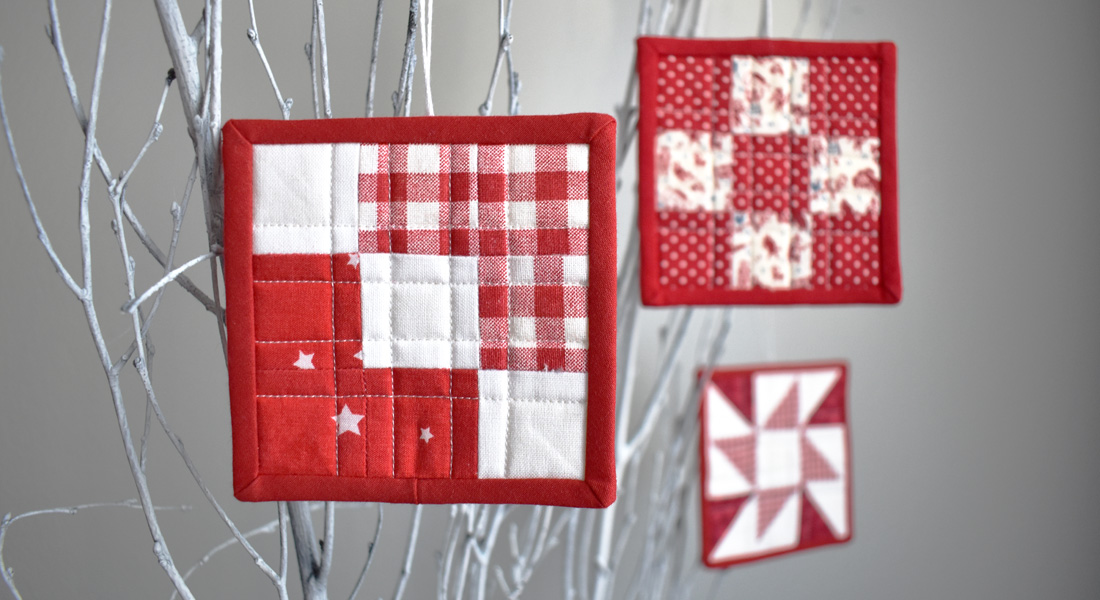
Who says quilts are just for beds? Bring a little color to your table or work space with these tiny works of art. This project is a great way to use up fabric scraps and is a perfect way to show off your favorite cup or glass. Instructions include two variations – one with stripes and one with checks.
Materials to make a Mug Rug:
- Five different fabric scraps measuring at least 3″ x 9″
- One fabric scrap measuring at least 8″ x 10″ for backing
- 1/8 yard of fabric for binding
- One 8″ x 10″ rectangle of batting
- Thread
- Scissors
- Water-soluble marking pen or tailor’s chalk
- Ruler
- Hand-sewing needle
- Rotary cutter and mat (optional)
- 1/4″ foot (BERNINA Patchwork Foot #37 or Patchwork Foot with Guide #57)
- Walking foot (BERNINA Walking Foot #50)
- Free-motion quilting foot (BERNINA Stitch Regulator or Freehand Quilting Foot #29/29C)
Step 1) Piece the top.
Striped Mug Rug
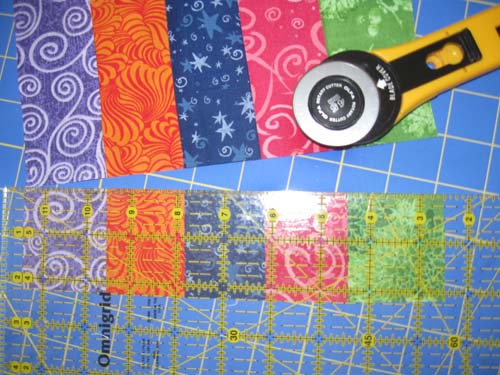
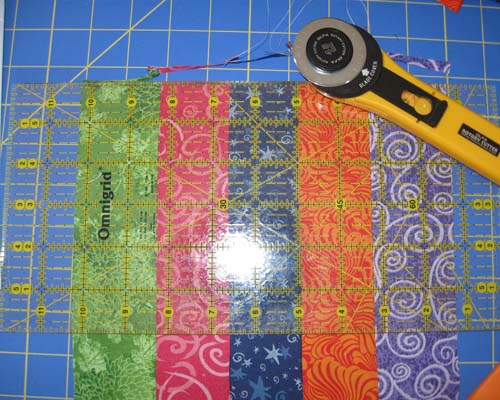
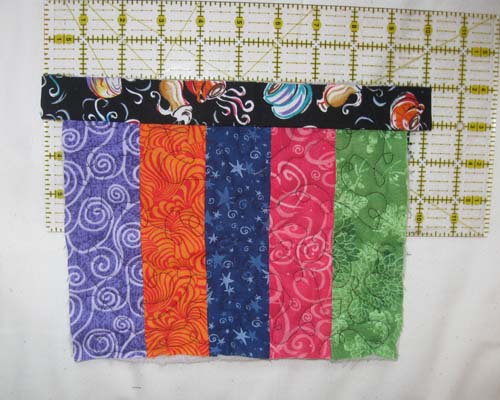
Cut a 2 1/4″ x 7″ rectangle from each of the five fabric scraps.
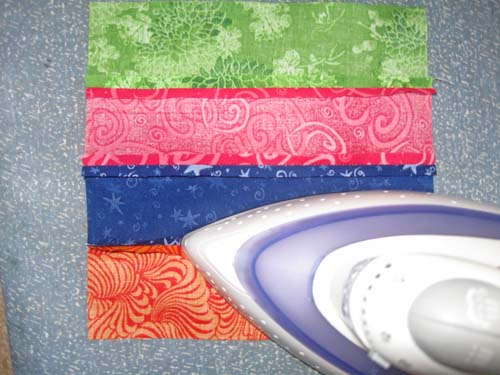
With right sides together, sew the long edges of the rectangles together; press the seam allowances open.
Patchwork Mug Rug
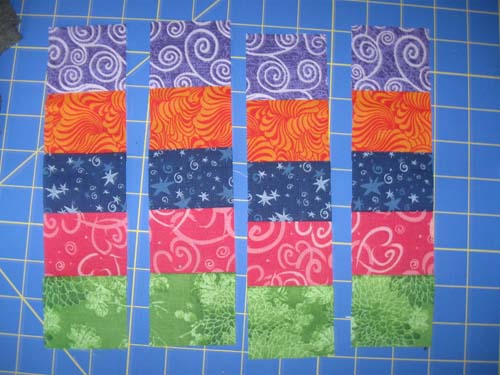
Cut a 2 1/4″ x 9″ rectangle from each of the five fabric scraps.
With right sides together, sew the long edges of the rectangles together; press the seam allowances open.
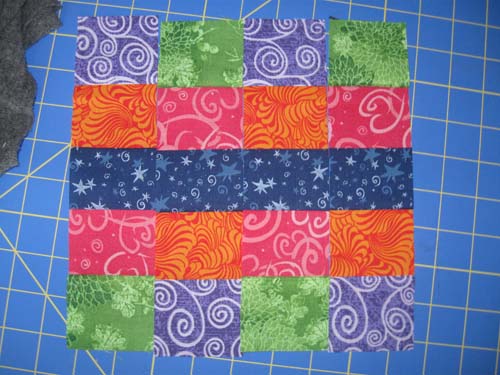
Cut the striped block into four 2 1/4″-wide strips.
Rotate every other strip, then sew them together to make a patchwork design; press the seam allowances open.
Step 2) Assemble the “quilt sandwich.”
Cut a 7 1/2″ x 9″ rectangle of backing fabric.
Cut a 7 1/2″ x 9″ rectangle of batting.
Cut a 2 1/2″ x 44″ strip of fabric for the binding
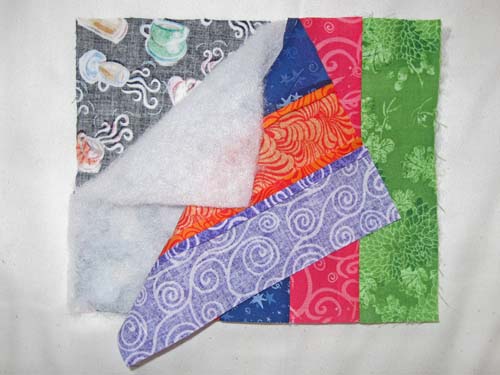
Place the backing fabric right side down. Place the batting on the backing fabric. Place the patchwork rectangle on top, right side up (wrong side down).
Pin the “sandwich” together to keep the pieces from slipping.
Step 3) Quilt the layers together.
Quilting the layers together can be as simple as
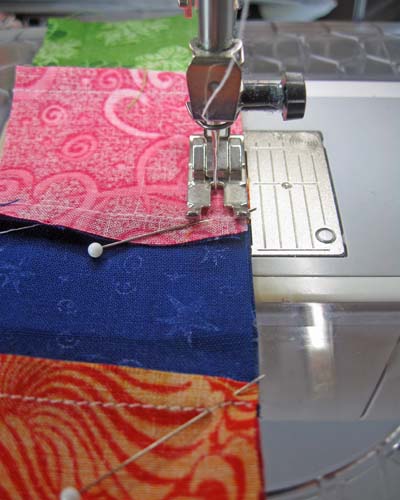
- Stitching-in-the-ditch (sewing on the seam lines)
- Sewing a cross-hatch design (usually a 1″ grid of diagonal or horizontal/vertical lines forming diamonds or squares)
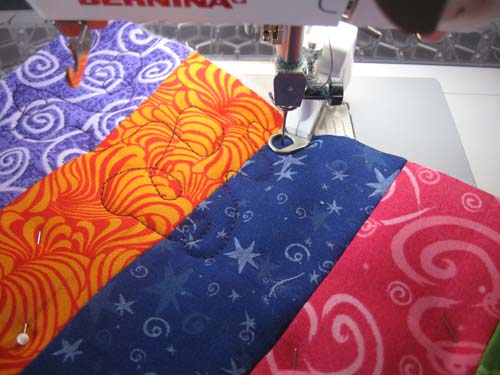
- Free-form meandering or stippling stitches (free-hand curved lines or swirls)
Choose your favorite and quilt the layers of your mug rug together.
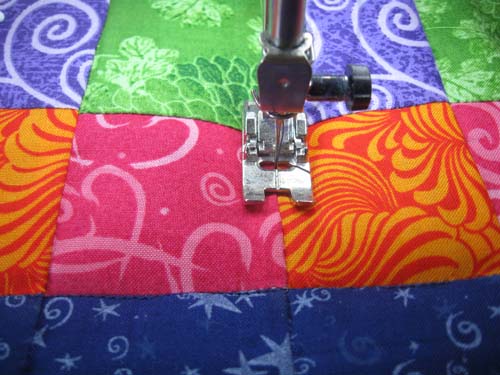
Tip: For stitch-in-the-ditch quilting, match the line in the center of the foot with the seam line.
Sometimes, after being sewn and quilted, the quilted piece is no longer square. If this is the case, “square up” your block and trim it so all sides are even.
Step 4) Bind your mug rug.
There are a variety of ways to bind quilts and similar items – the method shown here is perfect for beginners because it has just a few easy-to-sew steps. If you prefer a different technique, feel free to replace this method with yours.
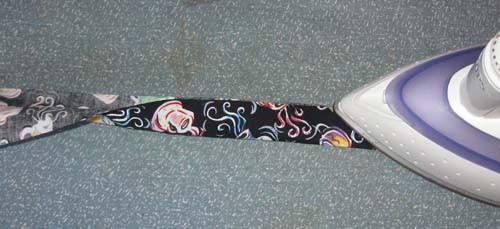
Fold the binding strips in half lengthwise, wrong sides together, matching the raw edges. Press.
Select a side of the mug rug to begin binding. Cut a binding strip 1″ longer than this side. For example, if your mug rug is 9″ long, then cut the binding strip 10″ long.
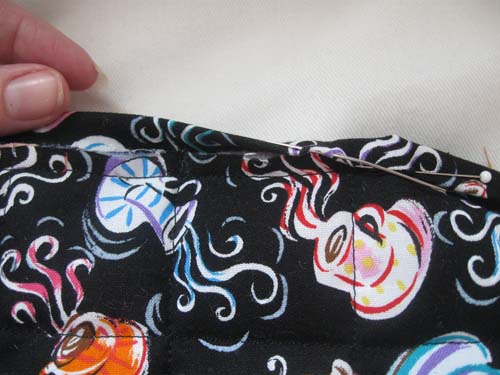
Pin the binding strip to the right side of the mug rug, extending the ends about 1/2″ past the edges of the mug rug, matching the raw edges.
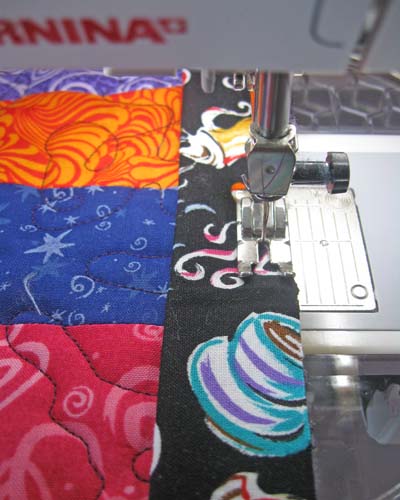
Sew the binding to the mug rug using a 1/4″-wide seam allowance.
Flip the finished binding to the mug rug and slipstitch the edge in place by hand. Trim the ends of the binding even with the mug rug edges.
Repeat, applying binding to the opposite edge.
Cut a binding strip 1″ longer than one of the remaining edges. Pin the binding strip to the right side of the mug rug, extending the ends about 1/2″ past the edges of the mug rug, matching the raw edges. Stitch.
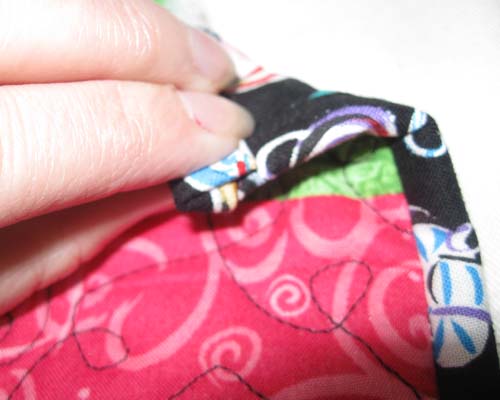
Before folding the finished edge of the binding to the back, fold the 1/2″-long tails around the end; this creates finished edges at the ends of the binding. Slipstitch in place.
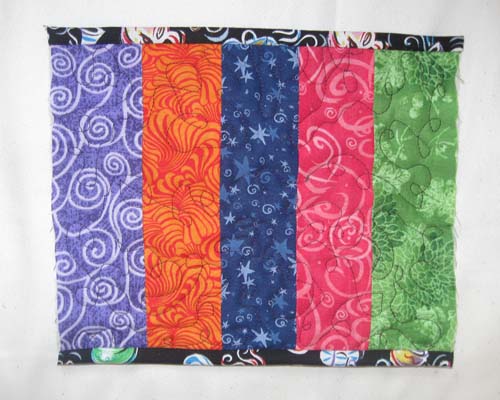
Repeat for the opposite edge of the mug rug. Your mug is complete!
What you might also like
7 comments on “How to Make a Striped or Patchwork Mug Rug”
-
-
Hi nanners1 — Make sure you’re clicking on the correct link. After you click on the project photo and description on the Home page, you’ll be at a page that has the photo and a longer description. Below the description you’ll see a red, underlined, “Mug Rugs by Stacy Schlyer” link. Click on that and the PDF instructions will open. Jo
-
-
Please do the binding by machine….this is a machine project. Sew the binding on by machine as usual the first go around but sew it to the back. Cut the binding a little wider or take the seam a little smaller. This will allow you to sew the second stitching on from the front without catching the back binding in the stitching. Perfectly OK on utility items: mug rugs, pot holders, kid’s quilts.
-
Pingback: WeAllSew « https://weallsew.com
-
I also cannot find a ‘link’ that will download a PDF file or a zip of any kind,
why do you make it so hard to locate a file?-
Although this project is not automatically downloadable, it is possible to copy the instructions and paste them to a word document to save to your computer and access anytime you’d like, or even print out at home.
-
Leave a Reply
You must be logged in to post a comment.






![Have a habit of misplacing your keys. Losing your iPod? Forgetting your coupons? Now, with this handy organizer, all your little necessities are in one convenient spot when you're ready to head out the door - right on the door knob! How to Make a Door Organizer Supplies 1/3 yard or heavyweight fabric such as twill, canvas, or denim 1/3 yard of fusible interfacing Coordinating thread Scissors Water-soluble marking pen or tailor's chalk Ruler 1/4" presser foot (BERNINA Patchwork Foot #37 or Patchwork Foot with Guide #57) Download and print the keyhole template: [download id="88"] Step 1) Prepare the fabric pieces. Cut from the heavyweight fabric: Two 5" x 11" rectangles for the organizer body One 5" x 12" rectangle for the large pocket One 5" x 7" rectangle for the small pocket One 6" x 7" rectangle for the hanging pocket Fuse interfacing to the wrong side of both 5" x 11" fabric rectangles following the manufacturer's directions. How to Make a Door Organizer Cut the keyhole: Measure down 1" from the top edge of one 5" x 11" rectangle. Center the top of the keyhole template on this mark. Trace the template. Cut along the traced line. Repeat for the second 5" x 11" rectangle. How to Make a Door Organizer Step 2) Make the large and small pockets. With wrong sides together, fold the large pocket in half to create a 6" x 5" rectangle. Topstitch close to the folded edge. How to Make a Door Organizer Place the large pocket on top of the right side of one 5" x 11" rectangle, matching the raw edges along the sides and bottom edges. Baste in place. How to Make a Door Organizer With wrong sides together, fold the small pocket in half to create a 3 1/2" x 5" rectangle. Topstitch close to the folded edge. Place the small pocket on top of the large pocket, matching the raw edges along the sides and bottom edges. Baste in place. How to Make a Door Organizer Step 3) Make the hanging pocket. With wrong sides together, fold the 6" x 7" rectangle in half lengthwise. Press. How to Make a Door Organizer Unfold the strip and then fold the long raw edges to the center fold line. Press. Refold the strip along the center crease. Topstitch close to both long edges. How to Make a Door Organizer Fold under 1" on both edge of the finished 7" strip. Measure up 1-1/4" from the lower edge on the right side of the second 5" x 11" piece. Center the bottom of the strip on this mark. How to Make a Door Organizer Sew close to the folded ends of the strip, then again 1/2" away from the first stitching. How to Make a Door Organizer Step 4) Construct the door organizer. With right sides together, place the two 5" x 11" rectangles together, matching the raw edges and the keyhole opening. How to Make a Door Organizer Stitch around the entire rectangle, leaving the keyhole open. Do not stitch around the keyhole area! Clip the corners. How to Make a Door Organizer Turn the organizer right side out through the keyhole opening. Press. How to Make a Door Organizer Topstitch close to the finished edges. How to Make a Door Organizer Baste the raw edges of the keyhole opening together. How to Make a Door Organizer Satin stitch close to the keyhole edges. Position the fabric so the needle goes just barely to the right of the raw edges and encloses them in stitches. Tip: A satin stitch is a zigzag stitch with a very short stitch length, so the stitches are very close to each other. How to Make a Door Organizer How to Make a Door Organizer Fill your organizer with keys, pens, letters, etc. so you never leave home without your essentials! How to Make a Door Organizer](https://weallsew.com/wp-content/uploads/sites/4/2011/10/How-to-Make-a-Door-Organizer-WeAllSew.jpg)



I cannot navigate this website. Everytime I try to download a project it does not work. How do you download the projects?