“Paint” Your Own Holiday Cards – with Your Embroidery Machine!
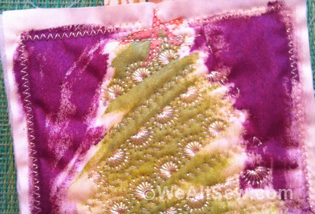
It is so fun to “paint” your holiday cards with your embroidery machine! There are so many fun picture-style fonts to download for free that are great sources for holiday graphics.
Here’s how to make your own custom-designed cards:
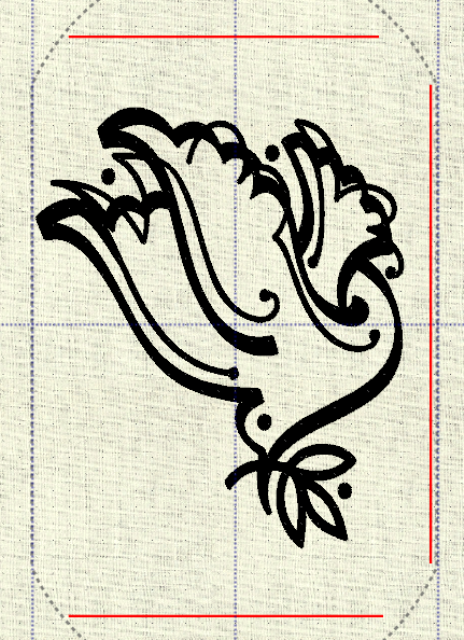
First, measure the size of your folded card and create a placement line. For my card I had a 5″ x 7″ area to work in. DesignWorks software lets you work in inches or metric, so I created a 5″ x 7″ rectangle to mark the outer edges of my card.
Next, place your graphic inside the outline. My 5″ x 7″ rectangle was too large to fit in the BERNINA Oval Hoop, so I created a second placement line to mark a rectangle outlining the hoop’s stitching area and centered it on my card. I inserted my graphic and made sure it fit within the smaller rectangle. When my card design was complete I deleted the rectangle and my design was ready to send to my machine!
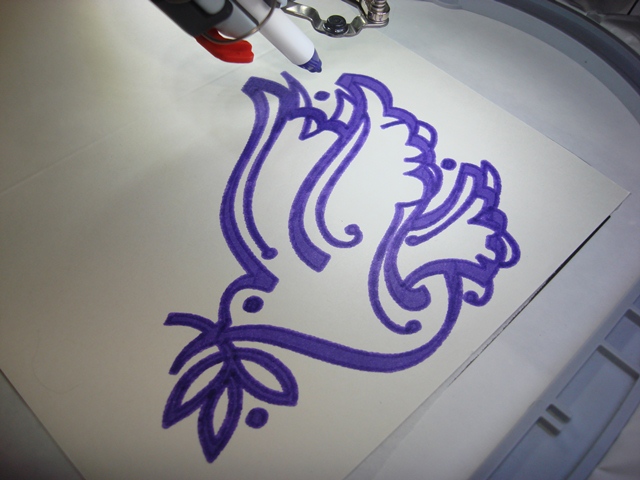
Hoop a layer of OESD StabilStick stabilizer – cut-away or tear-away – with the paper side up. PaintWork does not penetrate the stabilizer, so both versions can be used. Paint the placement lines onto the stabilizer only, then score and remove the paper coating from inside the marked placement area.
Place the card onto the sticky surface and smooth it in place. Paint the graphic. When finished, remove the card – it’s done!
Place the second card inside the marked lines and paint it. Continue placing and painting until your cards are finished – or until the stabilizer is no longer “sticky.” (Replace the stabilizer as needed, redrawing the placement lines and removing the stabilizer as before.)
Want to make your own dove cards? Click HERE to download the finished design in DRAW and EXP formats.
