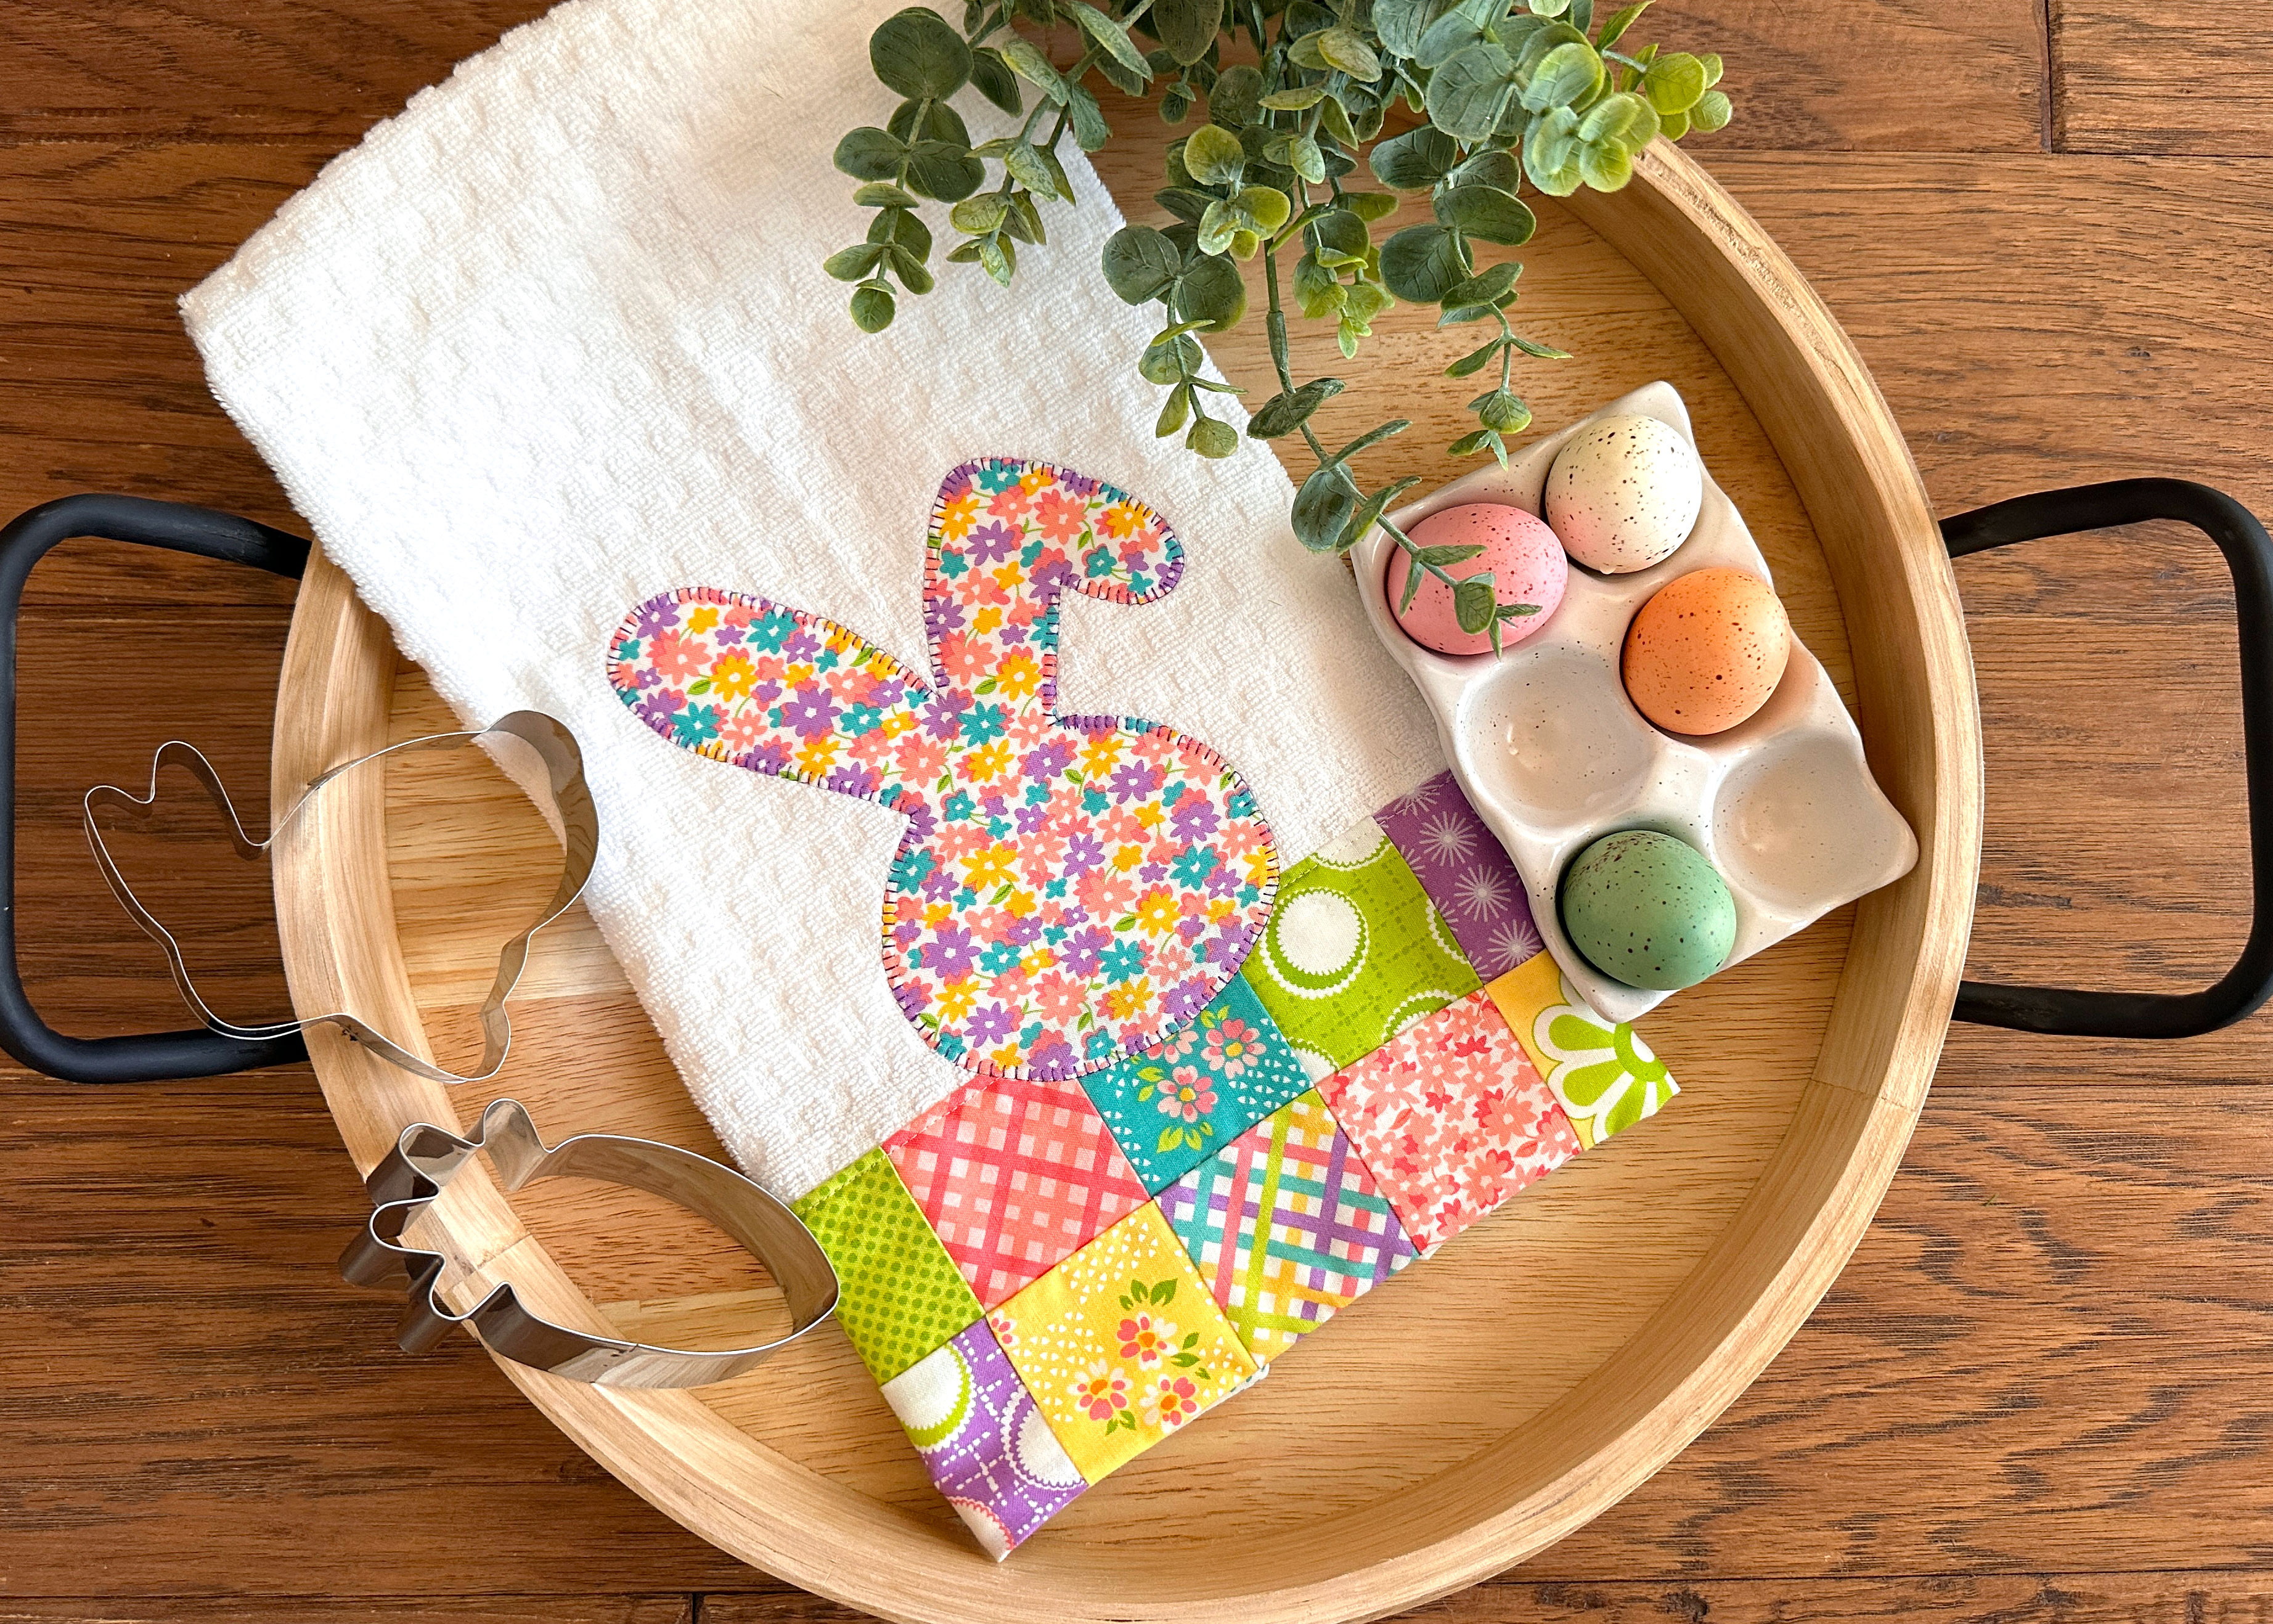
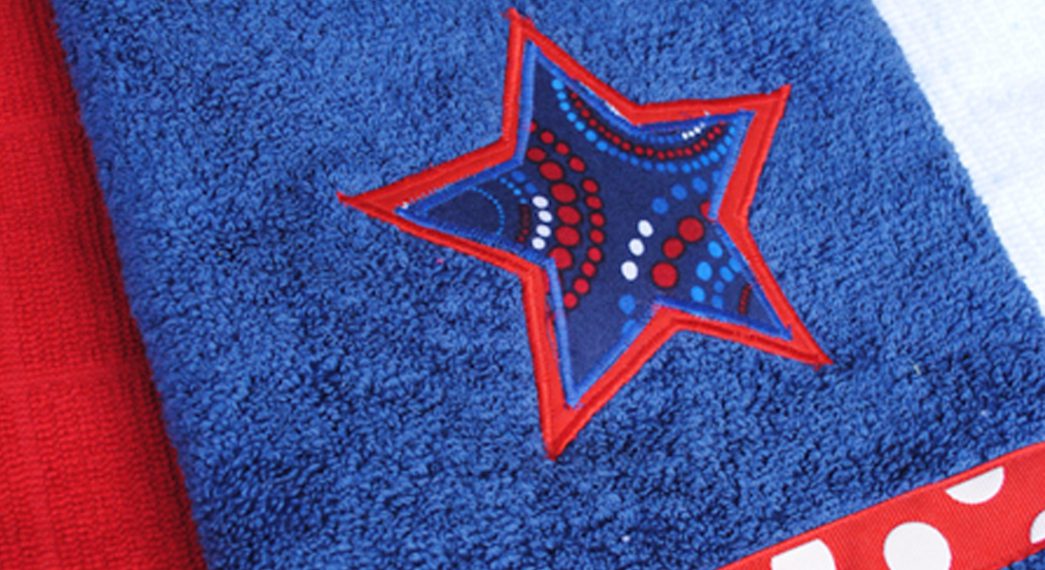
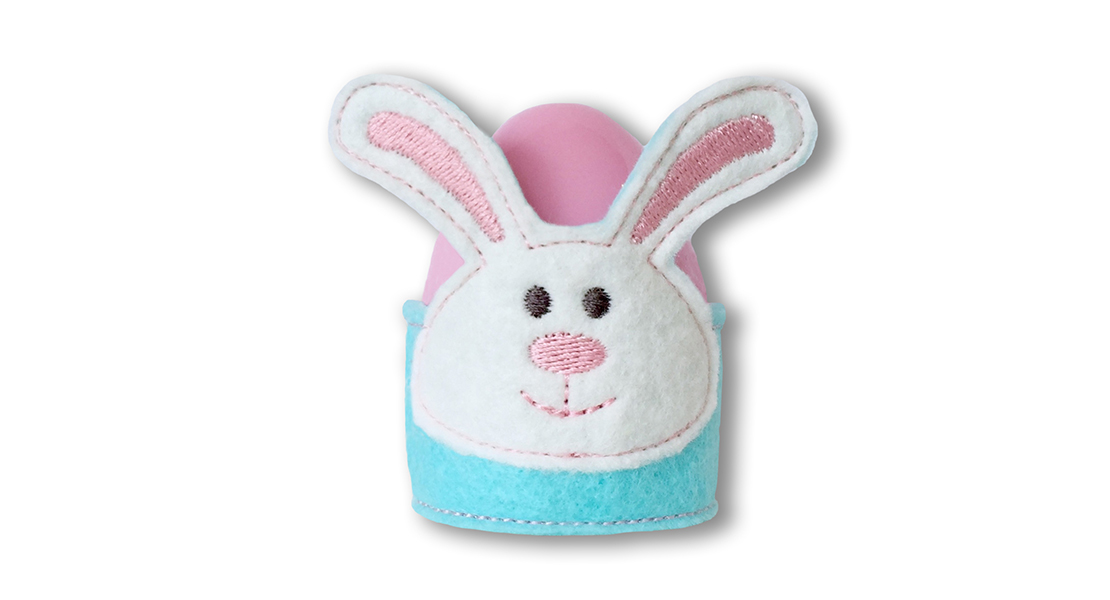
Patchwork Kitchen Towel with Bunny Appliqué
Add a touch of handmade charm to your kitchen with this patchwork kitchen towel that includes an adorable bunny appliqué. The colorful patchwork and bunny appliqué is added to a store-bought kitchen towel for a simple sewing project that will brighten your space for the Easter holiday. Sew one for yourself and one to give as a gift.

Hello everyone! It’s Sharon Madsen from Sharon Sews, a sewing enthusiast and instructor. You can connect with me on YouTube and Instagram, where I share sewing tips, projects, reviews, and fashion sewing ideas.
Let’s hop right into the tutorial!
Materials for the Patchwork Kitchen Towel with Bunny Appliqué
- Sewing and embroidery machine – I used my BERNINA 770 QE PLUS
- Quilting cottons – I used Moda’s On The Bright Side
- 18 assorted 2-1/2” x 2-1/2” squares for the front border
- 1 piece 18-1/2″ x 4-1/2″ for the back border
- 1 piece 7″ x 7″ for the bunny appliqué
- Purchased kitchen towel (16″ width)
- Heat n Bond
- 1 piece 7″ x 7″
- Tear away stabilizer
- 1 piece about 7″ x 7″
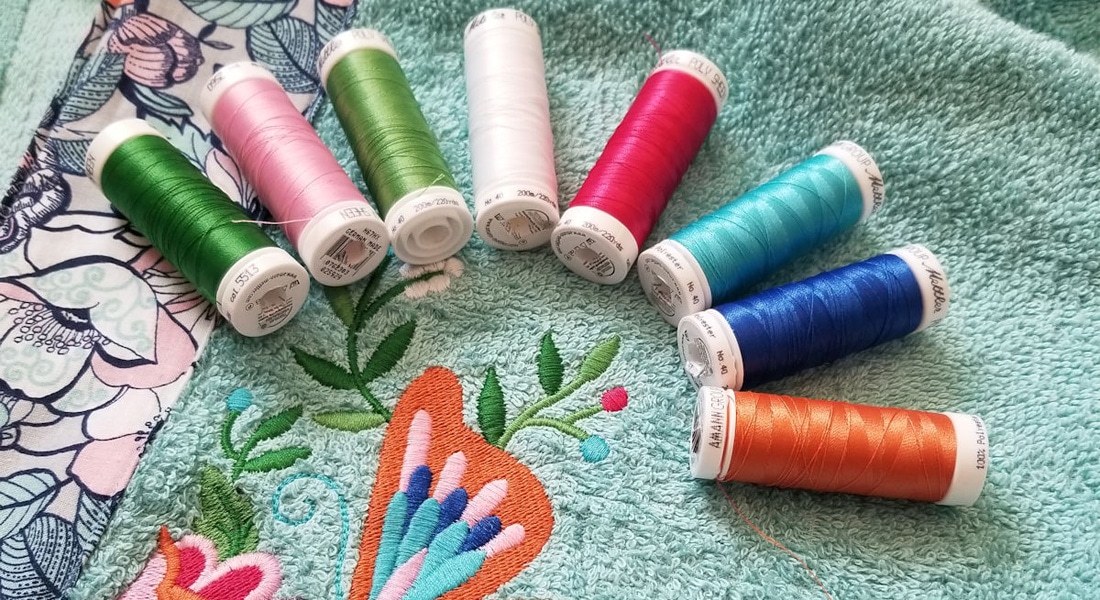
- Coordinating all-purpose thread
- Contrasting thread for appliqué
- Scissors
- Rotary cutter and self-healing mat
- Ruler
- Chalk or removable fabric marker
- Iron and pressing surface
- Pencil to trace template
- Paper scissors to cut out template
- Bunny head template

Create the Patchwork Border
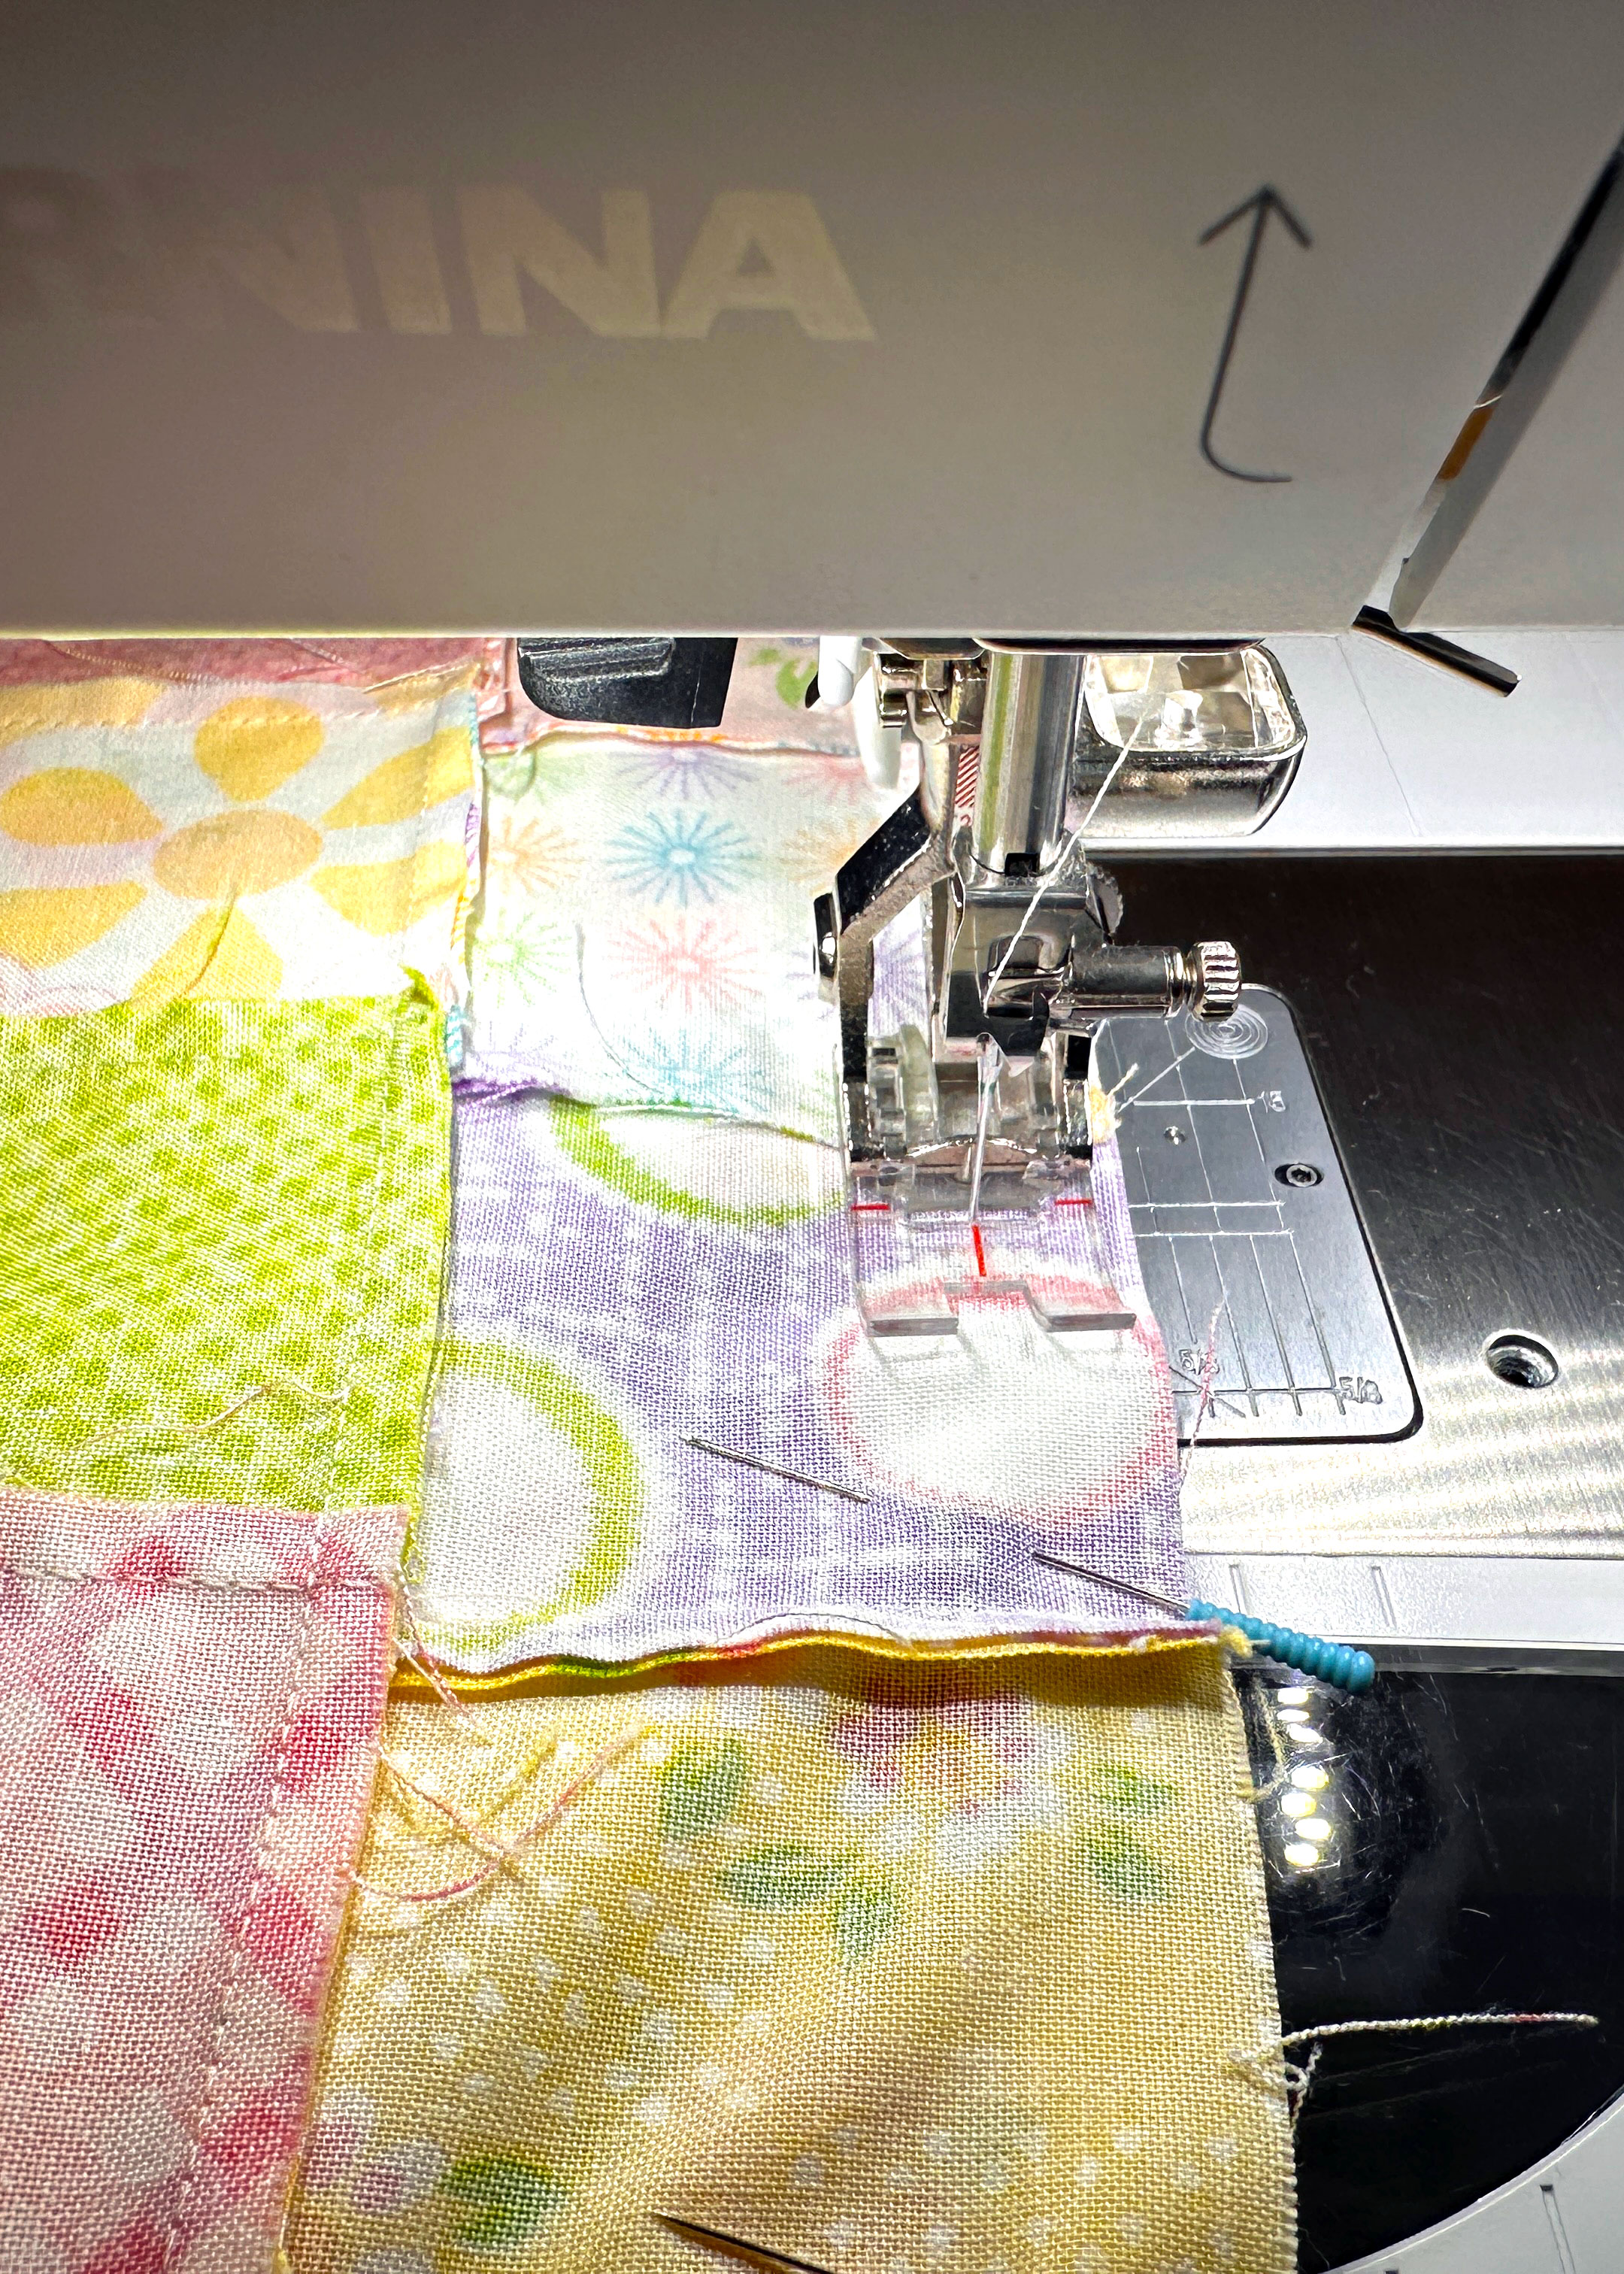
Clean and oil your machine, insert a new needle, put on a Straight Stitch Plate, and use the Patchwork Foot #97D to sew the 1/4” seams.
Cut 18 squares 2-1/2″ x 2-1/2″ from assorted quilting cottons. Use a coordinating fat quarter, as I did, or fabric from your scrap bin.
Note: You may need more or fewer squares for your patchwork border if your kitchen towel is wider or narrower.
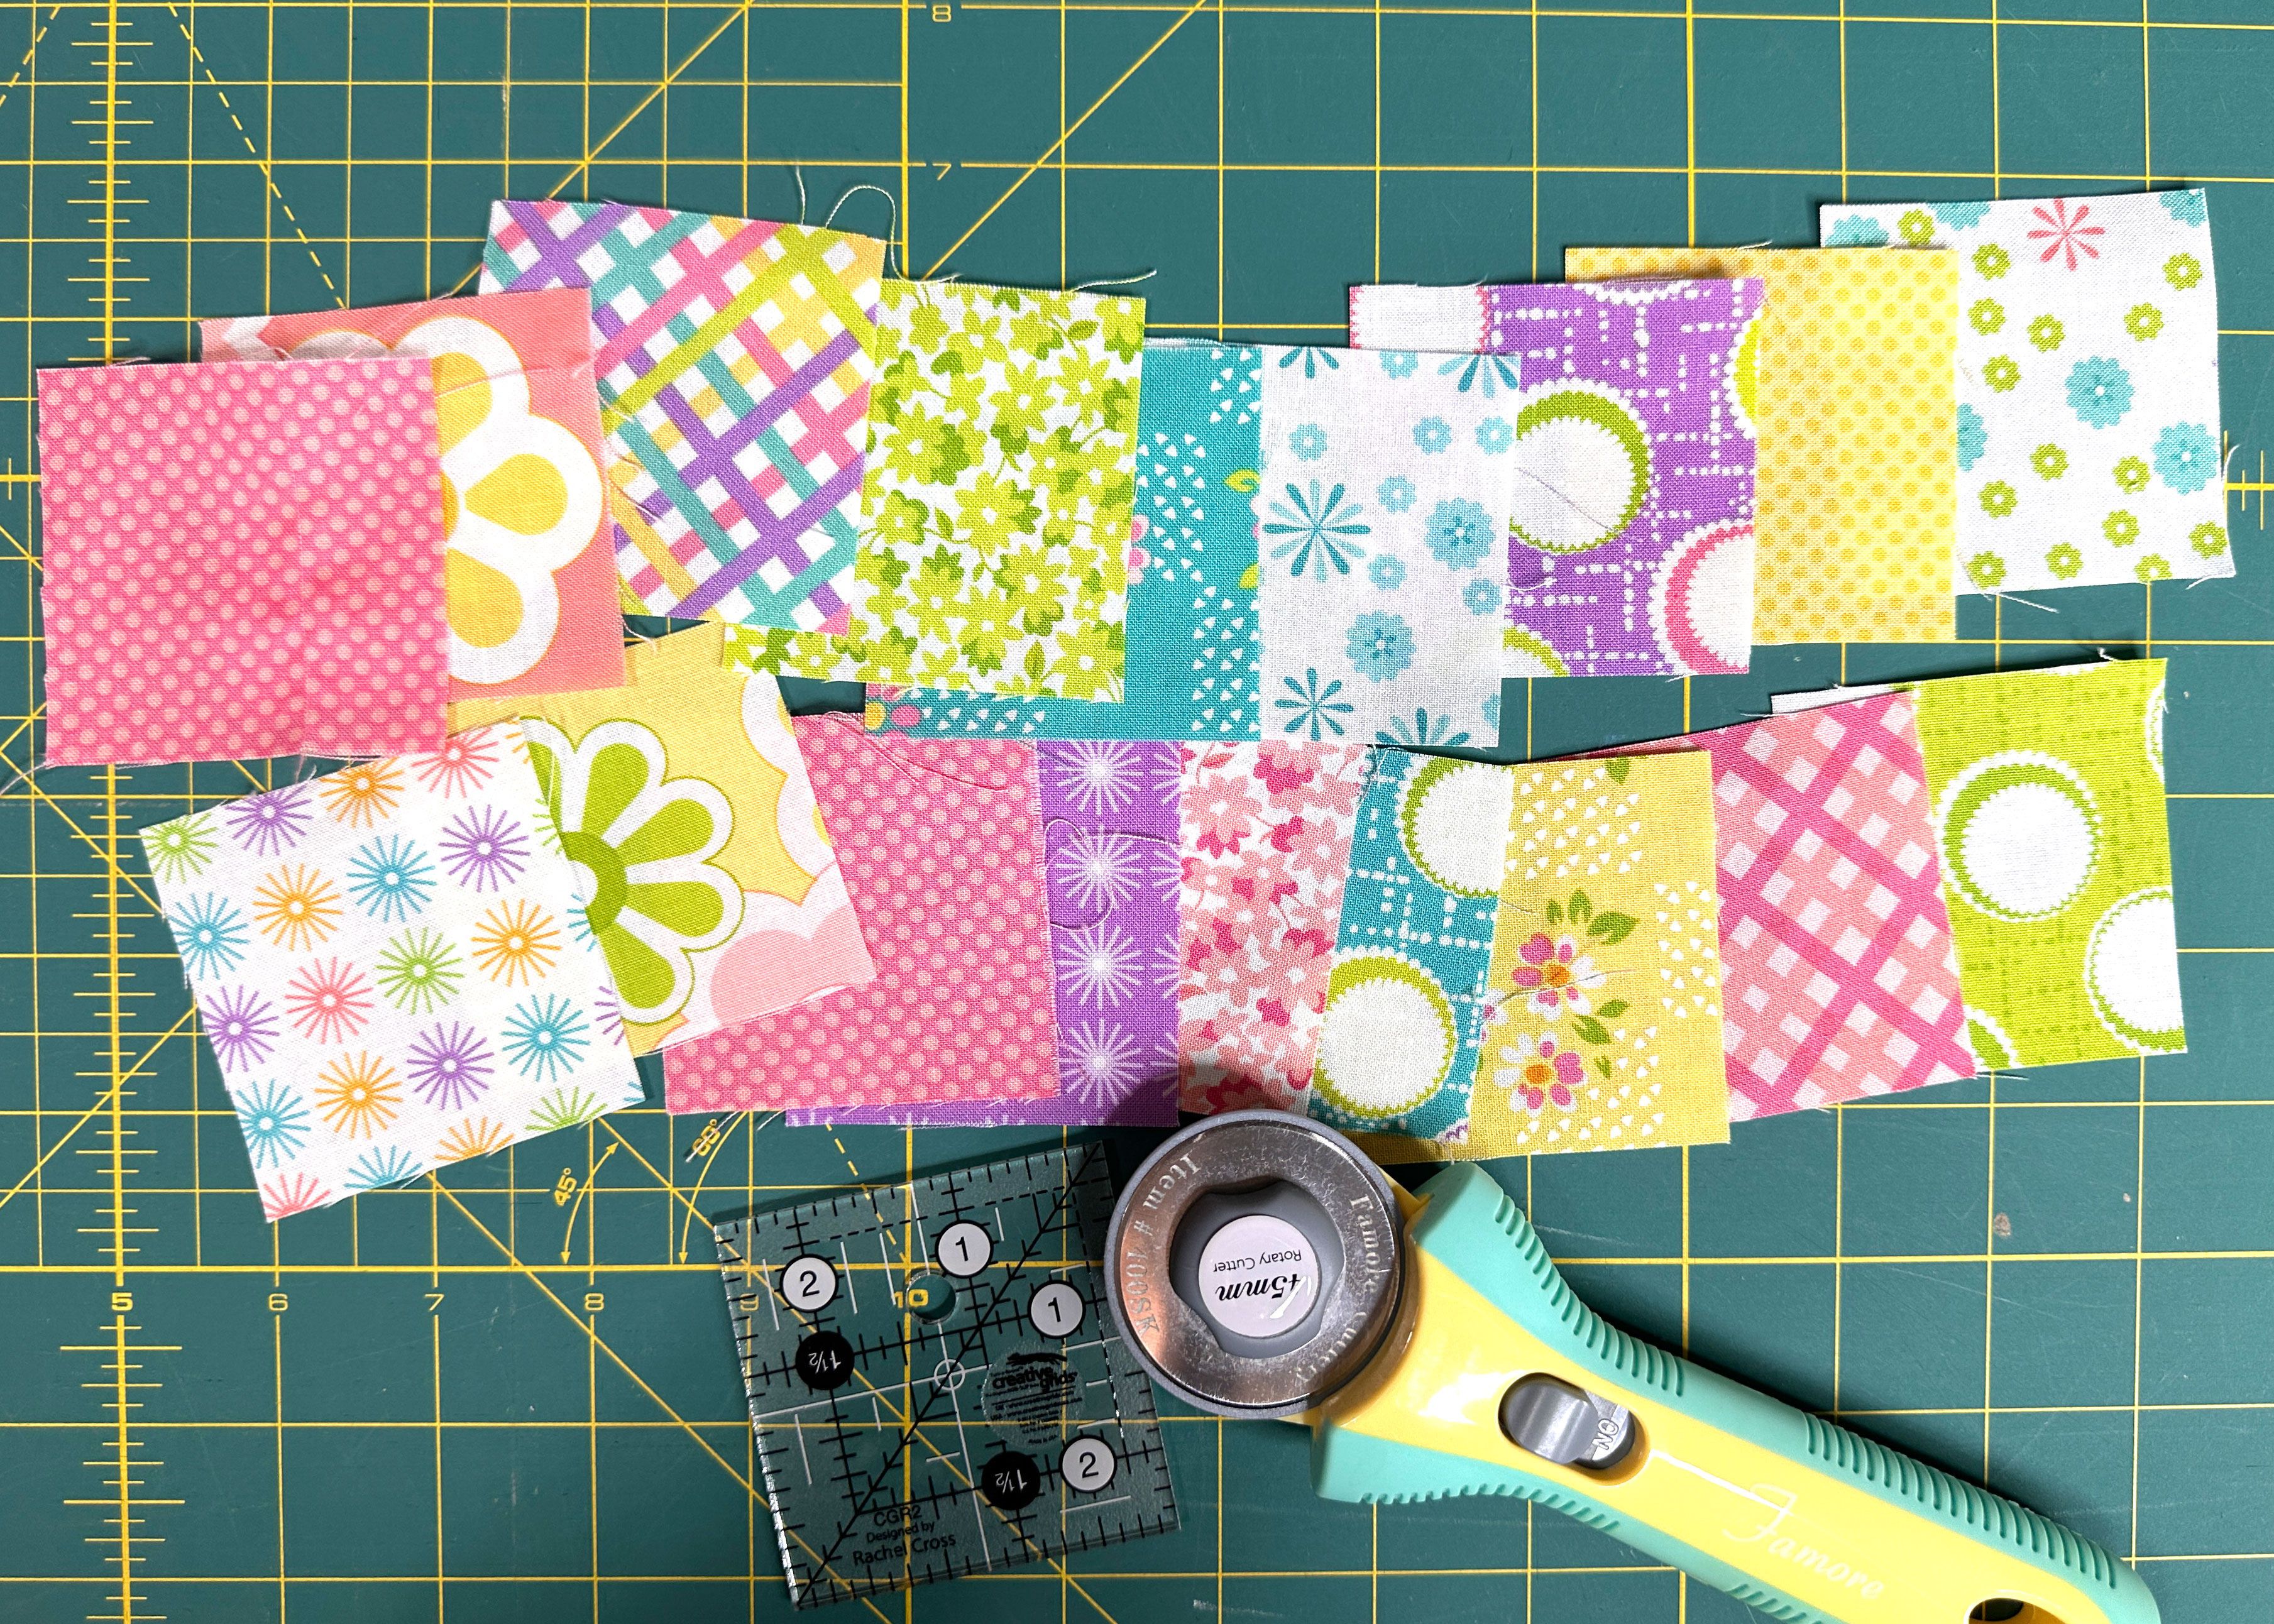
Place your fabric squares right side up on a flat work surface and arrange them in a pattern that you like. There will be nine squares across and two squares down.
Stitch together nine squares to create the first row. To do this, place two squares right sides facing and stitch using a 1/4” seam allowance. Stitch the remaining eight squares together in this manner until you have your first row completed. Press all the seams to the right side and set aside.

Create the second row by stitching nine squares together using a 1/4” seam allowance. Press all the seams to the left.
Match the two rows at the intersecting seams along the long edge, pin or clip together, then stitch using a 1/4” seam allowance and press the seam toward the bottom row.
Sew the Patchwork and Back Borders Together
With right sides facing, match the bottom edge of the patchwork border to the top edge of the back border. Pin or clip in place, stitch the seam using a scant 1/4″ seam allowance, then press the seam open.
Note: You may find it easier to cut the piece of fabric for the back border after piecing the patchwork portion. Simply place the patchwork border on top of the back border fabric and cut to size.
Sew the Border to the Kitchen Towel
Mark the center of the towel and the center of the borders.
Place the towel on a flat surface, wrong side facing up.
Match the bottom edge of the back border to the bottom edge of the towel, with the right side of the border facing up. Align the centers and pin in place.
Next, place the patchwork border on top of the back border, right sides facing. Match the bottom edges as well as the centers. Pin all three layers (towel, back border, patchwork border) together.
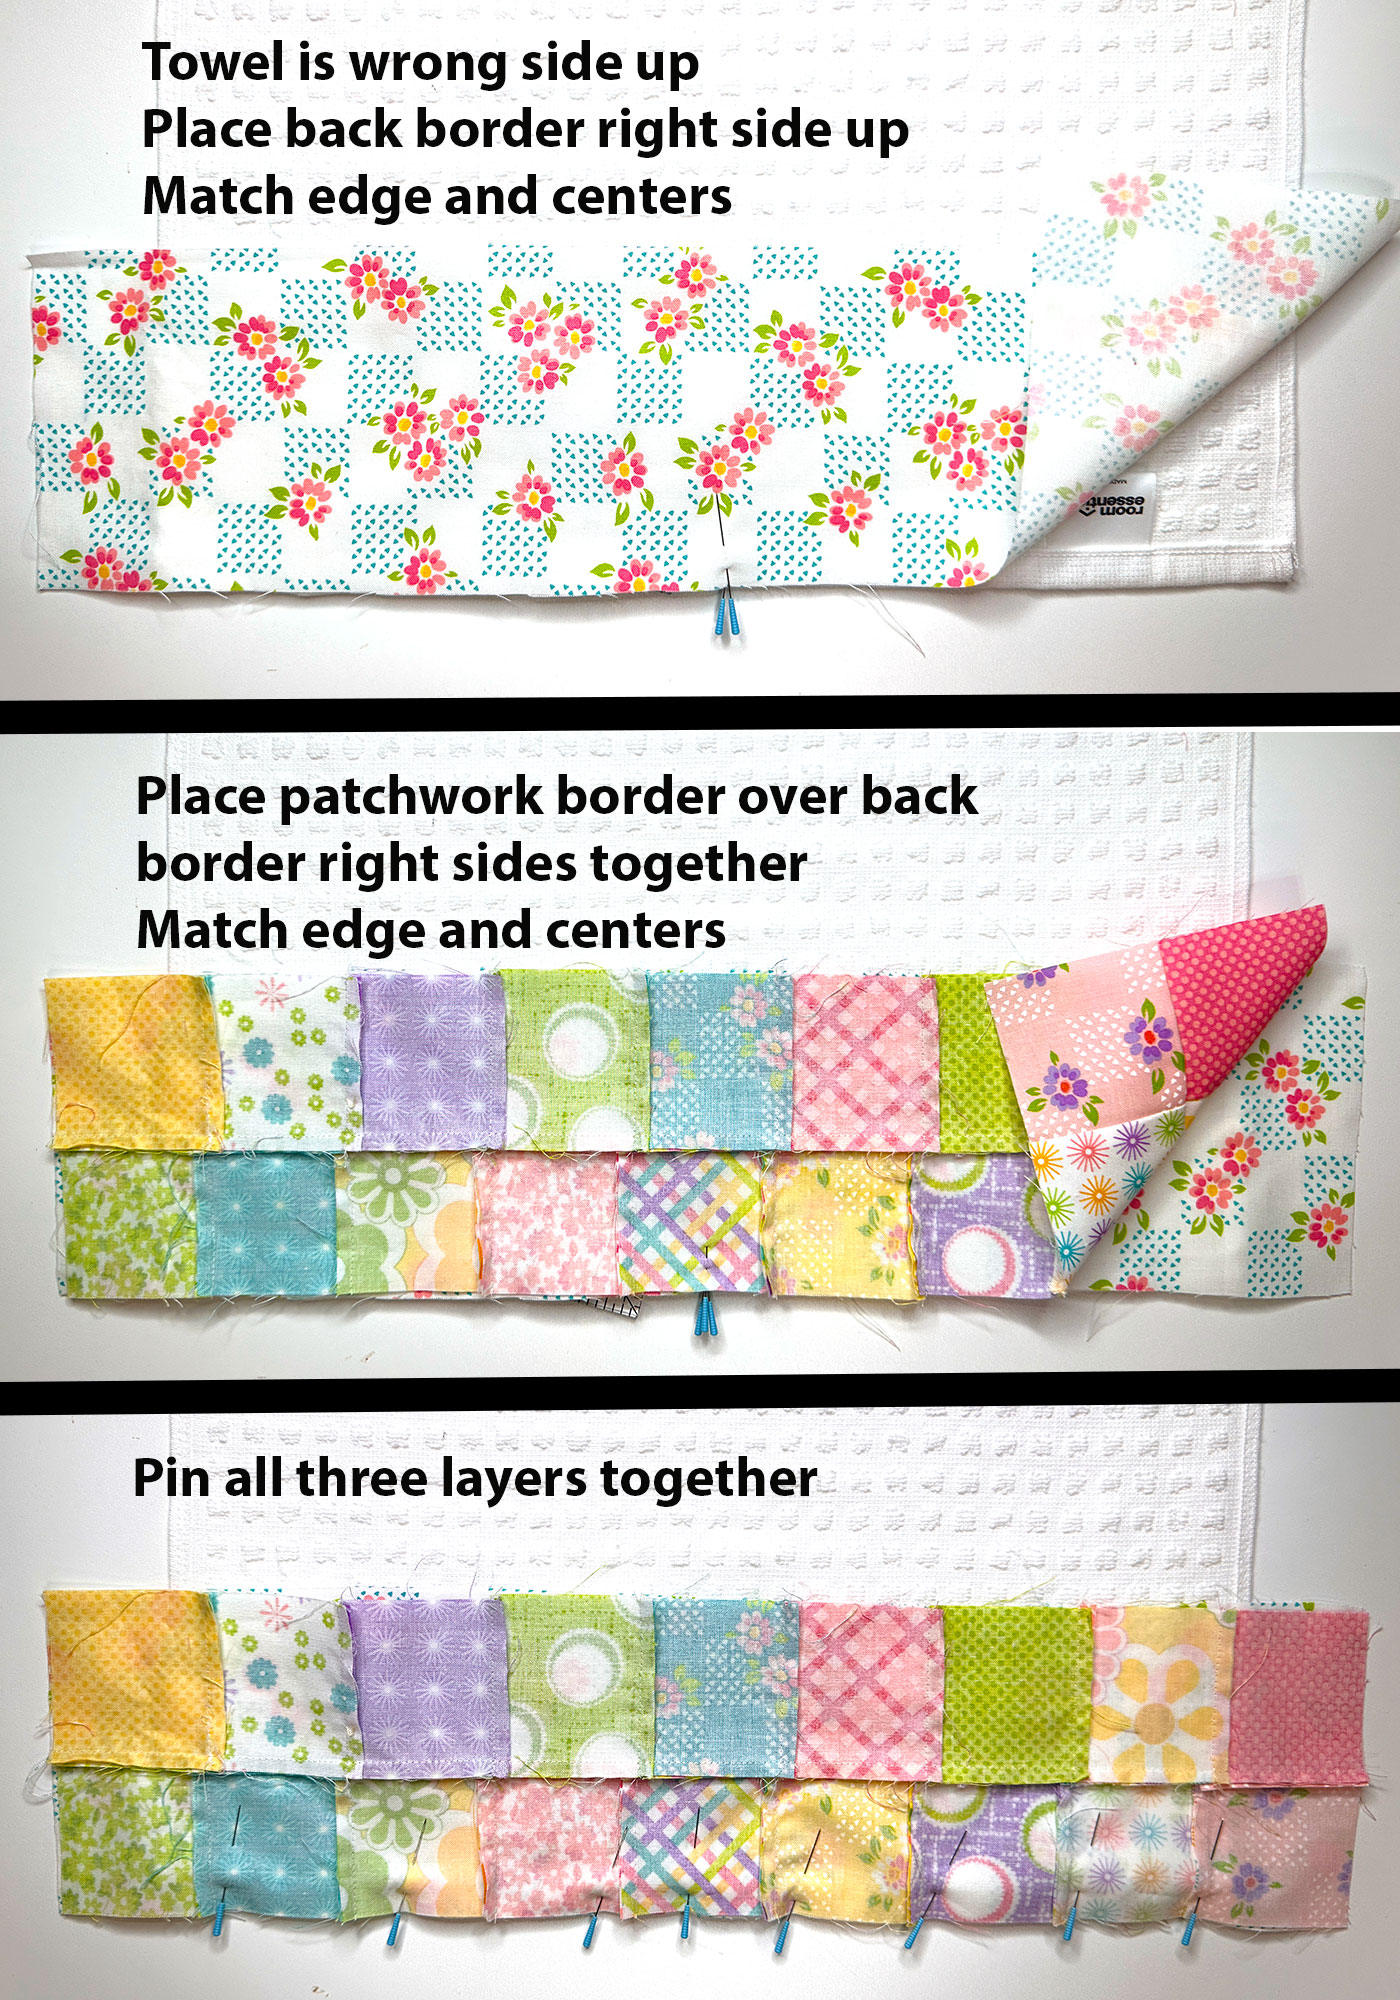
Stitch through all three layers using a ½” seam allowance.
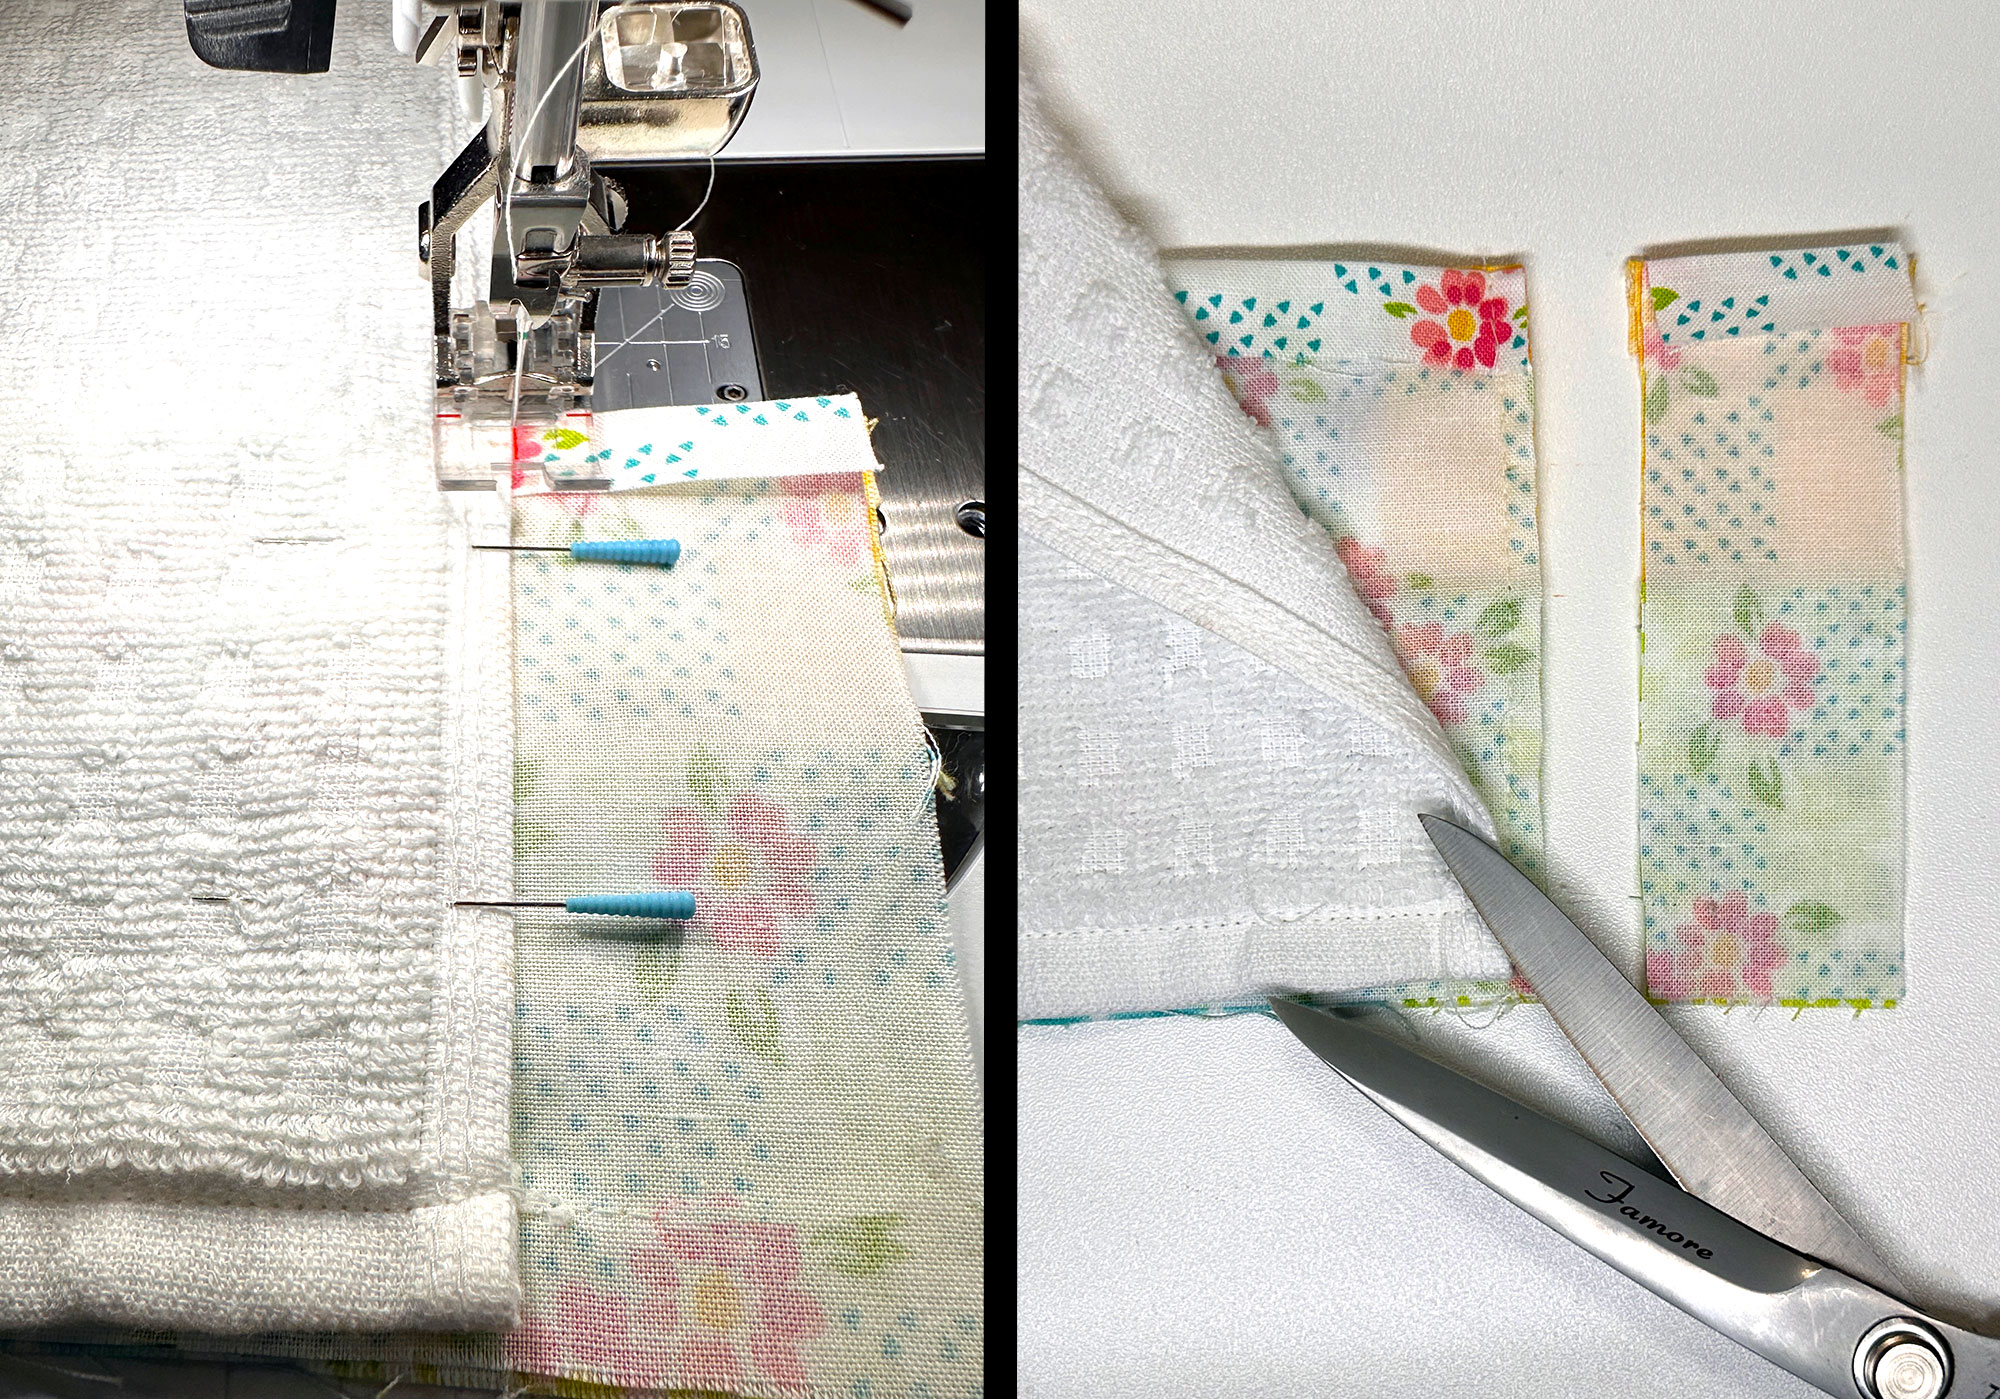
Now, press ½” to the wrong side along the top edge of both the back border and the patchwork border.
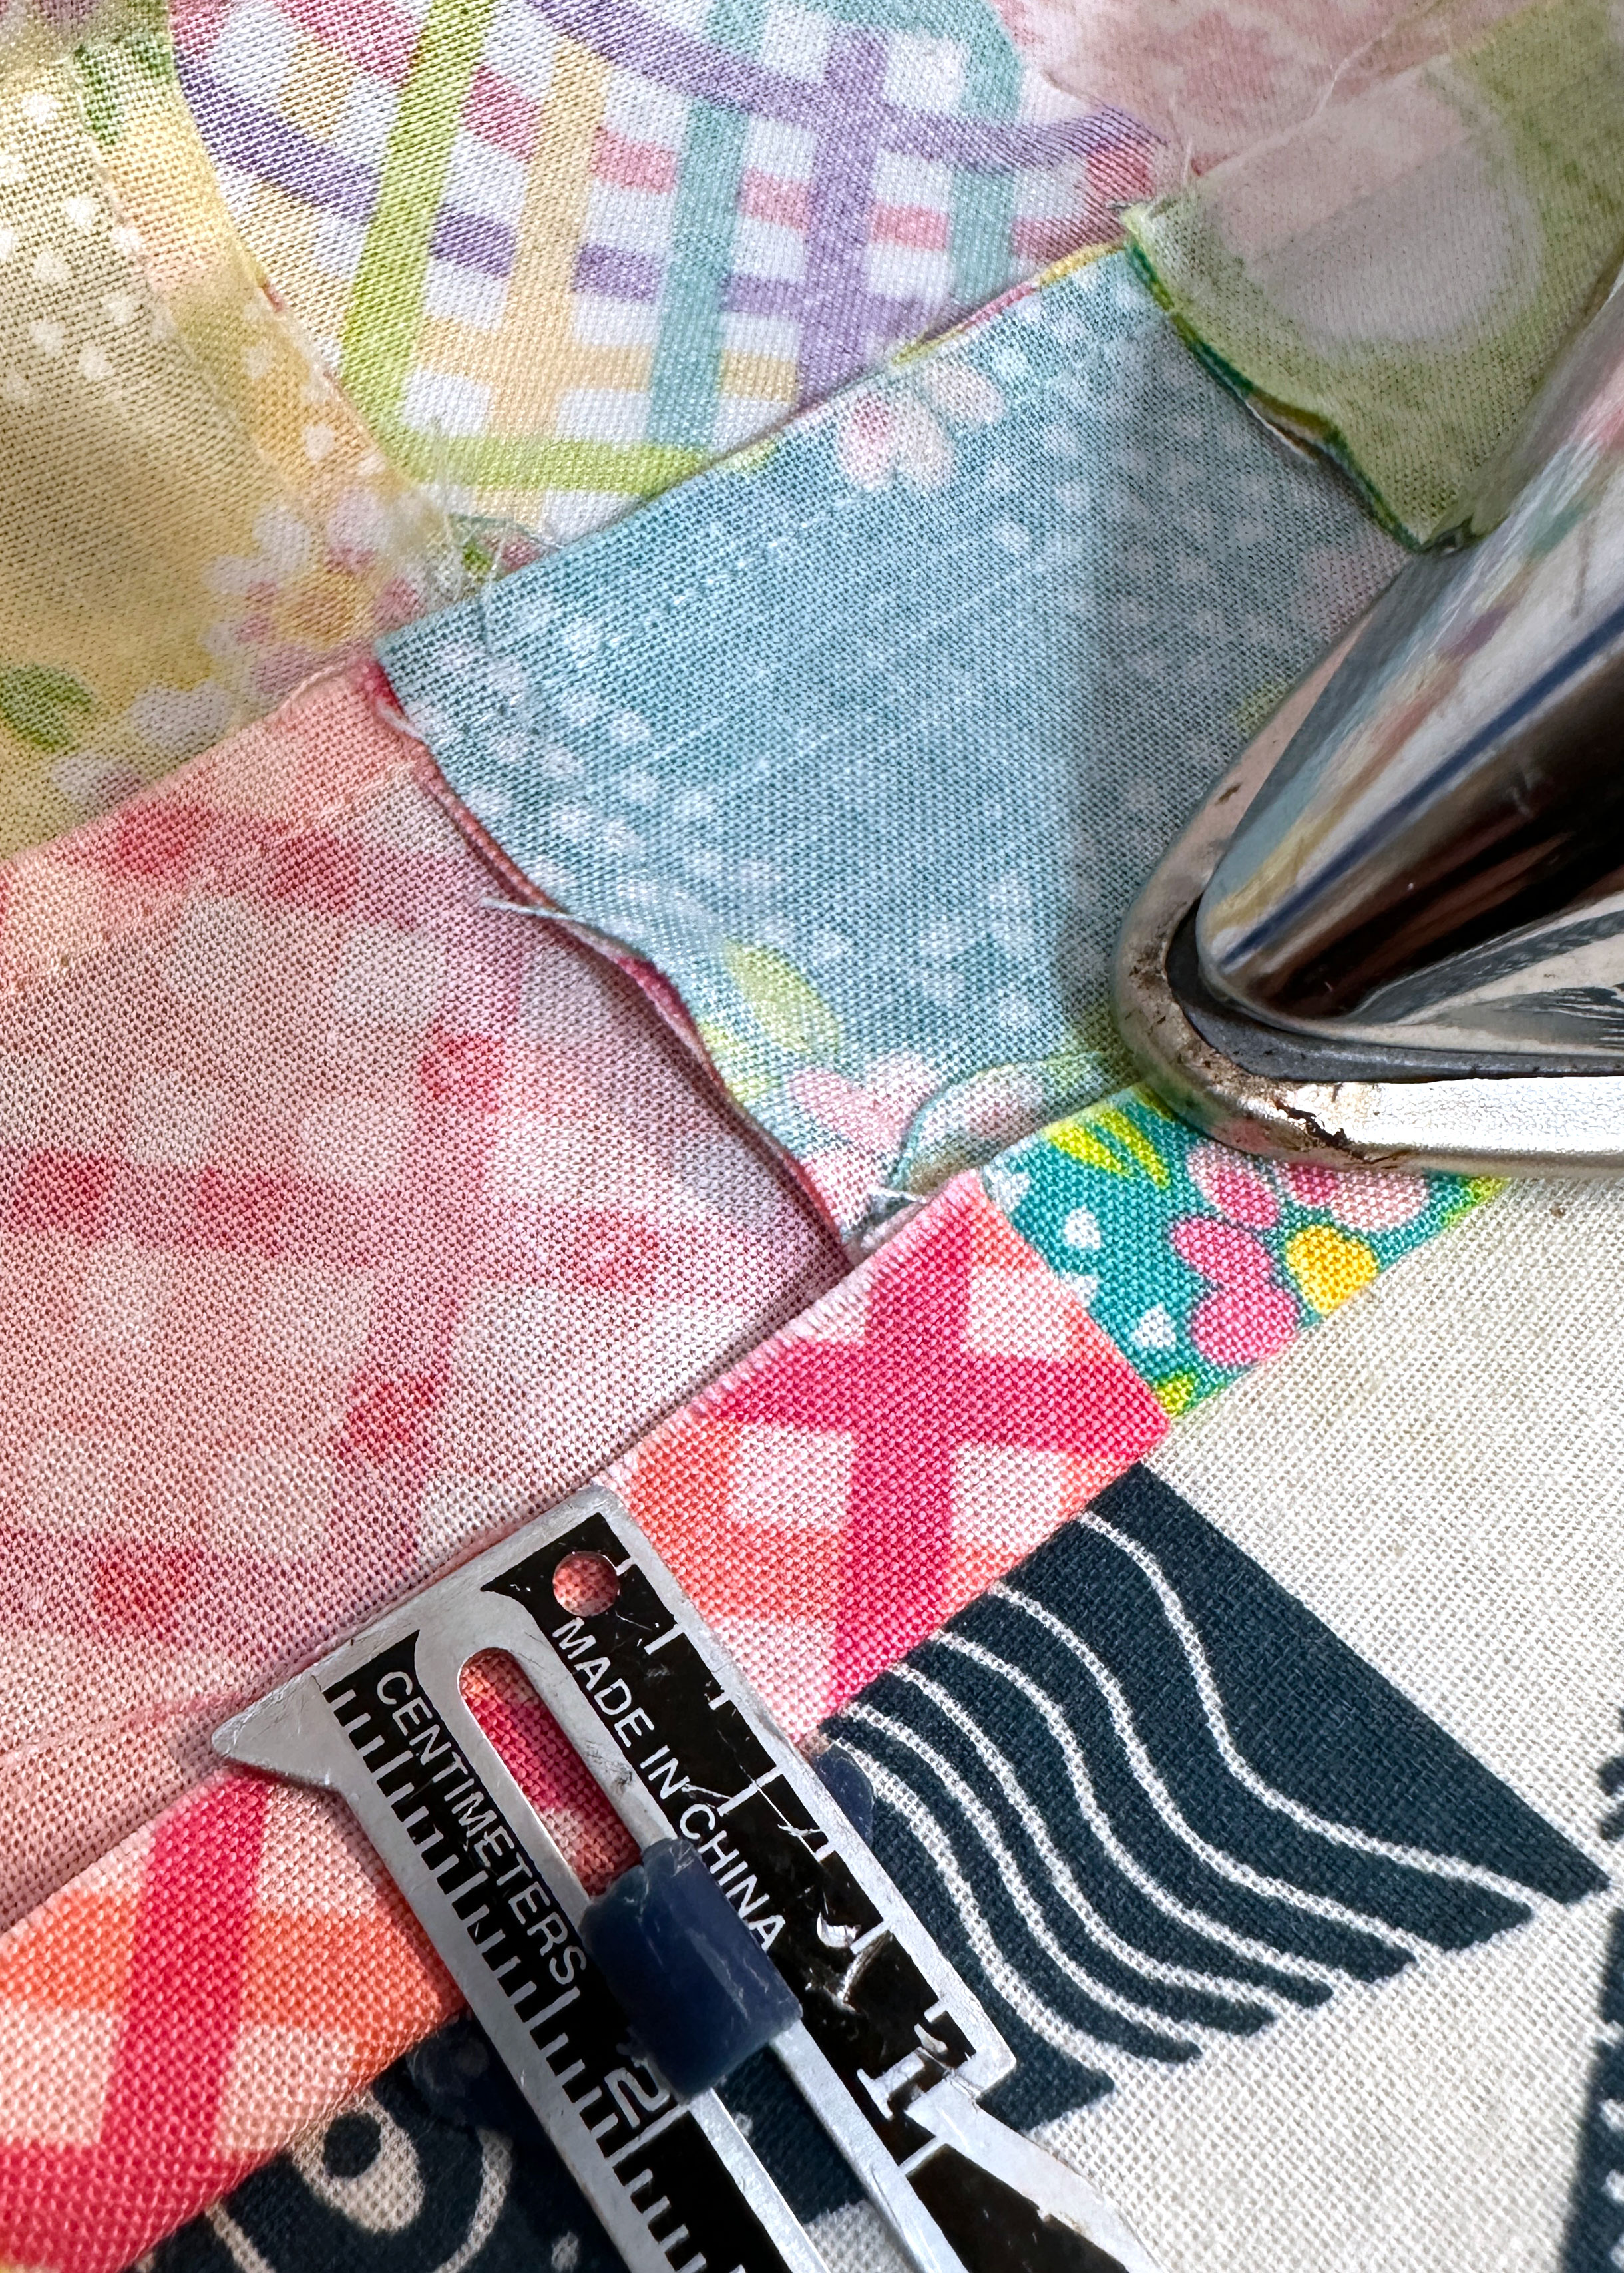
Pin the side edges of the borders together, aligning them, and sew along the edge of the kitchen towel. Trim the excess fabric close to edge of the towel.
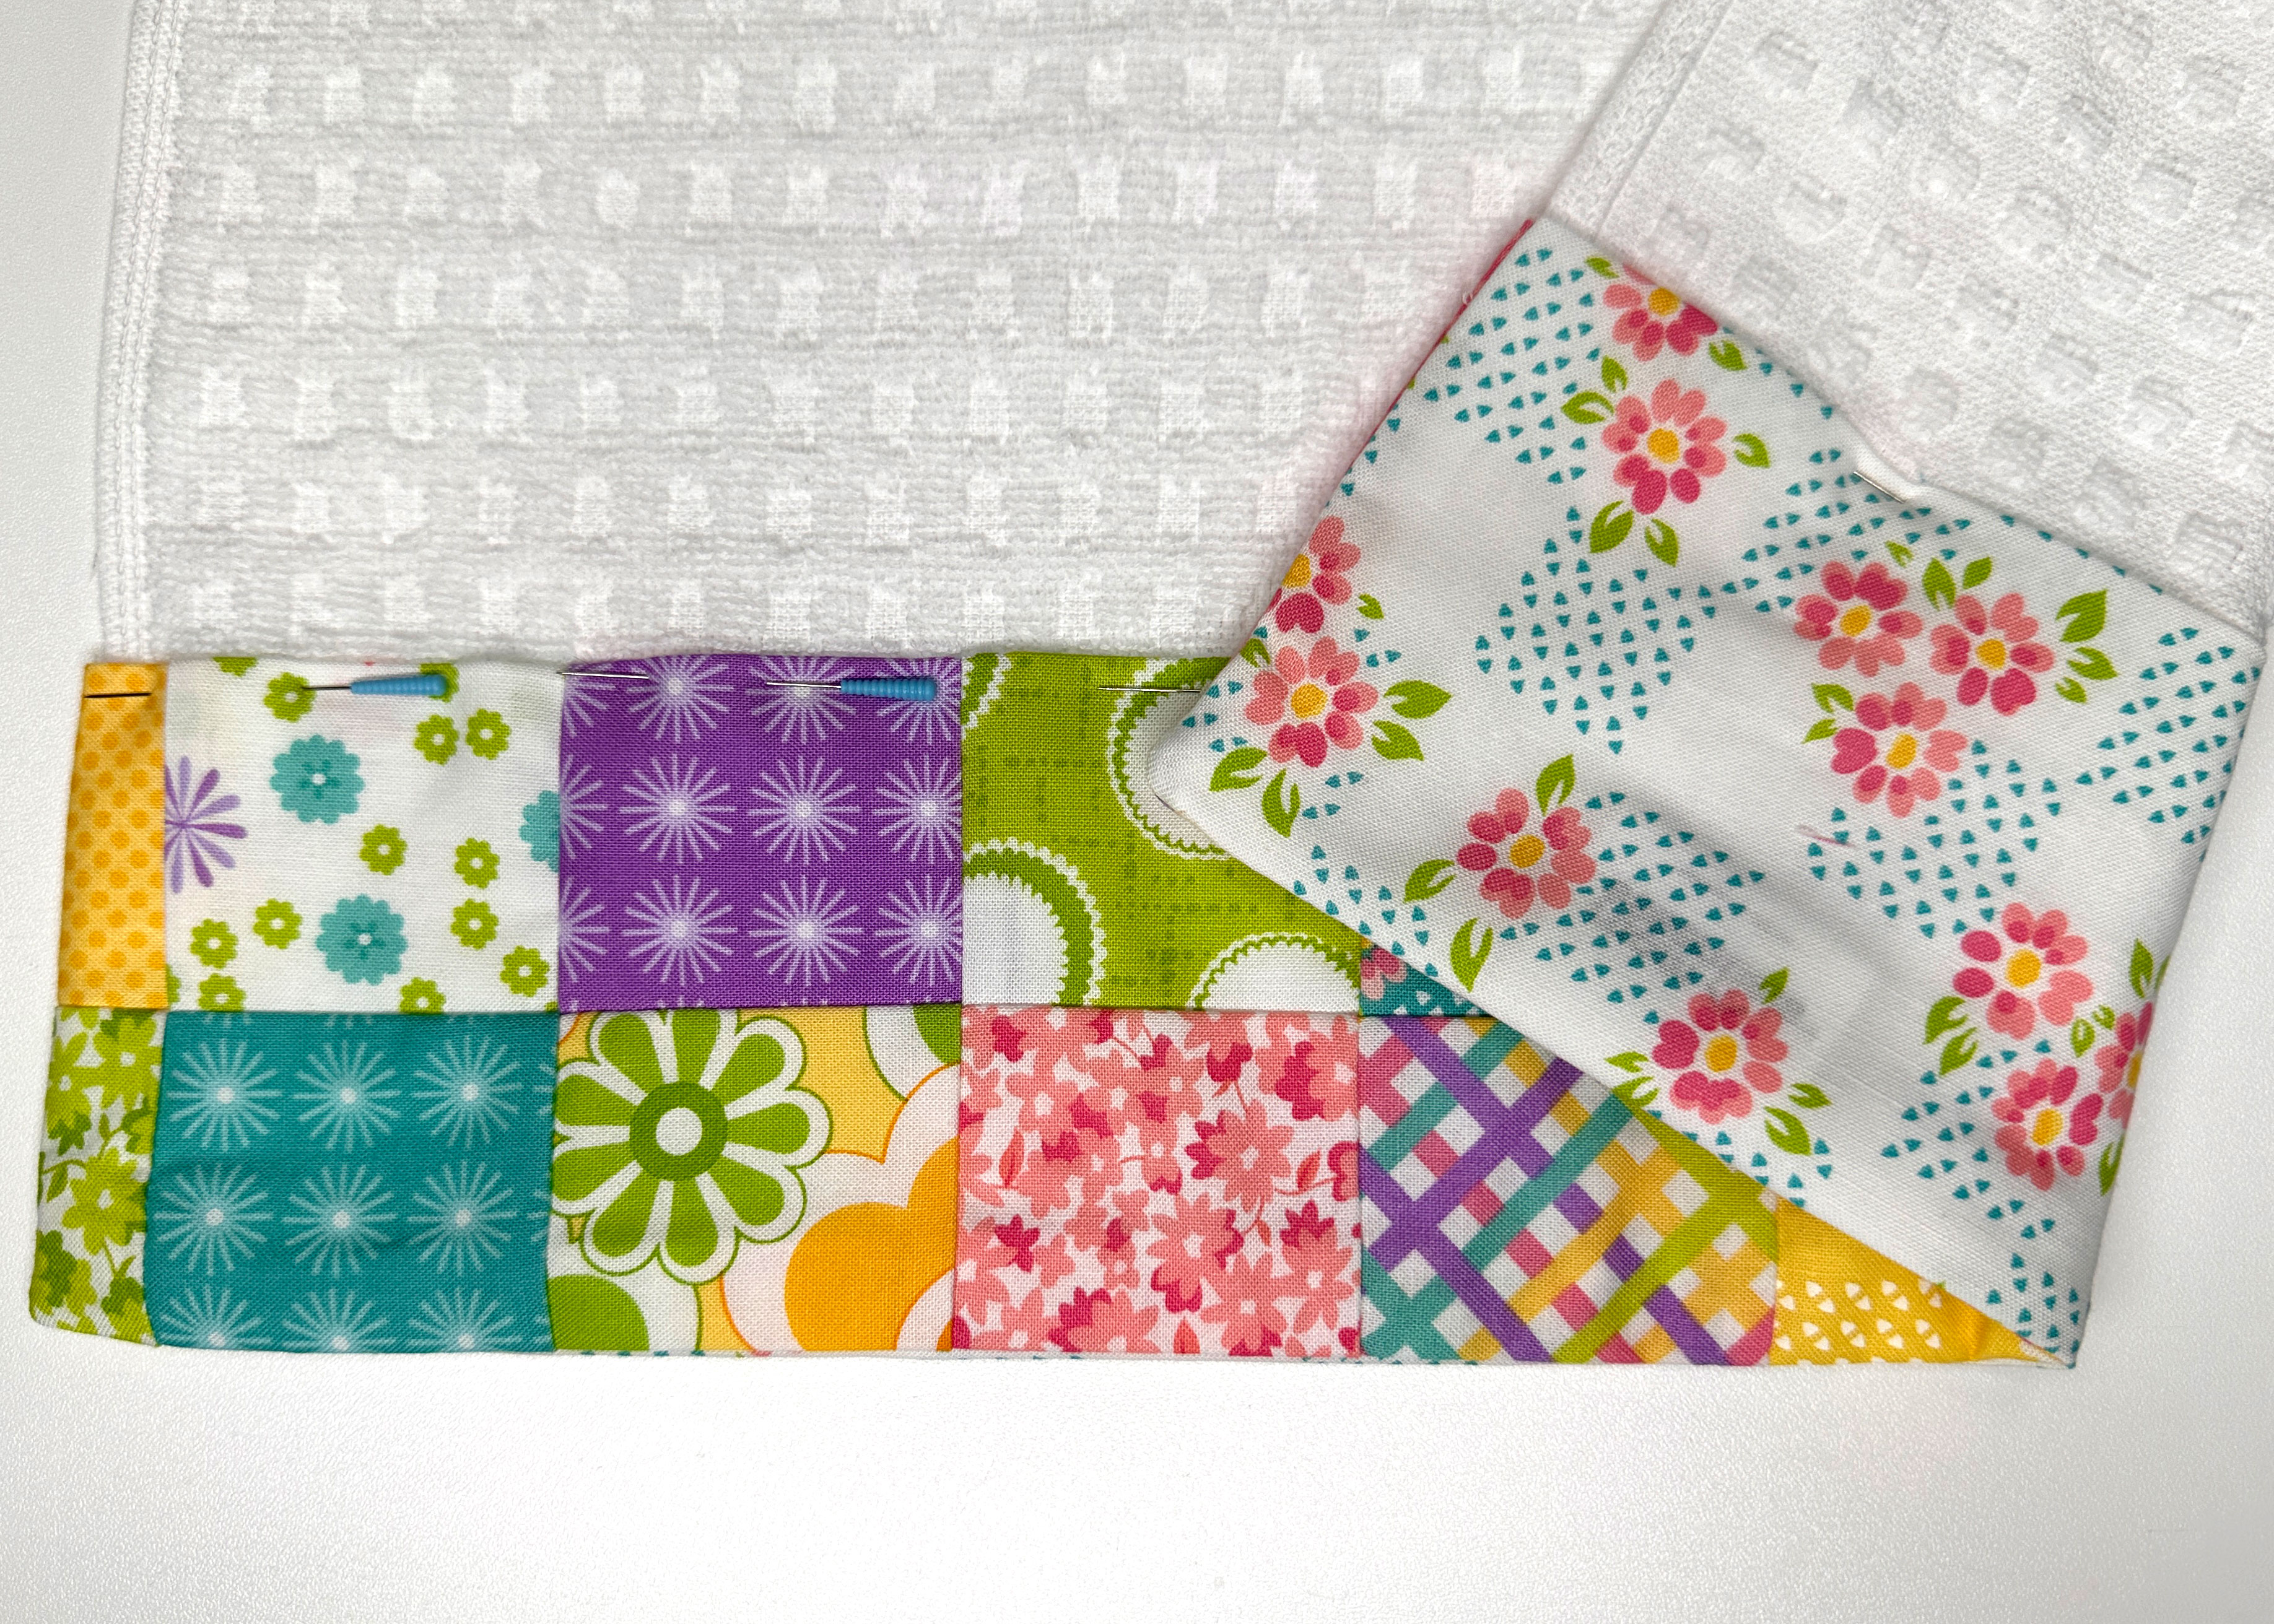
Turn right side, gently push out the corners, and press.
Pin the patchwork border to the kitchen towel, making sure the back border secured with the pins.
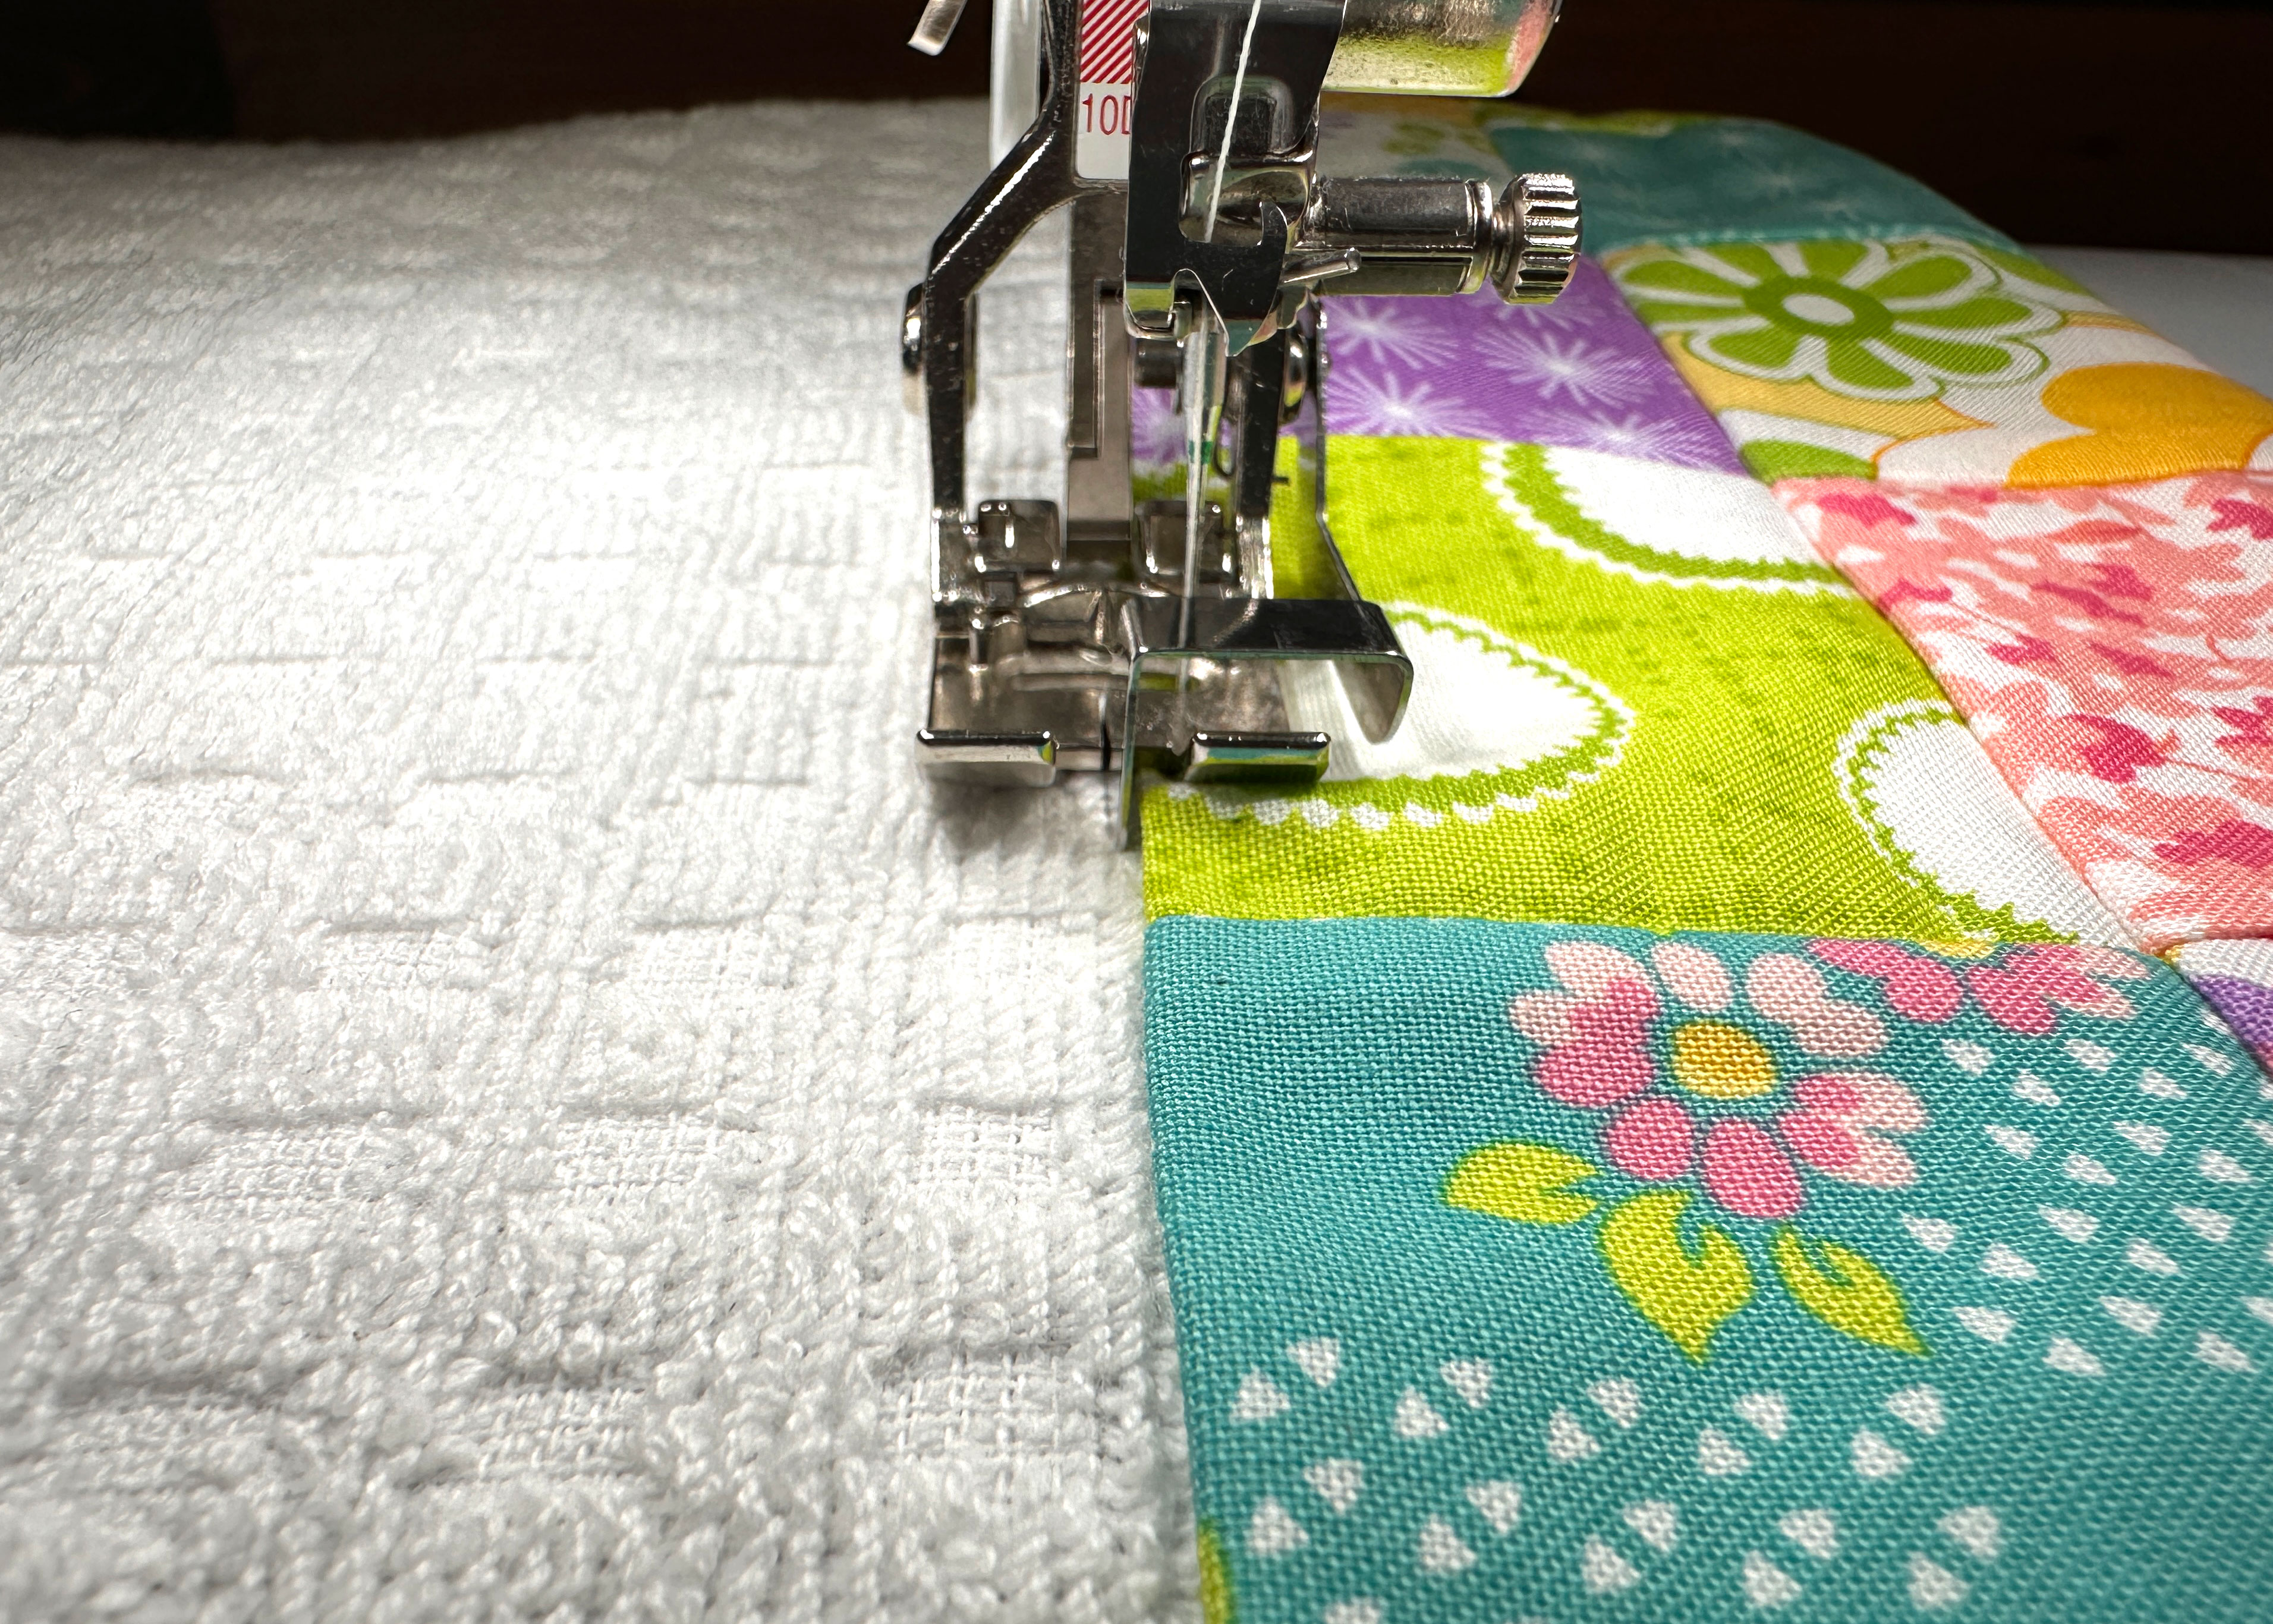
Topstitch the border in place, ensuring the back border is also caught in the stitches.
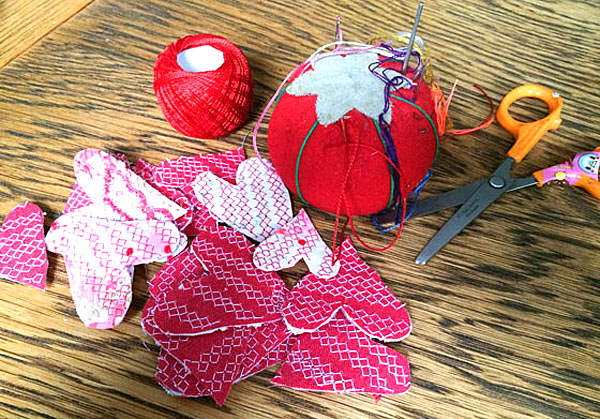
Prepare the Bunny Head Appliqué
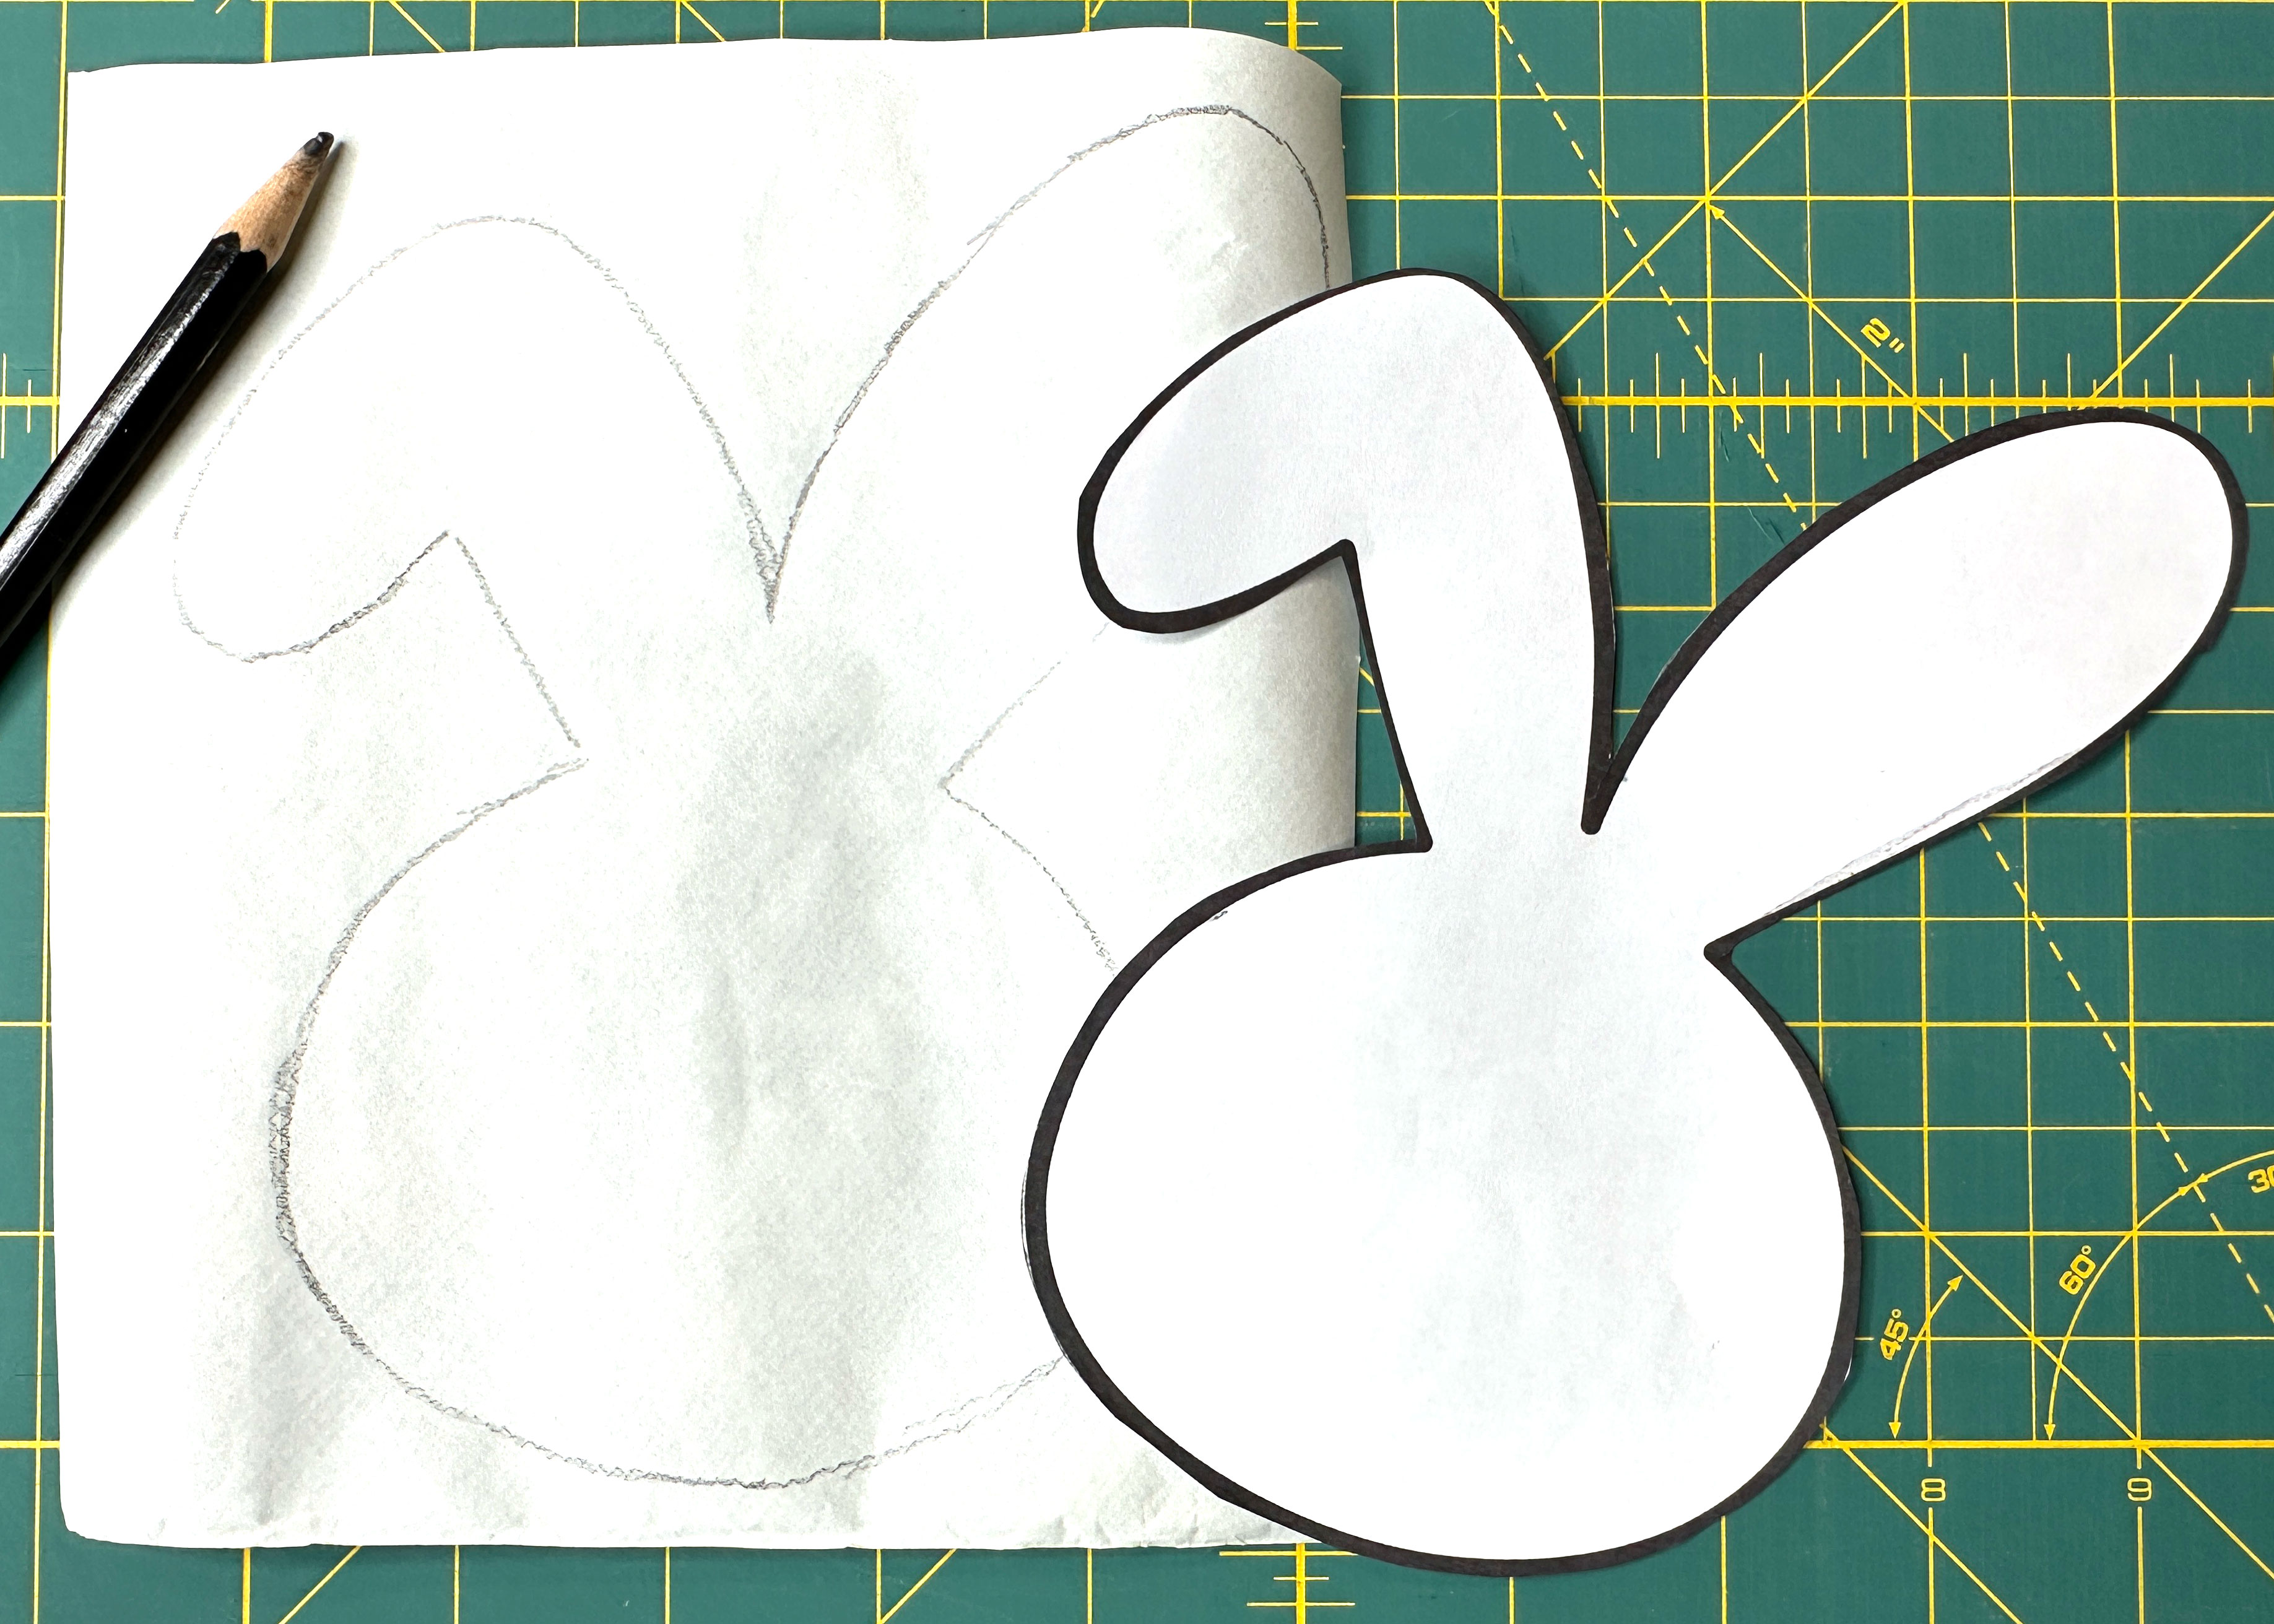
Download, print and cut out the bunny head template.
On the smooth side of the Heat n Bond, trace the bunny head using a pencil.
Place the bumpy side of the Heat n Bond on the wrong side of the fabric and press following the manufacturer’s instructions. Cut out the bunny head and center it on the kitchen towel, overlapping the patchwork border by 1″.
Peel the backing off and iron to adhere the bunny head to the towel. On the backside of the towel, add tear away stabilizer under the bunny head.
Appliqué the Bunny Head to the Kitchen Towel
Remove the straight stitch plate and replace with the regular stitch plate and put on the Open Embroidery Foot #20C. Thread your machine with a contrasting color thread. I used Isacord 100% polyester, 40-wt thread, color 2910 Grape.
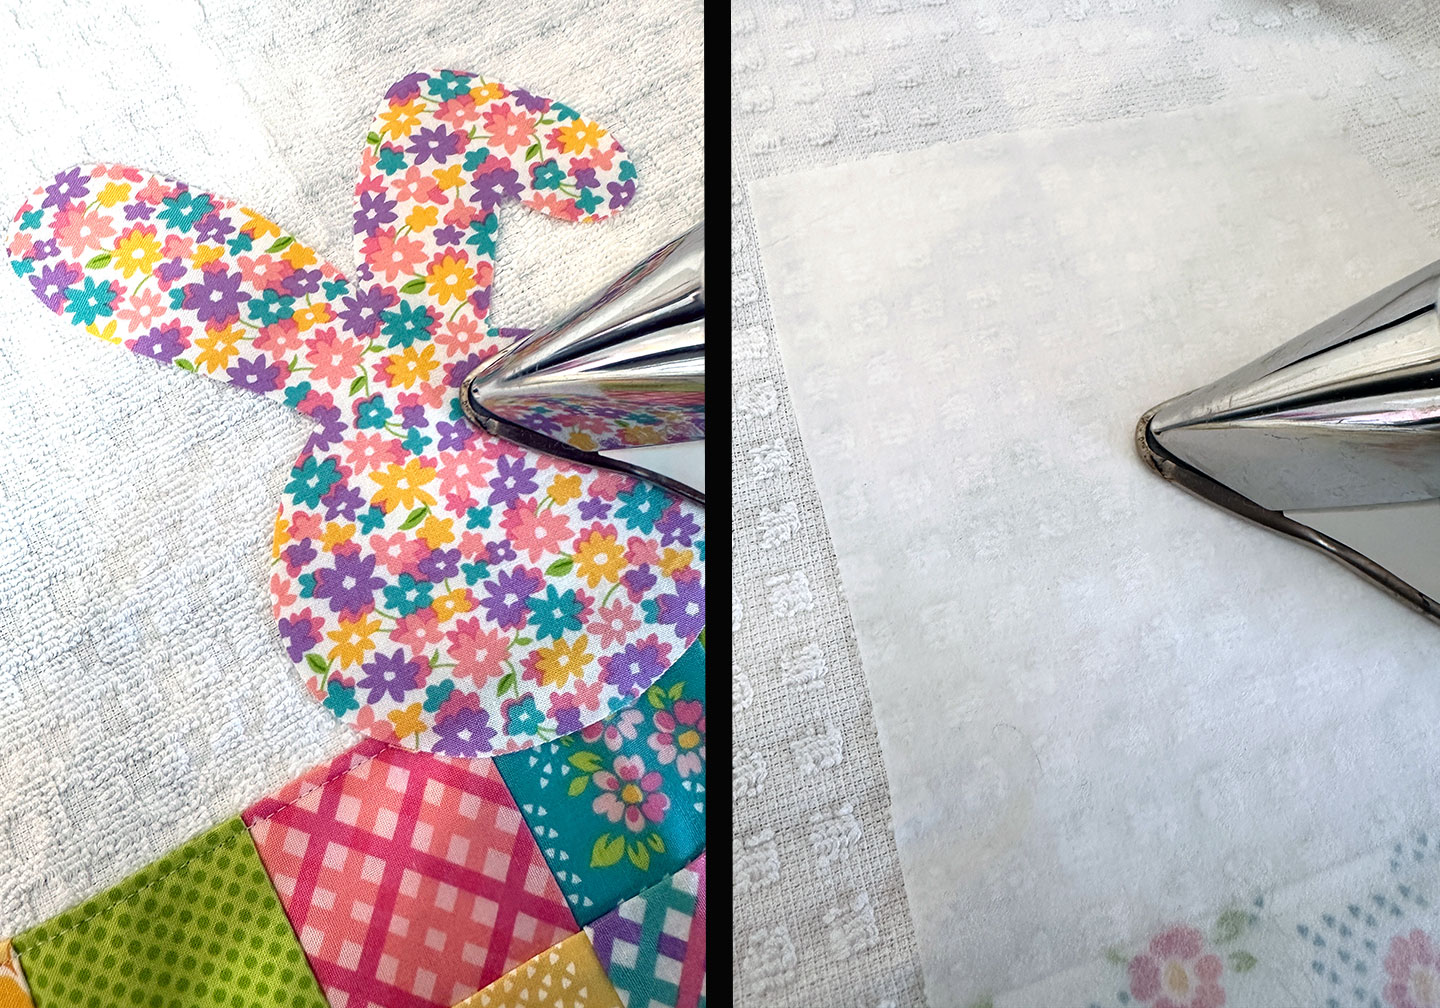
Use a blanket stitch to sew around the outside of the bunny head. On my BERNINA 770QE PLUS I used stitch number 1309, with the length set to 2.60 and the width at 3.0.![]()
The blanket stitch goes forward, then left (onto the appliqué), then right and repeats. Go slowly to control the placement of the needle, and use your knee lift to lift the pressure foot hands-free as needed when going around the curves.
![]()
Once you’ve stitched around the bunny head, gently tear away the stabilizer from the back side, and admire your new kitchen towel!
Used Products


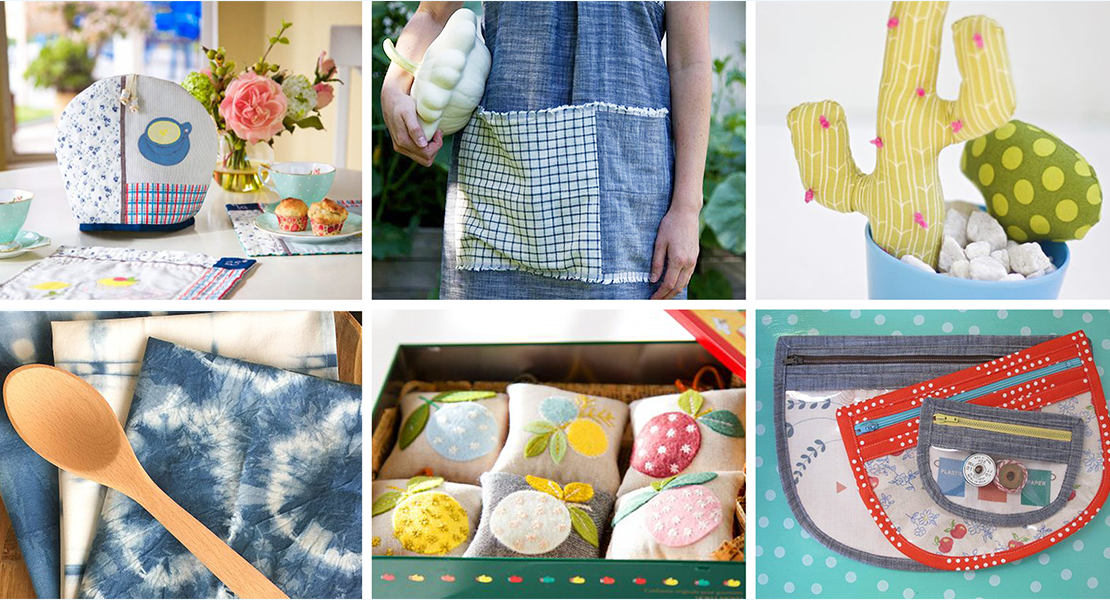
What you might also like


2 comments on “Patchwork Kitchen Towel with Bunny Appliqué”
-
-
I did want to mention that it is a bit confusing where you say ‘with the towel sandwiched in between – it actually isn’t…that you may want to rephrase – the picture is very helpful. Thanks
Leave a Reply
You must be logged in to post a comment.
Thank you for this project. I did just make it and it turned out cute. I do have a couple of suggestions – very minor – but for a beginner (which I’m not), they may find useful. Instead of marking up 4 inches for stitch line, mark up 3 3/4 inches to align your fabric. I would also turn under the 3/8 inch before you stitch the piece on – and maybe only turn under 1/4 inch so you have a bit more room for your final stitching. While I understood (and had) tear away stabilizer a beginner may not know why to use it. Because I have an 880 I used a different foot (a 34D) since we are going through quite a few layers for the appliqué. Sorry for the length. But thank you.