Planty Friends, Part One: FREE Sugaridoo Pattern
Looking for the perfect spring quilt project? Here is my free pattern, Planty Friends!
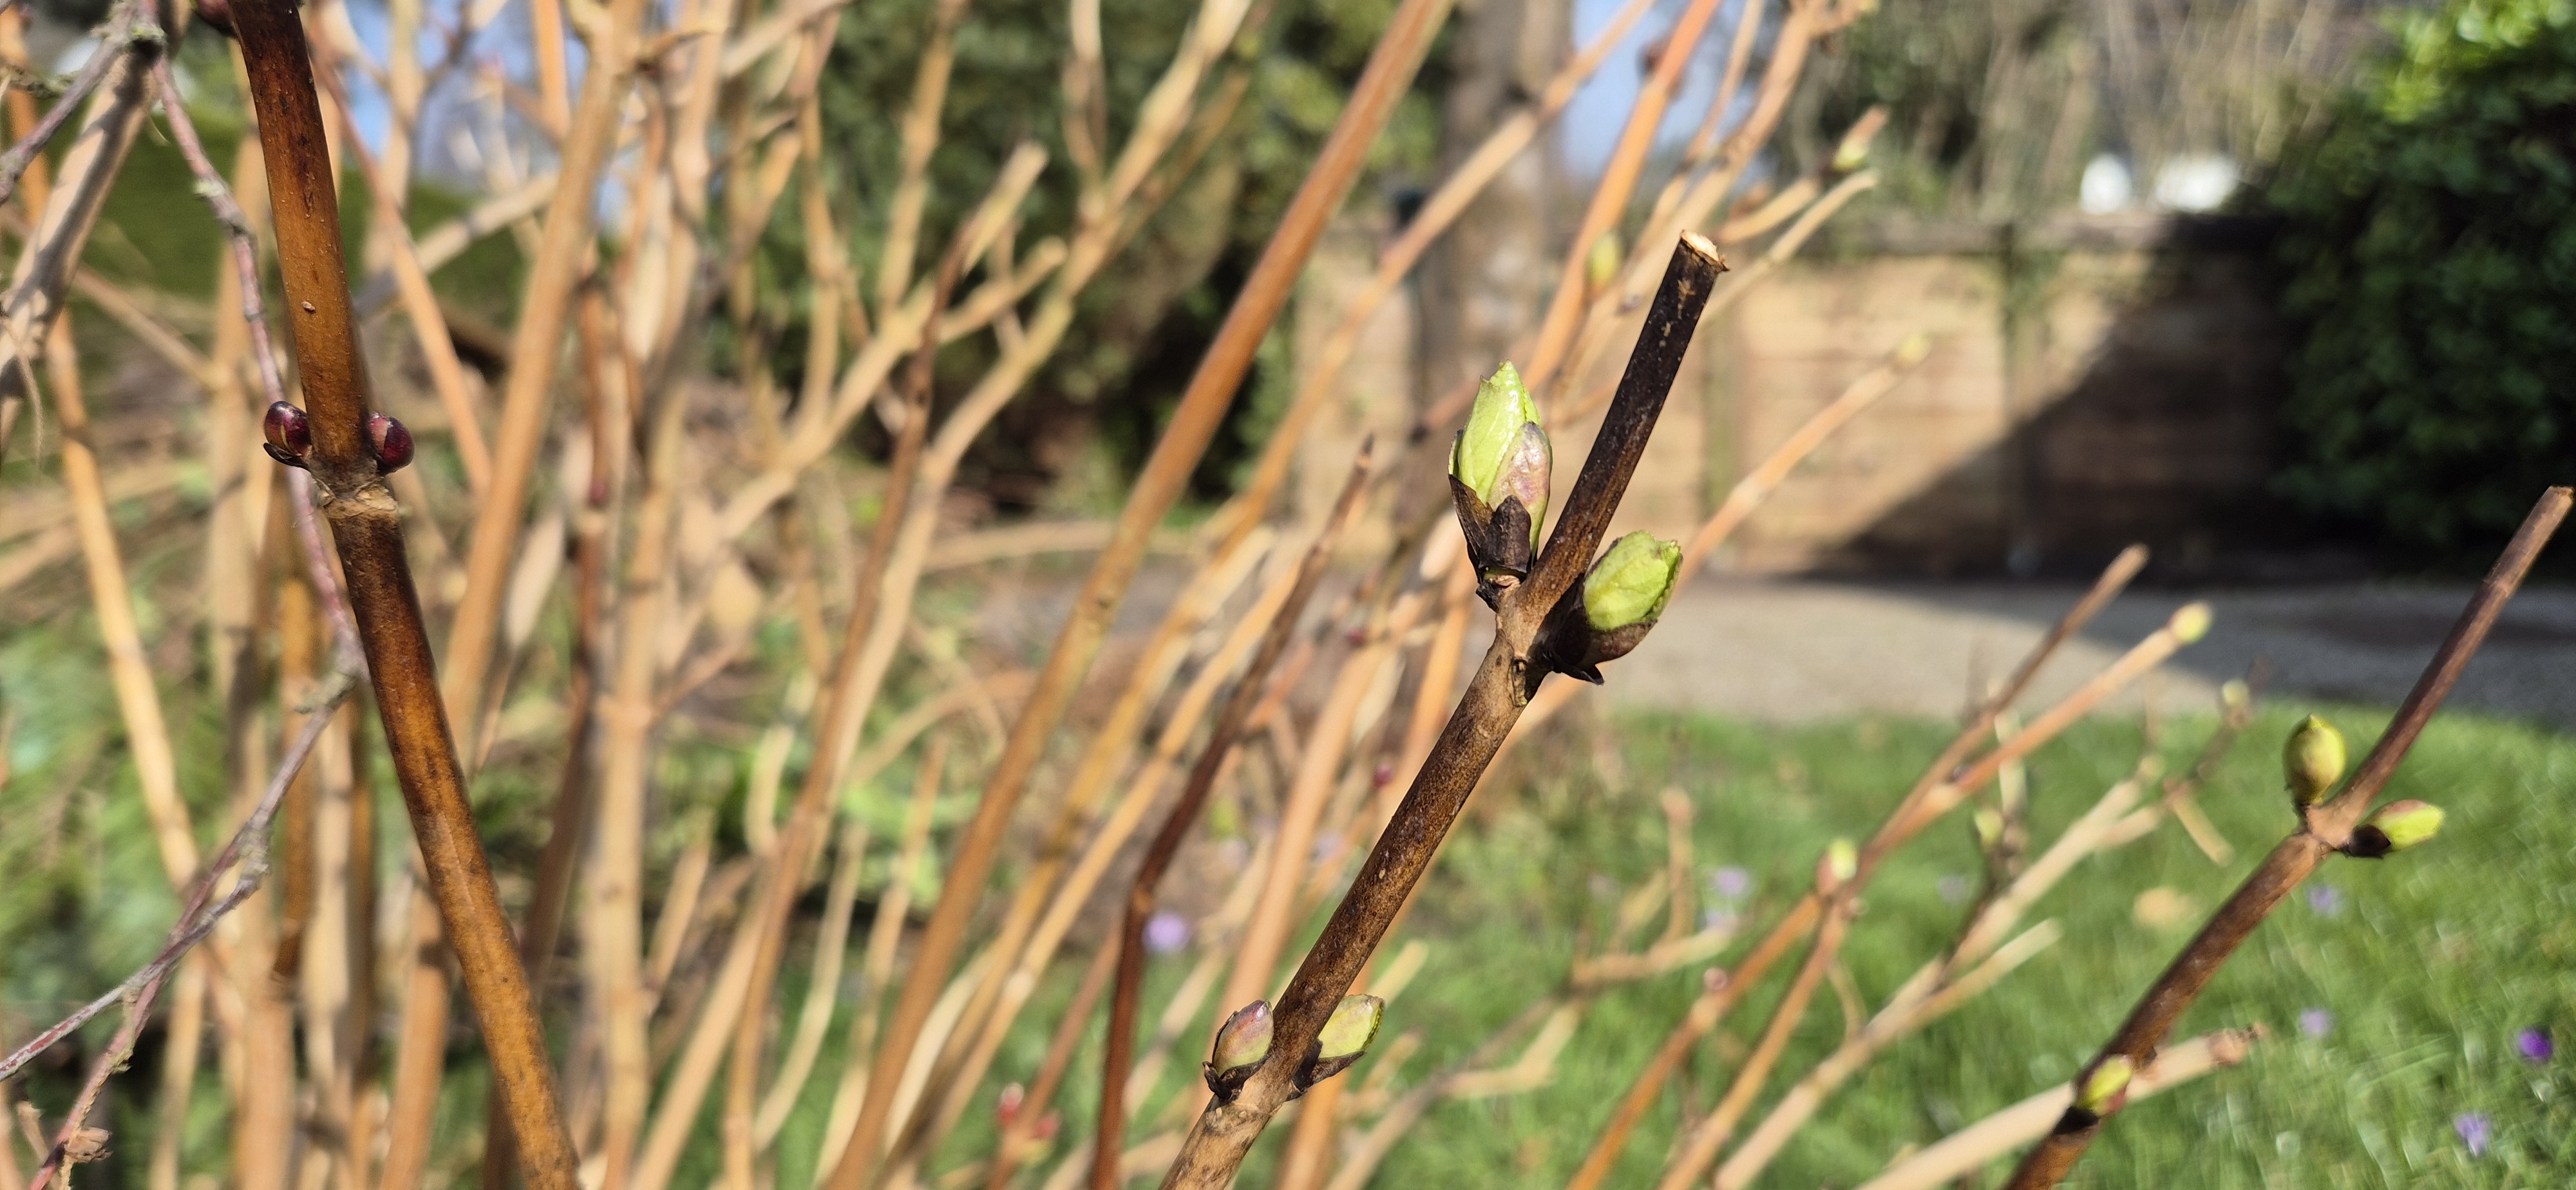
Ooh, That Spring Feeling
Spring is in the air. The weather has been lovely over here in The Netherlands. I got my garden tools out and dove right in. Lots and lots to prune in the garden around our house.
After pruning, there is space again for the plants to grow, for new seeds to sprout, and for the vegetable garden to come back to life.
The free quilt pattern that I’m sharing with you today fits right in with this wonderful feeling of having spring around the corner.
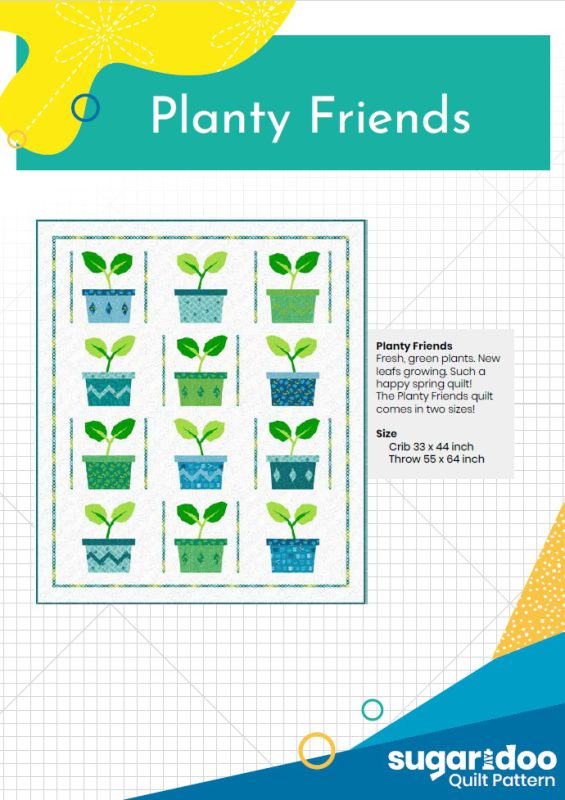
Planty Friends: a Free FPP Pattern
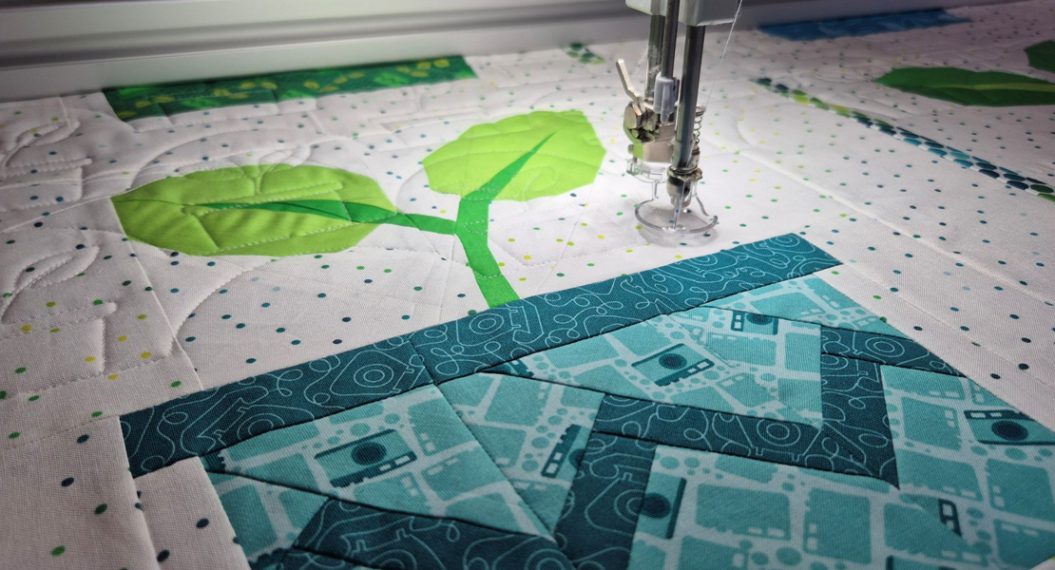
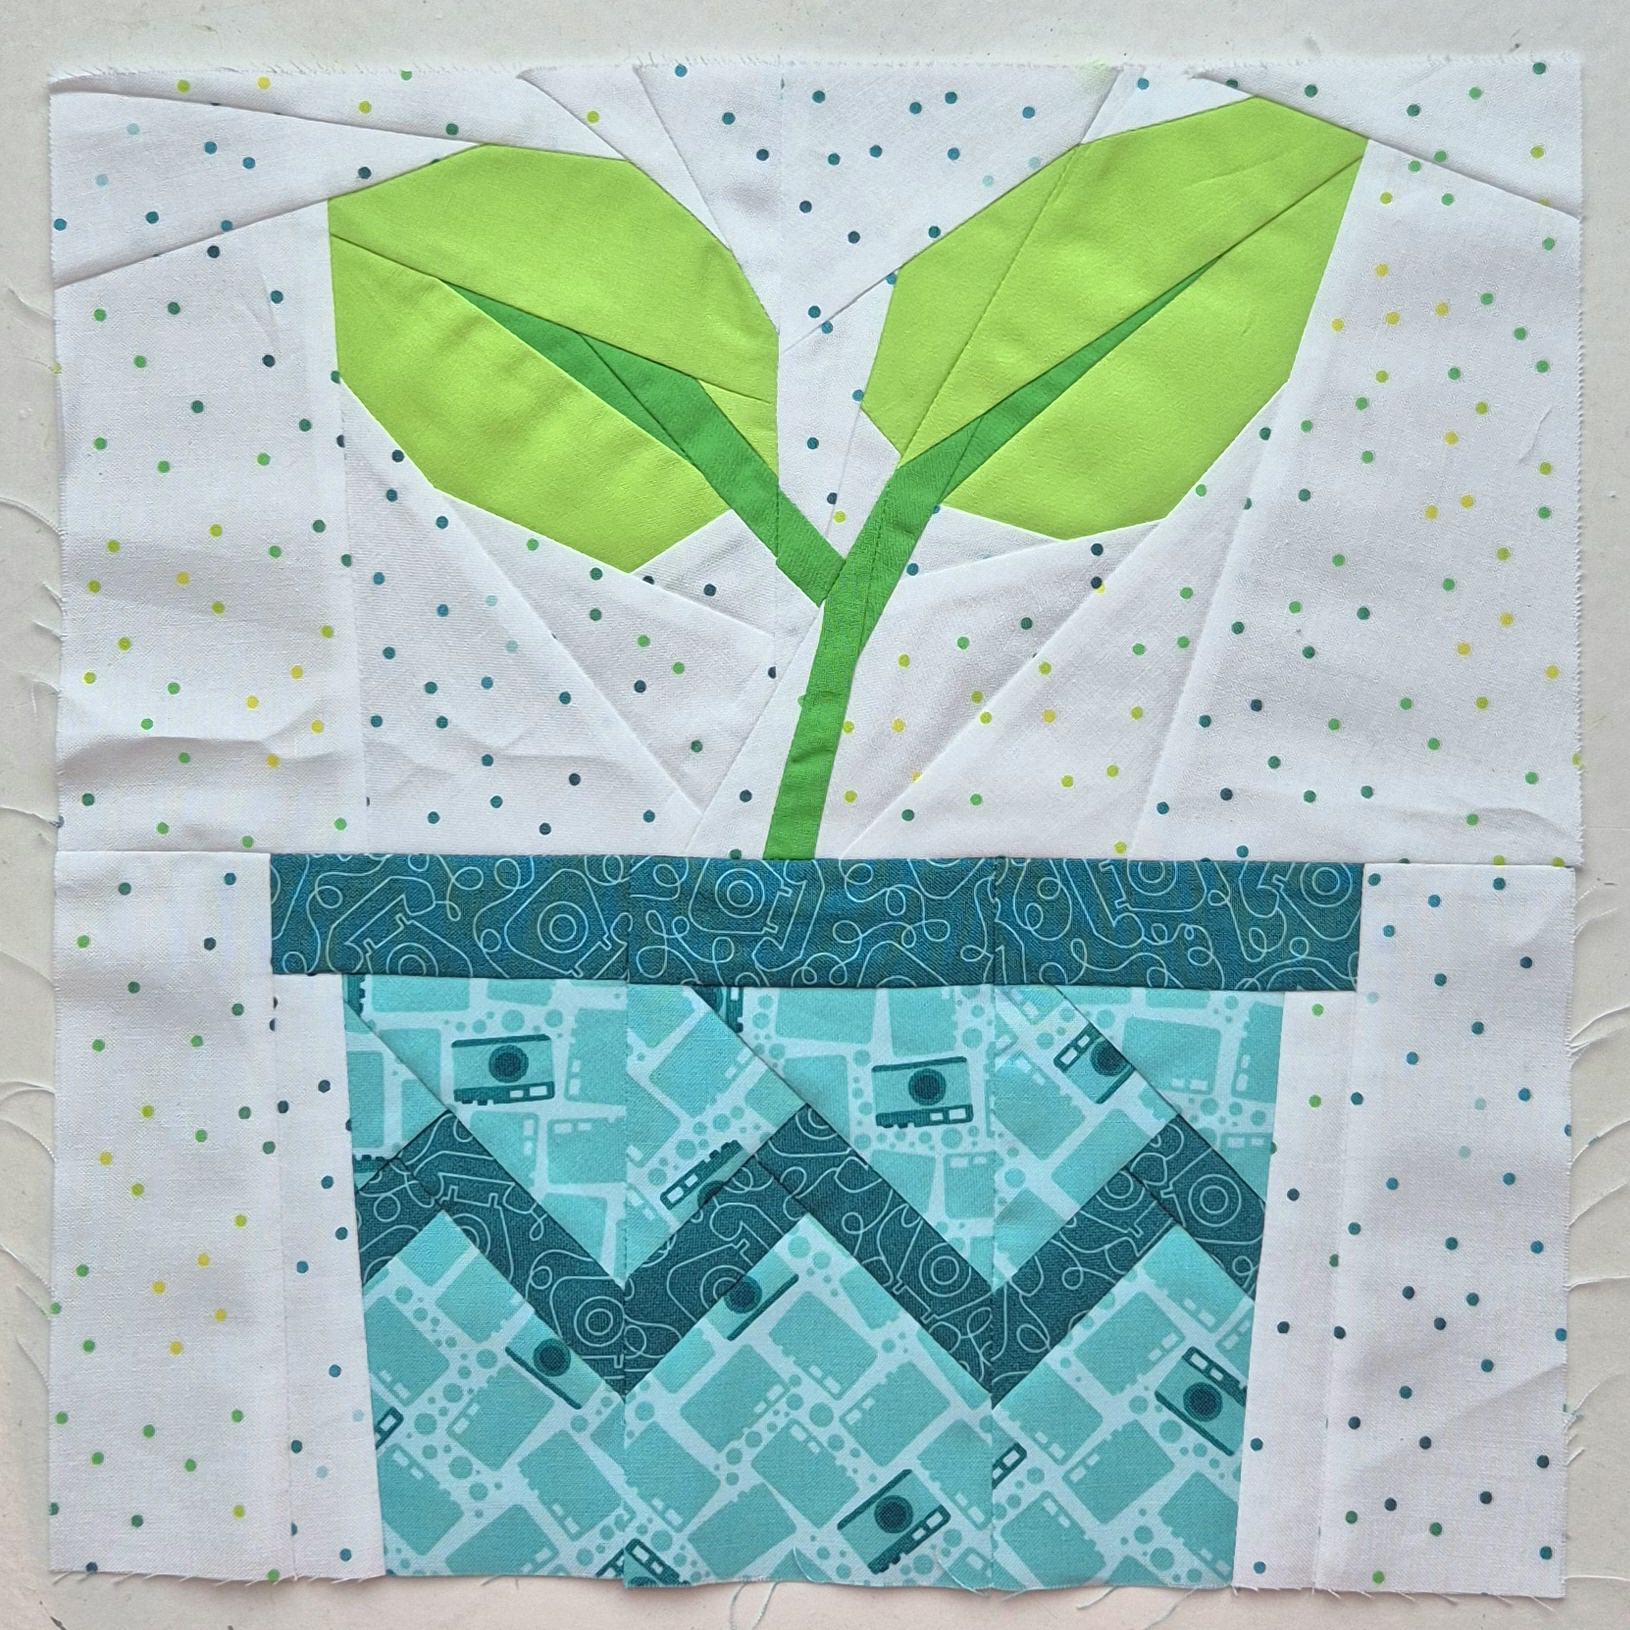
Planty Friends is a Foundation Paper Piecing pattern of little seedlings in big pots. Today I share with you the free FPP pattern for this quilt.
Next week, I will share the super cute Q-matic file with you that goes perfectly with the quilt
The PDF Pattern
To celebrate my fabric line, Happy Notes, I’m sharing some fun FPP patterns for free on my website. Happy Notes is the second fabric line I created with Benartex, and I’m so thrilled to see it out in the stores everywhere.
So, if you want to join me in making your own Planty Friends quilt, hop over to the link below and download your pattern.

Materials
There are two sizes of the quilt, a 33 x 44 inch crib size and a 55 x 64 inch throw size. Today, I’ll be walking you through the smaller size.
Here is the fabric you will need for the quilt top:
- 1 x FQ Leafs Light green
- 1 x FQ Leafs Dark green
- 9 x FE for the pots
- 1 x FE for the vertical sashing
- 1 3/4 yds for the Background
Making the Blocks
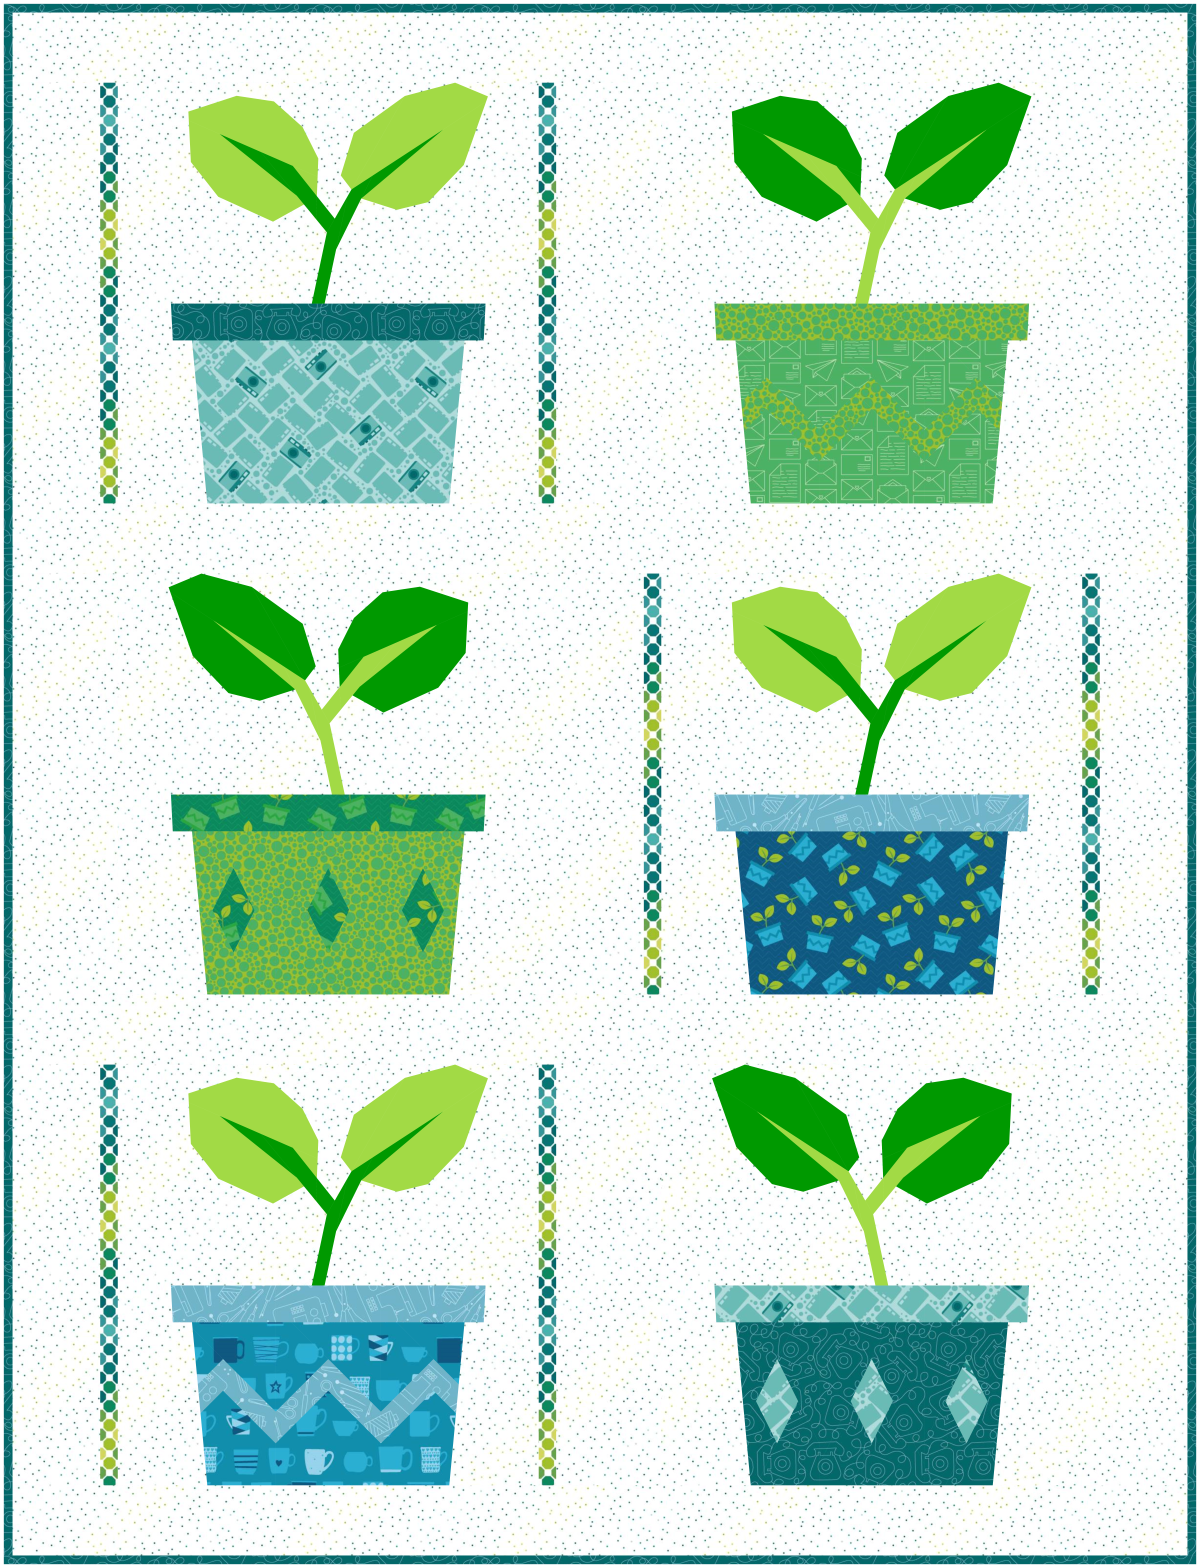
For the crib Planty Friends quilt, you will need to make six blocks. The pattern will give you the FPP patterns for the different pots and plants.
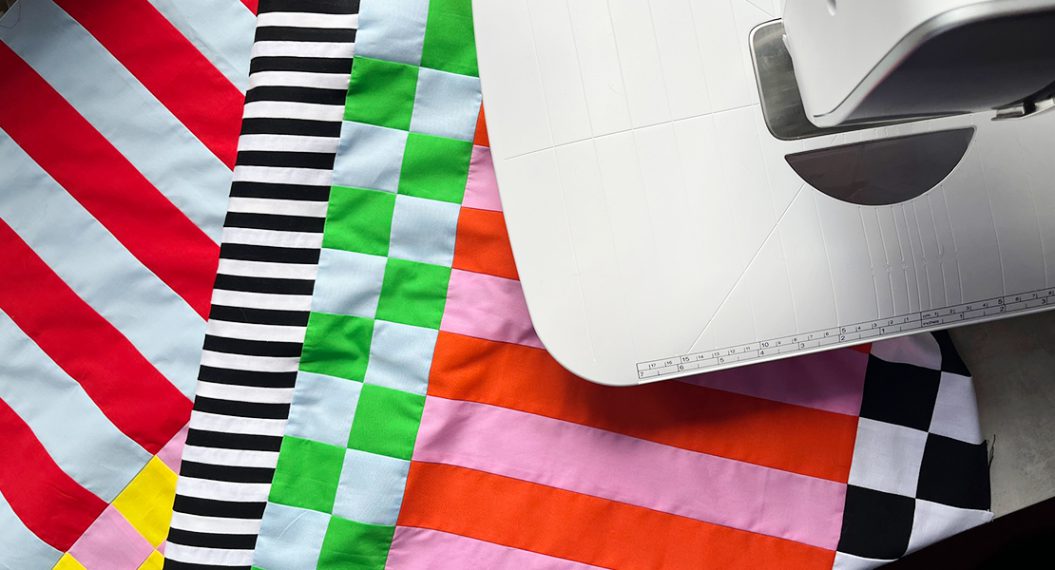
I made the quilt in green, teal and blue. But I think the pots work perfectly to use up some of your scraps.
Foundation Paper Piecing Tips
With FPP it’s important to print your patterns to the correct size. Make sure to check your 1-inch square when you print your blocks. You will need to select ‘no scaling’ or print to ‘actual size’ or select ‘100% scale’ to get the correct size for the block.
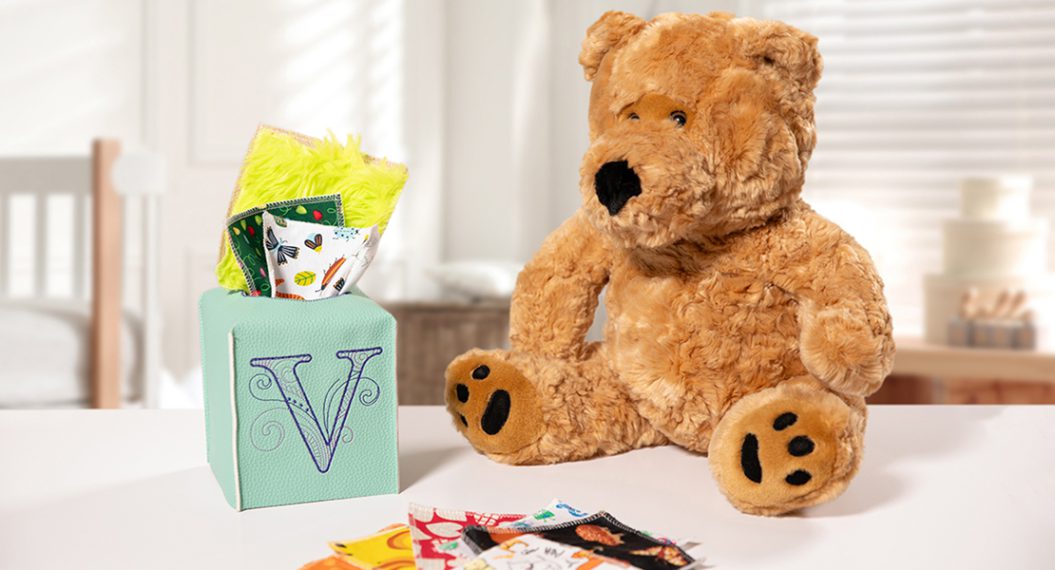
You can choose whatever paper you like best for your FPP. I like to use the Freezer Paper method when I need to make a block more than once.
When you’re new at FPP, make sure to cut your fabric pieces big enough. No need to add extra stress when you’re learning something new. Just cut your pieces bigger at first and cut more precisely when you have made more blocks.
Sashing
After you make six blocks, it’s time to add some sashing.
For this quilt we will add vertical sashing between the blocks first. So, we sew the blocks together into rows.
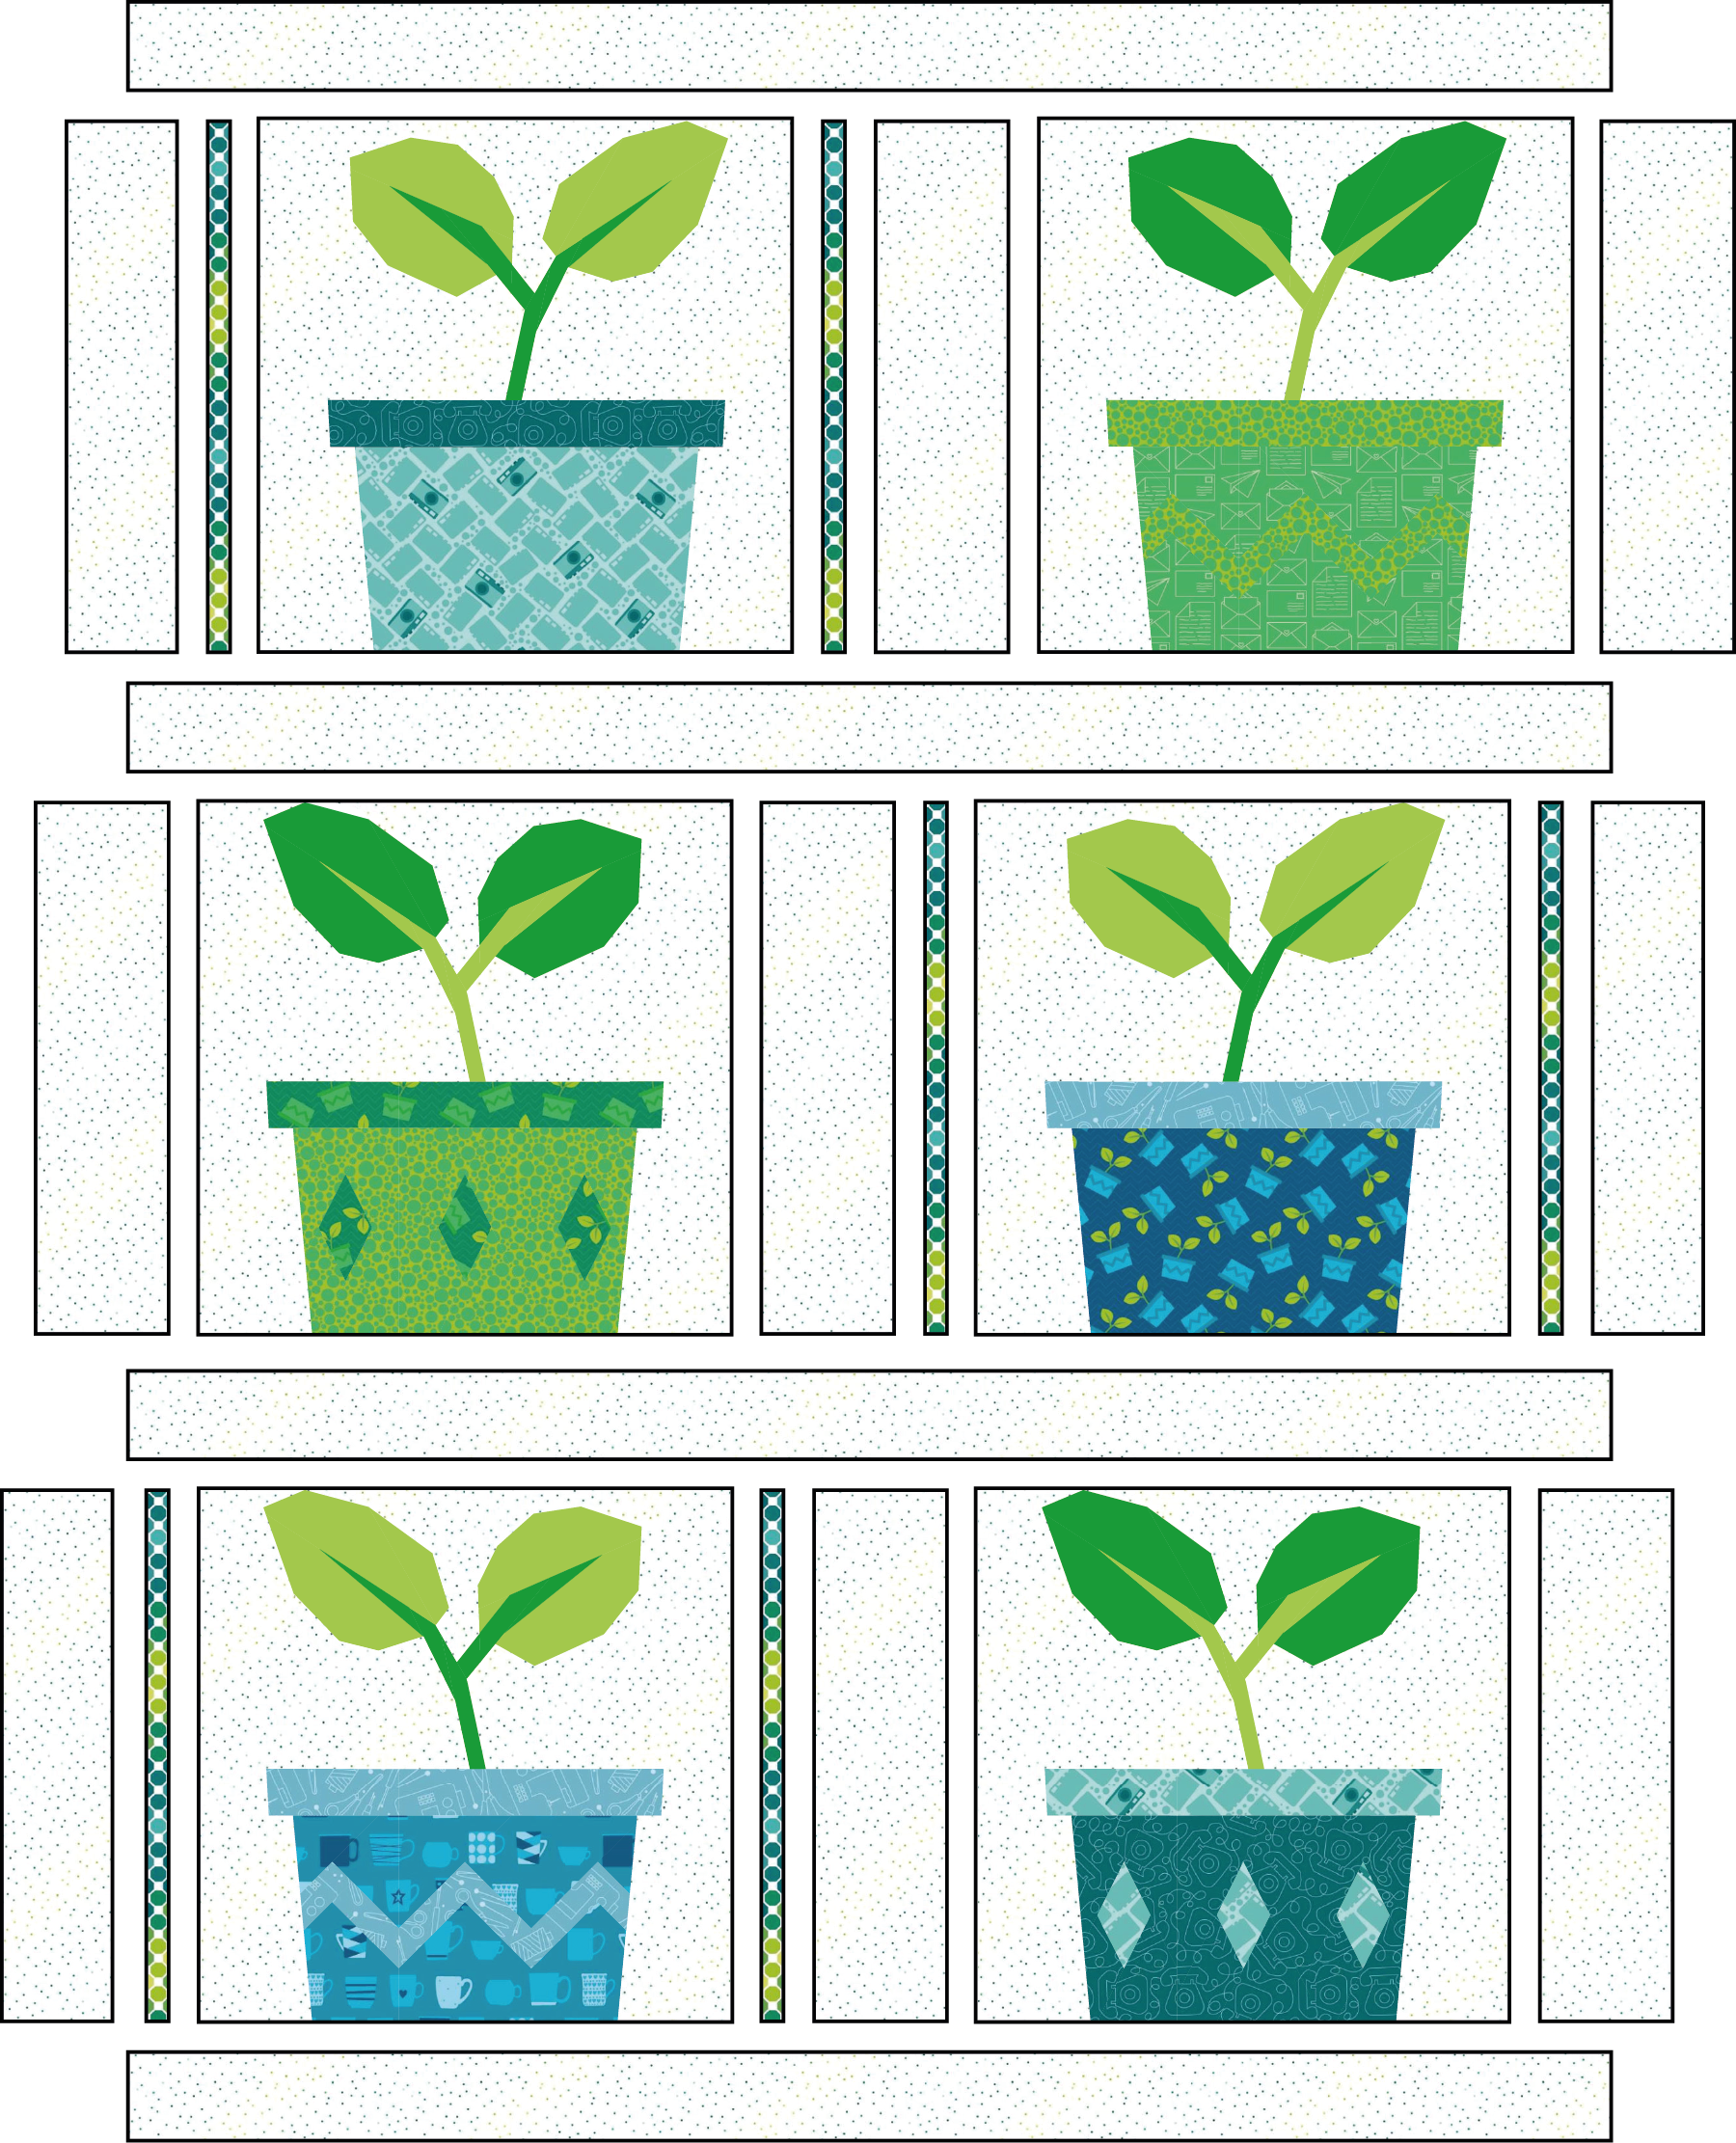
I first added the thin colored strips to the plant blocks. Then, I continued with the background strips.
When you have sewn together the rows, you can join the whole quilt top by adding the horizontal sashing and border pieces.
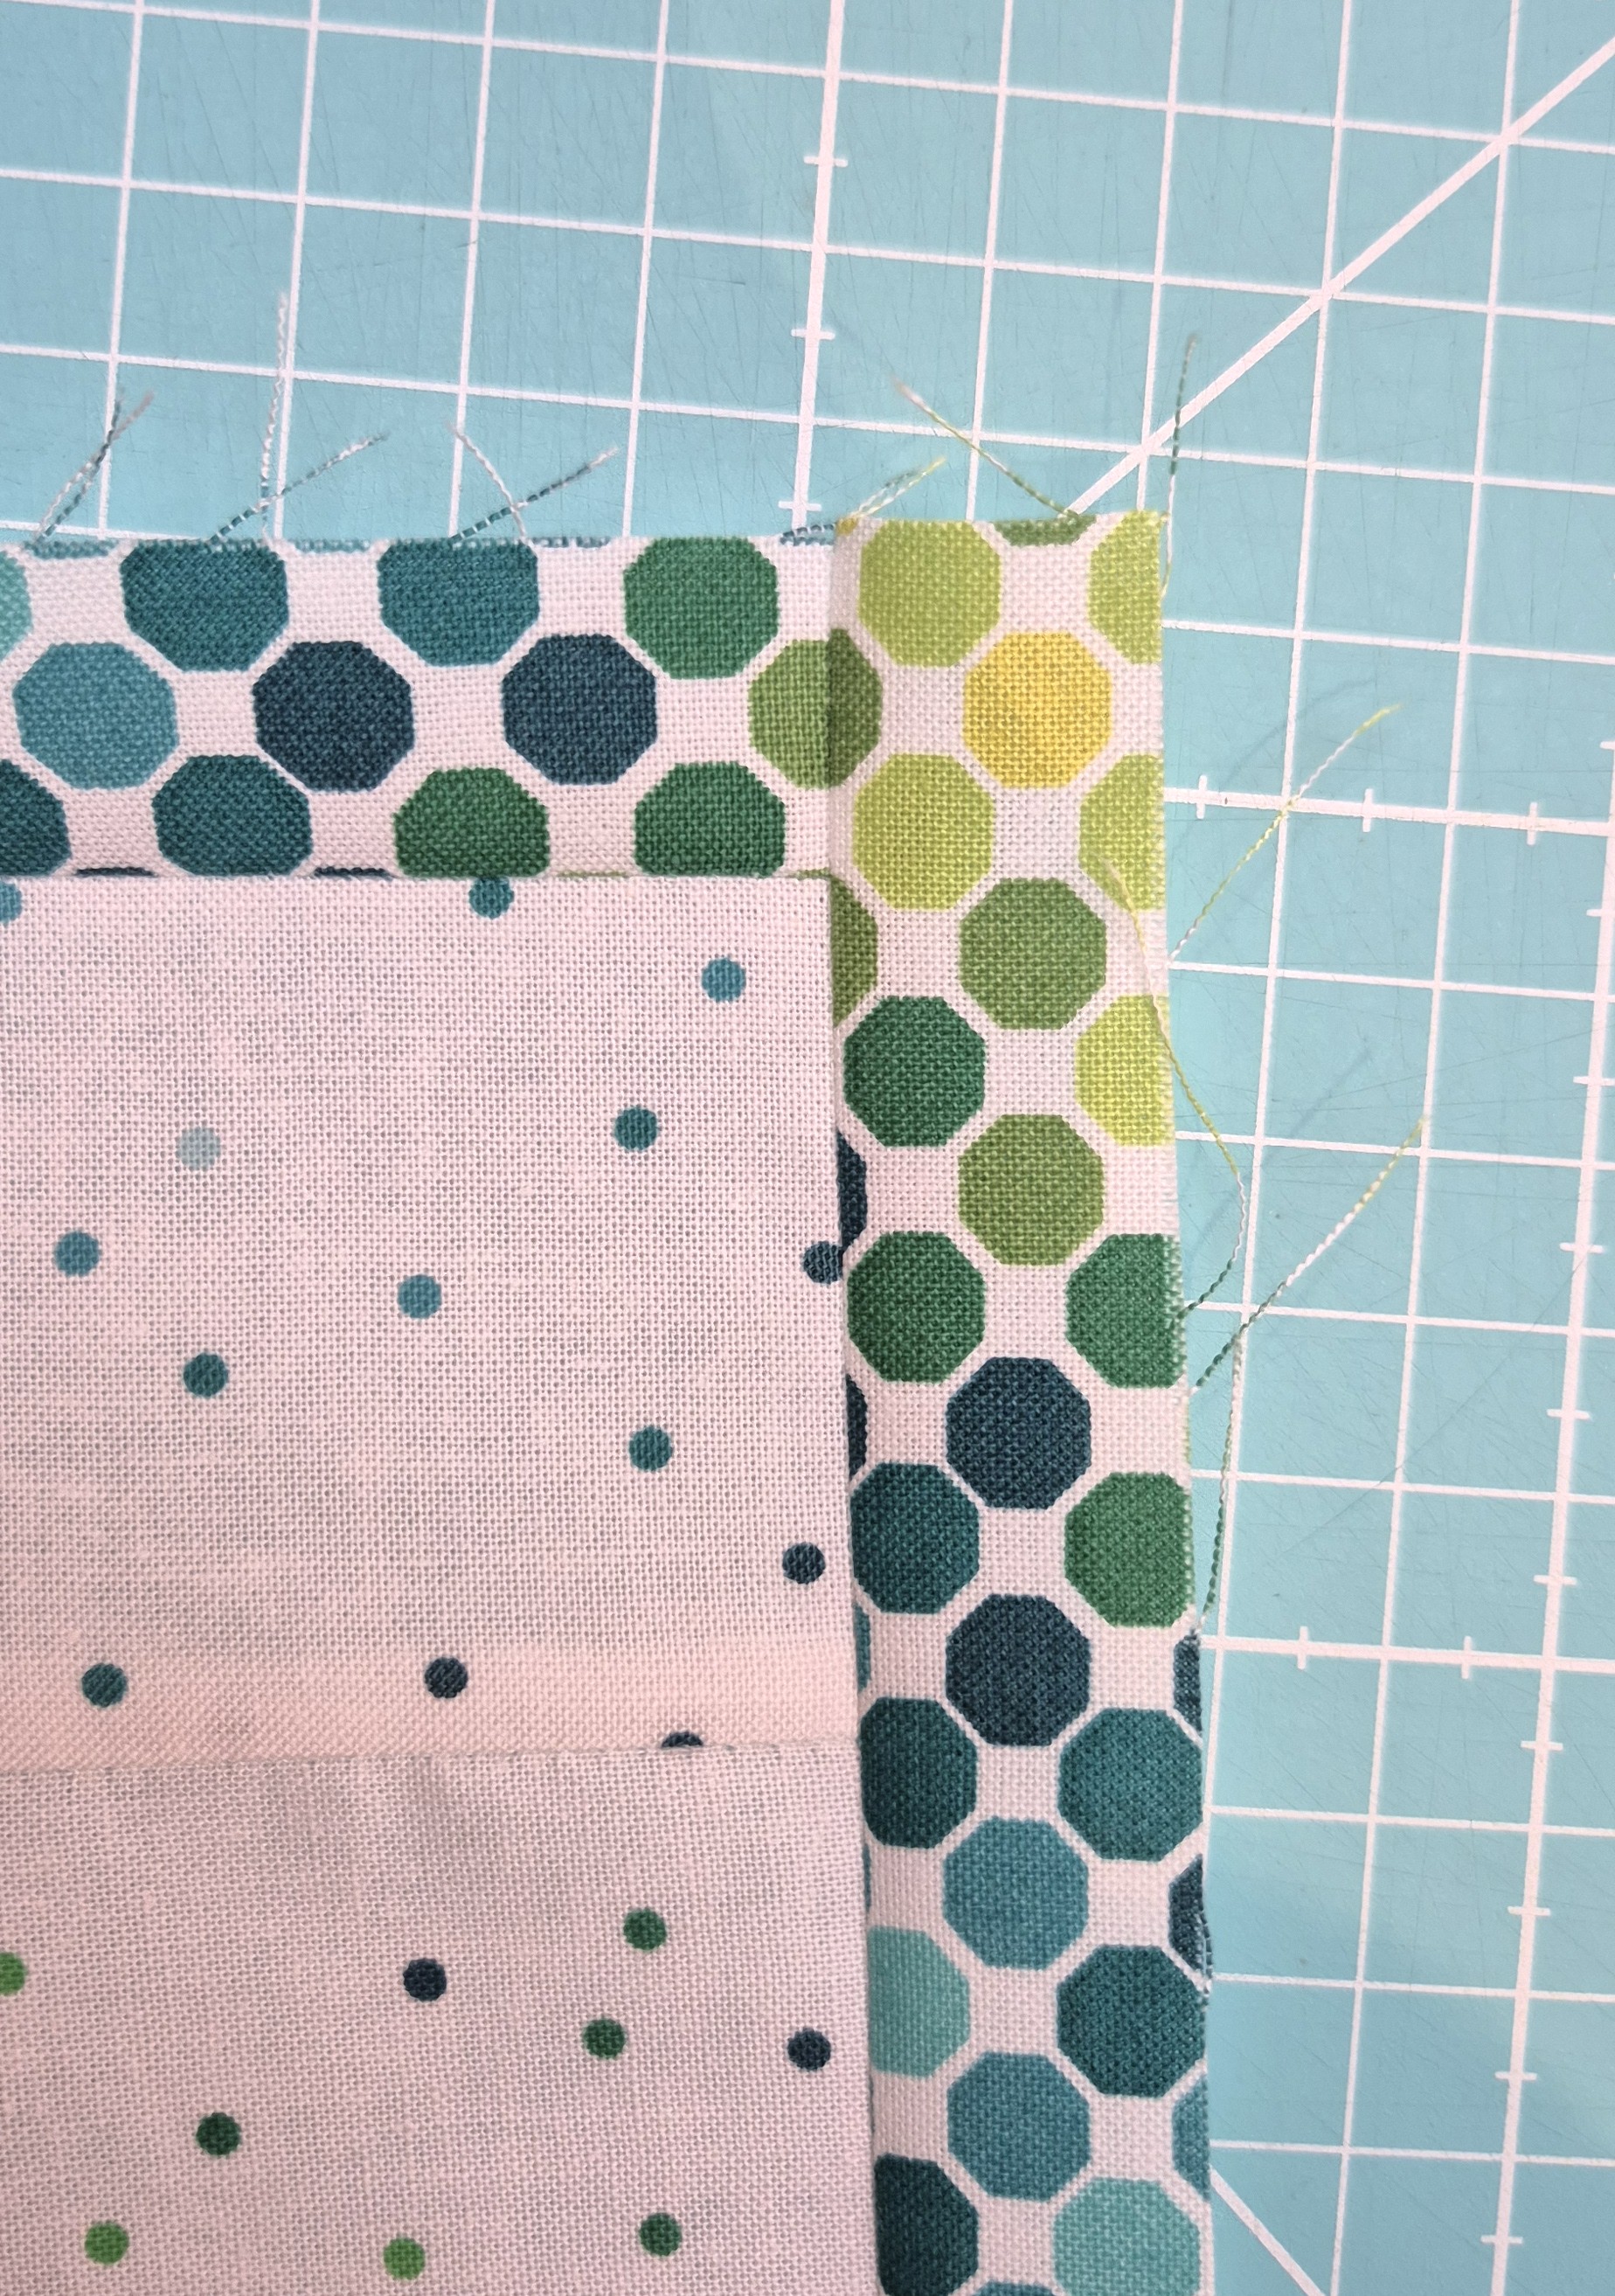
Perfect Sashing by Accident
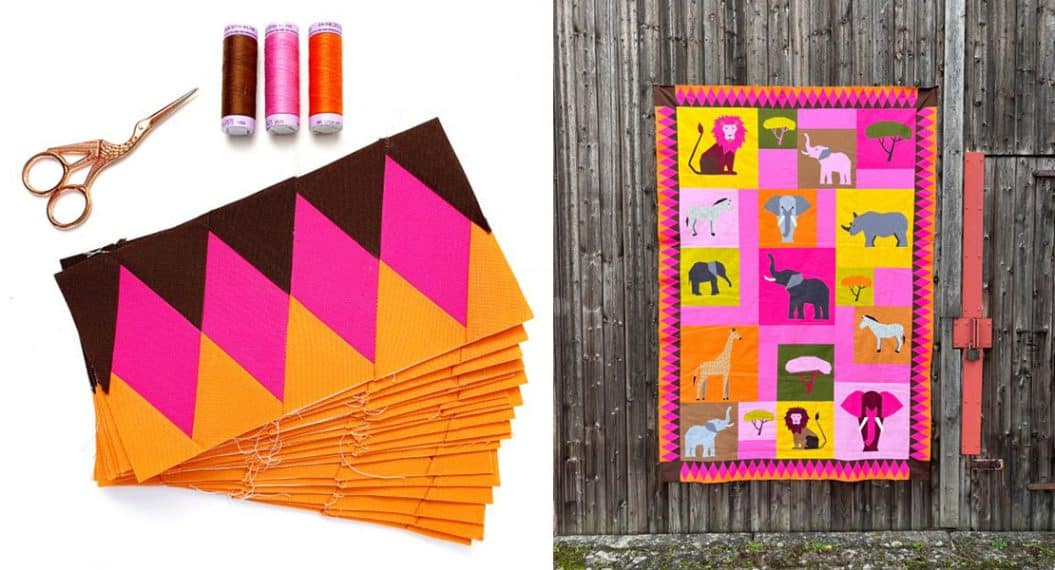
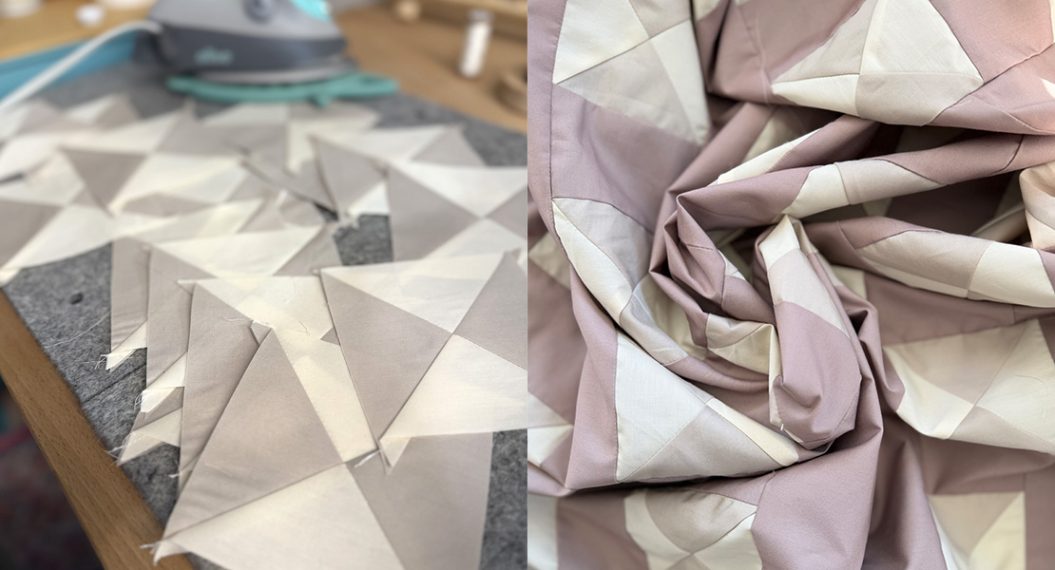
For the throw sized quilt, I added an extra border around the quilt. Look what happened at one of the corners. I couldn’t have matched that like this if I had tried. 😄
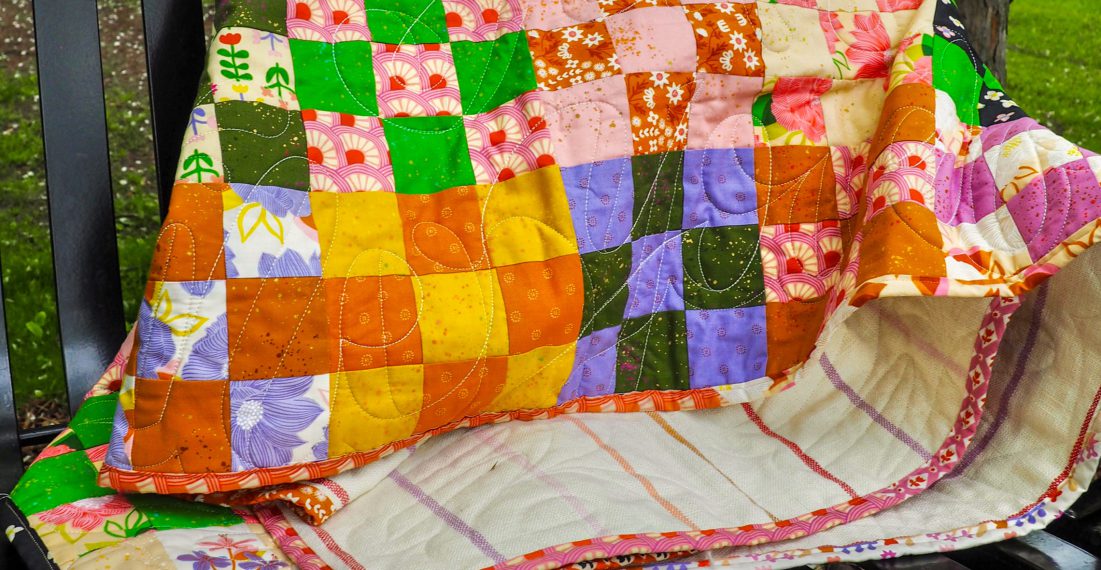
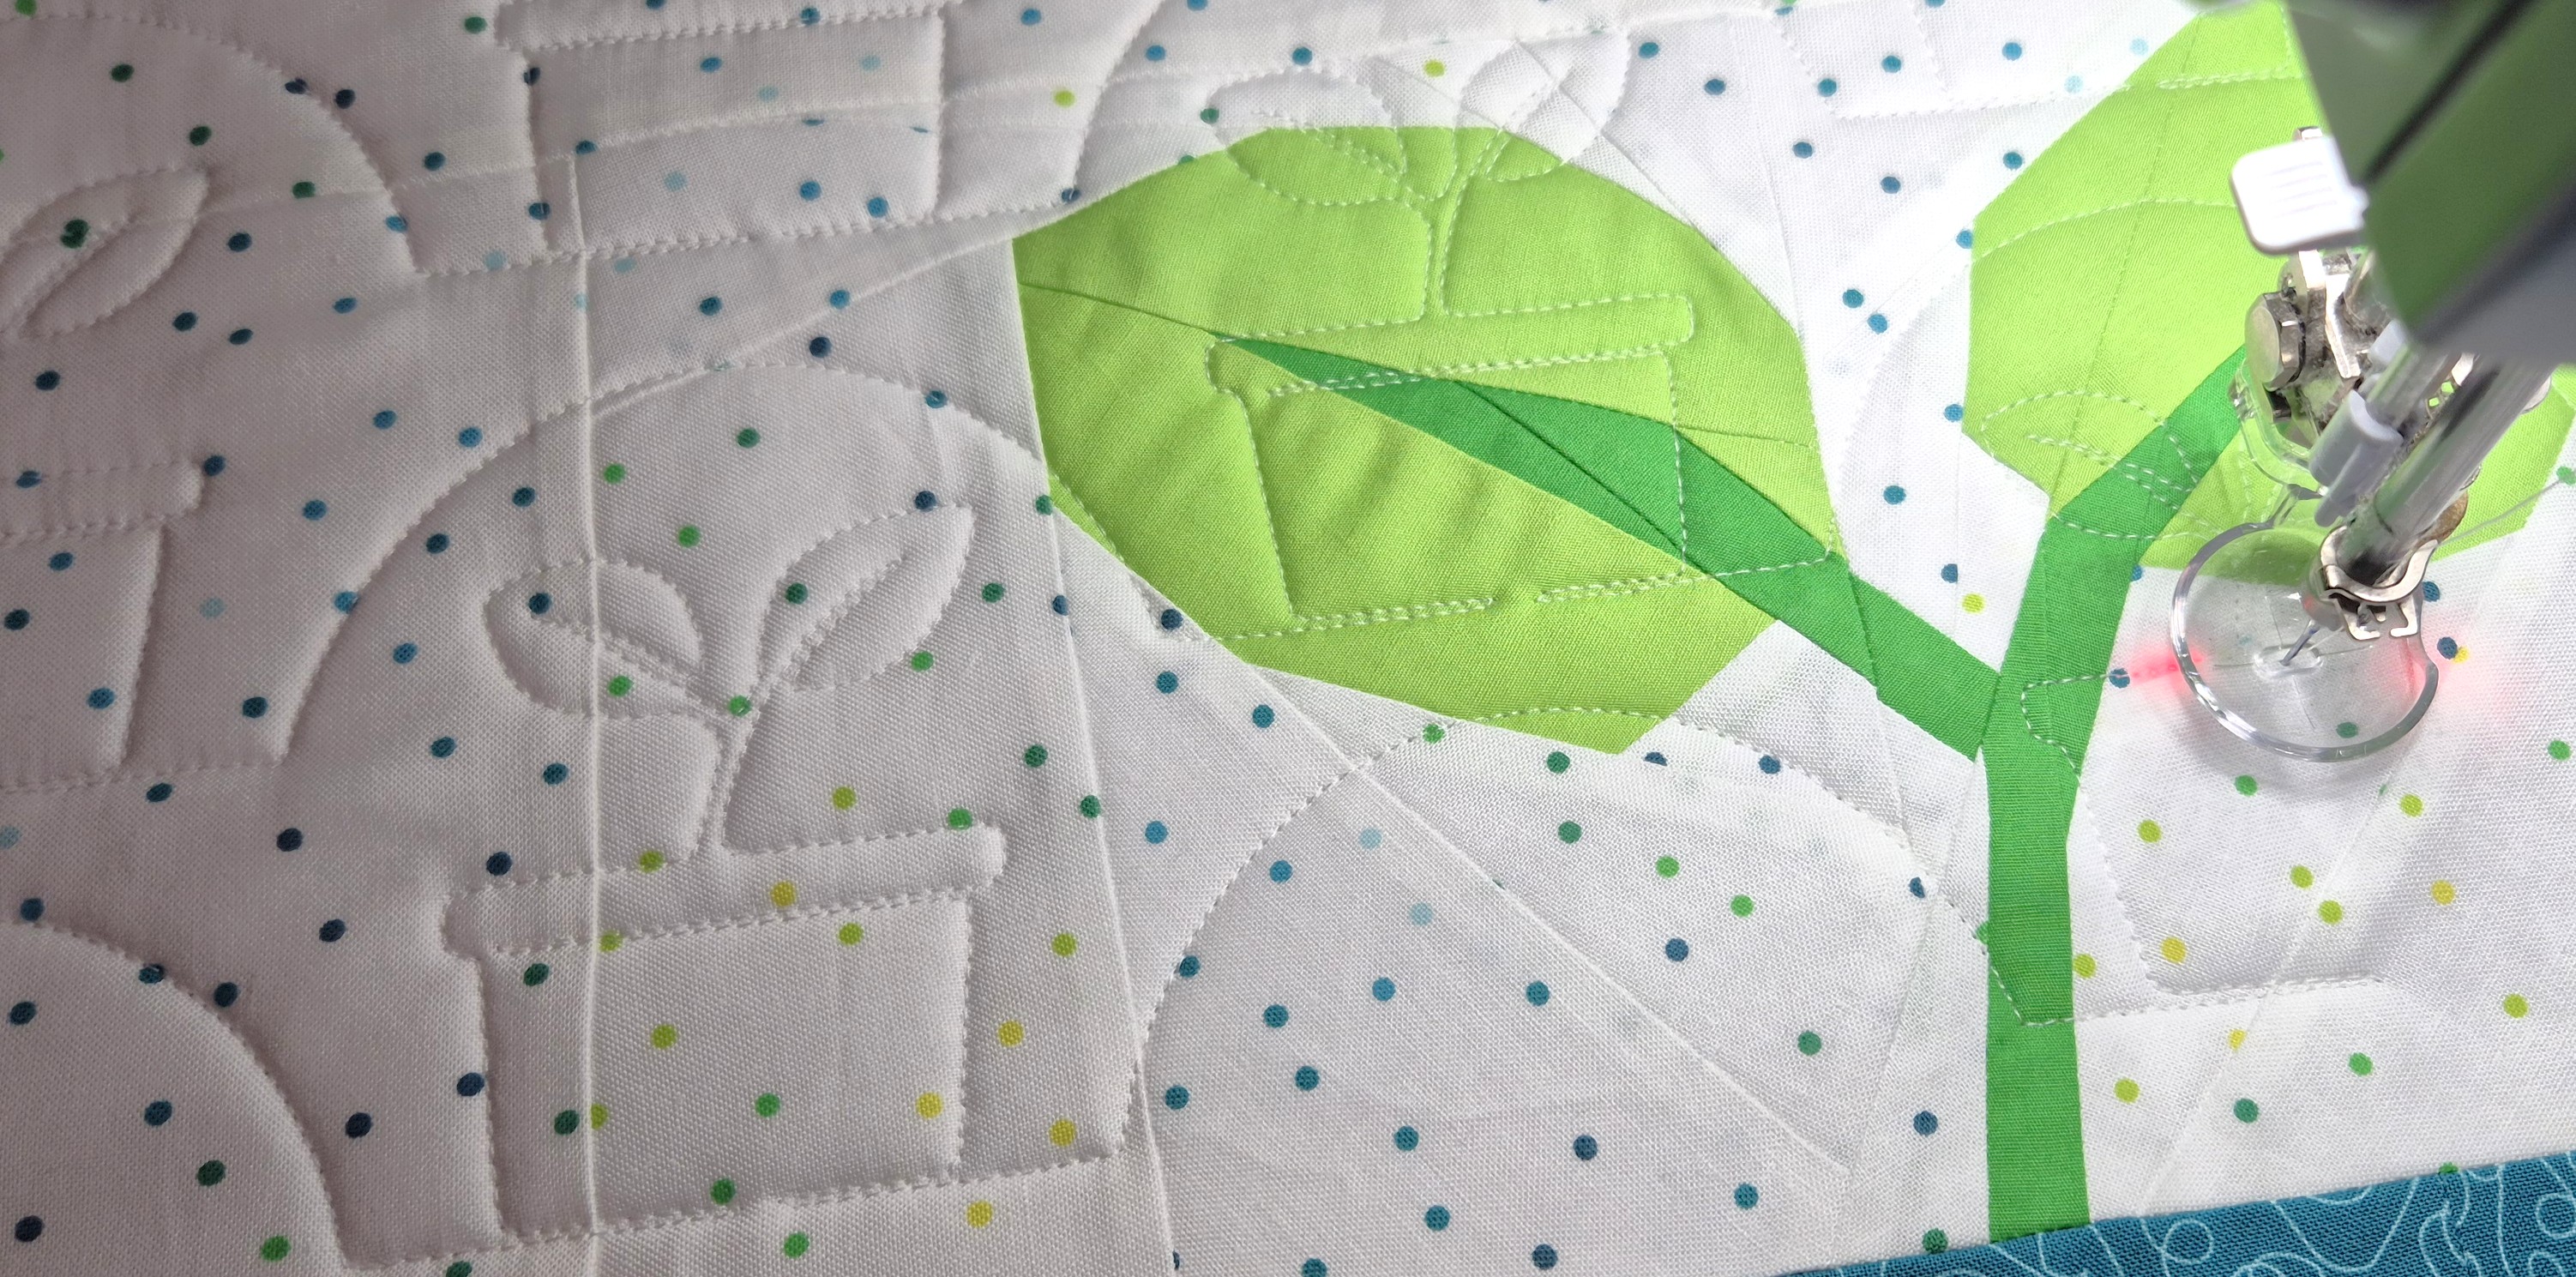
Quilting
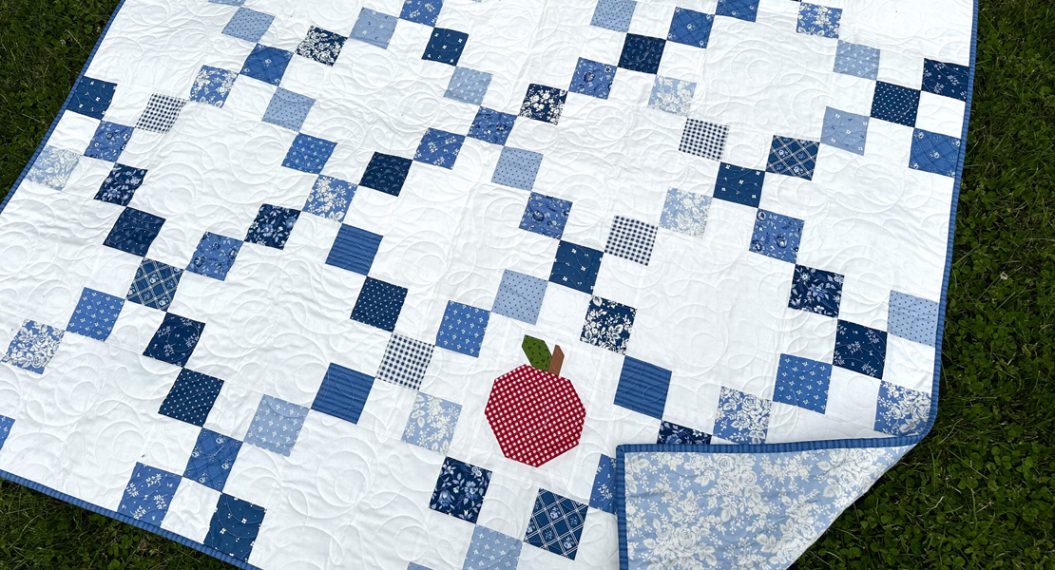
When your top is finished, you add a backing and a batting, and you’re ready to start quilting.
Next week, I will share a free quilting pattern for you that you can use on the Q-matic. Or you can download it and send it to your longarmer.
Thank you so much for stopping by!
See you next week,
Irene