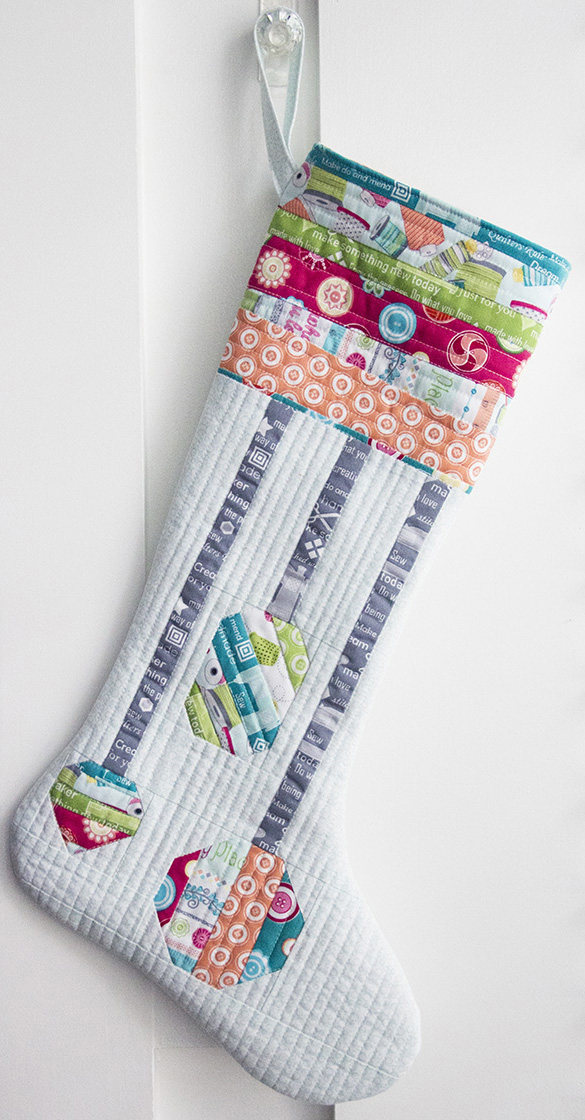
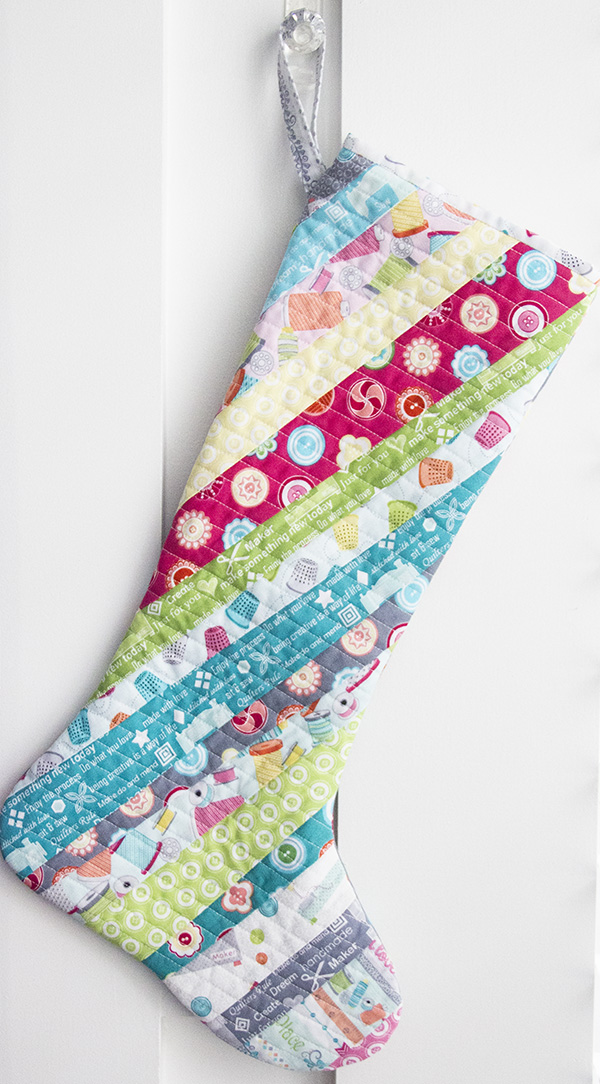
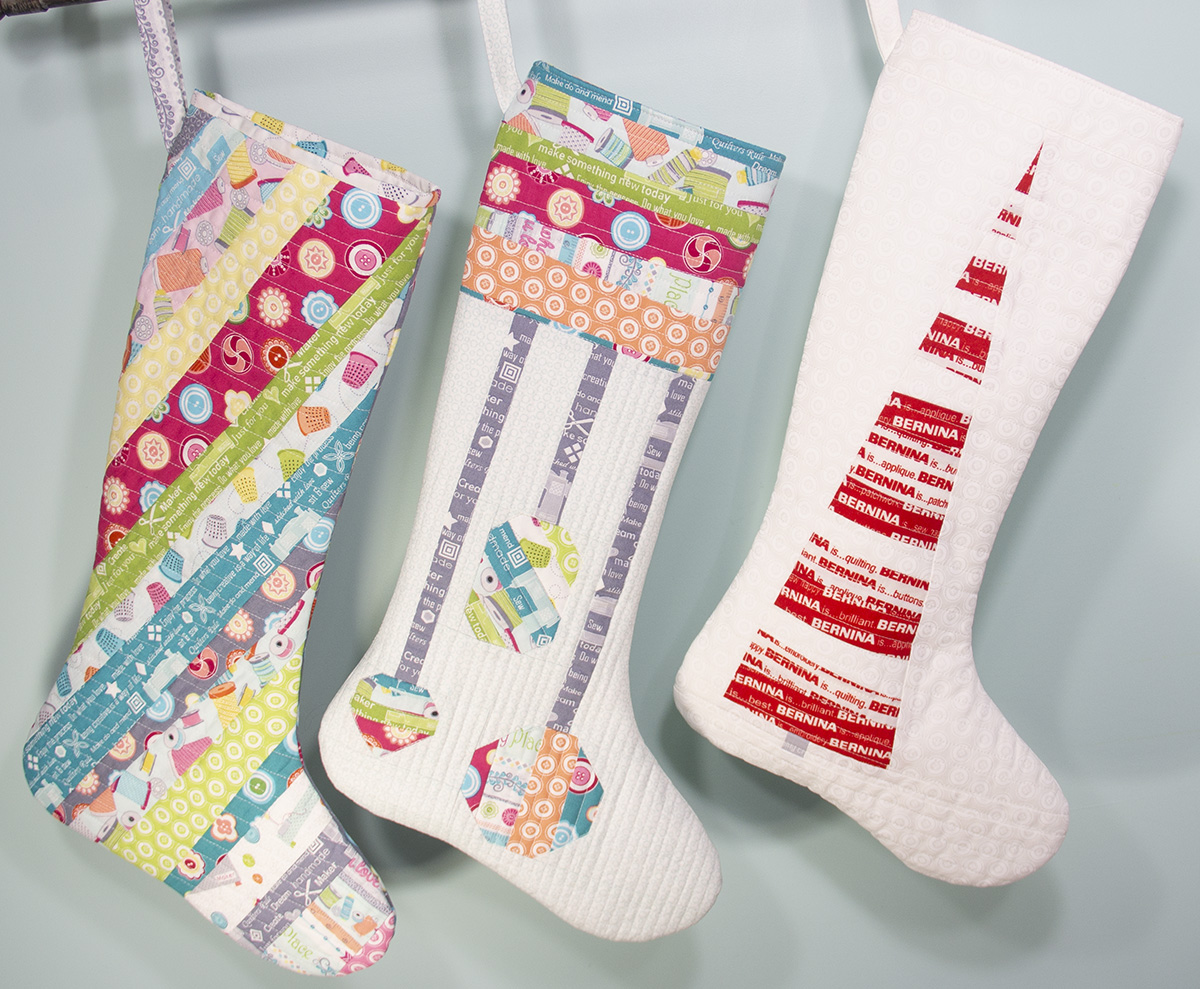
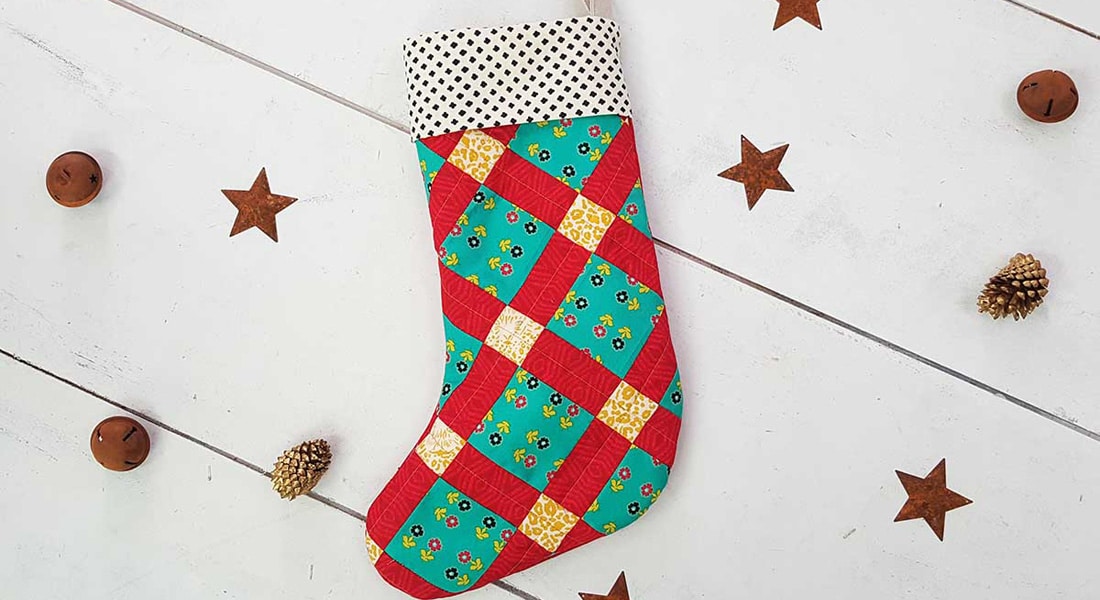
Quilted Ornaments Stocking
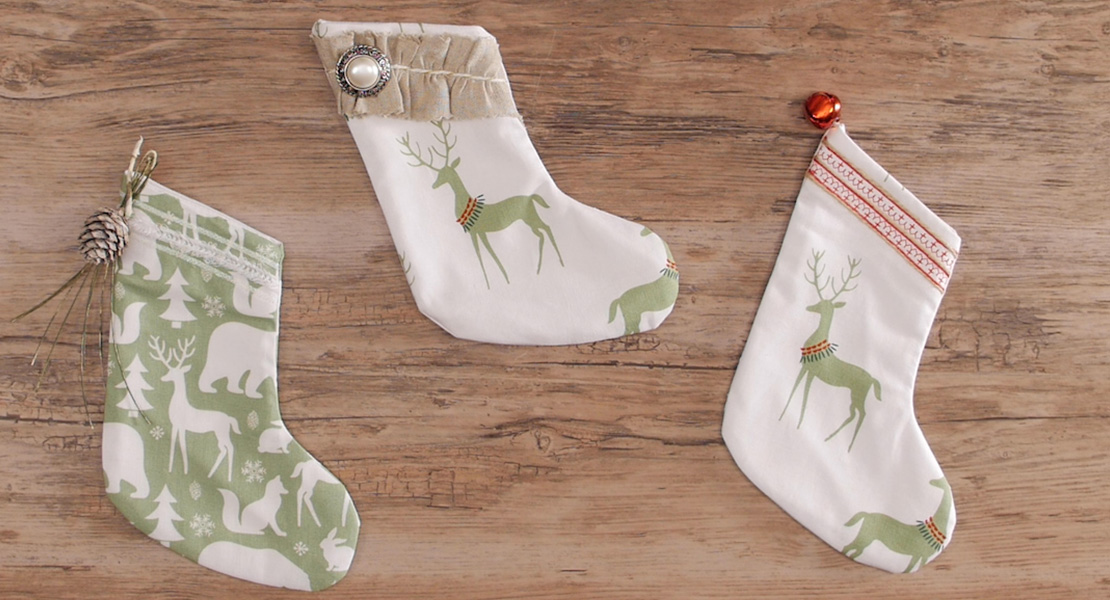
It’s the most wonderful time of the year to deck the halls with all sorts of beautifully sewn projects! Hi, I’m Cherry Guidry, fabric and pattern designer, and I’m so happy to share three fun and oh so easy stockings you can make in an afternoon. We’ll start by piecing fabric scraps to create our own fabric, cutting the strips sets into easy shapes that will make our “stocking” blocks, adding a little straight-line quilting, and voila, you’ll have a sweet stocking to decorate this holiday season.
Ornaments Stocking
 Of the three, the ornaments stocking has a bit more piecing, but it is still super easy! All the stockings are made with scraps from one of my latest fabric collections, My Happy Place. This is what you’ll need to make one ornaments stocking:
Download the Quilted Ornaments Stocking Pattern – check your printer’s setting to make sure you are printing to “actual size”
Supplies:
1/3 yd white/aqua – background fabric
Grey scraps 1” wide – ornament’s strings
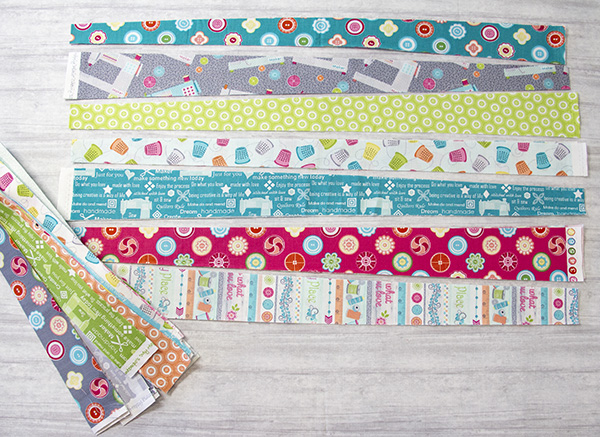
9-10 assorted fabric strips 1″- 2″ wide by 16” long
1/3” yd print – lining
(2) 12” x 21” – batting
Piecing and quilting thread
Temporary spray adhesive or quilting pins
Marking pen or pencil
Cut the white/aqua fabric into:
(1) 12” x 21” – backing
(1) 4” x 9” – M
(1) 3½” x 2” – L
(1) 3½” x 4¼” – Q
(1) 3 ¼” x 9” – I
(1) 12¼” x 2½” – R
(1) 2½” x 2½” – N
(2) 1¾” x 4½” – J
(1) 5½” x 1½” – P
(6) 1½” x 1½” – E
(1) 1½” x 2½” – O
(2) 1” x 3½” – K
(6) 1” x 1” – D
(1) 2¼” x 9” – stocking loop
Grey fabric:
(2) 1” x 9″ – F, H
(1) 1” x 4½” – G
Let’s get started!
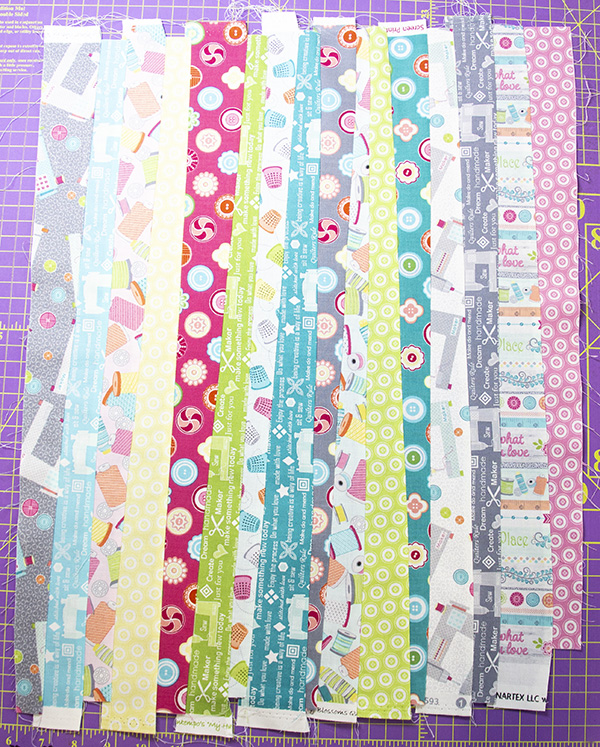
Arrange the 9-10 assorted fabric strips in a pleasing order and sew them together on the long edge with a 1/4″ seam allowance, trimming the width of each strip as needed after each strip addition. The strip set will look better if the strips are irregular; I cut my strips into wedges that were approximately 1″ on one end to 1 1/2″ to 2″ wide on the other end.
Your sewn strip set needs to measure 16″ long by 7″ wide.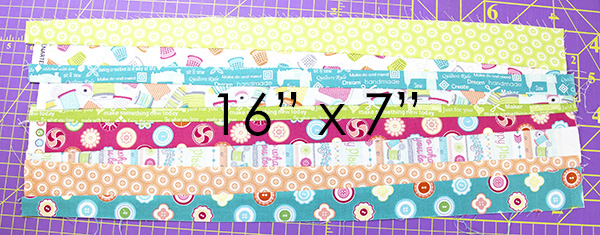
Cut the strip set into the following shapes, varying the angle of the strips:
(1) 9″ x 6″ – S
(1) 3 1/2″ x 3 1/2″ – C
(1) 2 1/2″ x 3 1/2″ – A
(1) 2 1/2″ x 2 1/2″ – B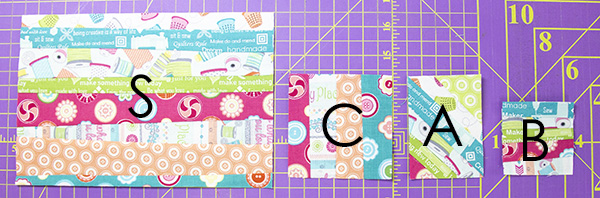
Using a marking pen or pencil, draw diagonal lines on the (6) 1″ x 1″ D and (6) 1 1/2″ x 1 1/2″ E squares. 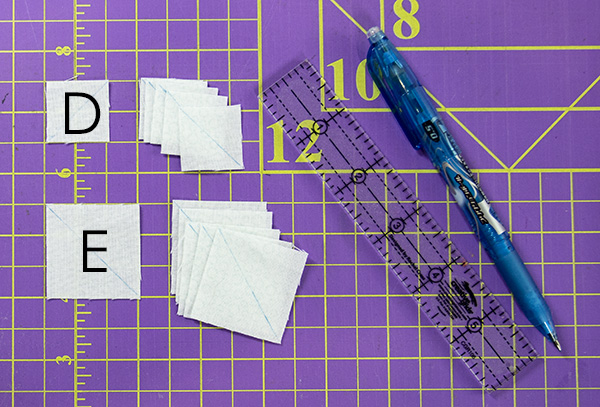
Place an E square on the bottom left corner of the 2 1/2″ x 2 1/2″ B square and sew on the drawn line.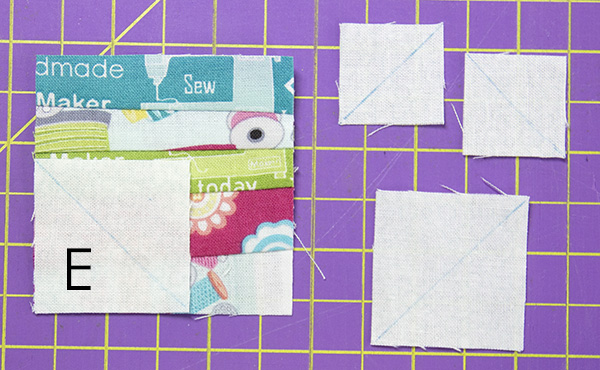
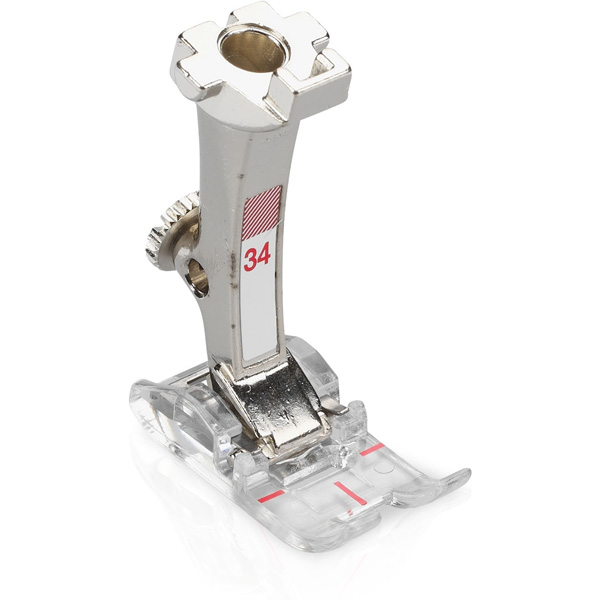
I love the red guideline on presser foot #34 when sewing on drawn lines…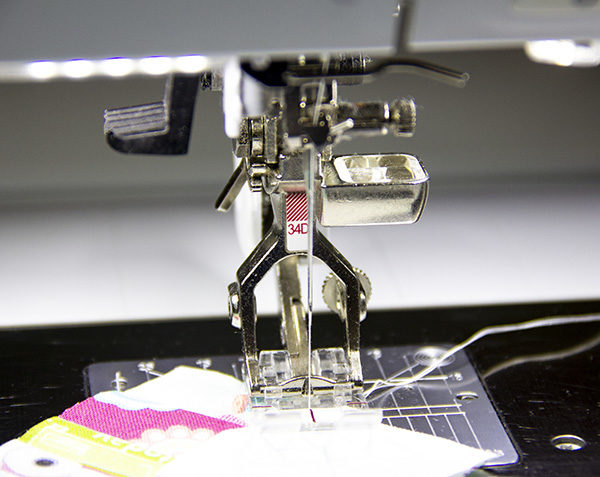
Trim the excess fabric leaving a 1/4″ seam allowance and press to the triangle fabric.
Repeat with an E square on the bottom right corner…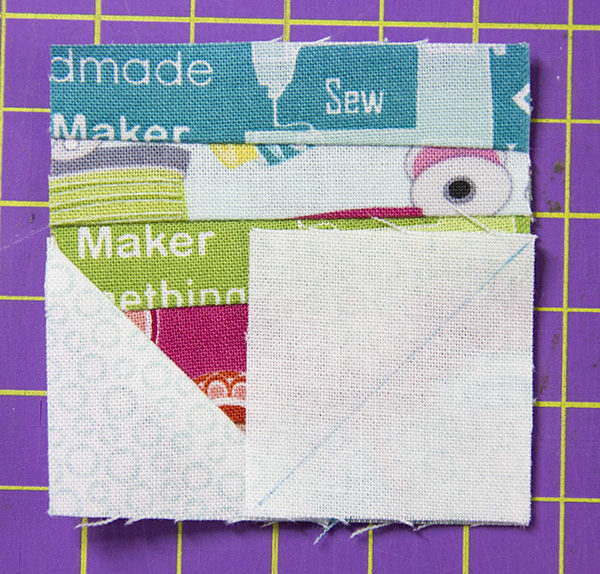
… and (2) 1” x 1” D squares on the top corners to make the B ornament.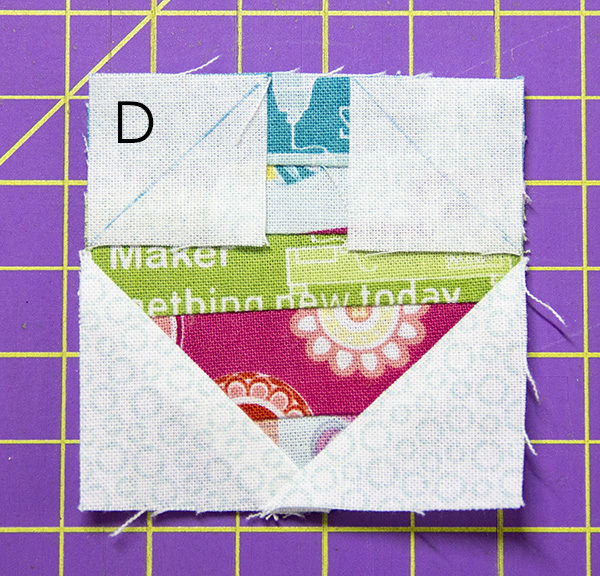
Sew 1 1/2″ x 1 1/2″ E squares onto the four corners of the 3 1/2″ x 3 1/2″ C square to make ornament C and 1″ x 1″ D squares onto the four corners of the 2 1/2″ x 3 1/2″ A rectangle to make ornament A.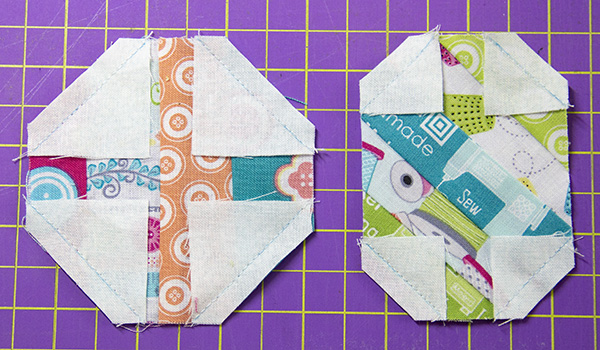
Gather the following cut pieces and arrange in the following order: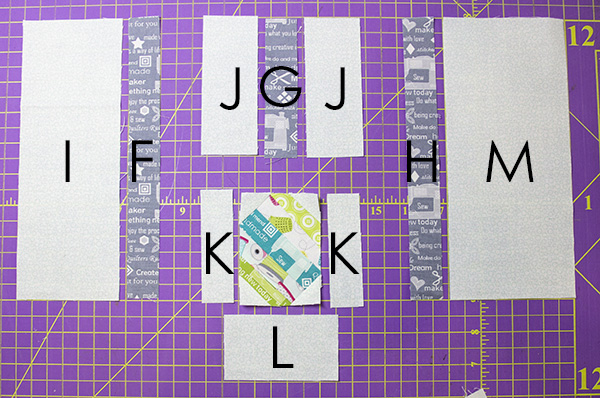
Sew the F strip to I and press to F; sew the H strip to M and press to H.
Sew J rectangles to the right and left edges of G and press to G.
Sew K strips to the right and left edges of ornament A. 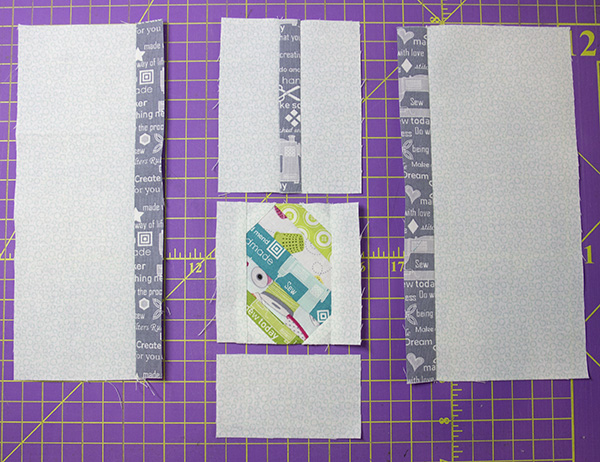
Sew the center units together, then sew the side units to the left and right edges; press to the grey fabric.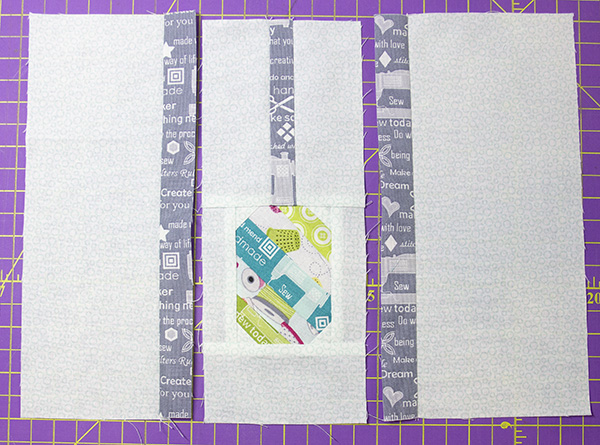
You now have the center unit of the stocking block!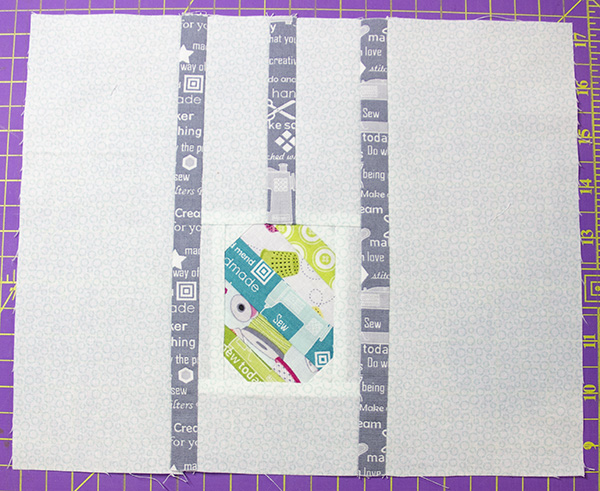
Gather the following shapes and ornaments B and C.
Sew the N square to the left edge of the B ornament and the O rectangle to the right edge; press to the white/aqua fabric; sew the P rectangle to the bottom edge of this unit.
Sew the Q rectangle to the right edge of the C ornament; press to Q.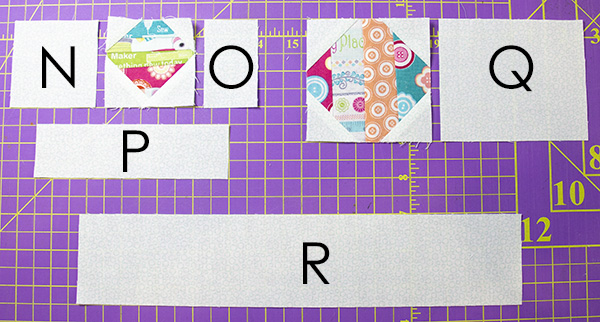
Sew the ornament units together, followed by the R rectangle; press to the white/aqua. 
Align the left edge of all the units and sew strip block S to the top edge of the center unit and the B/C ornaments unit to the bottom edge.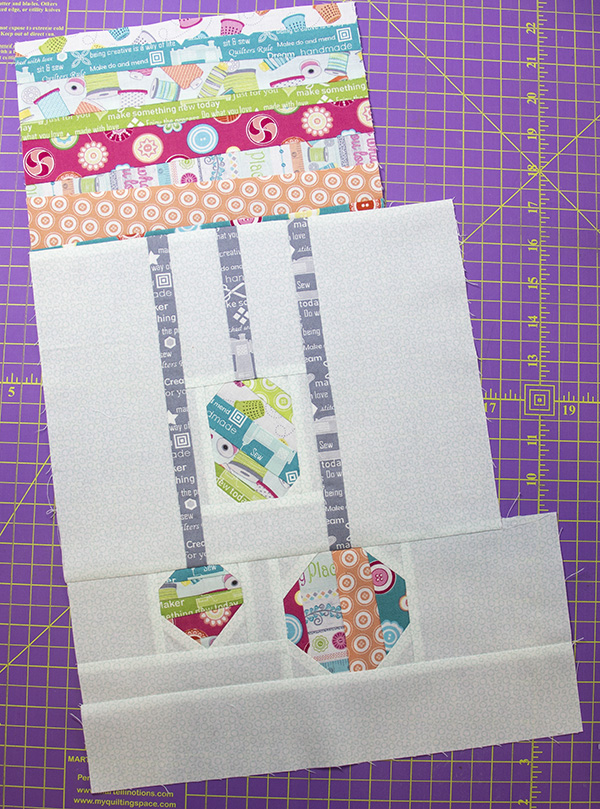
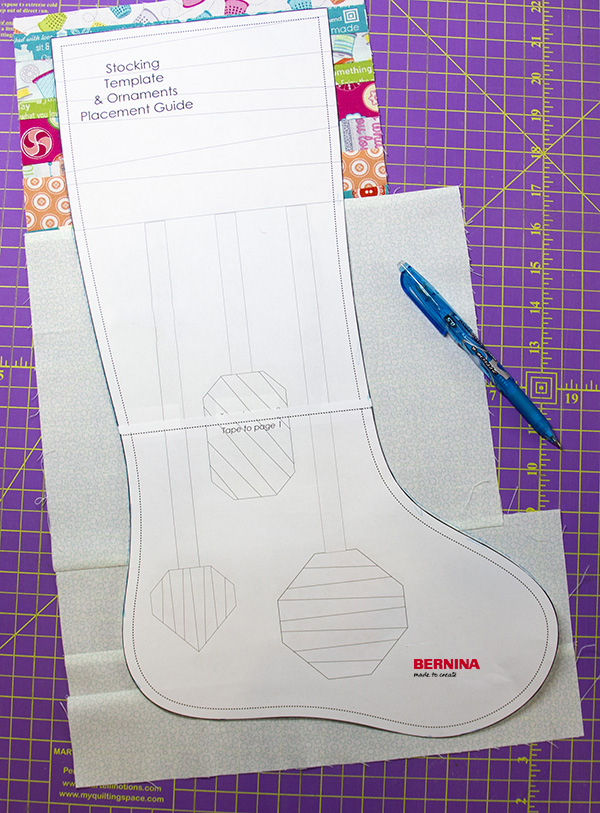
Tape the printed Stocking Template and Ornaments Placement Guide, pages 1 and 2, on the dotted line and cut the stocking shape out on the solid line.
Place the template over the stocking block aligning the ornaments block with the placement lines. Trace the stocking shape onto the stocking block with a marking pen or pencil; cut the excess block fabric 1/2″ outside the traced line.
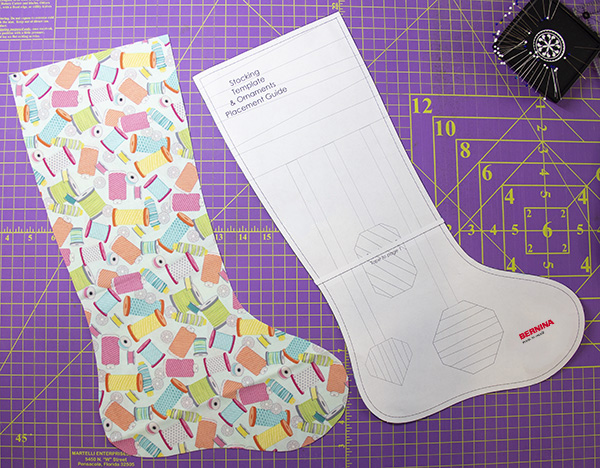
Flip the template over and place over the right side of the 12” x 21” backing fabric; trace the stocking shape and trim the excess fabric 1/2″ outside the traced line.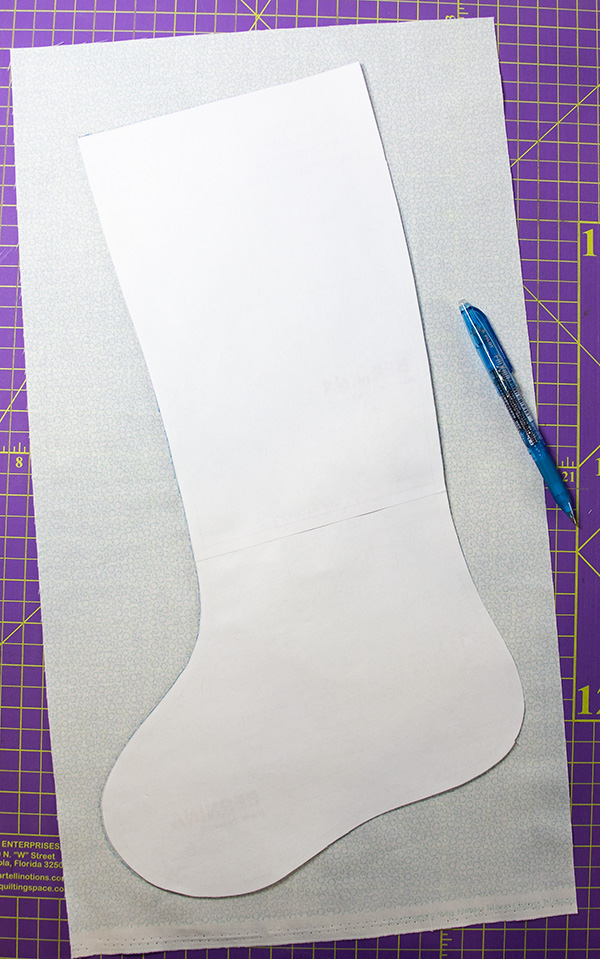
Place the stocking front and back pieces right side up over the (2) 12” x 21” batting pieces and spray baste with the temporary adhesive or pin in place.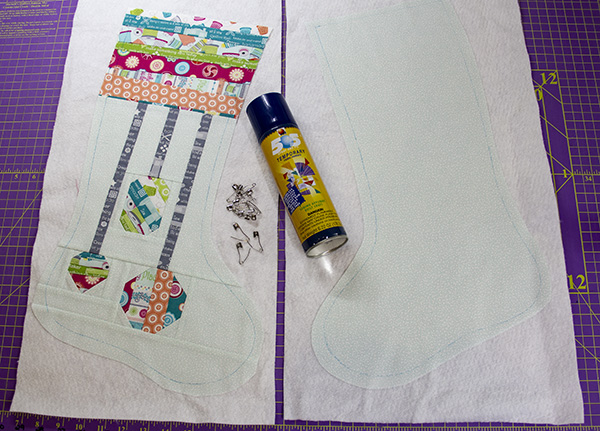
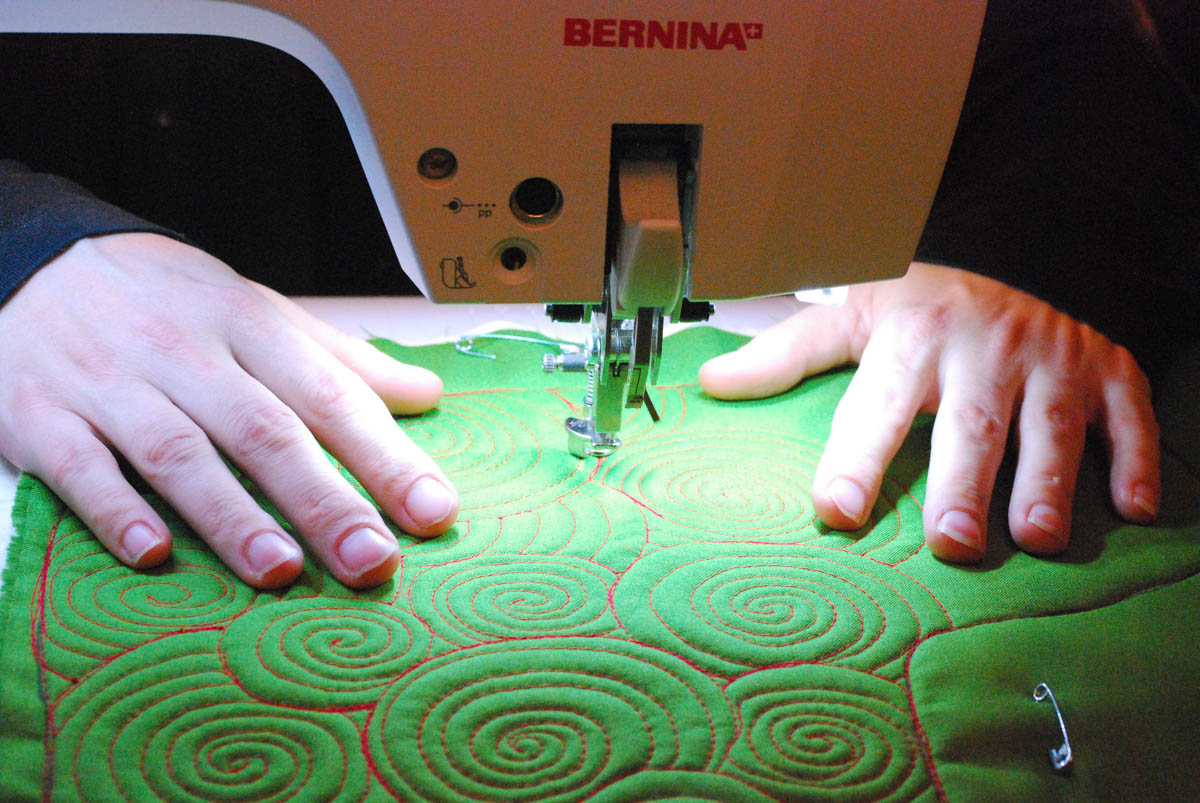
Install the BERNINA walking foot #50 on your sewing machine and stitch along the traced stocking lines to secure the fabric onto the batting. I love straight-line quilting and quilted horizontal lines on the “cuff” and vertical lines for the body of the stocking and backing; the quilt lines are 1/4′ apart.
Once the quilting is completed, cut out the stockings on the traced line. 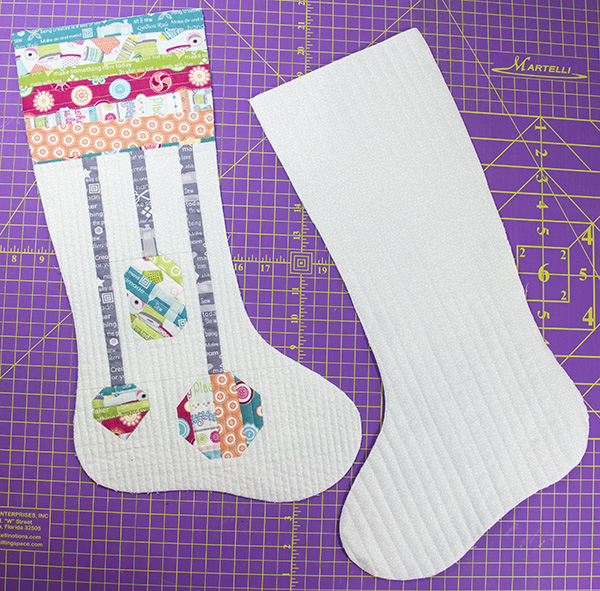
To make the hanging loop, fold the 2¼” x 9” stocking loop in half on the long edge and press…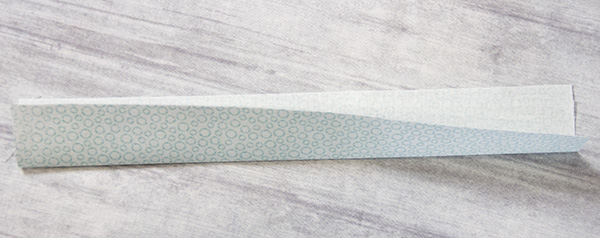
Open the strip and fold both long edges into the center and press…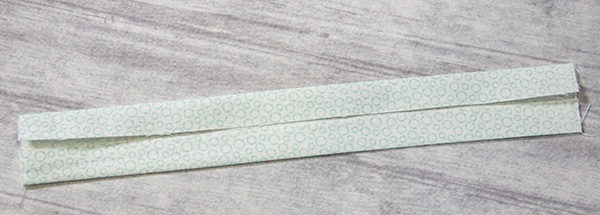
Fold once again and stitch together with and 1/8″ seam allowance. 
Fold the sewn hanging loop in half and place the raw ends on the left side of the stocking, 1″ down from the top edge.
Tack the hanging loop down with an 1/8″ seam allowance and trim the excess fabric.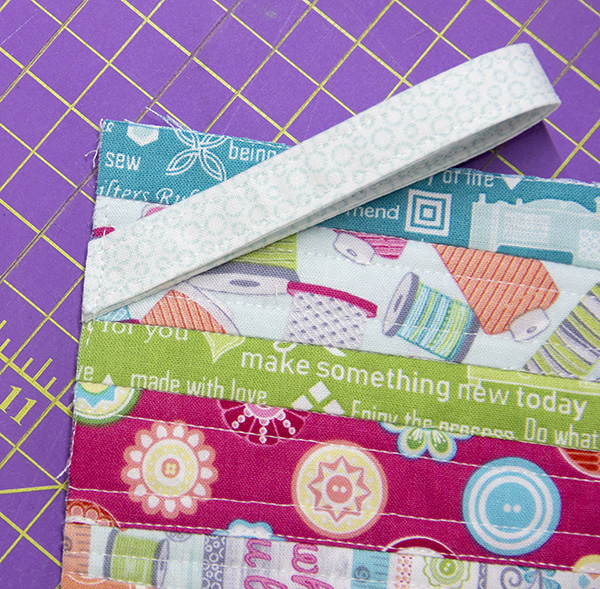
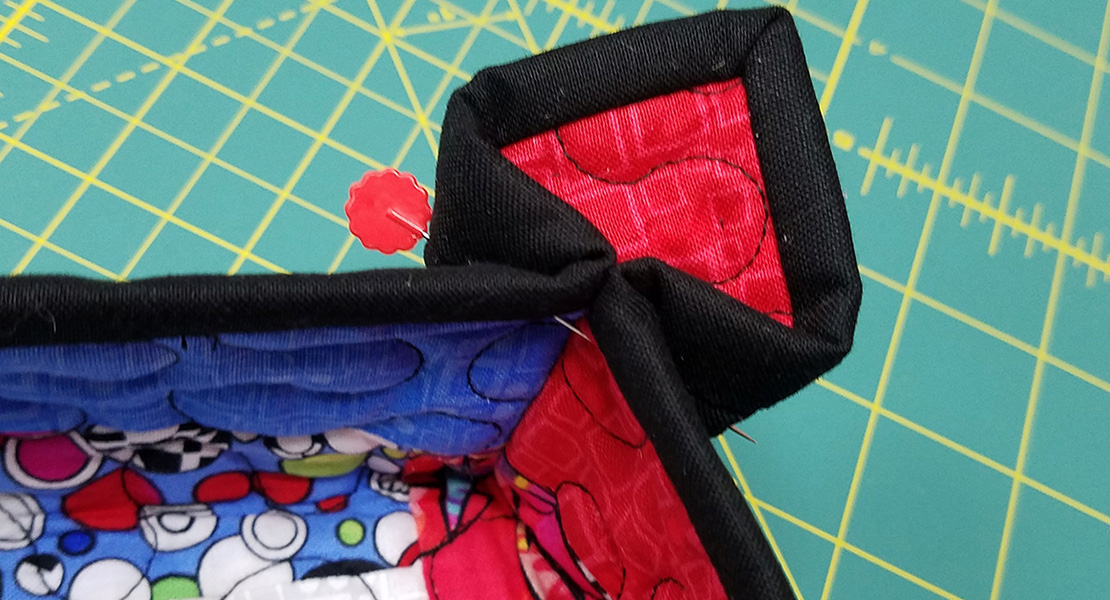
Place the quilted backing, wrong side up, over the stocking front…
…pin in place and stitch down with a 1/4″ seam allowance, leaving the top of the stocking open. 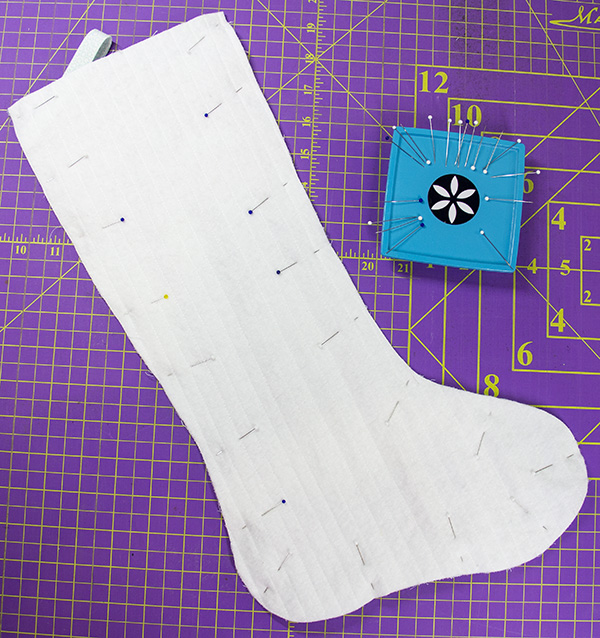
Clip the inside curves up to the stitch line to ease the fabric and prevent puckering. Turn the stocking right side out and press the edges so they are nice and smooth.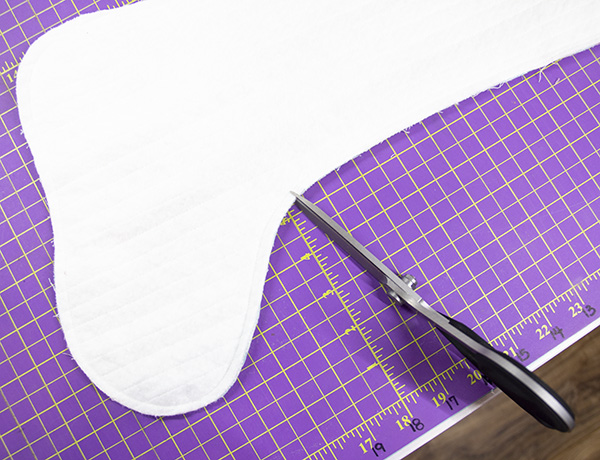
To make the stocking’s lining, you will use the 1/3” yd of lining fabric. Keep the fabric folded selvage to selvage, wrong sides together and pin the stocking template onto the fabric…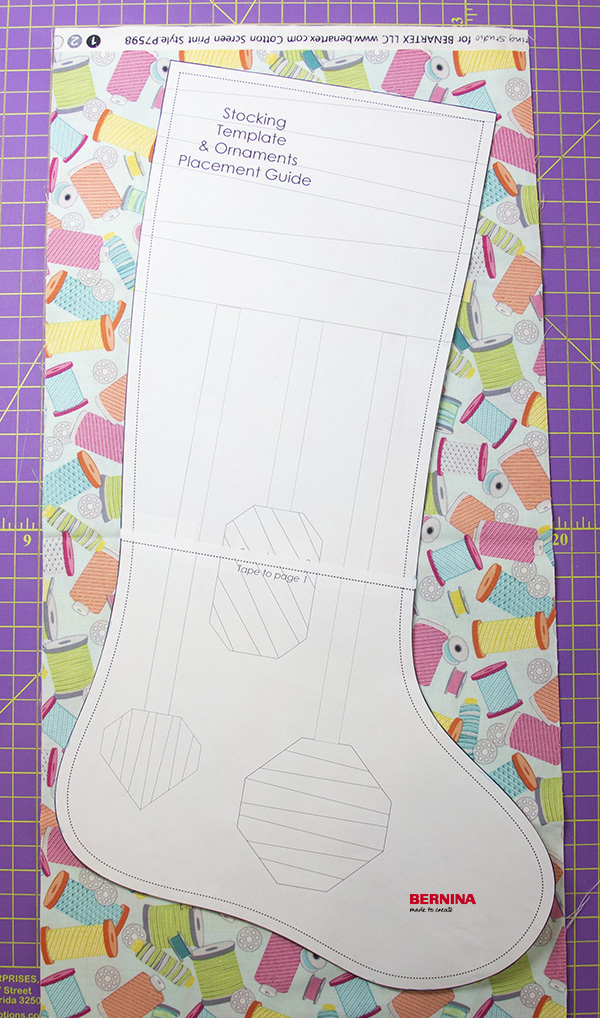
… cut out the (2) lining pieces.
With wrong sides together, mark a 6″ opening on the left side, about 2″ from the top; pin and stitch together with 1/4″ seam allowance, leaving the top of the stocking and marked side open for turning. 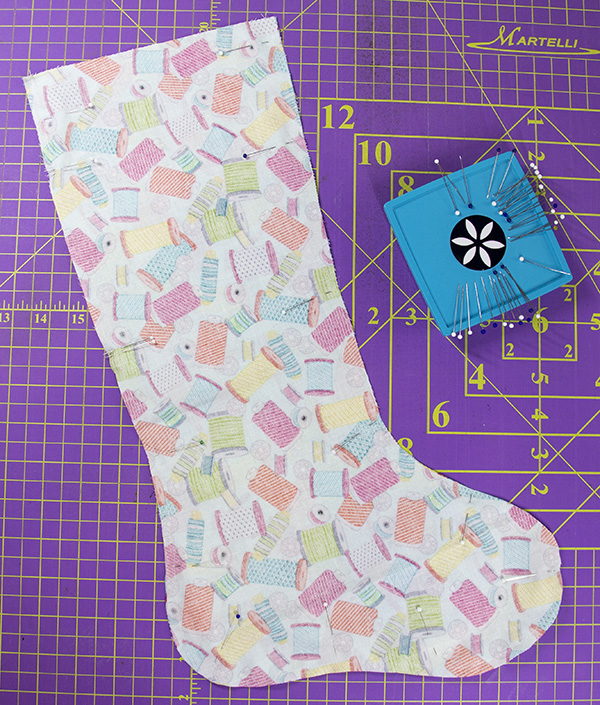
Place the stocking over the lining and… 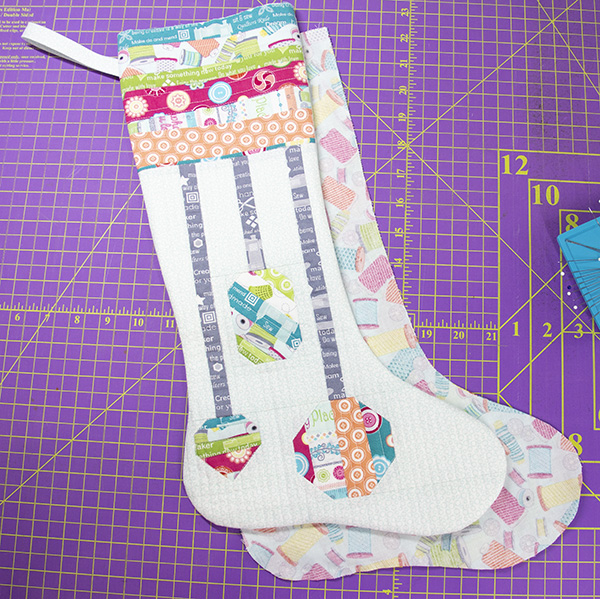
…stuff the stocking into the lining.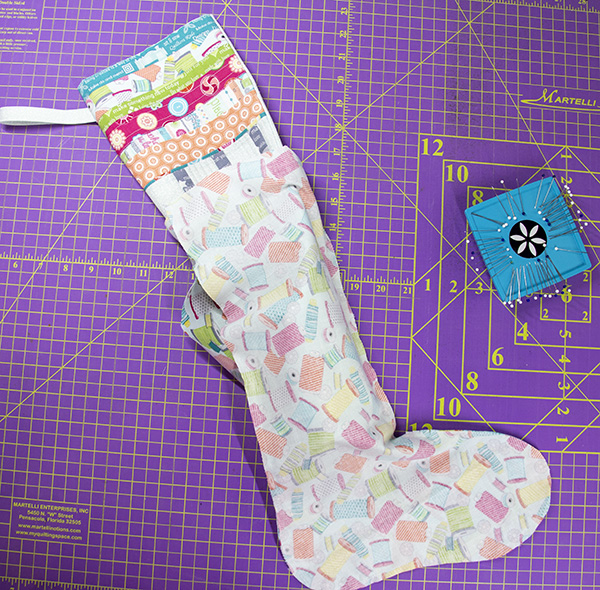
Align the seams and top edges and pin together. 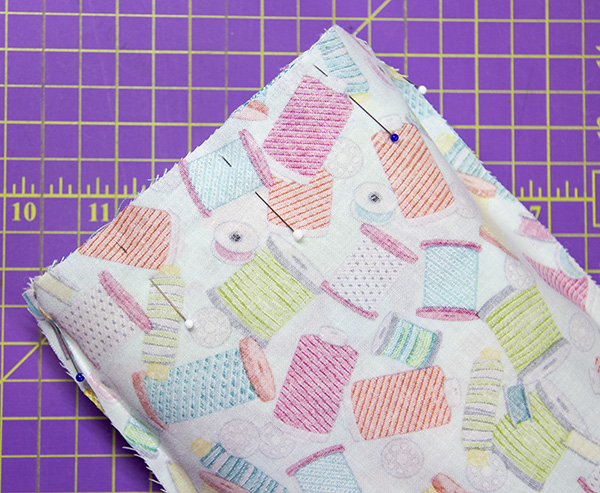
To make it easier to sew the stocking and lining together, remove the machine’s freearm slide-on table…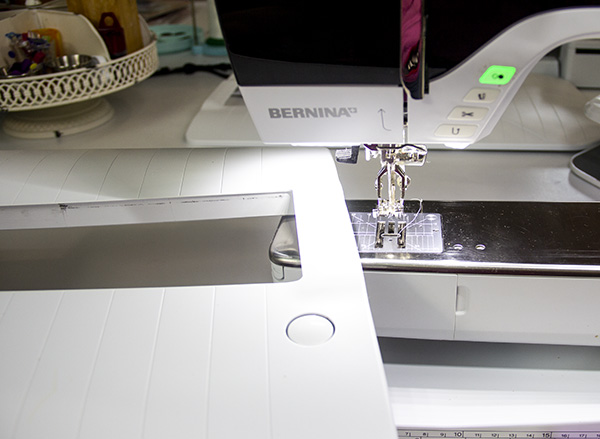
… and stitch with a 1/4″ seam allowance.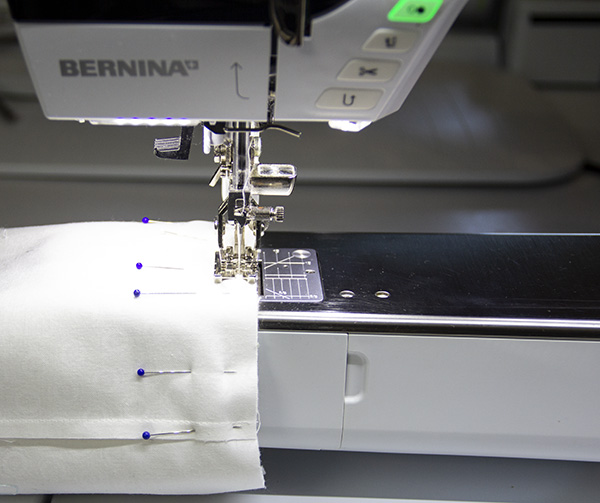
Pull the stocking out…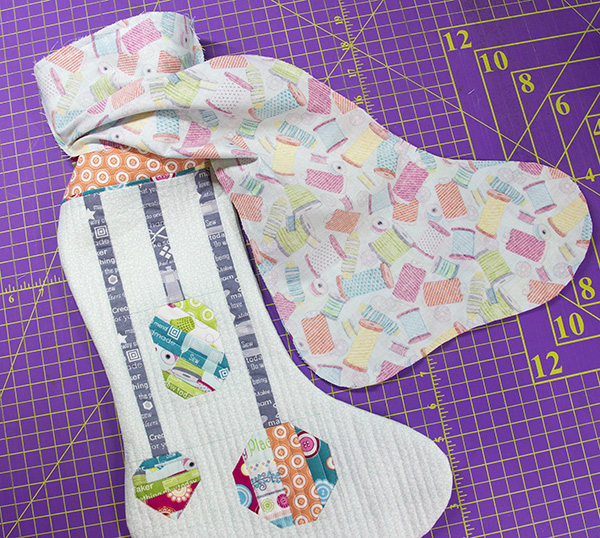
… turn the lining right side out and stitch the opening close. Insert the lining into the stocking and press the top edge so it lays flat.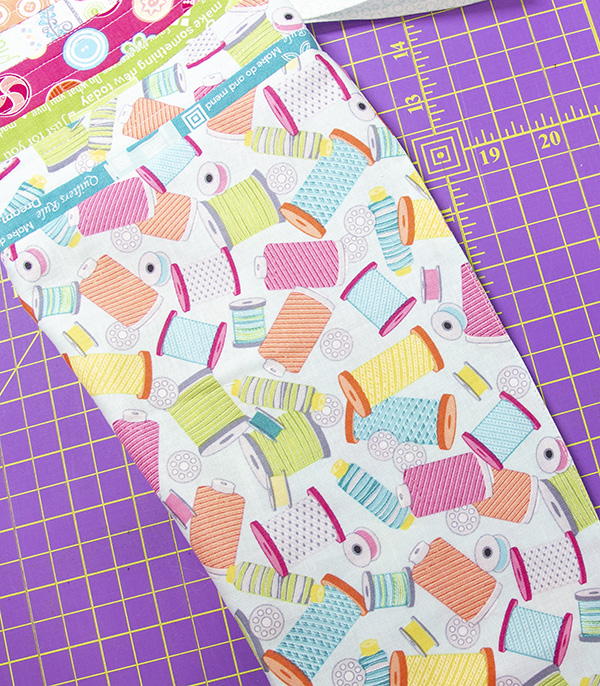
Stitch the top edge of the stocking with an 1/8″ seam allowance for a nice finish.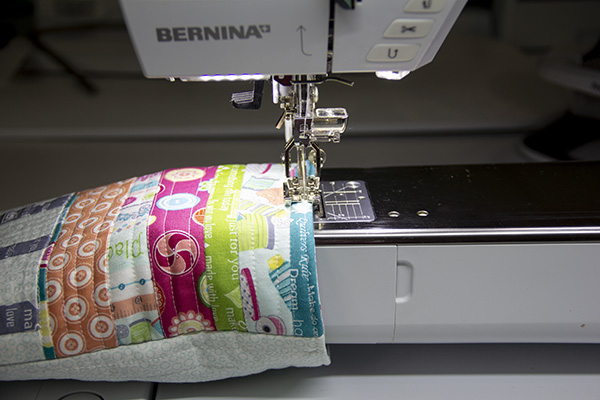
And now you have a beautifully quilted ornaments stocking!
But wait, there’s more! Follow these instructions for make the Striped and Red & White Christmas Tree stocking fronts.
Striped Stocking
Supplies:
16-20 Assorted fabric strips 1’- 2’ wide by 20” long
12” x 21” print – backing
1/3” yd – lining
(2) 12” x 21” batting
(1) 2¼” x 9” – hanging loop
Ready, set, go!
Sew the strips together to make a 16 1/2″ x 19″ strip set.
Tape and cut the printed Stocking Template, pages 3 and 4; place on the sewn strip set and trace the template onto the fabric.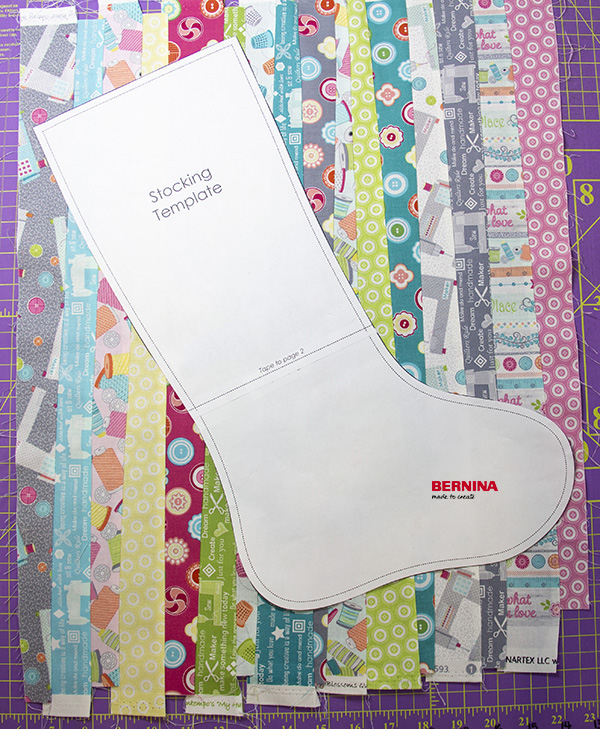
Cut out the excess fabric a 1/2″ outside the traced line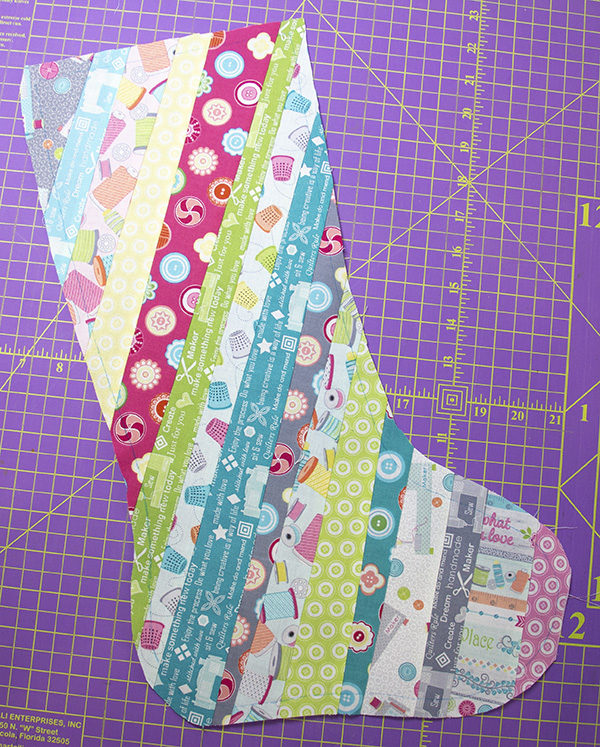
Flip the template over and trace the stocking template onto the lining fabric; trim the excess fabric.
Refer to the ornaments stocking’s instructions to quilt and assemble the striped stocking.
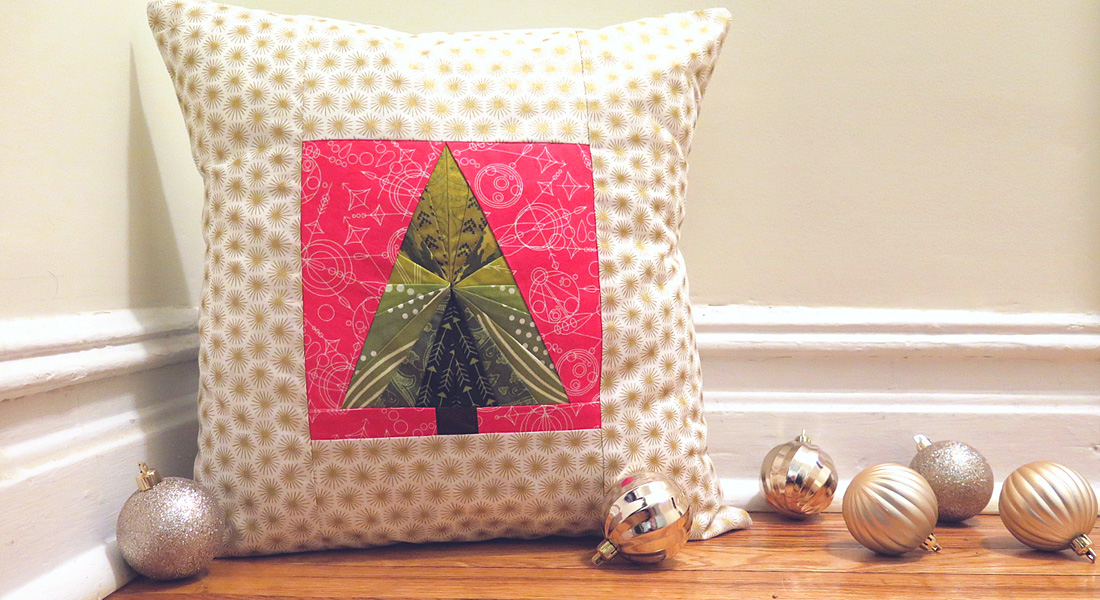
Red & White Christmas Tree
Supplies:
3/8 yd White – background & backing
16-20 red and white fabric strips 1’- 2’ wide by 6” long
1” x 1” gray scrap – tree trunk
1/3” yd – lining
(2) 12” x 21” batting
Piecing and quilting thread
Temporary spray adhesive or quilting pins
Cut the white fabric:
(1) 12¾” x 14½”
(2) 12” x 3”
(1) 1” x 7¼”
(1) 1” x 4¾”
(1) 12″ x 21″ – backing
(1) 2¼” x 9” – stocking loop
Here we go…
Sew the strips together to make a 15″ x 6″ strip set. Cut the sewn strip set to measure 14 1/8″ x 4 5/8″.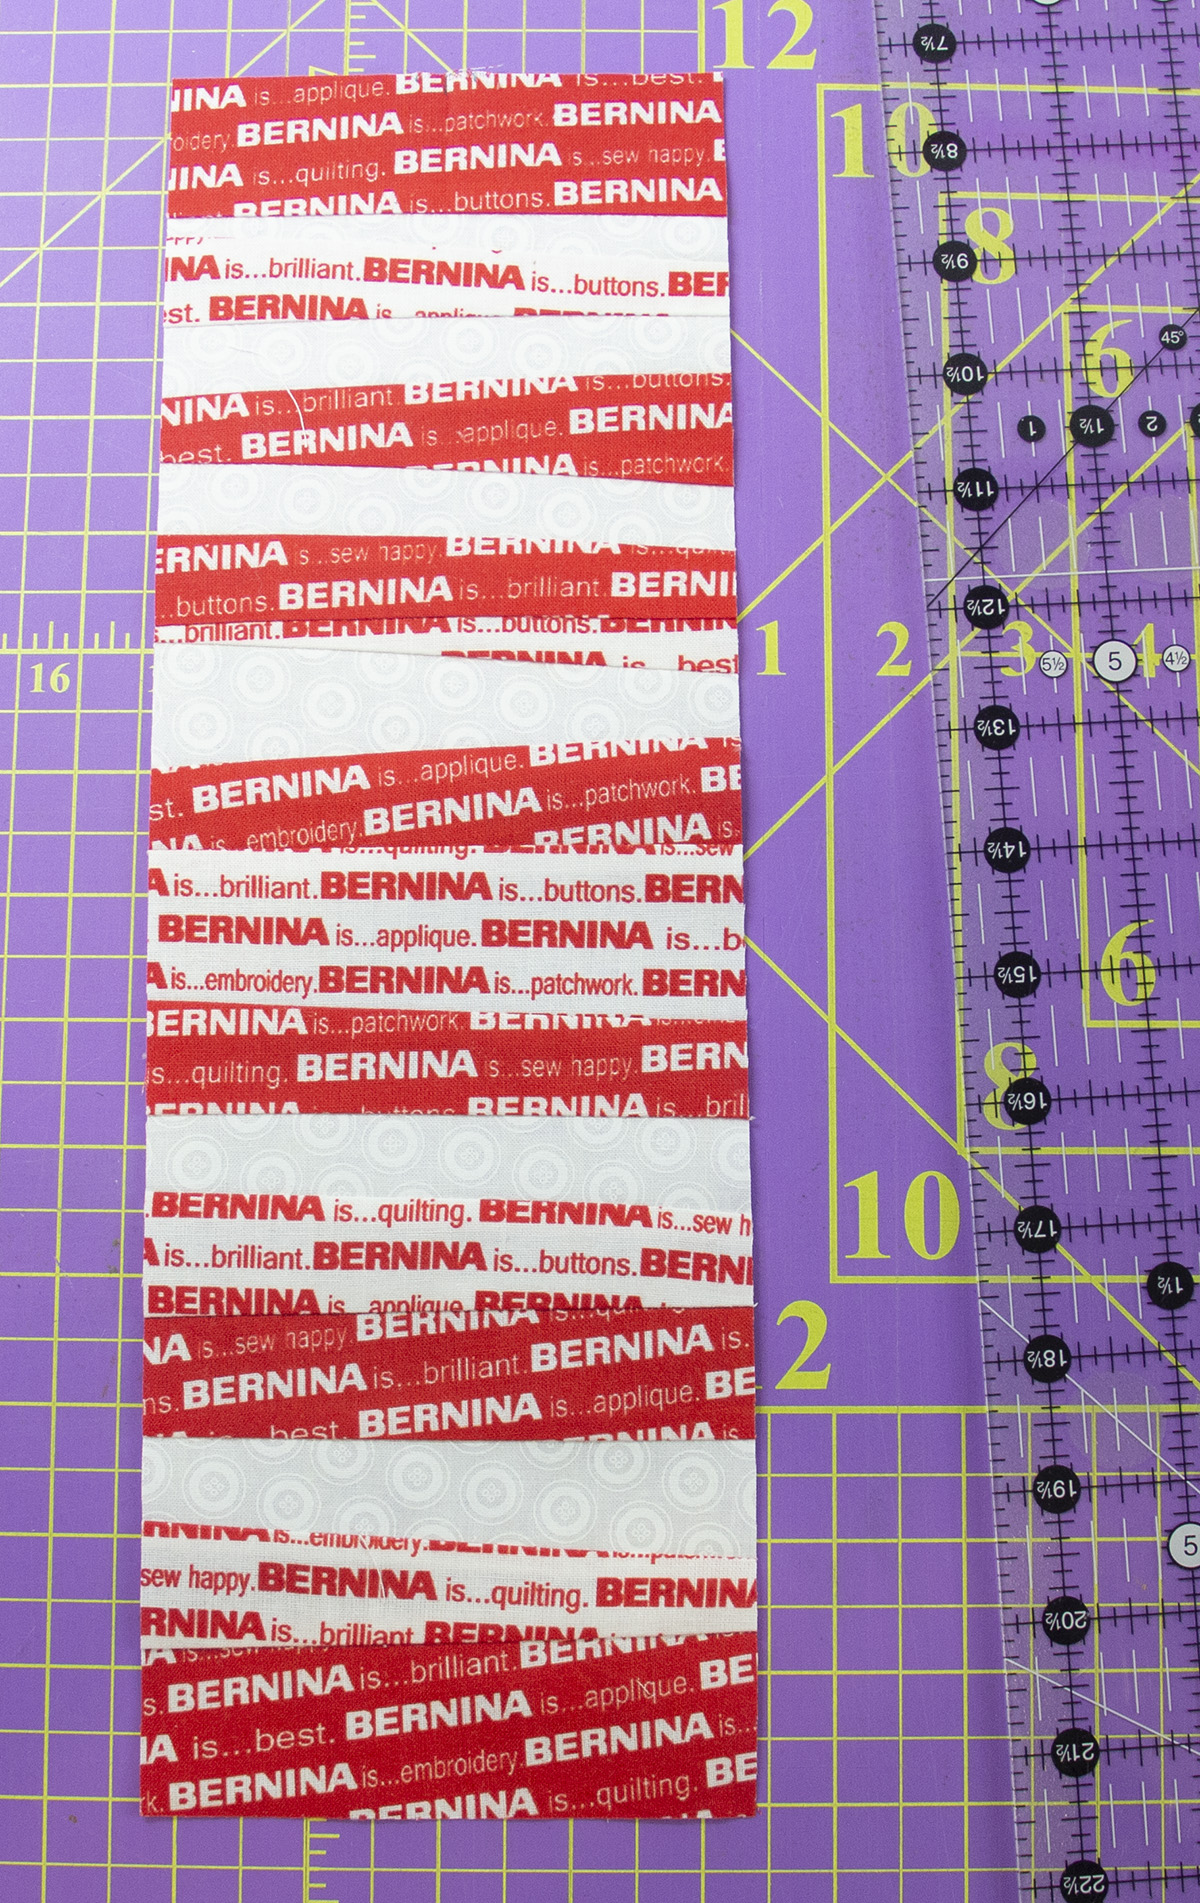
Fold the sewn strip set in half to find the center at the top of the strip set. Place a 1/4″ mark on the left and right sides of the center point.
Place a ruler on the left mark from the center, align the ruler with the bottom left corner of the rectangle and cut. Repeat with the right mark from the center and the bottom right corner… you have a tree shape!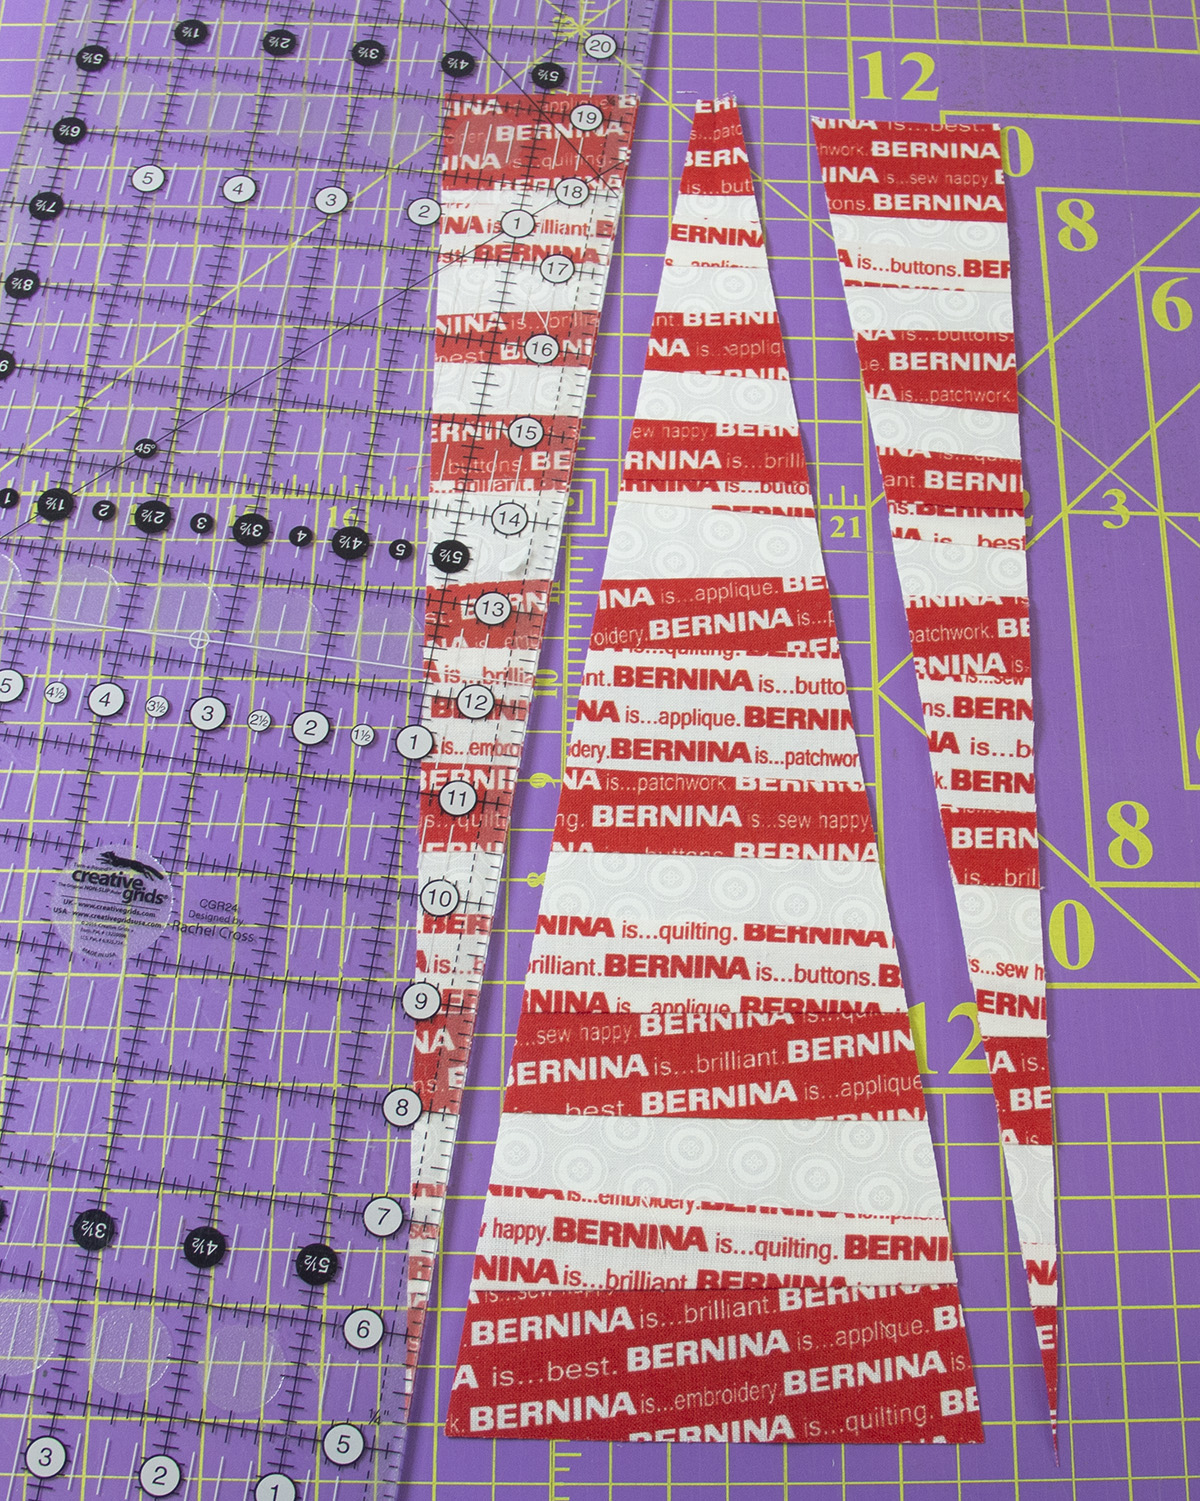
Mark the top and bottom edges of the white 12¾” x 14½” as follows:
On the top of the 12¾” edge, place a mark 7 5/8″ inches from the left edge.
On the bottom, place a mark 3″ from the left edge and 5 1/2″ from the right edge.
Align the ruler with the top and the bottom 3″ mark, and cut.
Now cut the right side by aligning the ruler with the top cut and the bottom 5 1/2″ mark.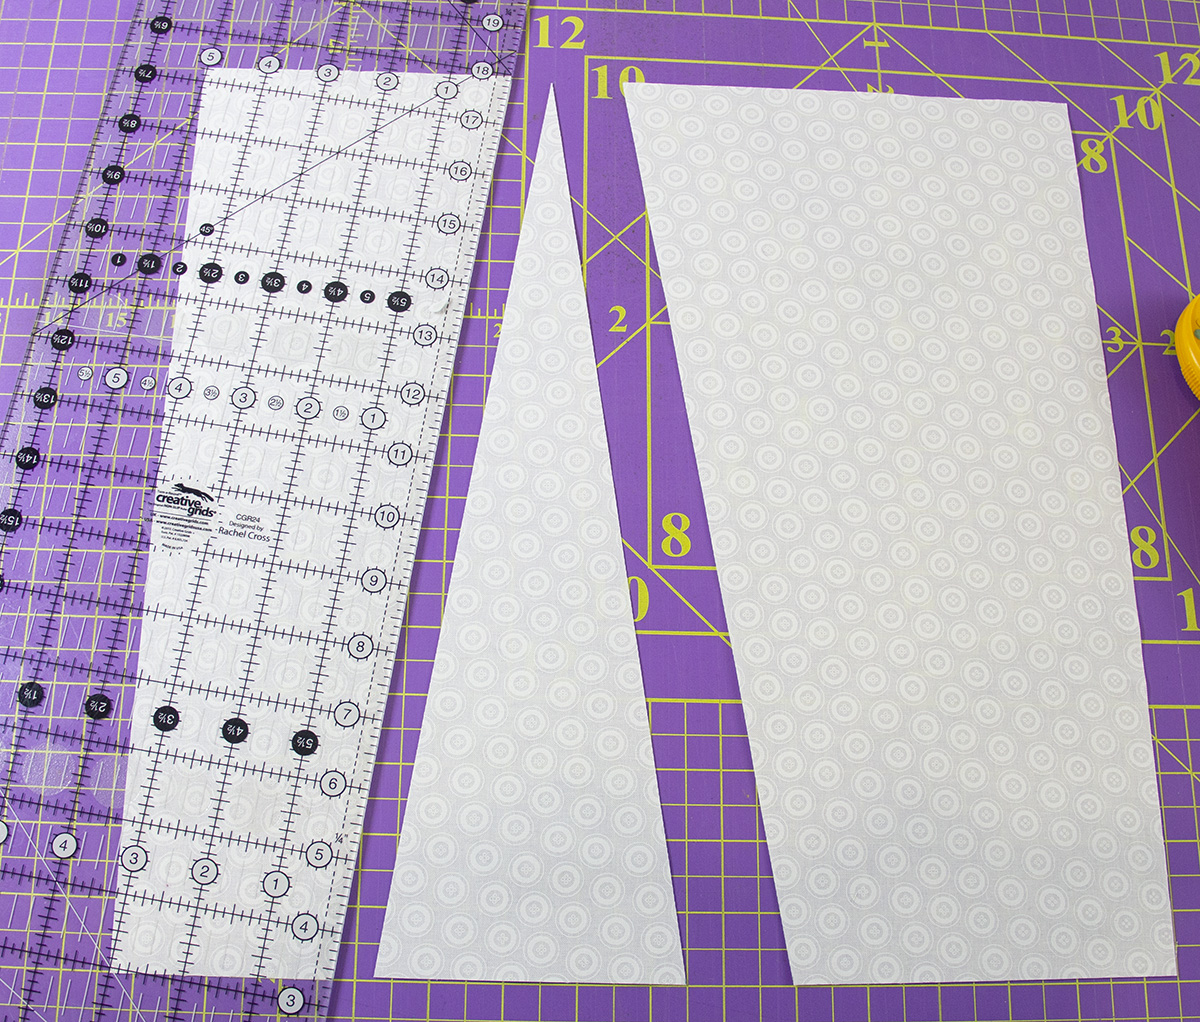
Place the tree, right side down on the white left piece and stitch down with a 1/4″ seam allowance… 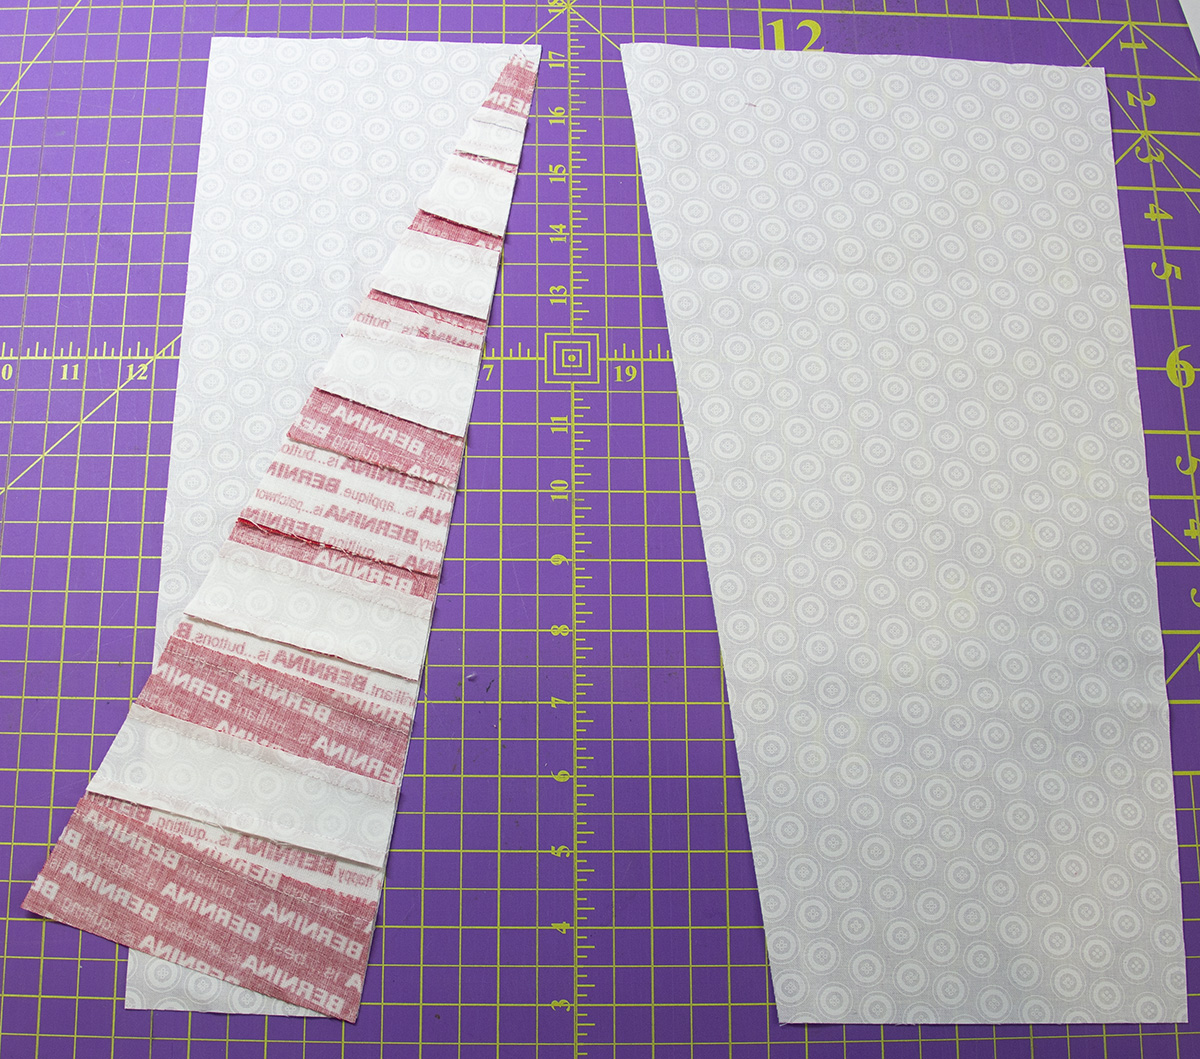
…press to the tree.
Place the other white piece, right side down over the tree and stitch in place.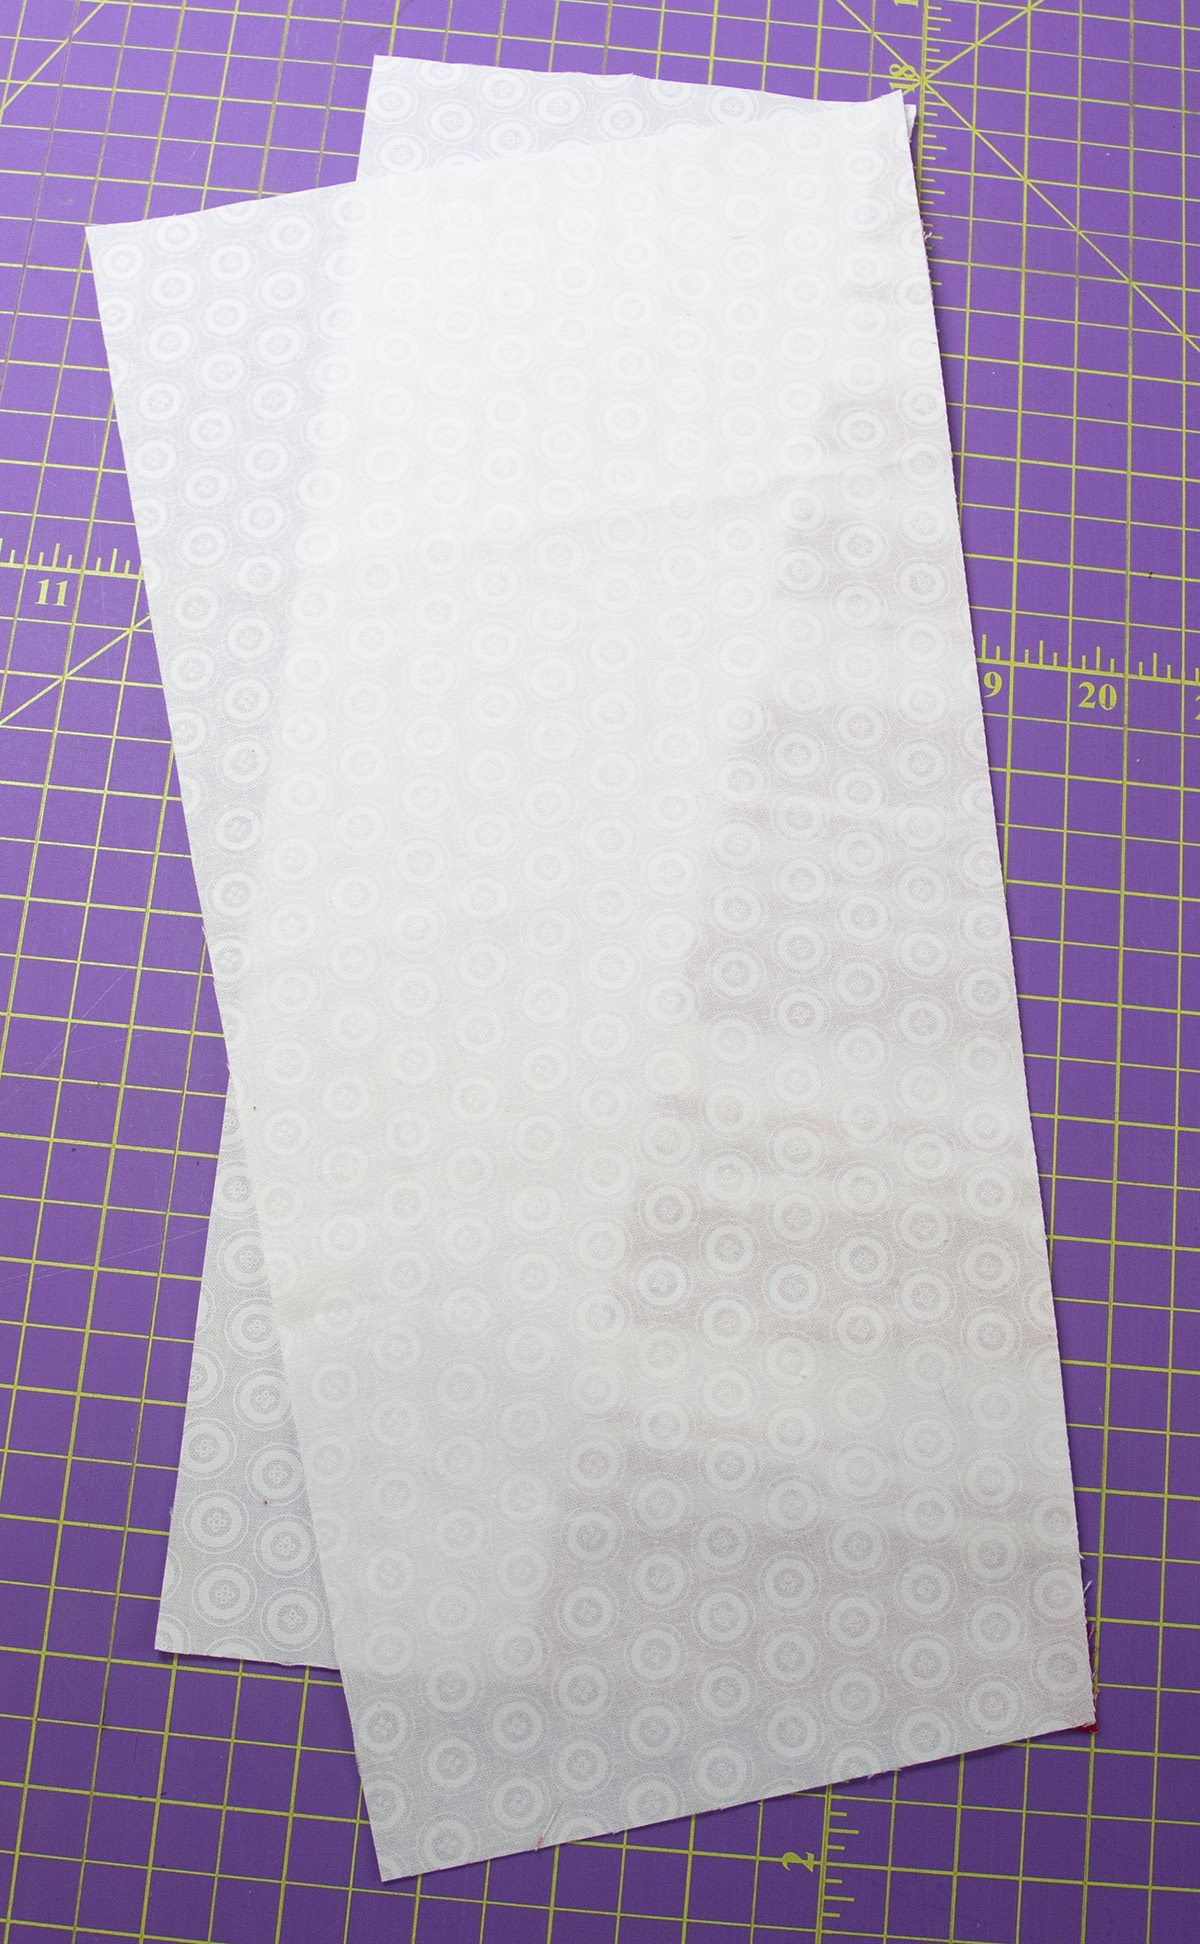
Press to the white.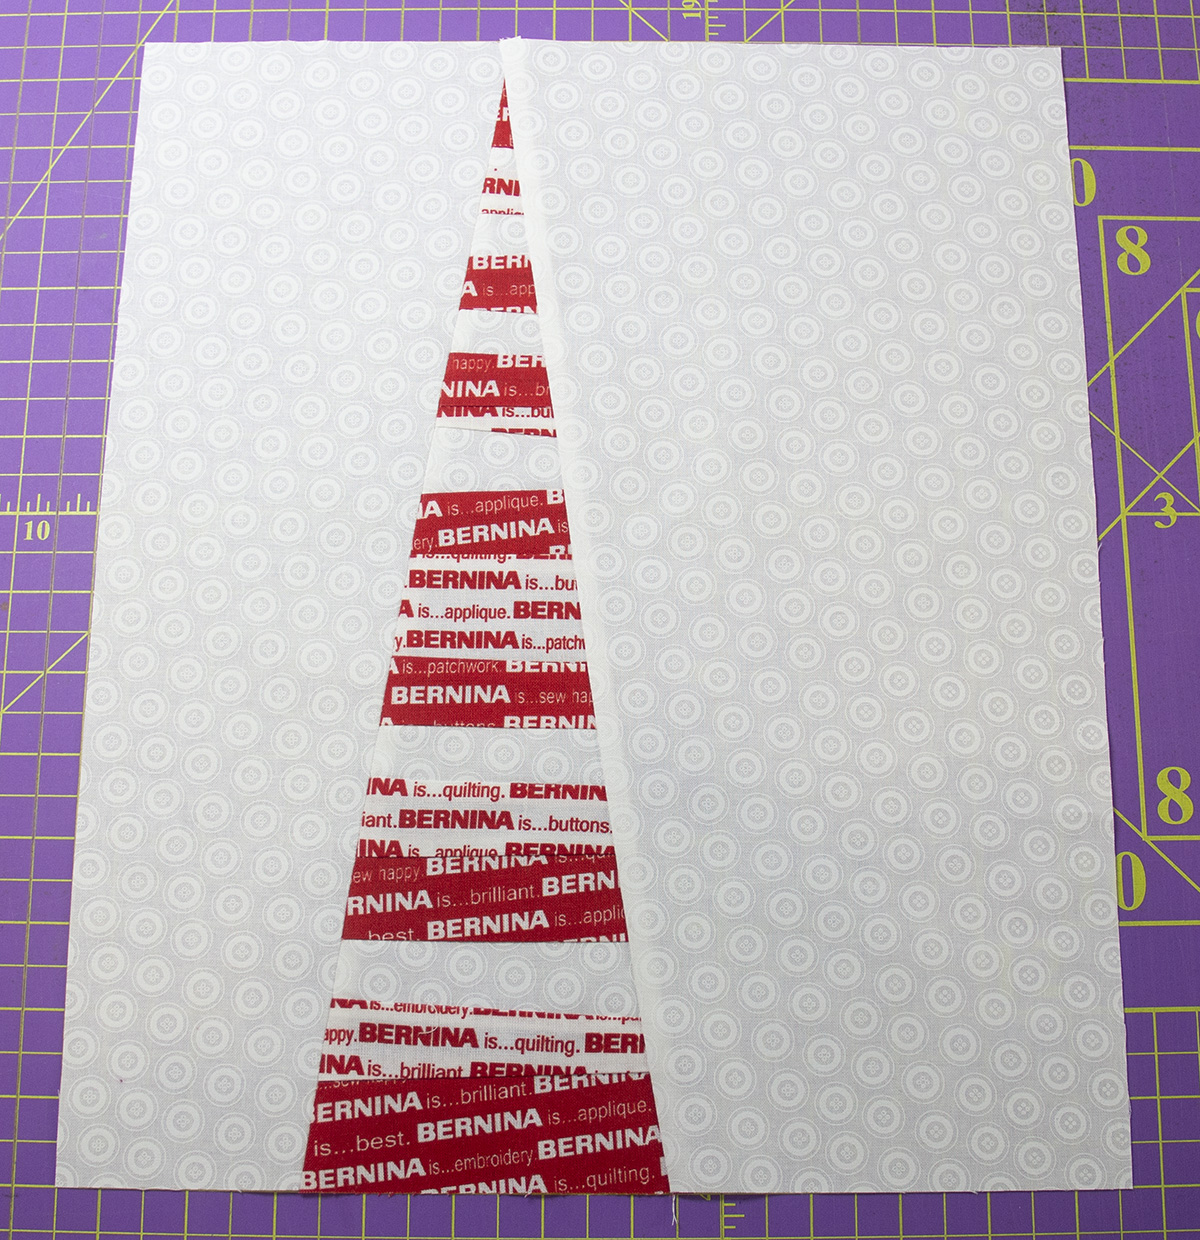
Sew the white 4¾” x 1″ strip to the left edge of the grey 1″ square and the white 7¼” x 1″ strip to the right edge; press to the grey.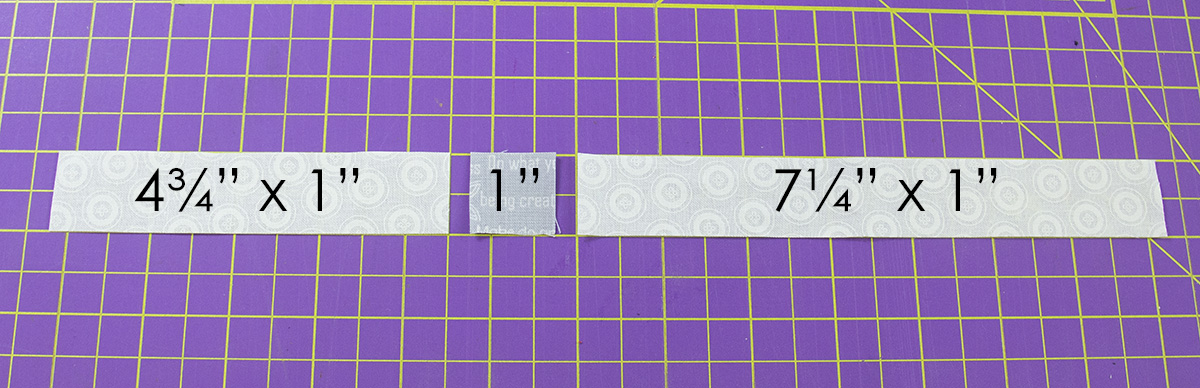
Sew the tree and the trunk units together, then sew the white 12″ x 3″ strips to the top and bottom edges.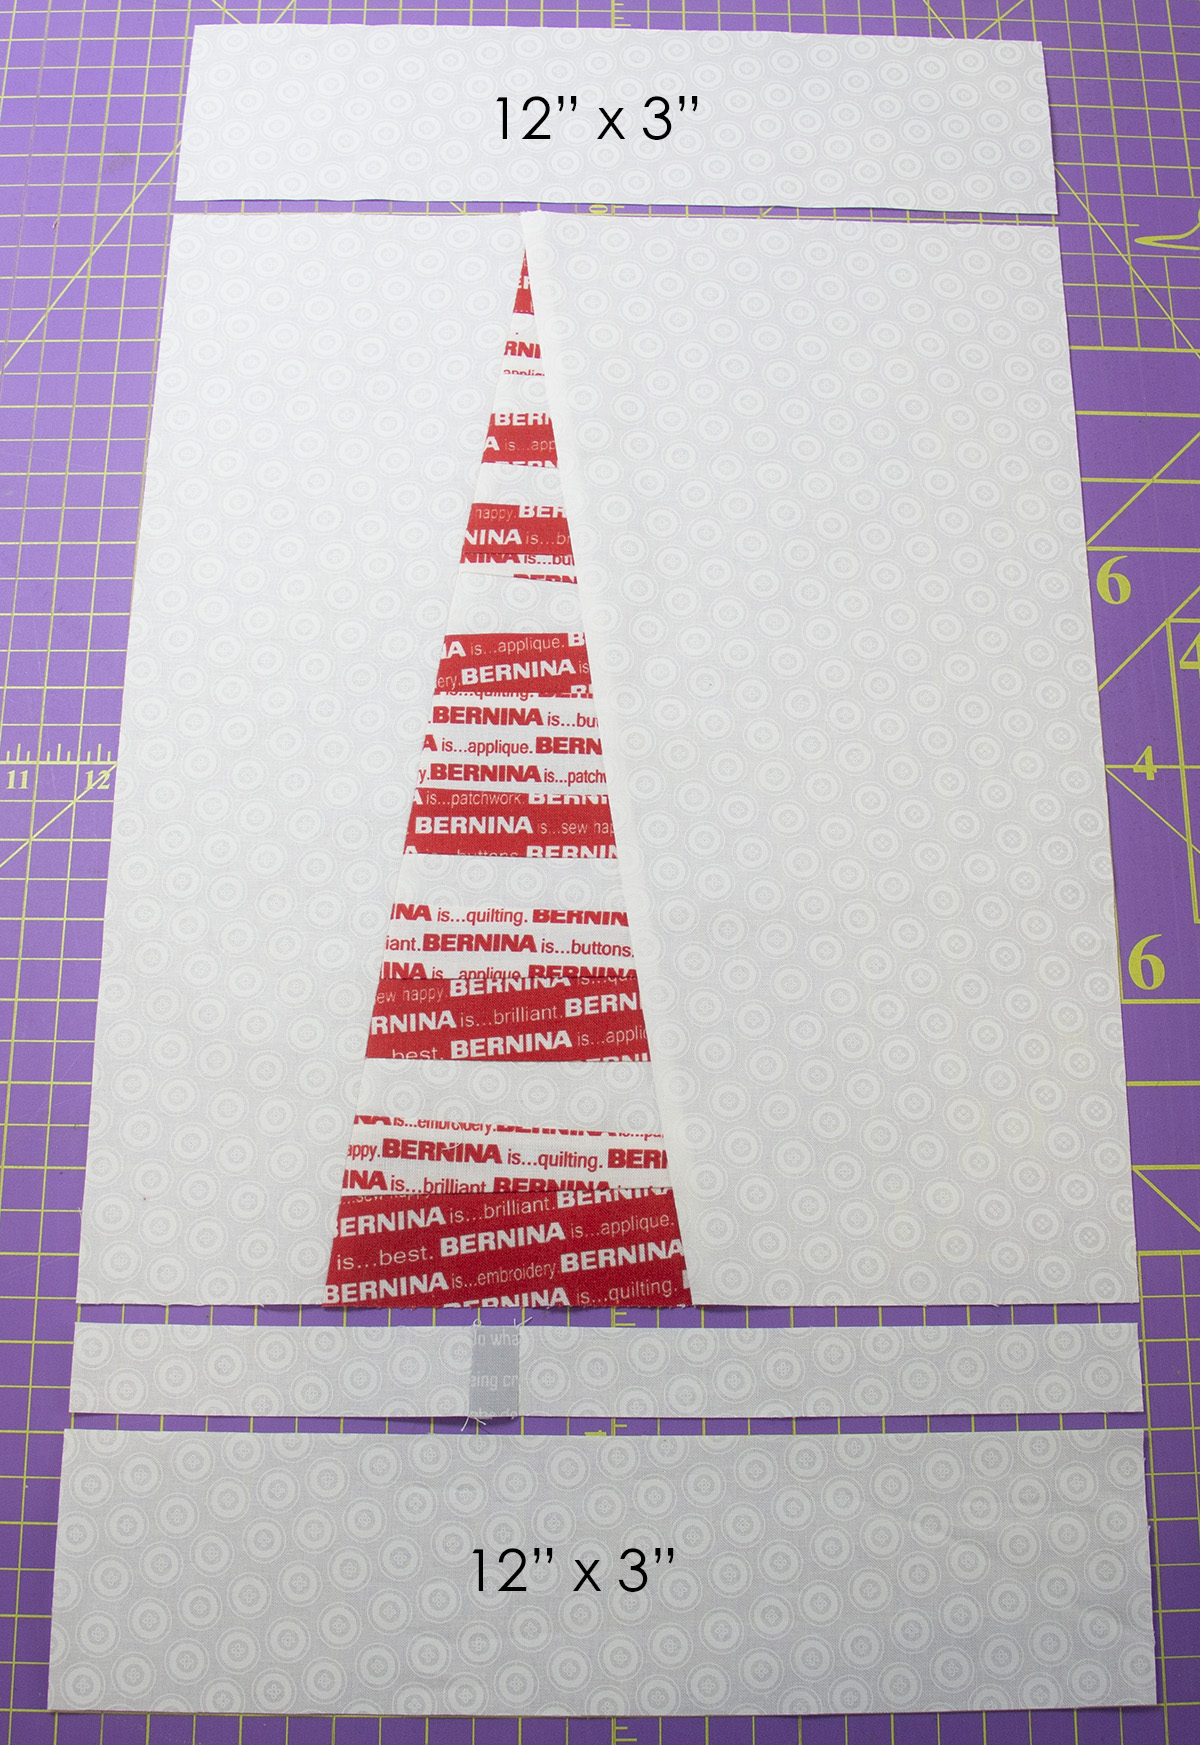
Tape and cut the printed Stocking Template & Tree Placement Guide, pages 5 and 6.
Place the template over the stocking block aligning the tree with the placement lines. Trace the stocking shape onto the stocking block with a marking pen or pencil; cut the excess block fabric 1/2″ outside the traced line.
Refer to the ornaments stocking’s instructions to quilt and assemble the red & white Christmas tree stocking. 
I hope you’ve enjoyed this tutorial and will share pictures of your stockings in the WeAllSew Community!
Used Products


What you might also like


5 comments on “Quilted Ornaments Stocking”
-
-
I think I shall attempt to do this stocking this week. Thank you so very much for the tutorial.
-
I like to make mini Christmas stockings for gift cards.
-
I made the tree stocking this weekend and it turned out perfectly lovely. I struggled when looking for a design for my husband, but this just fit the bill. I had no problems at all following the directions and the result is lovely. I hope he likes it as much as I do, when he gets this filled with goodies on Christmas Eve. Thank you for this wonderful pattern!
-
The measurements are wrong in the directions for the tree. When cutting the 12 3/4″ x 14 1/2″ piece, you need to measure 7 5/8″ from the right edge, not the left.
Leave a Reply
You must be logged in to post a comment.
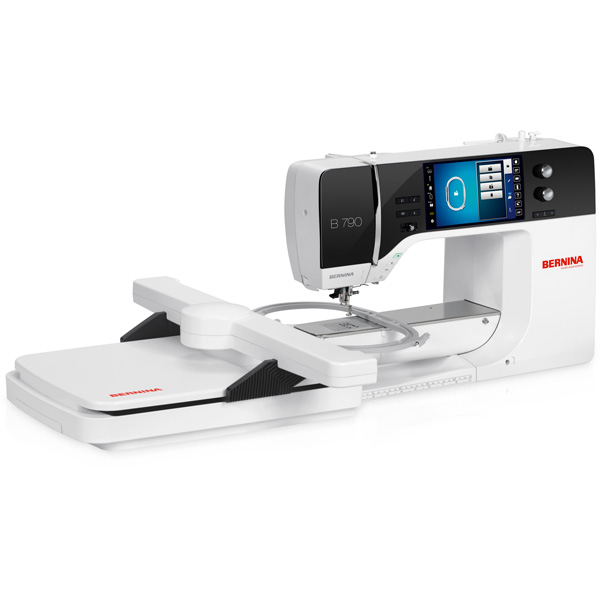
I love these stockings. Thank you for the tutorial. Where can I purchase the Bernina red and white fabric? It’s beautiful.