Quilting with Triangles, Part 2: Piecing
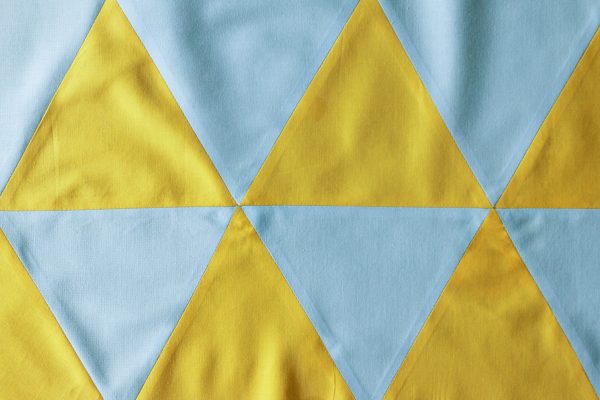
Once you have your triangles cut, piecing them so that you have perfect triangle points can be tricky! With these simple tips, you’ll be sewing your quilt top together in no time.
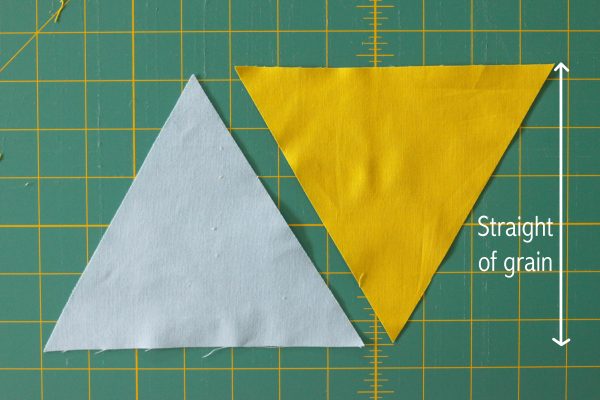
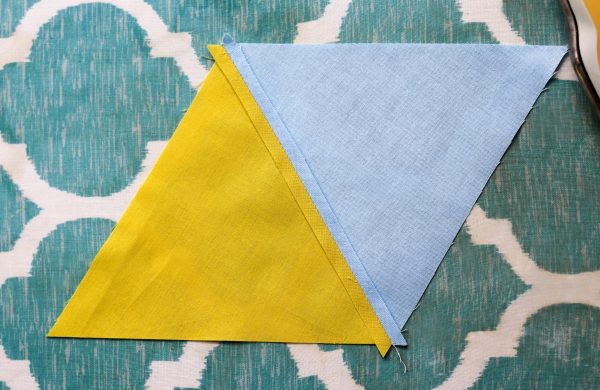
But first, let’s talk about how your cut triangles have one edge that is on the straight-of-grain. See how the threads of the fabric are running perpendicular to one edge of the triangle? This edge is on the straight-of-grain. Why is it important to pay attention to the straight-of-grain? Because the other edges, being cut on the bias, will stretch and distort more.
So ideally, as you’re piecing your triangles into rows, you’ll want to keep that straight-of-grain edge along the bottom/top of the row. That means that while you’re sewing the triangles together into rows, you’ll always want to be piecing on a bias edge. That way, your rows will stay nice and neat and unstretched, and all those seams will come together better when you start joining the rows.
Okay, so now that we know what edges we need to sew along, let’s do some piecing!
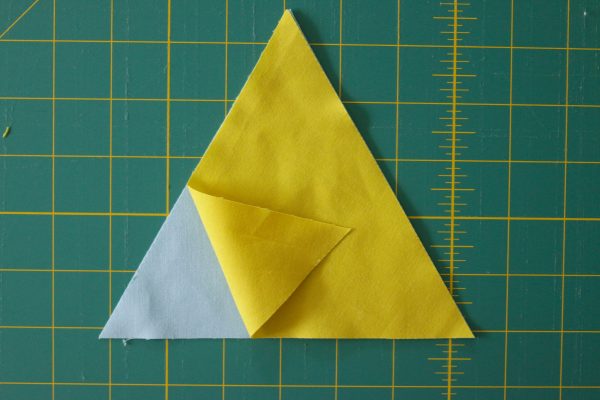
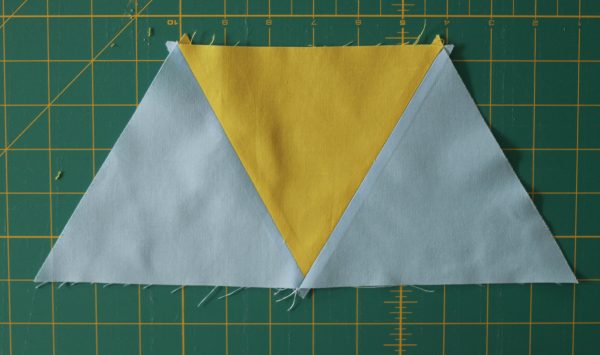
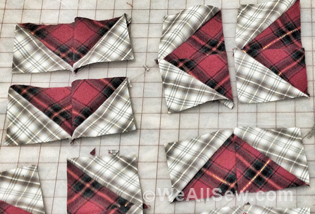
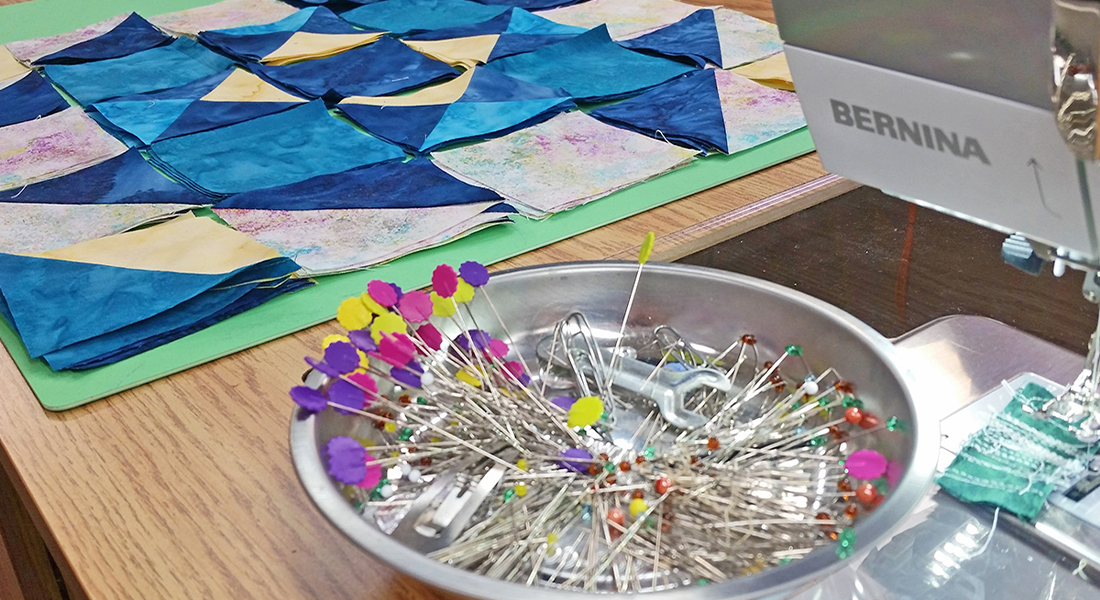
Match up your first two triangles, right sides together, as shown. Your triangles should match up perfectly. (In the photo above, I have one corner of the top triangle folded back only so that you can see the triangle underneath it and how they line up. Both of your triangles should be flat.) Don’t forget to pay attention to the straight-of-grain and make sure both straight-of grain edges will end up either at the bottom or the top of your row!
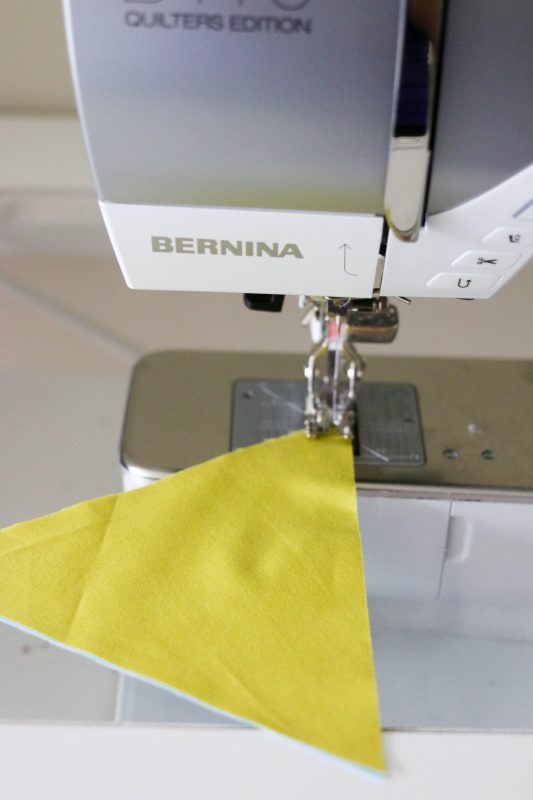
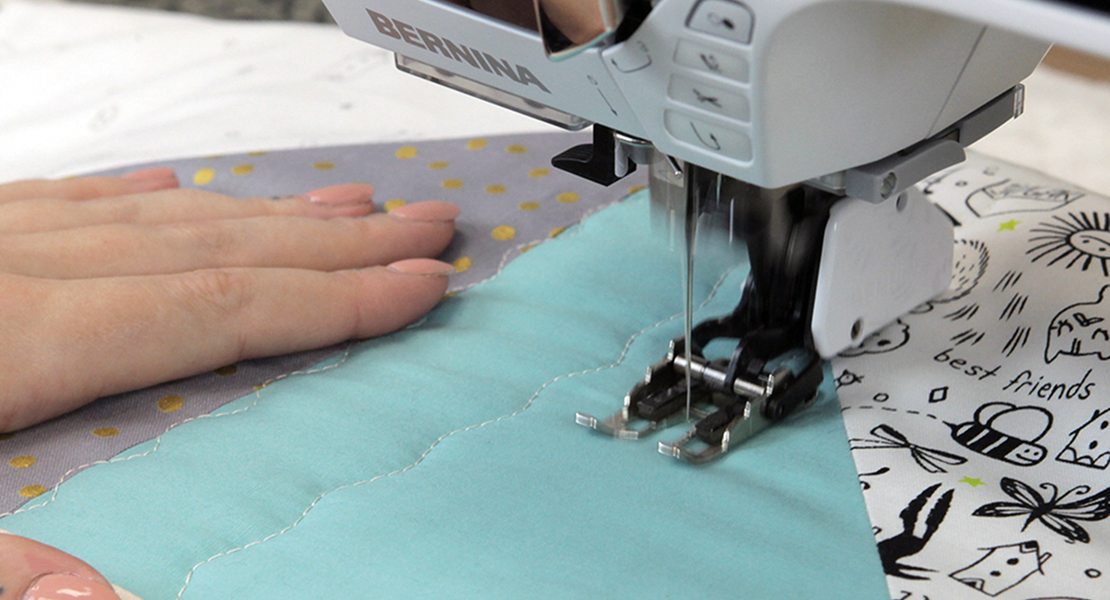
Sew a 1/4″ seam along one of those bias edges of your paired triangles. As usual, I love my Patchwork foot #97D with Dual Feed engaged for this!
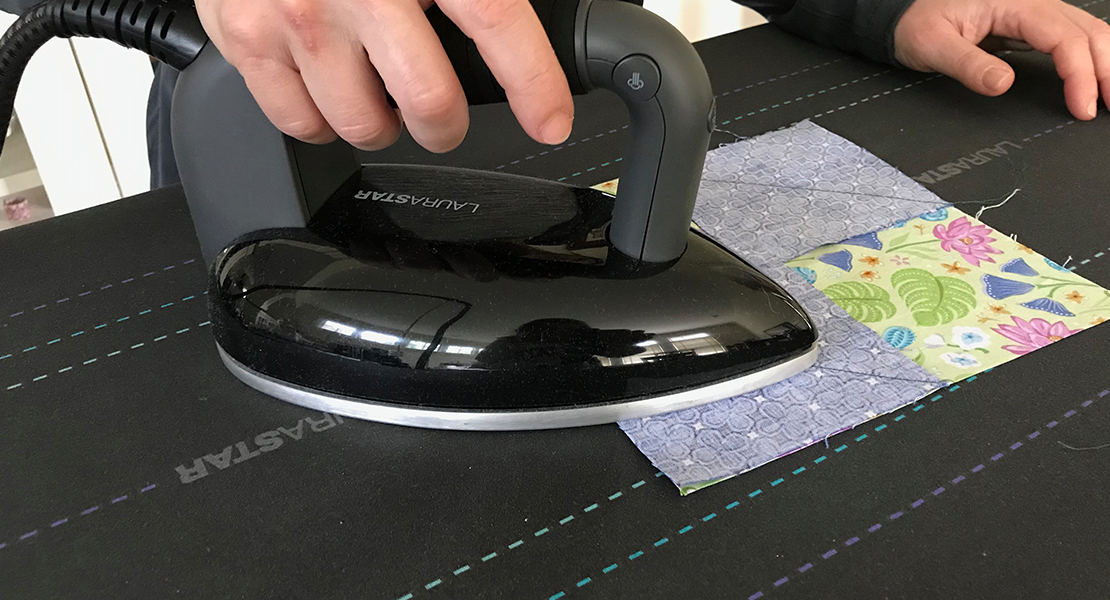
Press the seam you just sewed. (Pressing the seam will help you sew on the next triangle more accurately, so don’t skip this step!) I like to press my seams open because it reduces seam bulk, but you can also press to the side if you prefer. Just pick one side and stick with it for that particular row, then press in the other direction for the next row, and continue alternating.
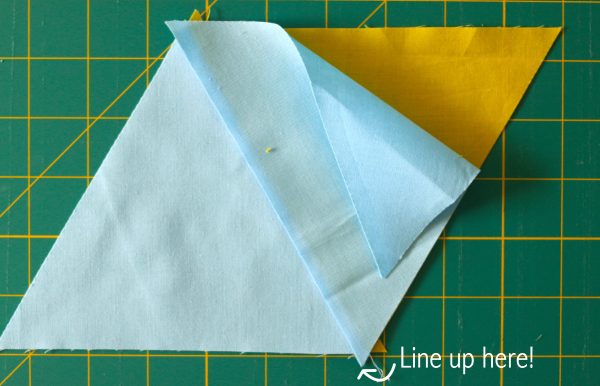
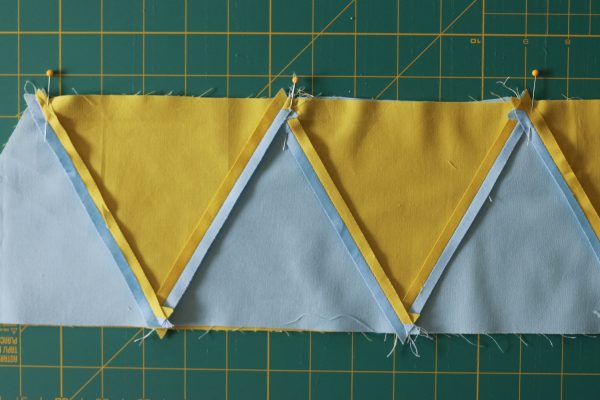
Match up the previously sewn triangles with the next triangle in your row, right sides facing, as shown. (Again, I’m folding down one corner of the top blue triangle just to show you how the yellow triangle underneath is lined up. Don’t actually fold yours when you piece!) In this case, you want to be matching up one of the points of your new triangle with the dog-ear on the seam allowance of the previous pair you sewed together. (A dog-ear is the little point that is made when angled seams are sewn.)
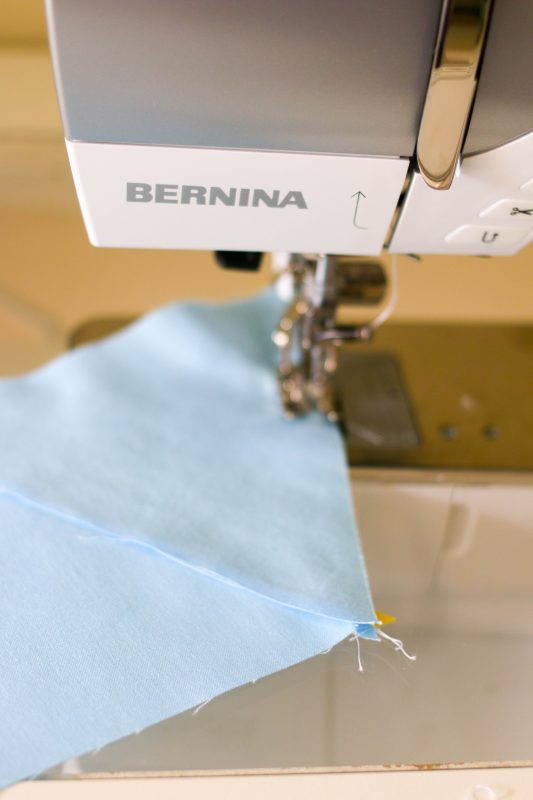
This photo shows it at a different angle.
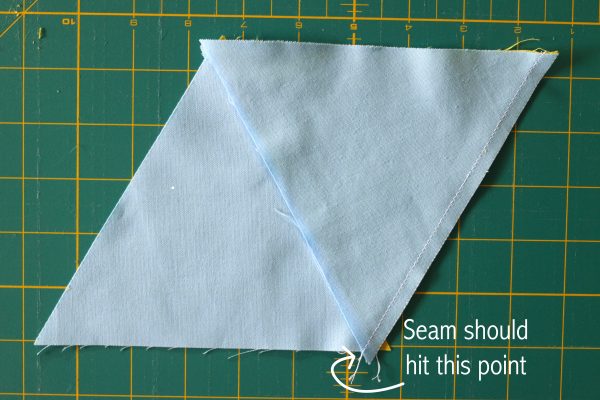
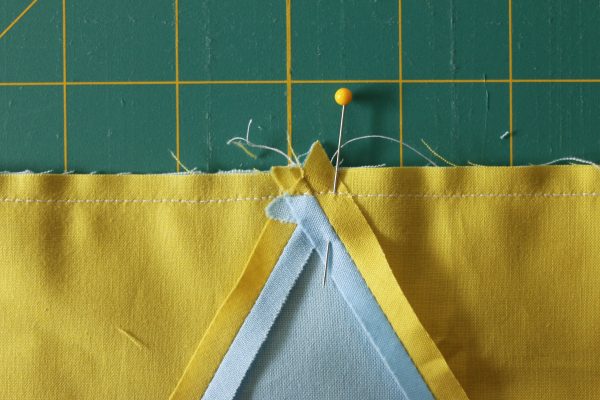
Your 1/4″ seam should hit exactly at the intersection of the dog ear of the top triangle and the lower edge of the triangle below it, at the point shown in the photo above.
Now you have three triangles together! Continue adding triangles in the same way until your row is completed.
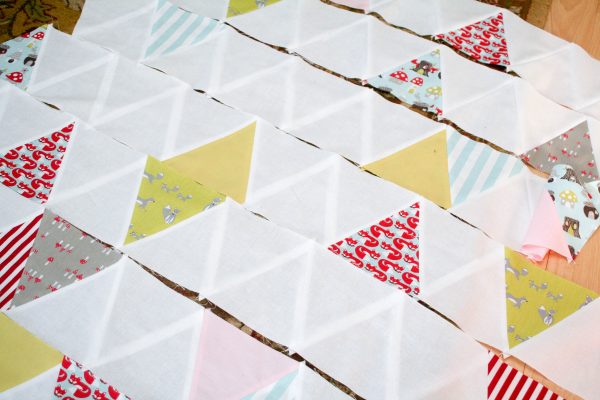
Once you have your rows of triangles sewn together, then it’s time to sew the rows into a quilt top.
The top/bottom tips of the pieced triangles in your rows should be exactly 1/4″ from the edges of the rows (in a perfect world, anyway!) Match up two of your pieced rows, right sides together, with those triangle tips lined up.
Now sew the rows together with a 1/4″ seam. I like to use my Patchwork foot #97D foot here, as always!
See how the previous seams you sewed form a point in the seam allowance? As you sew the rows together, you want to always be just catching that intersection, as shown in the photo above. That’s what will give you great points in your finished quilt top.
That’s it! Perfection is yours!
Next week, in my final post in this series on triangles, we get to talk design! This is what I really love about equilateral triangles—the design possibilities are literally endless. So come back next week and see what you can do with all these triangles you’ve been cutting and piecing!
What you might also like
4 comments on “Quilting with Triangles, Part 2: Piecing”
-
-
I understand your frustration completely. I had to make a block consisting of triangles twice to get it right. I love the above tip for equilateral triangles. To match the new triangle to the dog ear of the prior one. Is there a way you could also do that ? Match the new one to the dog ear left on the prior one. Just a thought. Try some scrap triangle and get it matched then measure how much you overlapped. Seems like since you are sewing a ¼ “ seam it might just be that same ¼ “ as with the equilateral triangles. Let me know how you worked it out
-
When all else fails — mark the seam allowances close to the point, then pin, making sure points match or intersections will be 1/4″ from next seam allowance
I’m coming from a garment sewing background & when I learned ALL seam allowances and important internal bits were marked.
After doing a few, you may develop an eye for how much of a “jog” is needed — just as if you’ve quilted for a while you probably have a pretty good idea of what a 1/4″ seam allowance is
-
Hi there. I made this quilt and struggled as well to understand. I finally used paper and sewed it together and only then was I able to get it, so to speak. Try cutting at least 3 paper triangles and sewing them together. I will bet that you will figure out right away what the jog is. Good luck!
-
Leave a Reply
You must be logged in to post a comment.




These are great tips for equilateral triangles. I’m currently struggling with Tula Pink’s Tabby Mountain pattern consisting of rows of triangles like Thousand Pyramids, except these are 30 degree triangles cut from 10” strips. The directions say to “jog the ends slightly” for piecing, and i’m Having a terrible time figuring out how much to “jog” them!! I keep opening up what I’ve seen to find that my triangle point has formed 1/8” away from the raw edge instead of 1/4” away and that the straight bottom edges of the triangles are out of alignment. Help! I’m sewing on a B 750 QEE with straight stitch plate, foot 97D and Dual Feed engaged, piecing stitch 1326. It’s not an issue with my machine or settings; I just am not able to eyeball the amount to offset the two triangles before sewing the seam.