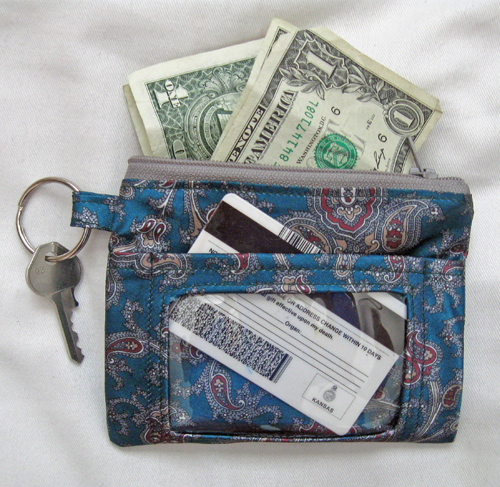
How to Make a Recycled Tie ID Case
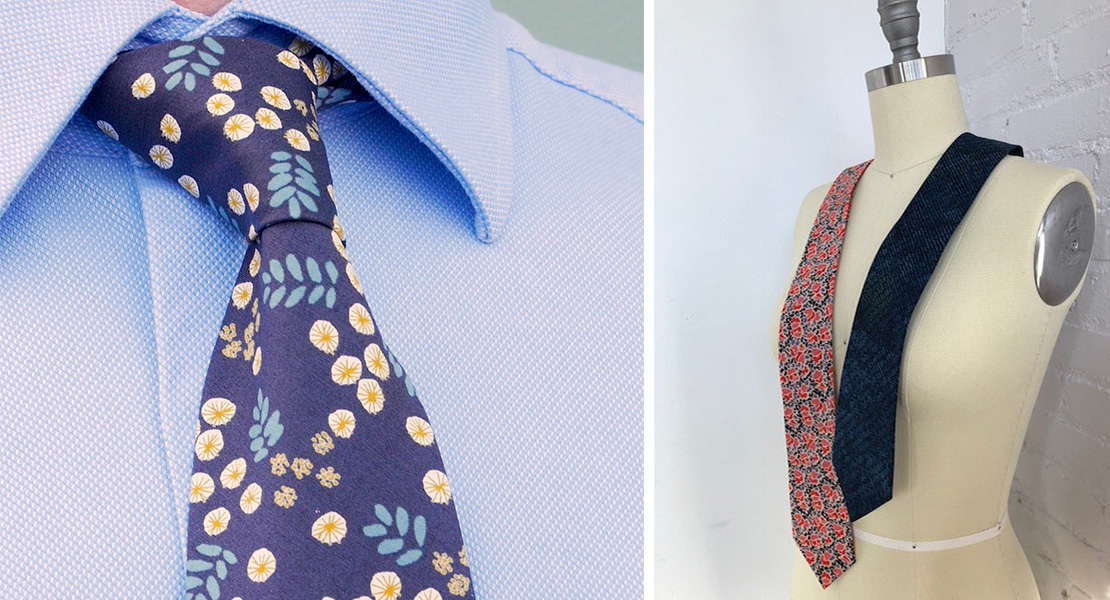
Need to flash your student ID, driver’s license or bus pass often? Now there’s no need to remove your card with this handy ID carrying case. Neatly tote your ID, keys and spare change in this handy little zippered pouch. Made from recycled tie fabric, you can add a touch of elegance to this project by using reclaimed silk!
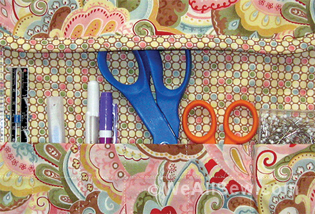
Supplies
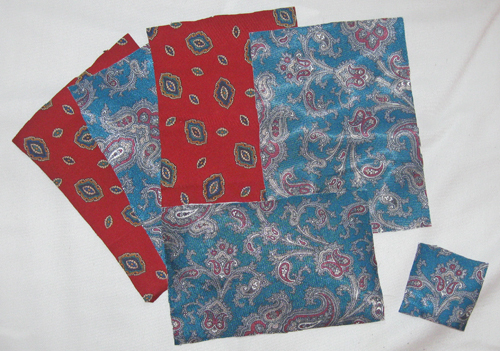
- 2–3 men’s silk ties for exterior and interior of case (the number needed will depend on the width of the ties)
- 3″ x 4-1/2″ scrap of clear vinyl
- 7″ zipper
- 1 split ring (generally found in the jewelry aisle)
- 3-3/4″ x 6″ scrap of interfacing
- Coordinating thread
- Scissors
- Water-soluble marking pen or tailor’s chalk
- Ruler
- Hand sewing needle
- Seam ripper
- Quarter-inch seam foot, optional (BERNINA Patchwork Foot #37)
- Zipper foot, optional (BERNINA Zipper Foot #4)
Seam allowances are 1/4″ unless otherwise noted
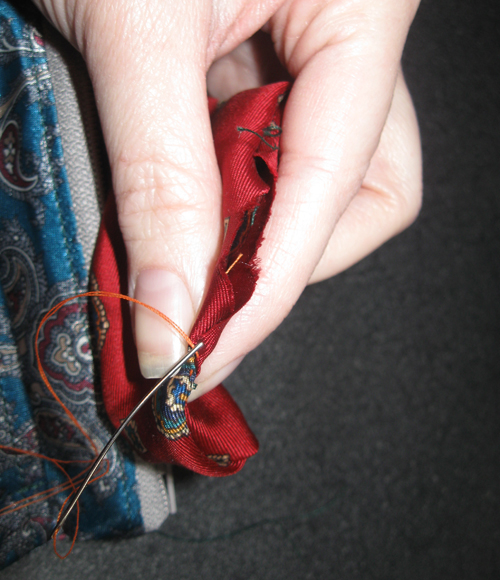
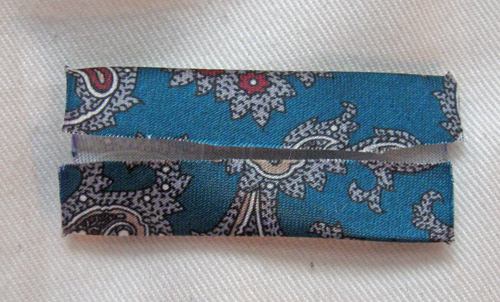
Step 1) “Harvest” and cut your tie fabric.
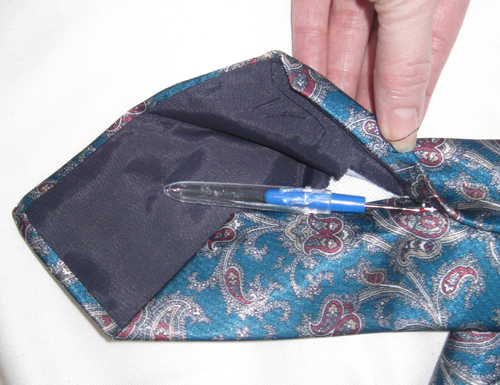
Using your seam ripper, carefully remove the tag and any other labels from the back of the tie. The tie is held together by small, intermittent stitches – carefully clip or use your seam ripper to remove these stitches along the length of the tie. Open out the tie and press it to remove the creases. Use the tie fabric as you would any other material, arranging the pattern pieces on the allotted length and width of the tie.
Download and print the card pocket template: Recycled_ID_Case_template.pdf
From the exterior fabric:
- Cut two 4½″ x 6″ rectangles.
- Cut one piece using the card pocket template, transferring all markings.
- Cut one 2″ x 2″ square of fabric.
From the interior fabric:
- Cut two 4½” x 6″ rectangles.
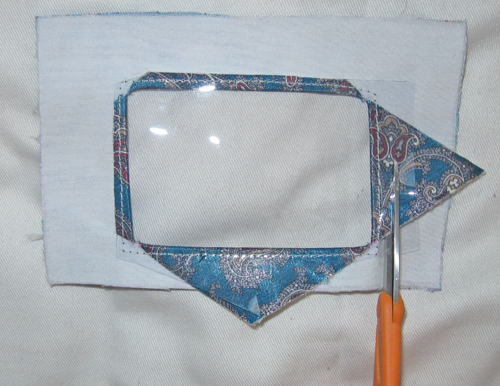
Step 2) Make the vinyl window.
Fuse interfacing to the wrong side of the card pocket fabric.
Cut along the diagonal lines of the X (transferred from pattern) on the card pocket window. DO NOT REMOVE FABRIC FROM THE X.

Fold under each flap of the rectangle to the wrong side of the card pocket and press.
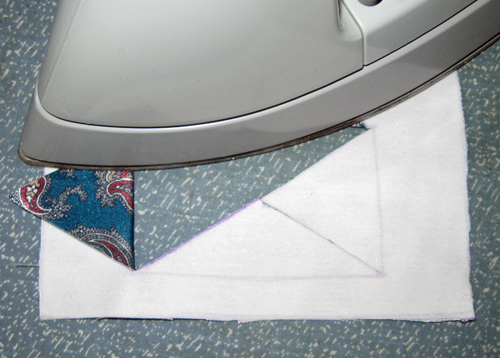
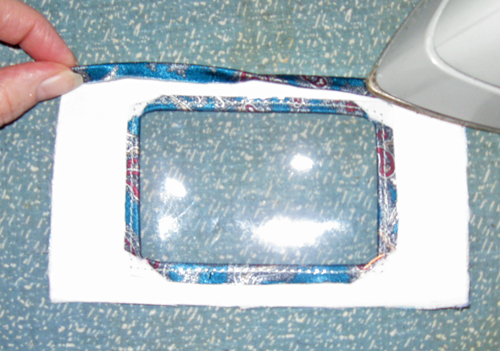
Center the 3″ x 4-1/2″ piece of clear vinyl under the window opening and topstitch 1/8″ away from the finished edges. If necessary, tape the vinyl to the underside of the window to keep it in place. DO NOT PIN THE VINYL, as this will leave permanent holes.
Trim the excess material from the underside of the opening, close to the stitching.
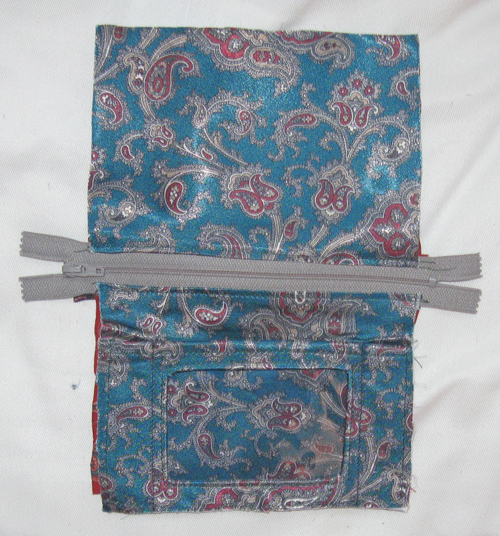
Step 3) Make the pocket.
Fold under 1/4″ along the top of the card pocket. Fold under 1/4″ again, creating a finished edge. Stitch close to the finished edge.
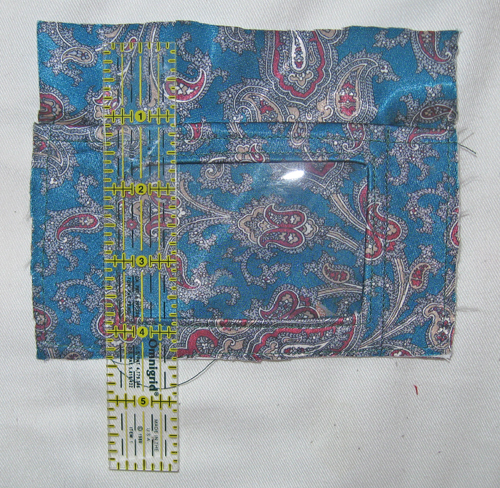
With the right side facing up, place the card pocket on top of the right side of one 4-1/2″ x 6″ rectangle. Match the side and bottom raw edges and baste the card pocket in place.
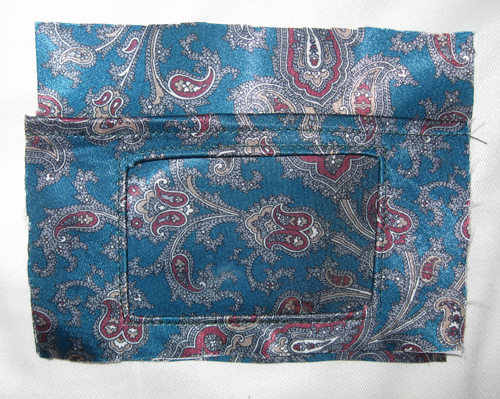
Stitch 1/4″ away from each short, finished edge of the window, through both thicknesses of fabric. Be sure to backstitch at the top of the pocket edge or use a bartack stitch. Since this area will receive the most stress, these stitches will keep your threads from “popping” and breaking over time.
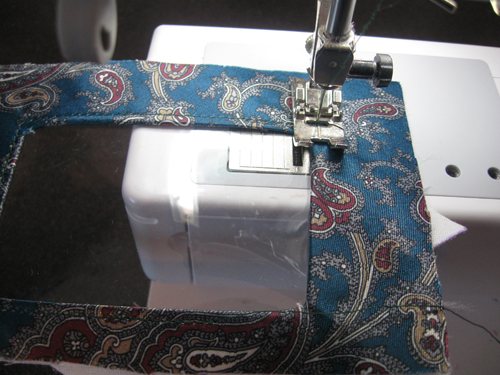
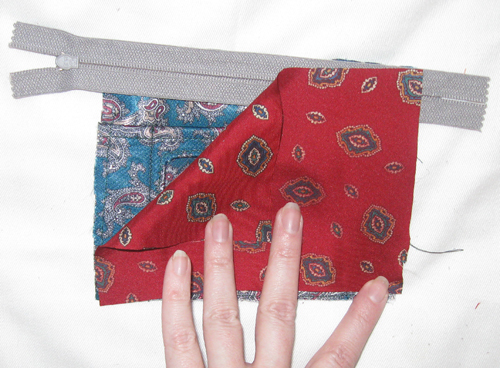
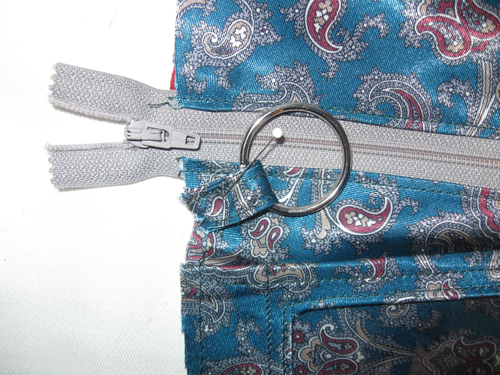
Step 4) Insert the zipper.
Make a “fabric sandwich.” Place the exterior fabric right side up, lay the zipper wrong side up on top, and place the lining wrong side up on top of it all. Pin the layers together, matching the raw edges.
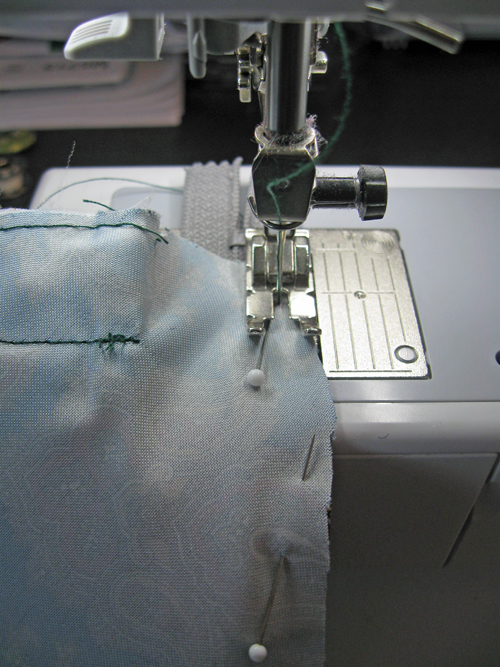
Sew the layers together using a 1/4″-wide seam allowance.
Press the layers open with wrong sides together and the zipper sandwiched between them. When pressing, do not touch the hot iron to the clear vinyl as this will melt it.
Topstitch the fabric layers 1/8″ away from the finished edge.
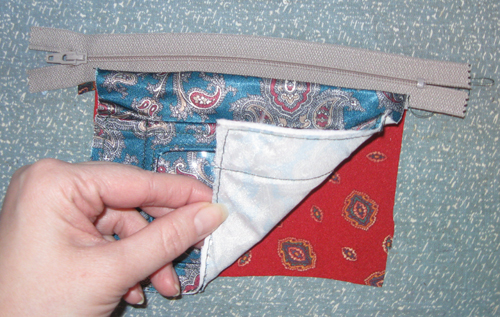
Repeat for the other side of the zipper with the second exterior and lining pieces.
Step 5) Add the key ring.
With wrong sides together, fold the 2″ x 2″ square of fabric in half and press. Open out the fabric and fold the raw edges to meet the creased line. Press and stitch along both finished edges.
Insert the fabric strip through the split and fold it in half. Pin the strip just under the zipper on the exterior panel, matching the raw edges. Baste, making sure to keep the lining free from the stitching.
Step 6) Finish the ID case.
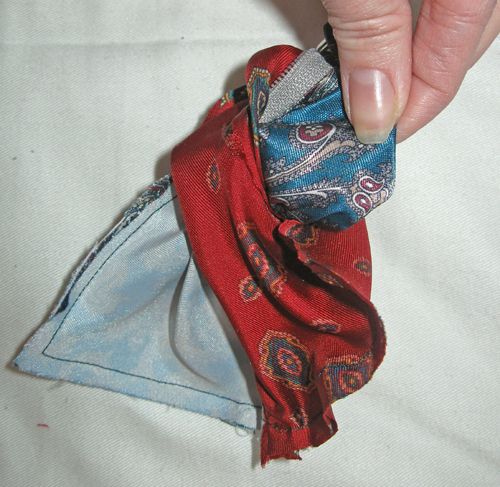
Unzip the zipper slightly. Place the layers of the wallet so that the right sides of the exterior pieces are matched with each other and the right sides of the lining fabrics are together. Pin in place, making sure the tab and split ring are tucked inside the wallet.

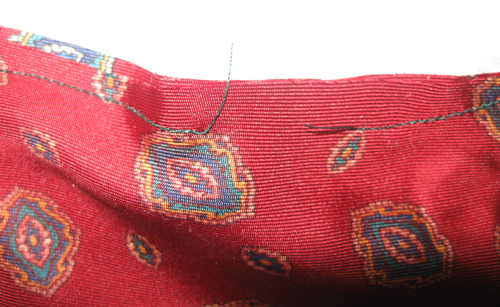
Sew along the outer edge of the entire wallet, leaving a 2″ opening along the bottom edge of the lining.
Trim away the excess zipper. Turn the wallet right side out through the opening in the lining. Poke out the corners.
Using a hand sewing needle, sew opening in lining closed. Press.