Sew a Dog Waste Bag Holder
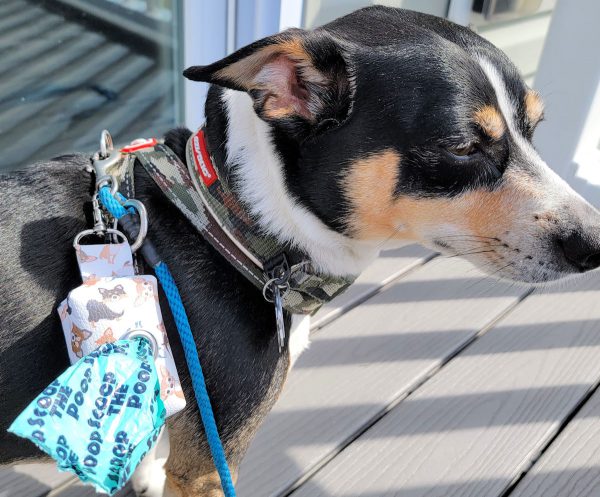
Over the past year, we’ve spent a lot of time visiting parks and trails in our area. Our dog almost always accompanies us, but it never fails that he has to mark the area at least once while we’re there. We make sure that we’re always prepared as we hit the door with all the necessary walking supplies: Water, harness & leash, and dog waste bags. But who says carrying these little baggies has to be boring? Learn how to sew your own pouch for these baggies and clip them on your leash so you’re ready for any adventure!
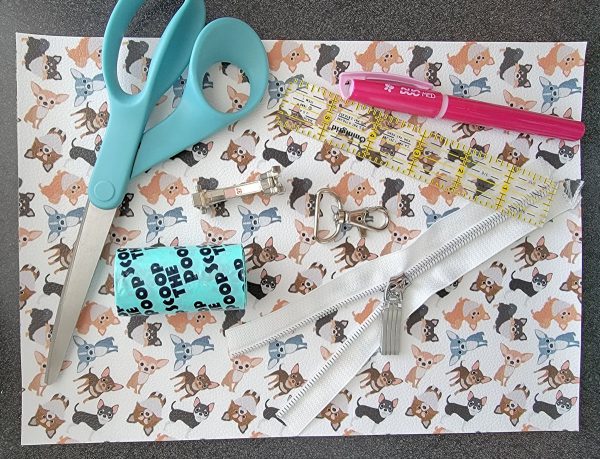
Materials to Sew a Dog Waste Bag:
- Vinyl or faux leather sheet (8 x 11″)
- 6″ zipper
- 1/2″ grommet
- 1″ lobster claw with D-ring
- 1″ wide cotton webbing or ribbon (optional)
- Dog waste bags
- Ruler
- Thread to match
- Marking Pen
- Scissors
- Binder\wonder clips (optional)
- Zipper foot
- 1/4″ foot (optional)
Cutting:
One of the great things about working with faux leathers and vinyl is that the material doesn’t fray. This means that edges won’t need to be finished, but it’s important to evenly cut your material so that exposed edges are clean. Always use a sharp pair of scissors when cutting or opt for a rotary cutter.
From Vinyl:
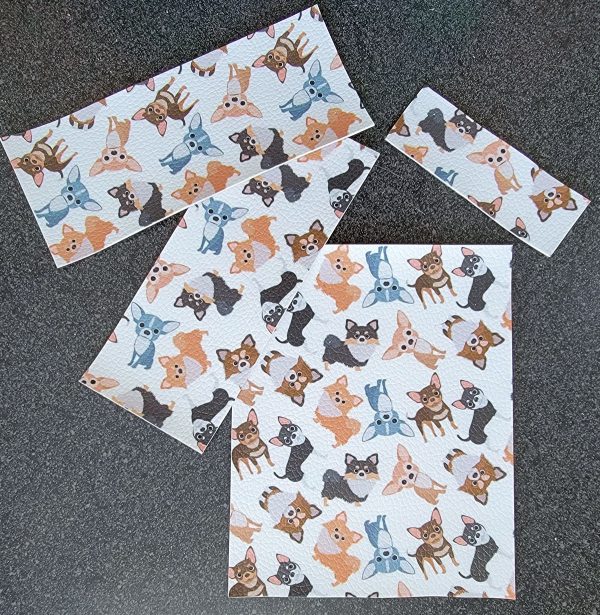
- Cut 1, 4 x 5″ rectangle for front of bag
- Cut 2, 2 x 5″ rectangles for zippered back
From Ribbon, Webbing, or Vinyl:
- Cut 1, 1 x 3″ rectangle to hold lobster claw.
Steps to Sew a Dog Waste Bag Holder:
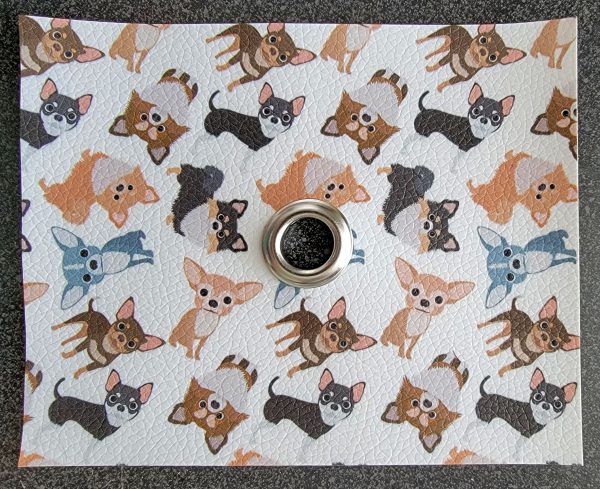
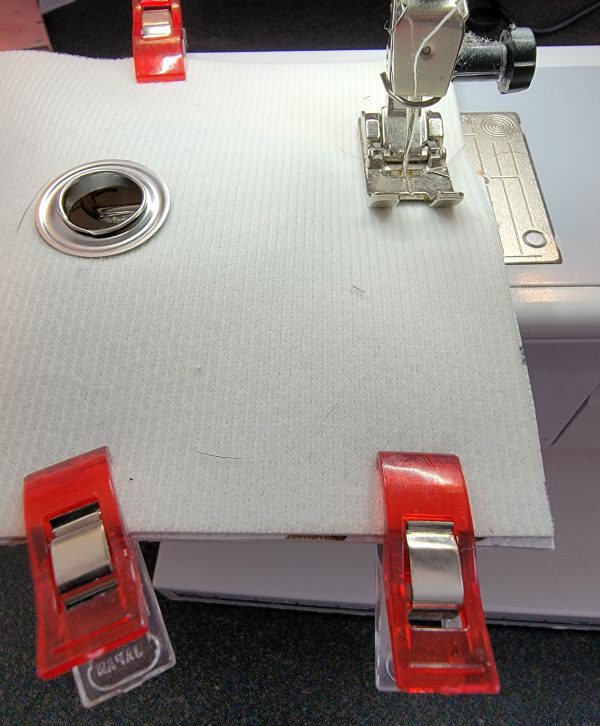
Find the center of the front bag piece and mark. Insert grommet over the marking according to manufacturer’s directions:
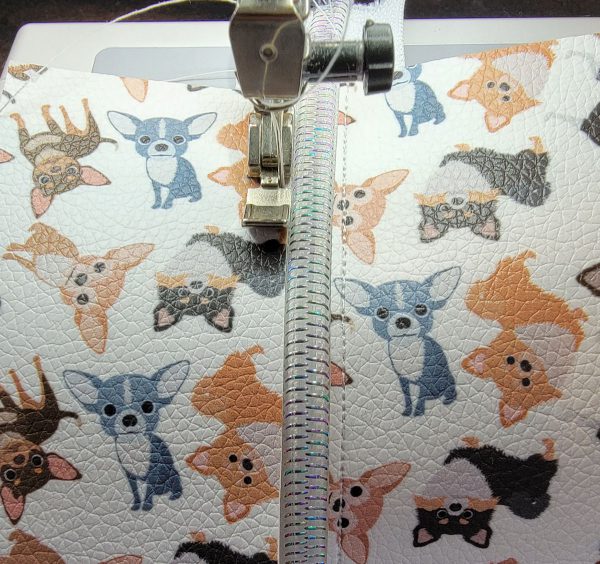
Place a 2 x 5″ strip close to the zipper teeth and stitch in place. Repeat for the second strip, making sure that the strips are evenly lined up. You may need to increase your stitch length to keep the vinyl from shredding. Once the zipper has been installed, stitch across the ends with your machine (to make sure the zipper pull doesn’t fall off) and trim the excess zipper. Measure your final piece to make sure that it is 4 x 5″ and trim as necessary, making sure that the zipper is centered.
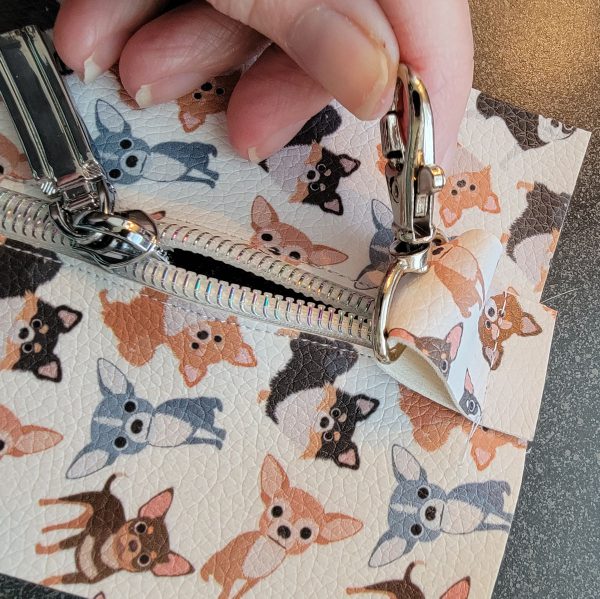
Insert the lobster claw with D-ring through the 1″ vinyl\ribbon\webbing strip and fold in half (wrong sides together). Center the tab along the zipper tape so that the raw edges are matching and the lobster claw is laying inside the bag. Baste in place.
Open the zipper at least half way (this is very important, otherwise you won’t be able to turn your bag). Place the front (with grommet) and zippered back, right sides together. Sew completely around the edges of the rectangles using 1/2″ seam allowance (I like to sew over the zipper ends more than once, just for extra security). Since pins can leave permanent holes in vinyl (and not to mention your layers are getting pretty thick!) it’s a good idea to use binder\wonder clips to hold your pieces together while sewing.
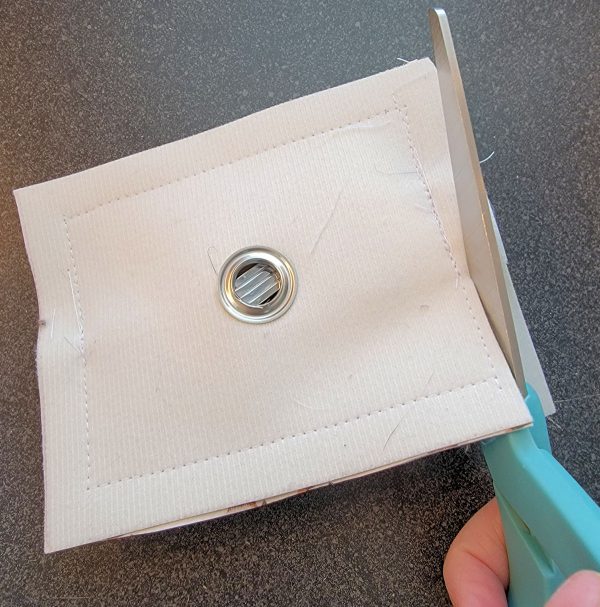
Trim the seam allowance to a scant 1/4″. This reduces bulk inside the bag and makes for crisper edges and corners when you’re ready to turn your bag right side out.
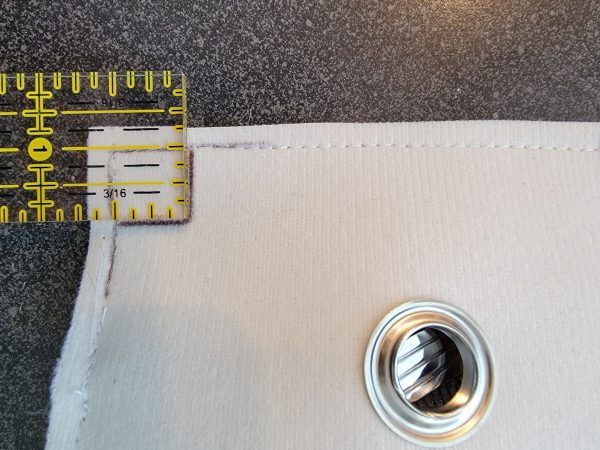
Now we’re going to box out the corners. Use a ruler to measure a 1/2″ square from the seam allowance (not the cut edge) and mark. Repeat for remaining 3 corners. Using your scissors, cut out the markings and remove the notches.
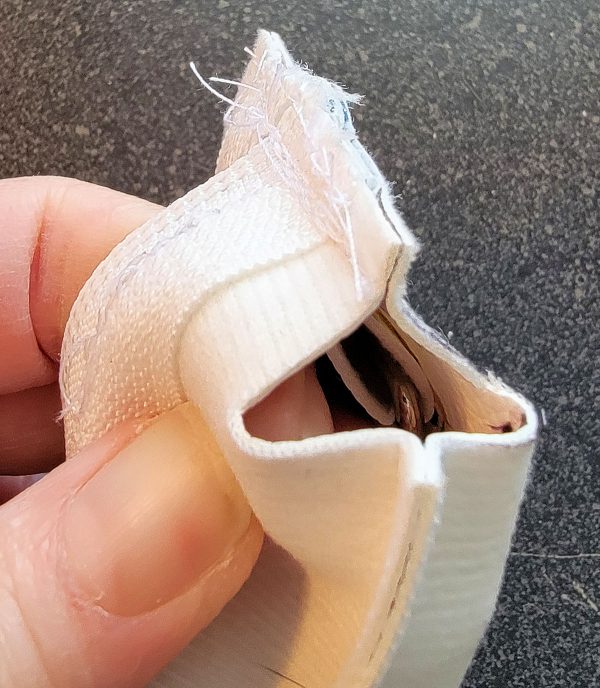
To make the boxed pleat, bring the side edge and the top edge together, matching the seam lines. Sew using a 1/4″ seam allowance. Repeat for remaining 3 notched corners.
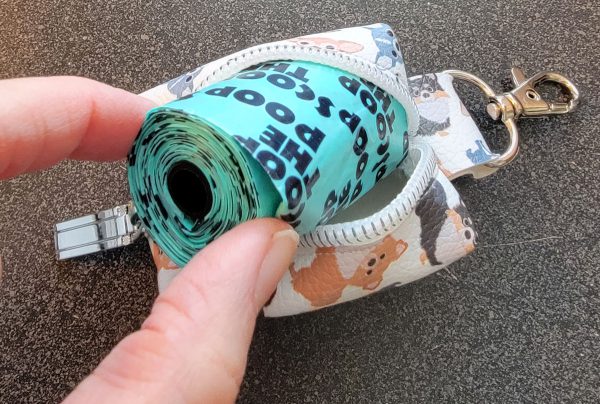
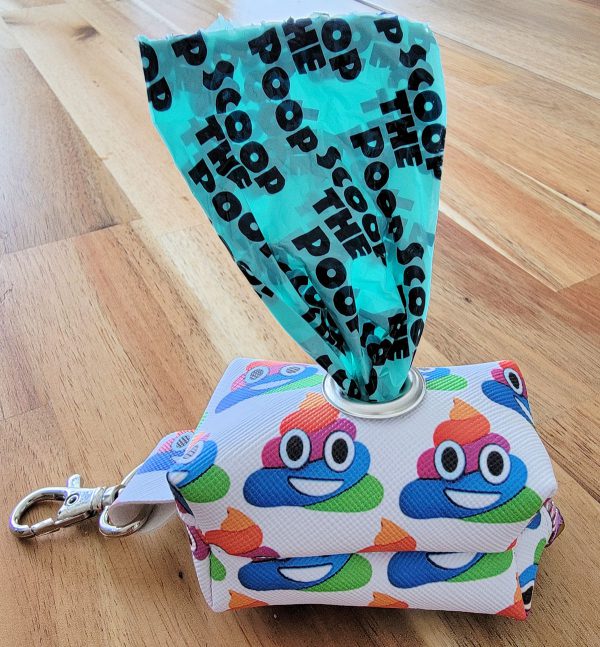
Turn the bag right side out, poking out corners as necessary. Fill with waste bags: start the bag through the grommet, then insert the roll, and zip it inside once inserted. Use the lobster claw to clip on your leash, waist bag, or belt and you’re ready to go!






Where did the fantastic dog vinyl come from? Love the bag, waiting for supplies so I can make a few.