Sewing with Electricity
When we think about electricity, we’re probably conjuring thoughts of wiring, batteries, soldering, and light. For many, we leave that work to trained electricians. But what if I told you that you can sew with electricity by using thread and simple sew-in items to add lights to textile fabrications?
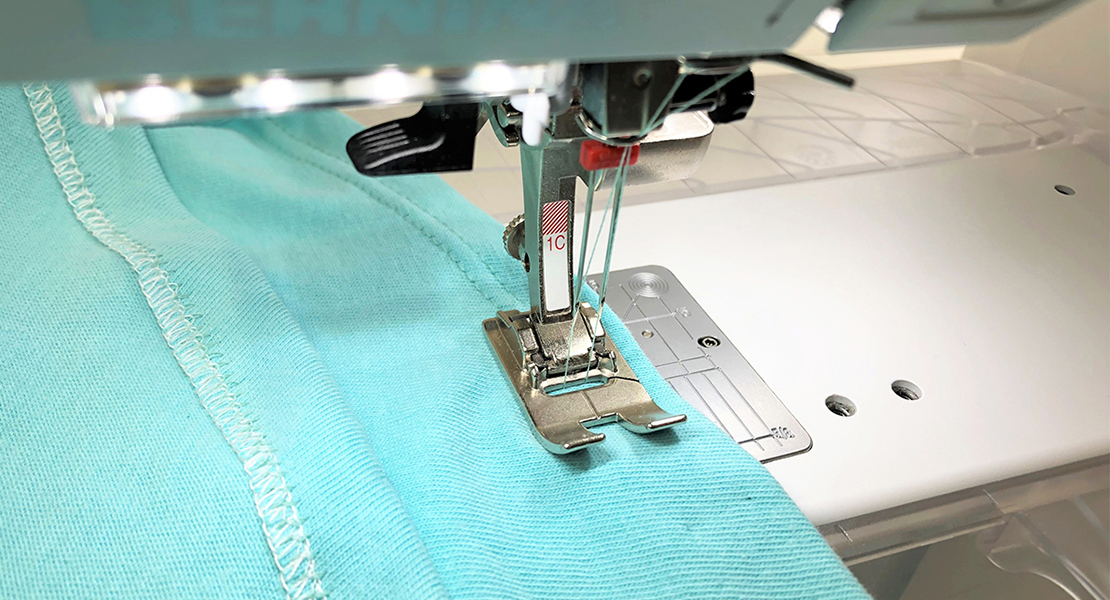
Whether you’re wanting to add light diodes to your garments or wanting to illuminate a bag or other fabric constructed piece, sewing with electricity is easy to do if you know what to get! While you can do this project by hand, it’s much easier to use your BERNINA or bernette machine for long distances between a power source and a light. I will use my b68 AIRLOCK for this project because of its simplicity in setup as well as the cleanliness in its result.
Materials to Sew with Electricity
- b68 AIRLOCK or any other BERNINA or bernette machine
- Fabric for your chosen project (practice on a test scrap, like shown in this tutorial first)
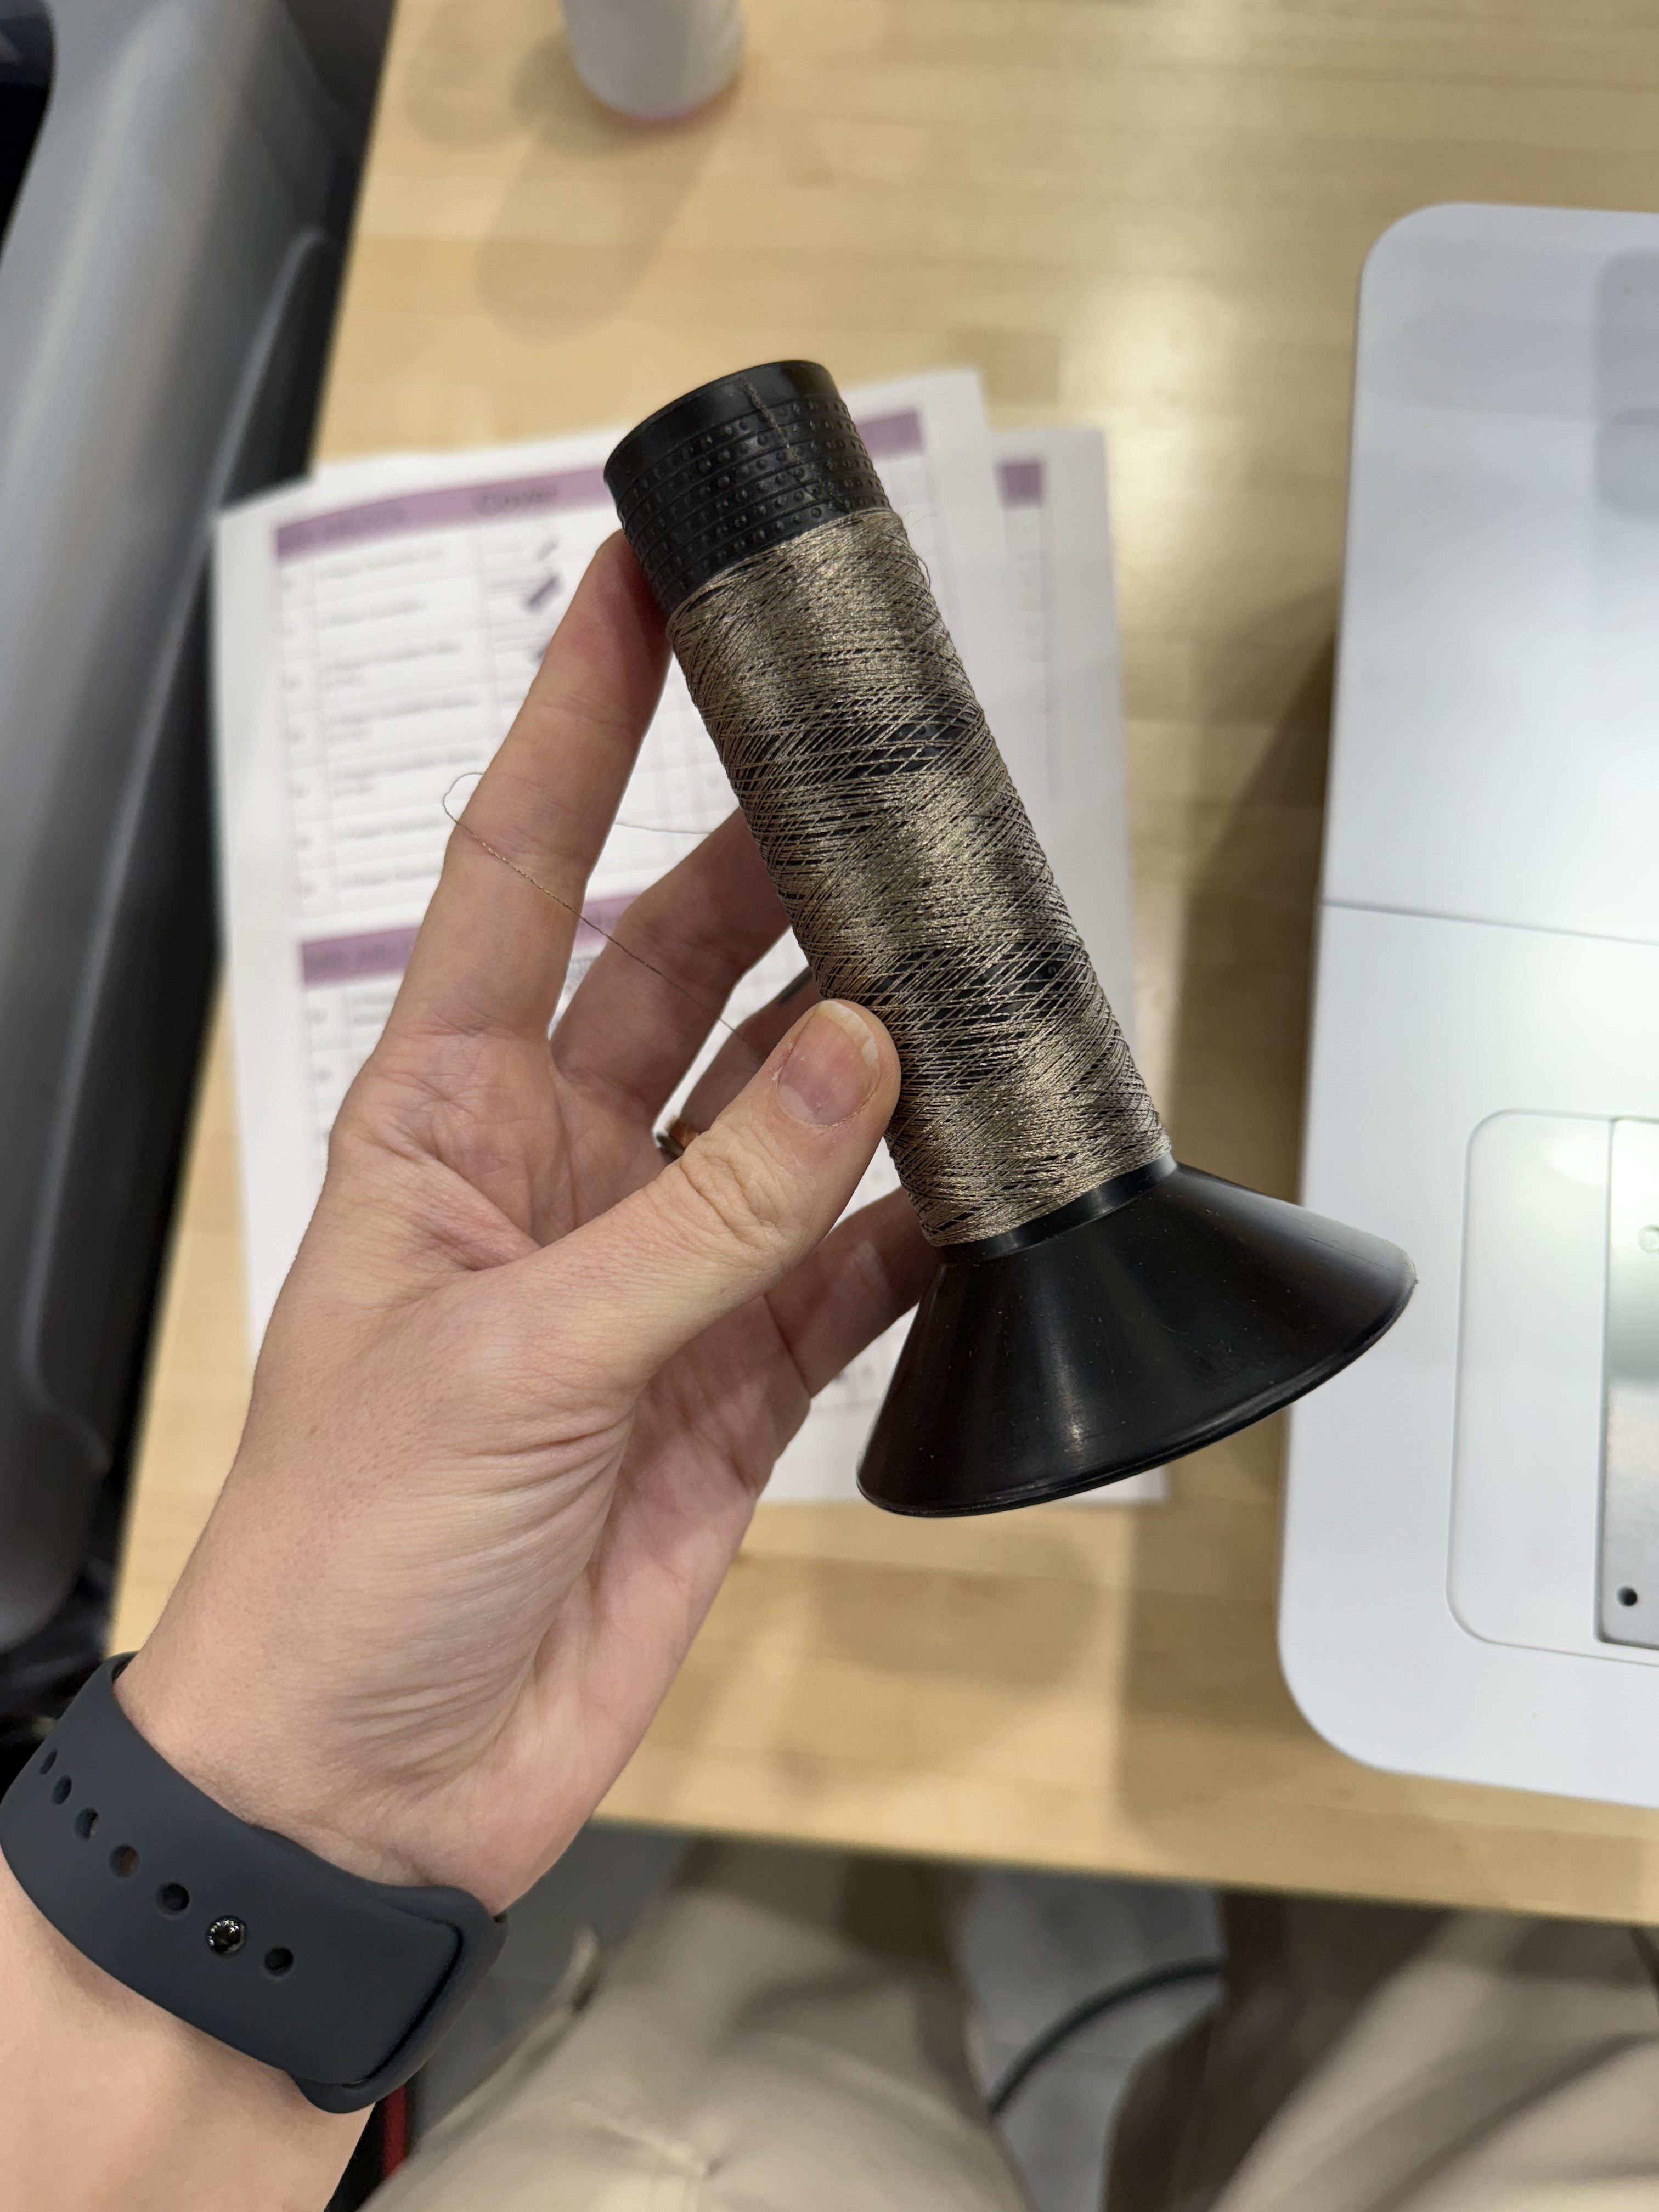
- 1 Cone of Serger Thread (Mettler polyester serger thread is my favorite)
- 1 Cone of Conductive Thread
- LED Sequin or other LED diode – I prefer sew-in diodes when working with conductive thread
- Sew-In Battery Pack
- Button Battery
Steps to Sew with Electricity
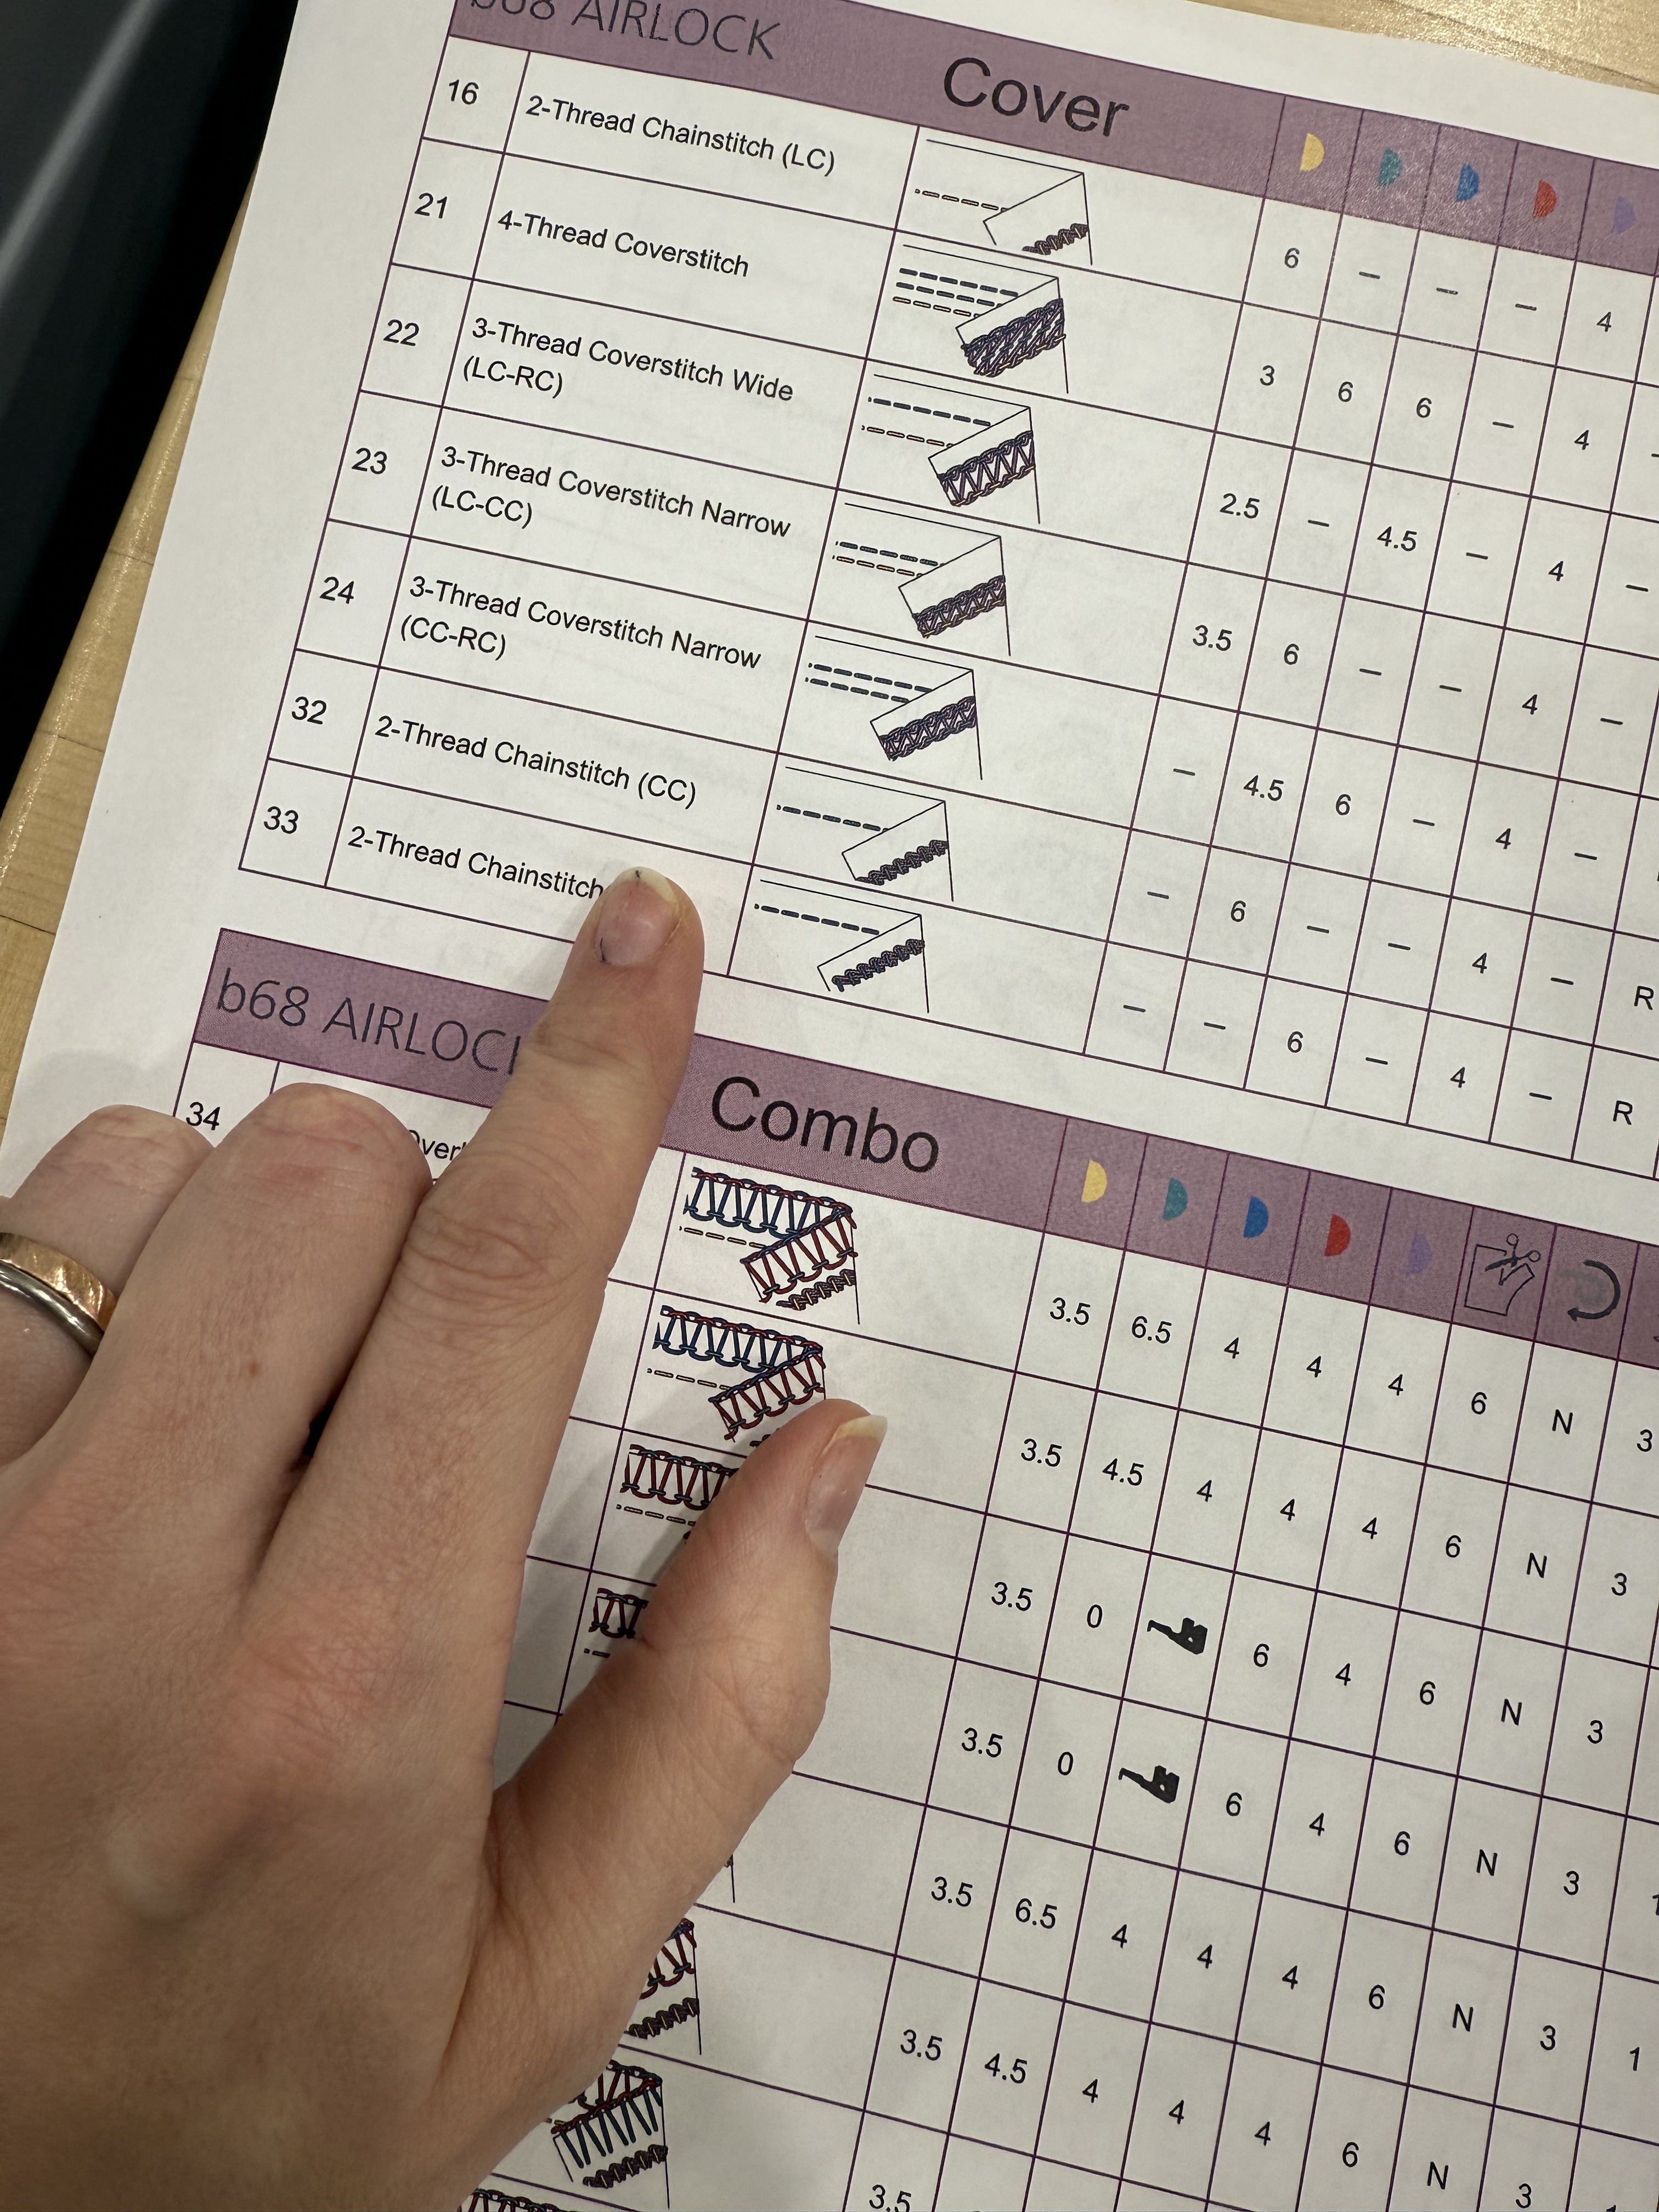
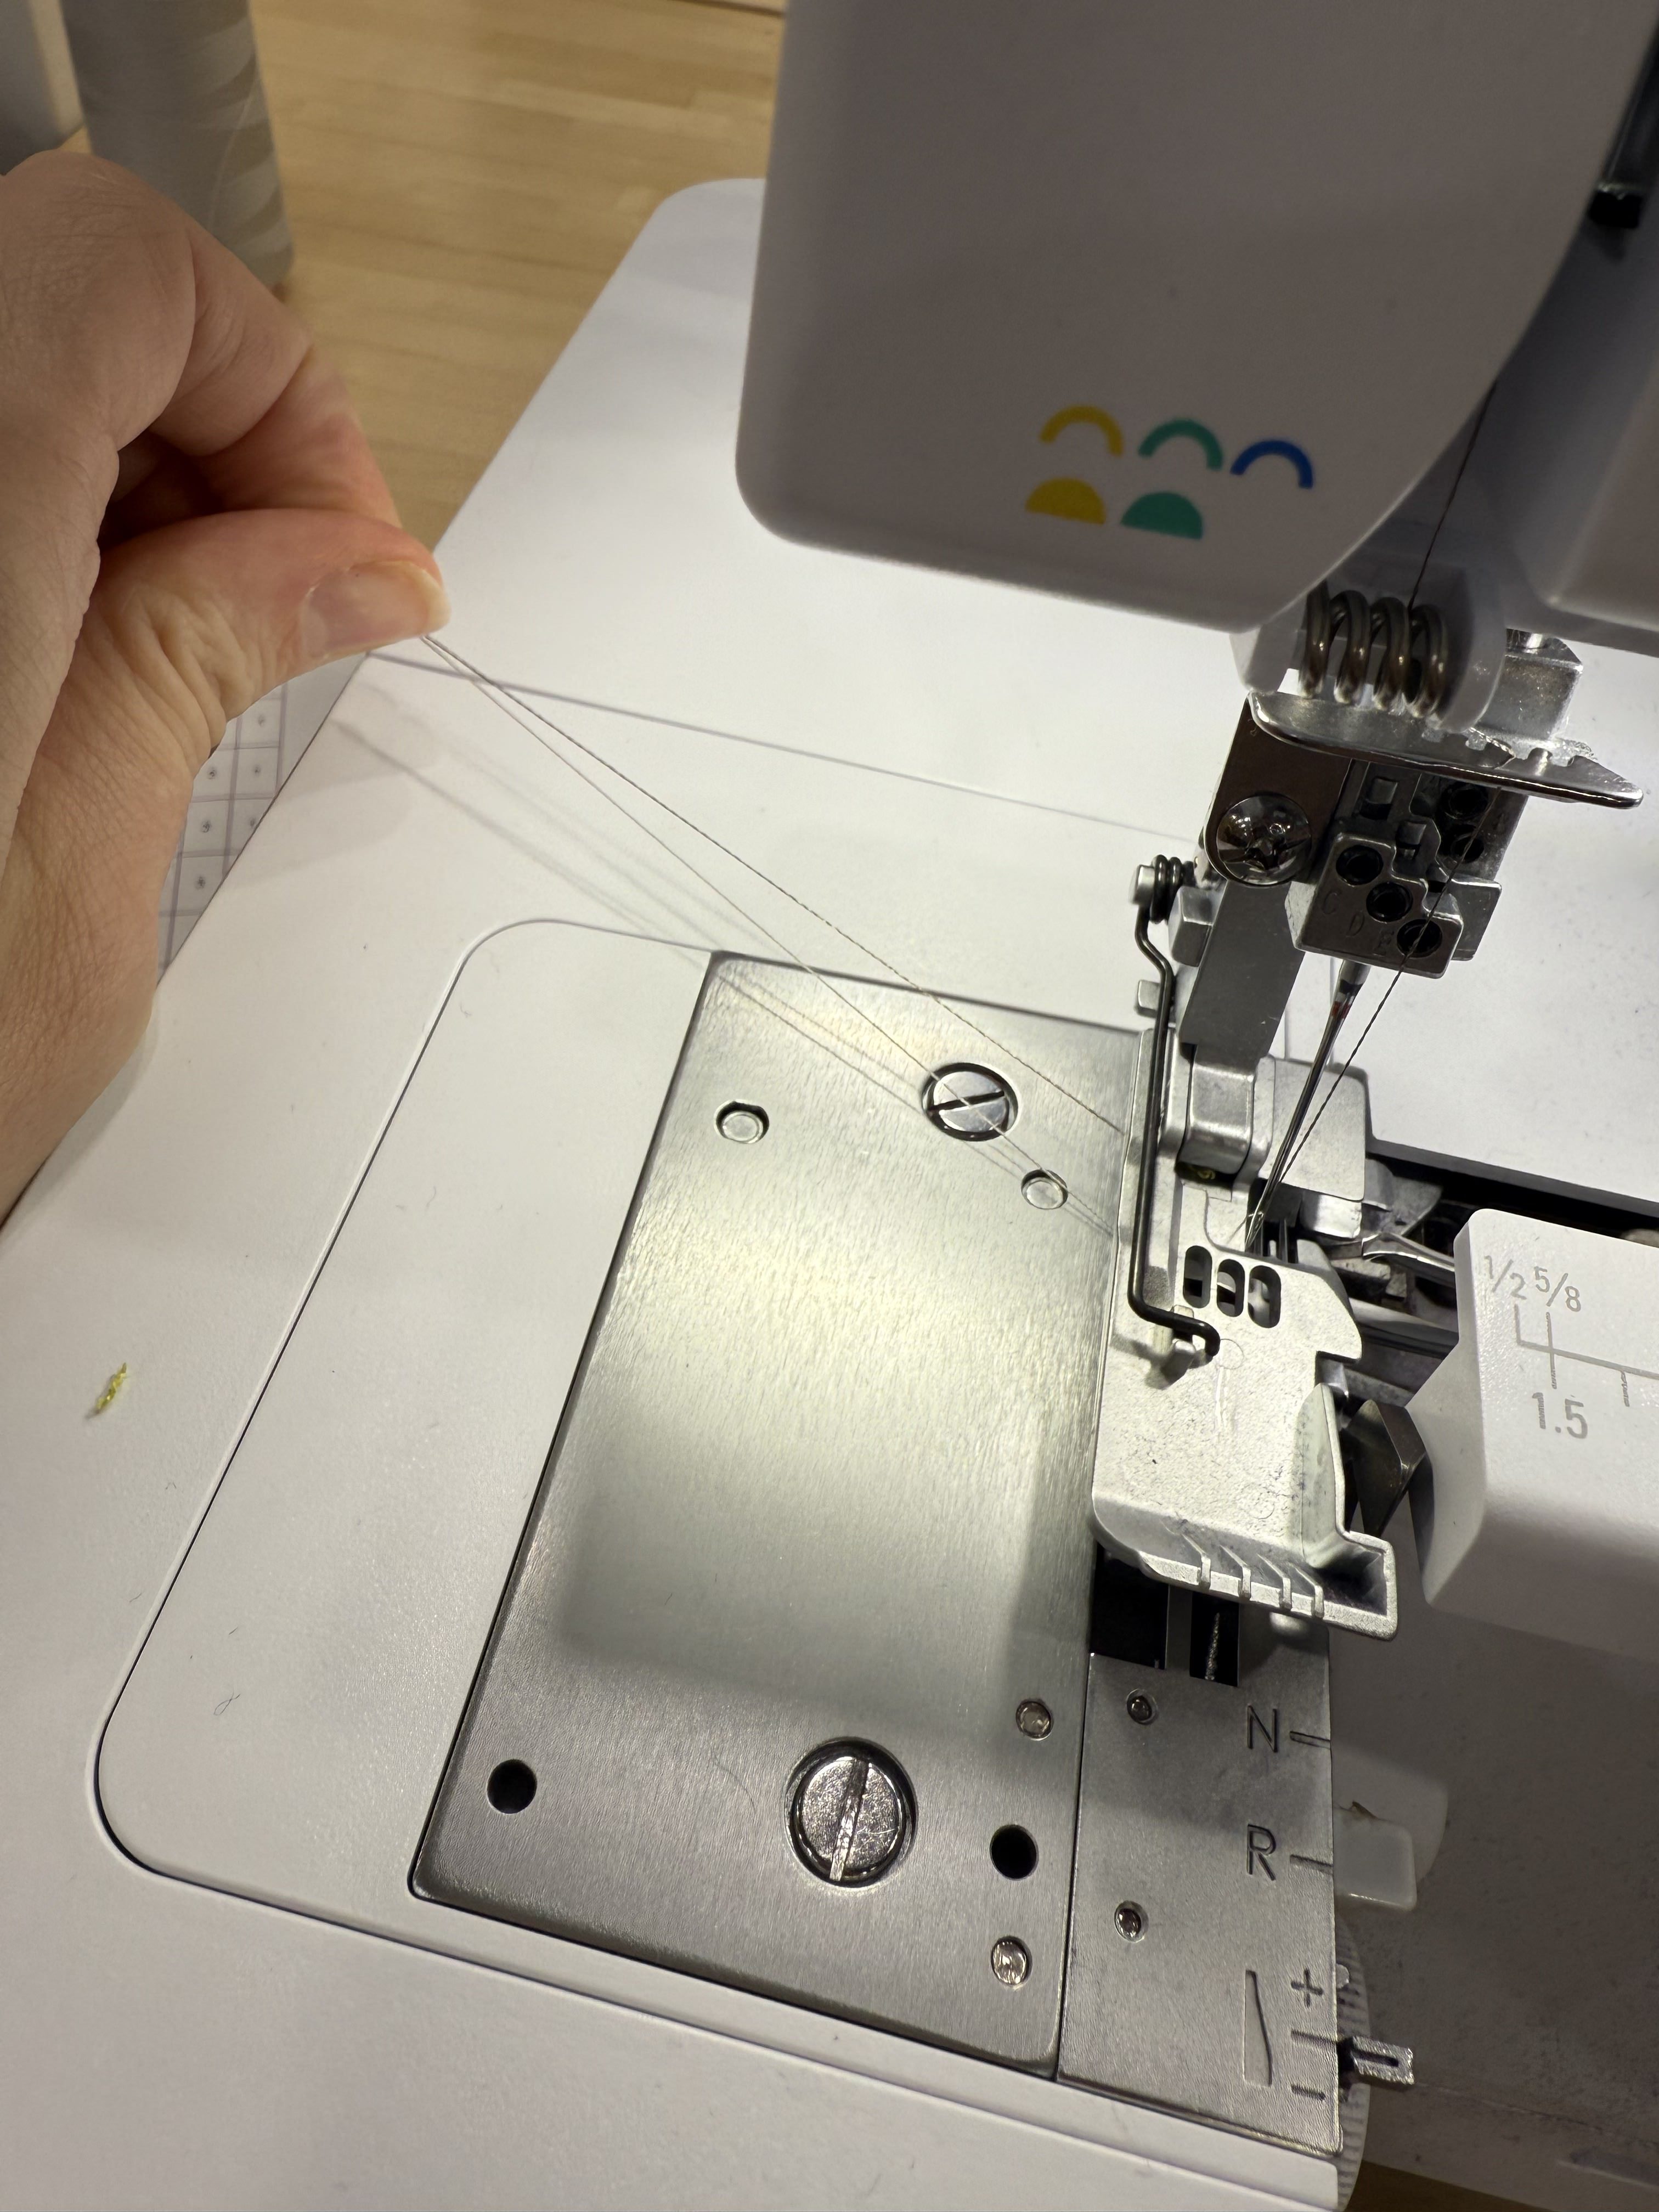
Step 1: Set Up and Thread Your Machine
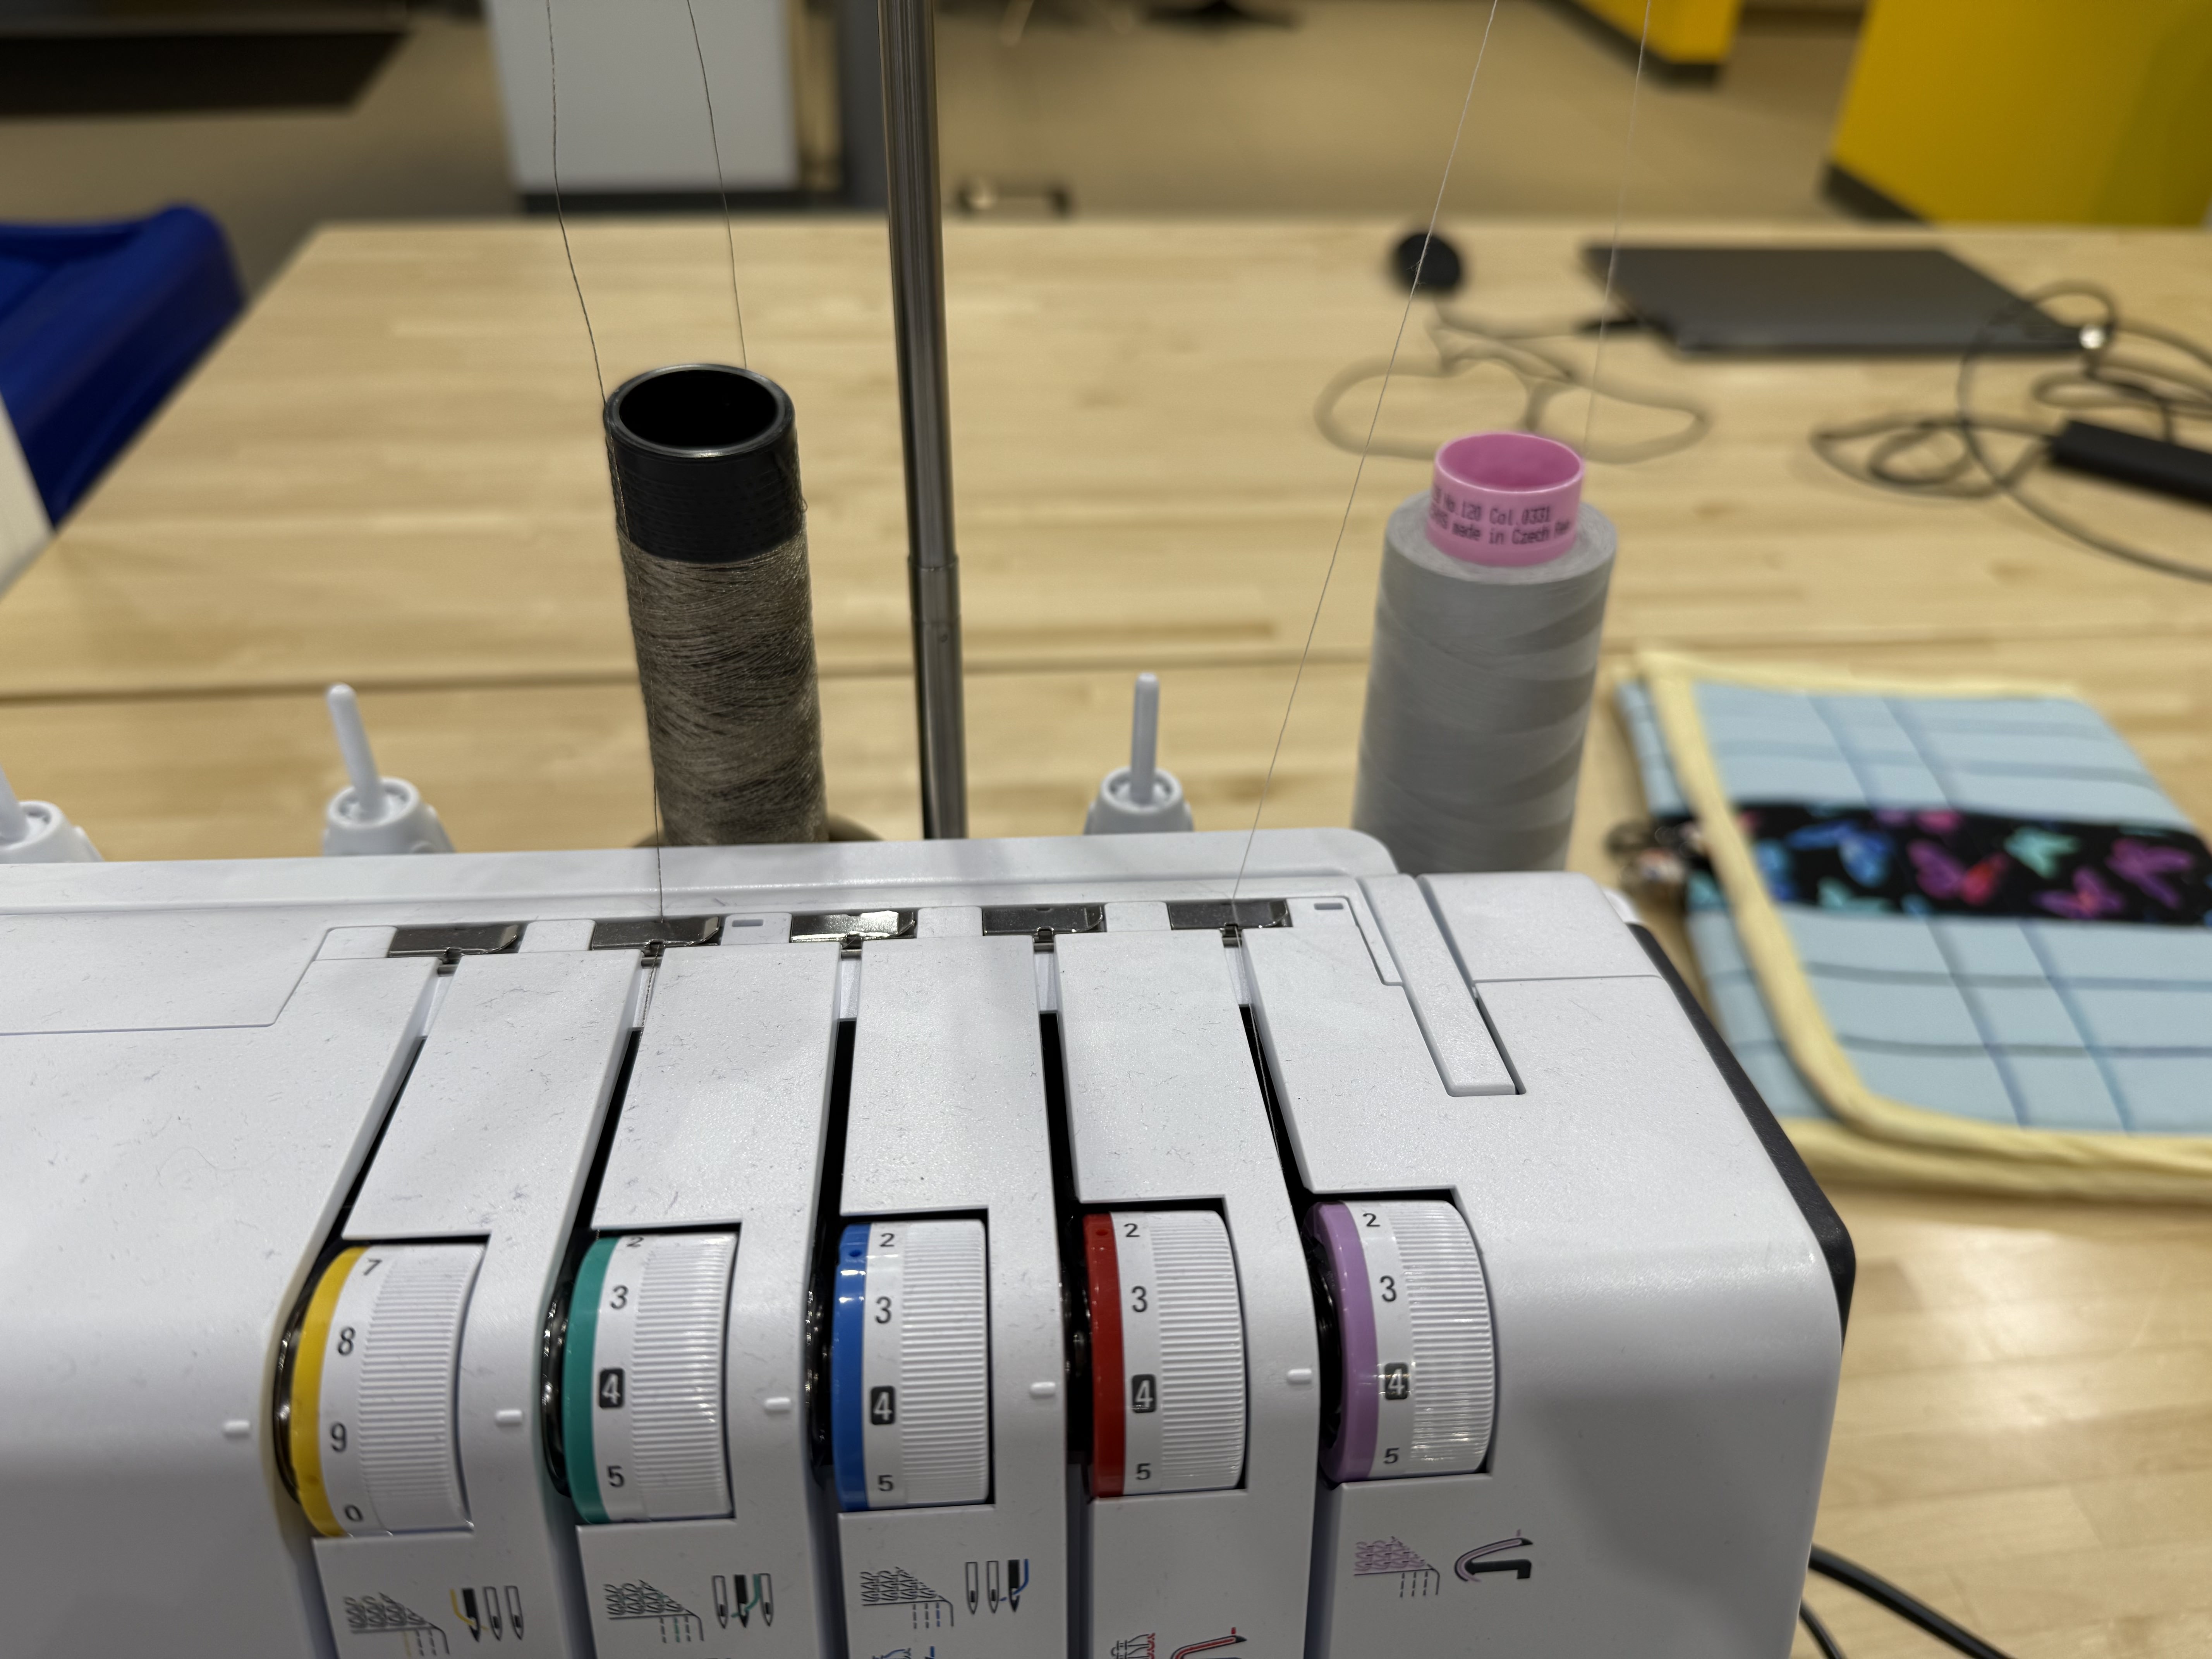
For my b68 AIRLOCK, I will choose a 2 thread chain stitch because it’s simple and get’s the job done. No matter what BERNINA or bernette machine you use, you want one thread (preferably the thread with the least amount of looping) to be your conductive thread and the other to be a regular polyester or cotton thread to affix it in place. Thread your machine, noting that the conductive thread may need a lower tension to prevent breakage. I have threaded the conductive thread as my looper thread.
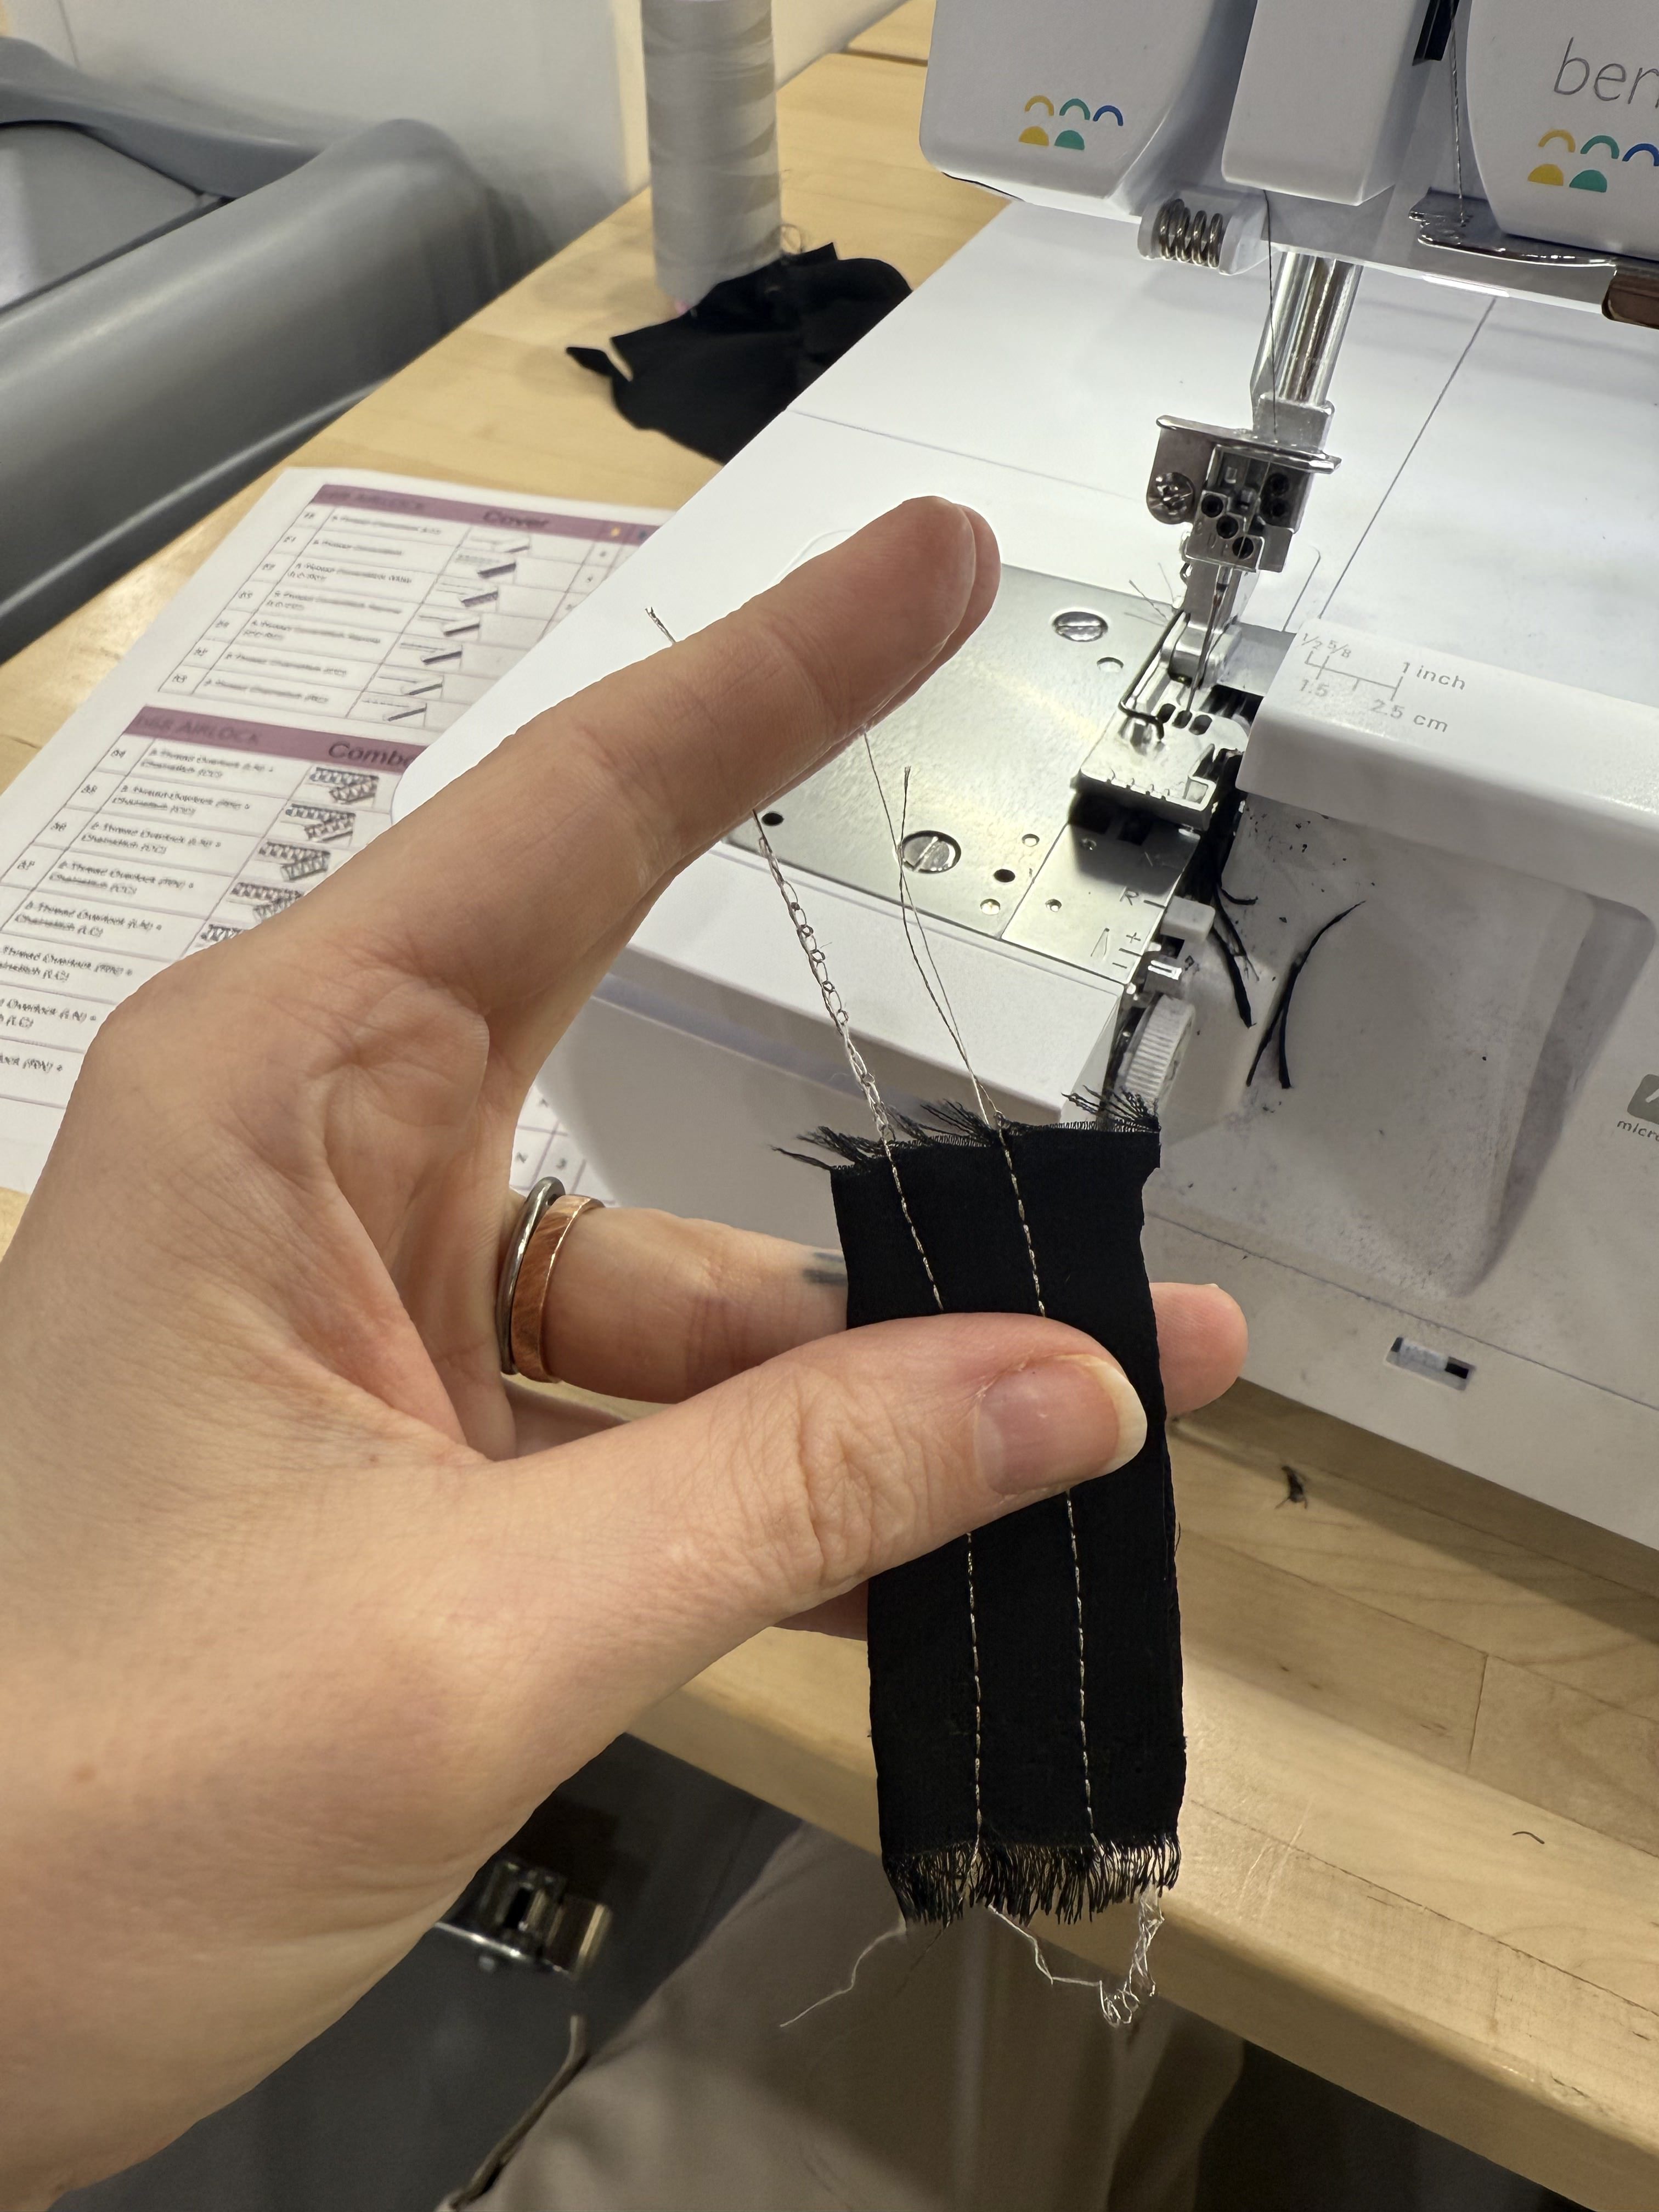
Step 2: Sew Two Parallel lines from Power Source to Light
We aren’t actually using our power source or LEDs in this step. For this, you want to mark on your fabric where you’d like the power source to be (I make sure it’s a spot that will be hidden yet accessible, since we want the battery pack to be discreet but also accessible to swap batteries or turn on and off). Also, mark where you’d like your light to be. These two markings become the start and stop points for your stitching.
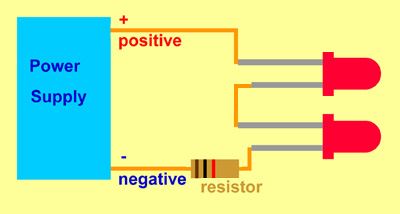
Electricity works by closing a loop from a power source to the LED and then back to the power source. This loop cannot cross at any point, so your stitching must be parallel and never touch. Note: We will not be using any resistors in this project.
When starting and ending your stitch, be sure to leave a long length (at least 3″) of thread to be able to connect the thread to our future additions of battery pack and LED.
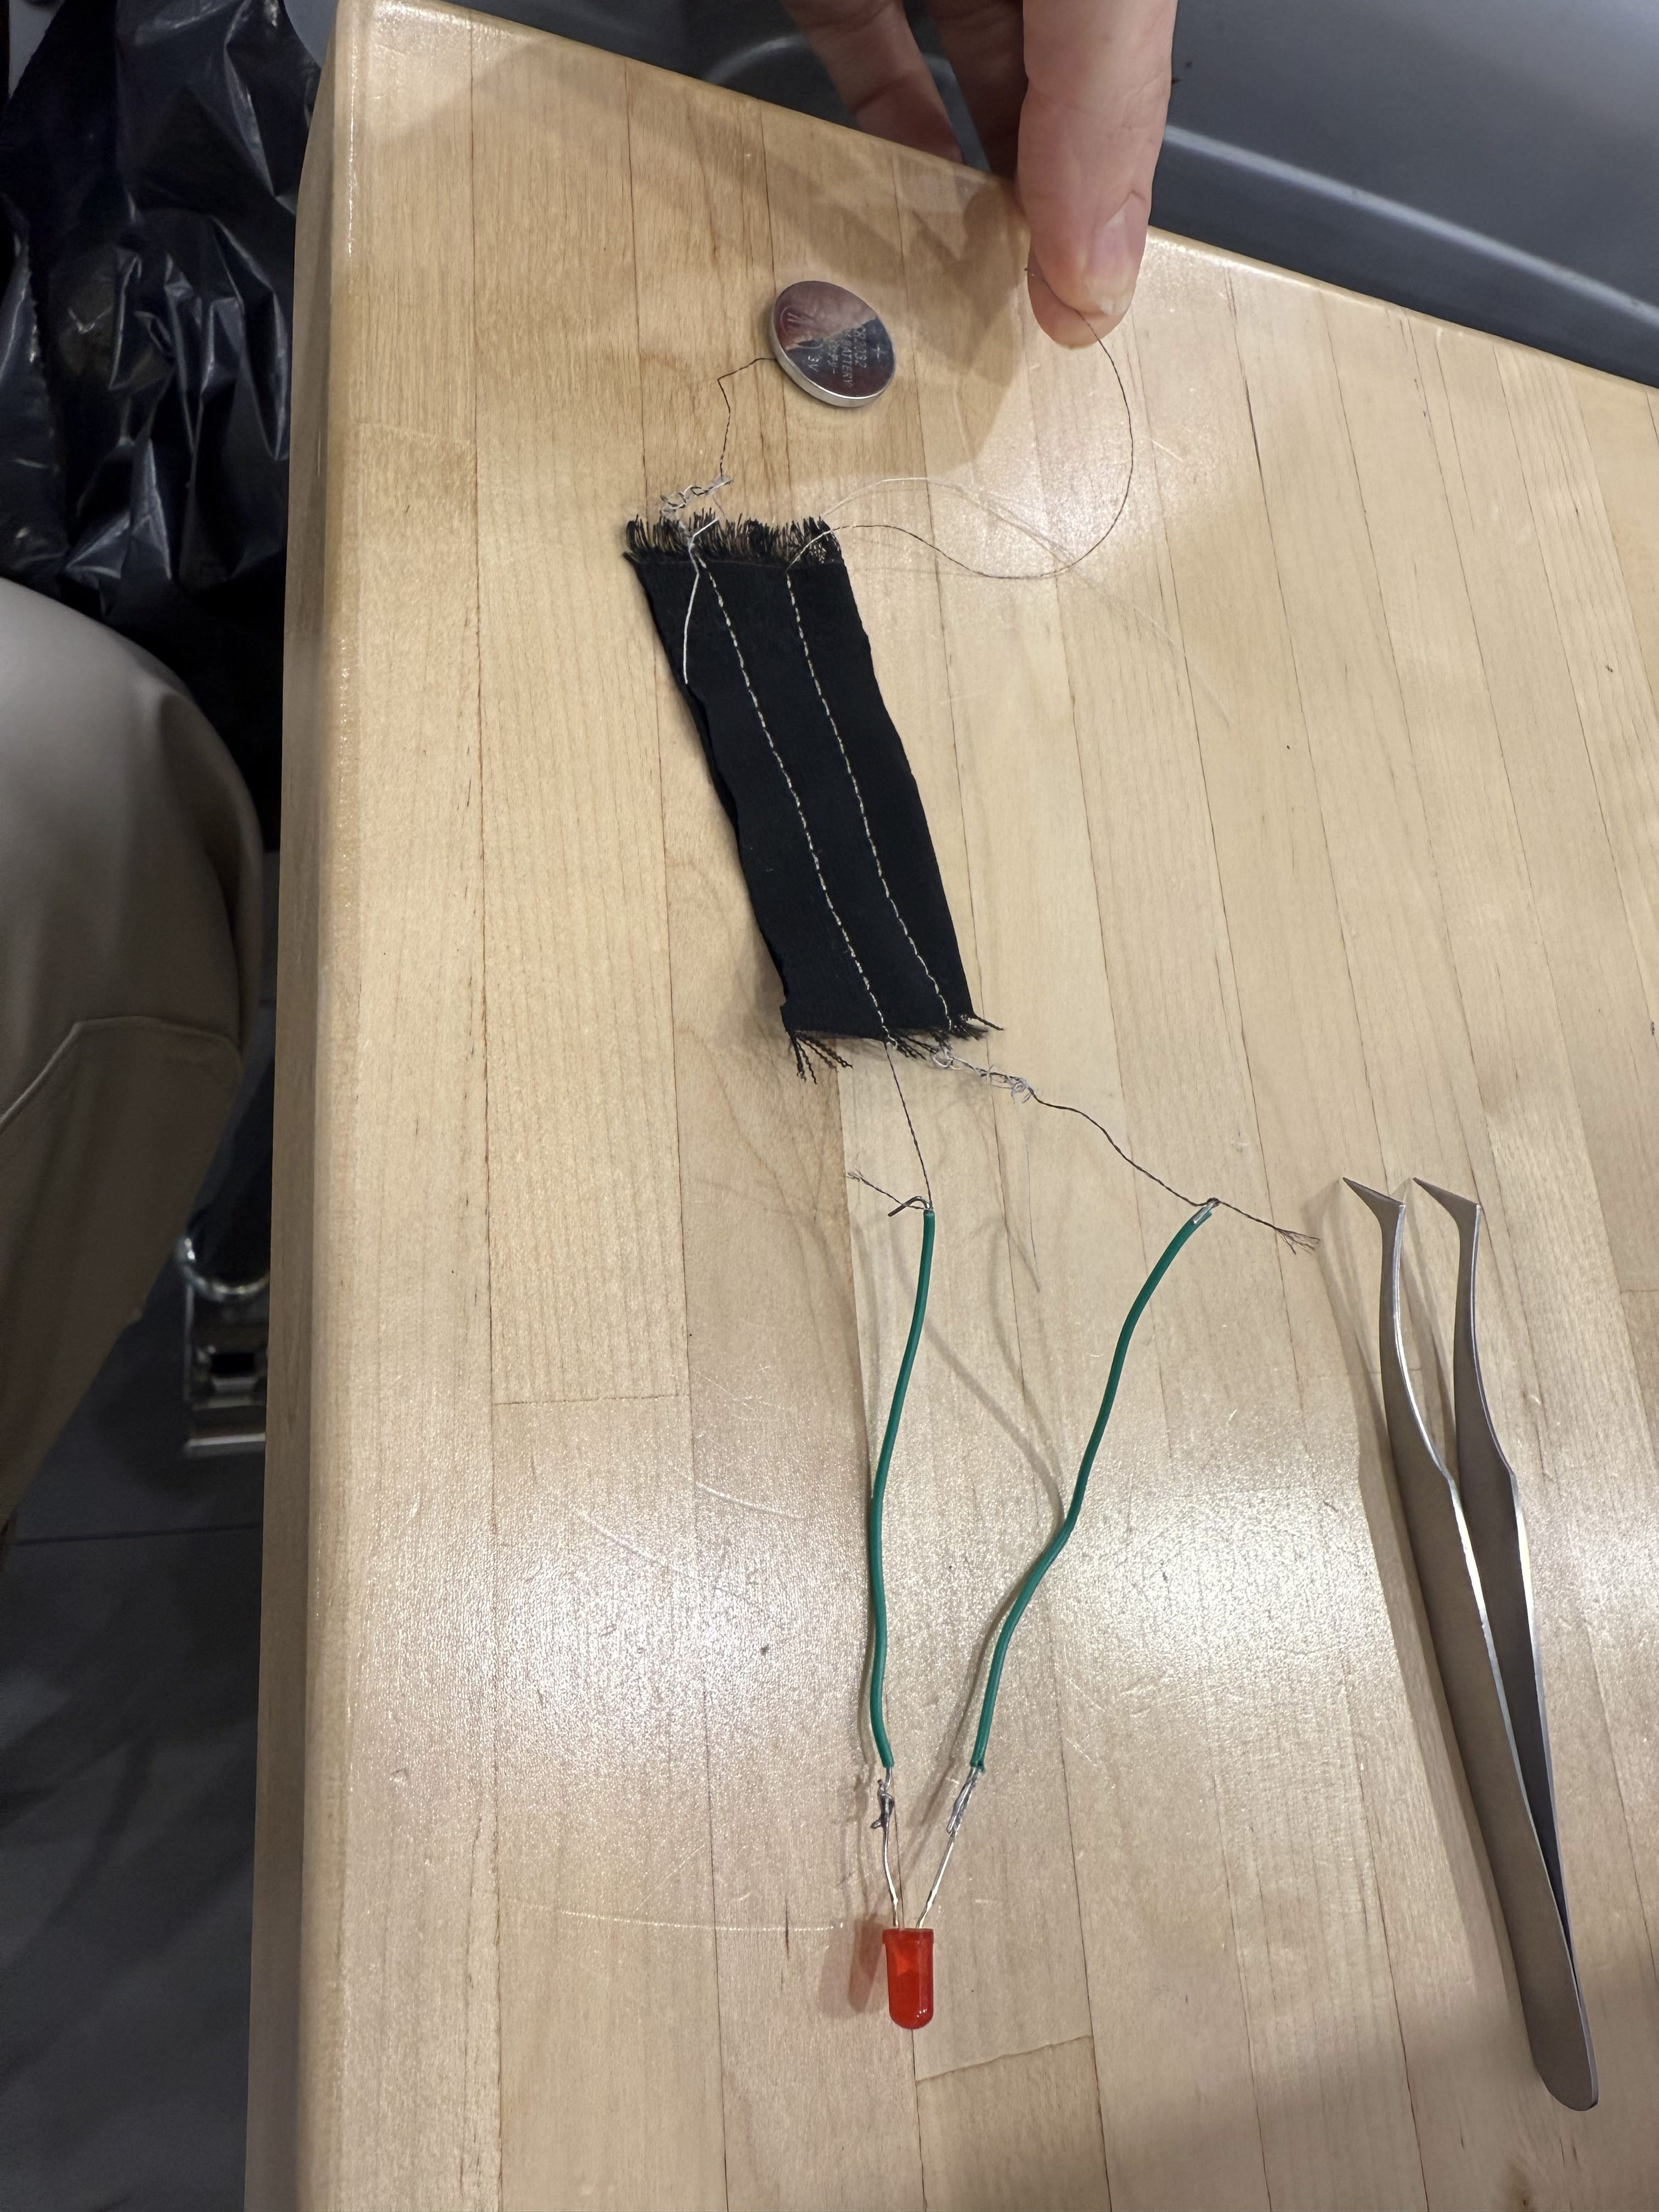
Step 3: Connect Threads to Power Source and LED
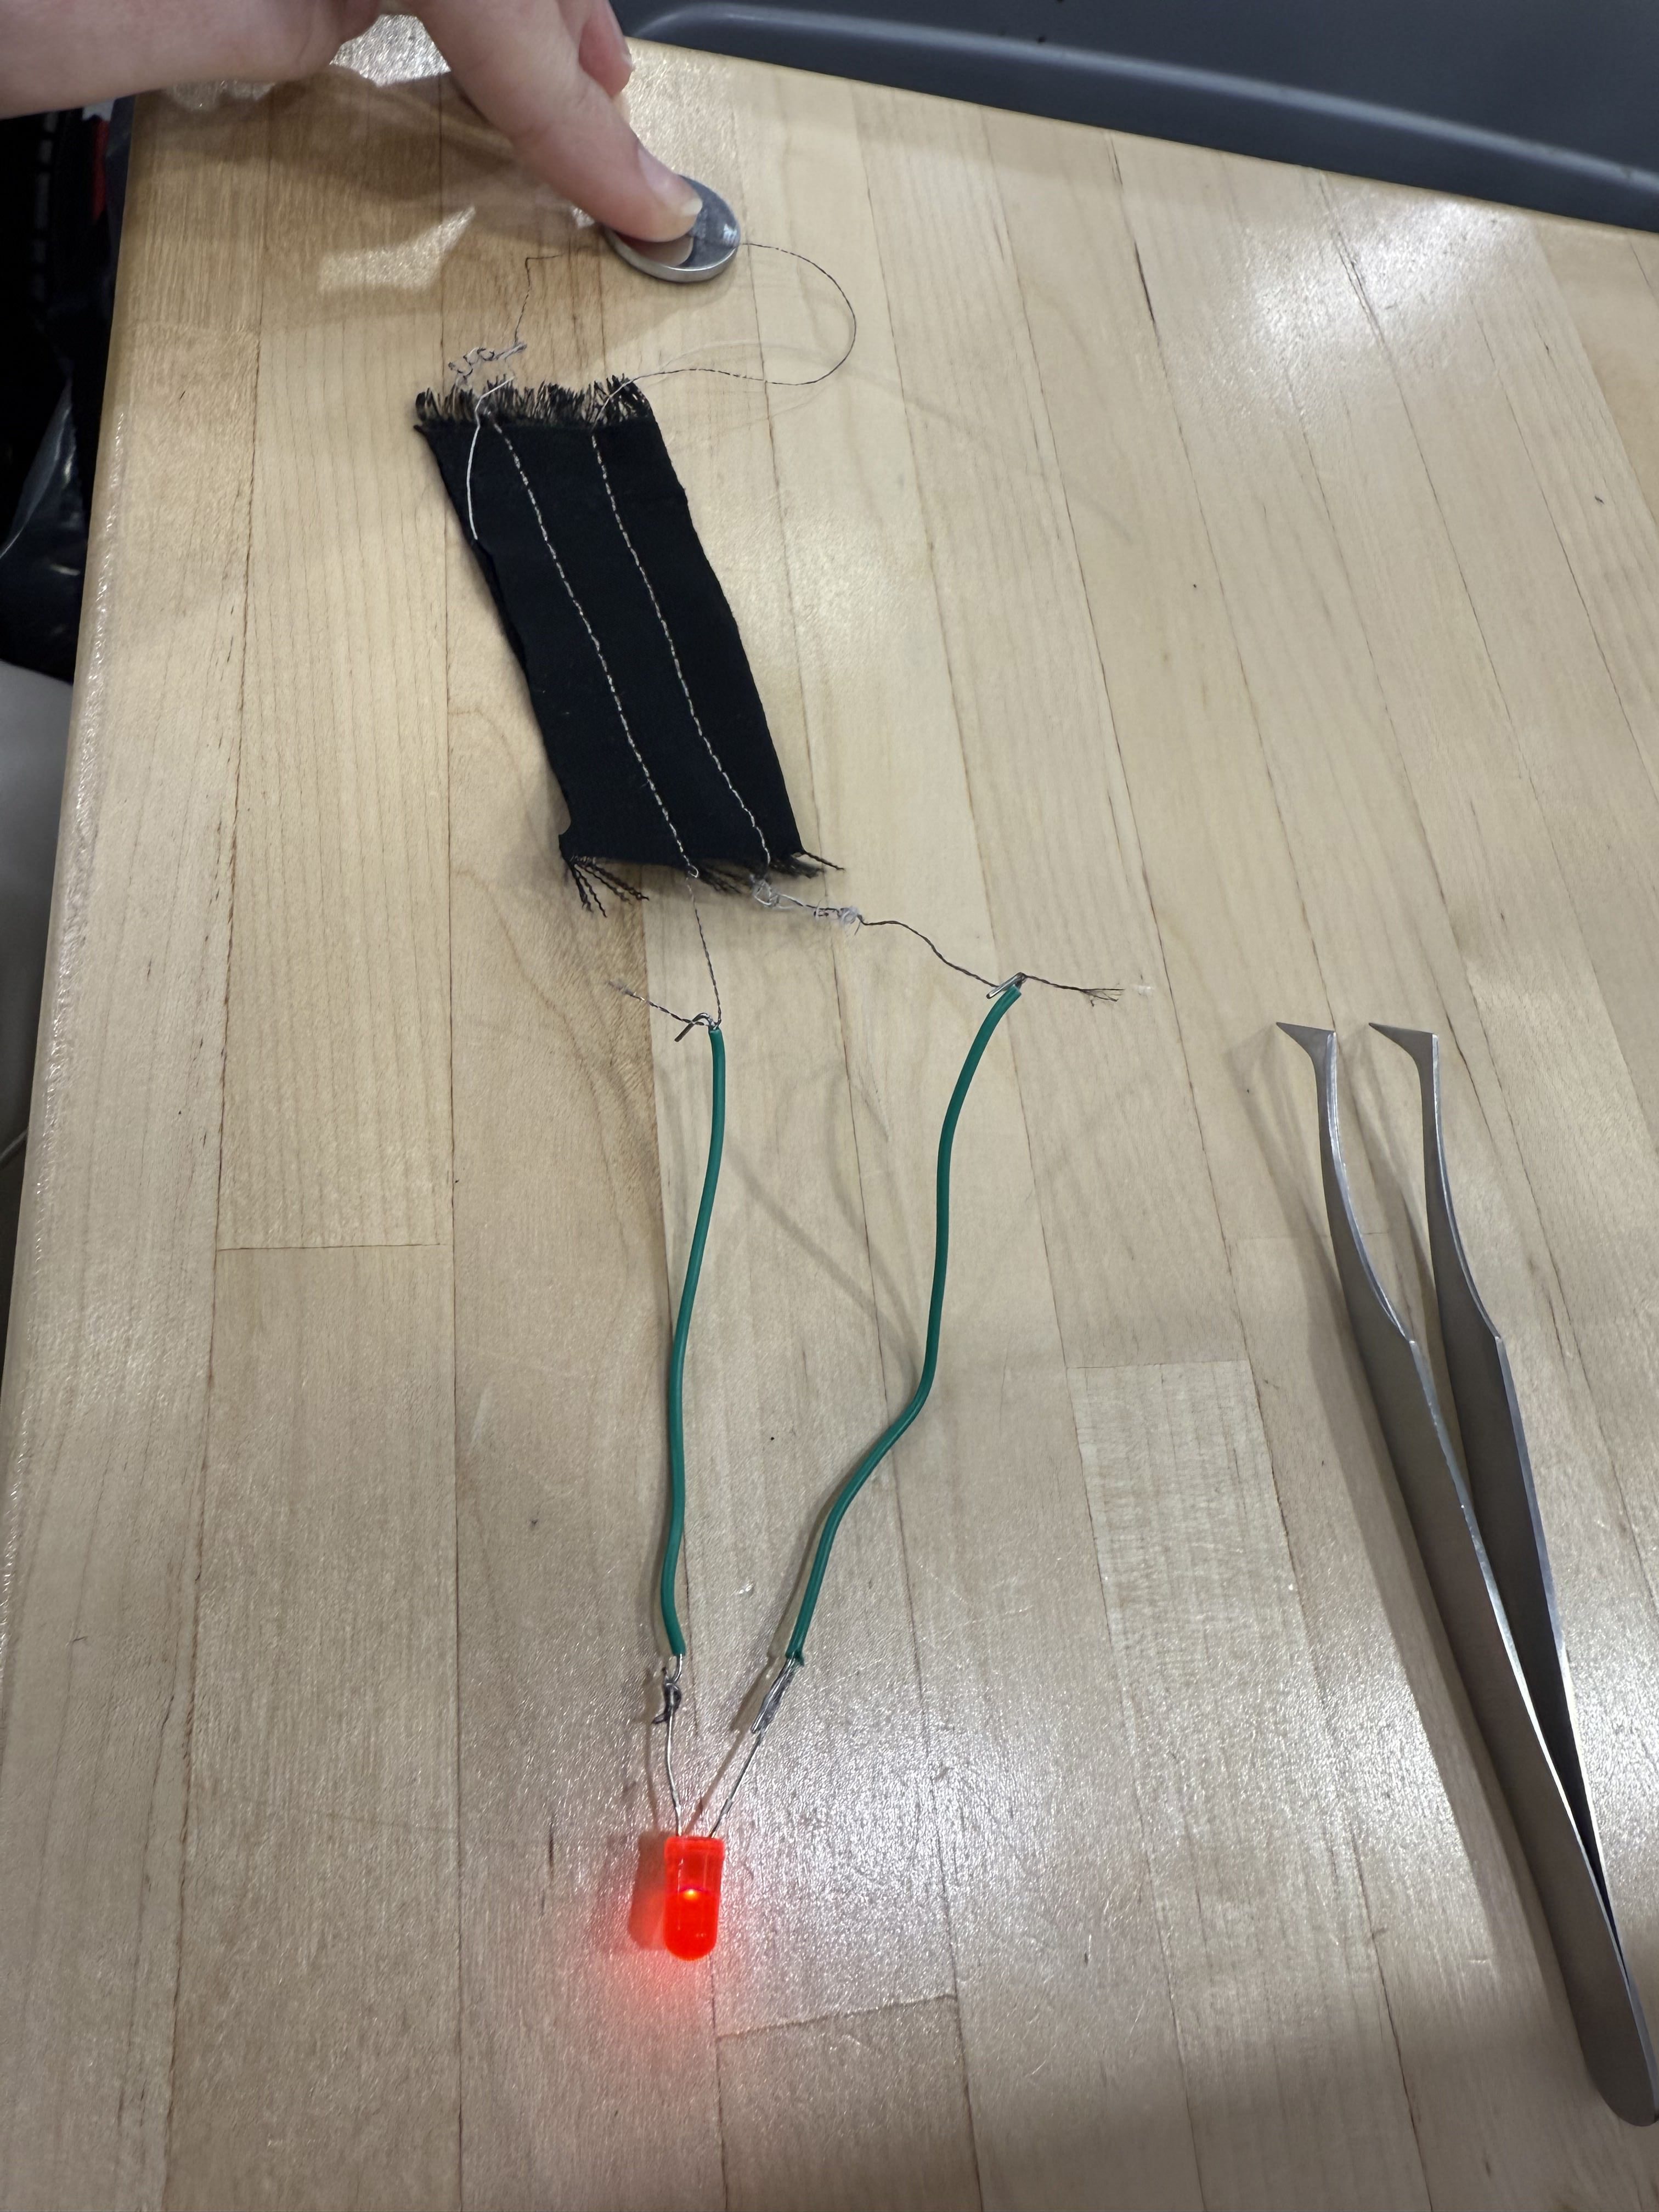
Separate your conductive thread from the other thread on the tails of each side. This will make it easier to tie off to your power source and LED.
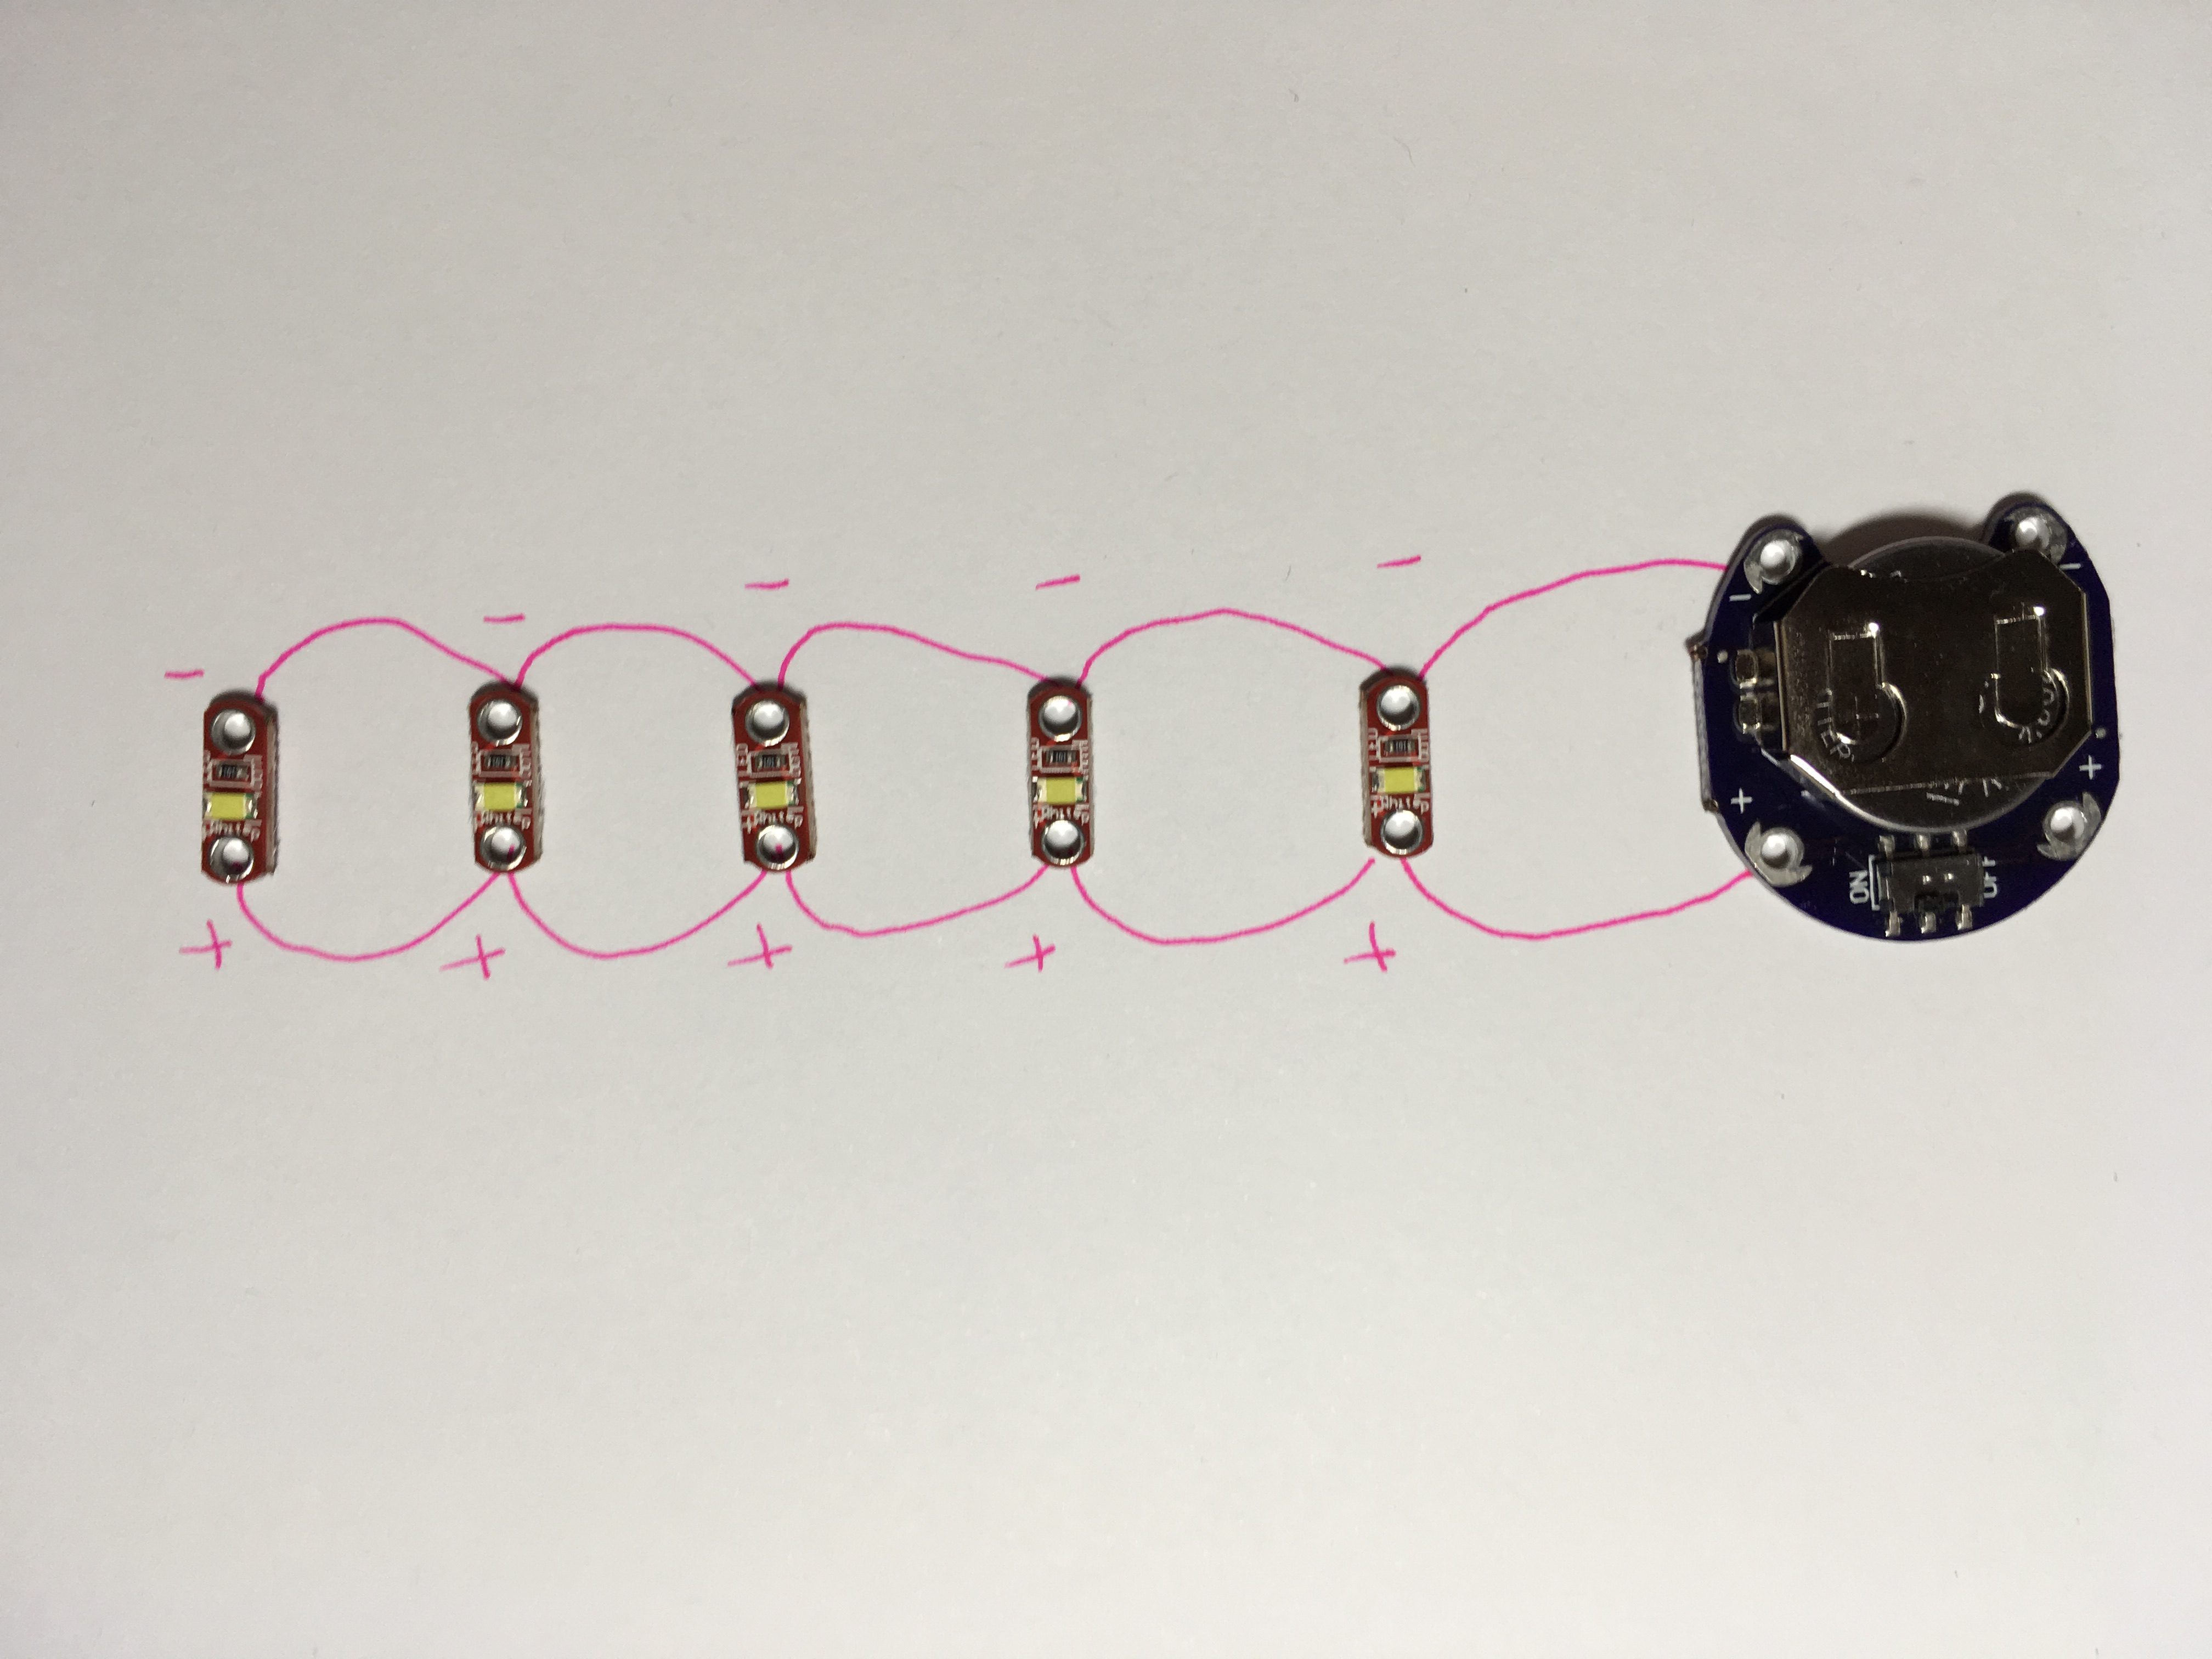
Your LED diode will have a small + and – to indicate which side is positive and which is negative. Your battery pack will have the same as well as the battery that goes into the pack. You must ensure the +s and the -s always align. For instance, I will tie the positive (+) side of my LED diode to one thread, and then on the opposite side of my fabric, using that same thread, I’ll connect the positive (+) side of my battery pack. This ensures that when I’m using the parallel thread, I’m only tying off the negative sides of my LED and battery pack.
For this walkthrough, you’ll see I’m using a different type of LED diode that has prongs instead of clearly indicated holes with a + and -. The length of the prongs indicates positive and negative. On the battery, because I’m not using the battery pack, I can simply touch the threads to the positive (+) and negative (-) side of the battery to test. The + is indicated on the smooth side of the battery, and then you simply sandwich the battery between the + and – threads as the negative side of the battery is the rough side underneath. This is not a permanent way to finish a project, so you’ll want to use a battery pack as indicated in materials.
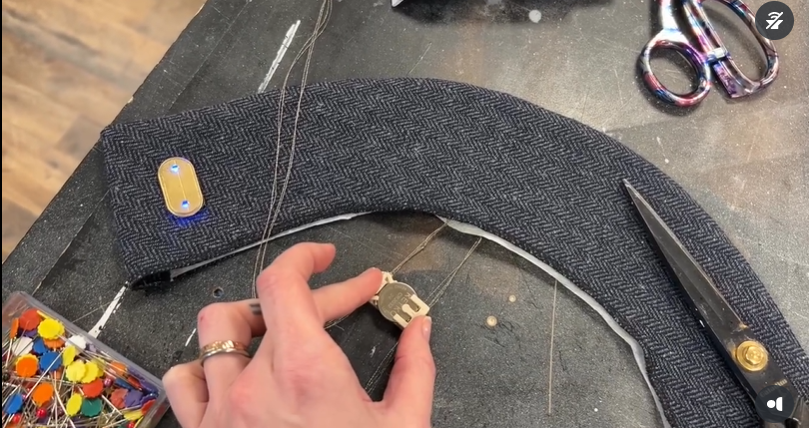
Step 4: Finish Circuit
Add a dab of hot glue to the holes where you’ve tied off your threads to make sure things stay in place for good. Some battery packs don’t have an on/off button and can only be turned on or off with the addition or removal of the button battery. Others may have a switch.
I will generally hide my battery packs in a pocket or behind a facing where I can still access it. You can also cover the LED diode with 3d printed items with a hole in the middle to make them look more appealing! Get creative here — once your circuit is complete and in working order, there are more opportunities for creativity.
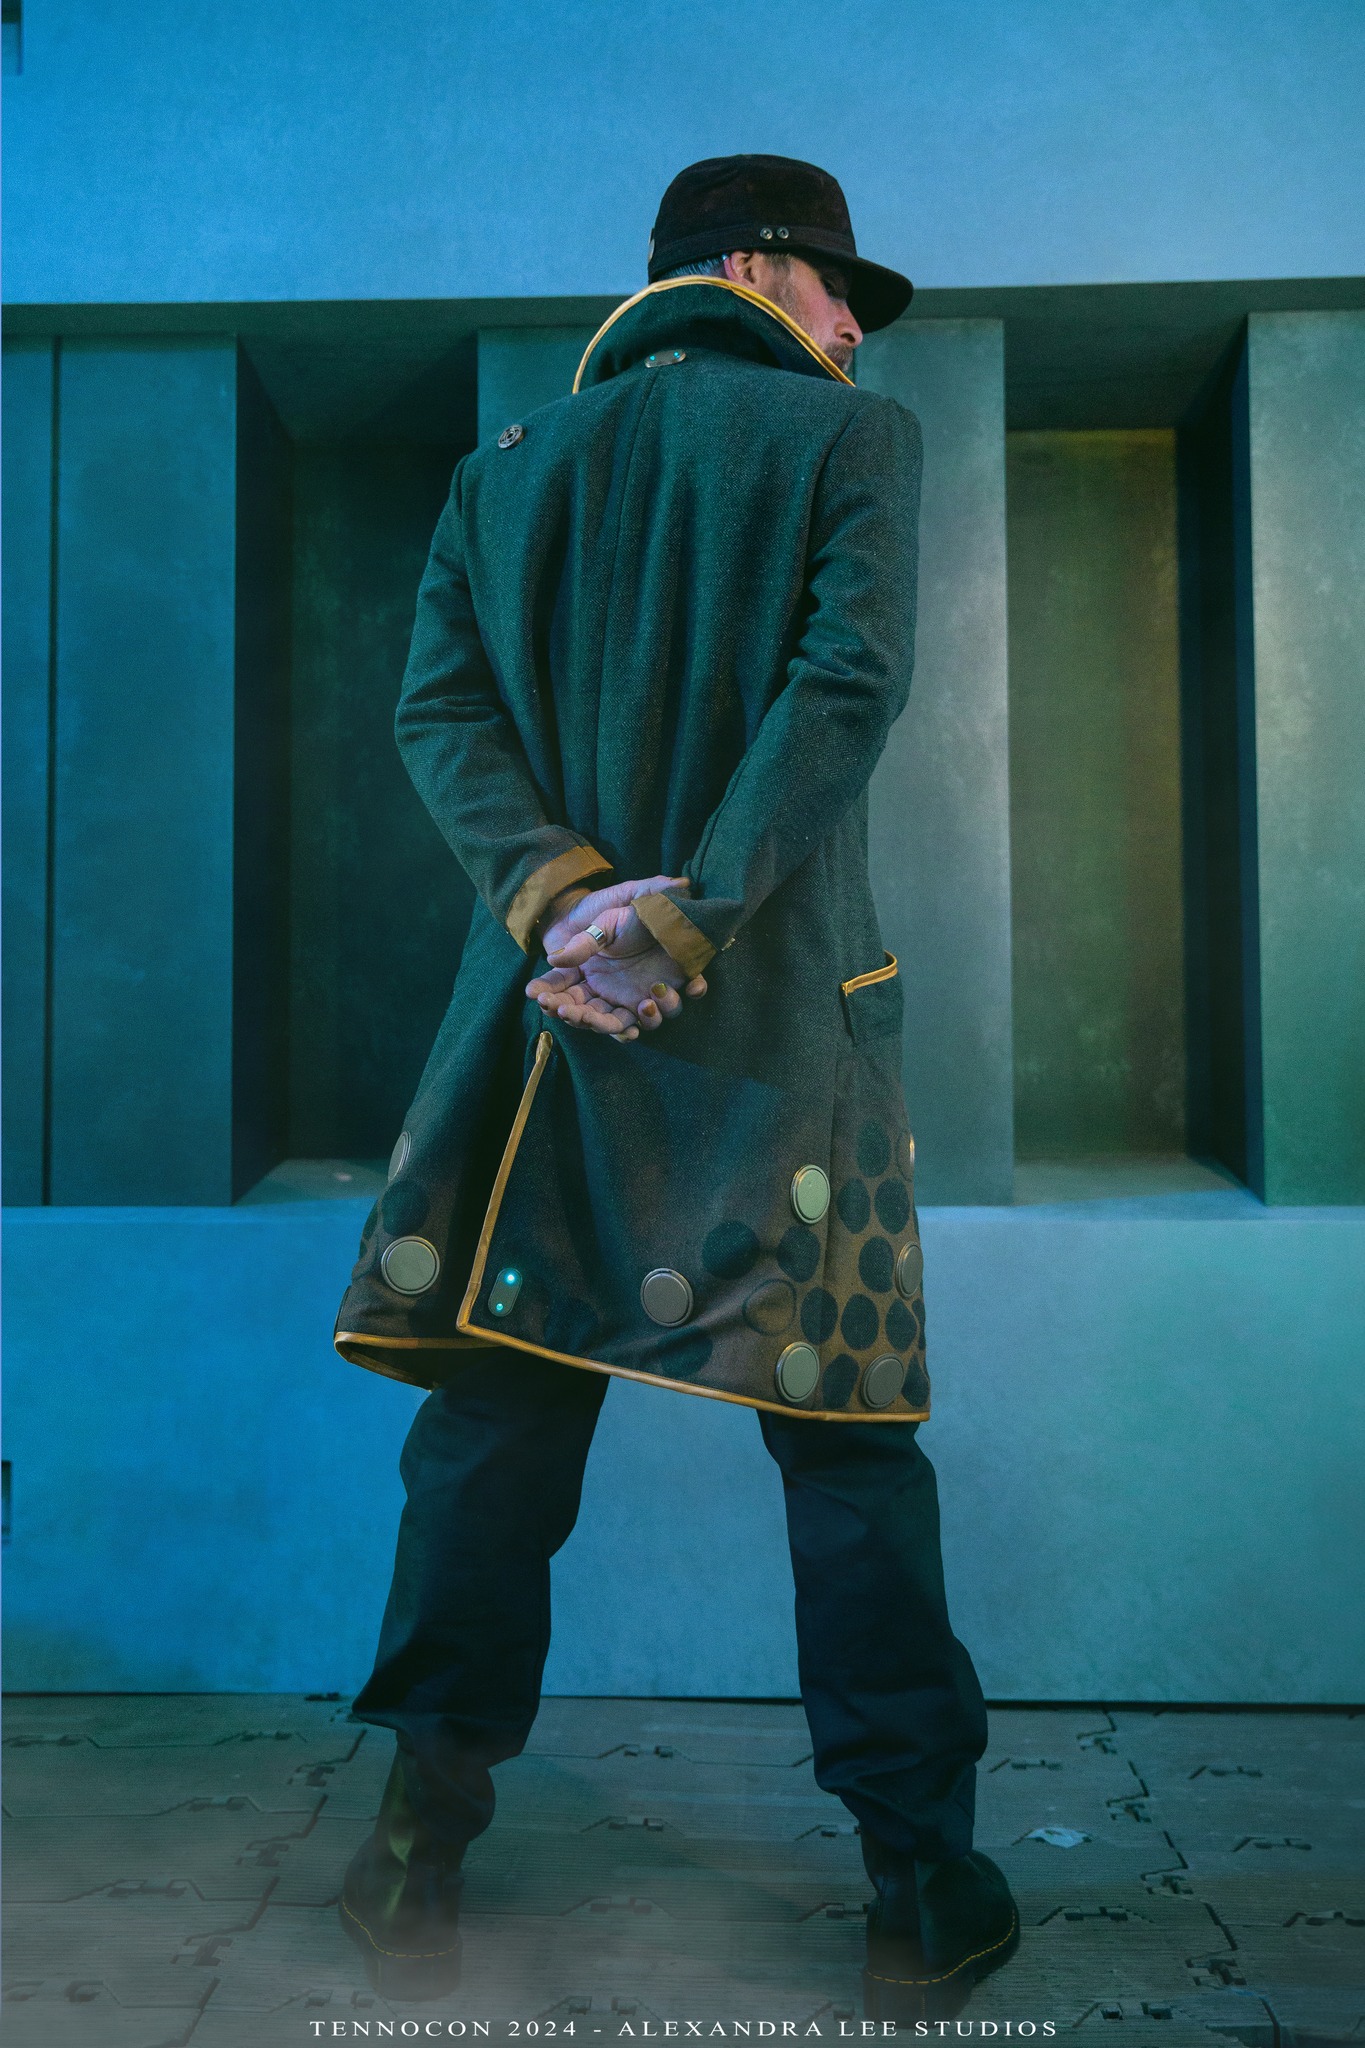
In the costume below, I’ve added LED diodes underneath 3d printed accessory pieces for spots of illumination.
Used Products
What you might also like


5 comments on “Sewing with Electricity”
-
-
I plan to sew all day long and enjoy every stitch
-
I enjoy the “We all sew ideas”
-
Thanks for the cleaning tutorial. Need to follow up with my machines. Working on two quilts on NQD!
-
So happy to receive pictures and “how to” of cleaning and oiling Berinas!
Plan on sewing all day on National Sewing Day!
Really enjoy the WeAllSew! Love my 880Plus, Serger and 530 Berninas.
Leave a Reply
You must be logged in to post a comment.
I appreciate all the info for keeping my Bernina 77qe Plus machine running like a dream between my yearly cleaning at our local Bernina dealer that does an amazing job giving my machine a perfect spa day so I can do what I love Sew & embroider.
I will spend my National Sewing Day sewing as I do every day of the year when I’m home.