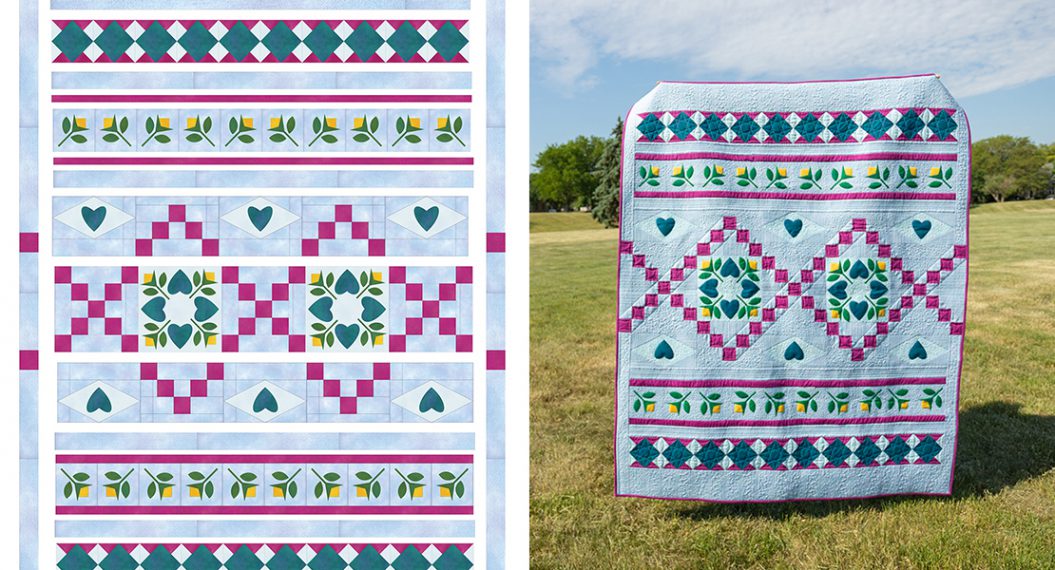
Stay Gold Quilt Along, Part 3: Finish Blocks, Layout and Sashing
Welcome back to our BERNINA Stay Gold Quilt Along. We are staying gold while working our way toward a finished quilt! If you were not here for the first two weeks, find the links at the end of this post. You’ll catch up in no time!
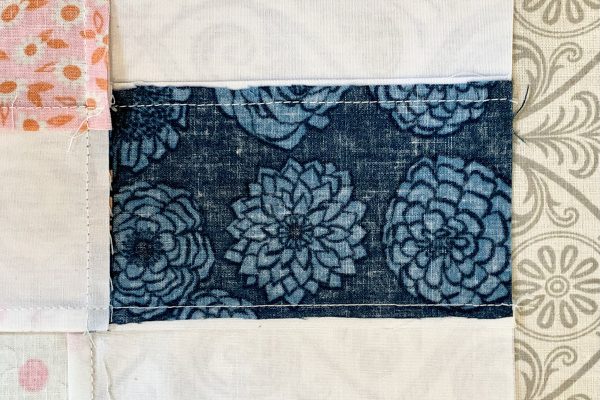
This week we’ll finish piecing our blocks and add sashing. First, let’s answer a question that came up last week: why is there a dark shadow coming through my white fabric? If you notice a shadow coming through the white background fabric, there is a seam allowance in a dark or printed fabric on the other side. Sometimes it’s not possible to press to the dark side without creating excess bulk. In this case, we press to the light side. If needed, trim a sliver of the raw edge from the dark fabric to remove any shadow. See blue fabric below. This does not apply to seams pressed open.
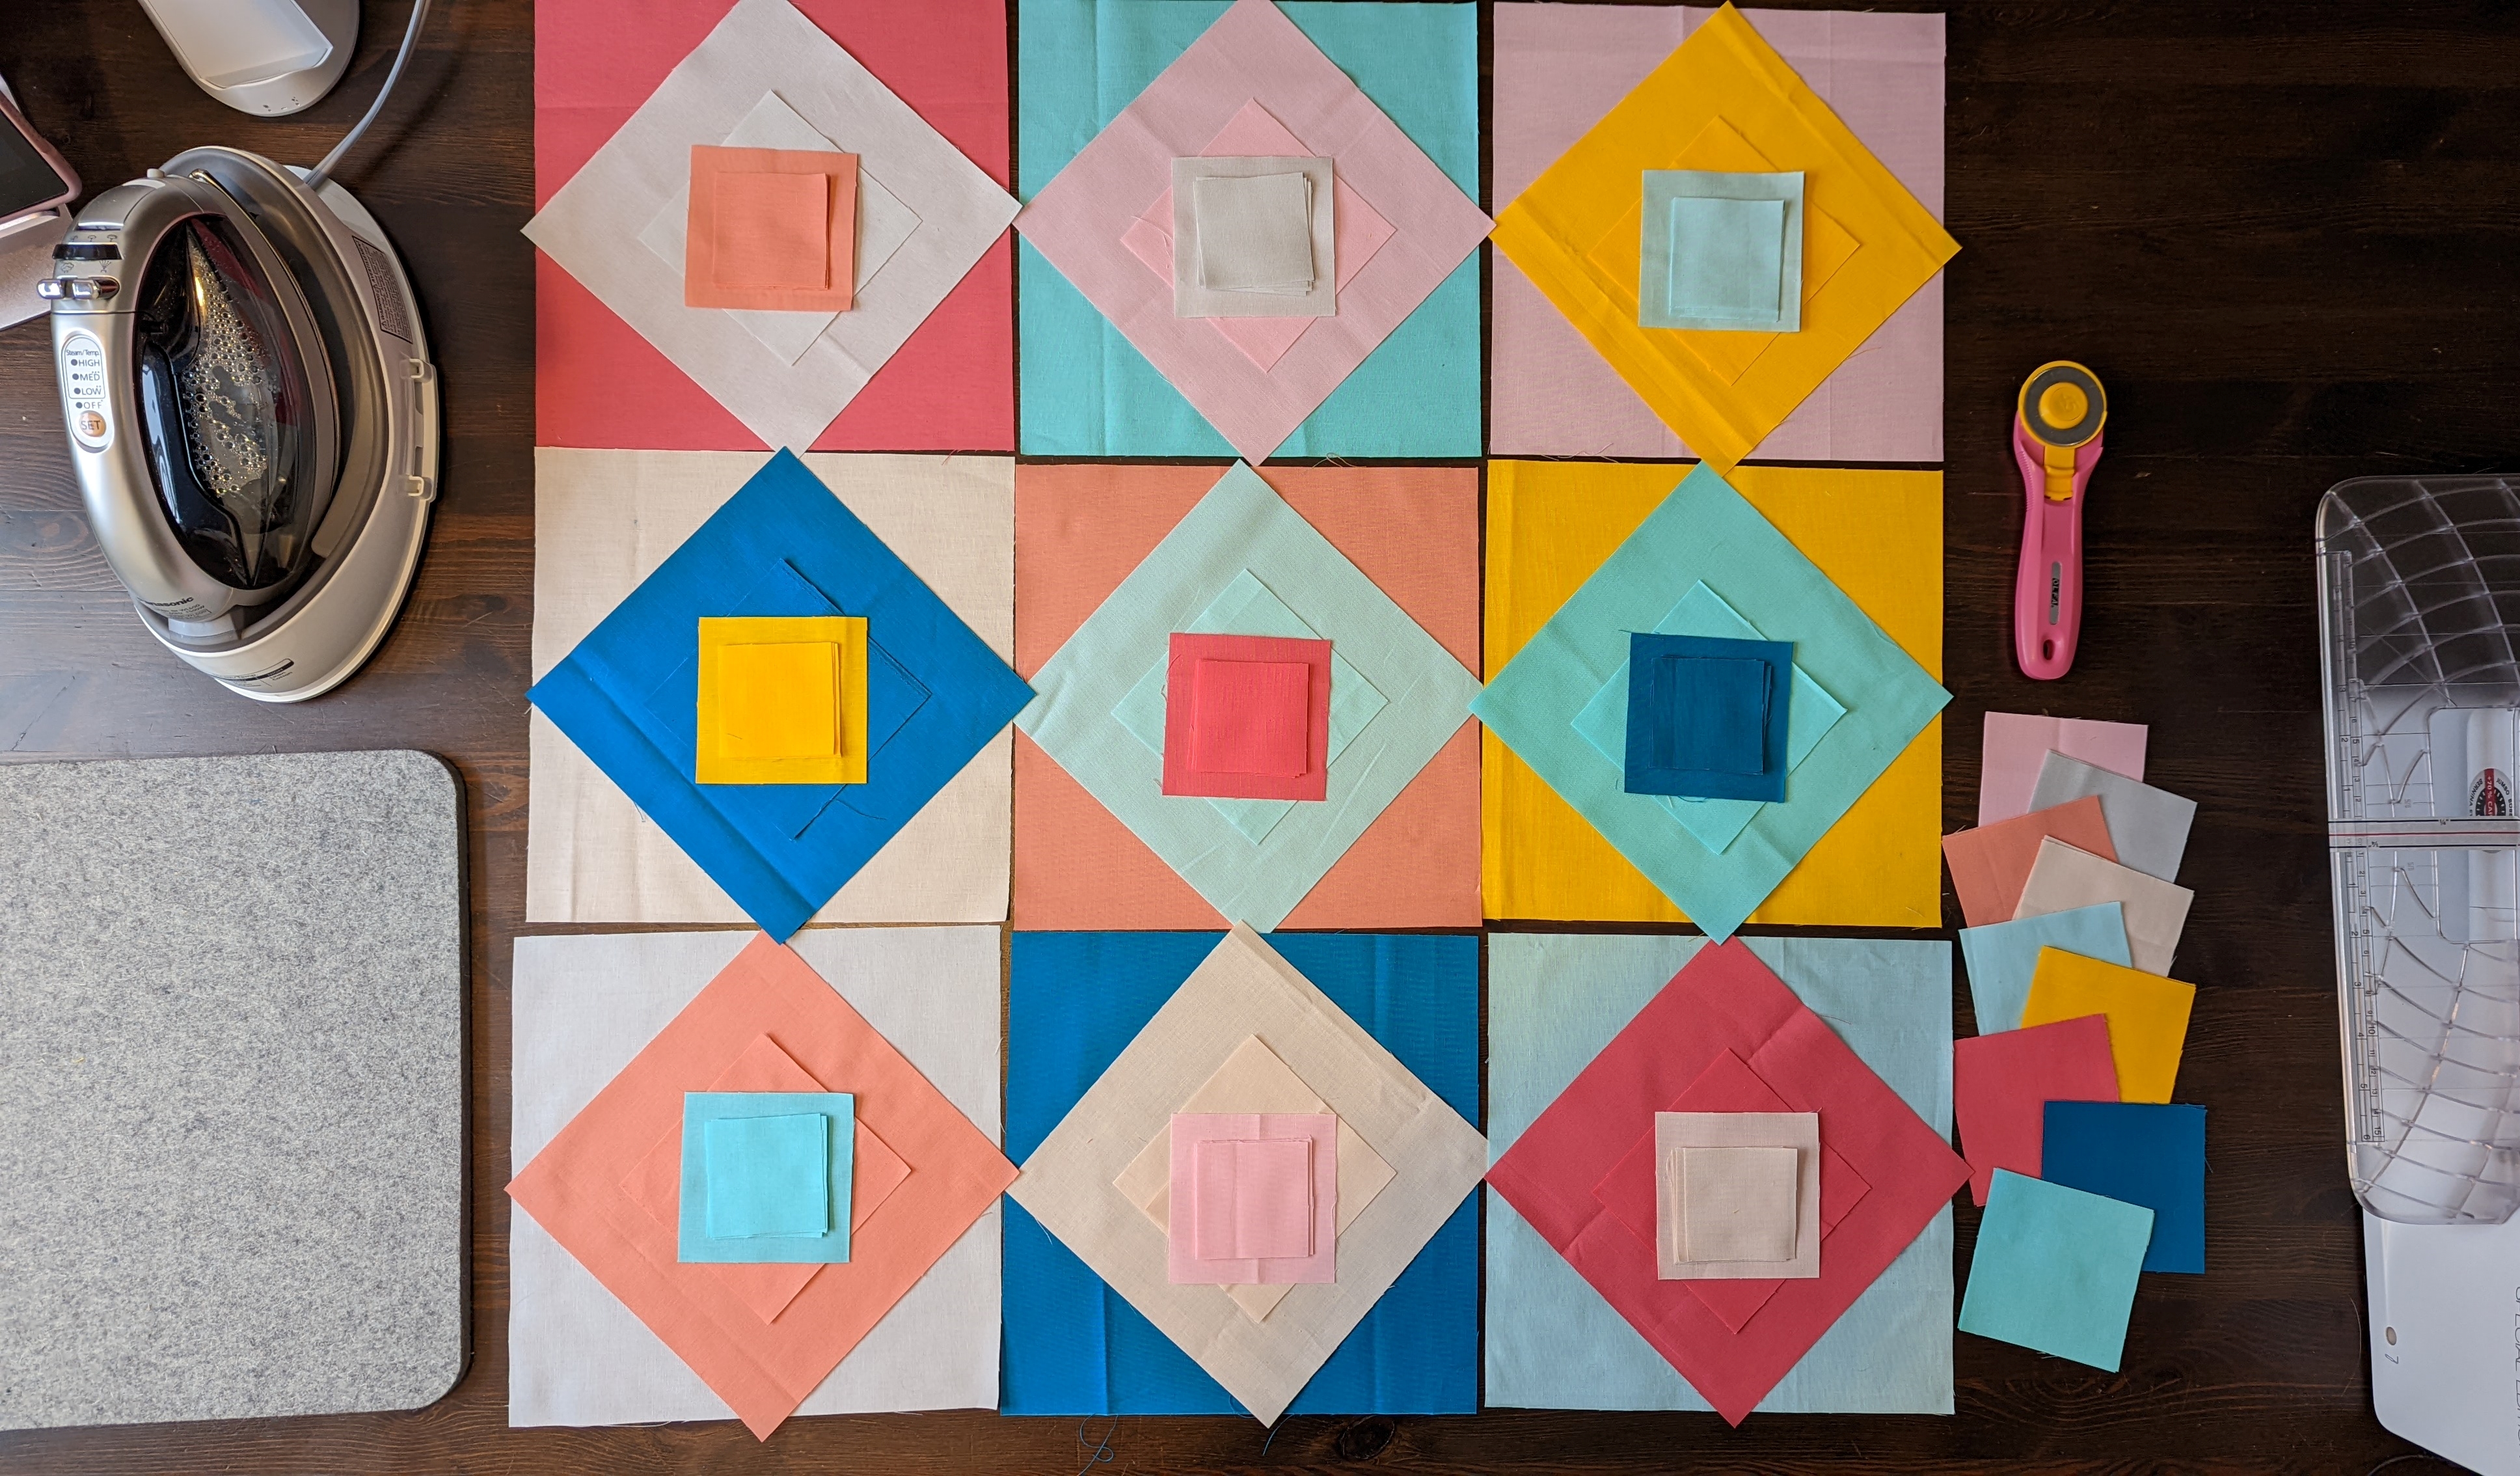
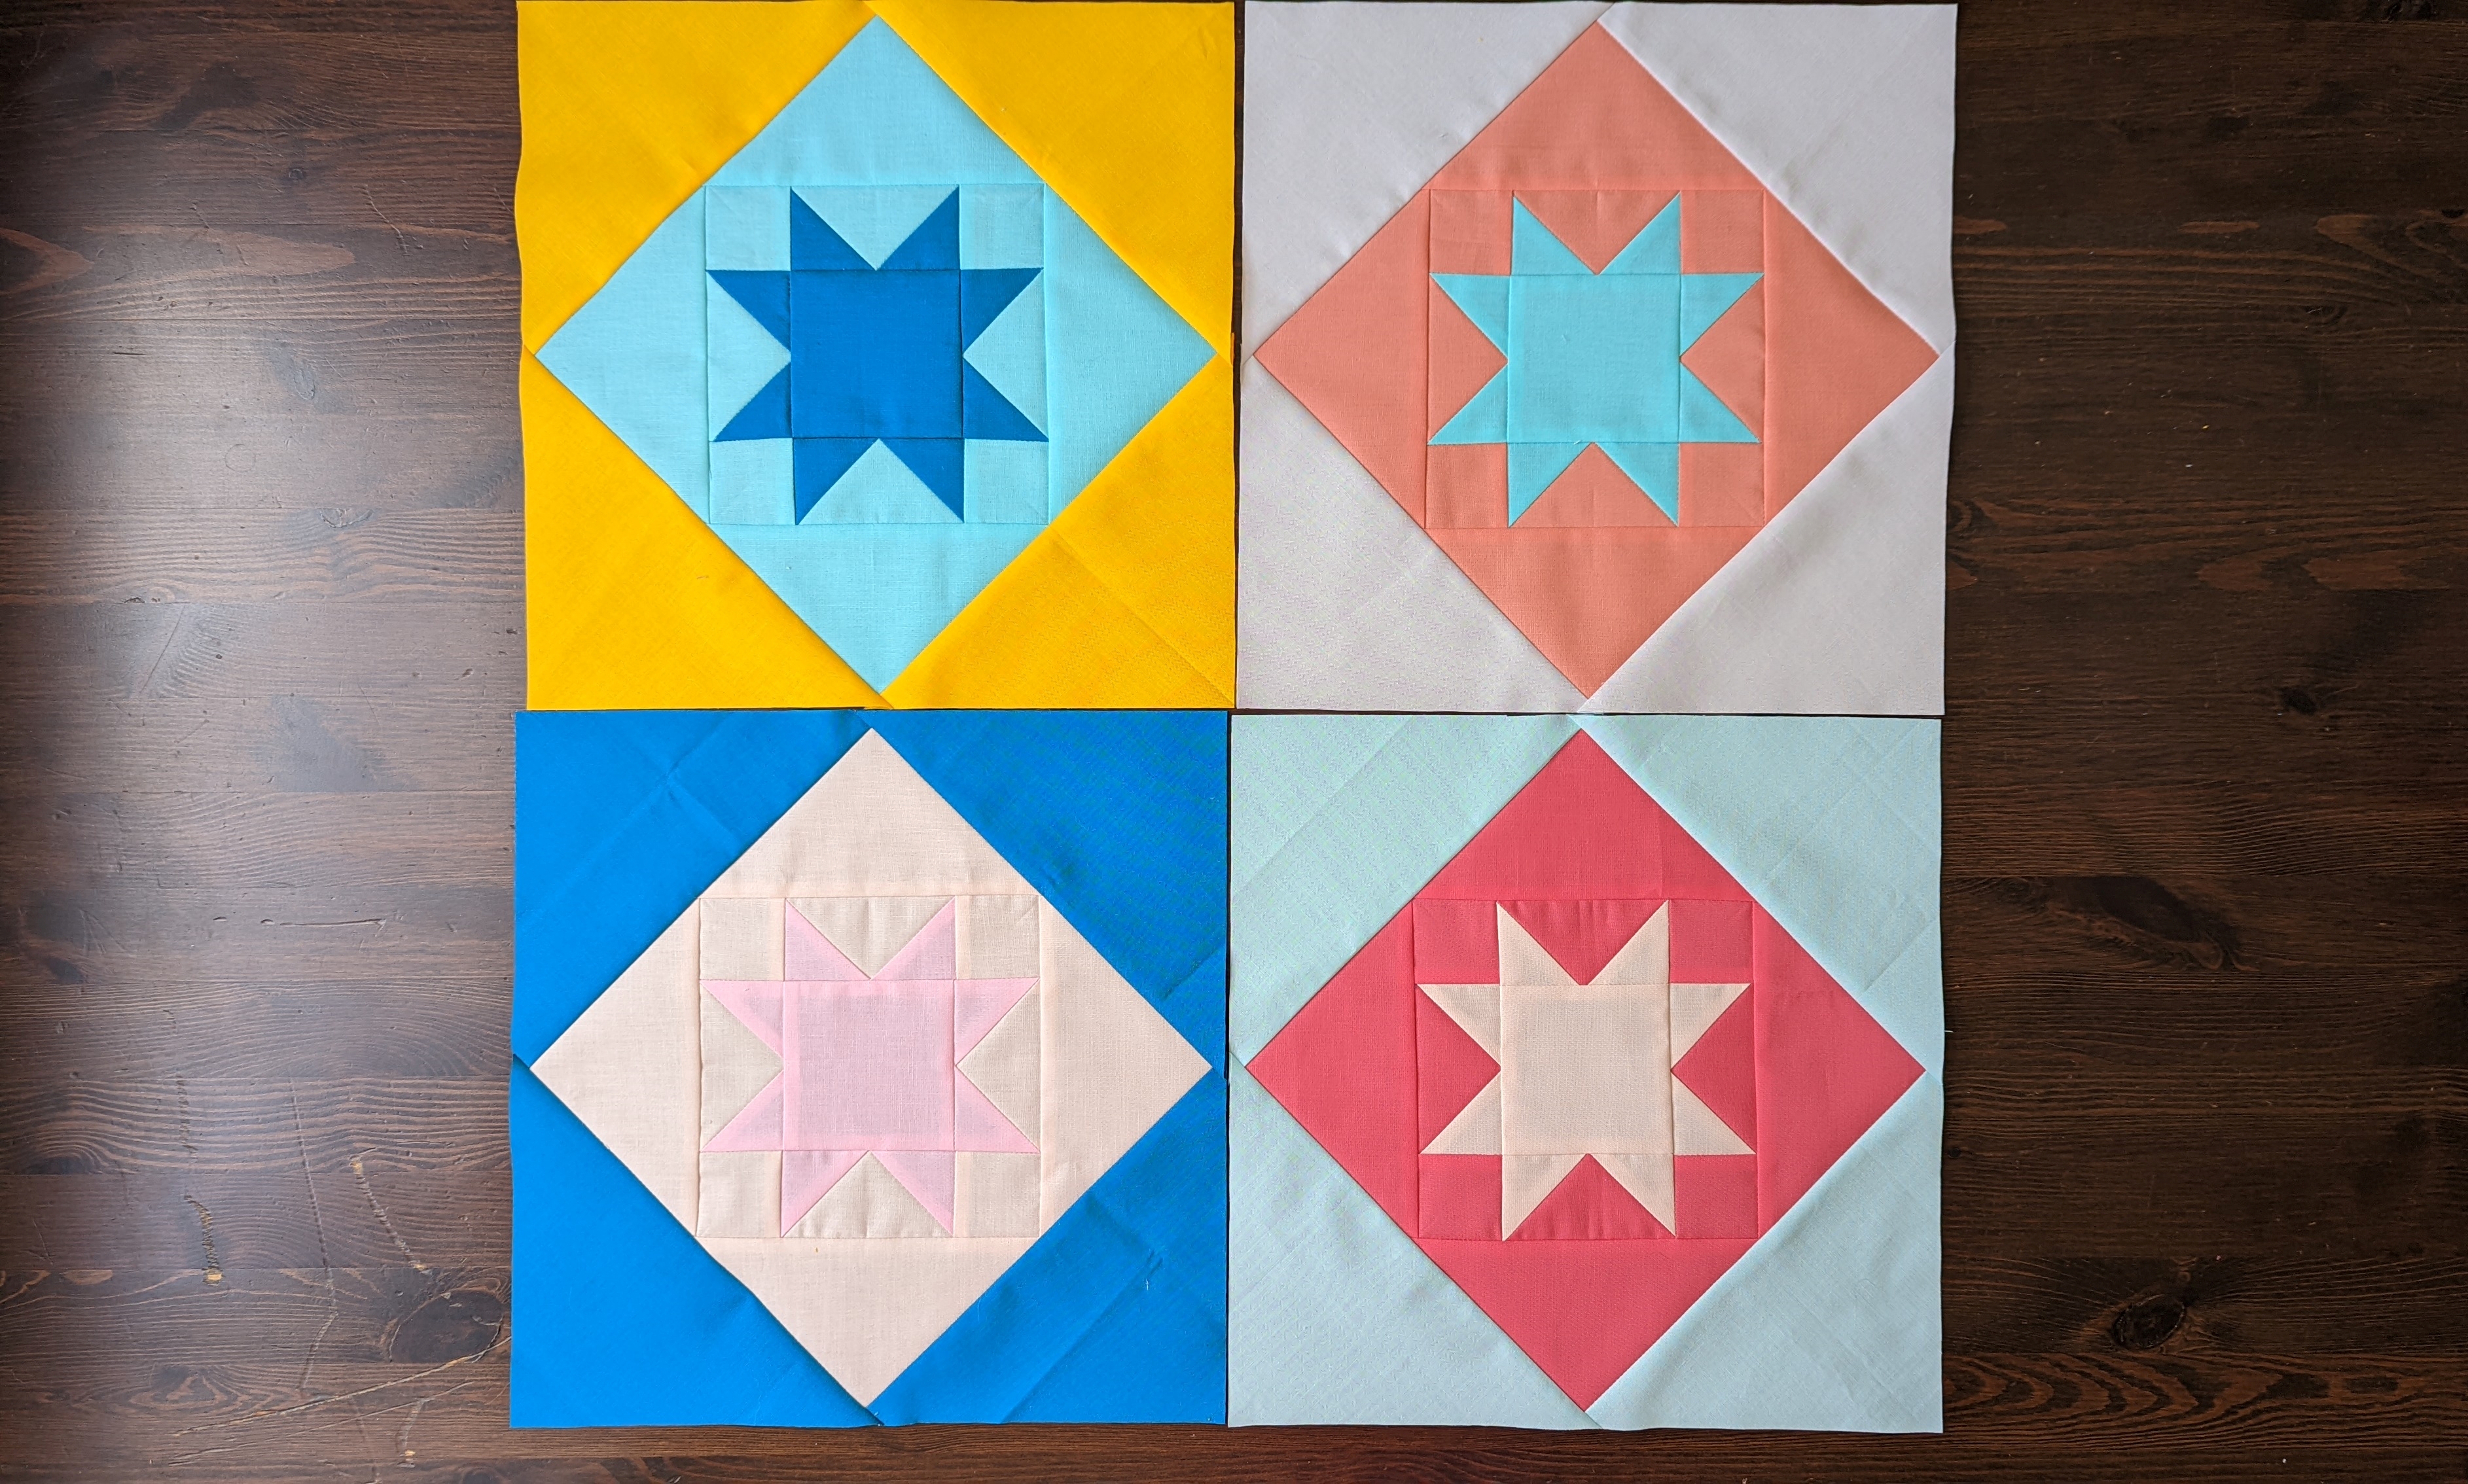
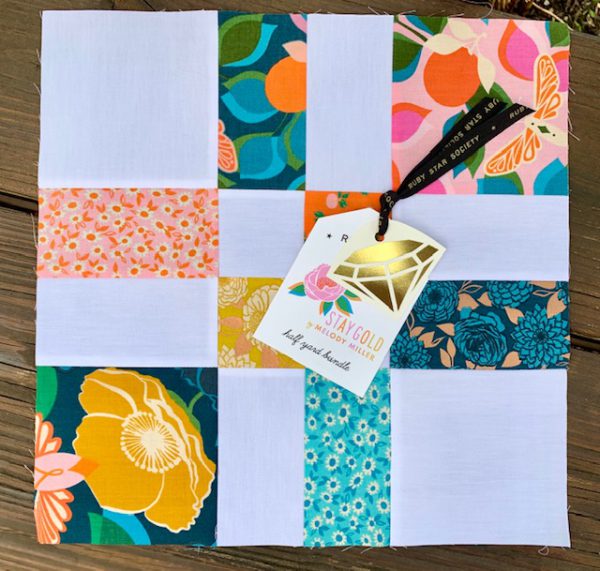
Go ahead and finish piecing the rest of the Counterchange Cross blocks. Remember your 1/4” seam allowance placement. When you are done, we’ll talk sashing.
Adding Sashing to Your Quilt
What is sashing? Sashing is a strip of fabric that separates quilt blocks. The strip of fabric is usually a solid piece but can be pieced. Also, sashing can have cornerstones which are fabric squares that equal the width of the sashing.
There are several reasons why sashing is added to a quilt pattern:
- To separate quilt blocks
- Add a color element
- Increase size of quilt
- Add negative space
- Add a visual resting place
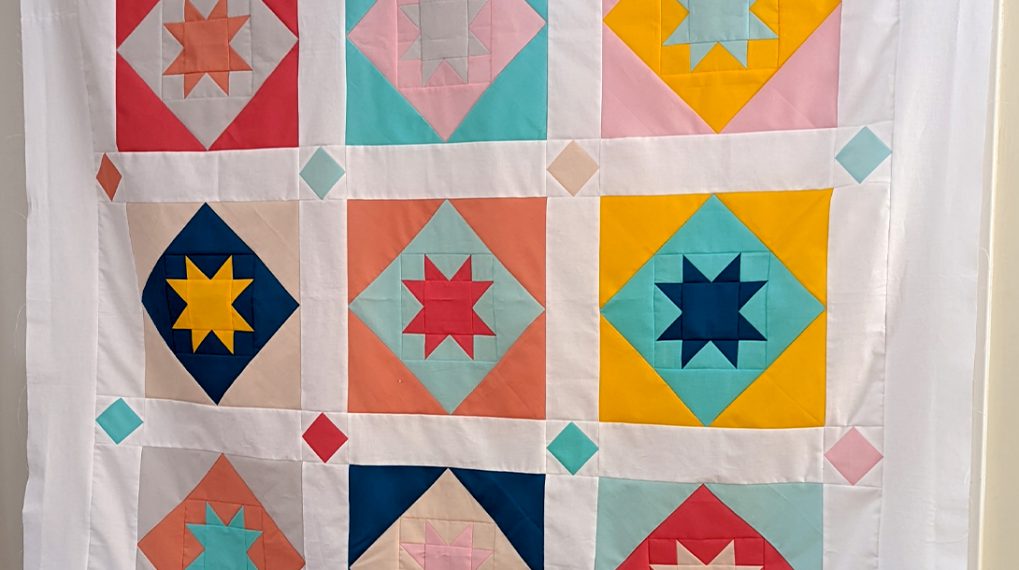
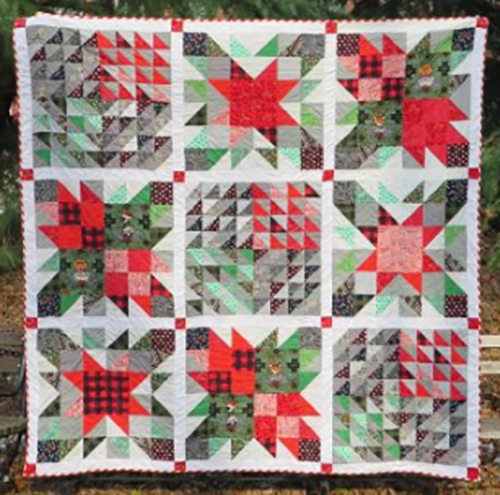
Traditionally, sashing is used with cornerstones to separate blocks of the same size, such as in a sampler quilt. The picture below shows solid white sashing between the quilt blocks with red cornerstones.
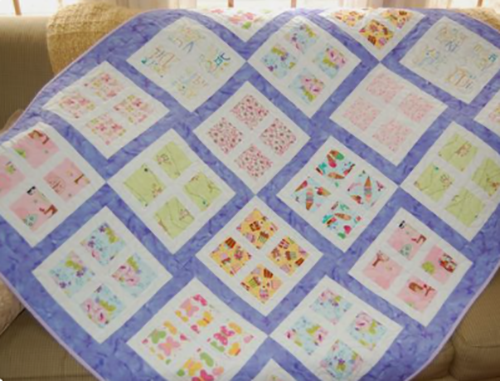
Today, many quilters use sashing to add negative space or add a color element. Below is a quilt with purple sashing. Also, notice how the sashing was added so the blocks do not line up evenly.
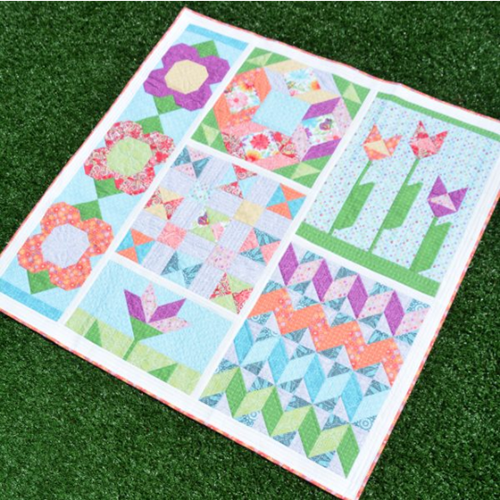
Sashing does not have to be the same size. Below is a quilt with sashing that is different lengths. Notice the width of the sashing. It is thin, giving just a little separation between blocks. If sashing was not added to this quilt, it would be very busy with no visual resting place.
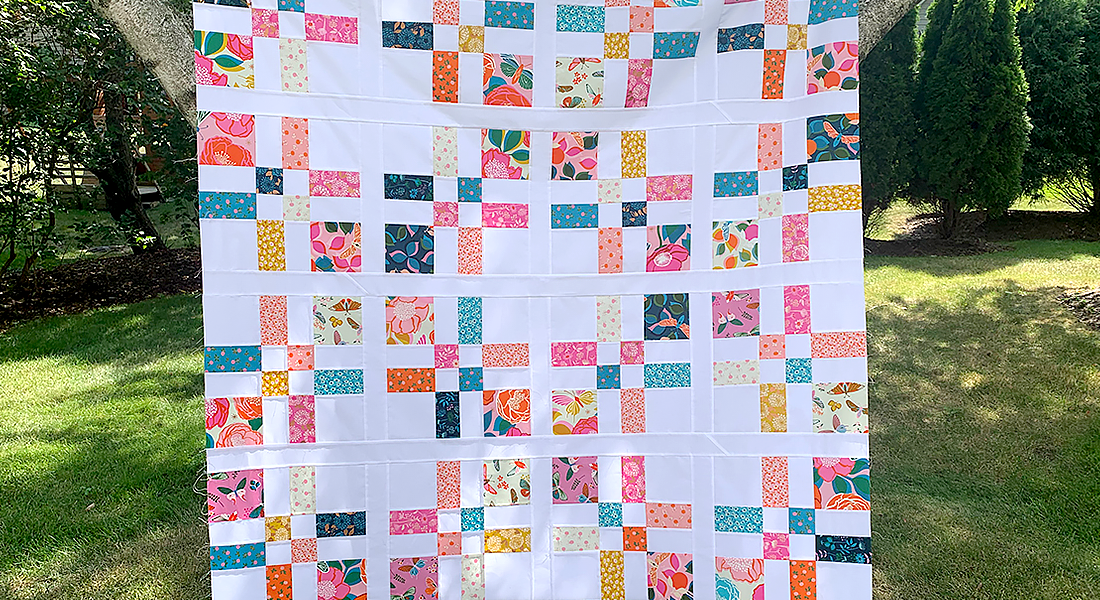
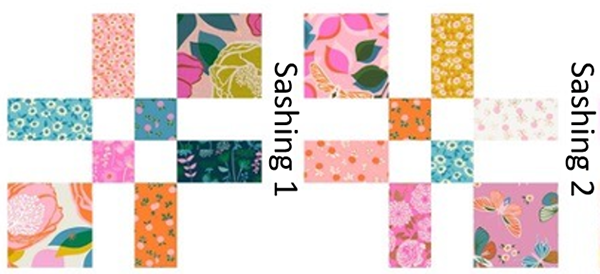
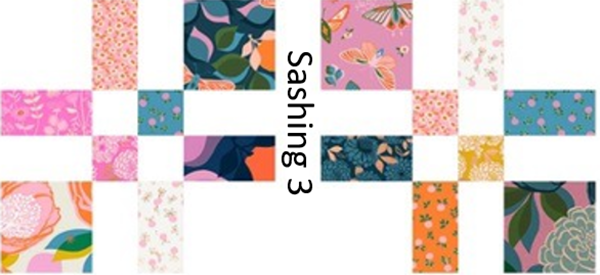
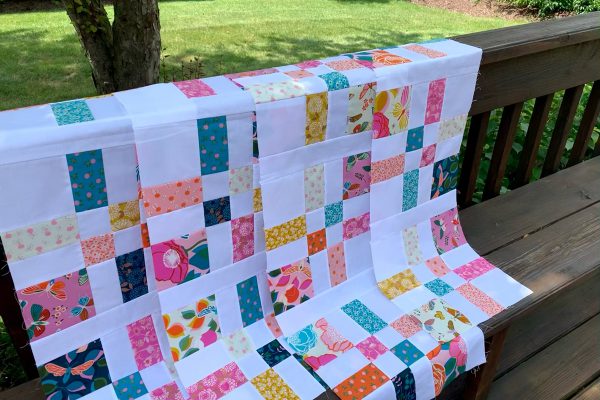
For our Stay Gold quilt, we are adding sashing in Benartex Supreme Solids White to separate the quilt blocks and add negative space. Before you start sewing, decide on your quilt layout. Arrange 4 blocks in a row for a total of 4 rows. Remember there will be 2” of sashing between the blocks.
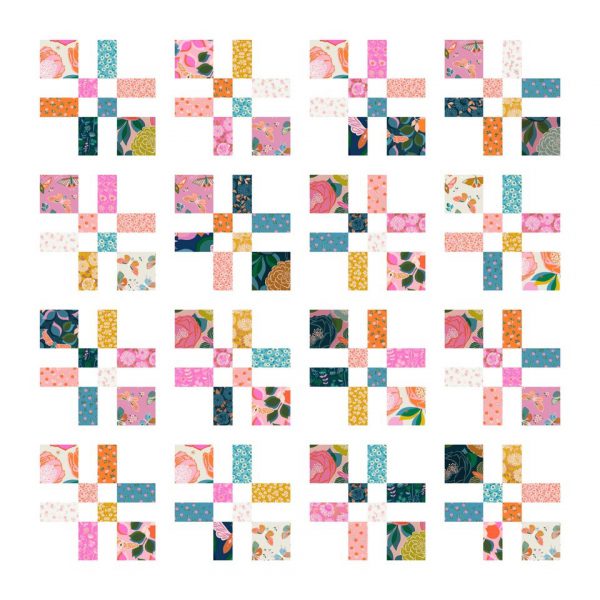
Now, here is the magic part: rotate every other block until you end up with the following arrangement:
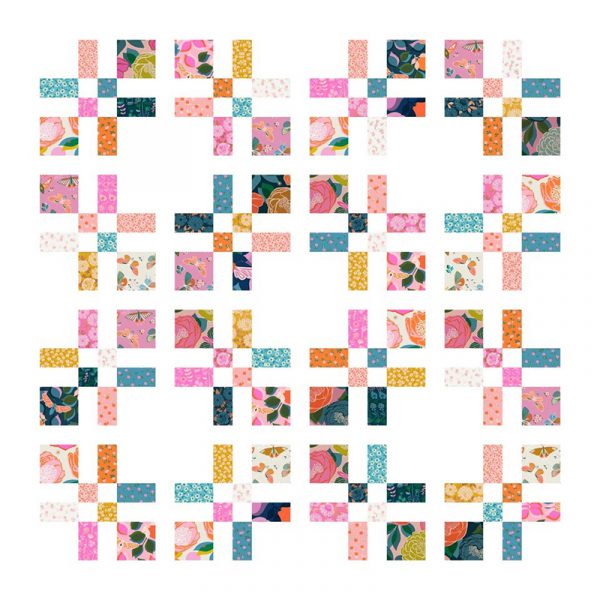
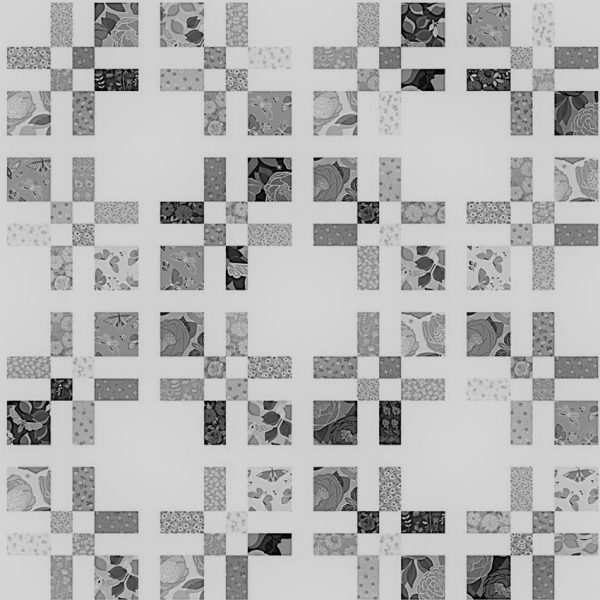
Take a step back and look at the overall quilt. Do you notice areas with too much dark or too much light? If so, play around with the blocks. Taking a picture on your phone helps with color balance, especially if you use a monotone filter.
Starting with the top row, take the 4 blocks to your machine with the first block on top making sure not to turn the blocks. It’s very easy to inadvertently turn one of the blocks around. If it helps, number them with sticky notes so you are certain of the order and the direction.
Each row needs (3) 2 1/2” x 12 1/2” sashing strips. At your machine, combine the first two blocks with one sashing strip. First, pin a sashing strip to Block 1 and sew. Then pin Block 2 to the opposite side of the same sashing strip and sew.
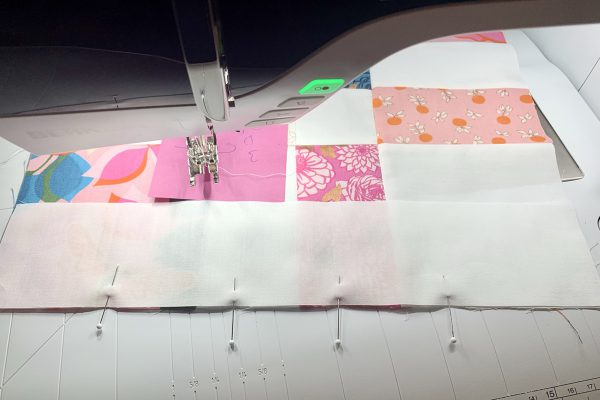
Notice I get close to the pins but I don’t sew over them.
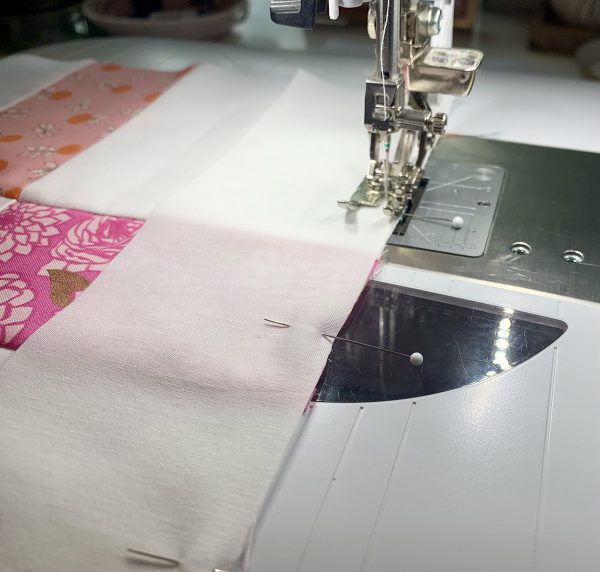
Next, add the second sashing strip to the opposite side of Block 2.
Now, combine the last two blocks (Block 3 and 4) with one sashing strip in the same way you combined Blocks 1 and 2.
Lastly, combine the 2 sets. Notice we are not adding sashing strips at the beginning or end of the row.

If you are pressing to one side, press seams toward the inside of the sashing as shown below.
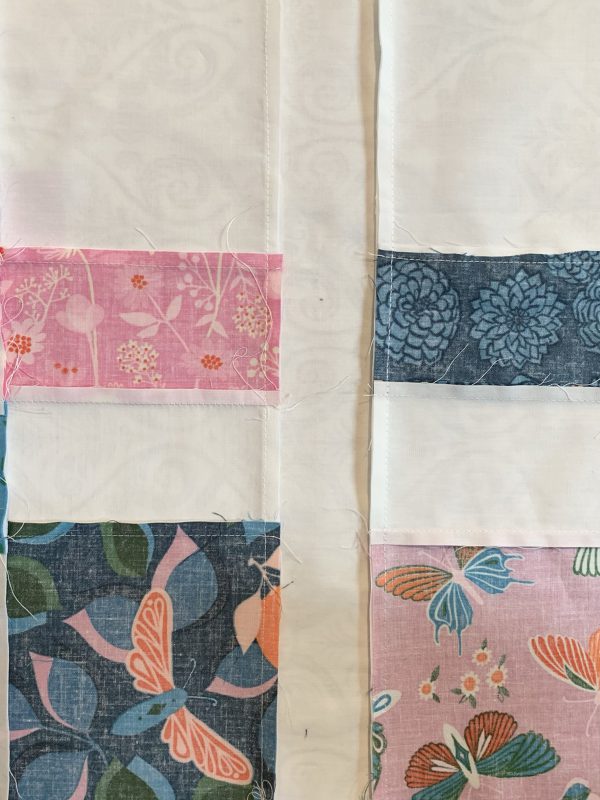
Beautiful!
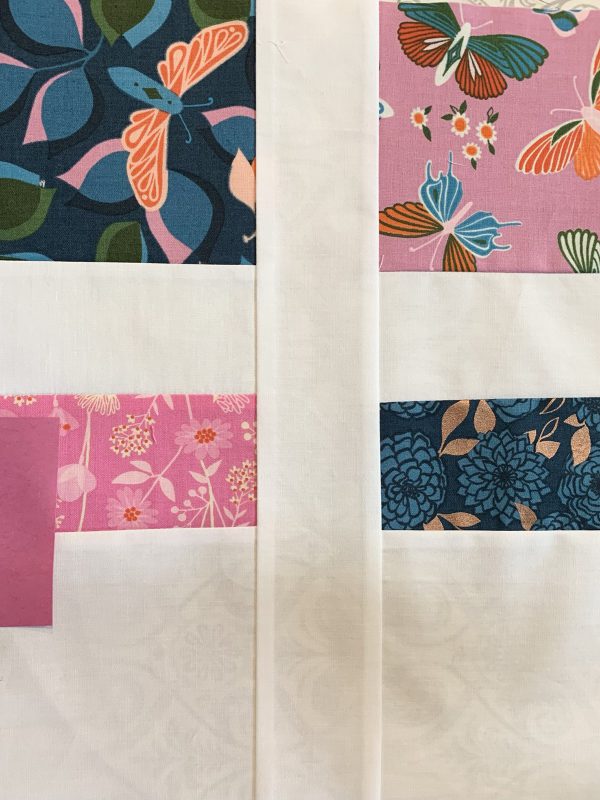
Stitch Rows 2, 3, and 4 in the same manner.
Find the 4 Supreme Solids strips that you set aside in the first post. You should have 4 at 2 1/2” x WOF (width of fabric). We need to make (3) 54 1/2” strips. The standard width of quilters cotton is anywhere from 40”- 44”. So we need a 4th strip to lengthen the 3 strips. To make longer strips, place two strip ends perpendicular to each other as shown in the picture below and draw a 45-degree line.
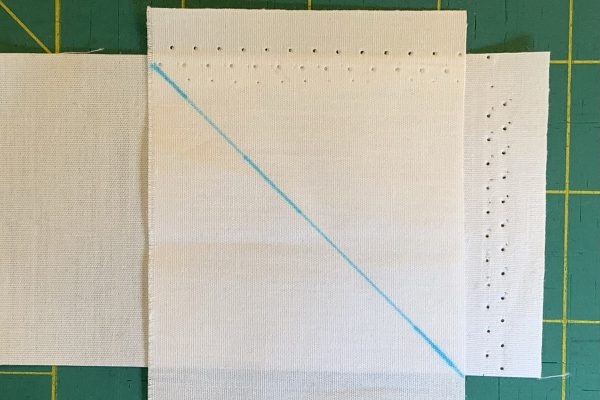
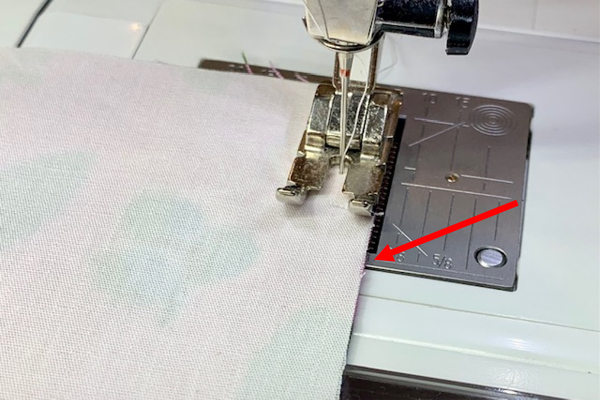
Pin together to secure. Stitch a hairline to the right of the marked line. Sewing the strips together at an angle creates the least bulk at the seam line. This is the same way quilters piece together binding strips.
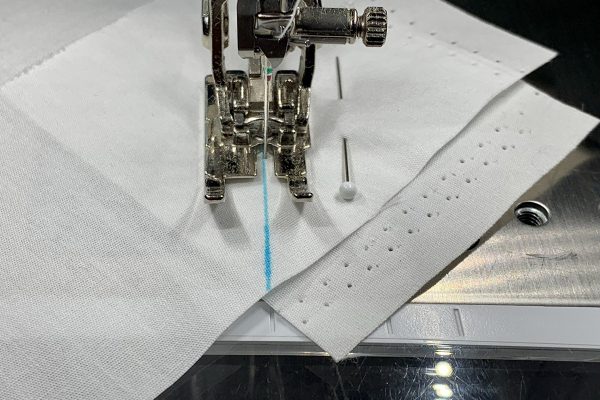
Do the 2 strips align nicely? If so, trim the seam allowance to a 1/4”.
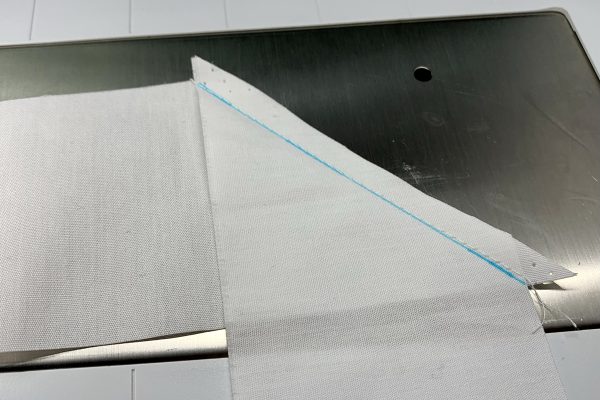
And press!
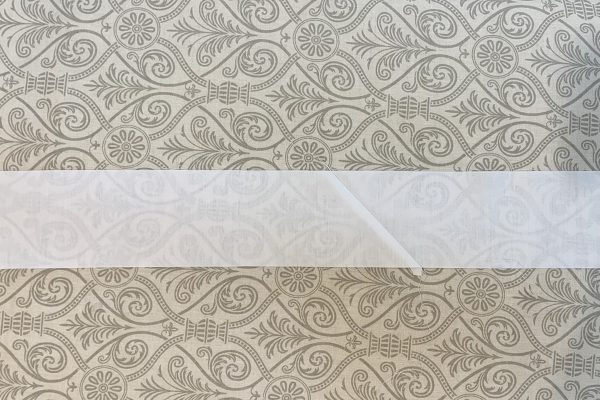
Measure and cut the strip to 54 1/2” in length. Use the remnant to add length to the other two strips in the same way. You should have 3 strips that are 2 1/2” x 54 1/2”.
Now you are ready for next week when we will piece the entire quilt top together! It’s going to be amazing! Can’t wait to “see” you for part 4. Until then, happy piecing and enjoy the process!
Miss the first two posts? Check them out below!


