Tips For Free-Motion Couching With Cords
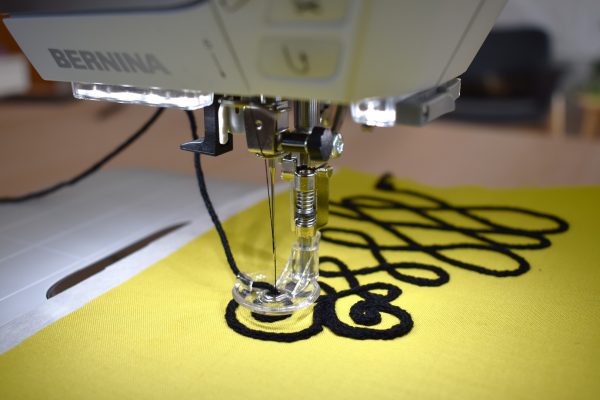
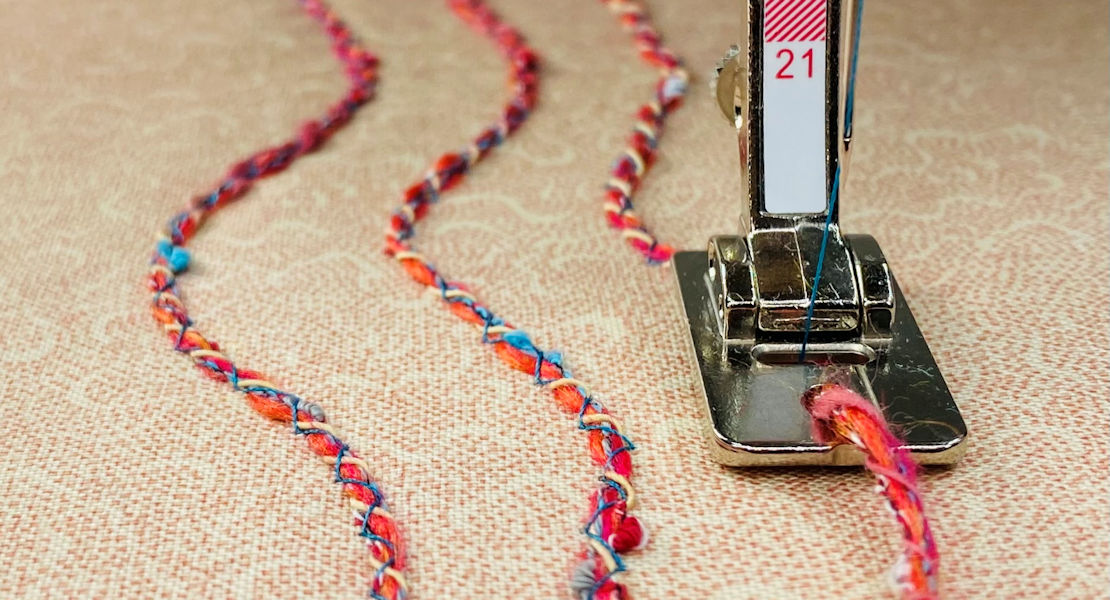
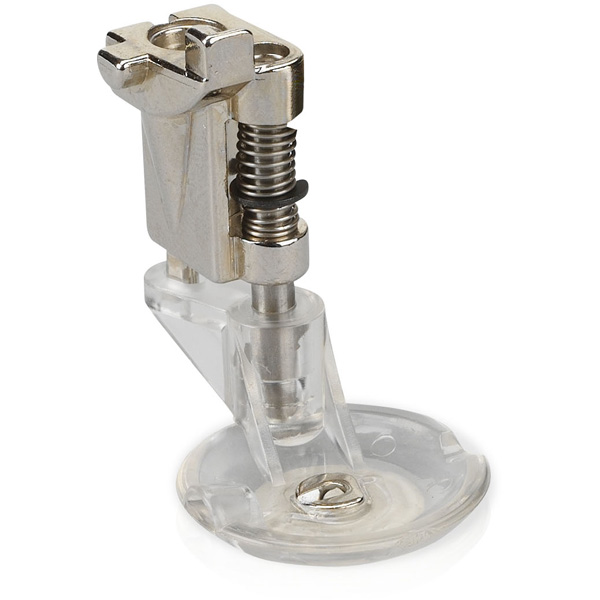
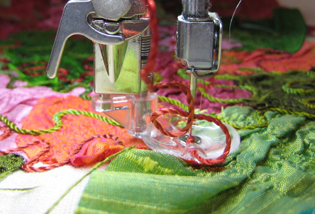
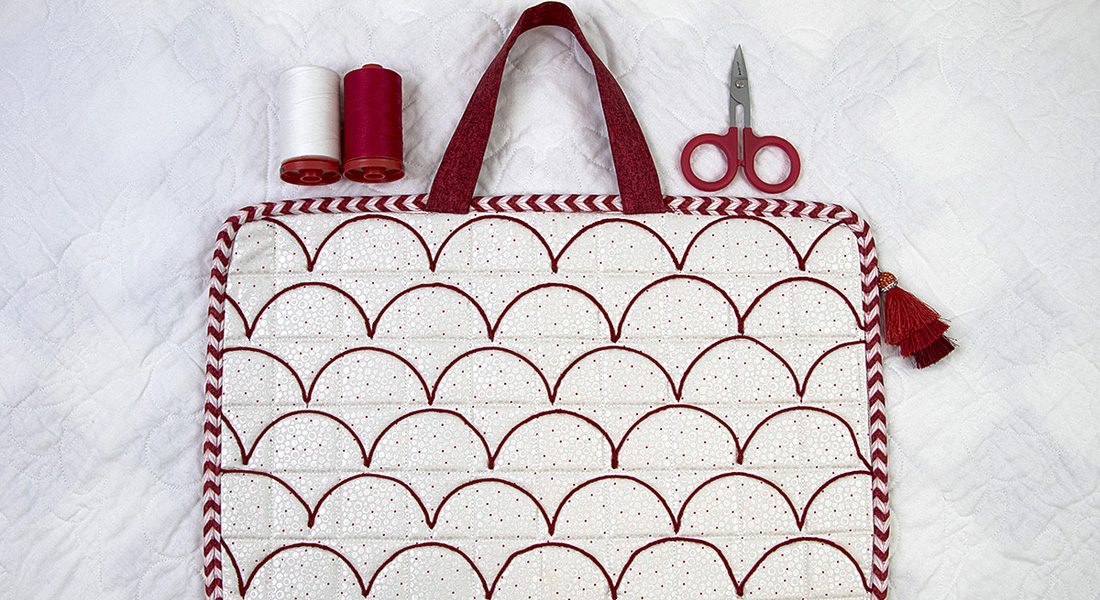
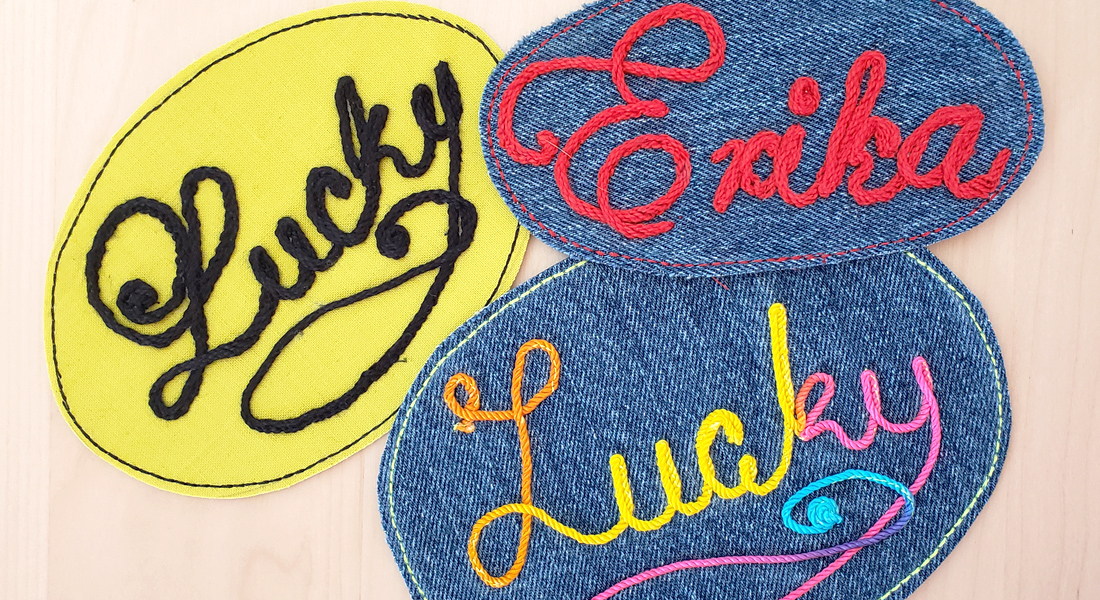
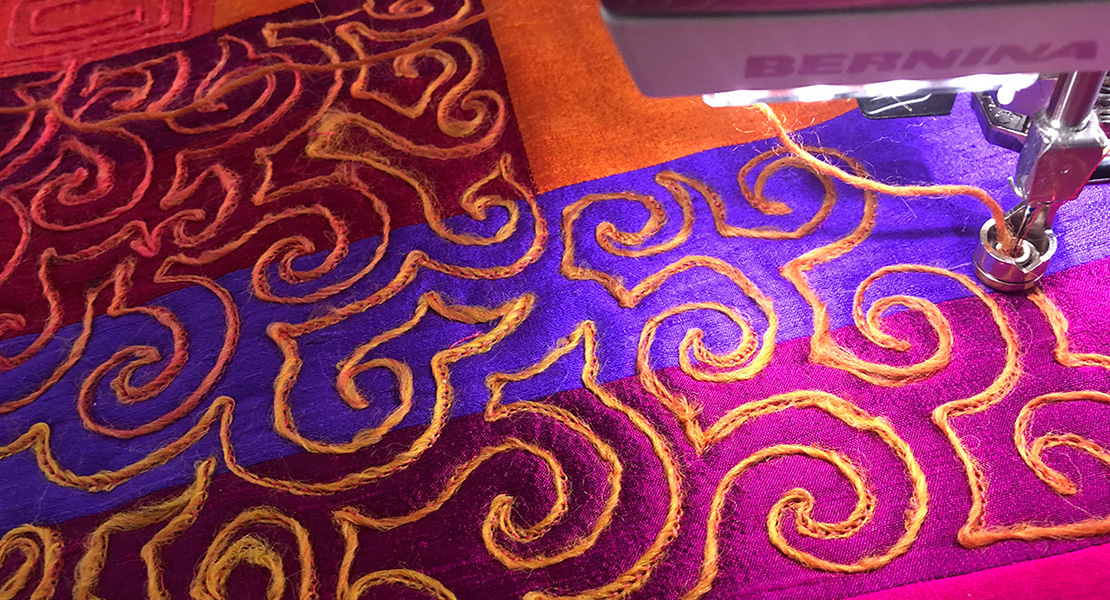
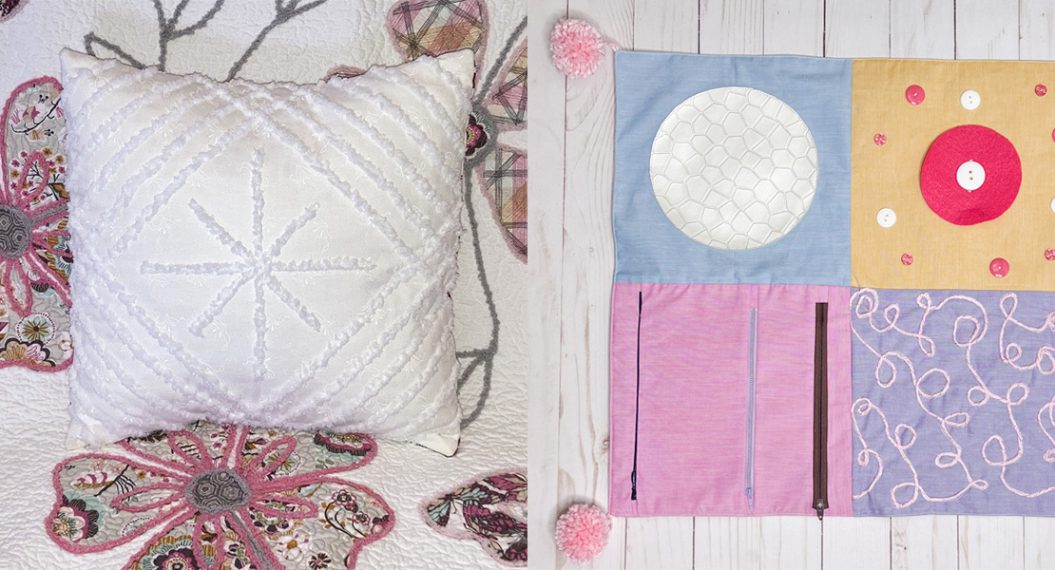
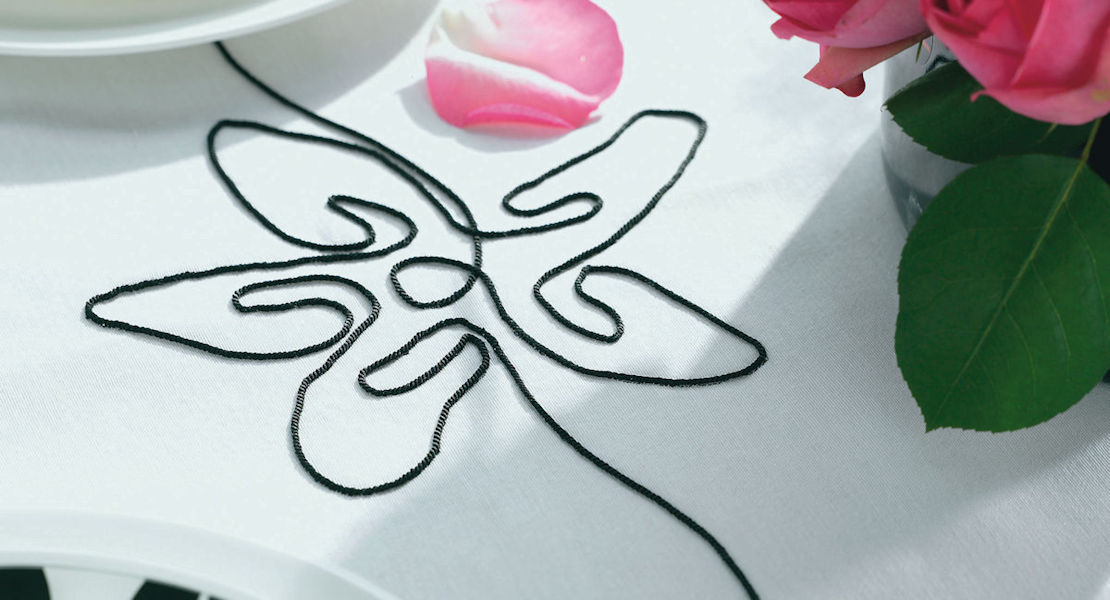
Couching refers to the technique of adding cords, yarns, or other heavy threads on the surface of material. Combine this technique with free-motion stitching, and you have a really fun way to add texture and lines to any project. Free-motion couching foot #43 is specially designed to allow for precise free-motion while couching cords about 2mm in width.
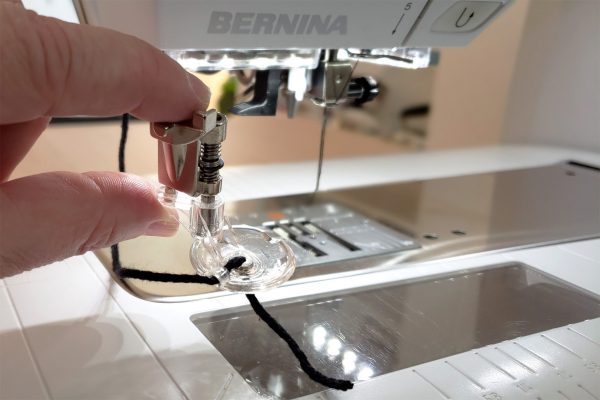
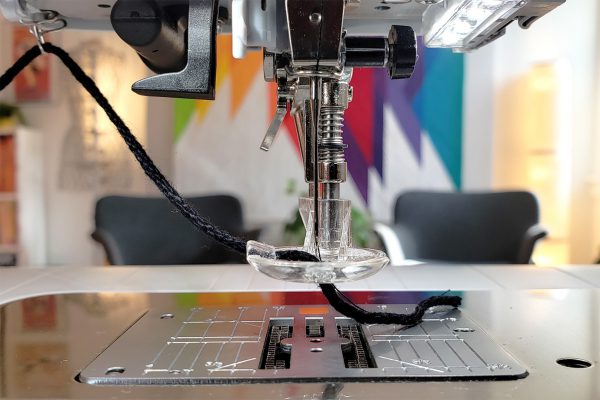
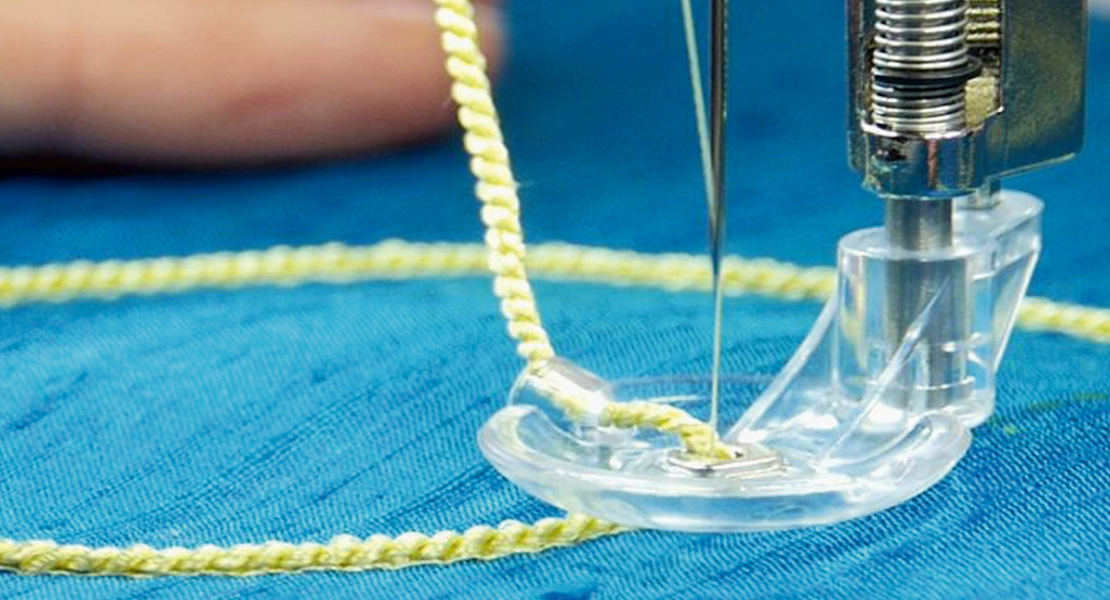
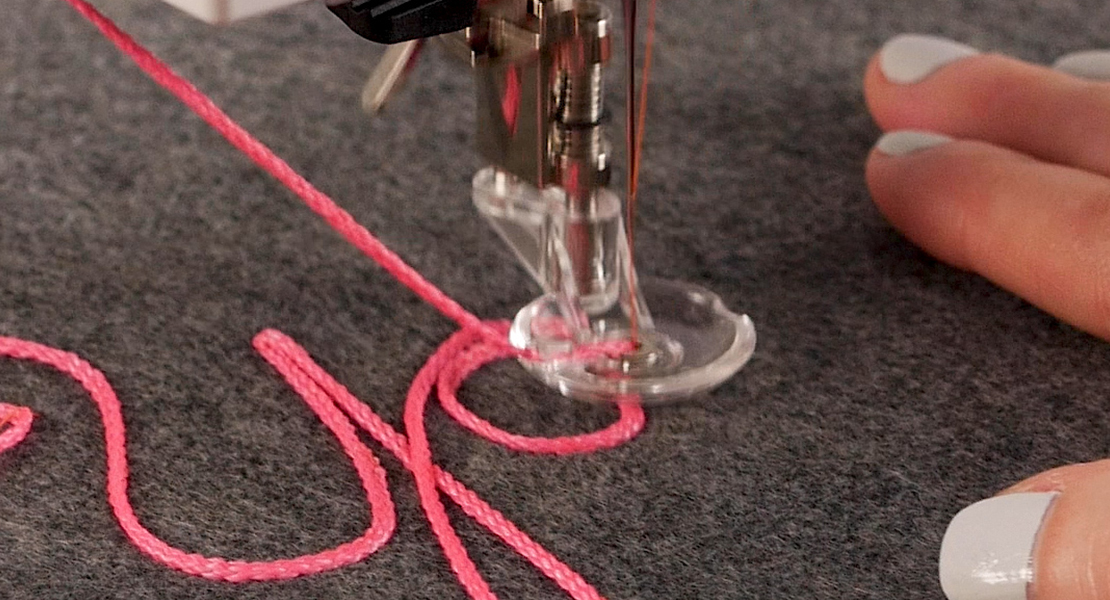
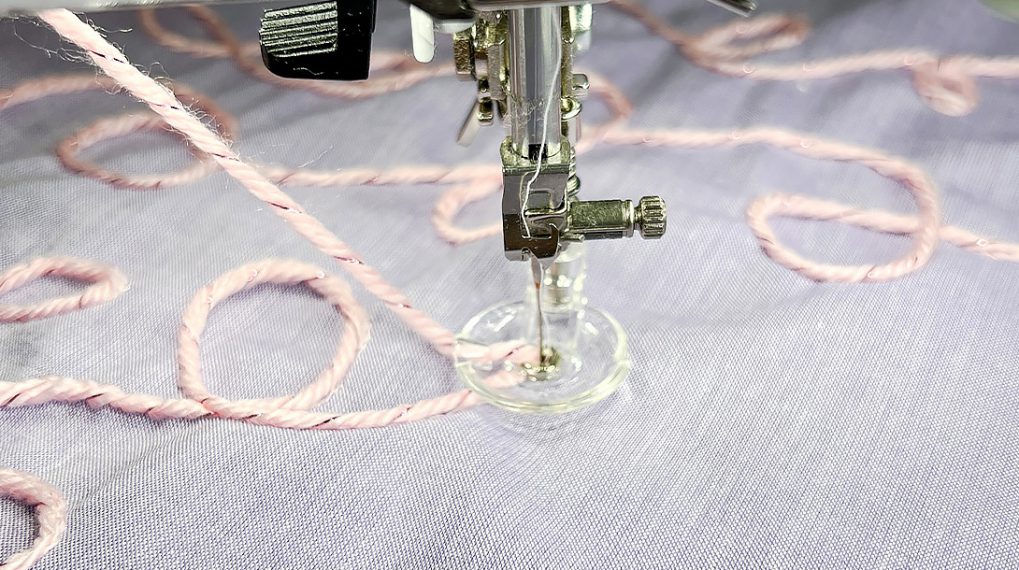
The foot includes a guide on the side to help smoothly feed cord through the center hole, which holds the cord in place for the needle to pierce the cord. The base of the foot is cupped to allow for smooth movement over cord already stitched to the surface of the project. The cupped foot also glides smoothly over quilts when applying cord with free-motion quilting. Couching with foot #43 works best with rounded cording about 1.5mm to 2mm thick, any trim that is too thin or flat used with this foot will not make contact with the needle for stitching.
Test the trim or cord in the foot before stitching to make sure it is a good fit. The trim or cord should move freely through the side guide and middle opening. The opening should be mostly filled by the trim or cording to allow the needle to catch and sew the trim to the surface.
How to Thread and Mount Free-motion Couching Foot #43
In the package with foot #43 you will find two different sized cord guides and a cord threader for the foot. Read the directions in the container or check with your BERNINA store to find out which guide fits your specific model. The cord guide helps feed the cord into the side of the foot and keep the cord from getting in the way while you are stitching.
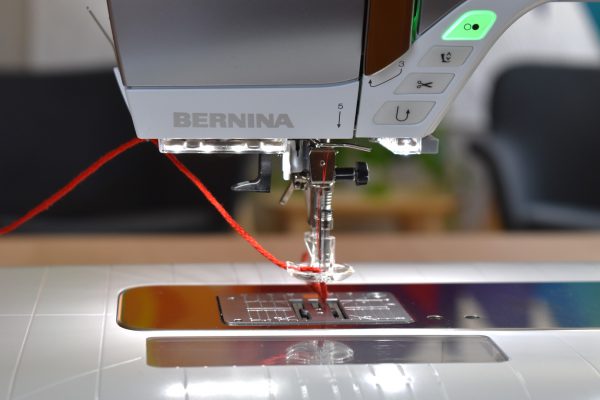
Use thread that matches the color of your cord, and thread your machine normally. Lower the feed dogs in preparation for free-motion sewing. Use the guide in the container to maneuver the cord in the side tunnel of the foot. Next, guide the cord down through the center hole. After the cord is properly threaded into the foot, attach the foot to the machine.
Marking a Pattern for Free-motion Couching
You don’t need to follow a pattern when free-motion couching, but if you do want to follow a pattern there are several methods you can use.
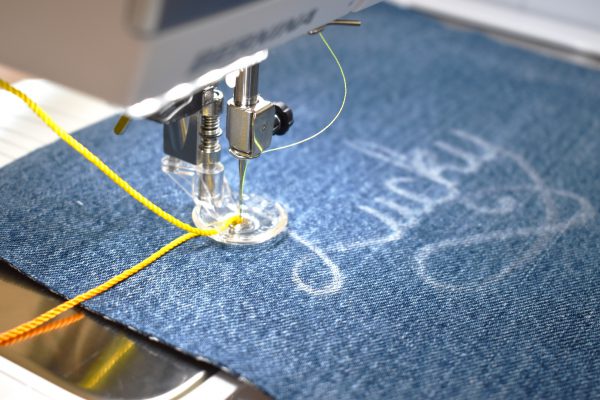
Mark directly on the surface of the fabric with a stencil and chalk, fabric marking pencils, or disappearing fabric marking ink pens. Follow the marks with the foot as you sew.
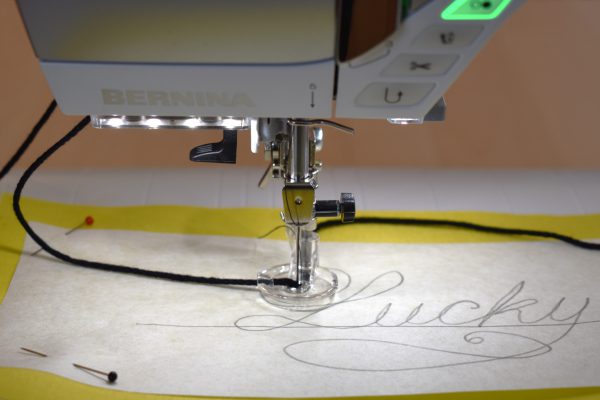
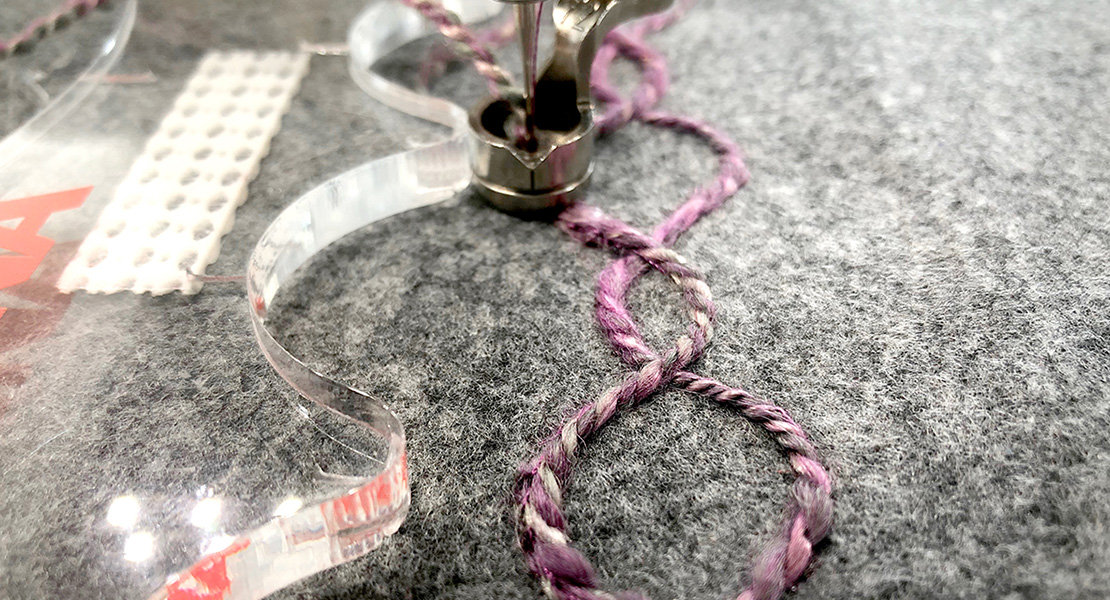
Mark on lightweight tear away stabilizer with a marker, pen, or pencil. Pin to the surface of your project and follow along the marks with the foot as you sew. After stitching, carefully pull the stabilizer out of the stitches. You may need to use fine point tweezers to help you pull the stabilizer from small areas.
Free-motion Sewing the Cord
Test-sew on a scrap of fabric before sewing your project to get a feel for how the cord will flow and sew with the foot. If working with one layer of fabric, use a stabilizer to help keep the stitches or cord from sinking into the fabric.
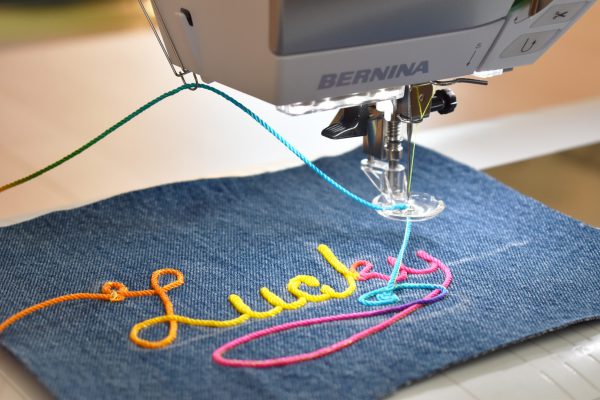
With this technique of free-motion couching, you move the fabric under the needle. Find your rhythm of sewing steady while moving the fabric under the needle. While this technique is easy to sew wide curves, making tight turns and small loops takes more practice. Making smaller stitches in those tight corners, loops, and turns helps make sure the cording is being stitched as you sew.
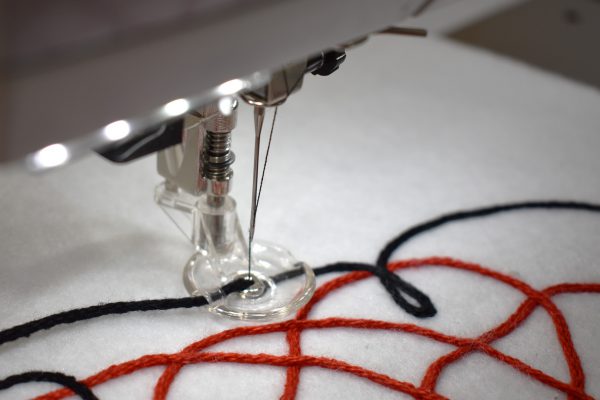
This foot makes it easy to sew over a previous line of stitched cord, but be careful not to create a pile-up of multiple layers while sewing. This is where planning ahead of time with a general idea of where you are going can help.
To finish-off ends of cording, I leave a tail of cording at the beginning and end of the design, then pull the ends to the back with a large needle and secure the tails out of the way.
More Tips for Couching With BERNINA
Learn more about couching along with a few different ways to add cording to your project in this tip post, Couching Three Ways.
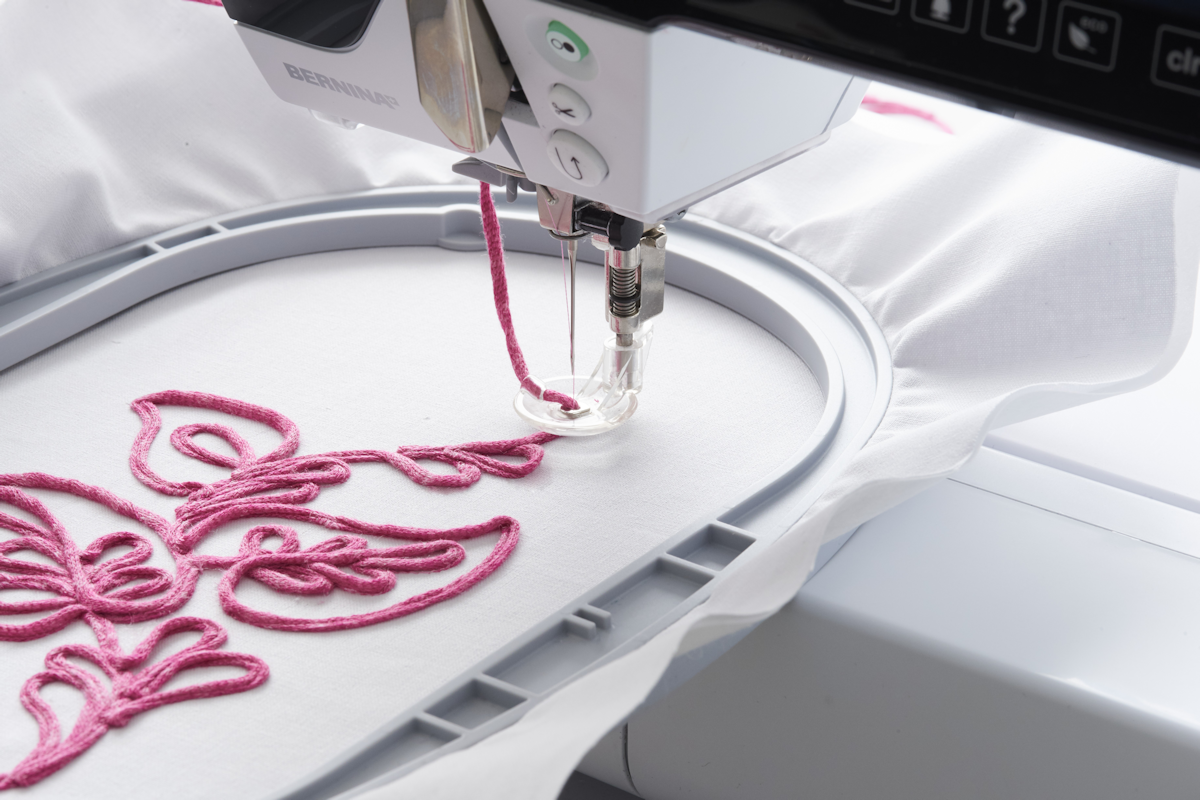
In this tip post, see how you can use Free-motion couching foot #43 to create corded embroidery.
Learn about other BERNINA feet that can create couching in this tip post here.
