Tips for Sewing Buttons and Buttonholes by Machine

Making your first button down shirt or dress can be intimidating with all the details and steps involved. There are pockets, tons of topstitching and so many buttons. But if you take it one step at a time it’s really not that hard and can also be really fun. To help you achieve a professional look, I’m going to tell you what machine feet will help you along the way and share a few tips on how to use them. Specifically, I’m going to get into the down and dirty details of topstitching, buttonholes and buttons. So read on and you’ll be stitching your own button down in no time.
Topstitching Tips
1) Choose an easy to sew fabric
If this is your first button down and you’re feeling nervous, I highly advise that you skip the silk (or anything slippery) and choose an easy to sew cotton or linen. Fabrics that are easy to sew are also easy to cut which means your fabric pieces will probably be more accurate and all around easier for you to handle. As you become more comfortable sewing, move on up to the slippery fabrics and you’ll have all the experience you need to handle them.
2) Glue baste
I love glue basting. It’s exactly like it sounds. Just use some glue to keep your fabric in place. Pins can often create a bump in the fabric. Glue is bump free and holds down the entire surface. I use a regular old Elmers glue stick but there are also glue sticks available specifically for fabric. Just make sure the glue is water soluble and won’t stain your fabric.
Glue your fabric just as you would paper and it will temporarily hold it in place. For button downs, I like to glue baste the button bands and the pockets. It can prevent any errant wrinkles or shifting that happens while stitching. I’ve found this especially helpful when sewing pockets cut on the bias.
3) Practice topstitching
Test out different thread colors and stitch lengths on a scrap of fabric to find the look you like best. Sometimes, I match my thread exactly to the fabric (which is great for concealing any wonky stitching). Other times, I really like the look of a contrast thread. It can make provide extra interest to a solid fabric (just like jeans or western style shirts).
Generally topstitching is a little bit longer than the stitch used for the seams. The objective of topstitching is to keep things in place and be decorative. The topstitching will not be under the same strain as the seams so it doesn’t need to be as strong. I prefer a stitch length of around 3 but it’s always good to test lengths with your thread and fabric type.
4) Machine feet
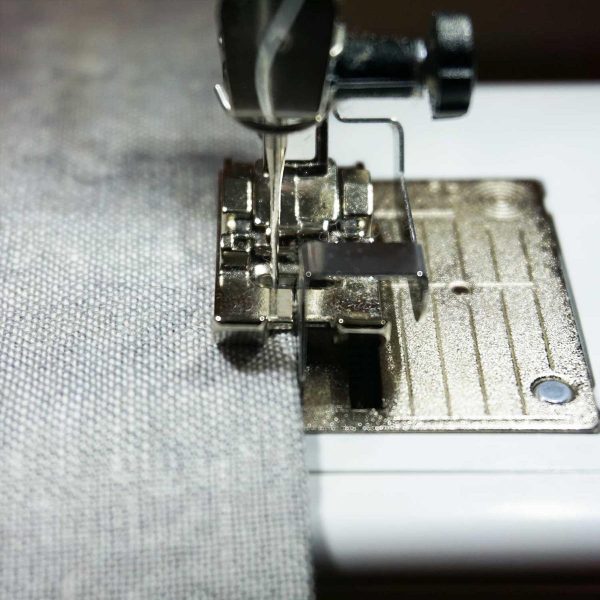
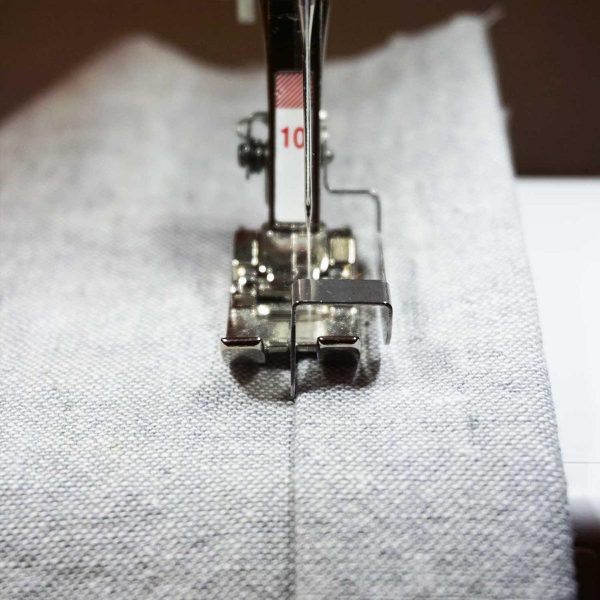
The Edgestitch foot #10/#10C/#10D is an amazing tool for getting a perfectly spaced topstitch. It has a little blade that you place next to an edge in your fabric. You can position your needle to the left or right as needed and stitch away. The foot can be used with the edge hanging off of the fabric or sitting right on top.
I use the Edgestitch foot #10 everywhere except for places where I need to see the stitches and pivot around corners. This foot is perfect for straight lines, but it covers up the fabric right in front of the needle. So when topstitching a pocket or other places where I need to pivot like the collar stand, I prefer to use the Patchwork foot #37/#37D. It’s open in front of the needle allowing me to see exactly where the needle is going.
Tips for Sewing Buttonholes
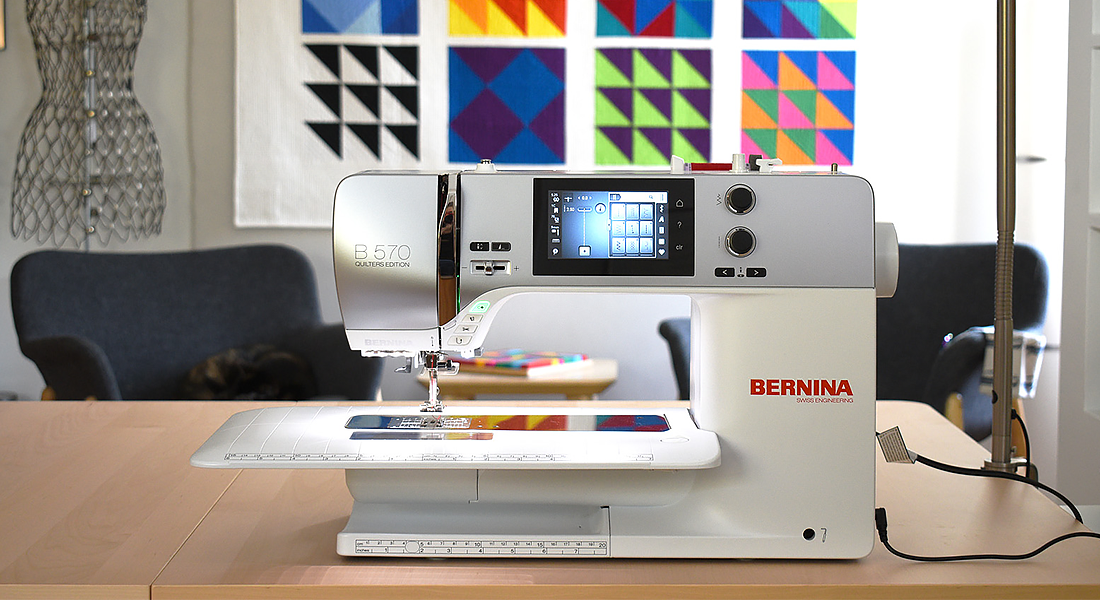
Making buttonholes can be really scary but the BERNINA does a fantastic job of it. It takes some practice to get really comfortable but it’s totally worth it. Fix yourself a cup of coffee, read these tips and set aside 15 minutes to experiment with the buttonhole foot. You won’t regret it.
On other machines I’ve used, a button is inserted into the buttonhole foot and it automatically determines the length of the buttonhole. On the BERNINA, you get to decide the length of your buttonhole which is great because some buttons are thicker than others and need more or less space.
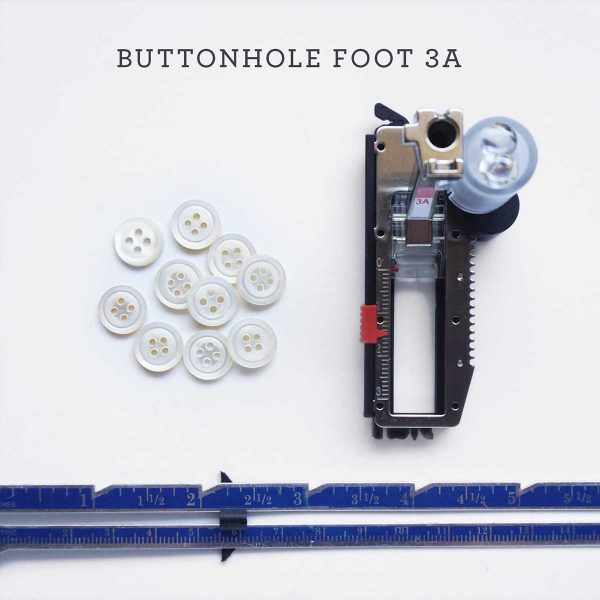
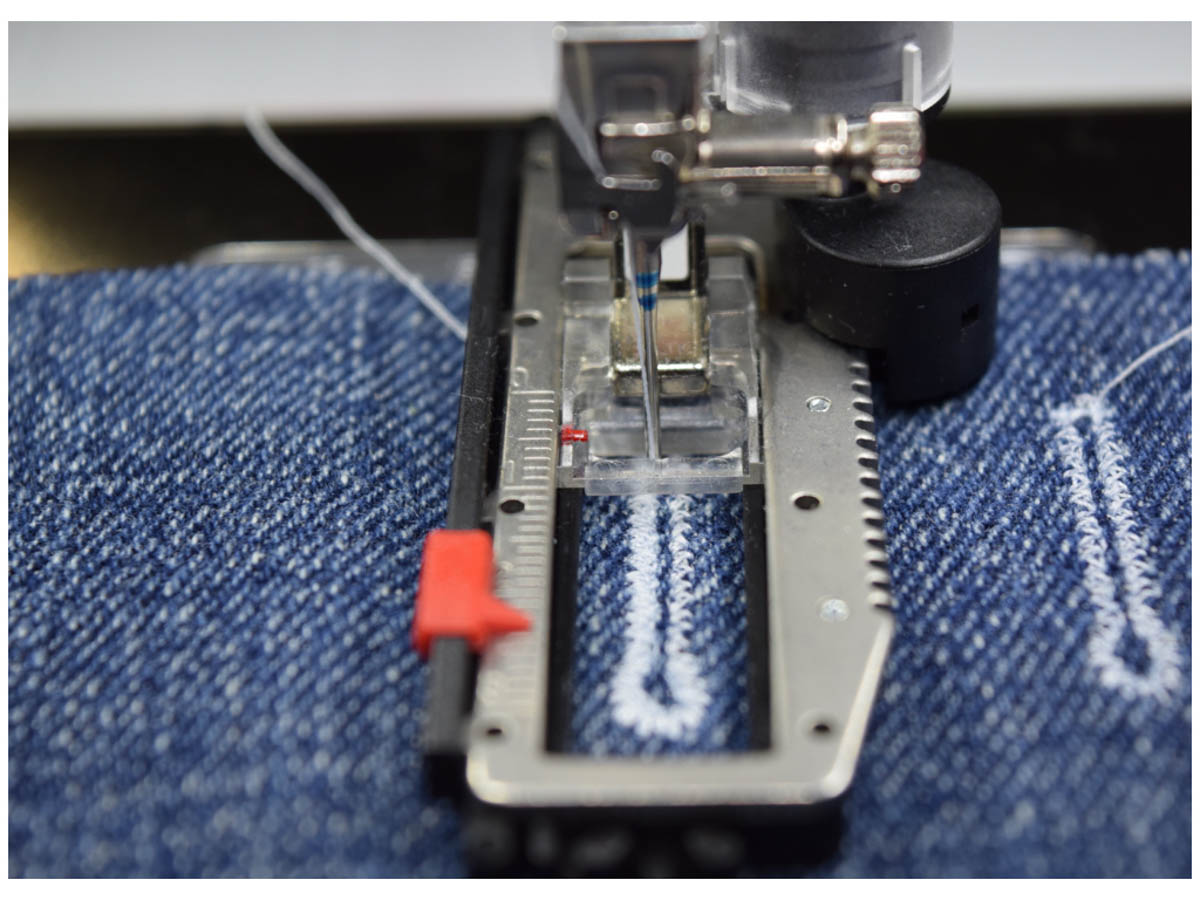
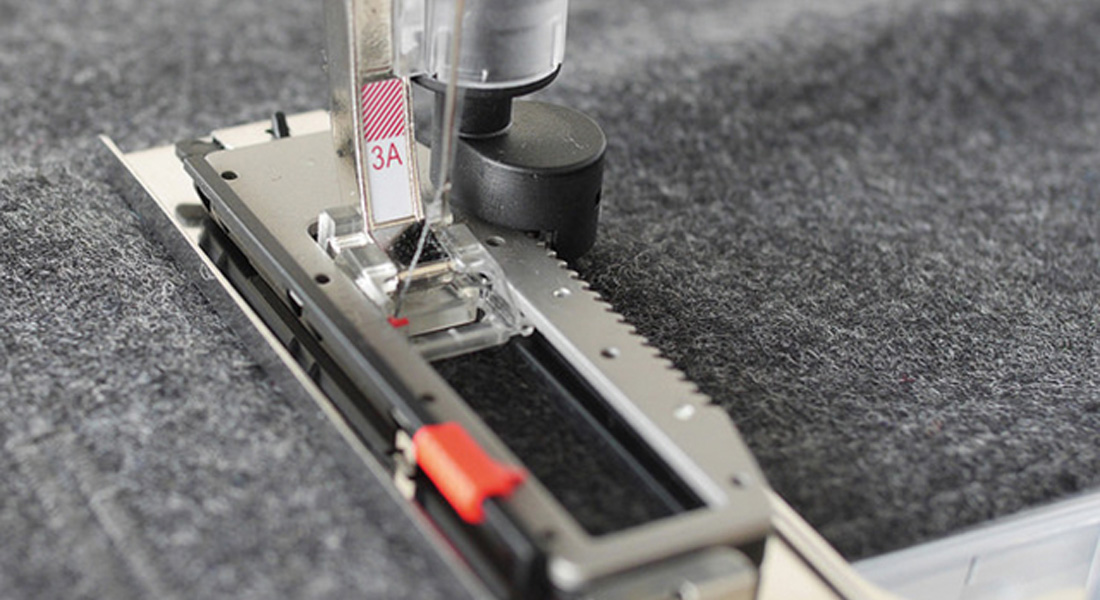
Step 1: Measure your button. Add 1/4″ and set the red arrow on the Buttonhole foot with slide #3A to that length. (The 1/4″ works for me but you might find another measurement that works better for you.) You’ll notice that the Buttonhole foot with slide #3A has measurements in cm so I use my imperial ruler to find the right length.
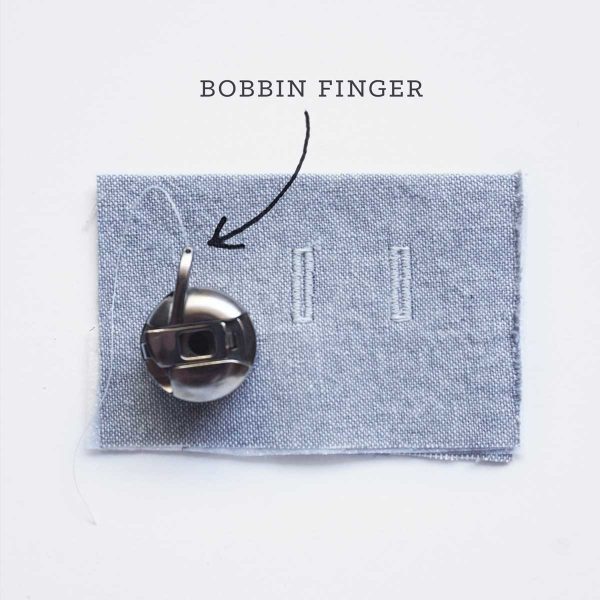
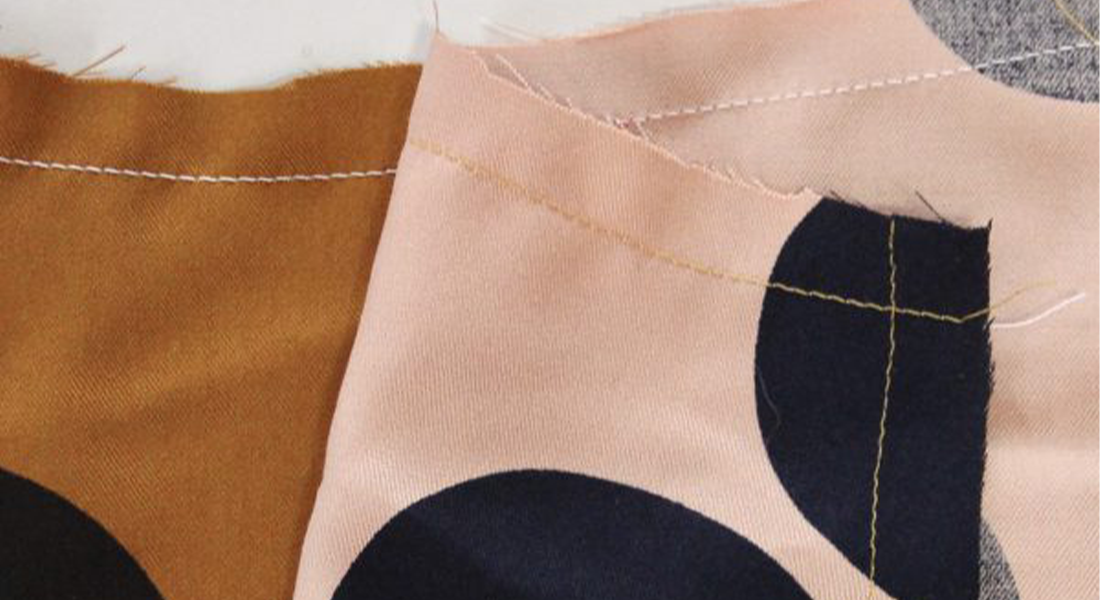
Step 2: Place the bobbin in the bobbin casing as usual but before you put it in the machine, thread the bobbin thread through the little hole in the finger of the bobbin casing. Then load it in the machine as usual. This will tighten the tension of the bobbin thread and give the top thread a more rounded appearance on the right side of the fabric. In the photo above, the buttonhole on the left was sewn using this technique. The one on the right was sewn with the bobbin threaded as normal. It’s a subtle difference but it is a little prettier and really worth trying out.
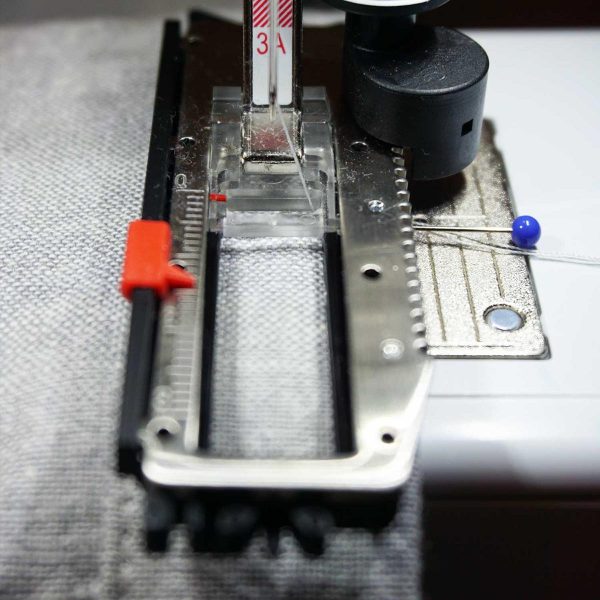
Step 3: Thread the top of the machine as usual and attach the Buttonhole foot with slide #3A. It’s a good idea to test out the buttonhole size before stitching your garment. So grab a scrap of fabric and position it under the presser foot with the top of the buttonhole positioned under the needle. In the photo above, there is a pin in the fabric marking the beginning of the buttonhole. Note that the buttonhole will be stitched towards you.
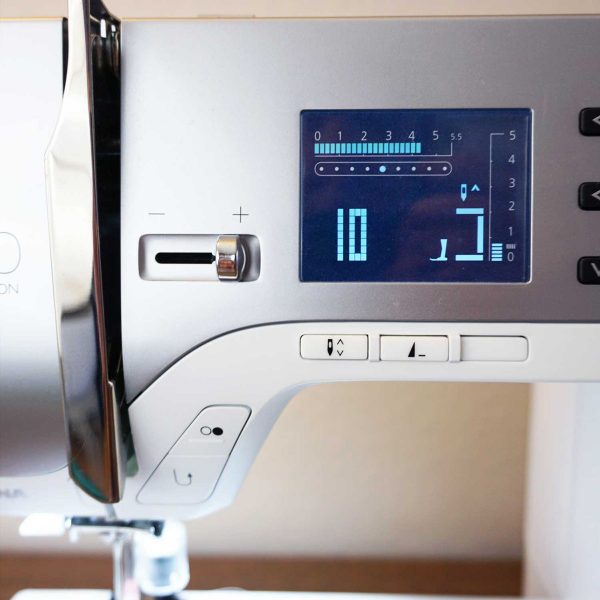
Step 4: Set your machine to the buttonhole stitch, #10 on my BERNINA 350 PE. On the bottom right of the screen is a drawing of the buttonhole indicating which part of the buttonhole is being stitched by flashing the segment on the screen.
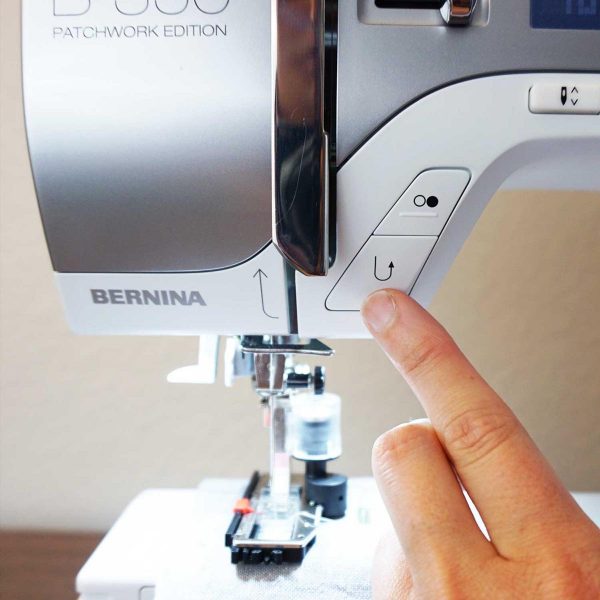
The stitching starts with the left side. Slowly stitch until you reach the red arrow. Stop stitching and press the reverse button once to let the machine know you’ve reached the desired length. On the machine’s screen, the word “auto” will appear in the middle of the buttonhole preview (seen in the photo below).

Continue stitching and it will automatically finish the buttonhole. When the buttonhole is done, the needle rises and centers itself above the end of the buttonhole. This length of buttonhole is now saved for you. (Yay!)
Step 5: Carefully cut open the buttonhole and test your button. If it fits nicely, then you’re ready to start stitching the buttonholes on your garment. If not, hit the clear button to erase the memory and try a different length.
Here are a few more tips for making sewing buttonholes a little easier:
Mark the top of the buttonhole with a pin inserted into the middle of the button band. Then use the pin to position the fabric under the foot.
If you are using a thin or slippery fabric, place a piece of tissue paper or other stabilizer underneath the fabric while stitching. Tear away the stabilizer when you’re done stitching.
So, what if something goes wrong? You marked a position wrong or accidentally hit a button and erased the memory of you perfect buttonhole length? (Can you tell I’ve done both of these things?) Well, that’s what seam rippers are for. From the wrong side of the fabric, carefully remove the stitching. I prefer to cut the bobbin thread and then the top thread comes out easy-peasy. Any marks in the fabric usually go away with a little rub of the fingers or press from the iron. Just be careful not to cut your fabric when seam ripping.
How to Sew on Buttons by Machine
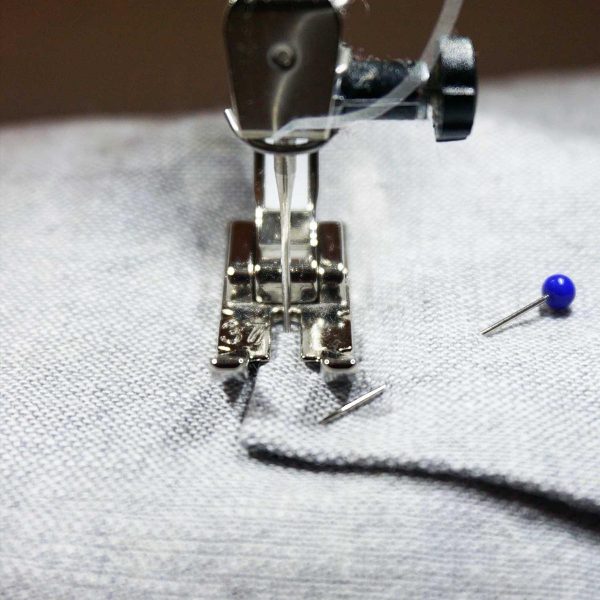
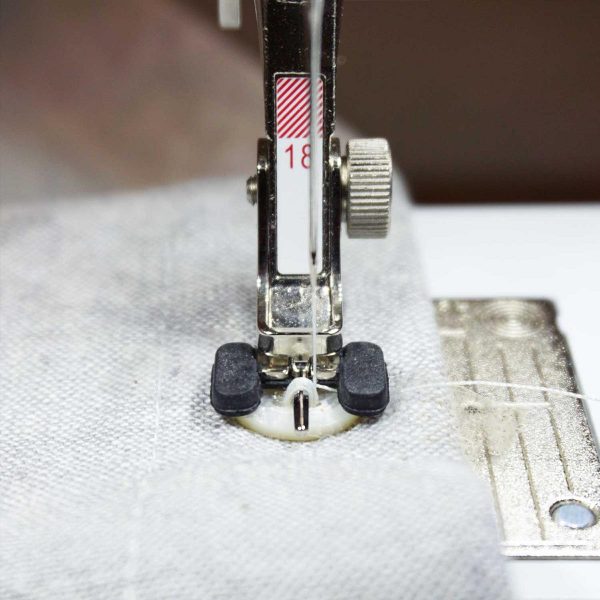
Now that you have a bunch of beautiful buttonholes it’s time to sew on your buttons. Sewing on buttons by hand can be terribly tedious. The first time I sewed on buttons using my machine was just short of a revelation. It’s so much faster than hand sewing that I’ve never gone back. There are a couple of foot option for sewing on buttonholes, the Darning foot #9 and the Button-sew-on foot #18. Here I’m using Button-sew-on foot #18 which has a little pole that sits in the middle of the button and creates a shank. At first I thought that the shank was too long but once I buttoned it up, I found that it was the perfect length.
Mark the button placement by overlapping the button bands and pushing a pin through the center of each buttonhole. I then like to use scotch tape to hold my buttons in place. Simply place a piece of tape over the button on top of the fabric. Just stitch through the tape and tear the tape away when done. You might even be able to use the same piece of tape a couple of times.
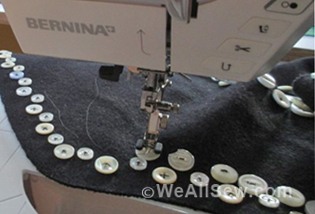
To sew on your buttons, position the button under the presser foot and lower the foot to hold the button steady. Set the machine to the buttonhole stitch (#12 on my BERNINA 350 PE). Next, determine the correct width for the stitch. Slowly turn the wheel by hand and increase or decrease the width until you’re sure the needle won’t hit the button. The buttonhole stitch will stitch left and right a few times and then secure the end by stitching in the same place a few times. If you’re sewing a 4-hole button, first stitch the front two holes then raise the presser foot and slide the button towards you to stitch the back two holes.

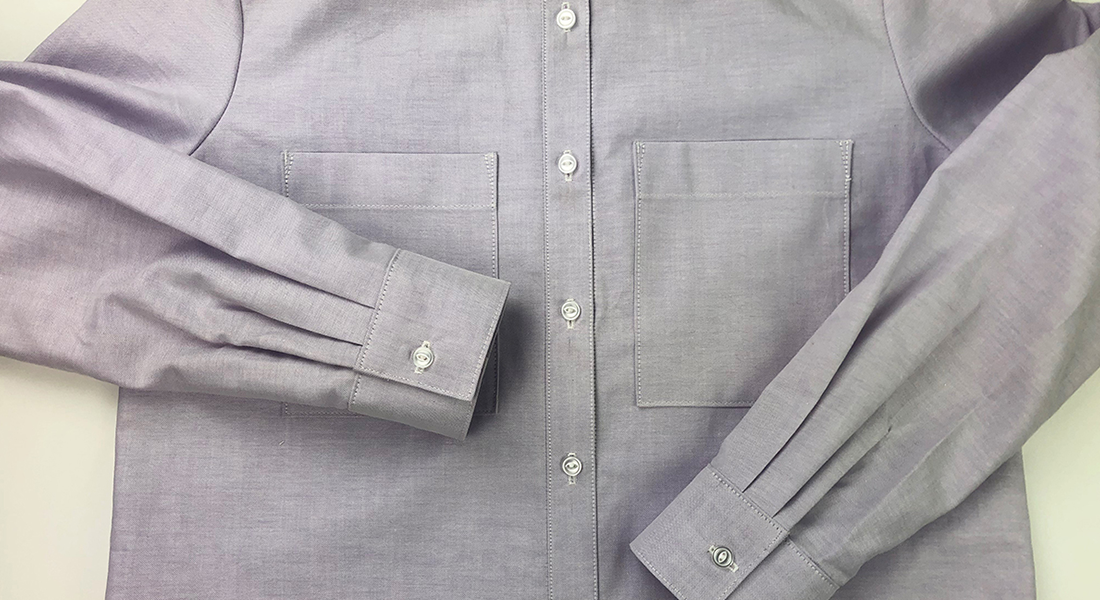
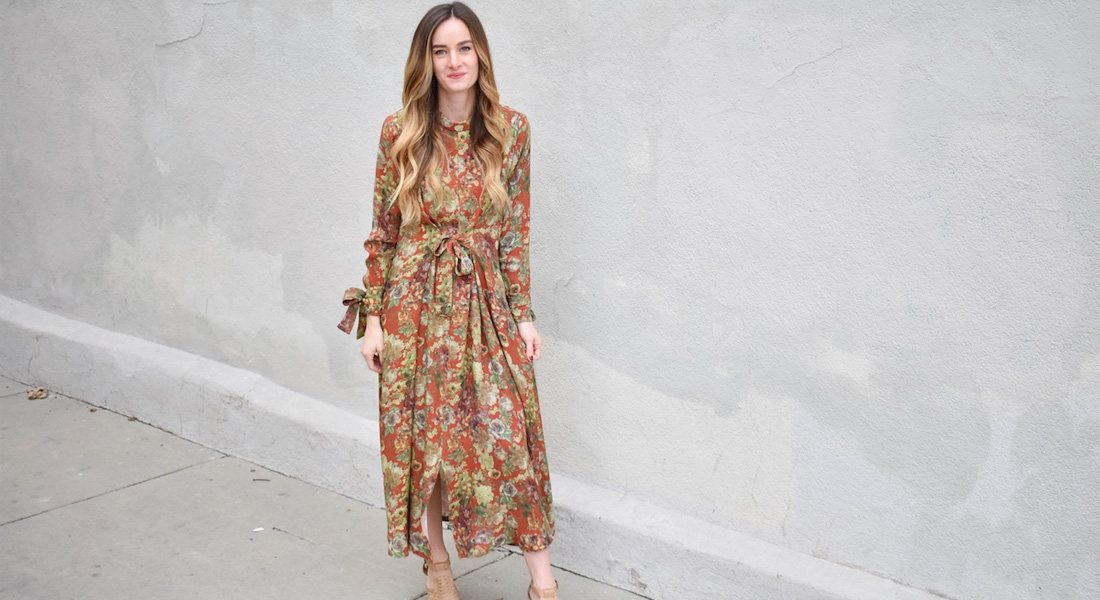
Here’s my finished garment, a linen shirtdress made with the Alder Shirtdress pattern by Grainline Studio. It’s a classic design that is so easy to make especially when you have the right tools. I hope that these tips were helpful and will inspire you to make your own button down shirts, dresses and even skirts. With a little practice, it’s easy to master any of these techniques. And when you have the right tools, you’ll have an even easier road to success.
Used Products


What you might also like


12 comments on “Tips for Sewing Buttons and Buttonholes by Machine”
-
-
Thank you Ana! I’m glad you enjoyed it.
-
-
This IS a great tutorial…I also did not know about the bobbin finger. Thanks!
-
Thank you for sharing, I also didn’t know about the hole bobbin finger, I’m a little new at this, but will attempt to save it in the Pinterest board sewing techniques, if I can find it. I am registered with them
-
LOL!! I’m just about to sew the Alder, in a grey Union chambray, and was checking on sewing on buttons. Don’t like the prong for the shank on #18, so may try 20C.
-
Thanks for the great pointers, Beth! I love the idea of glue basting, but I wonder if it gums up your needle (have had this happen with spray on stuff used in quilting). Do you take any special precautions when you use the Elmers glue stick?
-
Your instructions for making buttonholes are very clear and helpful. However, I have tremendous trouble making buttonholes when there is a seam under the edge of the buttonhole foot. This is especially problematic when sewing buttonholes on children’s clothing when the buttonhole is close to the edge. Suggestions, please?
-
Good morning.
I seem to be having a problem with button holes on my Bernia 240. Some sew great but at times the machine stops along the way and keeps stitching in one place. I end up with a mound of thread. I have stabilized the button hole and would appreciate any suggestions you may have. I love the machine and sew on it almost daily.
-
Hello knutbrown,
The issue can be caused by the following:
1. Bent needle
2. Needle plate not seated correctly, burrs in the needle plate
3. Stitch length set too close/tight
Mechanical adjustmentsWe hope these tips are helpful.
You might want to also see your BERNINA store specialists.Your WeAllSew team.
-
-
I have two flannel shirts that have been sitting and waiting for buttonholes because I dread doing them. Thanks for the encouragement and tips!
-
I would add that the right interfacing can make the difference between a good buttonhole and a wonky one. Interfacing adds stability and strength needed especially on lightweight fabrics and knits. When making test buttonholes I use the same number of thicknesses of fabric and interfacing to do the test.
-
I need a tutorial on using the buttonhole leveler when sewing a horizontal buttonhole perpendicular to a bulky facing seam
Leave a Reply
You must be logged in to post a comment.
This is a great tutorial of buttons and buttonholes. I recently discovered the bobbin finger and it really makes a difference in the look of the buttonhole. I have saved this to my Sewing Techniques Pinterest board: https://www.pinterest.com/thelostapron/sewing-techniques/