Waterproof Travel Kit Bag
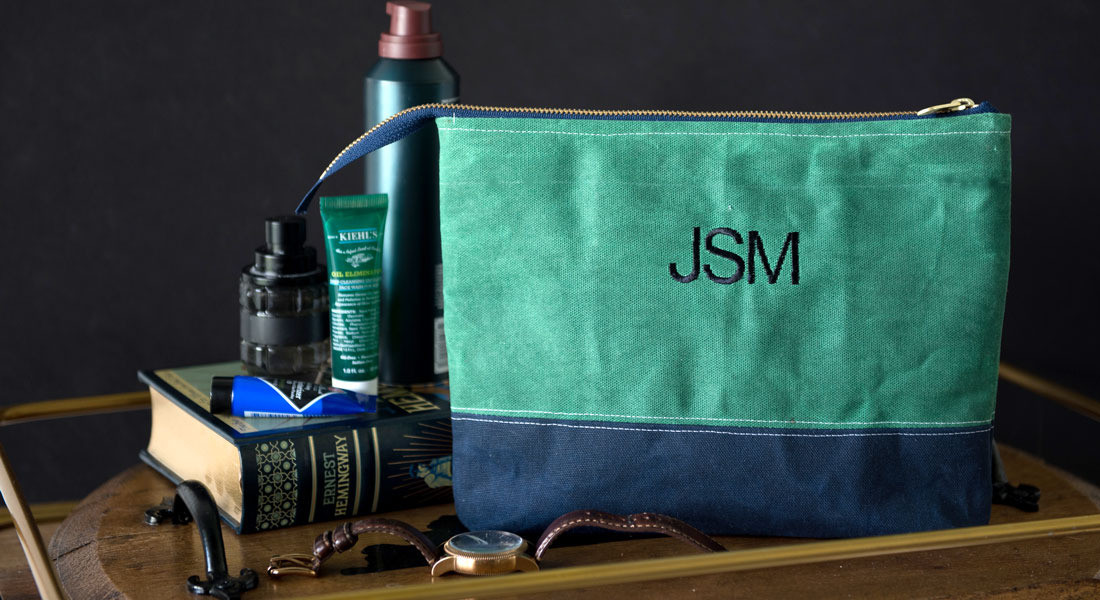
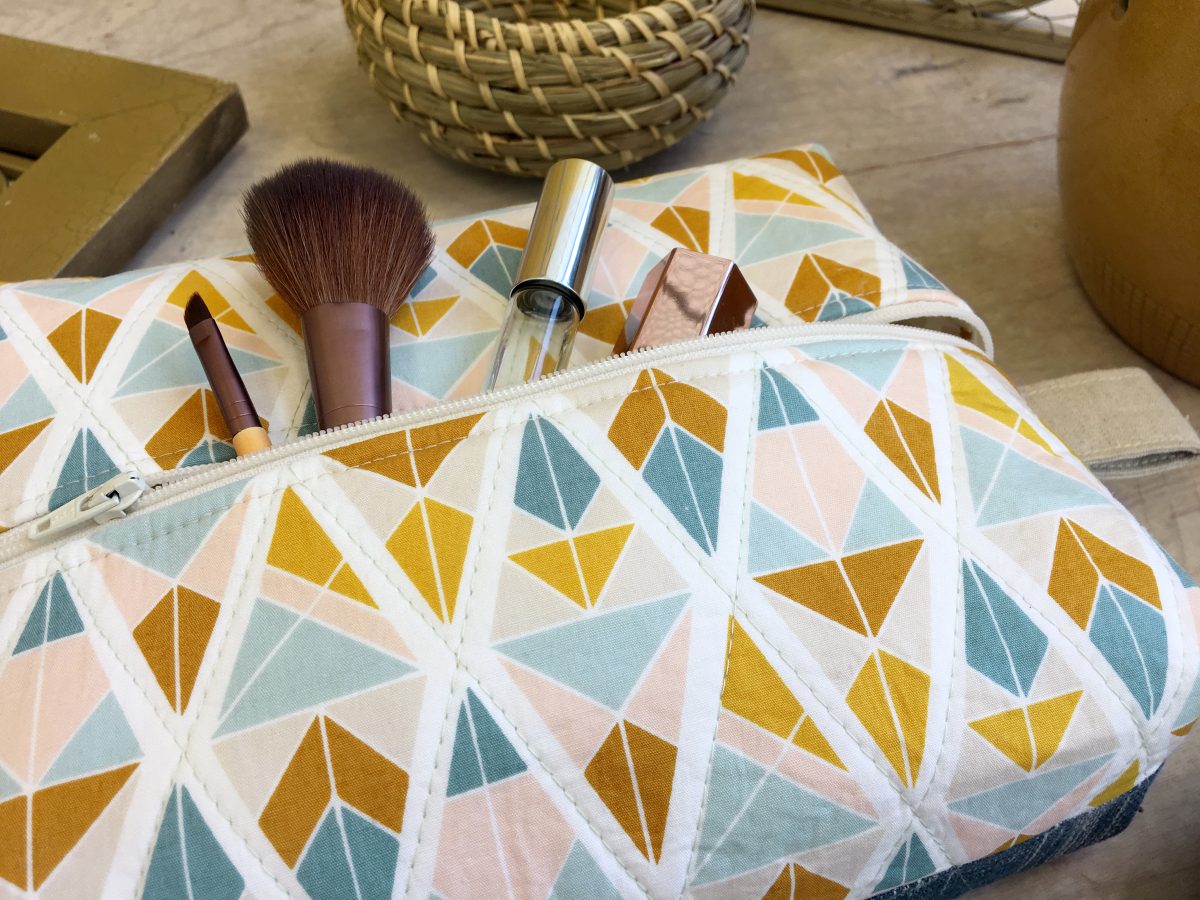
You can never have too many zipper bags when you travel! They are perfect for organizing toiletries, charger cords, and essentials like travel documents and lip balm.
The most important bag in my suitcase is the toiletry bag for my makeup and skincare goodies. Because of its function, having a bag that is water resistant and lined so that I can wipe it clean is essential! See below for a quick tutorial on how to make one of these for your next trip. These can be cut and stitched in about 30 minutes so they can be ready for even the most last-minute adventures.
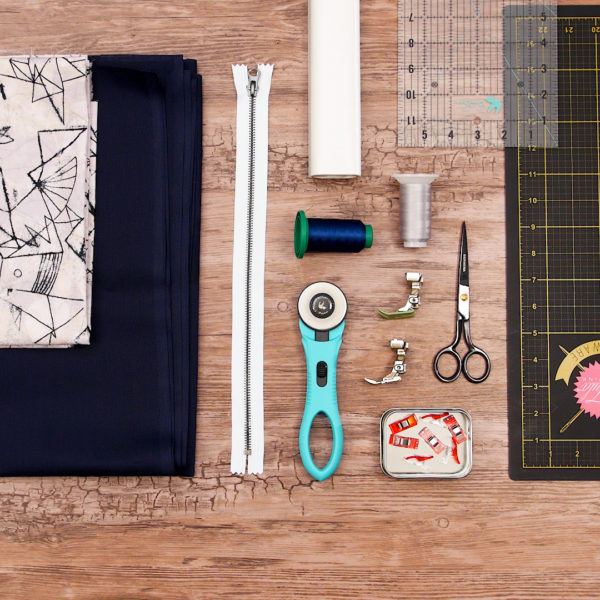
Materials to Sew a Travel Kit Bag
- Water resistant exterior fabric
- Waxed cotton canvas
- (2) 10″ x 6″
- Water resistant lining fabric
- Laminated cotton
- I used Pellon Vinyl Fuse on a cotton woven fabric
- (2) 10″ x 6″
- (2) 2” x 4”
- 9″ zipper
- Seam roller
- Tula Pink 45 mm rotary cutter
- Cutting mat
- Wonder Clips
- Isacord polyester thread
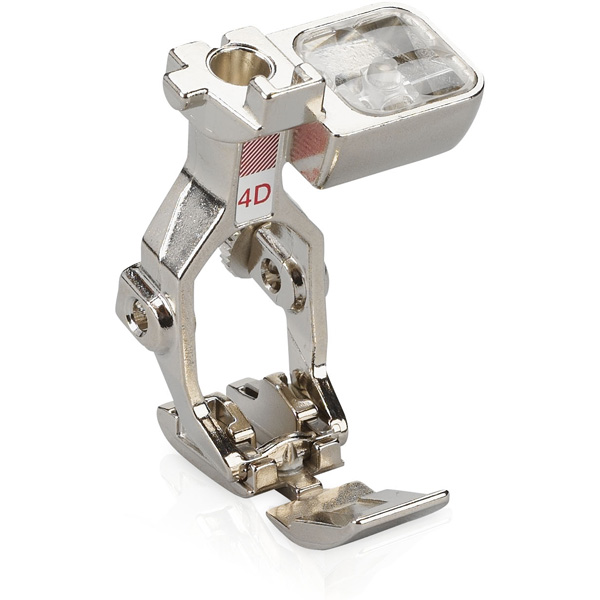
- Zipper Foot #4D
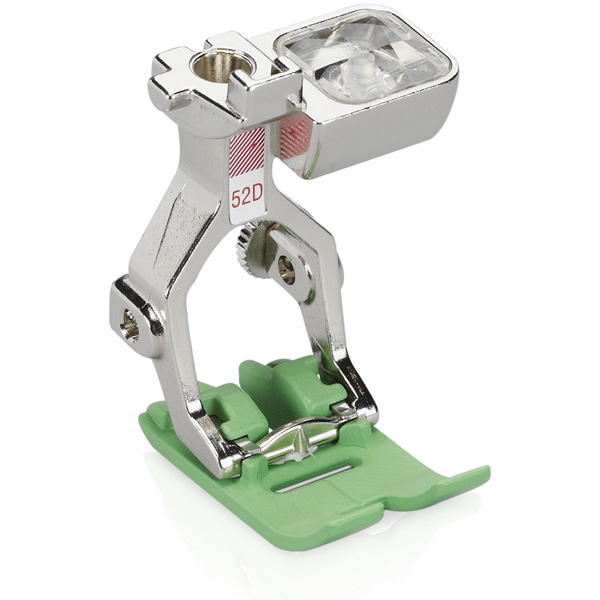
- Zigzag Foot with Nonstick Sole #52D
How to Sew a Travel Kit Bag
Prepare fabric
If necessary, laminate lining fabric. I used Pellon Vinyl Fuse for my lining. Finding laminated cottons can be a challenge. This product lets you make any fabric water resistant, and it’s not too bulky. There are both gloss and matte finish options. Application is easy–just follow the package instructions.
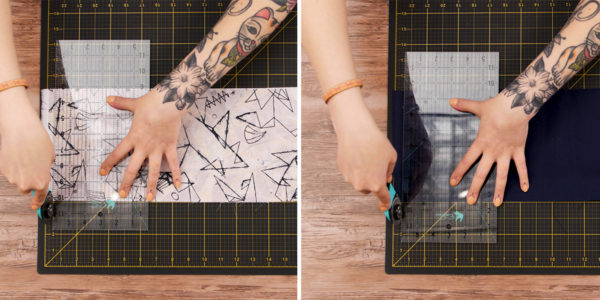
When your fabric is ready to go, cut two pieces of both the exterior and the lining fabrics to 10″ x 6″.
Set zipper
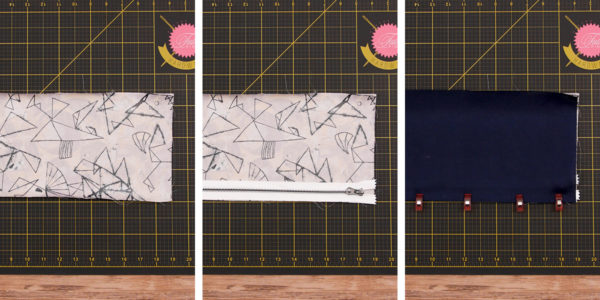
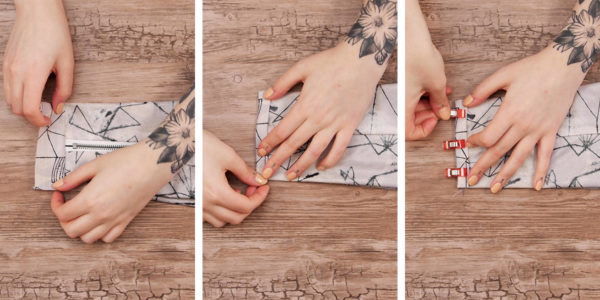
Place one lining piece right side up. Align one edge of the zipper tape to the long side of the lining, also right side up. Place one exterior piece right side down, aligning the long edge with the zipper and lining. Use Wonder Clips to “pin” together. Do not use pins with laminated fabrics—the holes created will not go away once the pin is removed!
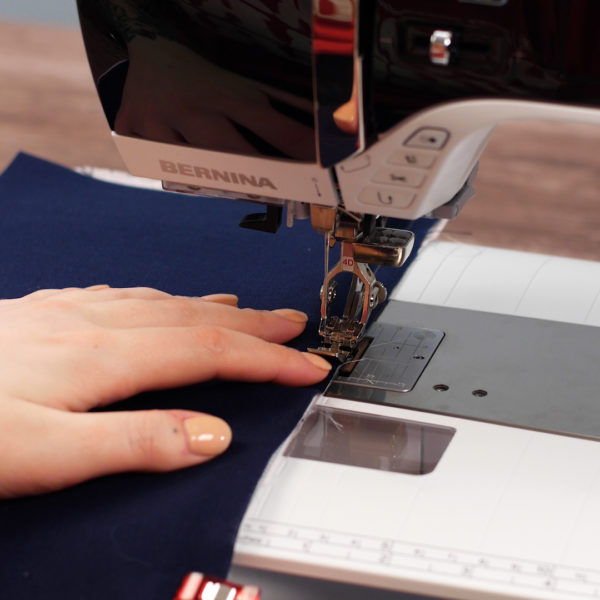
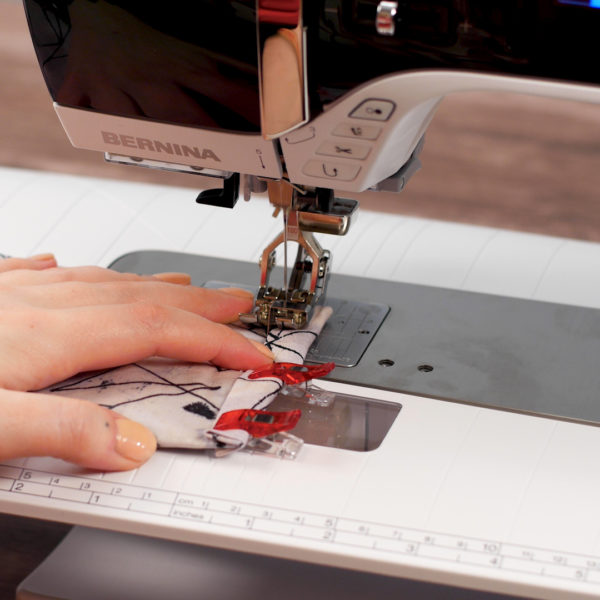
Attach Zipper Foot #4D. Sew with a 3/8″ seam allowance.
Once stitched, finger press or use a seam roller to press the exterior and lining pieces away from the zipper. Do not use an iron on waxed canvas or laminated fabrics. Topstitch if desired. Repeat for opposite side.
Sew bottom seams
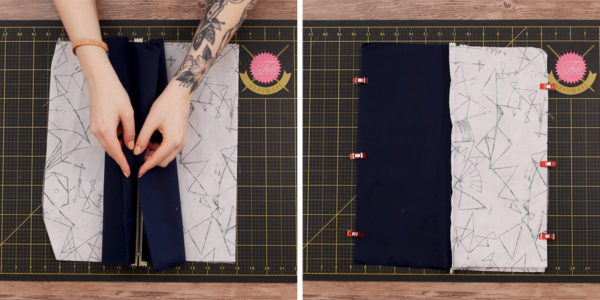
Bring exterior panels right sides together, aligning edges opposite the zipper. Wonder Clip together. Repeat with the lining pieces. Sew both long edges with a ½” seam allowance.
Turn out
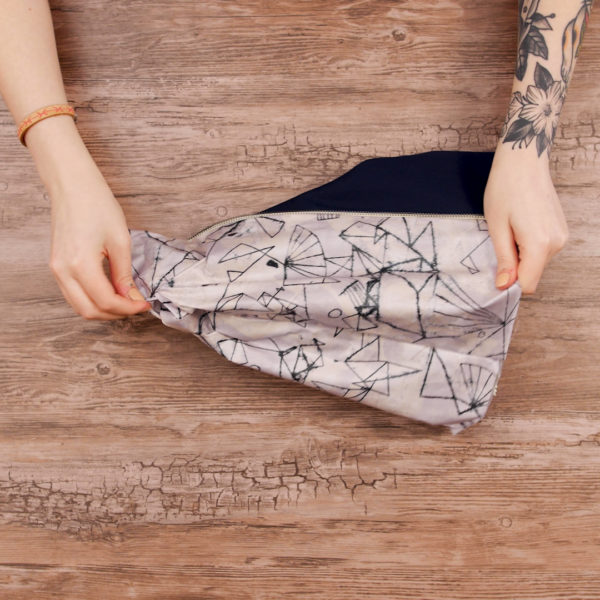
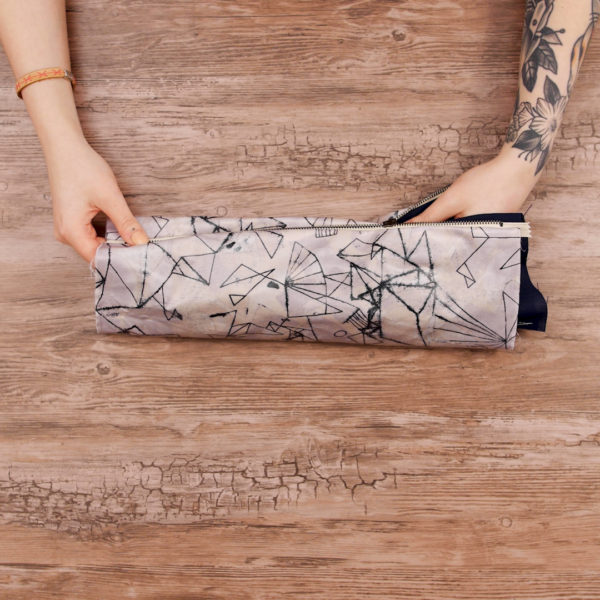
Unzip the zipper about halfway. Turn the bag so that the lining panel and exterior panel are facing wrong sides together.
The bag should essentially appear to be inside out.
Box ends
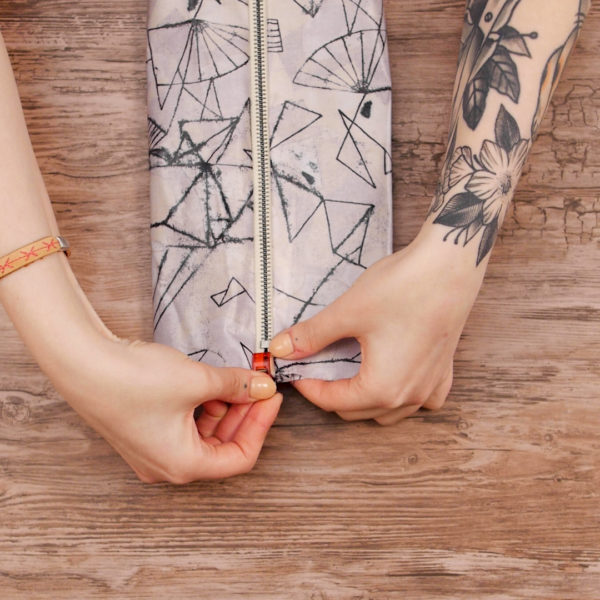
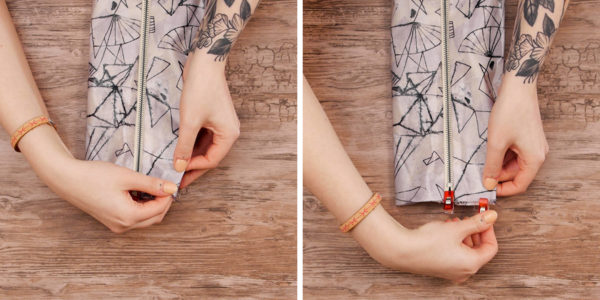
Focusing at one end of the bag, align the zipper with the bottom seam to ensure both are centered. Wonder Clip at this middle point.
Fold the left and right sides inward 1″ to create a pleat. Clip in place.
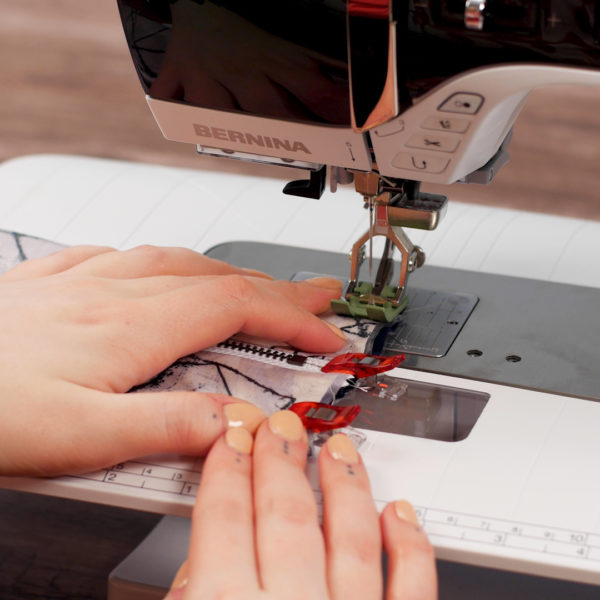
Attach Zigzag Foot with Nonstick Sole #52D to the machine and baste with a 1/4″ seam allowance.
Repeat for the other end of the bag.
Bind
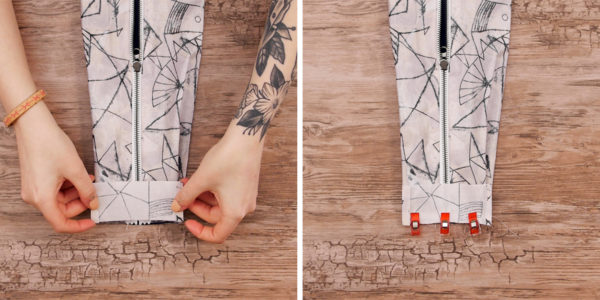
Fold the short ends of the binding pieces in (wrong sides together) 1/4″ and press.
Align the long edge of one of the small binding pieces with one end of the bag, placing right sides together. Finger press the folded ends open. Clip in place.
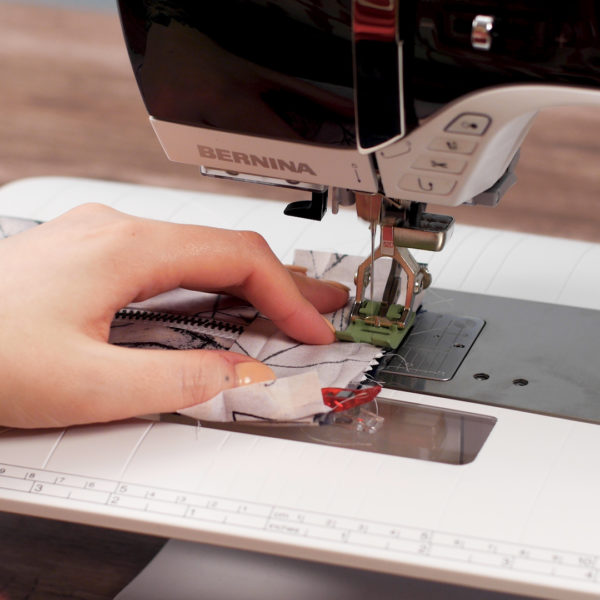
Sew with a 3/8″ seam allowance, being sure not stitch through the pressed ends.
Finger press the binding toward the raw edge. Fold the pressed ends around the end of the bag. Fold the binding in halfway, wrong sides together. Then fold all the way over to the other side of the bag. Clip in place and stitch down.
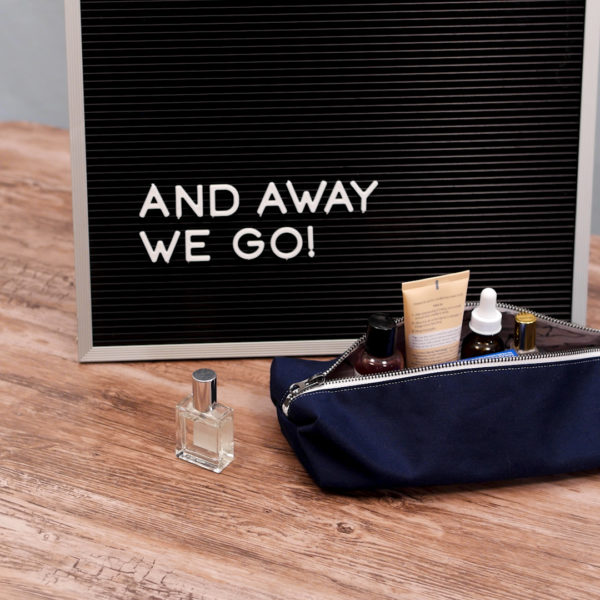
Now you’re ready to take the show on the road! Pack fearlessly, knowing your trinkets will stay safe and dry.
What you might also like
4 comments on “Waterproof Travel Kit Bag”
-
-
Thank you for the tutorial. This will make a lovely Christmas gift.
-
Thanks for this pattern. Can’t wait to make these for the men in our family. Could you tell me what size to cut the binding pieces? I don’t see that in the directions anywhere.
-
Thank you for the tutorial, It was easy to do, however….the pleats…. if you are not careful, the inner portion of the pleat slips down a smidge and when you sew it up and turn the bag, the raw edge comes through if not caught up in the seam, on the exterior of the bag. Had to go in and rip and redo…. and I was very careful about it too, because they kept slipping down while I was making the pleats…..other than that easy bag
Leave a Reply
You must be logged in to post a comment.







Thank you for all you are putting on We All See‼️‼️
The sew along quilts, in fact all of the quilts you posted today are wonderful and I can’t wait to start them all‼️‼️ Thank you soooo much‼️‼️
Piecequilts