Woven Zipper Pouch on a Serger
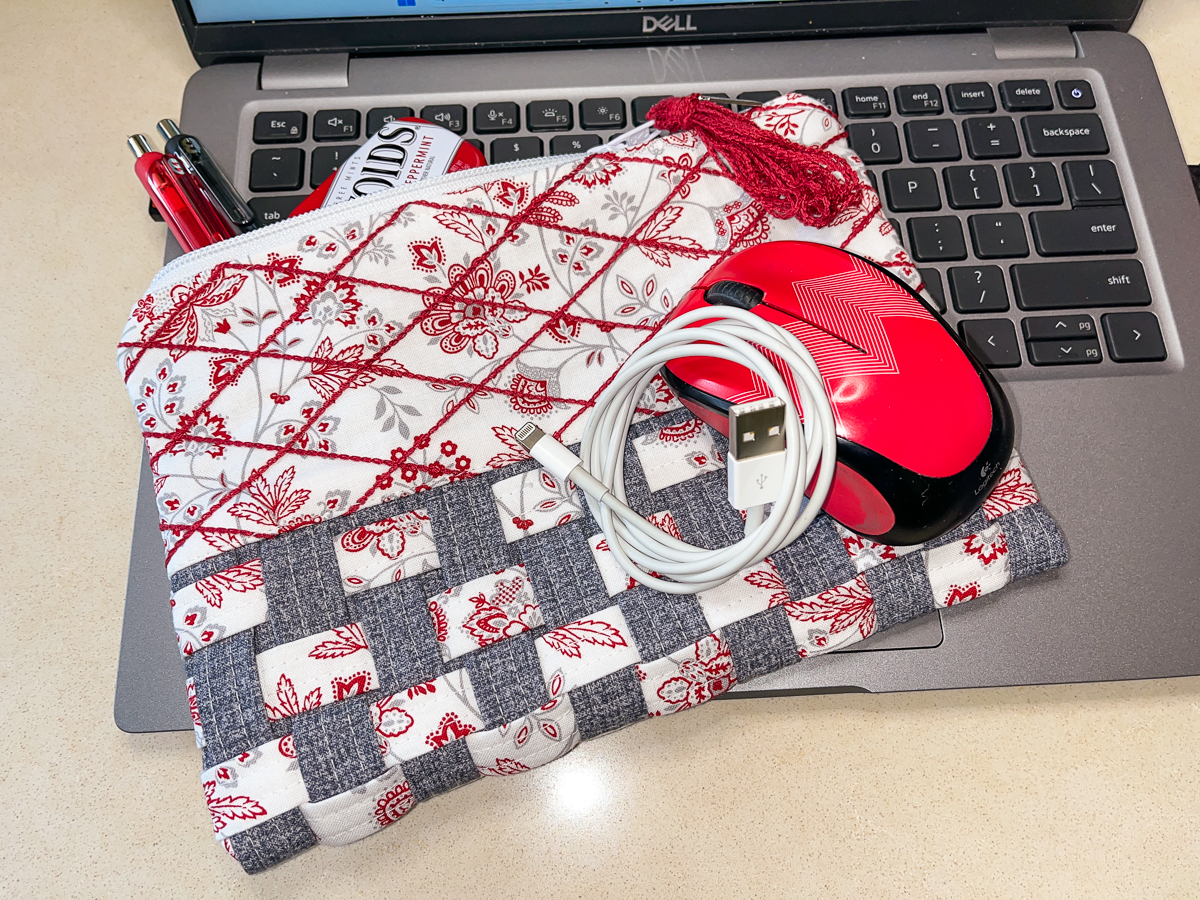
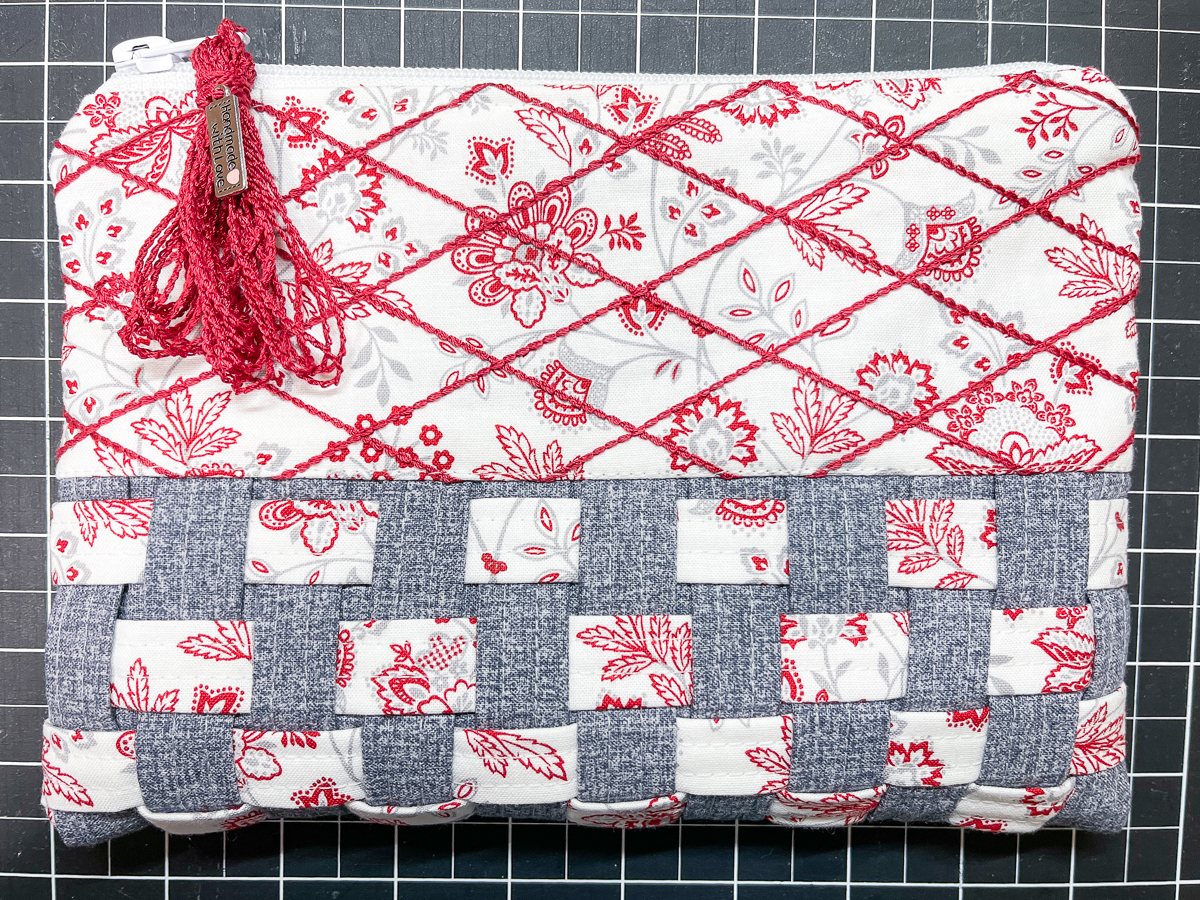
I can never have too many zipper pouches. They are perfect for holding charging cables and other necessities when I travel.
This project was inspired by a 2017 post on WeAllSew by Daniela Guitierrez-Diaz. She used her BERNINA 330 to make a cute woven zipper pouch. I thought it would be fun to recreate it on my BERNINA L 890 serger.
Let’s get started!
Materials for Making the Woven Zipper Pouch
- BERNINA L 890
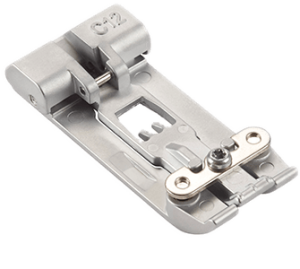
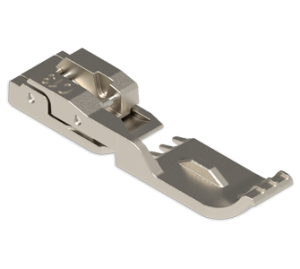
- Coverstitch Compensation Foot #C12
- Cover-/Chainstitch Foot #C13
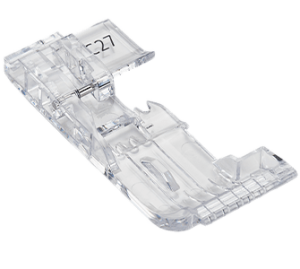
- Clear Foot #C27
- Accessories Holder
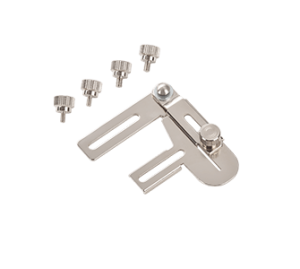
- Belt Loop Folder #C30 (15/30)
- Right Seam Guide in Shaft
- OL/CS Height Compensating Tool (optional)
- Fabric (sample uses Bandana Medley and Linen-esque from Benartex)
- Bag Top: (2) 6” x 12” rectangles (print)
- Weaving Base: (1) 7” x 10” rectangle (solid)
- (8) 1 1/2” x 12” strips (print)
- (11) 1 1/2″ x 9” strips (solid)
- Lining: (2) 7” x 10” rectangles (solid)
- OESD Fuse and Fleece
- (2) 6” x 12” rectangles
- (8) 5/8” x 14” strips
- (11) 5/8” x 11” strips
- 14” (or longer) zipper (sample uses a lightweight coil separating zipper)
- Serger thread to match fabrics
- Fusible thread
- 12 weight thread for quilting
- 80/12 ELX needles
- Wonder Clips
- “The Big Book of Serging”
- Basic sewing and serging supplies
Step 1: Make Belt Loops
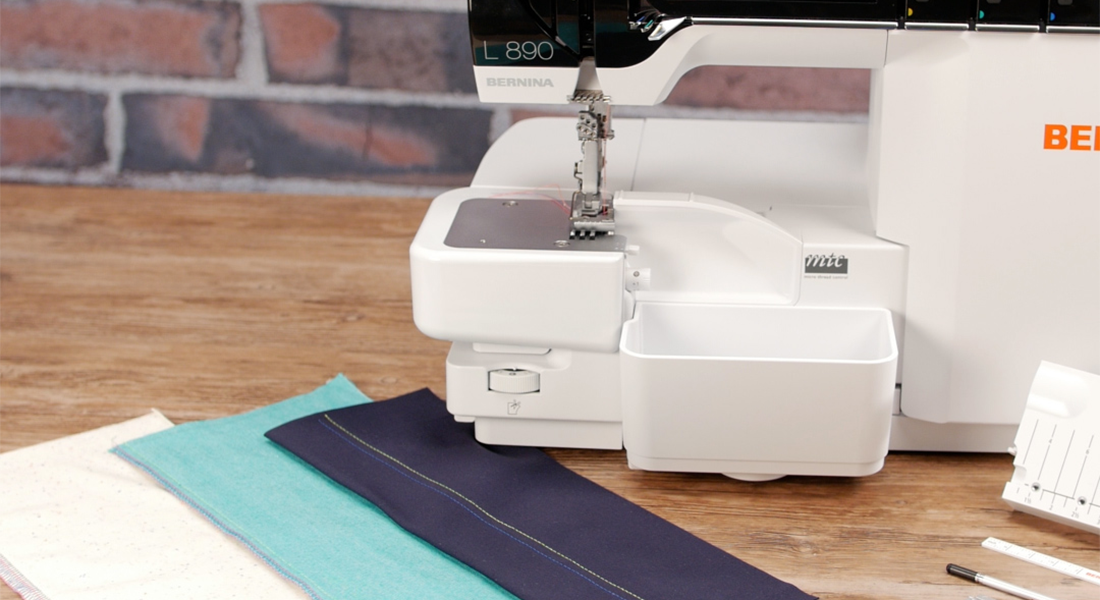
Set the machine for a 3-thread Coverstitch 6mm LC-RC #22. Thread the needles with thread to match the print fabric. Thread the chain looper with fusible thread.
Attach the Accessories Holder to the Coverstitch Insert and insert the Belt Loop Folder #C30 (15/30). This size folder has a finished width of 15 mm, or about 5/8”. Place the Belt Loop Folder in front of the foot centered on the needle marks on the foot. There should be a little space between the front of the foot and the opening of the folder.
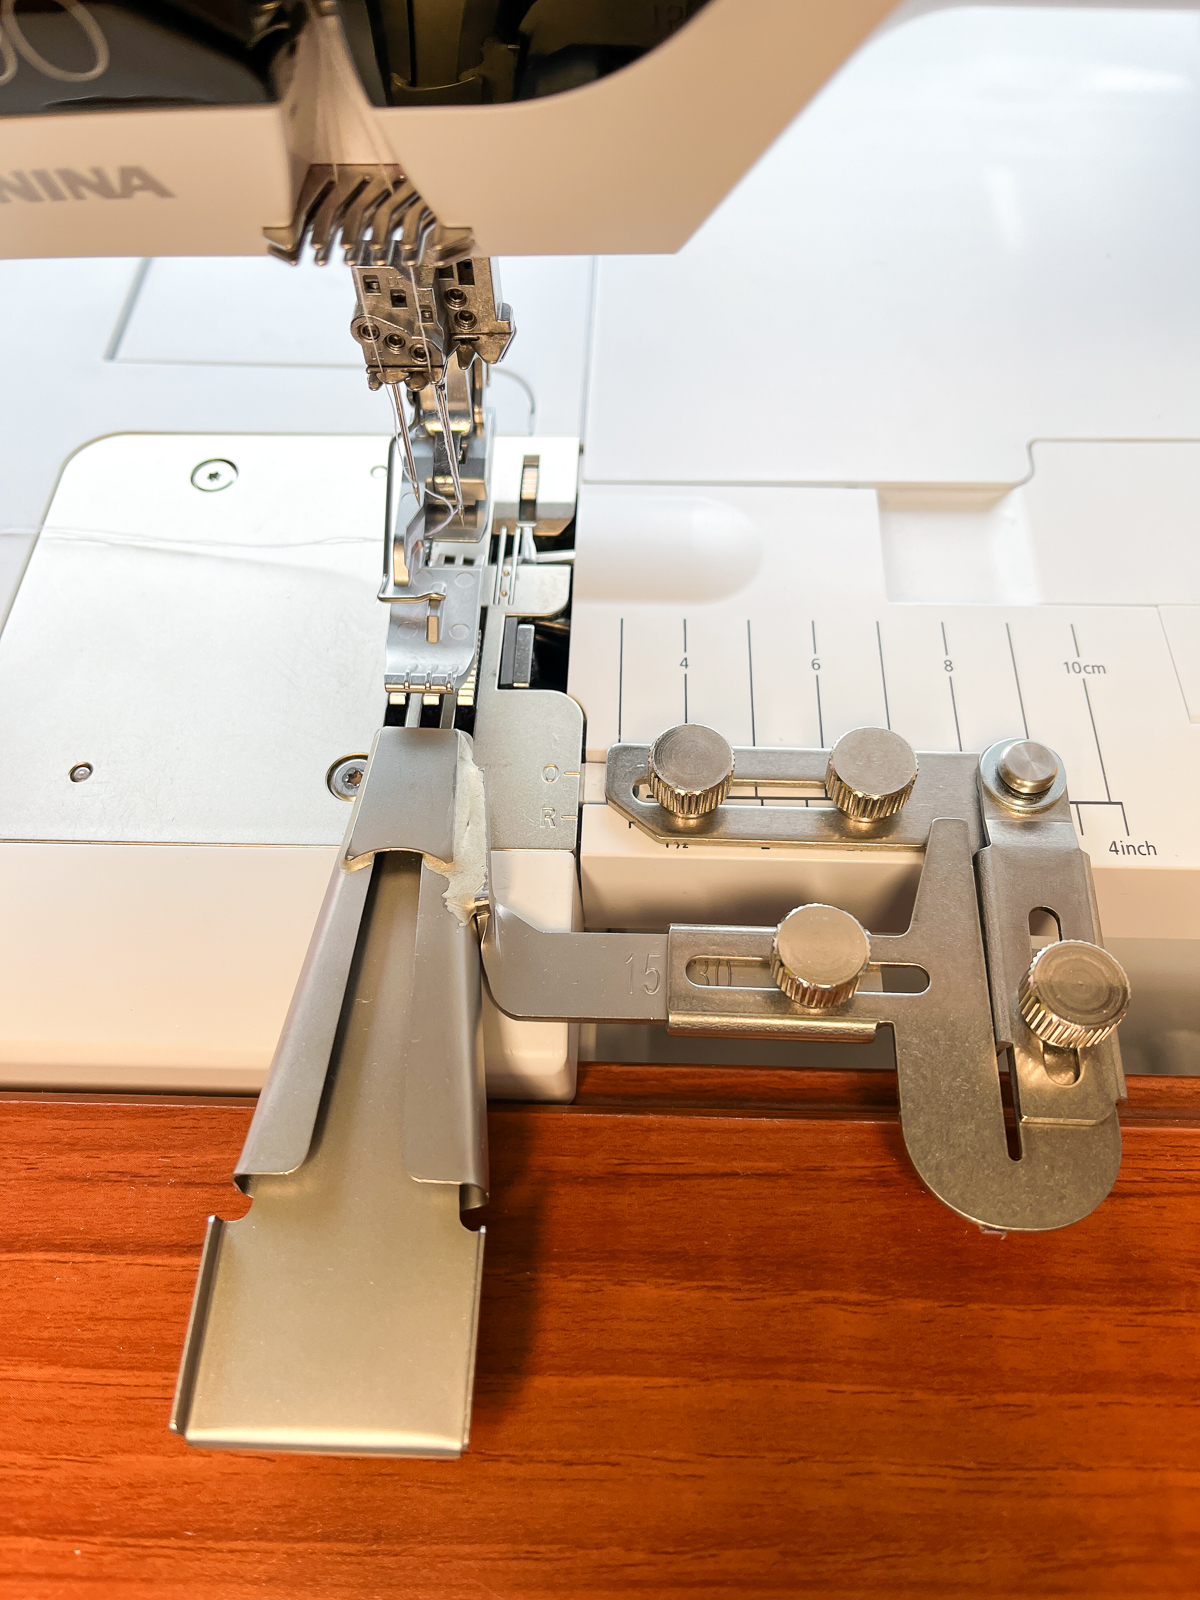
Normally, the fabric strips are cut 30 mm wide, or about 1 3/8”. However, I decided to add OESD Fuse and Fleece to the belt loop to give the bag more body, so I cut the strips 1 1/2″ wide to accommodate for the extra thickness. OESD Fuse and Fleece is a thin batting that worked nicely for this project.
Cut a point at one end of a 12” print strip. With the fabric right side up, center the strip on the non-fusible side of the 14” fleece strip, with about 1/2” of the batting strip extending beyond the fabric.
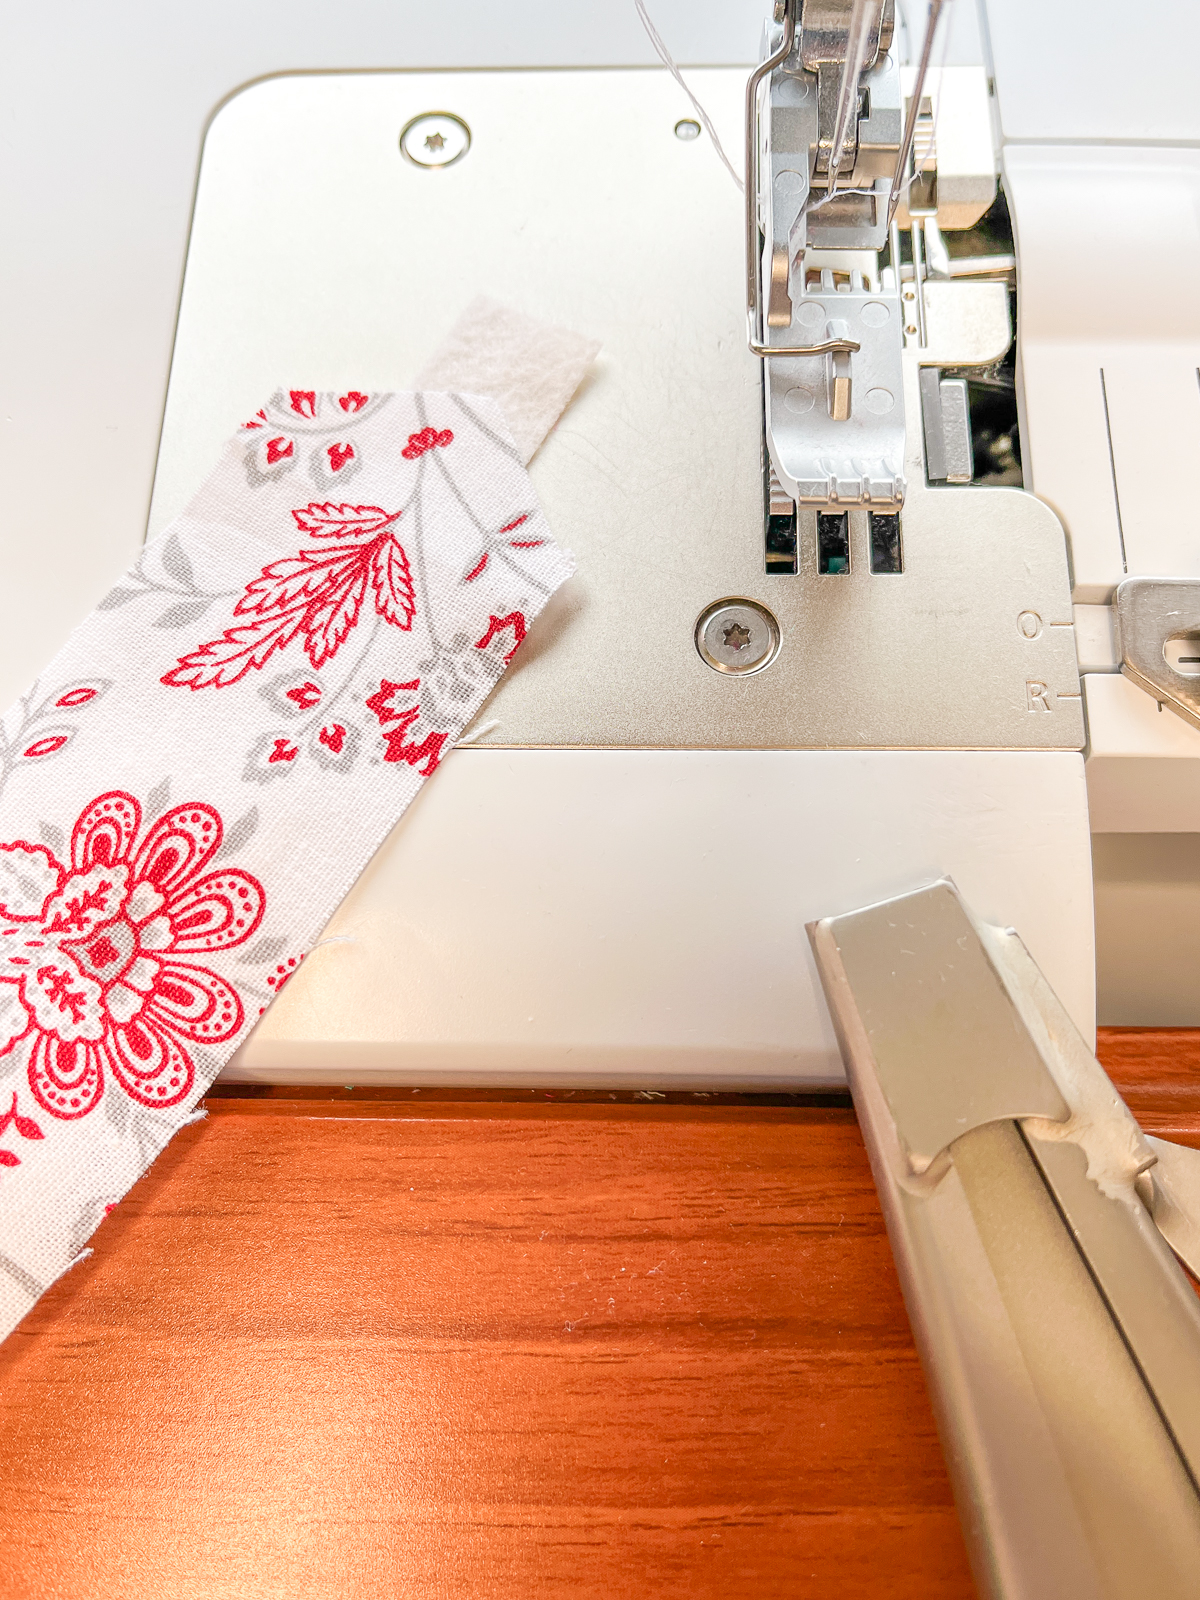
Swing the folder out. Feed the batting and fabric into the folder and pull through an inch or two. Tweezers are helpful for this step.
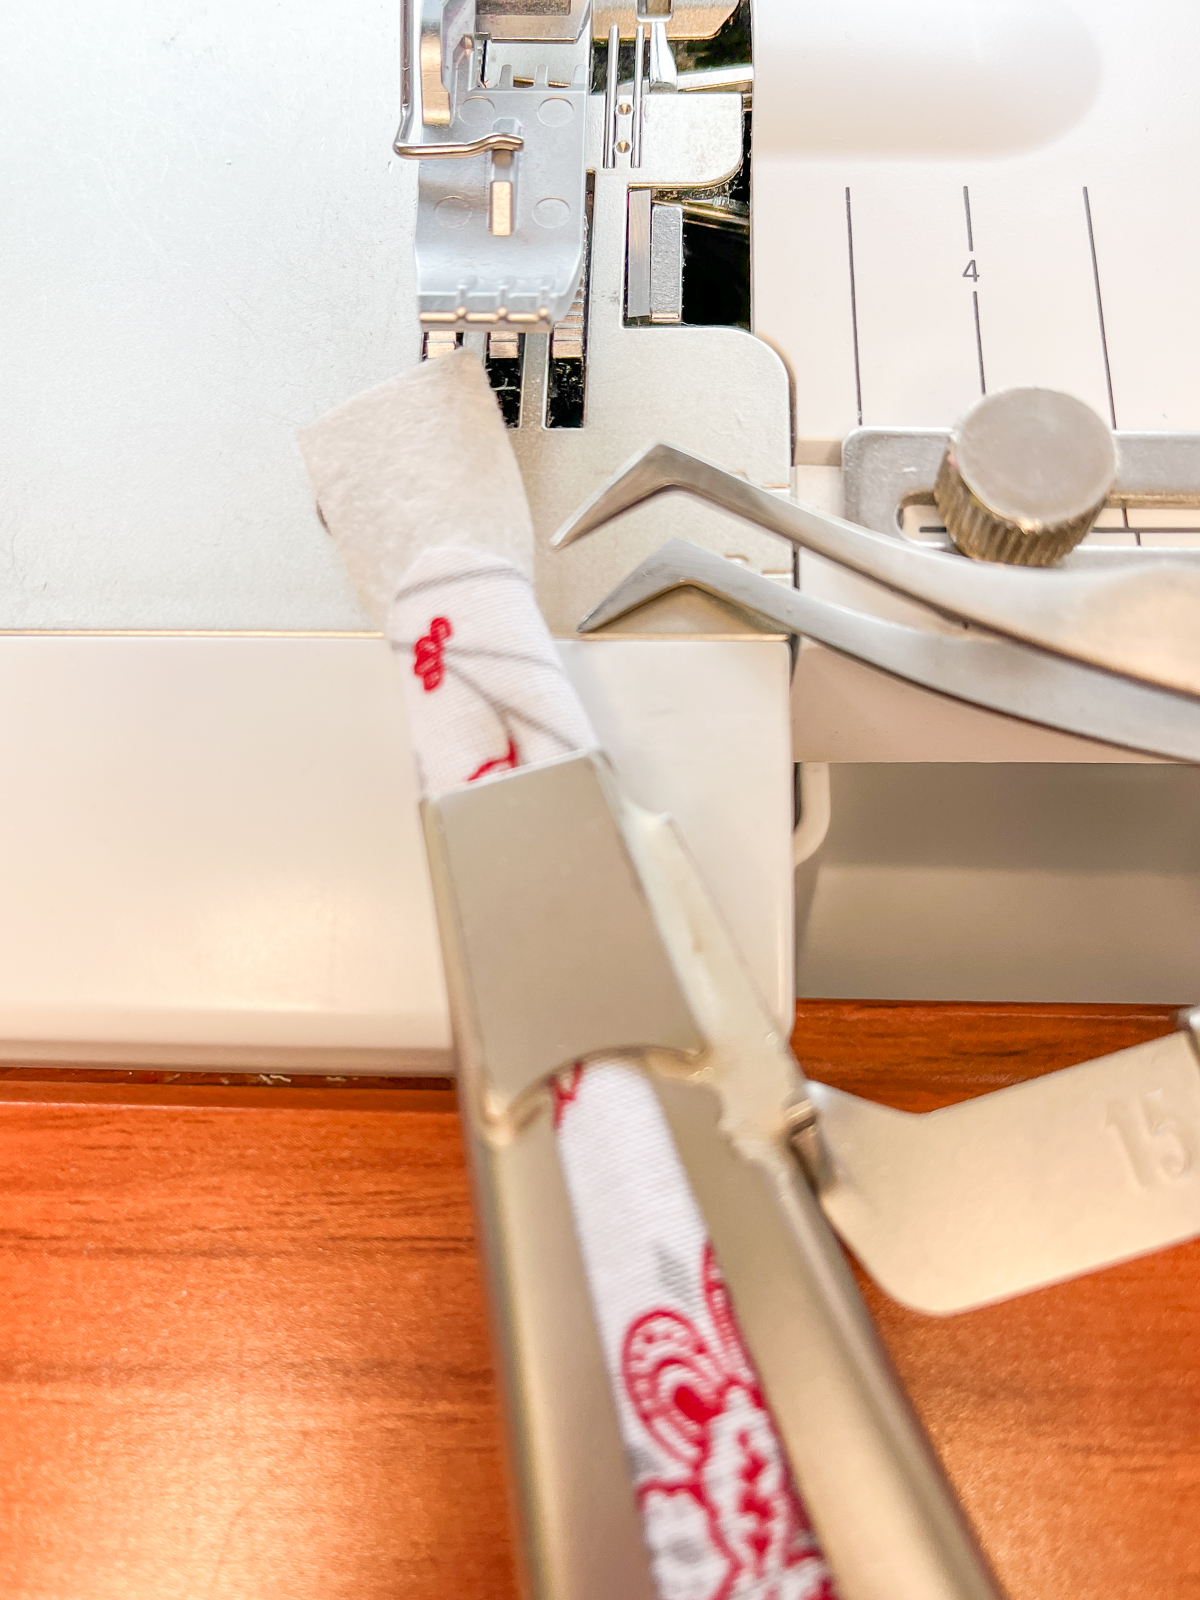
Swing the folder back into place. Place the strip under the presser foot and needles. Swing the presser foot out to make this easier!
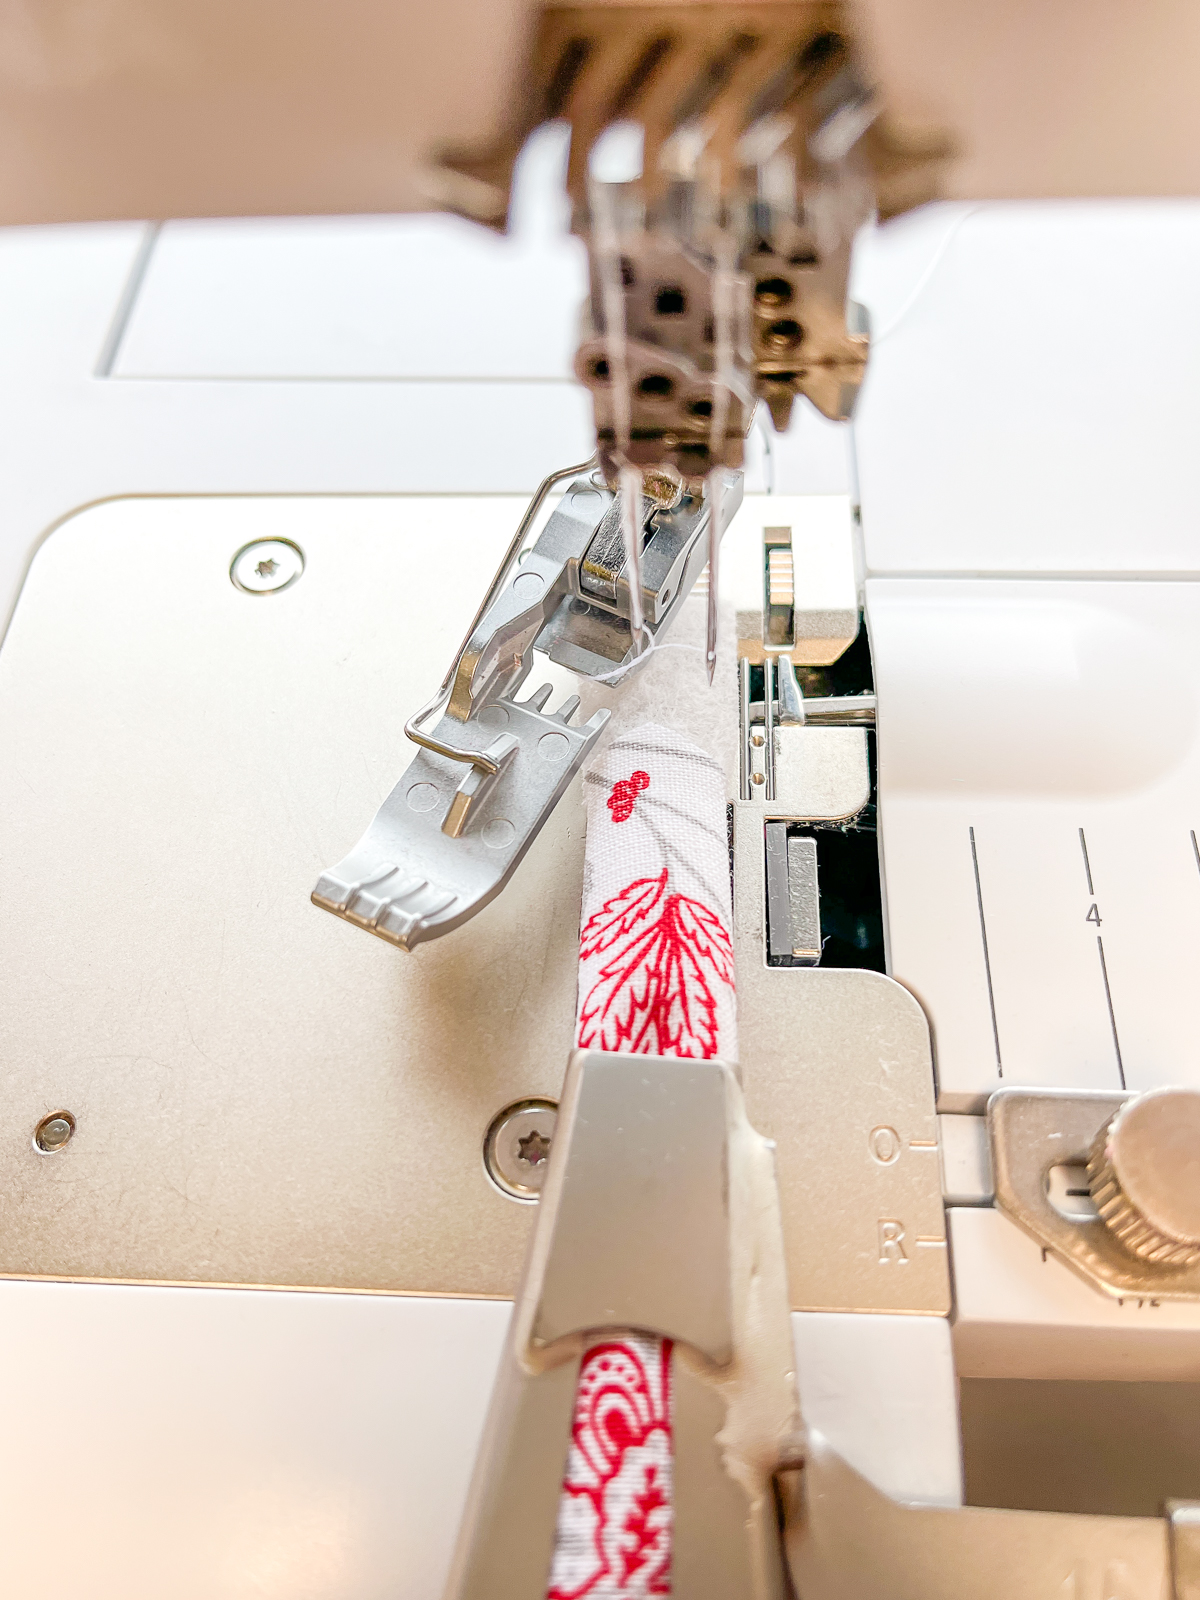
Sew the length of the strip. Check the back to make sure that the chain looper stitches are straddling the line where the fabrics meet. Adjust the folder placement if necessary.
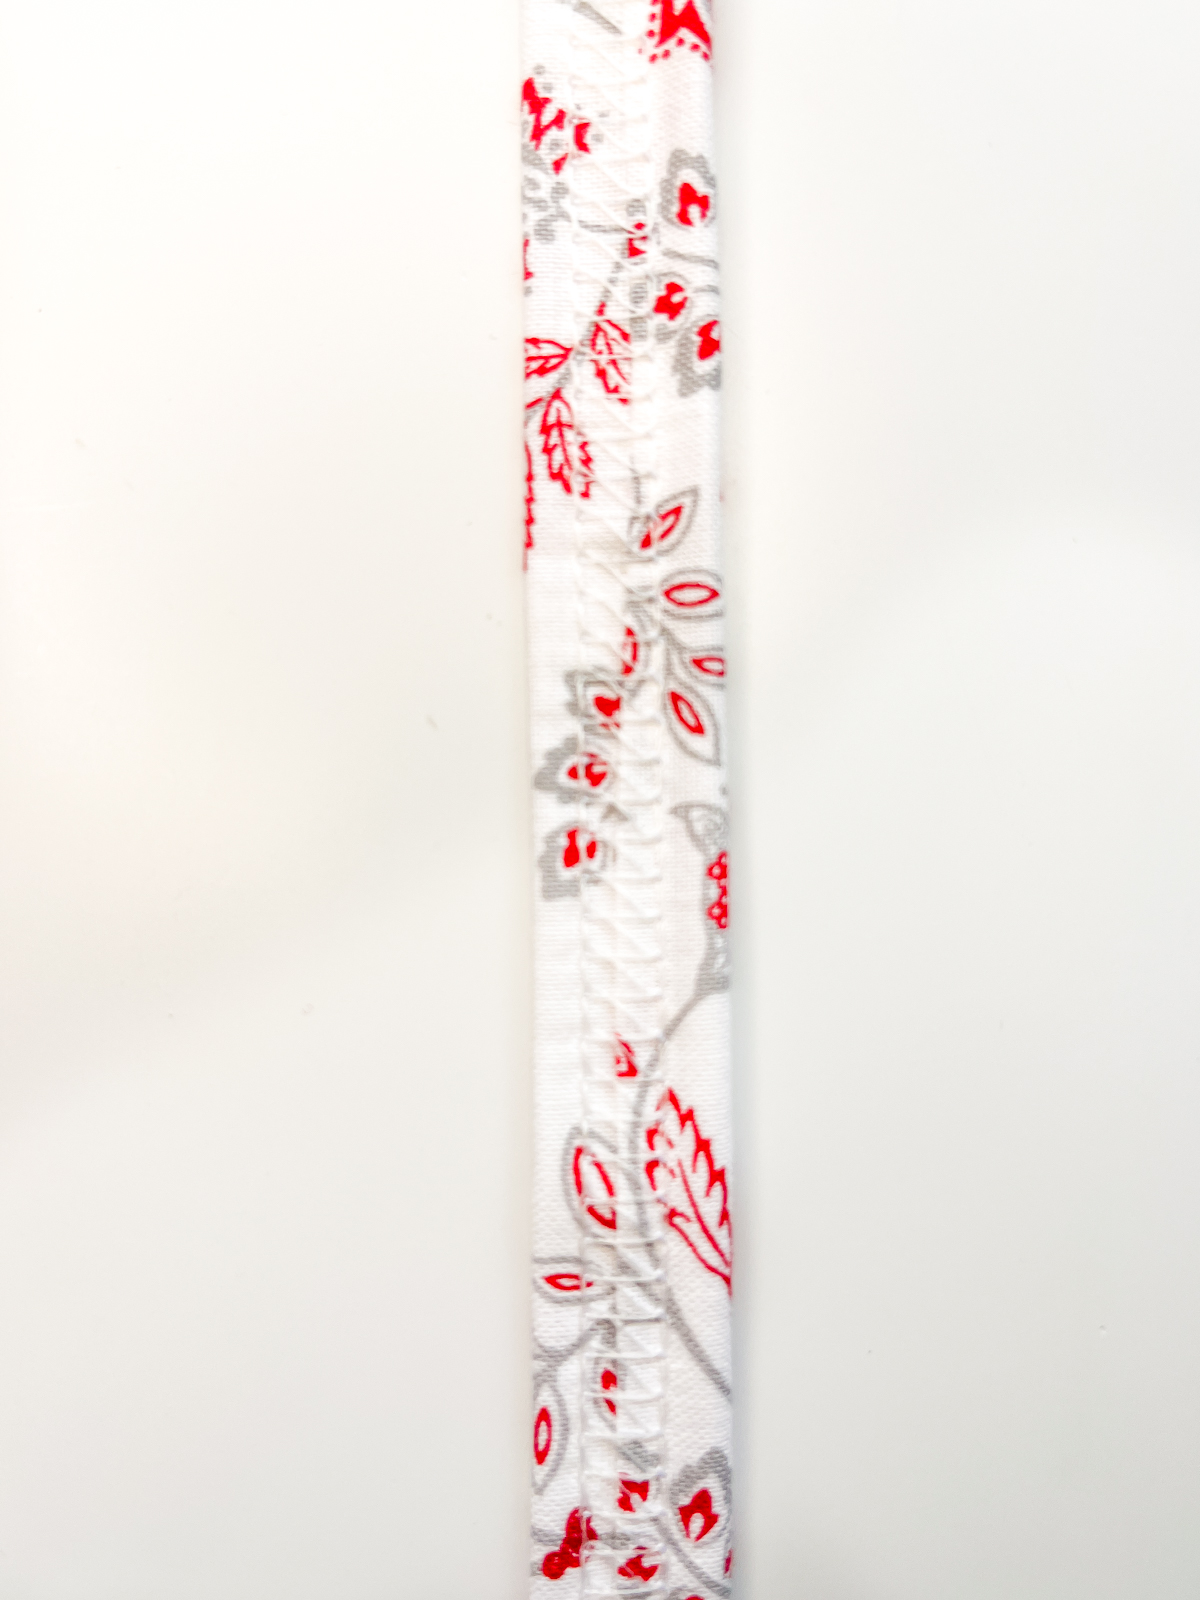
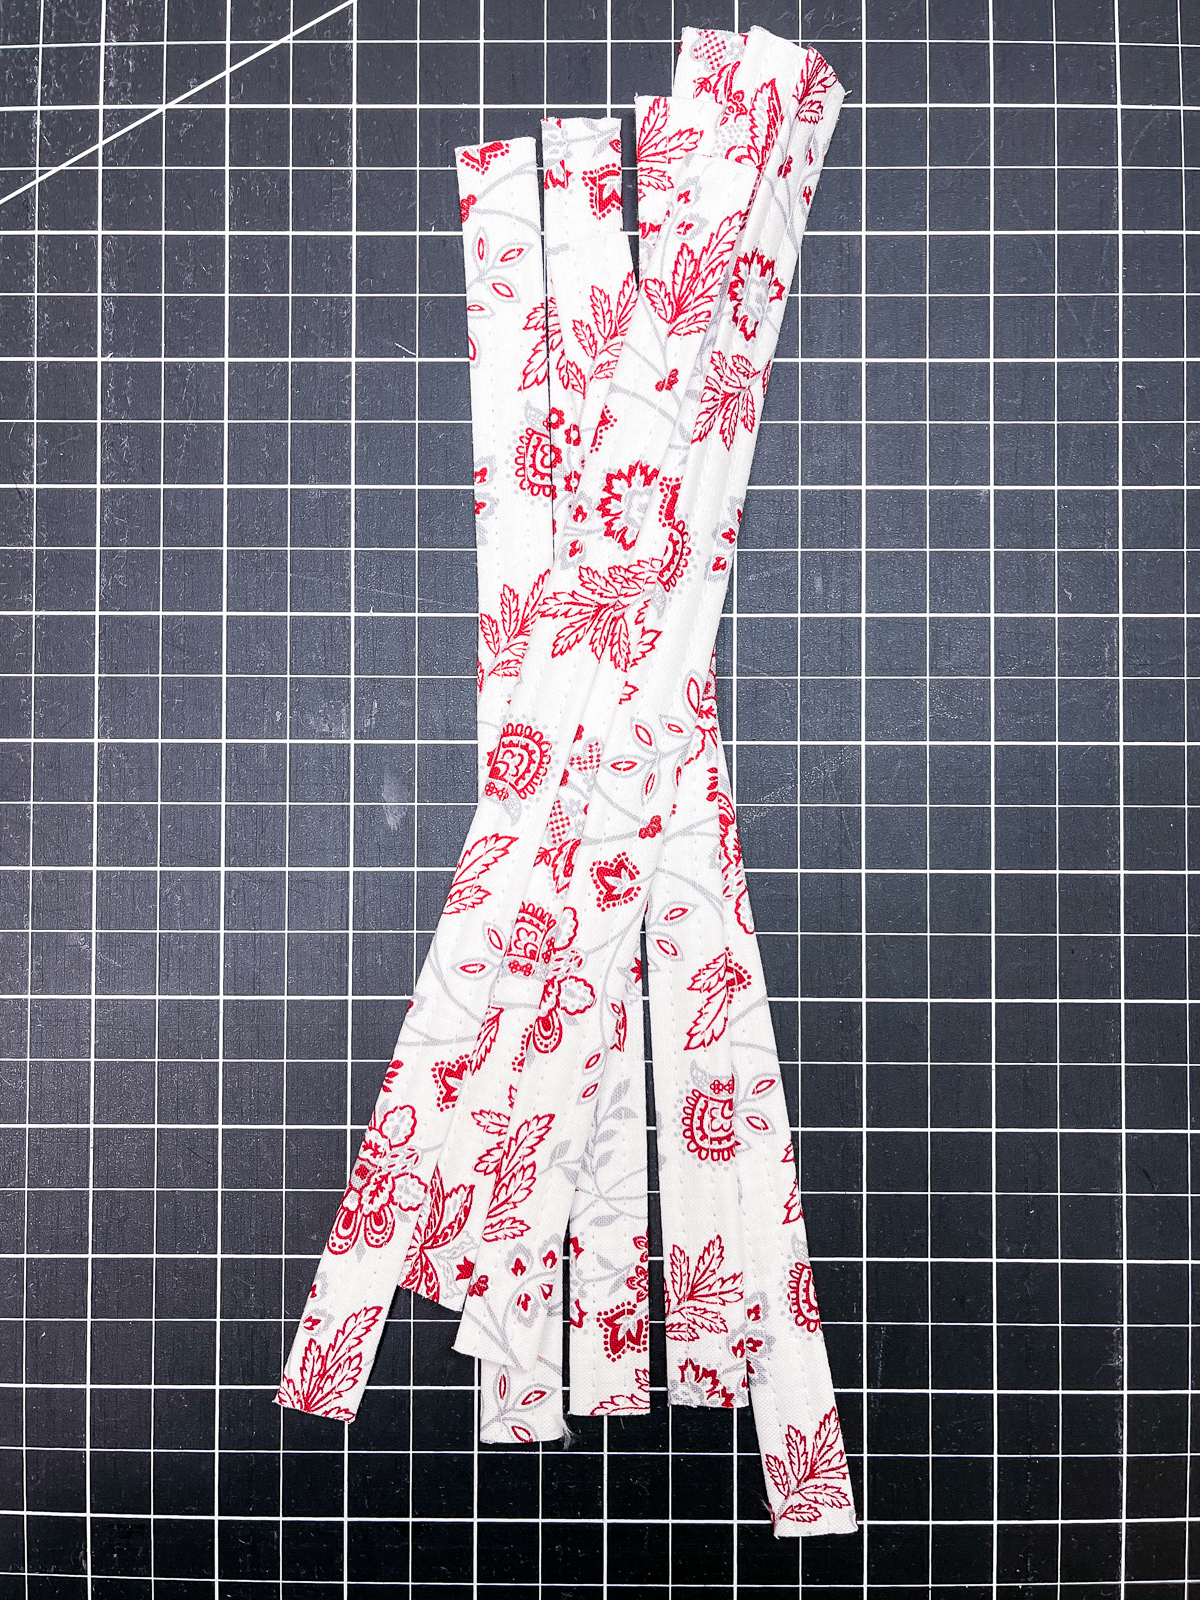
Repeat with the remaining print and batting strips. Trim each to 10” long.
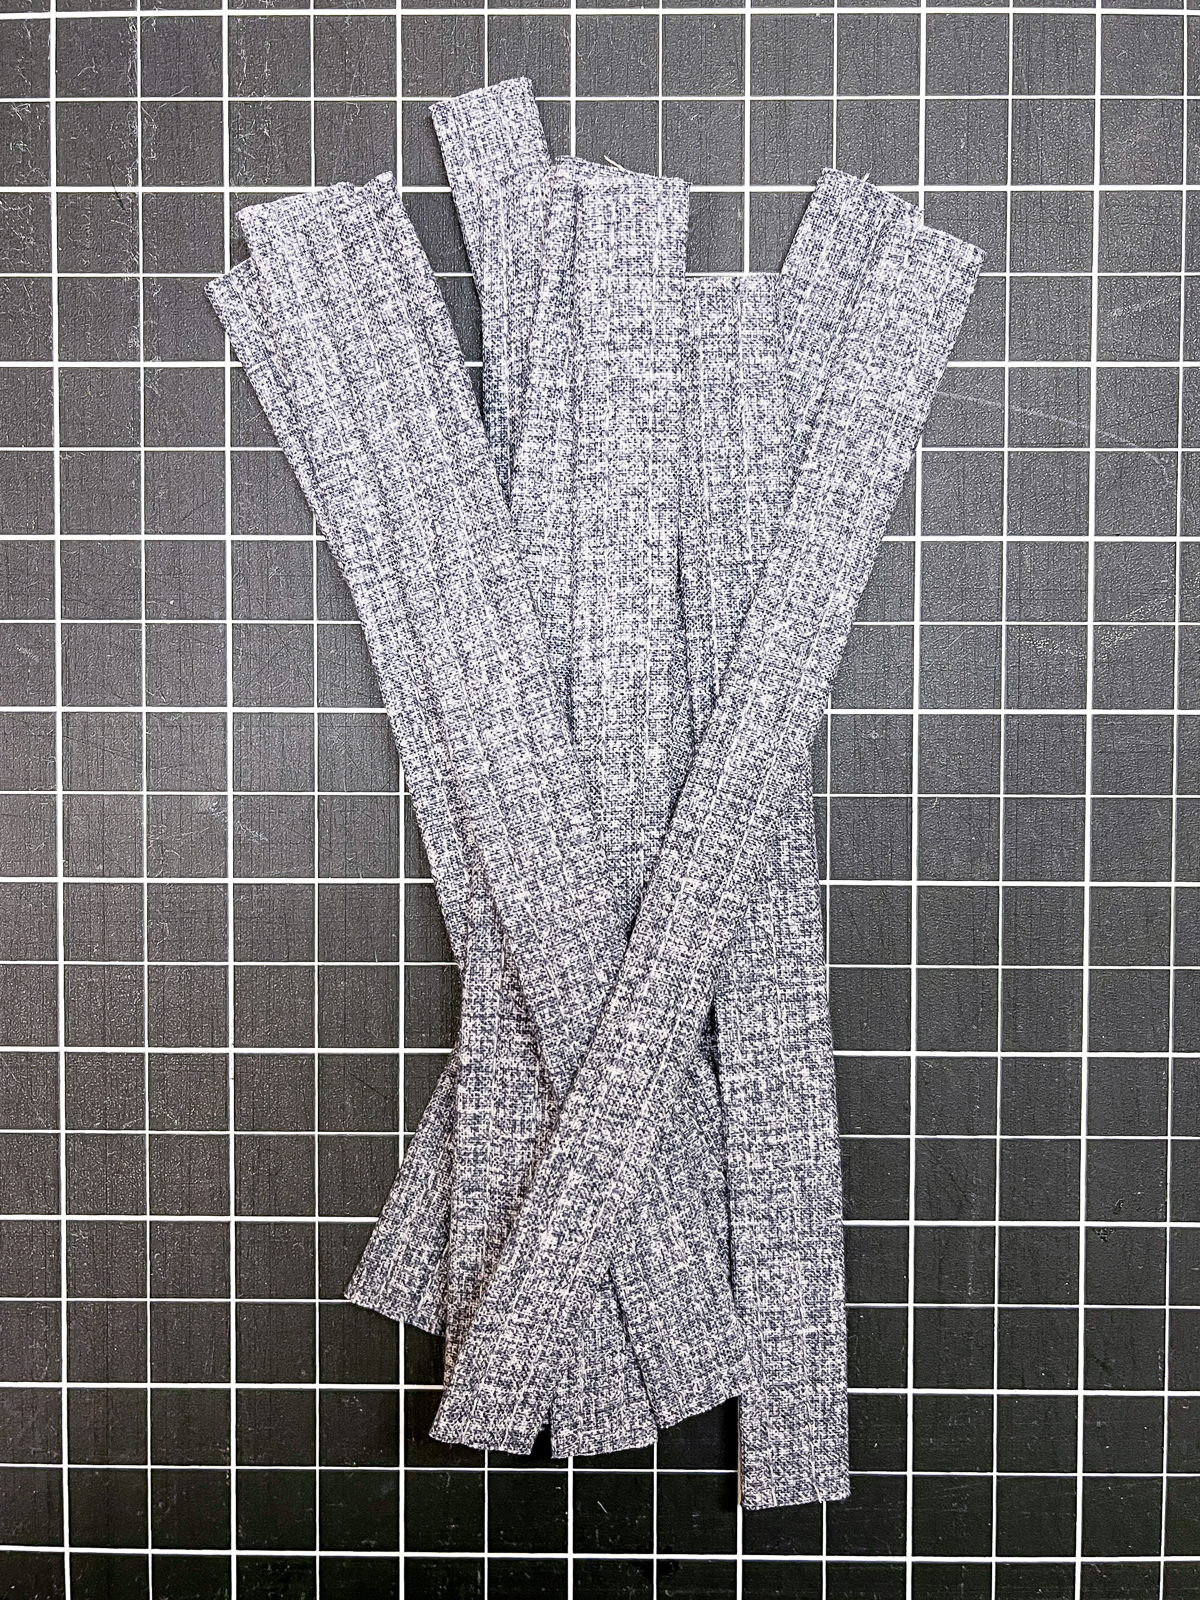
Re-thread the needles with thread that matches the solid fabric and repeat the steps above using the 9” fabric strips and 11” batting strips. Trim each to 7” long.
Step 2: Weave the Belt Loops
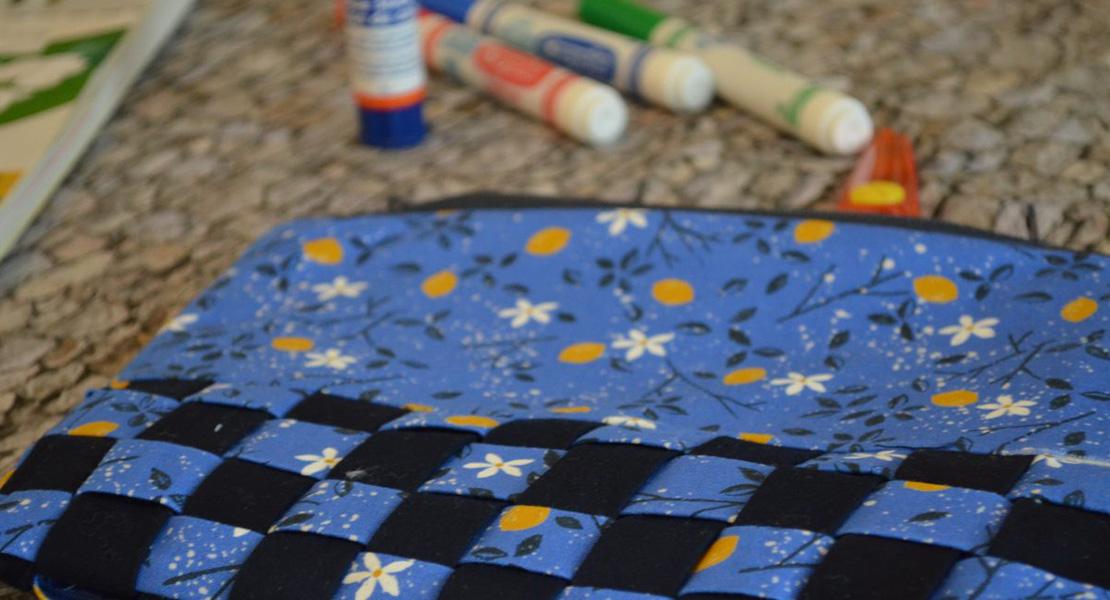
Place the 7” x 10” base fabric right side up. Lay the print strips horizontally on the fabric with the looper side facing down. Leave a 1/2″ of space at the top and bottom edges.
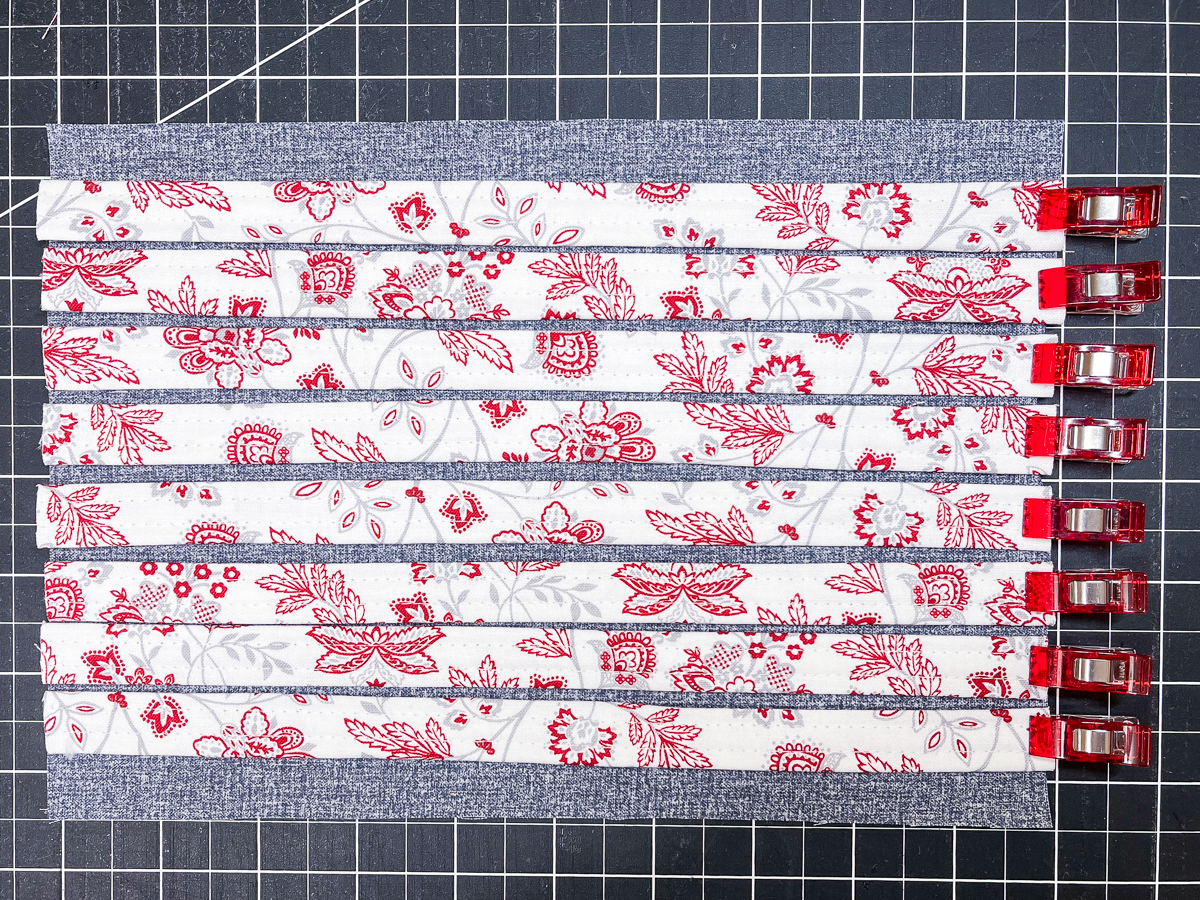
Weave the solid strips vertically with the looper side facing down. Space the strips evenly leaving a 1/2″ of space at the side edges.
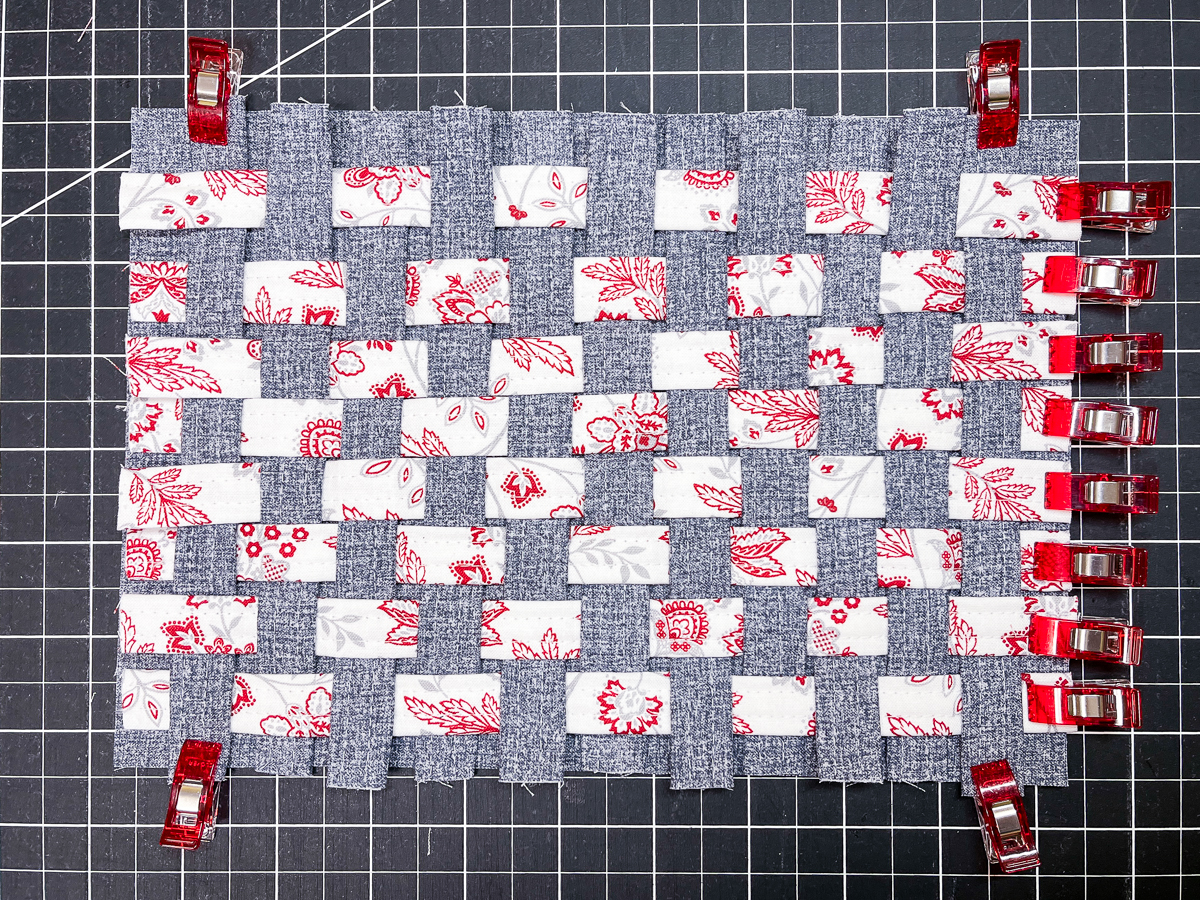
Press well. The fusible thread will hold the strips together and fuse the weaving to the base fabric.
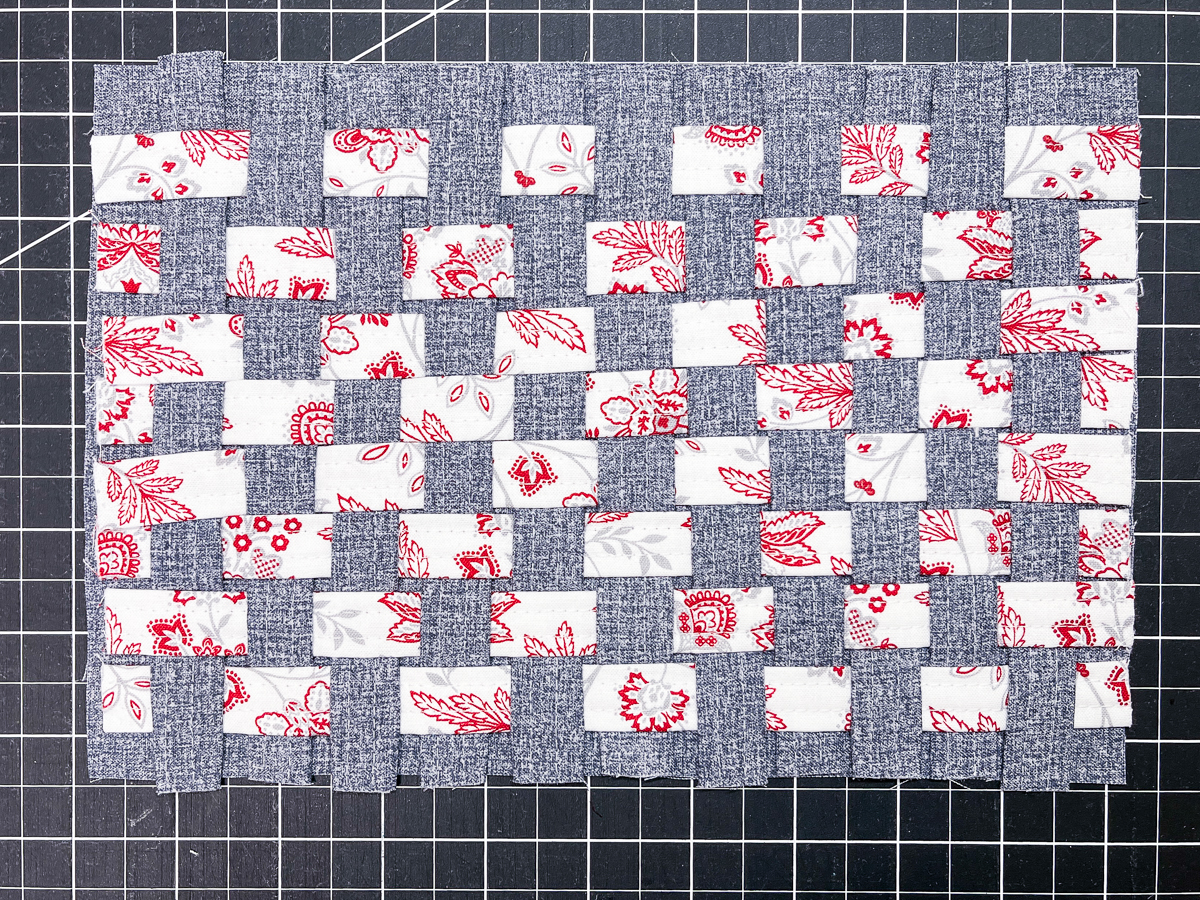
Step 3: Quilt the Bag Top
Set the machine for a 2-thread Chainstitch RC #16. Thread the chain looper with 12 weight thread and the needle with serger thread to match.
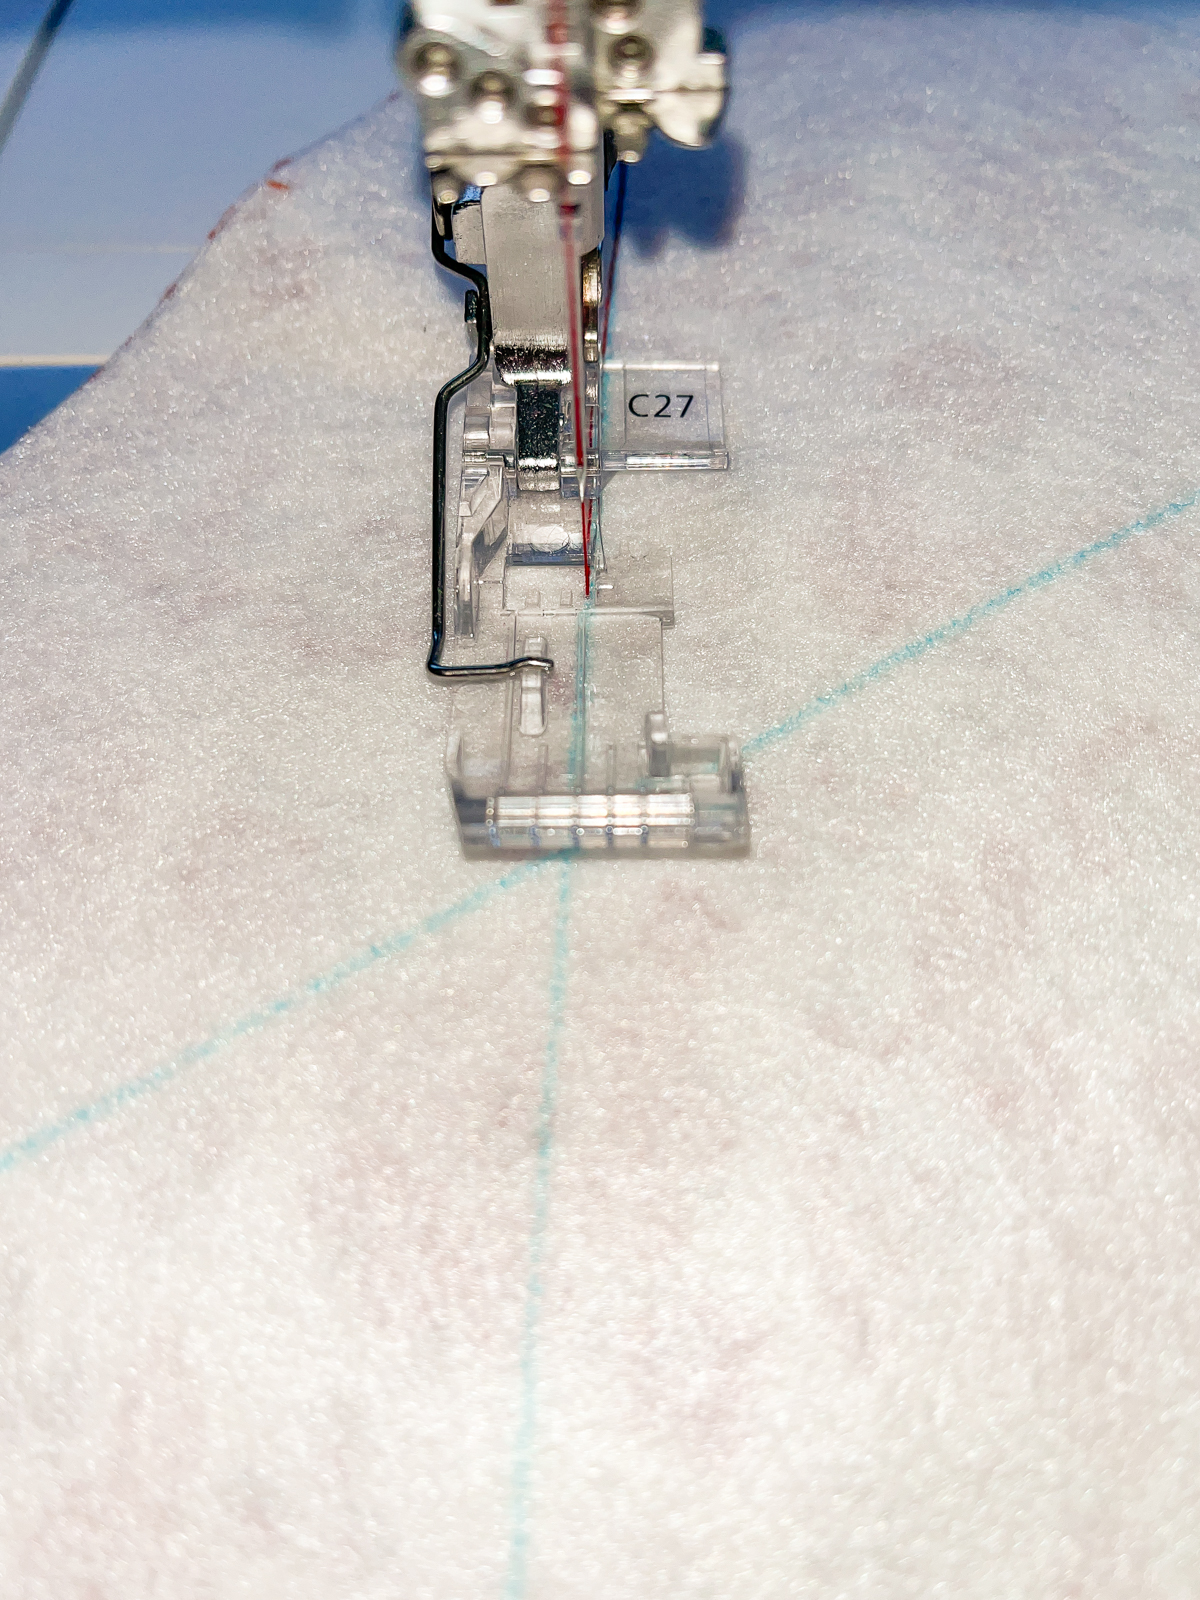
Fuse the fleece to the wrong side of both bag top pieces. On the fleece side, draw intersecting lines from corner to corner.
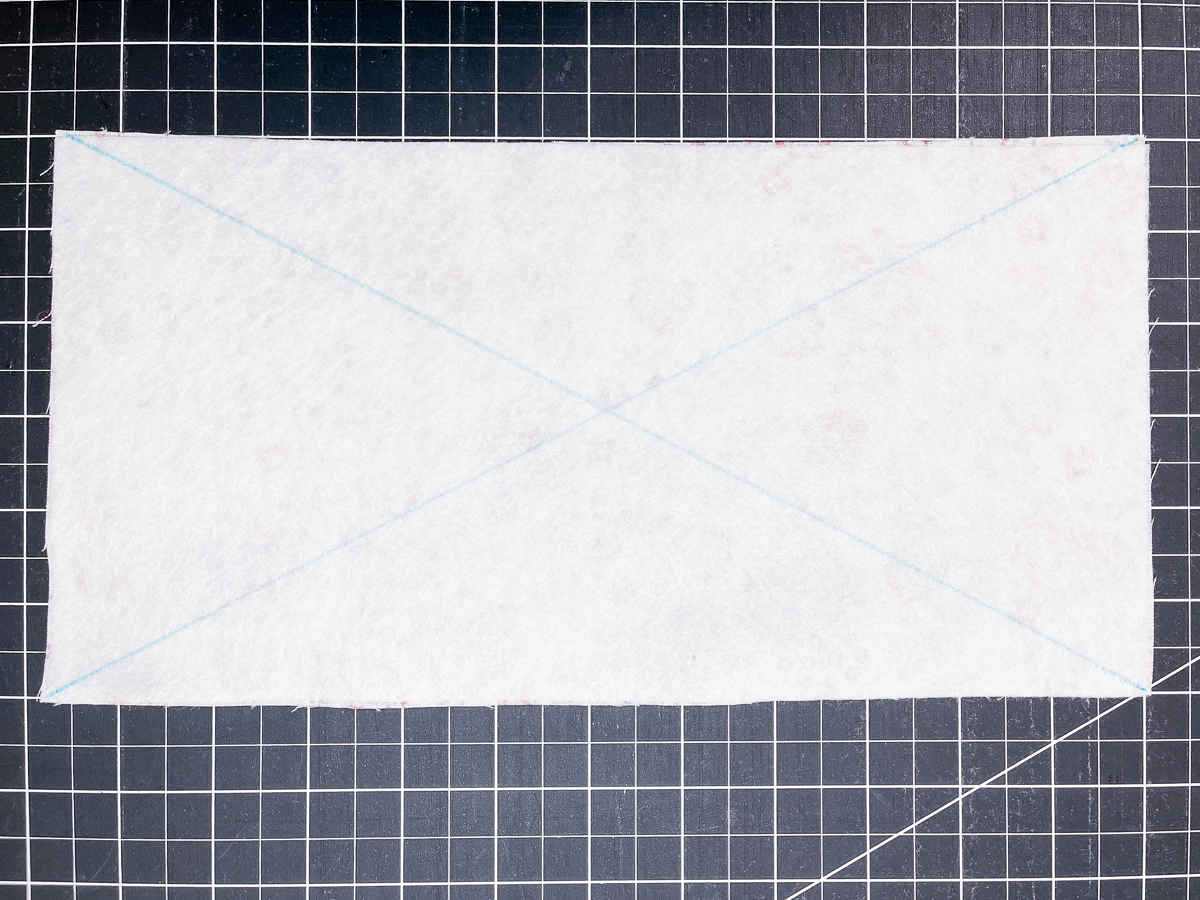
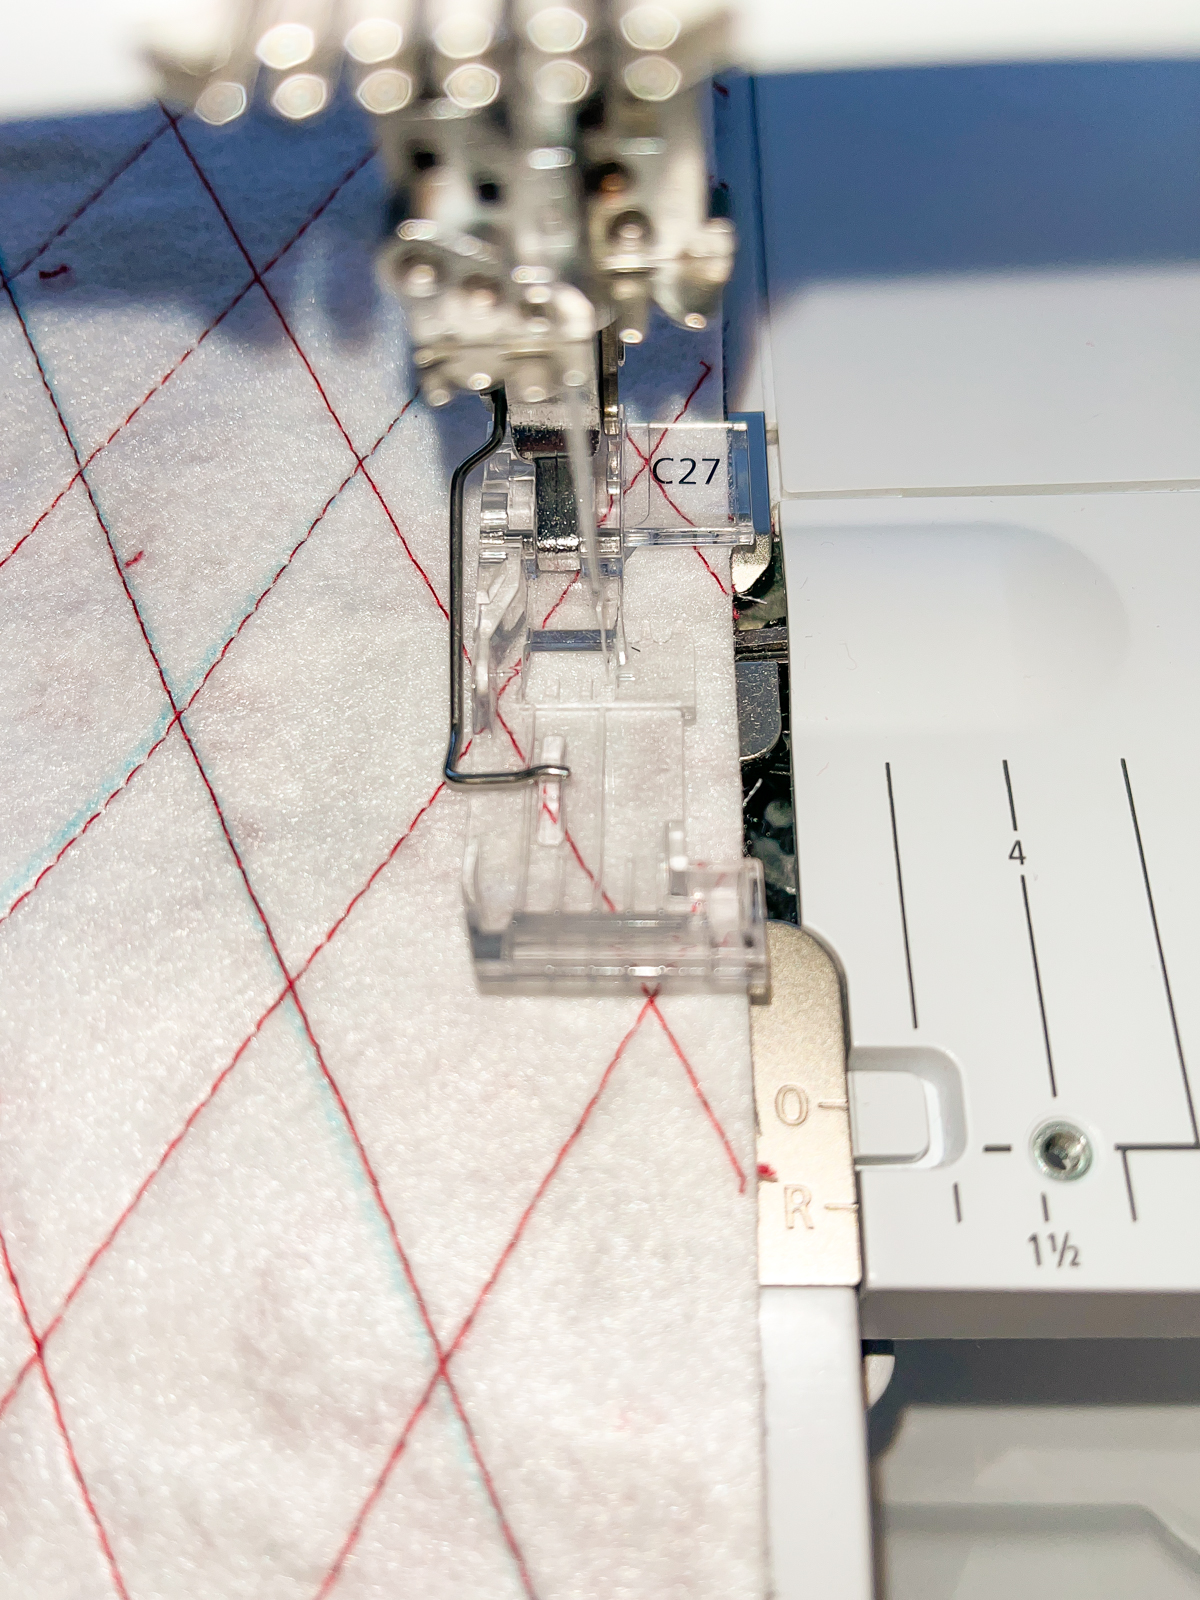
Sew on one line using the Clear Foot #C27.
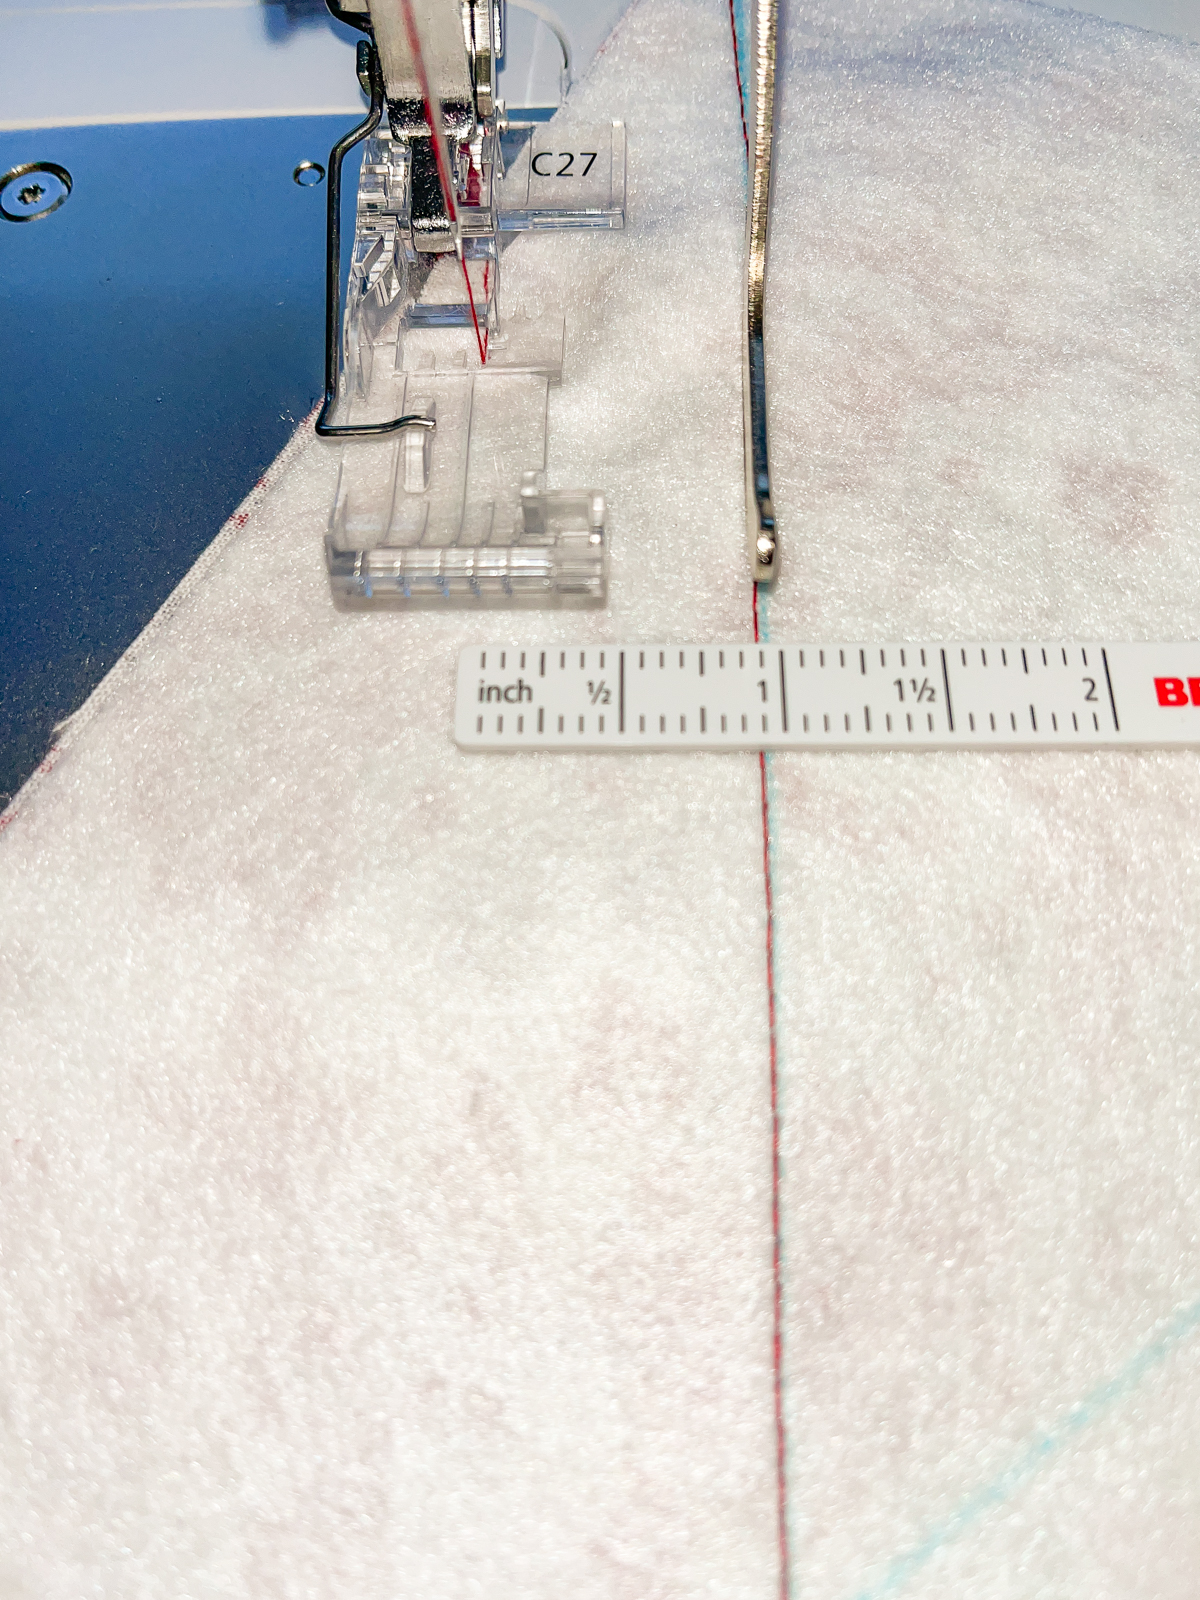
Insert the Right Seam Guide and place as desired. I used a 1” spacing.
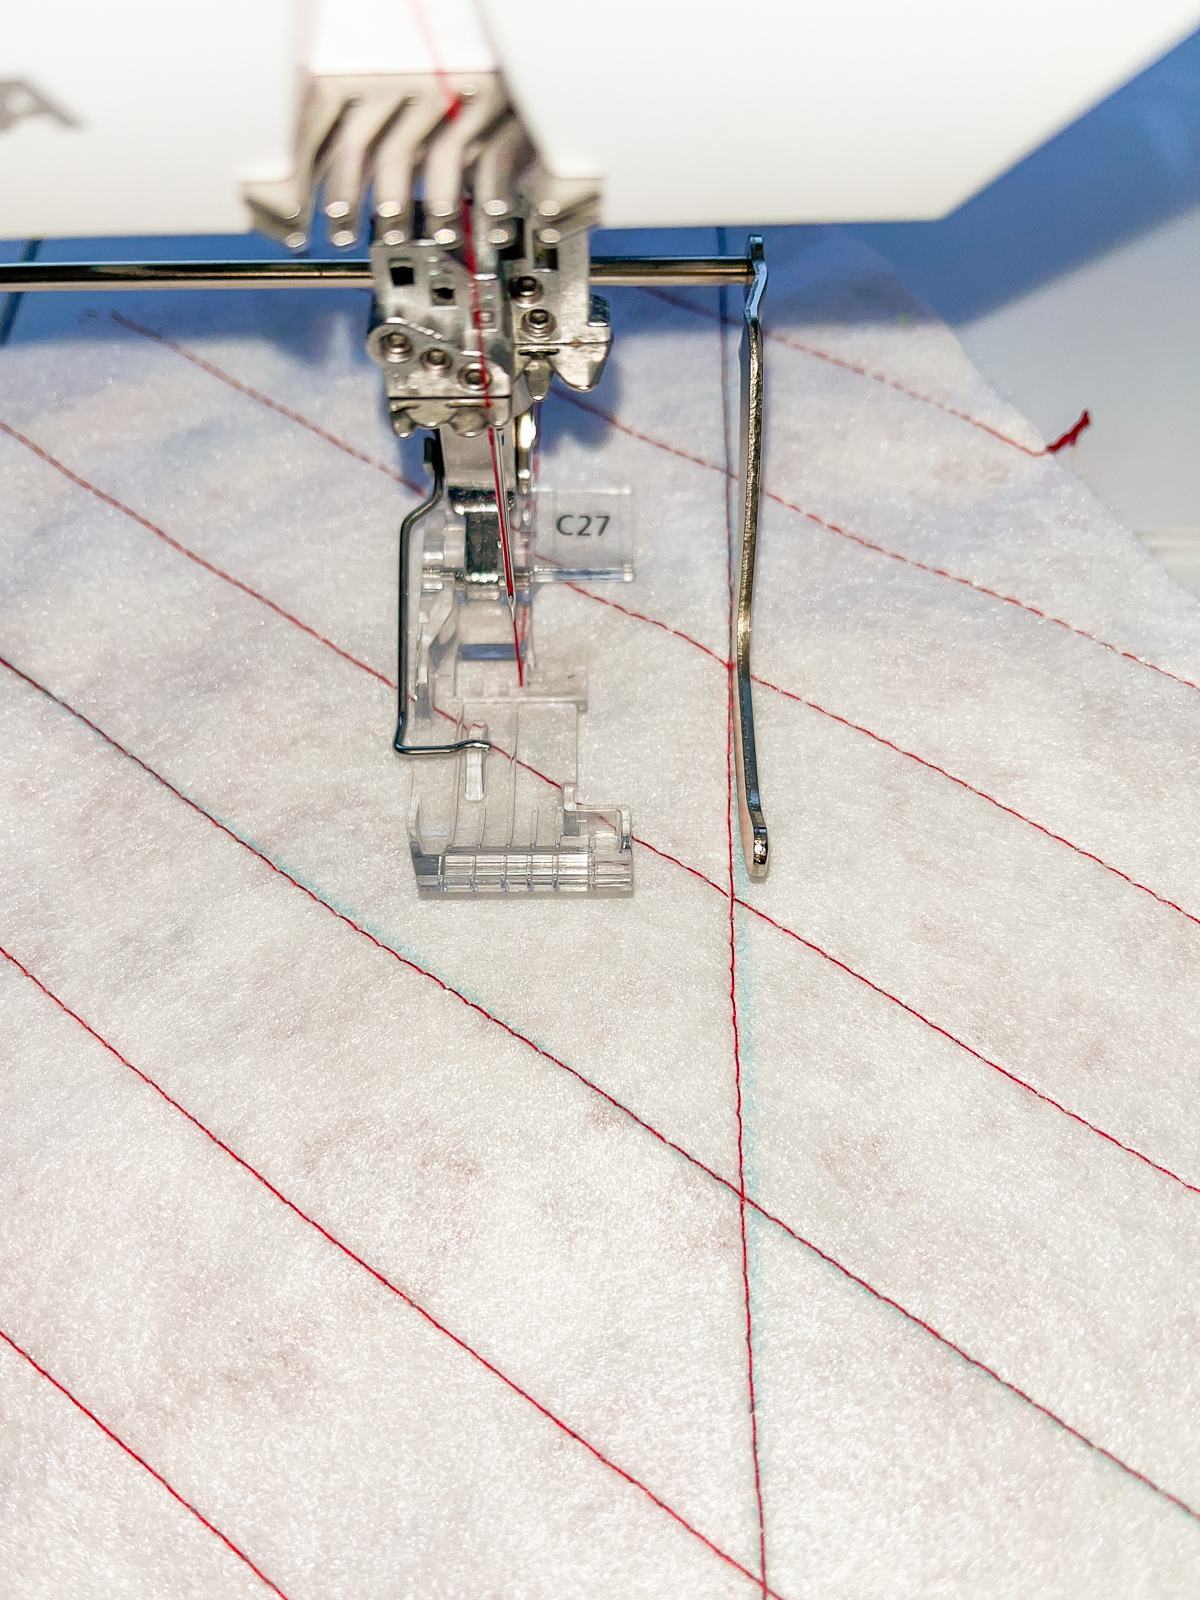
Sew parallel lines on the fleece side of the fabric, placing the seam guide on the previously stitched line. Continue in the other direction to create a cross-hatching quilt design.
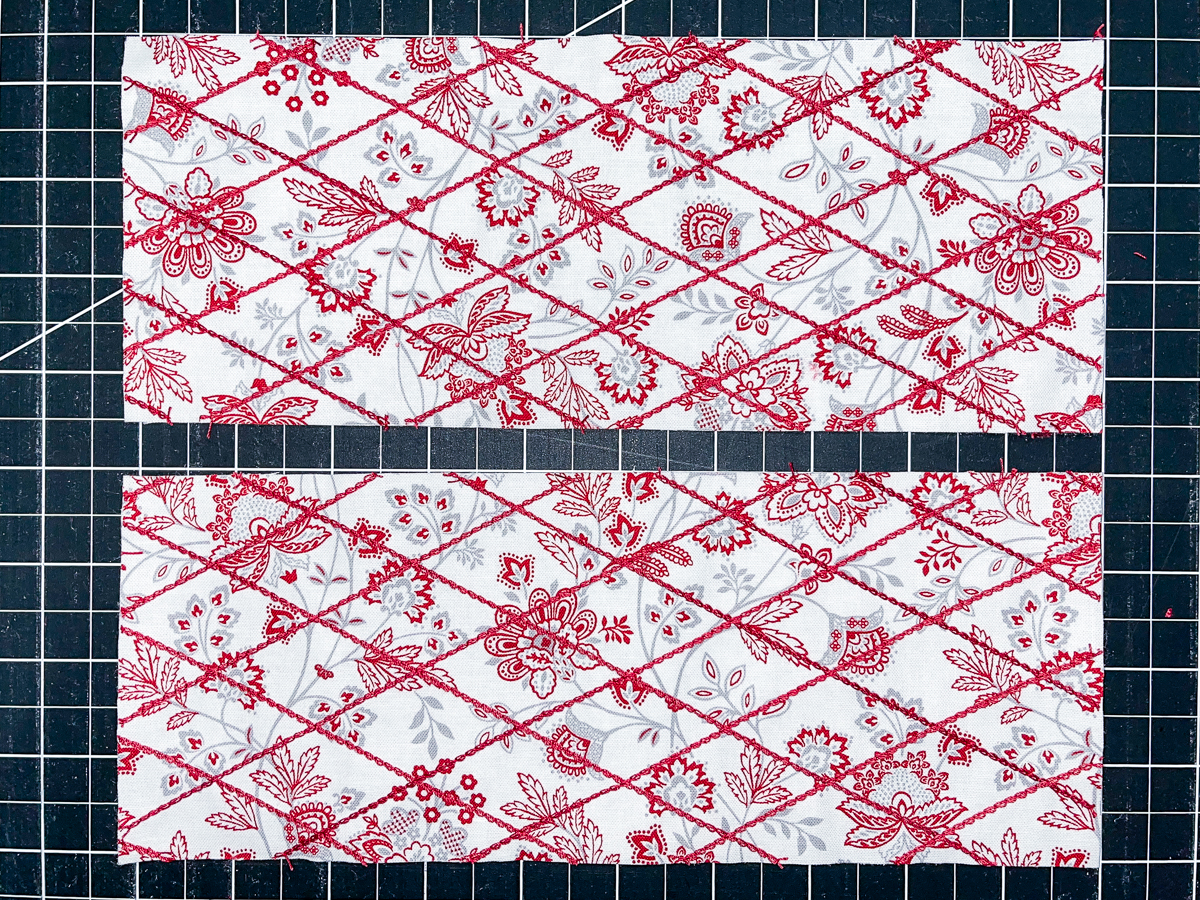
Repeat the steps above to quilt the remaining bag top. Trim both pieces to 4” x 10”.
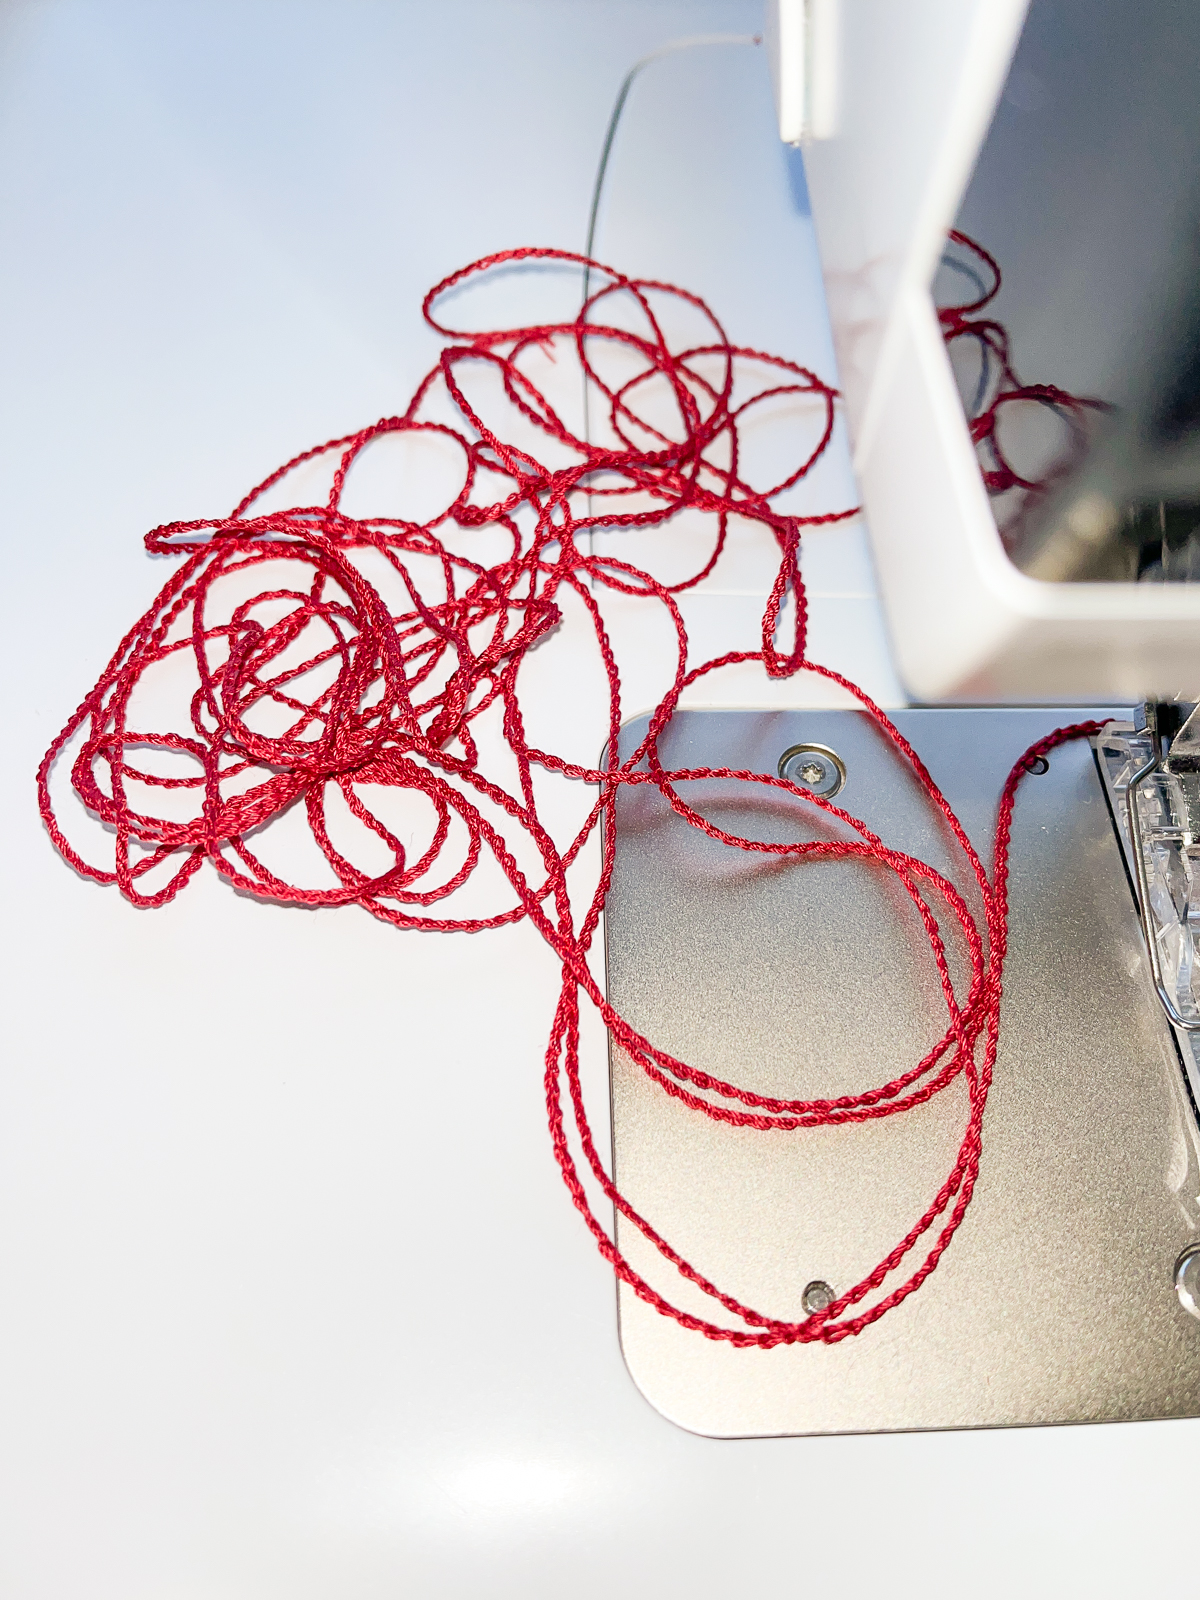
Using the same thread and stitch, chain off about 4 yards. Set aside for tassel.
Using the same stitch and matching serger thread in the needle and looper, sew the bag top pieces to each 10” side of the woven piece using a scant 1/2″ seam allowance. Guide along the edge of the right toe of the Clear Foot.
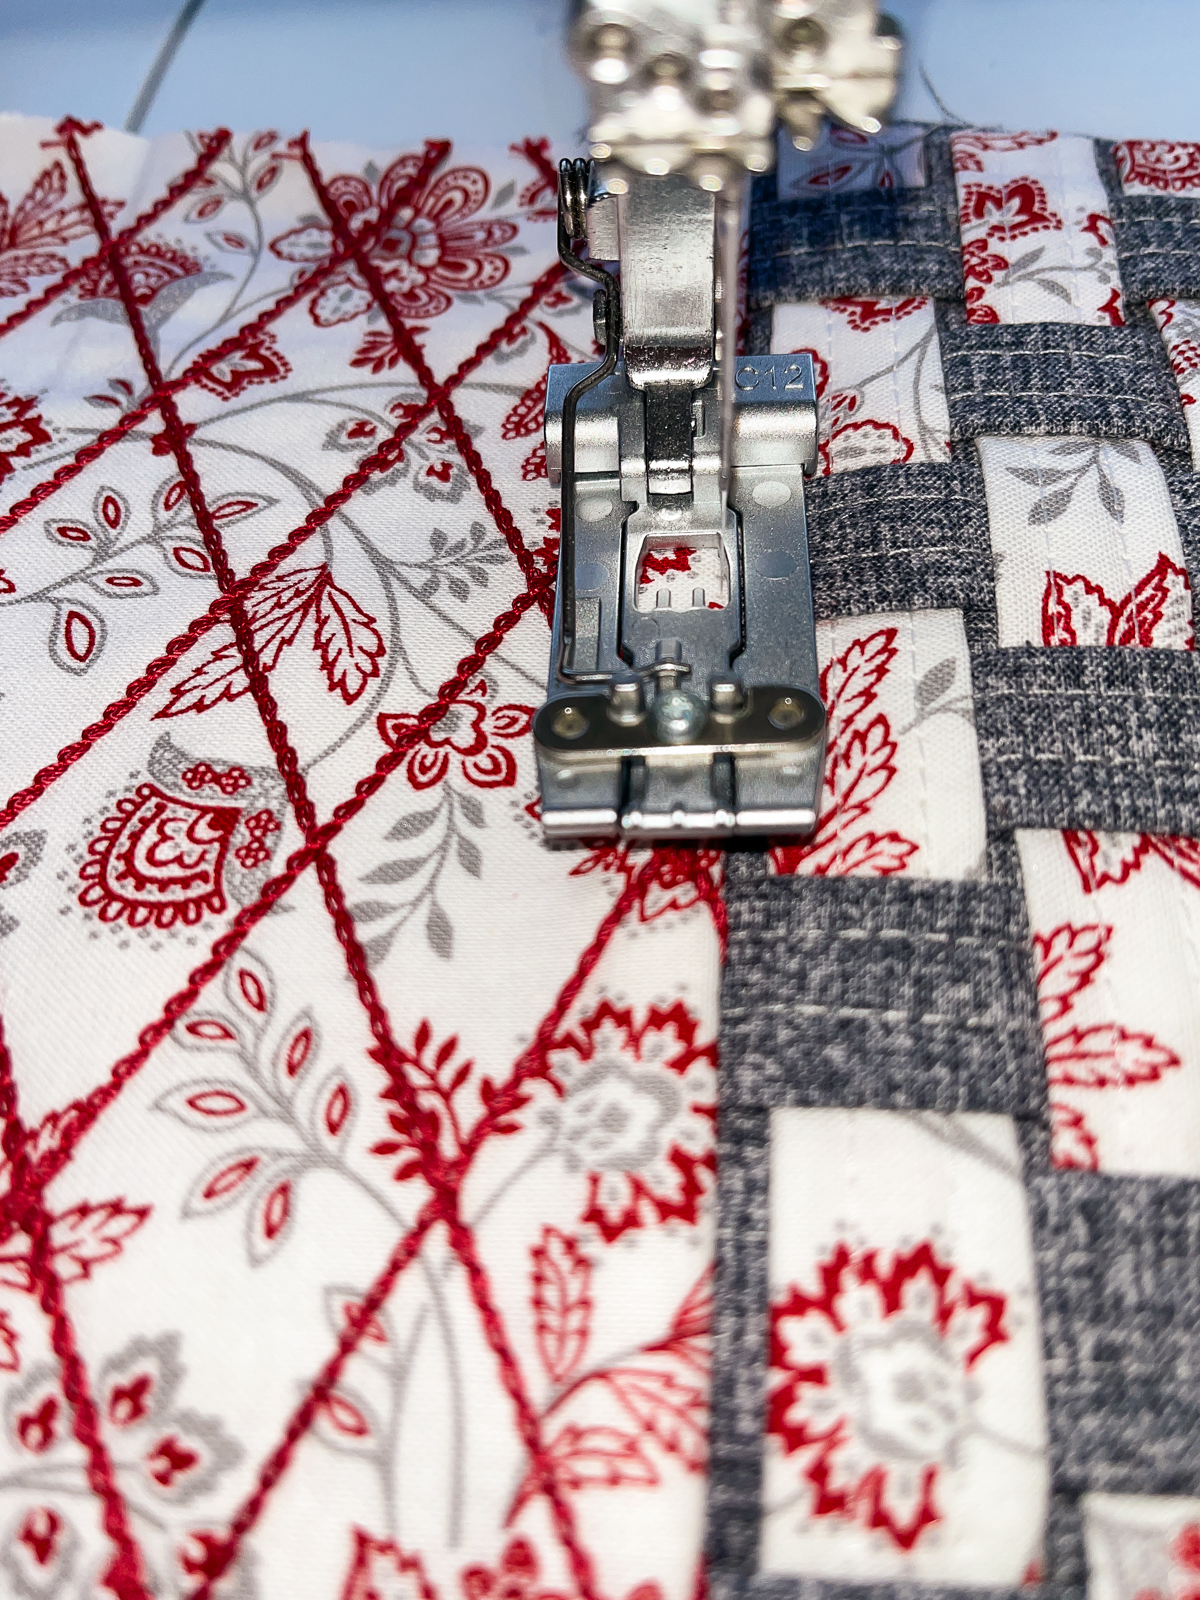
Press the seam allowances away from the weaving. Topstitch close to the seam using the Coverstitch Compensation Foot #C12.
Step 4: Attach the Zipper
Center the zipper right sides together along one 10” edge. Add a lining piece, right-side down, and clip the edges together.
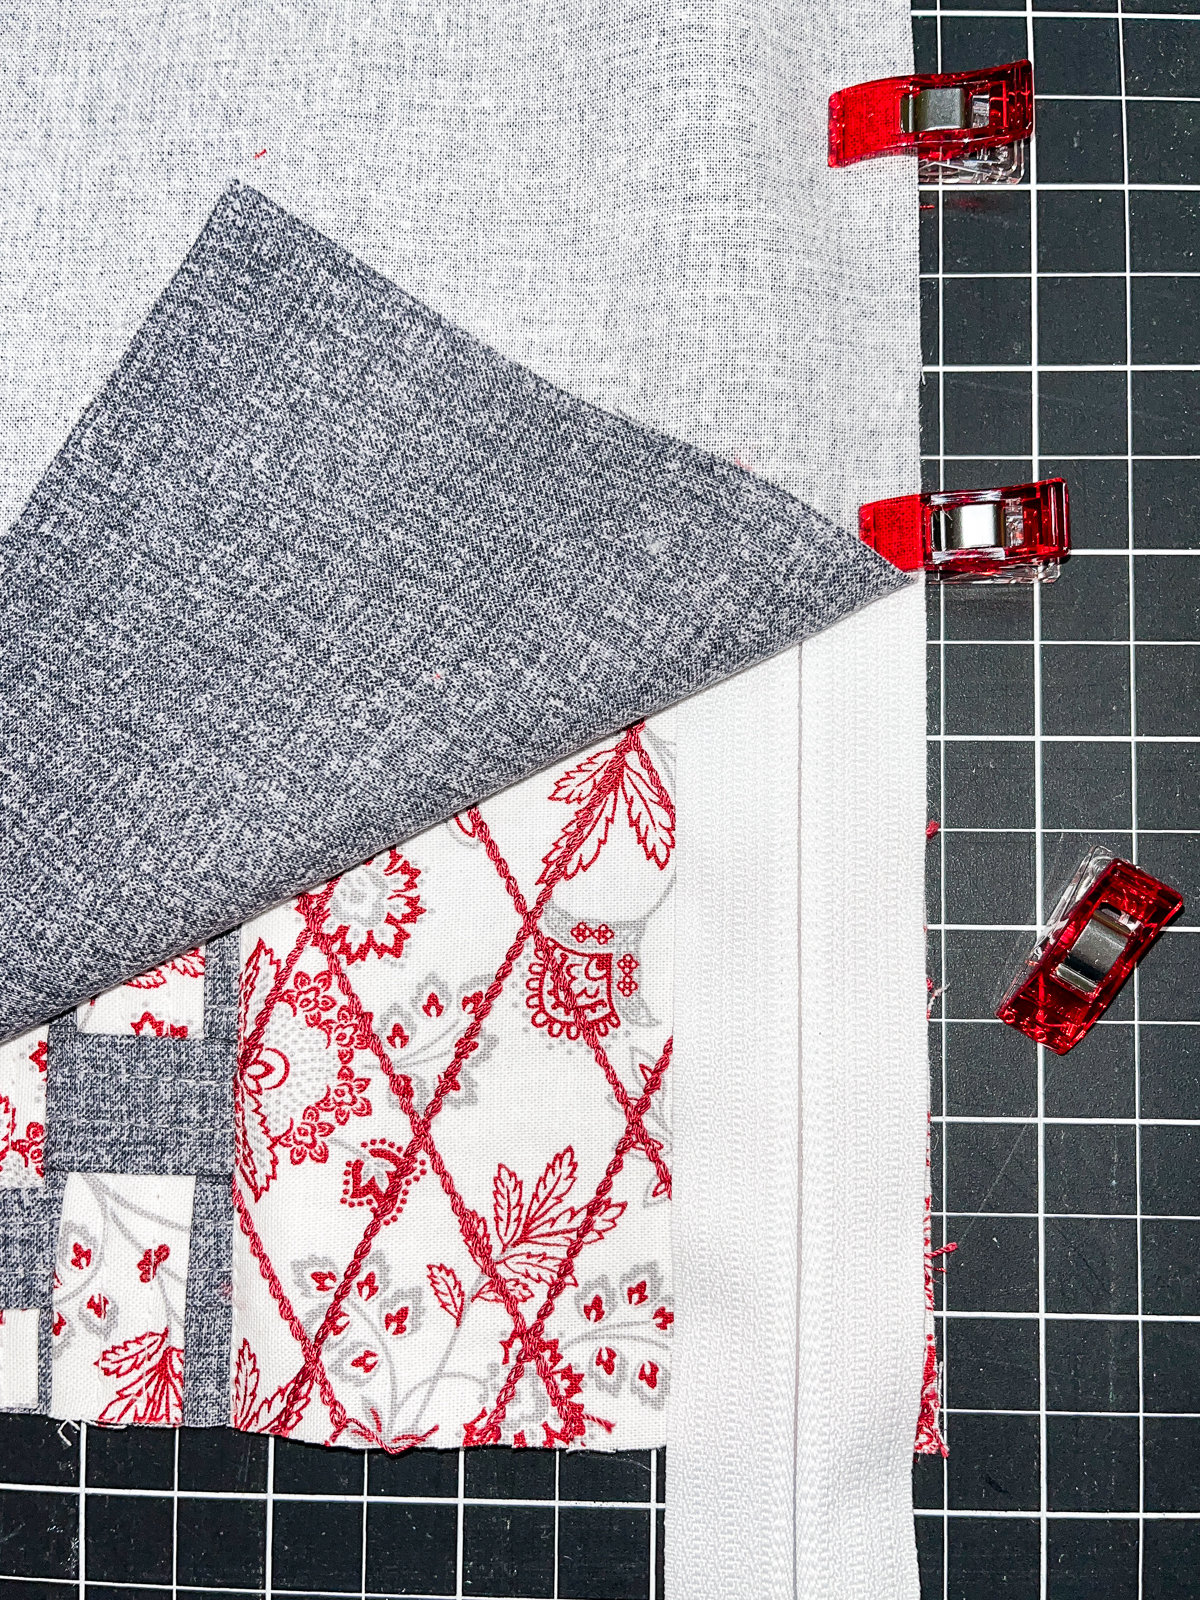
Attach the Cover- /Chainstitch Foot #C13 and sew with right edge of the foot guiding close to the zipper teeth.
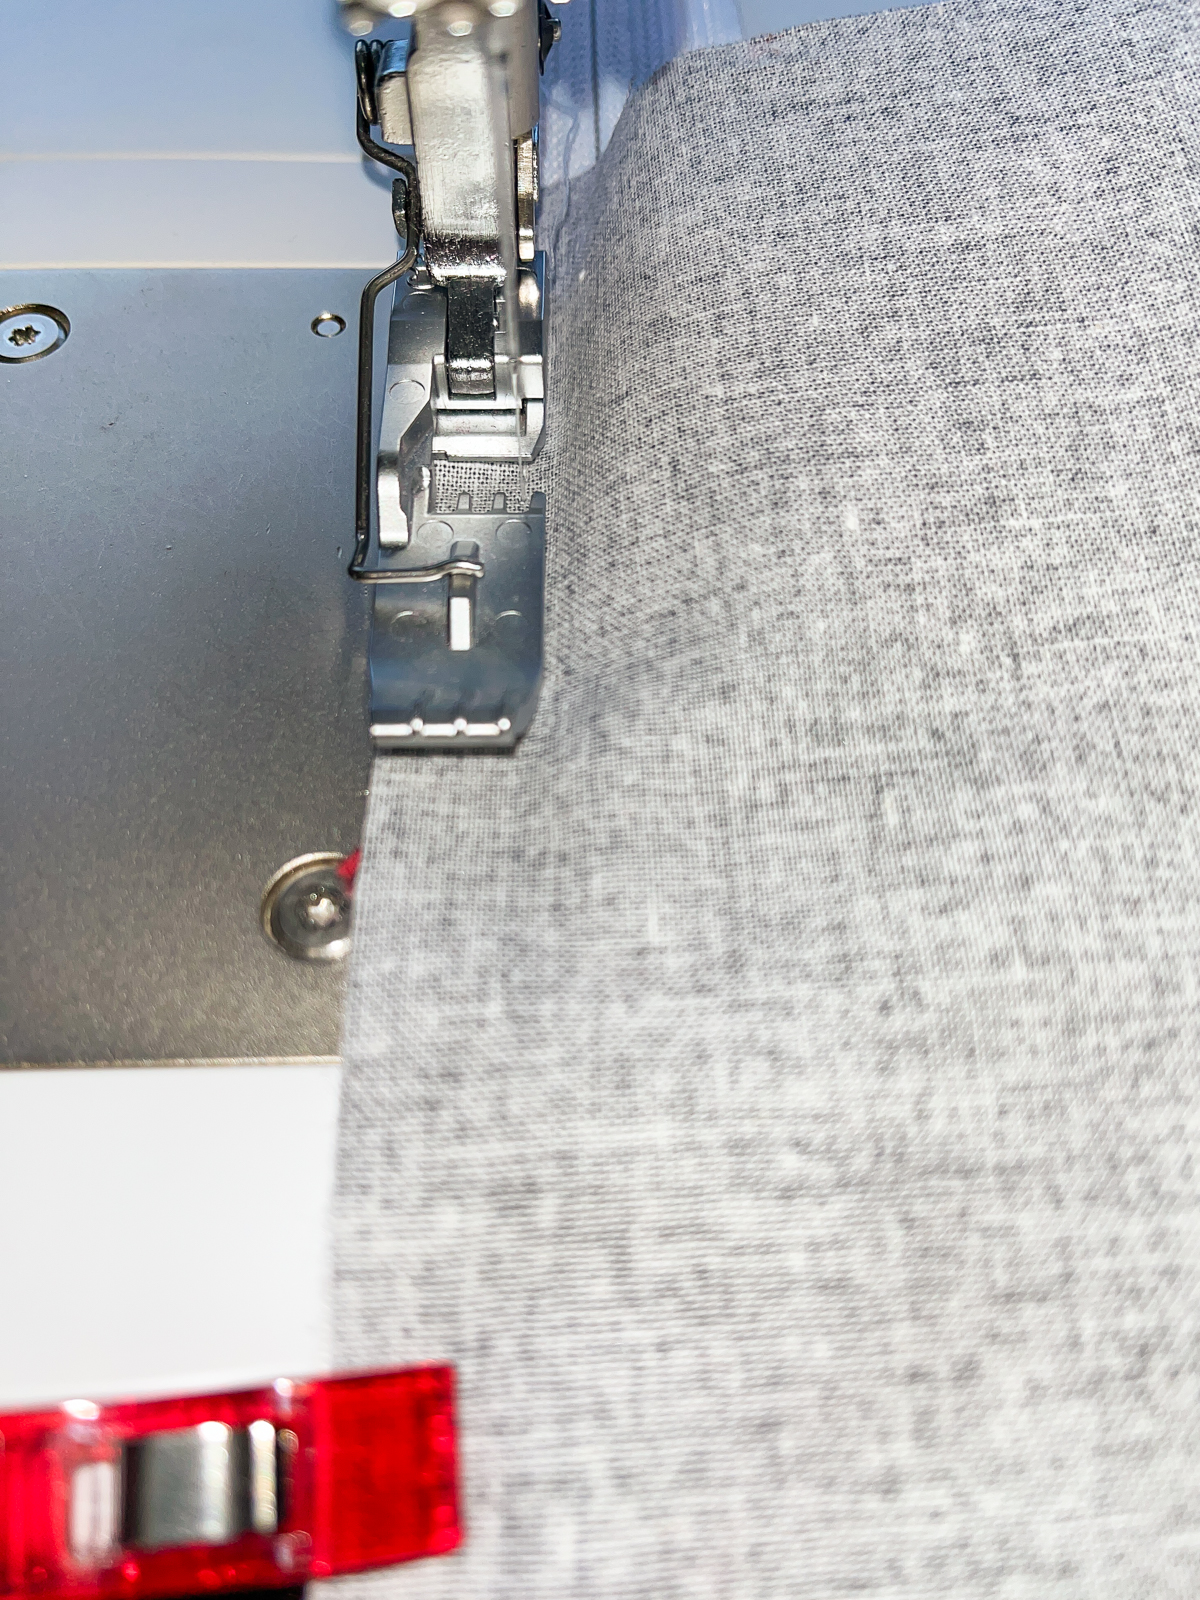
Press the outer fabric and lining away from the zipper. Topstitch close to the fold.
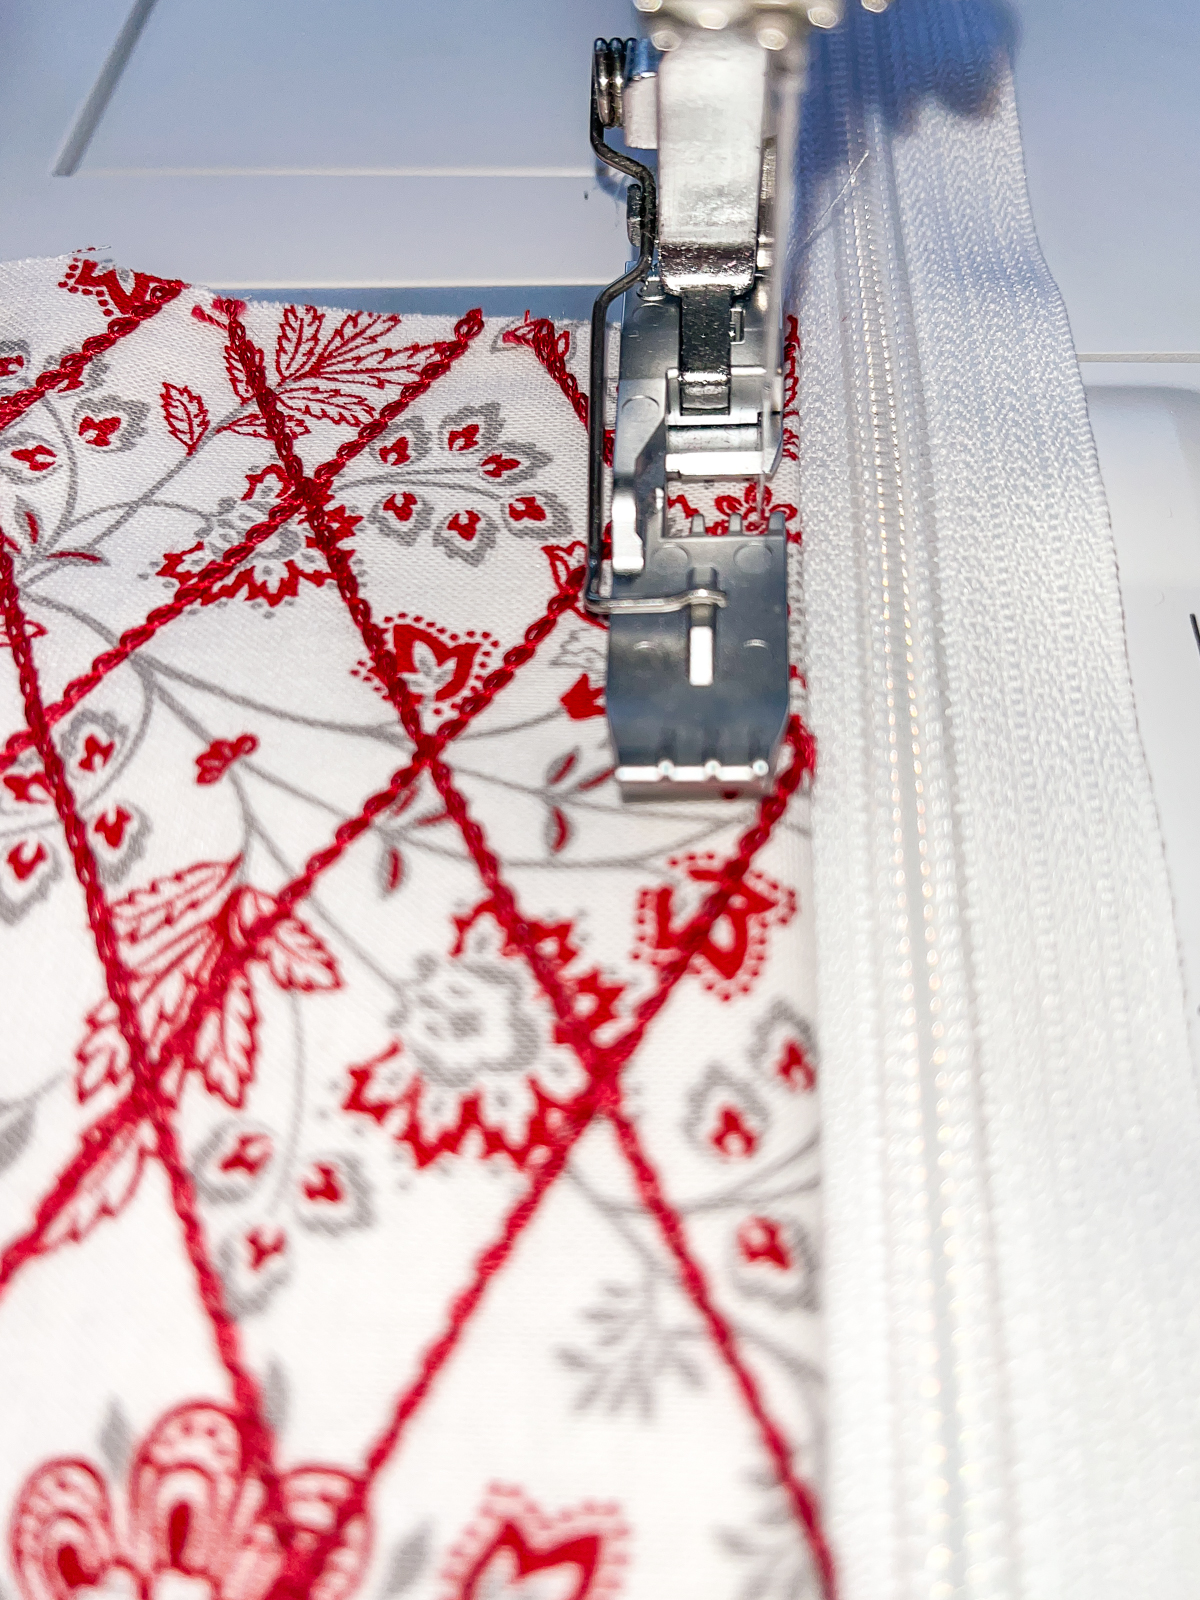
Repeat on the other side, adding the remaining lining piece.
Step 5: Finish the Woven Zipper Pouch
Open the zipper halfway. Fold the bag front in half along the bottom, matching the seam lines, the zipper, and clip. Clip the lining pieces right sides together.
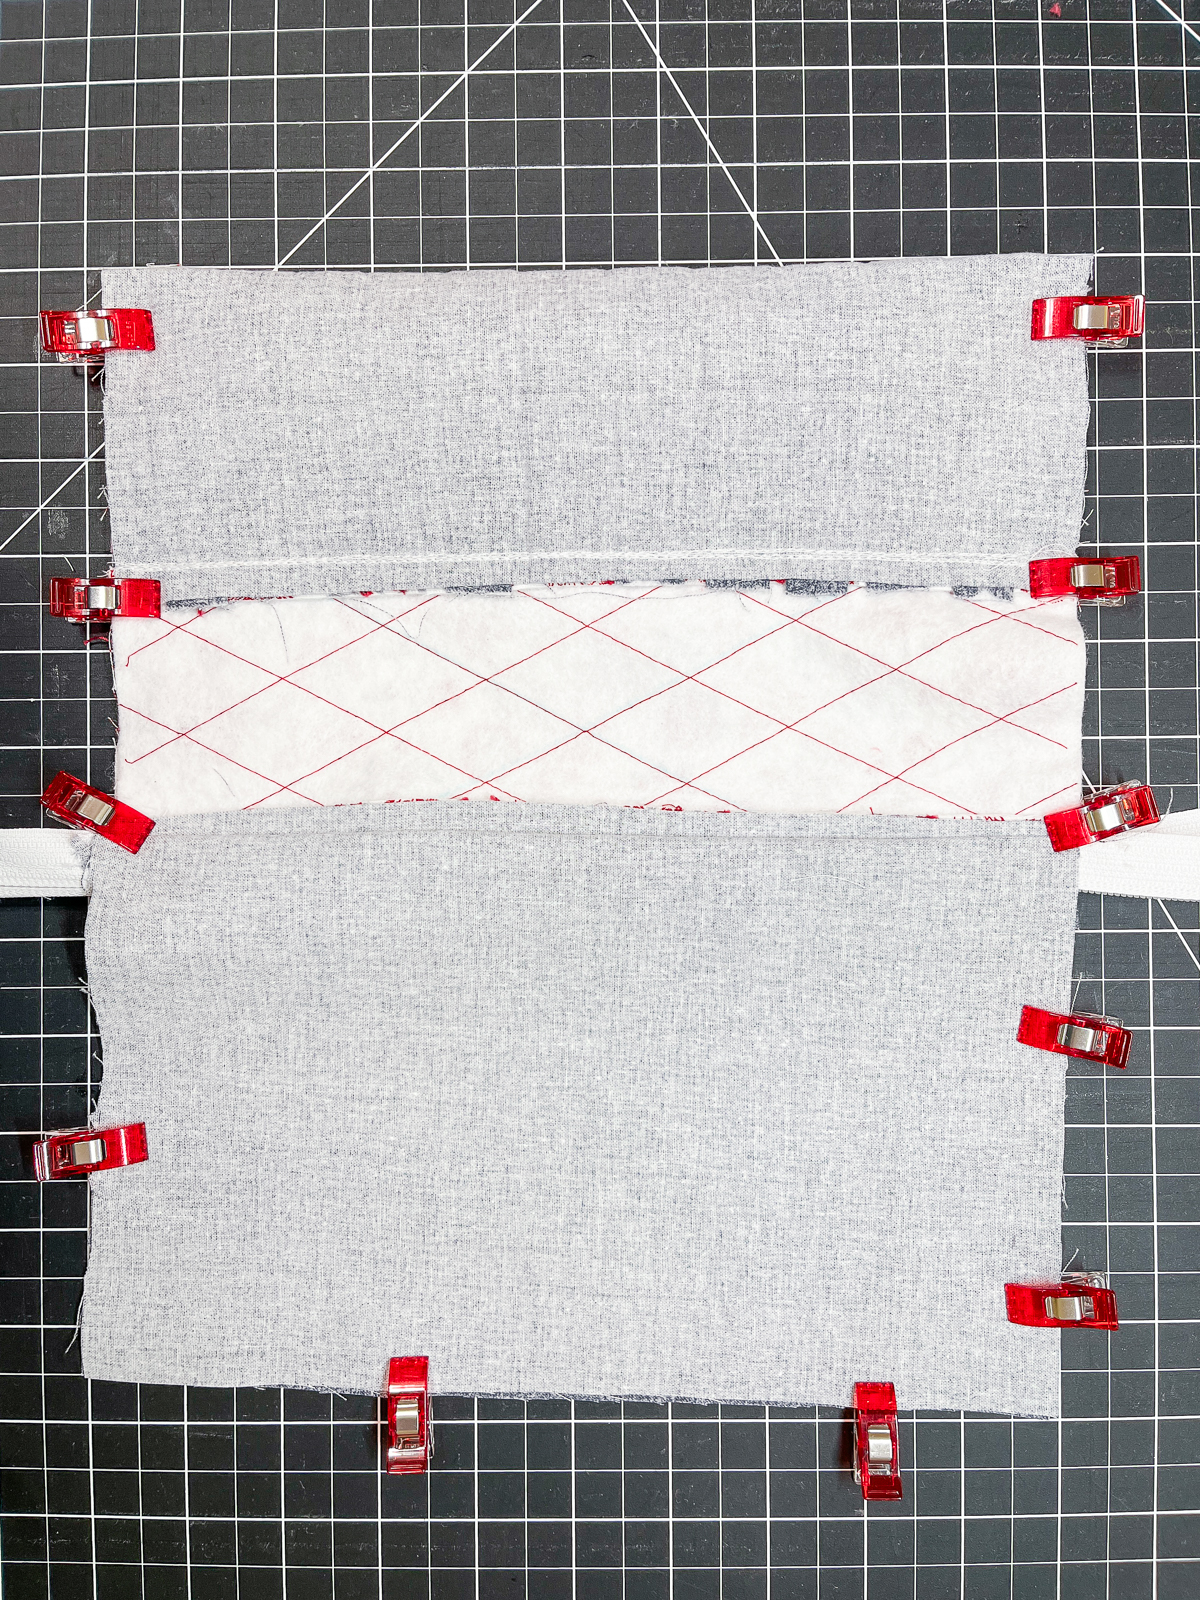
Sew with a scant 1/2” seam allowance, leaving a 3-4” open along the lining bottom for turning. Stitch a second time over the zipper ends. The OL/CS Height Compensating Tool is helpful for going over the zipper.
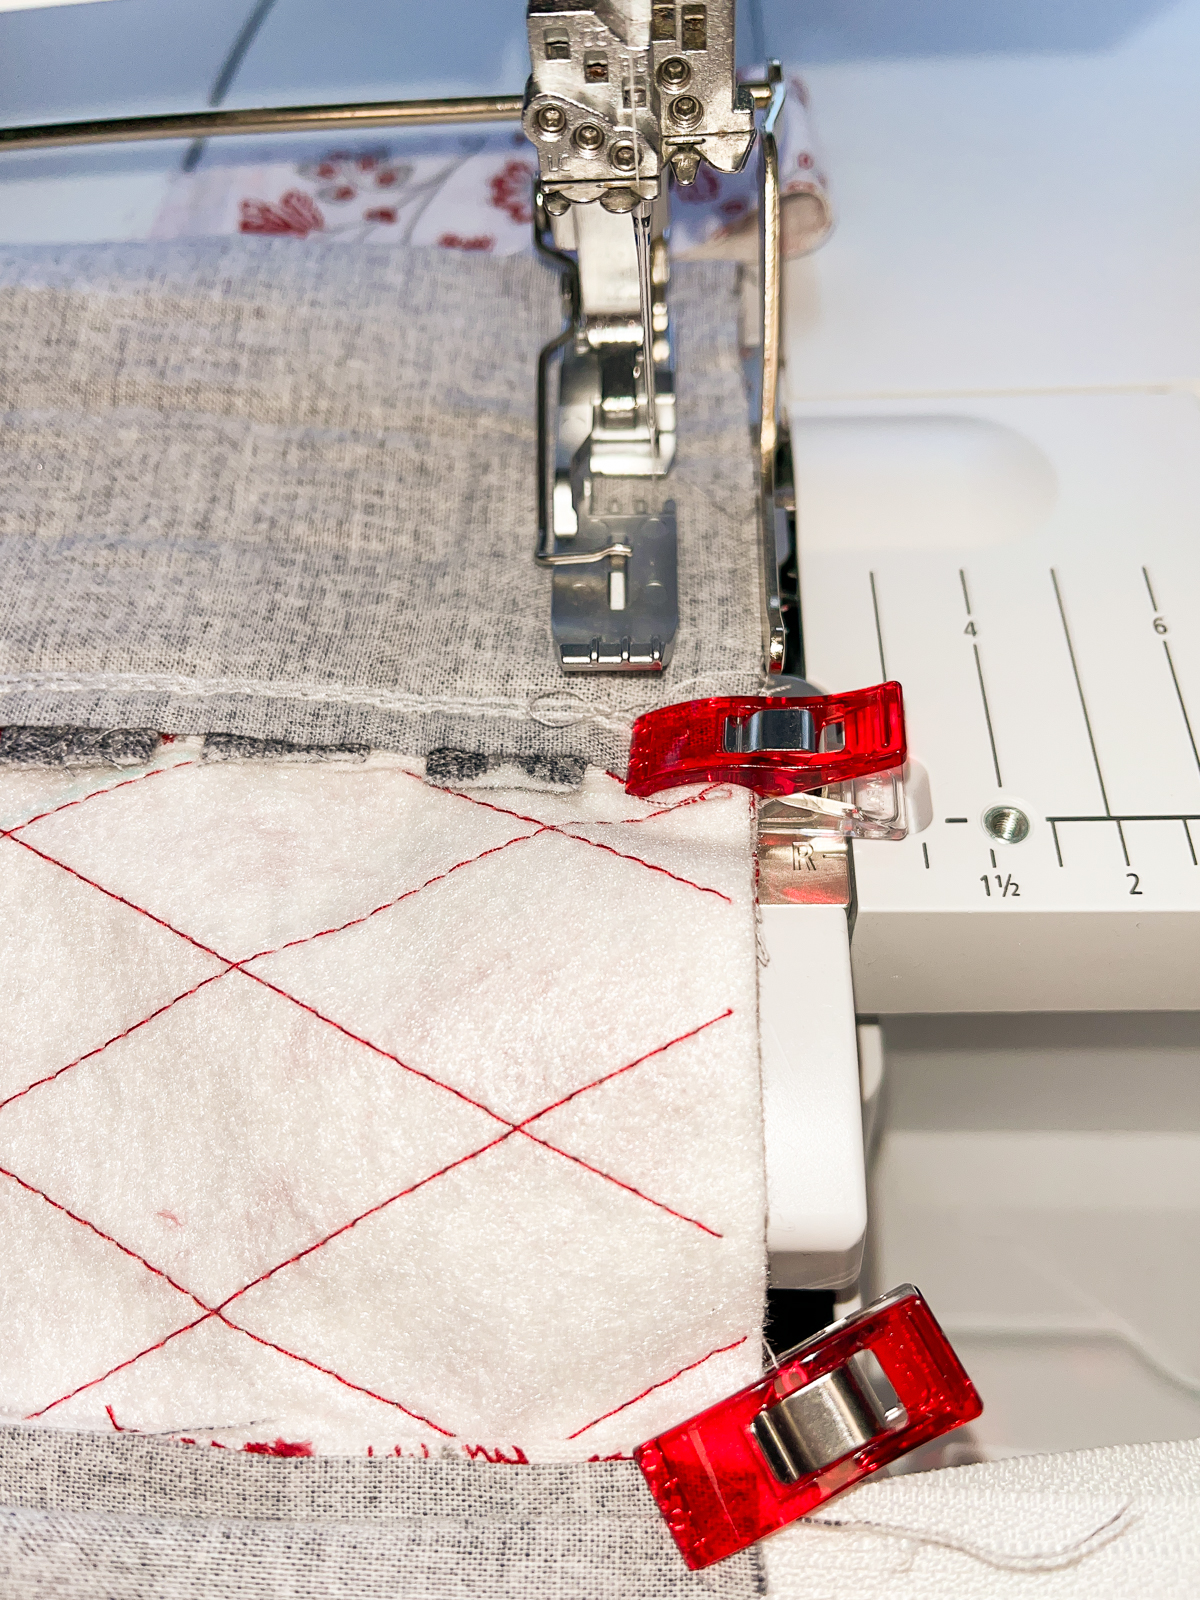
Trim the side seam allowances to ¼” and cut the lining corners close to the stitching. Do not trim the seam allowance along the lining bottom. Turn the bag right-side out, gently pushing out the corners. Topstitch the lining opening closed.
Step 6: Make the Tassel
Using the chain made earlier, create a tassel following the directions in the “The Big Book Of Serging,” page 167. I added a charm while wrapping the neck of the tassel for an extra little detail.
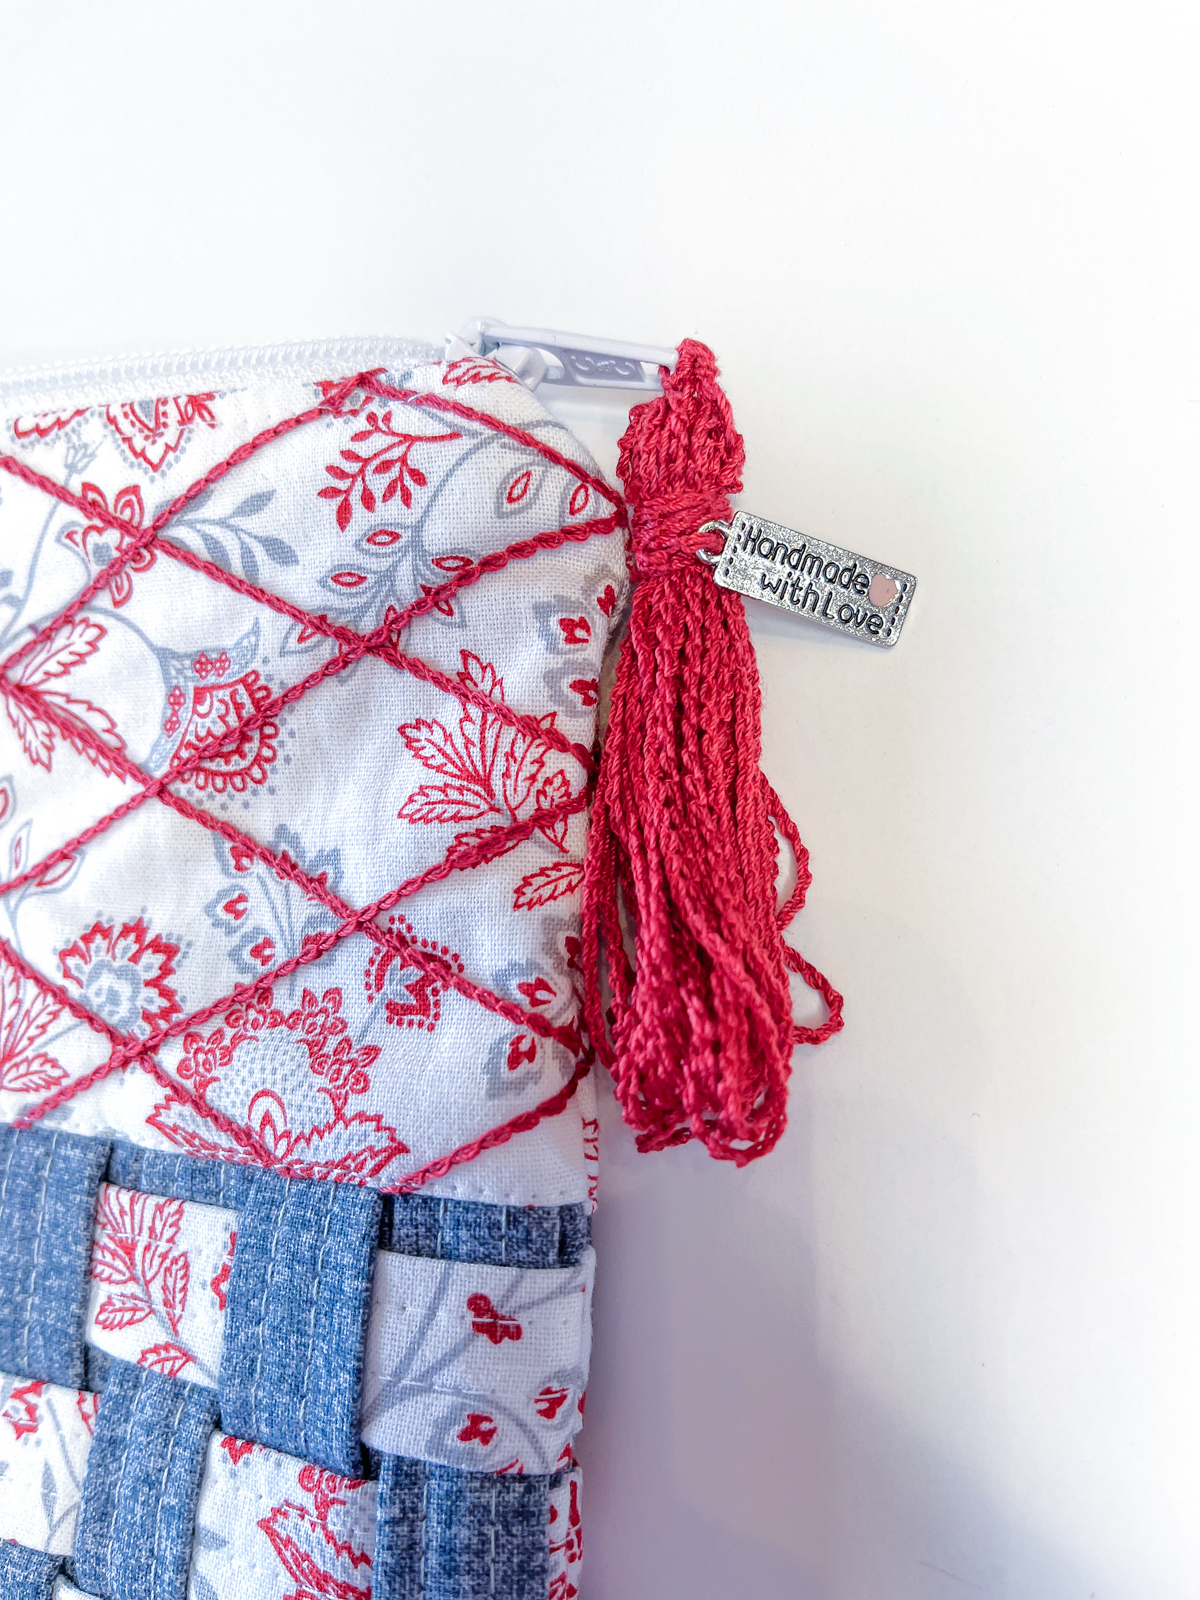
Now your woven zipper pouch is complete! I hope you had fun getting creative with your serger. Until next time, happy serging!
