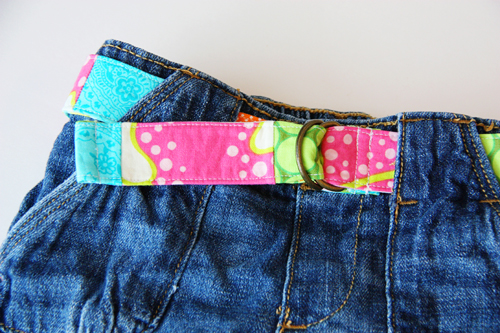
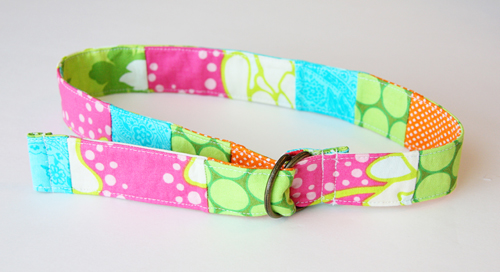
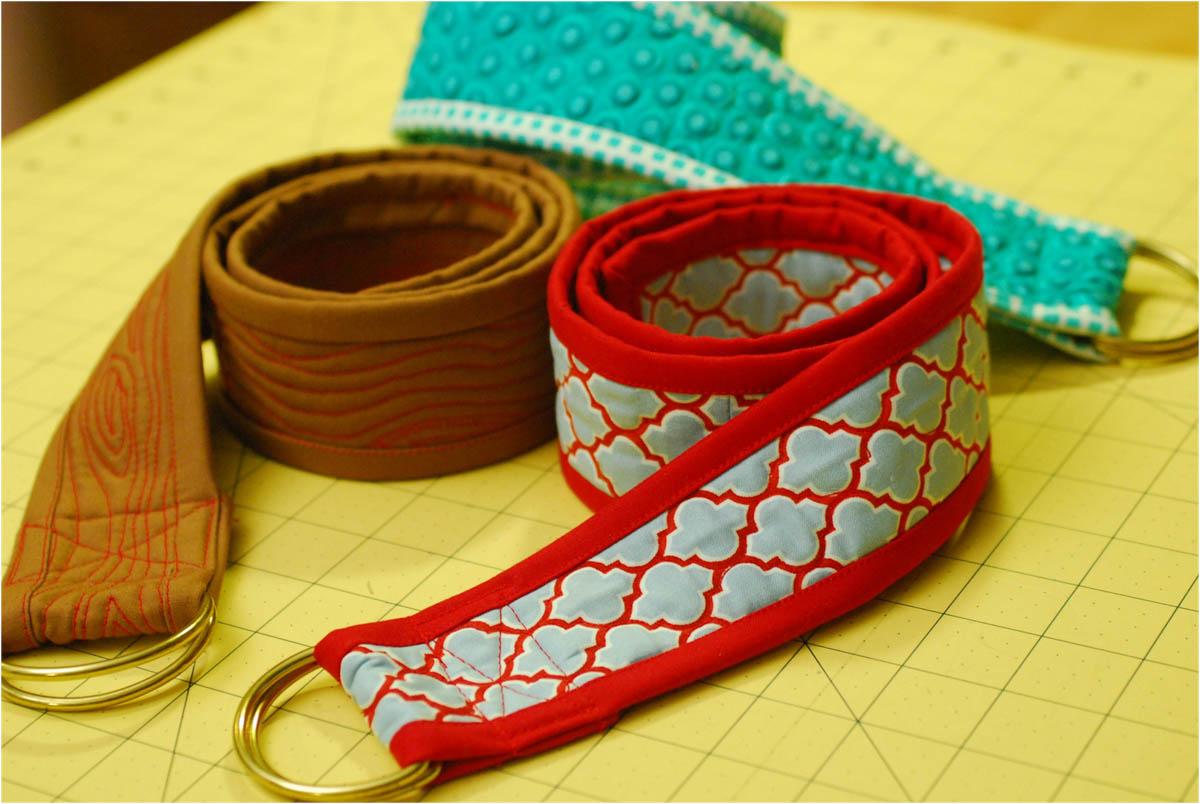
How to Make a Scrap-Pieced Belt
Add splashes of color to any outfit with this vibrant and eco-friendly scrap-pieced belt. Gather a pile of your Add splashes of color to any outfit with this vibrant and eco-friendly scrap-pieced belt. Gather a pile of your favorite colored fabric scraps – coordinating or contrasting – and create a one-of-a-kind belt without any new fabric. Clear out your sewing stash and spice up your wardrobe in one easy-to-follow project! Wide or narrow, patterned or solid, your new belt ties it all together.
Supplies
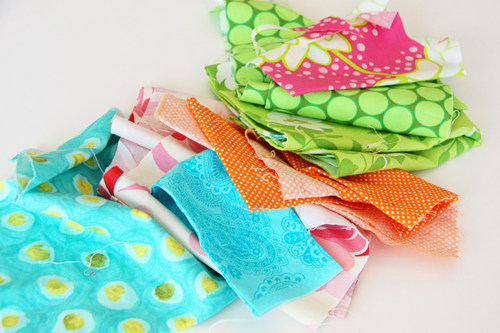
- A pile of coordinating scraps from your fabric stash
- Fusible interfacing
- Thread
- Large safety pin
- Two D-rings the same size as the finished belt width
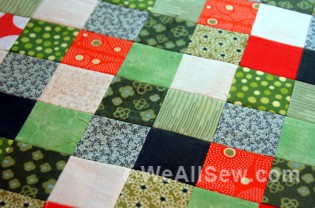
Step 1) Piece the fabric strip.
To save time, you’ll be piecing one long strip of fabric that is twice as wide as you need and then cutting it down the middle to create a front and back piece for your belt.
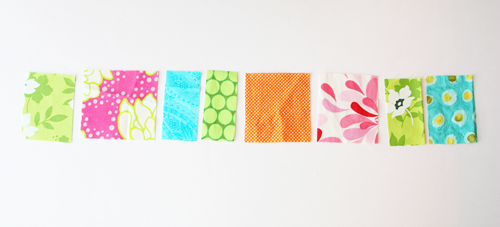
Decide how wide and long you want your belt to be. Cut fabric pieces that are random lengths, but double the desired and add plus 1″ to account for seam allowances on each side of the belt.
Example: The pieces for the 1″-wide belt shown were cut at varying lengths, but were each 3″ wide. (1″ doubled = 2″, plus 1″ for seam allowances = 3″.)
Step 2) Piece the strips.
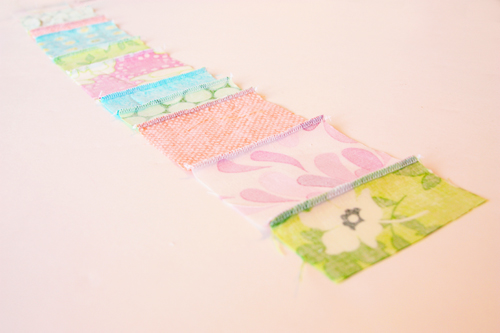
Piece the fabric sections together into a long strip, using a 1/4″-wide seam allowance. Use enough sections of fabric to make belt long enough to securely fasten with the D-ring, and add 2-1/2″ to 3″ to account for hemming the ends.
Example: A 29″-long pieced strip was used to make the 26″-long belt shown.
After piecing, iron the strip flat.
Cut two strips of fusible interfacing that are the same length as the fabric strips, but 1/2″ narrower.
Example: The pieced fabric strips of the belt show measured 1-1/2″ x 29″, so the two interfacing strips were cut 1″ x 29″.

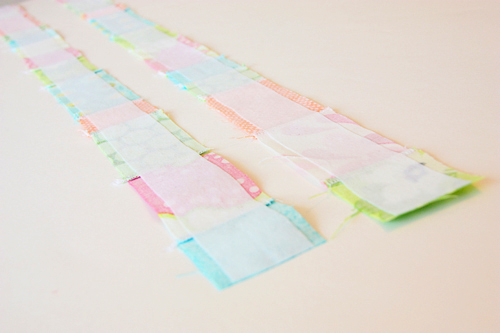
Cut lengthwise through the middle of the pieced strip, making two identical long strips of pieced fabric.
Center the interfacing on the wrong side of each strip (with adhesive facing down) and secure with a hot iron.
Step 3) Sew the strips together.
Place the two strips right sides together and sew along each long side with a 1/4″-wide seam allowance.
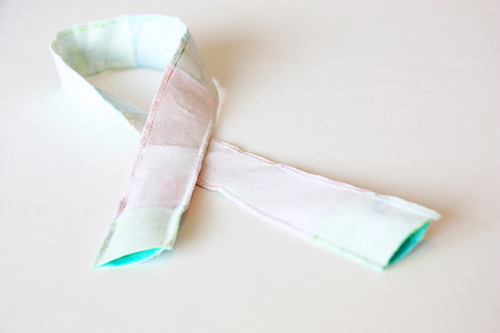
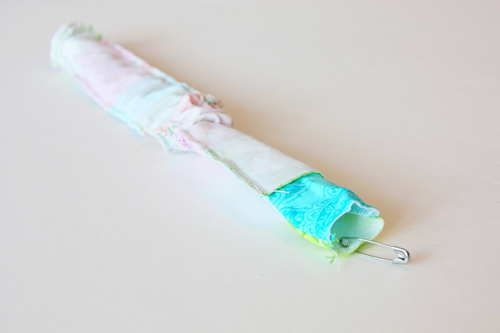
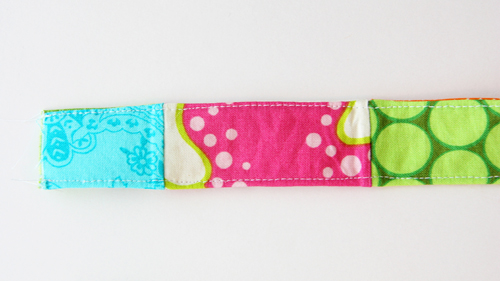
Turn the tube right side out.
Press it flat with an iron.
Step 4) Complete the belt construction.
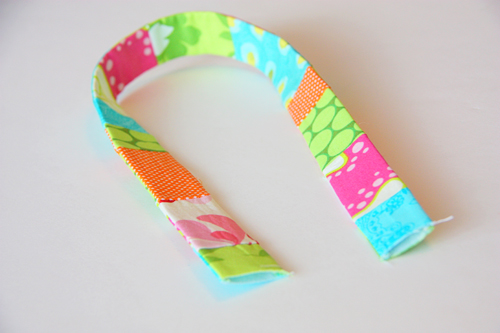
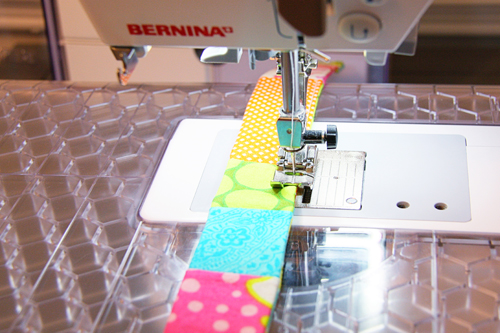
Topstitch both long sides of the belt, close to each edge.
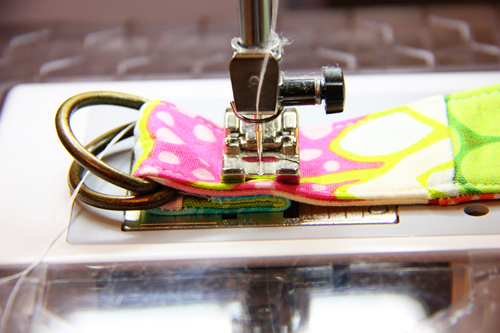
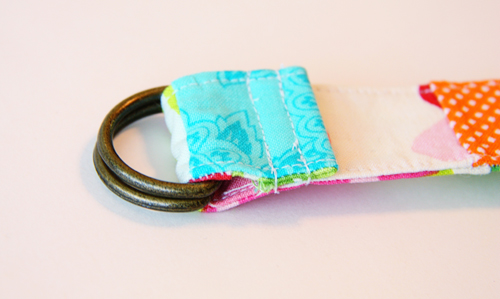
Take your D-rings (make sure they’re wide enough for the size belt you’re making) and slide them onto one end of your belt.
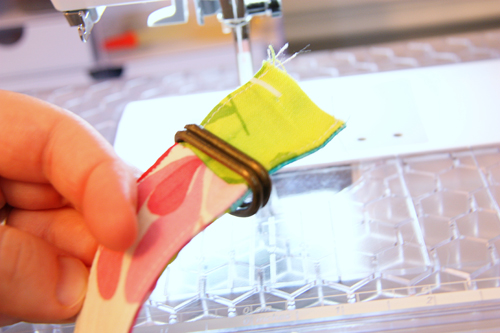
Fold over the raw edge about 1/2″ and again at then 1″.
Slide it under the presser foot. Sew this end in place, securing it with two parallel lines of stitching.
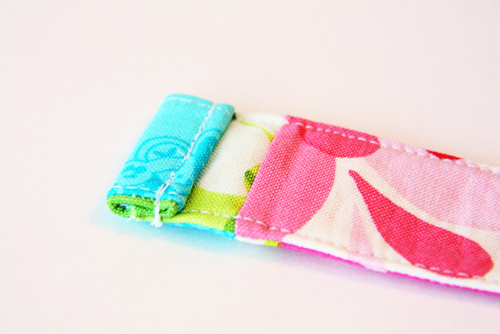
On the other end of the belt, fold under a 1/2″, then another 1/2″. Stitch the folded edge in place.
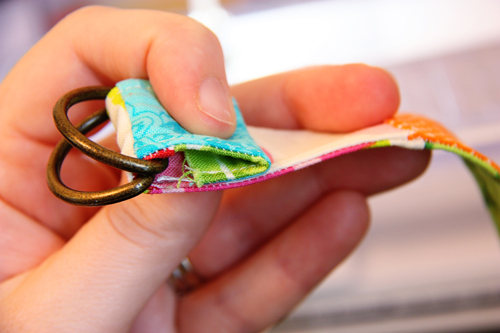
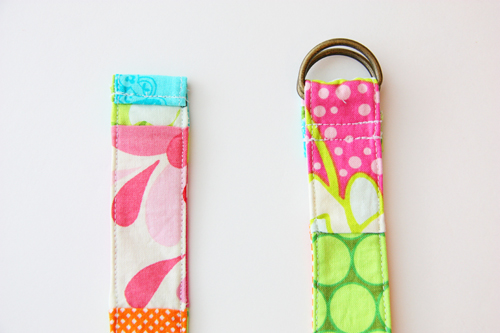
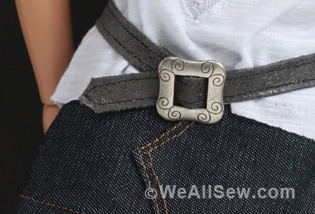
Make sure that one end of the belt has the ends folded down and the other end has the ends folded up. This will ensure that the ends are folded toward the inside of the belt when the belt end is looped through the D-rings and pulled tight, as shown in the photo.
Insert the plain end through both D-rings and then fold it back over one D-ring and under the other to secure the belt.


3 comments on “How to Make a Scrap-Pieced Belt”
I’ve been making belts like this for years and recently started selling on my website. Maybe I should have copyrighted the designs?????
Would like to make for my grandchildren . I liked it Thank You