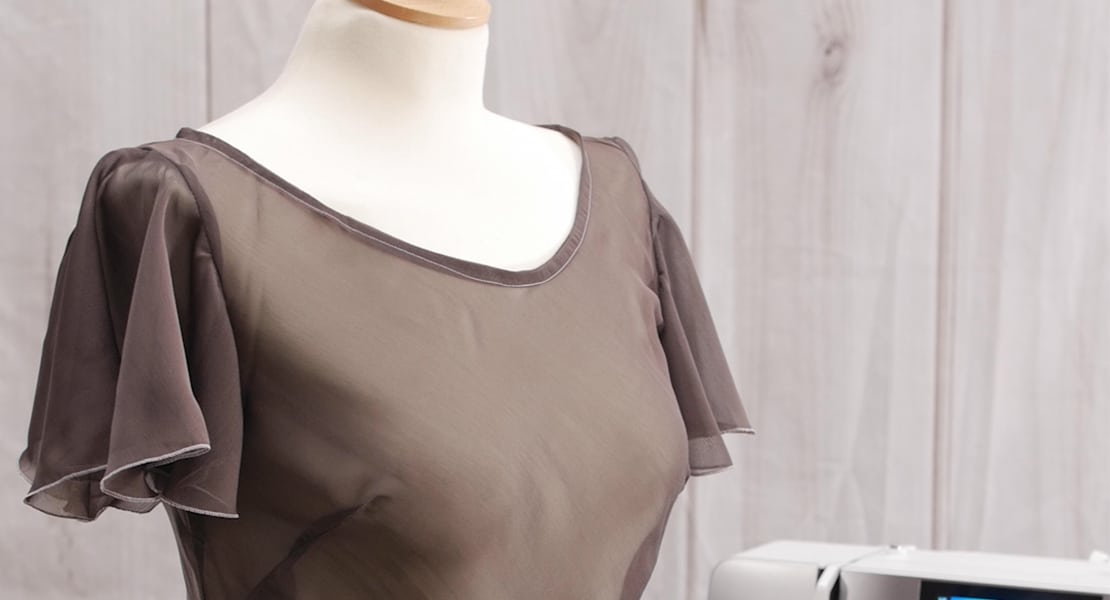
An Old Dog Learns a New Trick About French Seams
Here’s a note from Lezette Thomason, Children’s Corner, children’s clothing designer, teacher, and a BERNINA National Artisan:
The following is the way I was taught to make a French seam, and I have taught this method for more than 30 years!
A French seam is a seam within a seam. Stitch a tiny 1/8″ seam with wrong sides together. Trim the ravelly edges. Press the seam allowances to one side.

Then, with right sides together, stitch the seam, again making a 1/8″ seam. Press seam to one side. 
Recently, at the Martha Pullen School in Huntsville, AL, a student asked if I had even stitched the first seam of a French seam with a little zigzag. I was very busy with a large class, said “No,” and sadly blew her off!
I remembered this after I came home, and I tried it. By golly, it not only works, but I like it so much better than the way I have been teaching for 30 years!
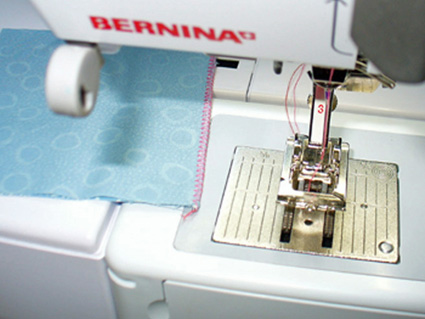
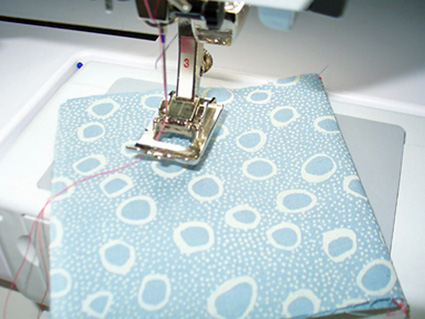
Five Easy Steps: (Ed: Right and wrong sides of the fabric are reversed in the photos; they are correct in the text.)
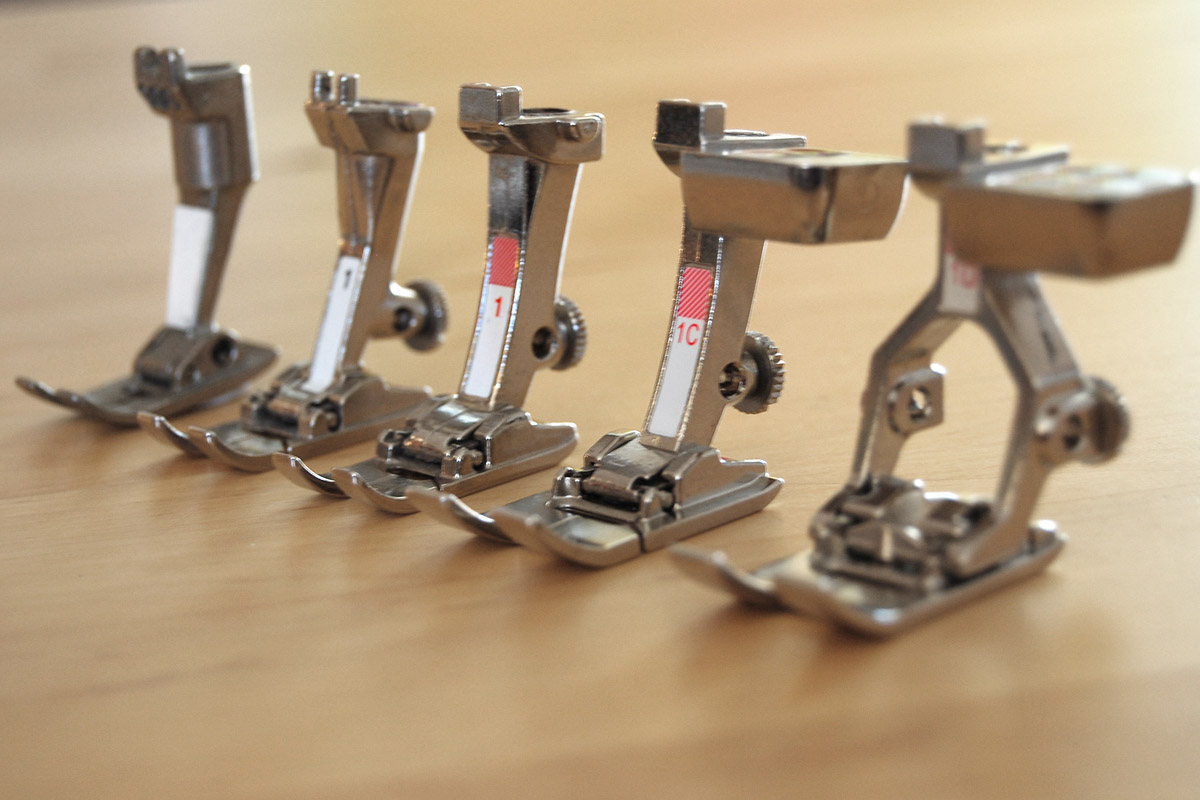
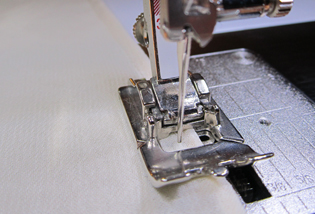
1) With wrong sides of the fabric together and edges aligned, stitch fabrics together with a zigzag using a foot for making baby corded piping. This would be the BERNINA Clear Applique Foot #23 or Buttonhole Foot #3. The zigzag has a stitch width of 3.o mm and a stitch length of 1.00 mm. A tiny roll is created by the stitch.
2) Press the roll to one side.
3) Place the right sides of the fabric together and press the seam crisply.
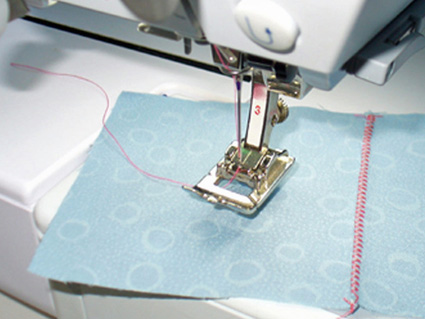
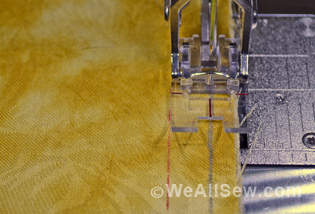
4) With right sides together, place the little “roll” into the groove of Clear Applique Foot #23 or in the far right groove of the manual Buttonhole Foot #3. Move the needle over 2 places to the left for machines with 5 needle positions and 4-5 places for machines with many needle positions.
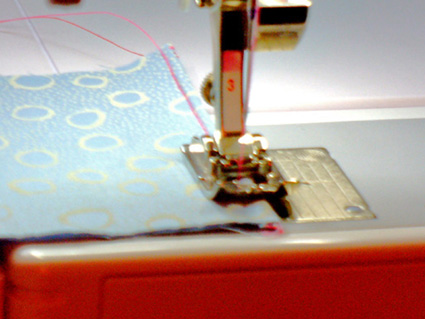
5) Keeping the “roll” in the foot groove, straight stitch the length of the seam. Press the seam allowance to one side.
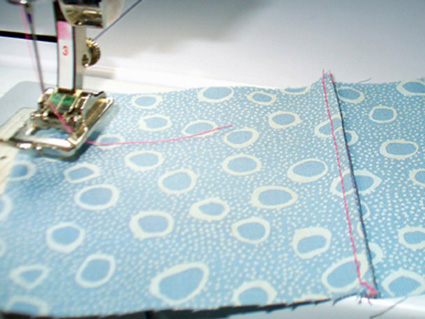
This method keeps any threads from peeking through the seam on the right side. Using a foot with a groove in the sole, such as Clear Applique Foot #23 or Buttonhole Foot #3, makes the machine stitch perfectly straight.
I love BERNINA, BERNINA presser feet, and this French Seam method!


What you might also like


9 comments on “An Old Dog Learns a New Trick About French Seams”
-
-
i do this method by making a rolled hem on the serger and then enclose it with the sewing machine
-
-
Ilove the refresher course on this. Thanks.
-
Love it…I find it makes seam flatter and smoother, plus absolutely no frays! Thanks!
-
Great suggestions, but I’m a little confused. It seems like the pictures and the text contradict each other. In step one, shouldn’t the fabric be shown with wrong sides facing? And in step three, should the fabric be shown with the right sides facing?
-
GREAT tip! I must try this!
-
I agree with Kim Kruse. The pic in steps 3,4 and 5 appear to show the right side facing, or wrong sides together, which is different from the wording.
-
I have been doing french seams this way for at least 10 years. I learned the technique from Lyn Weeks.
Leave a Reply
You must be logged in to post a comment.

OHHH! I’ll have to remember this trick and try it on my next bishop! Sounds so much better than the ‘old’ way! Thanks a bunch. I love, love, love my Berninas too!