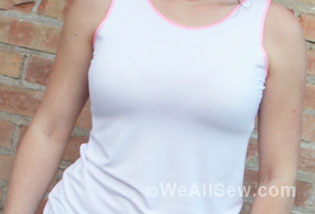
The “Eighty-Dollar” Serged Top
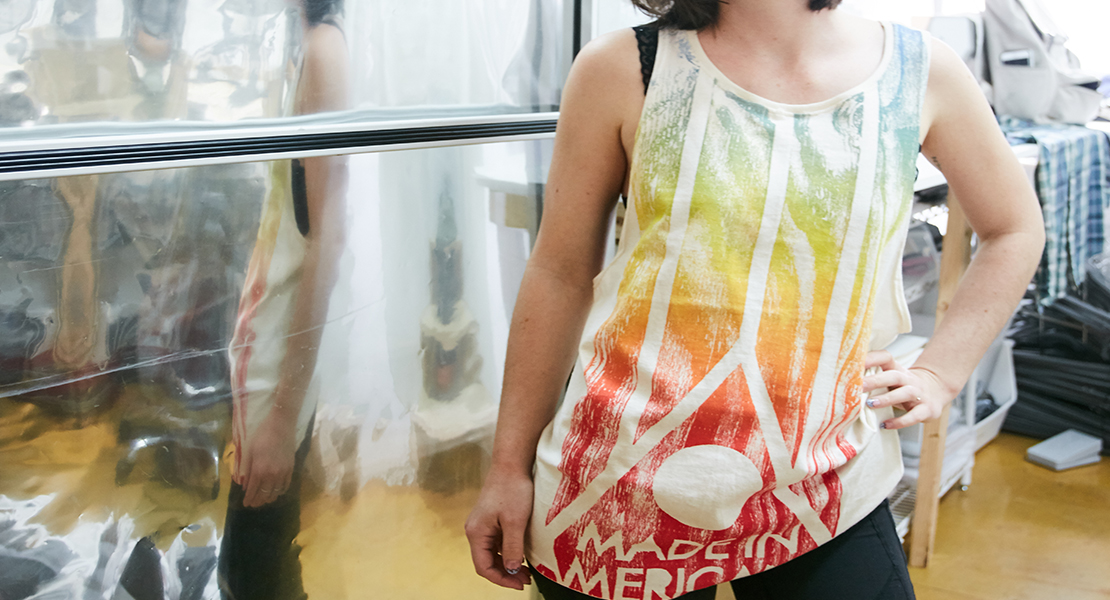
Nowadays, we usually don’t sew to save money, but this is one of those times when sewing really saved! My daughter has a birthday coming up soon and we were shopping about a month ago when she found a top that she loved….it was $80.00. It was a great top to wear over a nice tank to give it a dressy look—she loved all the beautiful spring colors; and, in fact, she wanted three colors of the same top.

Luckily, it was so easy to duplicate, especially with the help of a serger, and fabric for all three tops was much less than $80! To duplicate this top, I didn’t even need a pattern. Each top took 1¼ yds of 45”-wide fabric.
If you want to make one for yourself, here are the directions:
1. Straighten the crosswise grains and true the fabric to create a 45” x 45” square.
2. Fold the fabric in quarters, creating two fold lines that form approximately a 22½” x 22½” square.
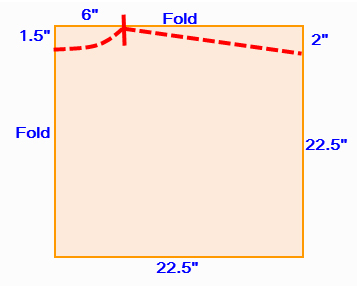
3. Mark the neckline and shoulder seam lines (see dotted lines) using the measurements in the drawing as a guideline. Cut along these dotted lines.
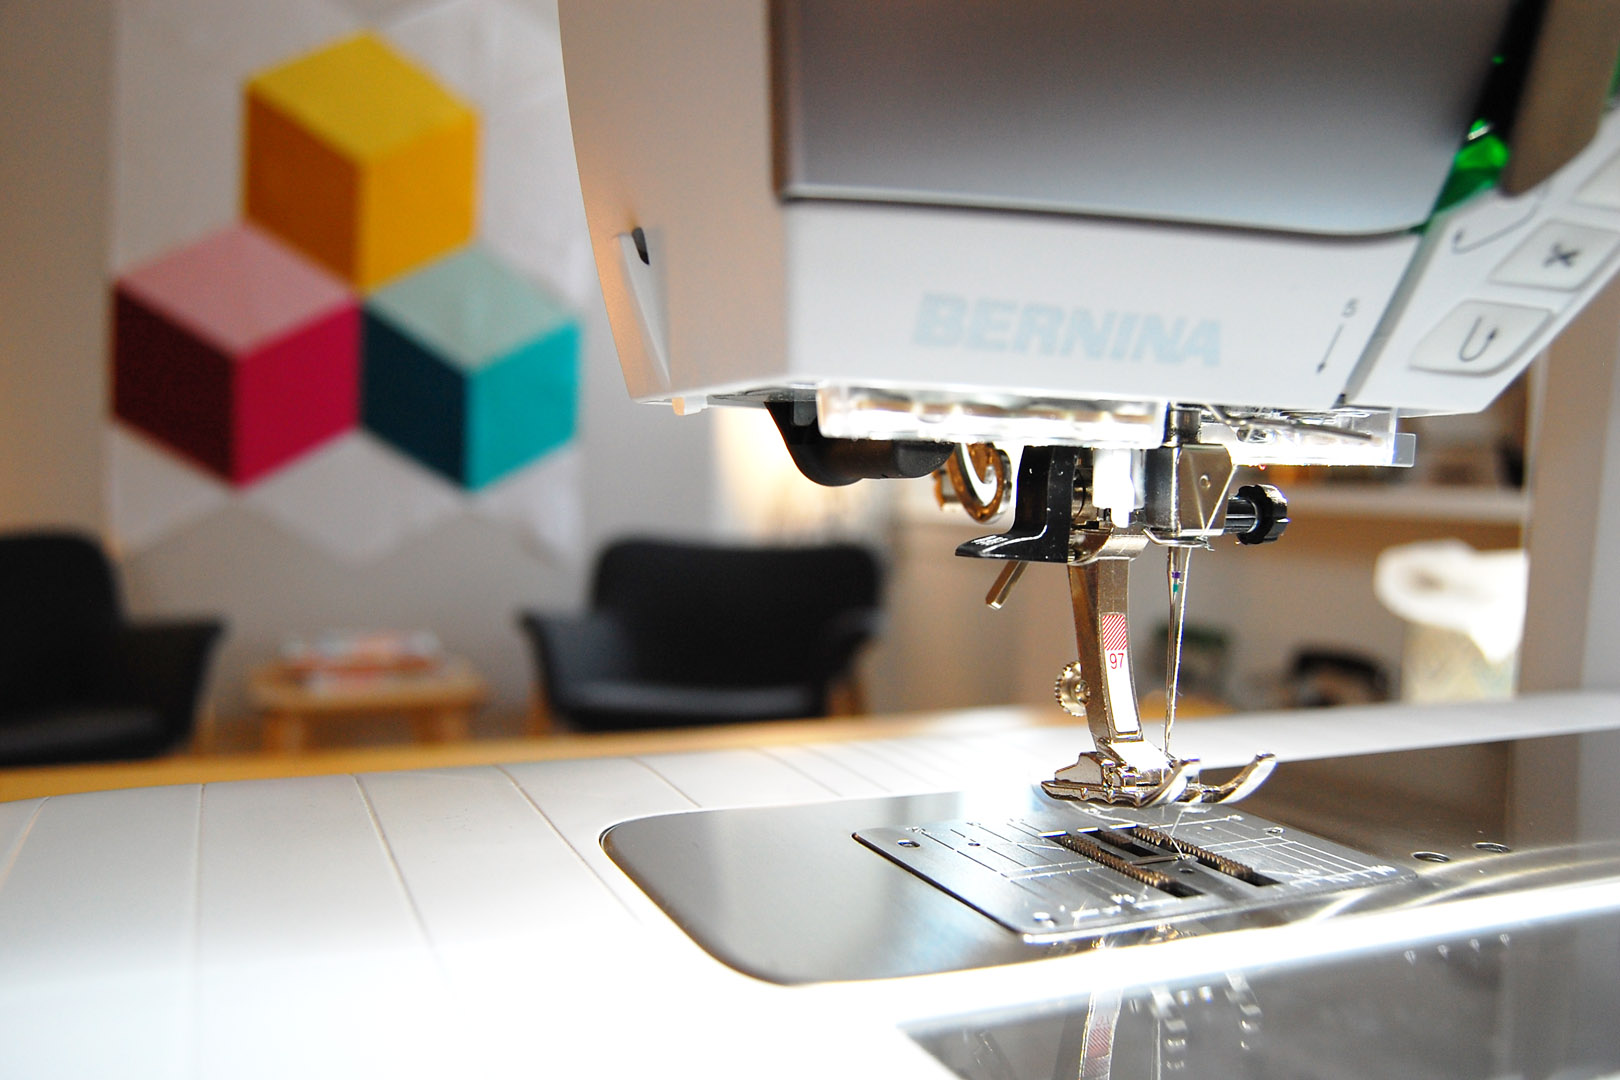
4. Set up your serger for a three-thread overlock stitch.
5. Place the two pieces right sides together and serge the shoulder seams, guiding the cut edges along the serger knife. Press the seam allowances to one side.
6. Change the serger to a three-thread narrow rolled hem. Serge around the neckline, tapering the stitch as you serge off the circle of the neckline.
7. Serge the sleeve edges and the lower hem edges.
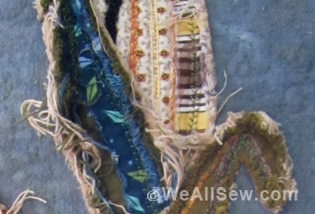
Here’s a hint for crossing over the serged sleeve edge when serging the hem edge. (See sketch #2.)
• Slash a 1” slash line about ¼” from the edge of the lower hem.
• Cut a small piece of OESD Aqua Film and place it over the hem, aligning the edge of the Aqua Film with the edge of the 1” slashed line.
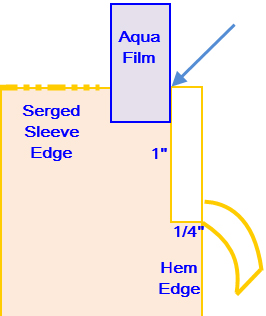
• Place the serged edge of the sleeve next to the serger needle (see arrow). Tweezers help get the edge next to the needles. The Aqua Film will be placed under the serger presser foot.
• Serge along each of the lower hem edges.
8. Press all edges of the top.
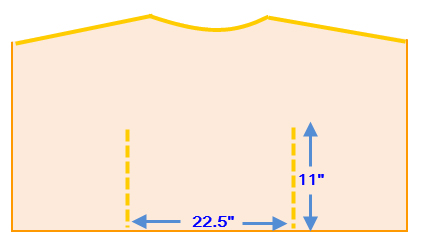
9. Place the top on a flat surface, aligning the serged edges wrong sides together as shown in the diagram below.
10. Measure and mark the stitching lines for the side seams, using the measurements shown as a guideline.
11. Set your sewing machine for a straight stitch with the needle in the center position. Change to a straight stitch throat plate; this will help support the sheer fabric as it is sewn. Stitch along the dotted lines.
12. Remove the Aqua Film and place a dab of Fray Block seam sealant on the serged edges. Let it dry, then trim the serged ends.