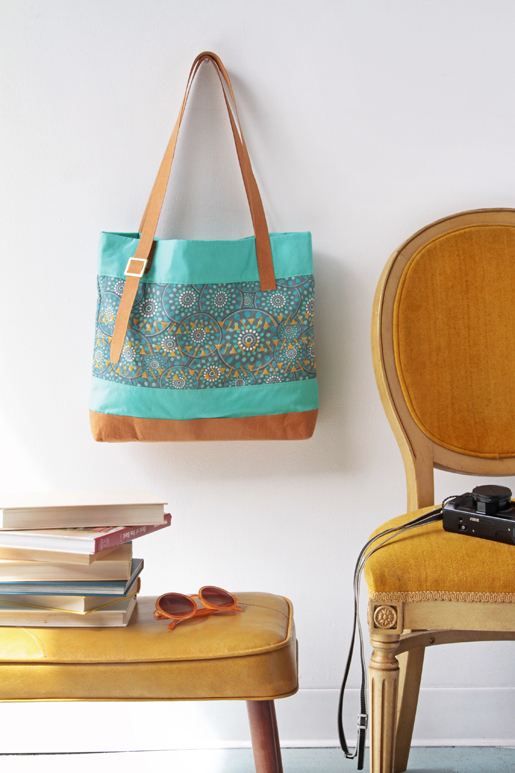
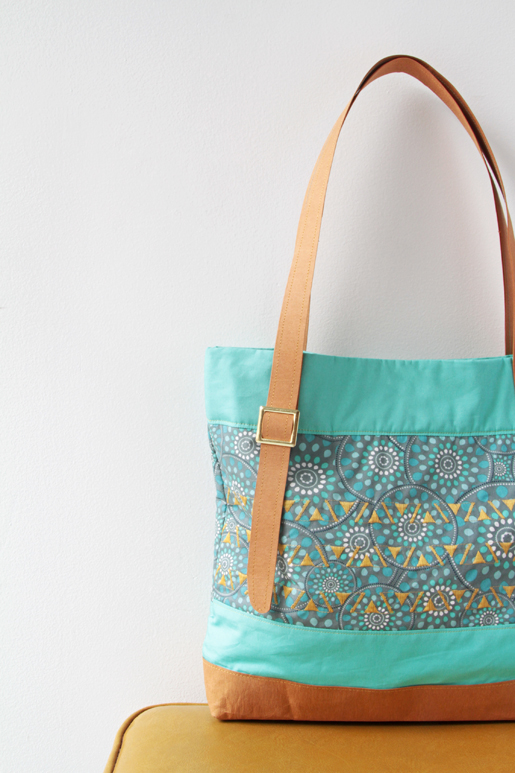
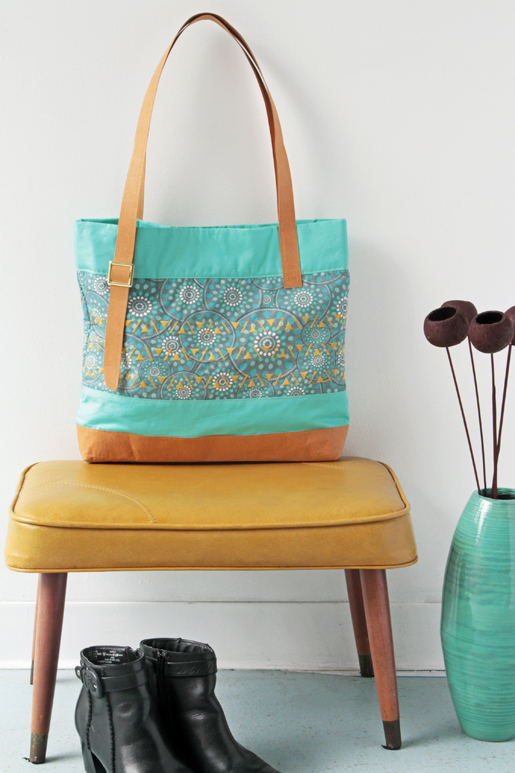
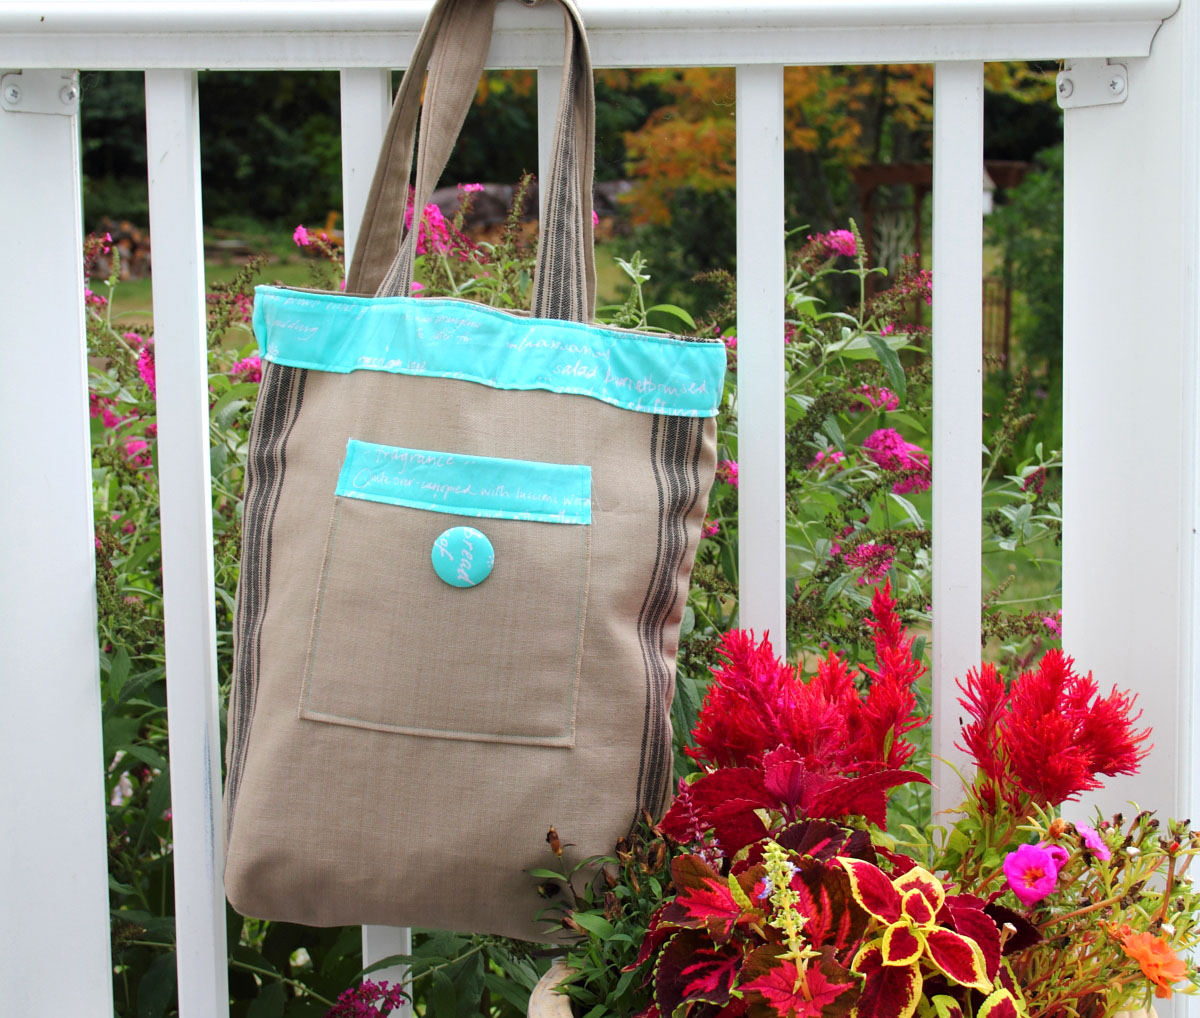
How to Make a Modernista Tote Bag
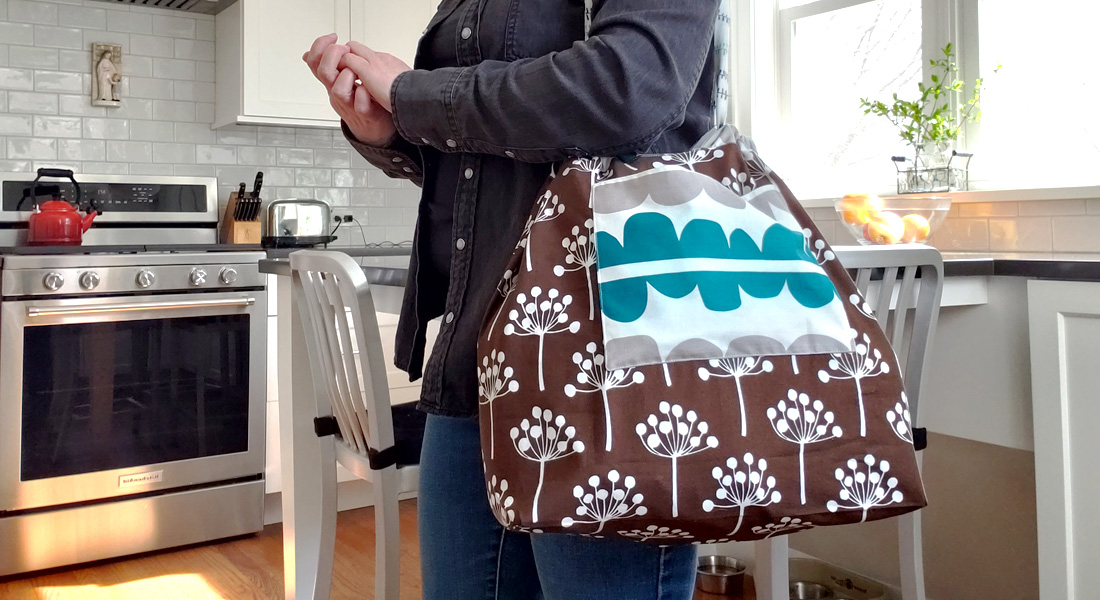
You’ll travel in style wherever you go when you carry this pretty – and practical – tote bag, whether you’re boarding a plane, rushing to a meeting, or just heading to the grocery store. Big enough to hold your purse or wallet and other essentials – umbrella, tablet, make-up bag – without overflowing, this roomy tote bag adds a cheery pop of color to any wardrobe. The leather-look strap and base are made from kraft•tex™ paper, a washable material that cuts and sews like fabric.
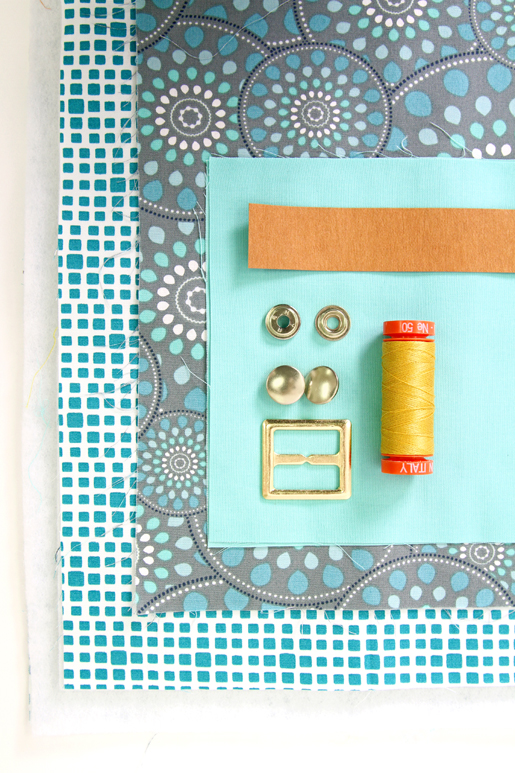
Supplies
- 3/8 yard of print fabric (Pat Bravo Fabrics Essentials 2300, Deep Wheels)
- 3/8 yard of coordinating solid fabric (Art Gallery Fabrics Pure Elements 424, Mirage Blue)
- 1/2 yard of coordinating small print fabric (Art Gallery Fabrics Square Elements 613, Teal)
- Two (2) 17 ½″ x 15″ rectangles of quilt batting
- One (1) 17 ½″ x 10″ rectangle of medium-weight, non-woven, iron-on stabilizer (such as OESD Fusible)
- kraft•tex™ paper fabric by C&T Publishing
- 1” fashion buckle
- A set of snap on buttons (optional)
- 40-weight cotton thread, Lt Jade and Tarnished Gold (Aurifil Pat Bravo Quilting Heart #1148 and #2132)
- Acrylic ruler with a 45° guide
- Iron and ironing board/surface
- SCHMETZ Microtex Sharp needle, size 90/14
- Hand sewing needle
- Air-erasable marker, purple
- All-purpose presser foot (BERNINA Reverse Pattern Foot 1C) or open-toe or clear embroidery foot (BERNINA Open Embroidery Foot 40C)
- Plier Kit (optional if adding a snap on button)
 Step 1) Cut the fabric.
Fabric #1: From the print (Deep Wheels) fabric cut:
- Two (2) 17-1/2″ x 10″ rectangles
Fabric #2: From the solid (Mirage Blue) fabric cut:
- Two (2) 17-1/2″ x 6″ rectangles
- One (1) 33-3/4″ x 5-3/4″ Strip
Fabric #3: From the small print (Teal) fabric cut:
- Two (2) 17-1/2″ x 15″
From the stabilizer cut:
- One (1) 17-1/2″ x 10″ rectangles
From the kraft•tex paper fabric cut:
- Two (2) 1″ x 30″ strips
- Two (2) 1″ x 38″ strip
- Two (2) 3-1/2″ x 17-1/2″ rectangles
- One (1) 1″ x 6″ strip
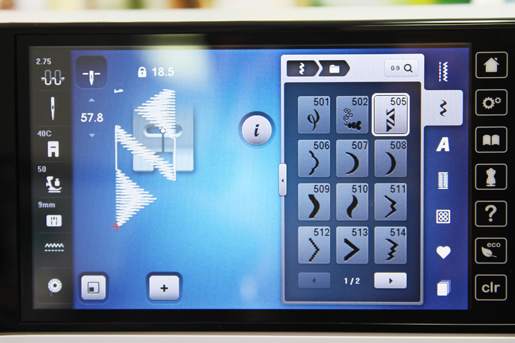
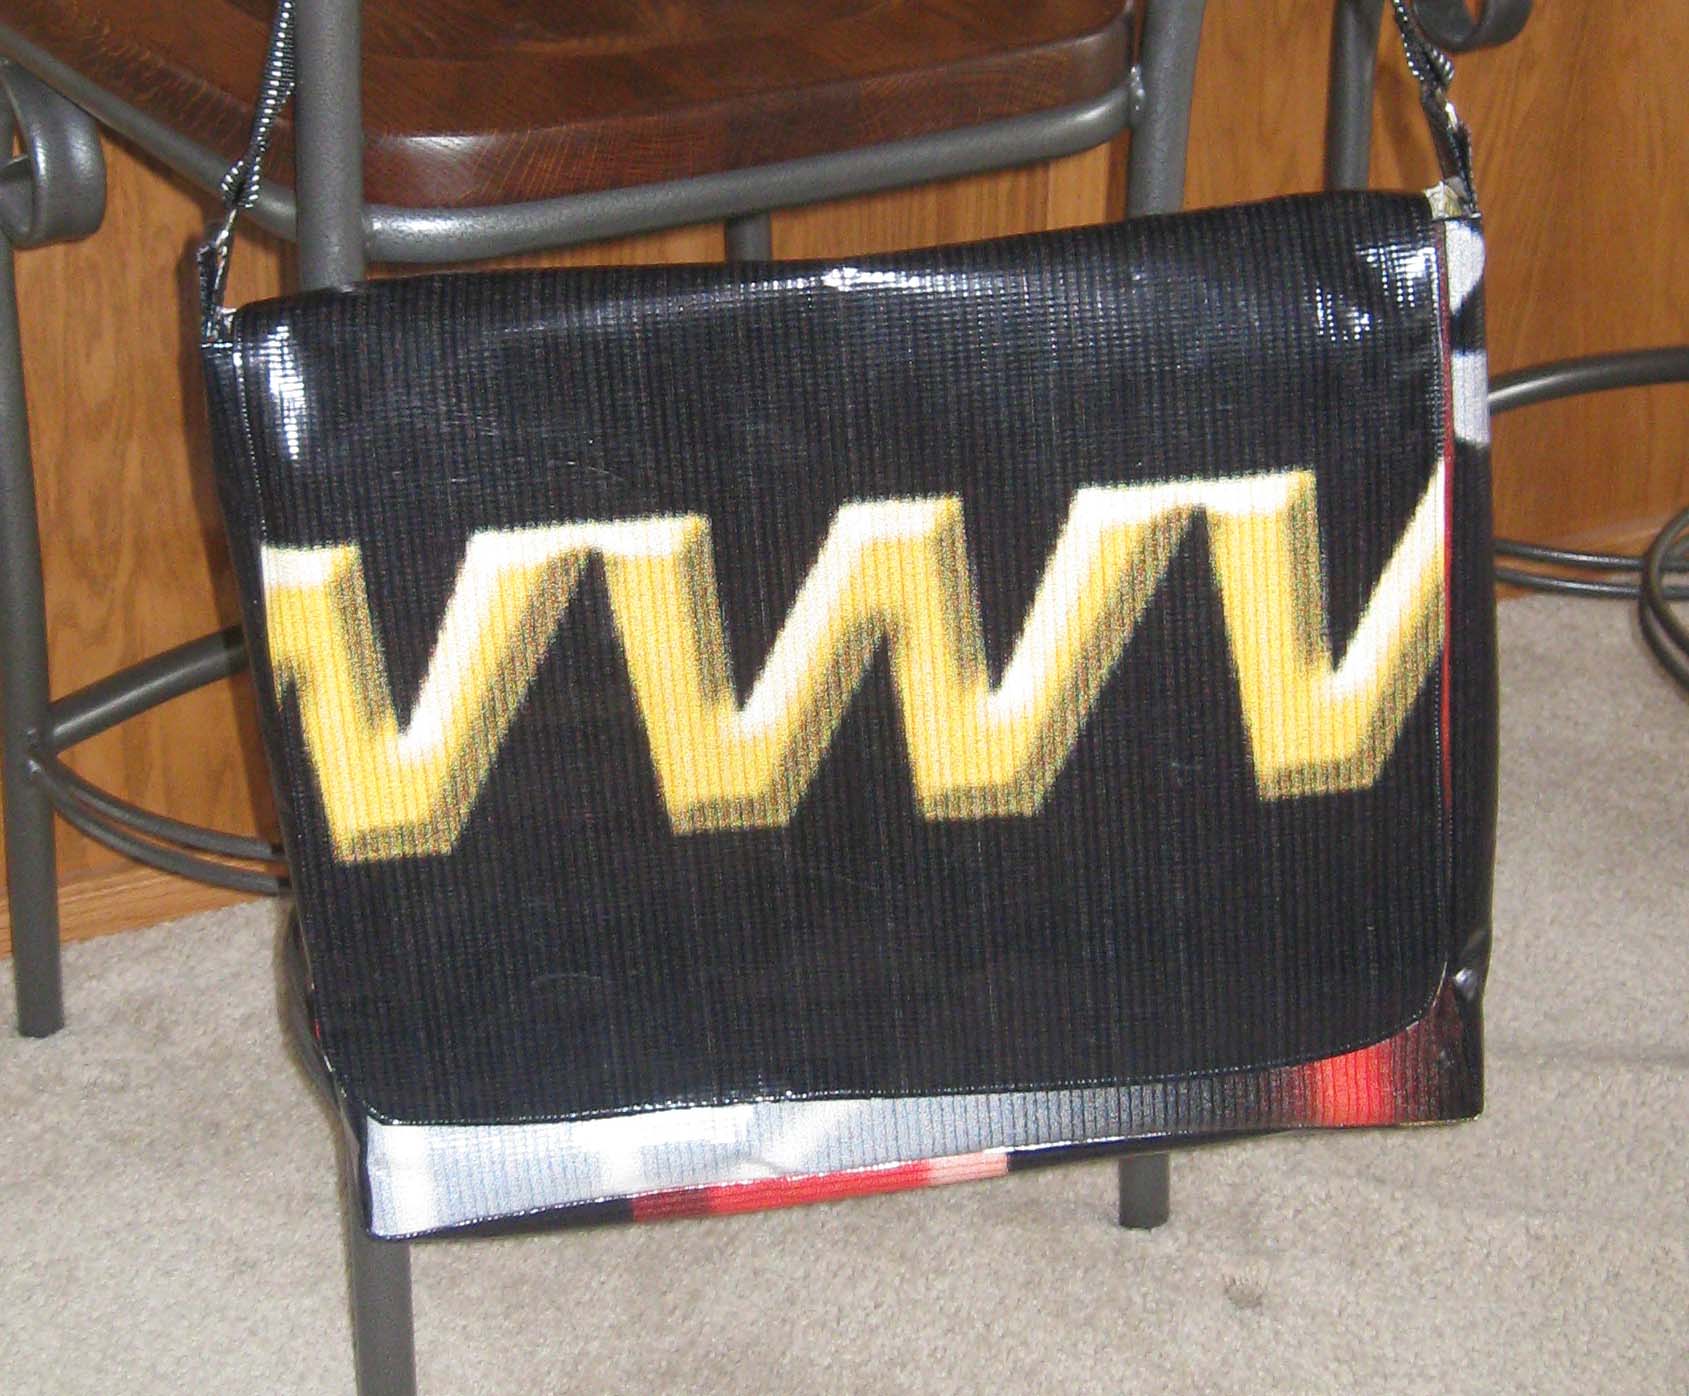
Step 2) Embroider the Deep Wheels fabric.
Thread your sewing machine with Tarnished Gold thread from Aurifil.
Select an extra-wide (sideways motion) decorative satin stitch (I used stitch #505 on my BERNINA) and change to Sideways Motion Foot #40C.
TIP: If your machine doesn’t have extra-wide stitches, select a wide decorative satin stitch and stitch more rows, closer together, to cover your fabric.
Take one of the Fabric #1 (Deep Wheels) print rectangles and place it face down. Position the fusible tear-away stabilizer on top, with the wrong side of the fabric to the fusible side of the stabilizer. Following manufacturer’s instructions, iron the stabilizer to the fabric.
Pick one long edge to be the bottom edge of the bag. Measuring from the bottom edge up, draw horizontal guide lines using the ruler and water-soluble marking pen at the following measurements: 1-1/2″, 3″, 4-1/2″.
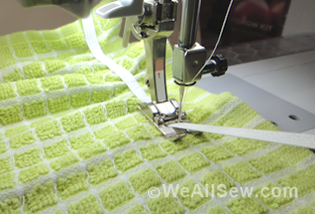
Place the fabric under the presser foot and align the first mark with the center groove of the presser foot. Start stitching the embroidered rows following the guide lines, make sure you keep them straight. The fabric will move back and forth by itself; you just need make sure it stays straight so the stitched lines are parallel to the drawn line.
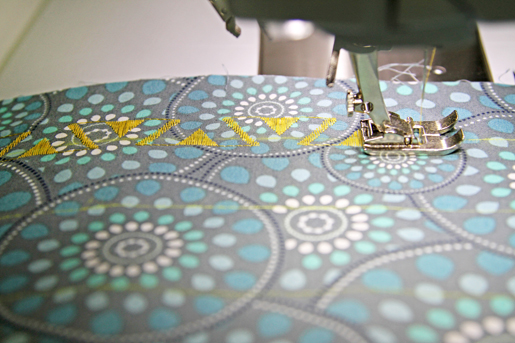
Continue in this way and stitch along the remaining drawn lines. Repeat for the second rectangle.
When the stitching is complete, tear the stabilizer away carefully and iron the back of the embellished rectangles (it is very important to press only the back).
Step 3) Construct the purse exterior.
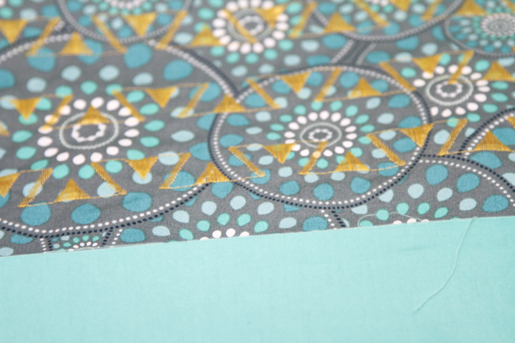
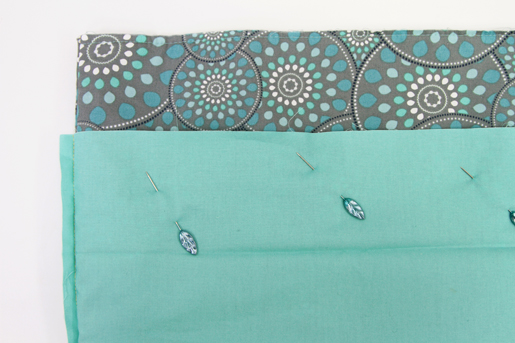
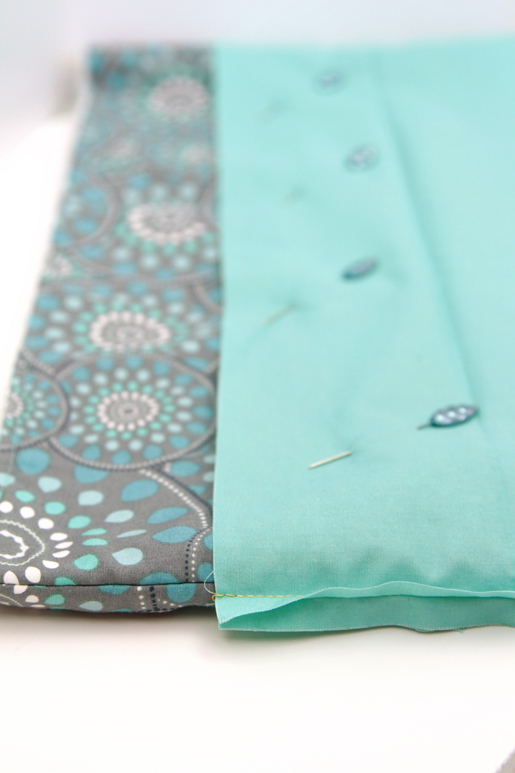
Take one of the 17″ x 1/2″ x 6″ solid rectangles from Fabric #2 (Mirage Blue) and position it on top of the embroidered fabric piece, right sides together, making sure that the bottom edges are aligned.
Sew the fabrics together with a 3/8″-wide seam allowance. Press the seam allowances.
Topstitch 1/8″ away from the previously seam line.
Repeat with the remaining Fabric #1 and Fabric #2 rectangles. These two pieces will be the exterior of the tote bag.
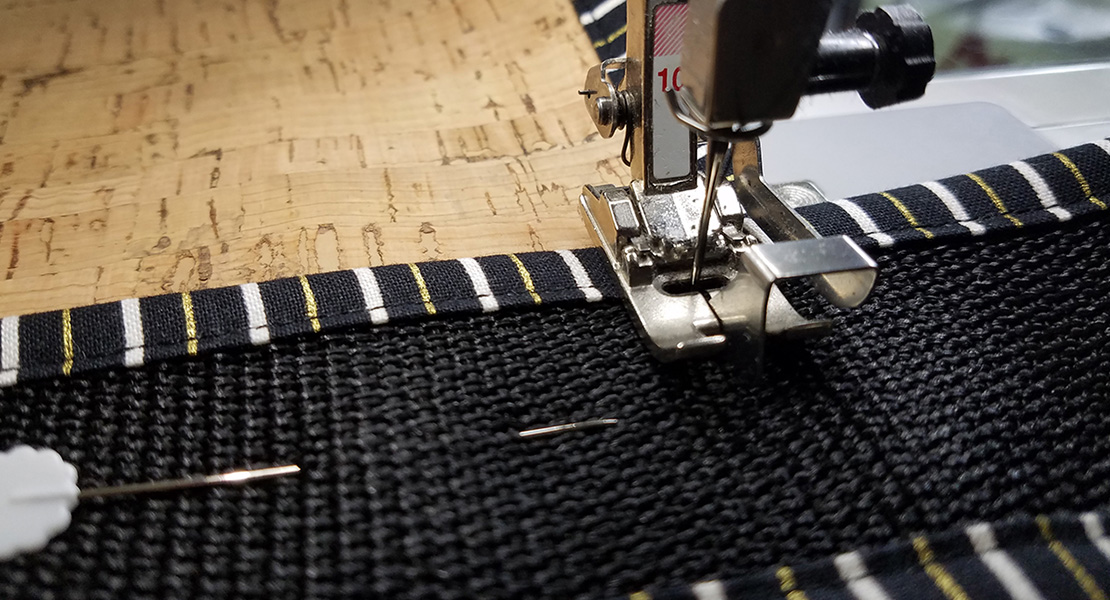
Position the 3-1/2″ x 17-1/2″ kraft•tex rectangles on top of the exterior pieces, aligning the lower edges.
Applique the kraft•tex rectangles to the bag by straight stitching 1/8″ from the edges.

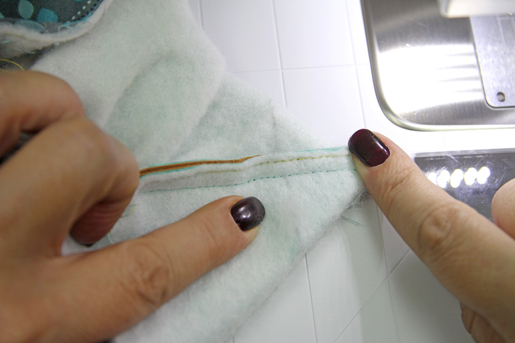
Place the exterior pieces on top of the batting pieces. Sew ¼″ away from the edges all the way around to secure the batting and make it stay in place.
Place the two exterior pieces right sides together and stitch them together with a 3/8″ seam allowance around the side and bottom edges. Leave the top edge open. Press it nice and neat.
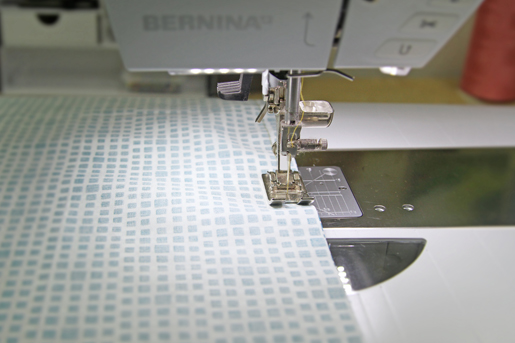
Sew the lining pieces (Fabric #3, small print) together as done for the exterior pieces.
Step 4) Add gussets and box the corners.
We want to box the interior corners to get a really nice flat bottom on the bag; this way the tote bag will have more body.
Take the exterior of the bag (still wrong side out) and pinch apart the two layers of the purse to get a little triangle on one corner. Flatten it down a little bit and make sure the top and bottom seams are lined up. Hold it tight but do not add any pins because they will leave holes in the kraft•tex material (which we do not want).
Place the bag flat on the table. Take the acrylic ruler with the 45° angle and lay it on the corner so that the 45° line is right on the edge of the triangle corner.
We want to do a 2” gusset for this purse, so draw a line 2″ long (with the air-erasable marker) right across the bottom of the 45° corner.
Stitch on top of the marked line. Trim excess fabric if desired, or leave it to add more body to the corner.
Repeat these steps for the other corner of the purse and for both lining corners as well. Turn the exterior of the bag right side out; leave the lining wrong side out.
Fold the corners in, then insert the lining inside the exterior piece, wrong sides together.
Align the upper edges of the lining and exterior piece, making sure the side seams match up. Pin. Sew ¼” around the top edge to secure the lining to the bag.
Step 4) Add the top band.
Take the 33-3/4″ x 5-3/4″ solid strip of Fabric #3 (Mirage Blue) and fold it in half. Press.
Unfold the strip and fold it again, but crosswise this time. Sew the short ends together with 3/8″-wide seam allowance to form a circle. Press the seam allowances open.
Measure 2-1/4″ down from the top edge of the purse and make a guide mark.
Slip the band over the edge of the purse, right sides together, matching seam lines, and aligning the top edge of the band with the marked line on the bag. Pin all around the top edge.
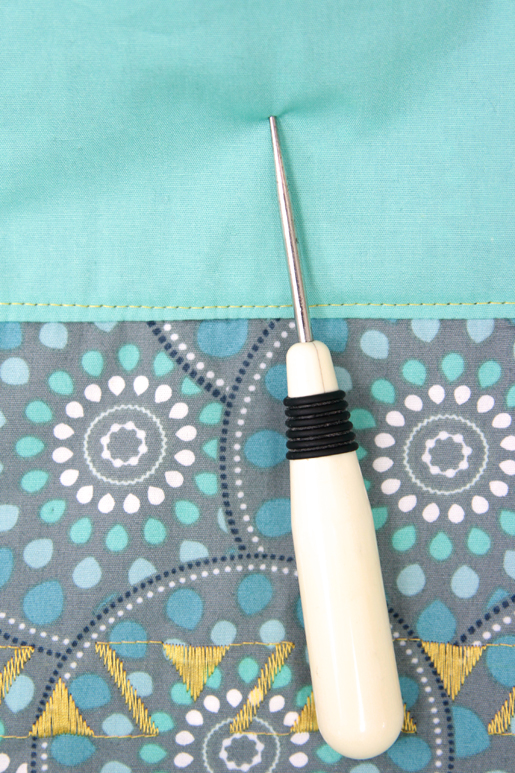
Sewing 1/4″ from the raw edges of the band, stitch all the way around the bag top. (If you measure 2-1/2″ down from the top of the bag, the seam should be exactly there.) Fold the band up and press the seam.
Topstitch the lower edge of the band 1/8″ from the seam line.
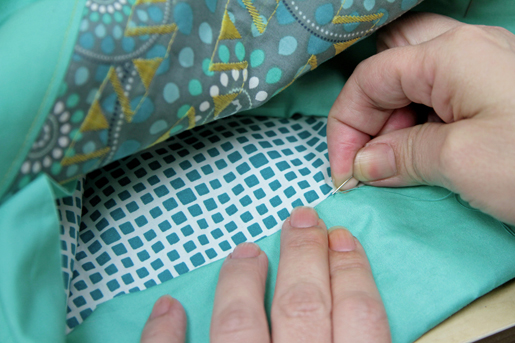
Fold the band over to the inside of the purse, so you will end up with a top strip that is approximately 2-1/2″ wide. Stitch the band to the lining of the bag by hand using an invisible stitch.
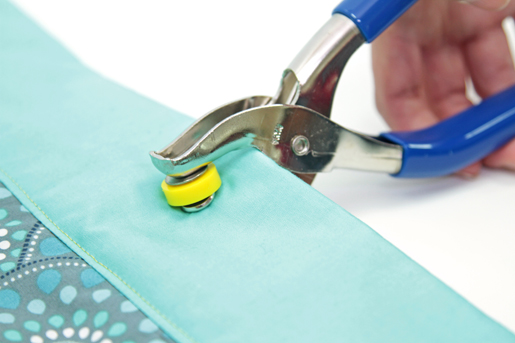
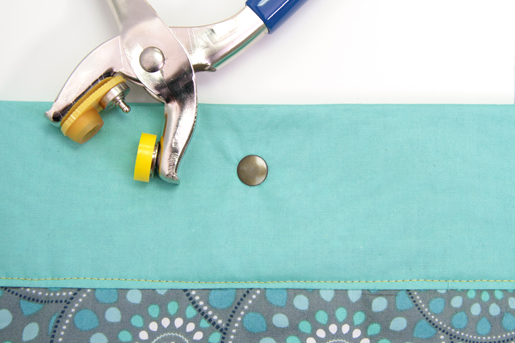
Step 6) Add the snap-on button. (Optional)
The snaps are used to hold the top of the bag closed; they are optional.
Mark the position of snaps on the top and underside of the bag front. Mark the back of the bag as well, making sure that both sides are aligned.
Following the instruction included with the snap kit, install the snaps.
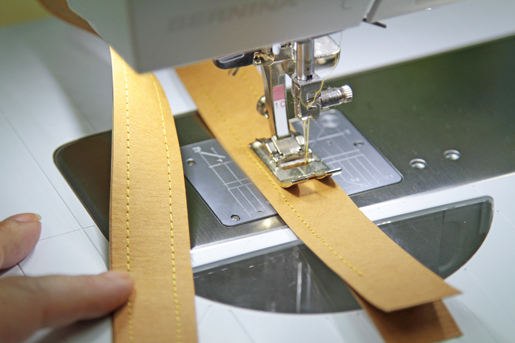
Step 7) Construct the handles.
Place the two long strips of kraft•tex paper together, aligning the edges.
Stitch around the layered strips, 1/4″ from the outer edges, to join them together. The edges will remain raw. This will be the front handle.
TIP: If desired, round off the corners at one end of the strap (the end that will hang in front).
Repeat for the two short strips. This will be the back handle.
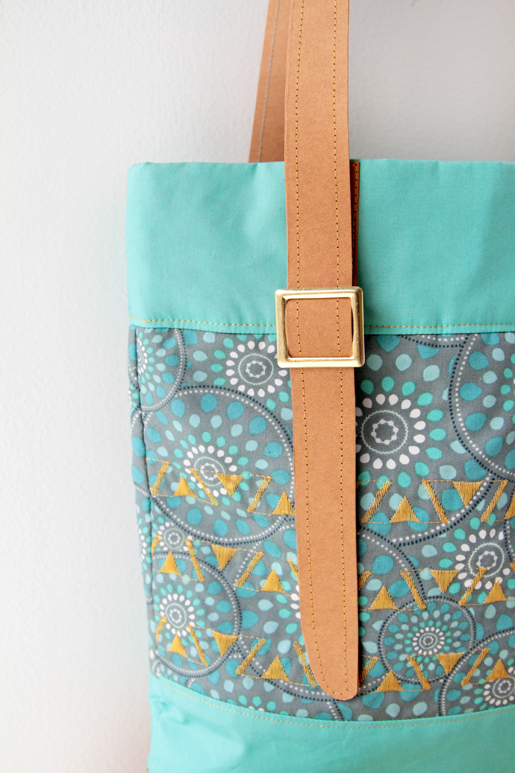
Step 8) Add the buckle.
Insert the 1″ x 6″ kraft•tex strip around the middle buckle bar.
Fold it in half and sew the sides together 1/4″ from the edge.
Hold the purse with the front side facing you and measure 3″ away from the left side edge.
Attach the buckle strip under the top edge and stitch it on with an” x-box” design. (Remember not to pin the kraft•tex material!)
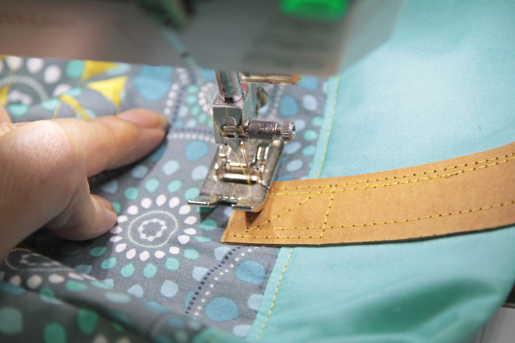
Step 9) Attach the handles.
Front
Measure 3″ away from the right front edge and make a mark.
Measure 3/4″ down from the top strip seam right under the 3″ mark.
Place one end of the 1″ x 38″ strap on the marks and stitch it in place with an x-box. (If you rounded one end of your front strap, use the square end here.)
Slide the front handle into the buckle.
Back
Hold the purse with the back side facing you. Place each end of the 1″ x 30″ strap 3″ away from each side edge as done with the front handle, but this time the handle will go right on top at the beginning of the solid strip seam. Stitch it in place with an x-box.


What you might also like


One comment on “How to Make a Modernista Tote Bag”
Leave a Reply
You must be logged in to post a comment.

Nice to be able to use those scraps of great fabric we all fine so hard to throw away. Like the closure, nice touch.