DIY Christmas Elf
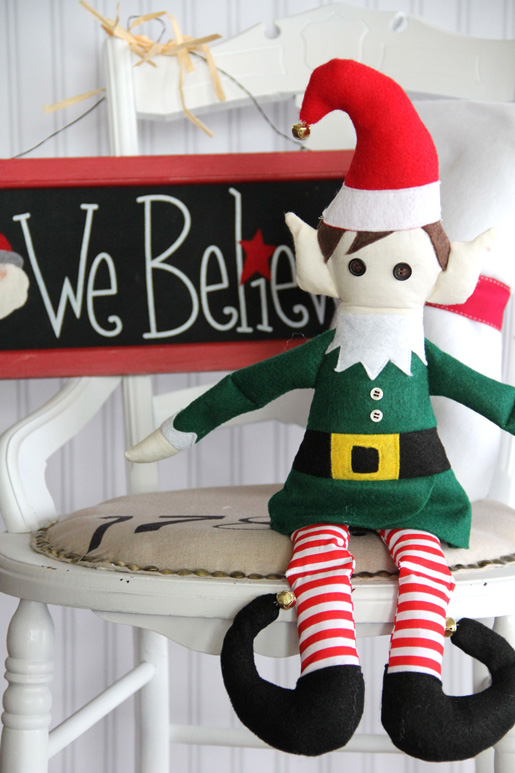
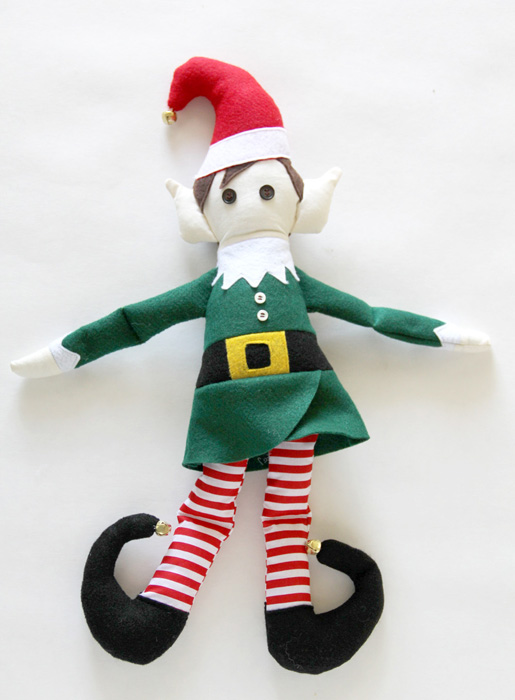
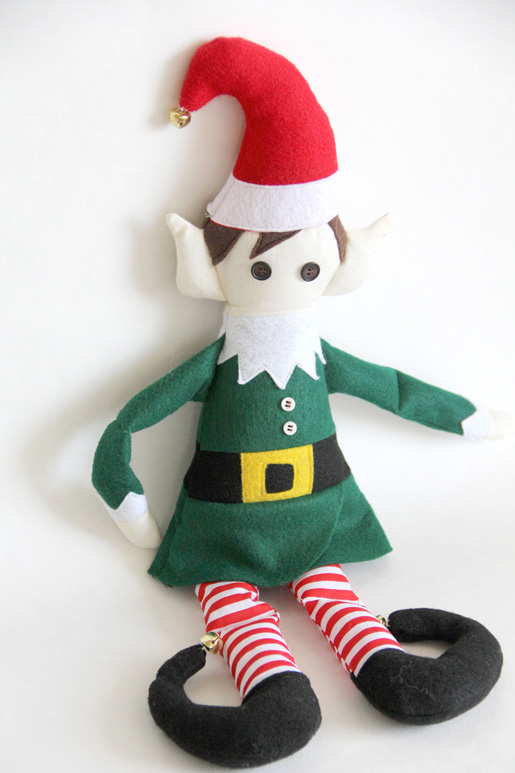
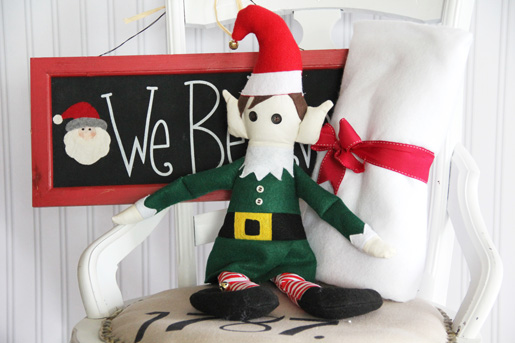
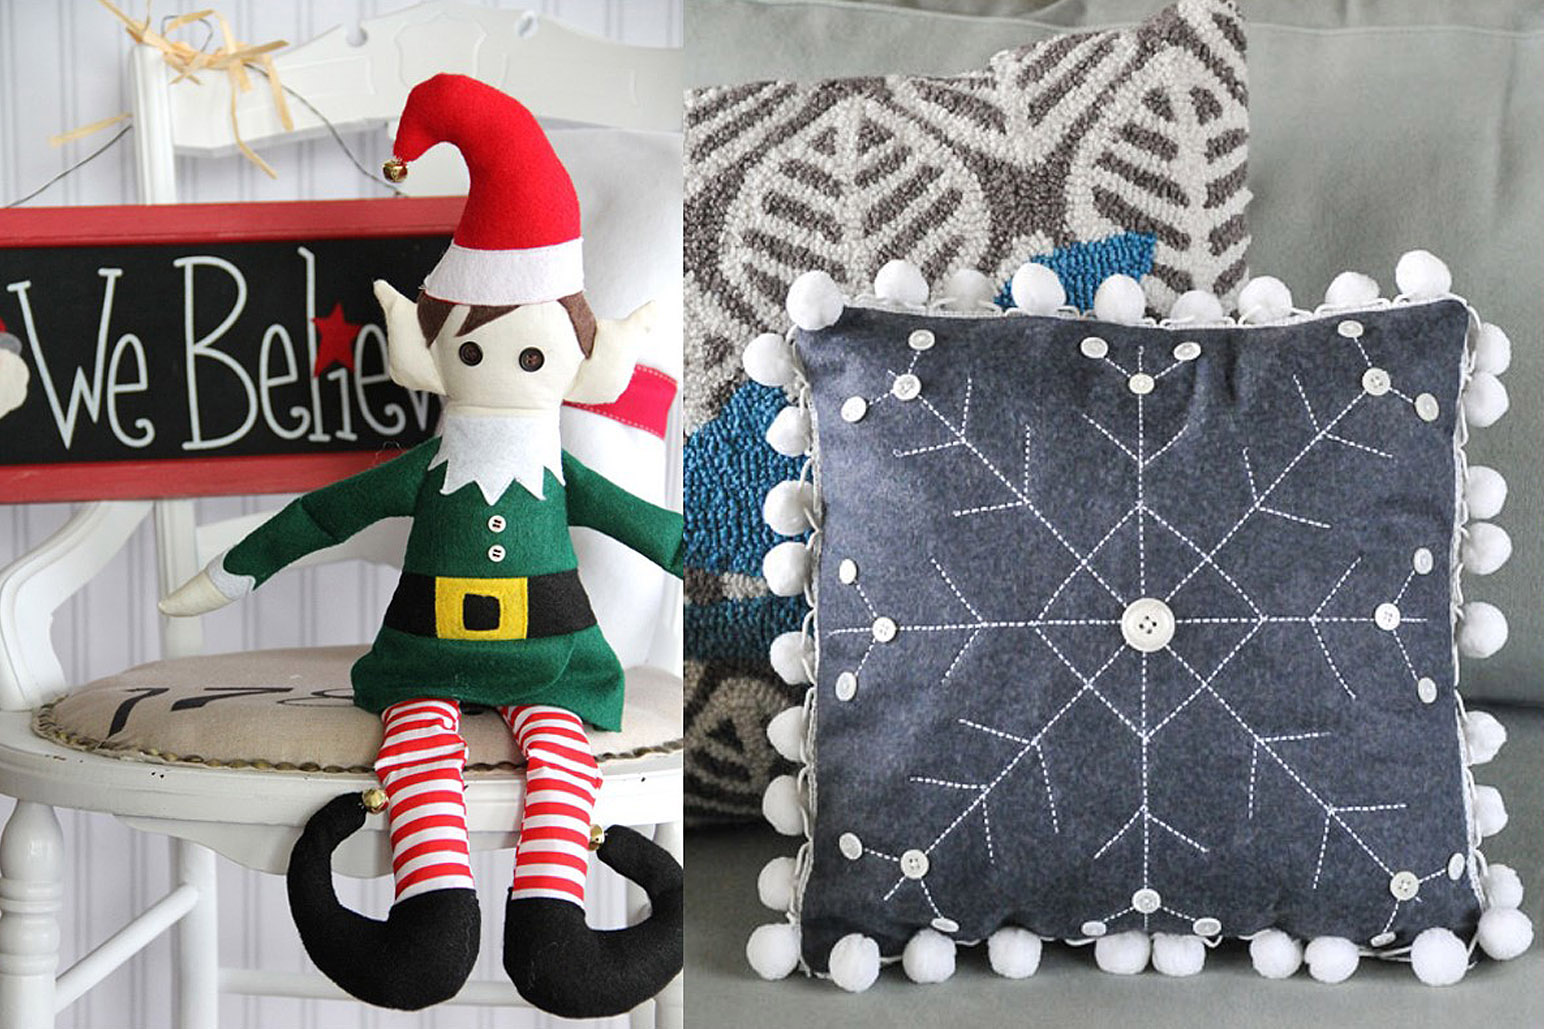
We think this cheery little elf is much cuter than the one who sits on shelves! Prop this adorable Santa’s helper next to your sewing machine. If you’re lucky, he might even use a little magic to do some stitching while you sleep!
Supplies
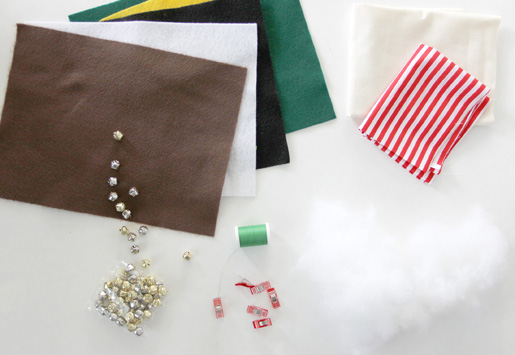
- Two (2) sheets of black felt craft fabric
- Two (2) Rectangles of green felt craft fabric
- One (1) Rectangle of white felt craft fabric
- One (1) Rectangle of red felt craft fabric
- (1) Rectangle of brown (hair color) felt craft fabric
- Scrap piece of yellow or gold felt craft fabric
- ¼ yard of muslin or other white/off-white woven fabric
- ⅜ yard of red and white stripe fabric or other holiday print
- Five (5) small buttons
- Three (3) small bells or pompoms
- PolyFil
- Thread
- Scissors
- Pins or Wonder Clips
- Wash-away pen or pencil
- Point turner, knitting needle, or other blunt pointed object
- Hand sewing needle
- Standard presser foot (BERNINA Reverse Pattern Foot #1)
Step 1) Cut the fabric pieces.
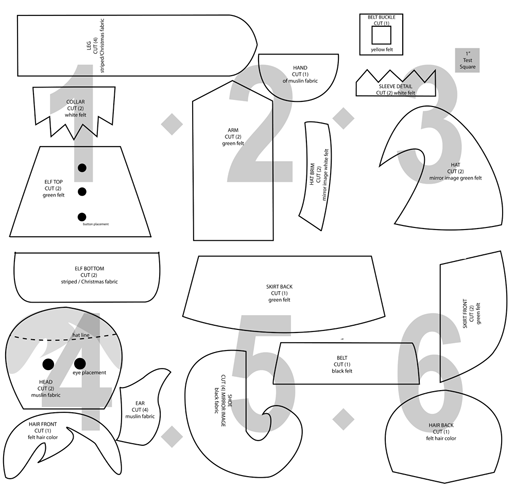
Download and print the Elf pattern: DIY_Christmas_Elf_pattern_pieces_121314.pdf
Printing Tips
- Print all pages on standard 8-1/2″ x 11″ paper
- Make sure that “Auto Rotate and Center” is checked and that “Scaling” is NOT checked. If you have a newer version of Adobe Reader, your options might look like “Fit to Size” or “Actual Size.” If that is the case, make sure you choose “Actual Size.”
- To make sure you’re printing the right size pattern, measure the 1 inch test square. Do your troubleshooting here so you don’t print out the wrong size pattern pieces.
- If you live outside Canada or the US, print the pages to your standard paper size.
- To connect each page, trim to the grey border (do not cut the grey border off), and match the gray shaded triangles. See the pattern diaagram below to help.
- Tape the pages together, matching the letters in the corners.
- Once the whole pattern is printed and taped, cut along the pattern lines.
- Note that 1/4″-wide seam allowances are included unless otherwise specified.
Cut pieces from felt as indicated on the pattern pieces.
Muslin
- Cut two (2) elf heads
- Cut four (4) elf ears
- Cut four (4) elf hands
Red stripe or Christmas print
- Cut two (2) elf bottoms
- Cut four (4) elf legs
Green felt
- Cut two (2) elf arms
- Cut two (2) elf tops
- Cut two (2) skirt fronts
Red felt
- Cut two (2) hat pieces (or cut from green felt)
White felt
- Cut one (1) collar
- Cut two (2) sleeve details
- Cut two (2) hat brims
Black felt
- Cut one (1) belt
- Cut four (4) shoes
Yellow/gold felt
- Cut one (1) belt buckle
Brown (or hair color) felt
- Cut one (1) hair front
- Cut one (1) hair back
Step 2) Make the elf head and hat.
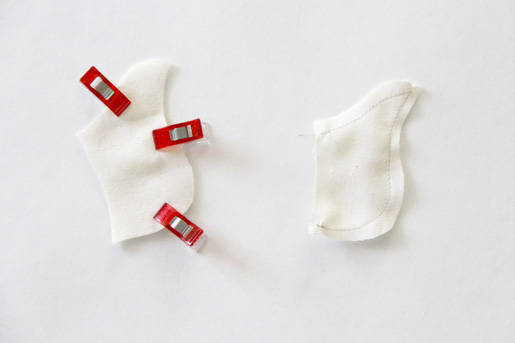
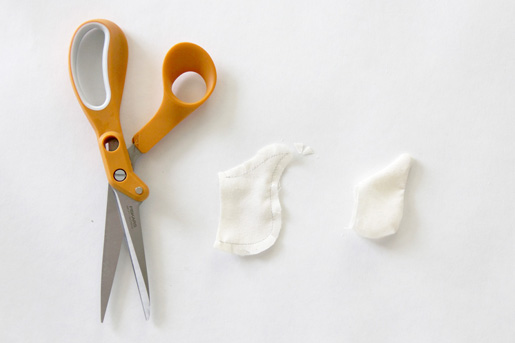
Place (2) ears right side together, matching the outer edges. Clip or pin around the outer curved ear. Sew, leaving the straight short edge open. Repeat for other (2) ears.
Clip seam allowances. Turn ears right side out.
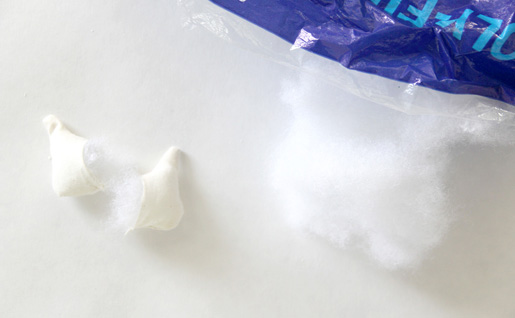
Stuff ears with Polyfil and set aside.
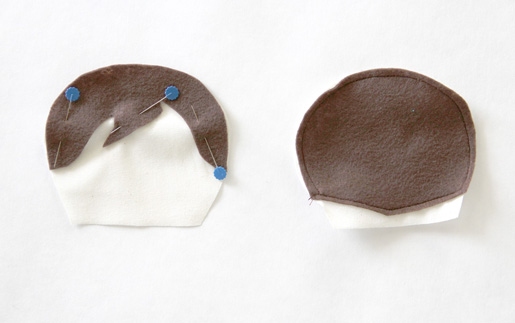
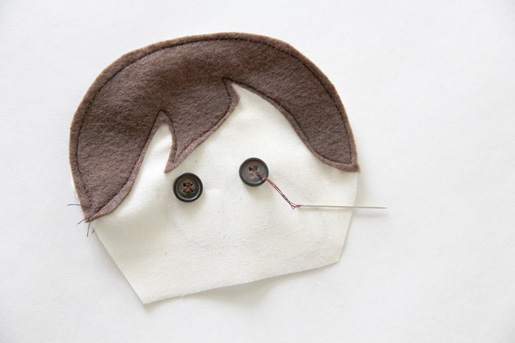
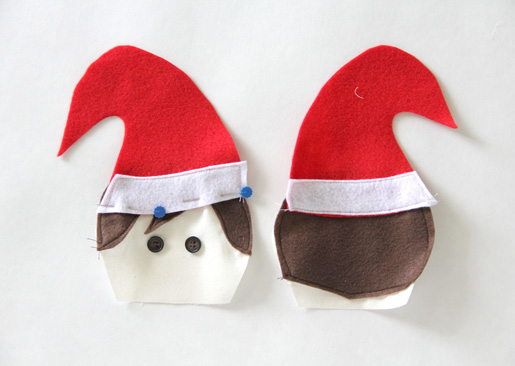
Place the hair on top of the head pieces, and pin. Sew around the edges, securing the hair in place.
At the eye markings, hand sew (2) buttons to the front of the face. If desired, reinforce by add a small piece of interfacing to the back of the buttons on the wrong side of the face. Set the head pieces aside for a moment.
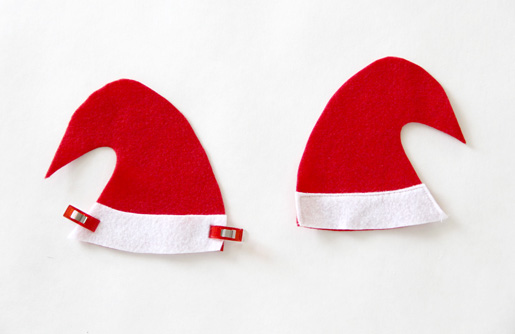
Take the hat brim and line it up on top of the bottom of the hat piece. Pin in place and sew. Repeat for both hat front and back.
Pin the hat to the top of your Elf’s head, both front and back. Make sure you are pinning the mirror images of the hat onto the head pieces. Sew along the bottom of the hat to secure in place.
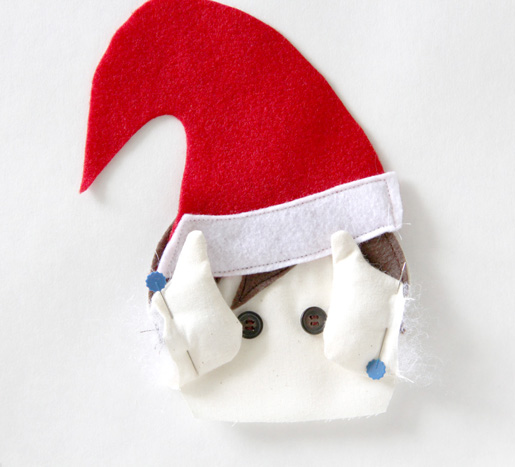
Take the ears and match up the raw open edges to the side of your Elf’s head. Pin in place and sew, using a 1/8″-wide seam allowance. When pinning, make sure the ears are aligned on both sides. Set aside.
Step 3) Make the elf shirt and belt.
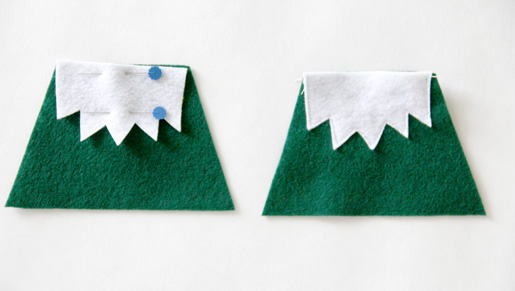
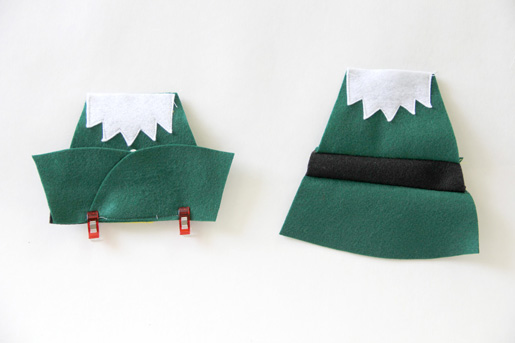
Pin the collars to the top of your Elf’s top for both the front and back. Sew around to secure.
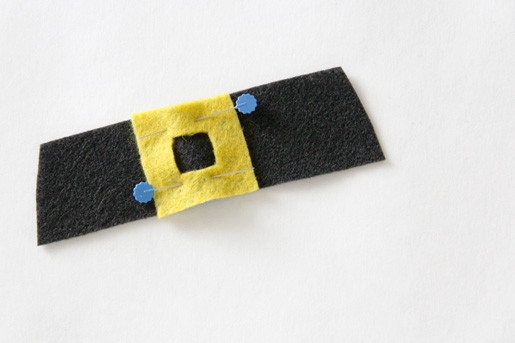
Pin the belt buckle to the front center of one (1) belt piece. Sew around to secure it.
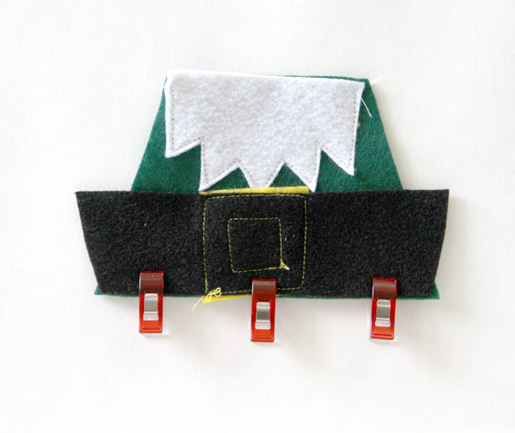
Pin the top belt piece (with buckle) on the bottom of your Elf top front. Sew. Clip off any excess at the sides.
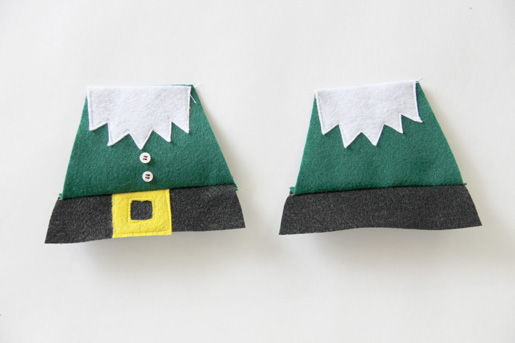
Repeat for the other belt piece and the Elf top back. Hand sew buttons to the front of the Elf shirt.
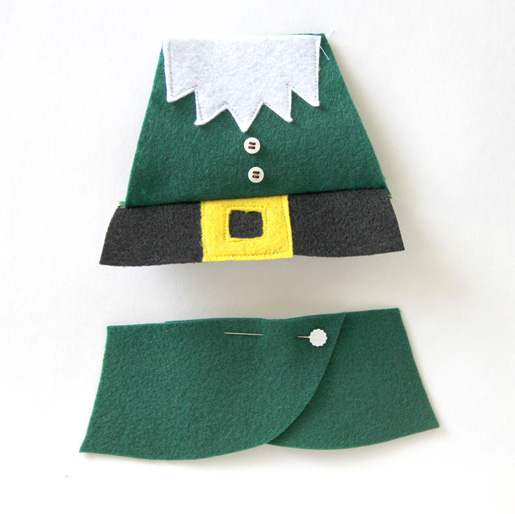
Overlap the skirt front pieces so that they are the same width as the bottom of the belt. Pin in place, and baste stitch along the top edge.
Pin the top of the skirt to the bottom of the belt and sew. Clip off any excess side seams.
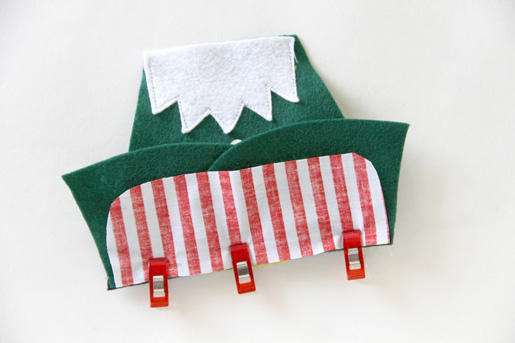
Flip the skirt piece back up so that the seam is exposed along the bottom edge. Take the elf bottom piece, and place the top edge right sides together with the bottom edge of the belt. Pin in place and sew. Repeat for both front and back.
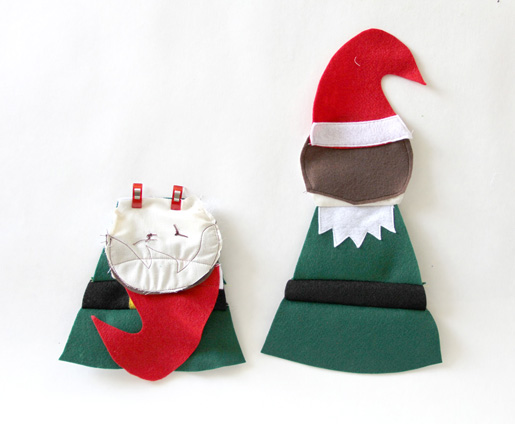
Pin the bottom of the head to the top of the elf body, right sides together. Sew. Repeat for both front and back. Set aside for a moment.
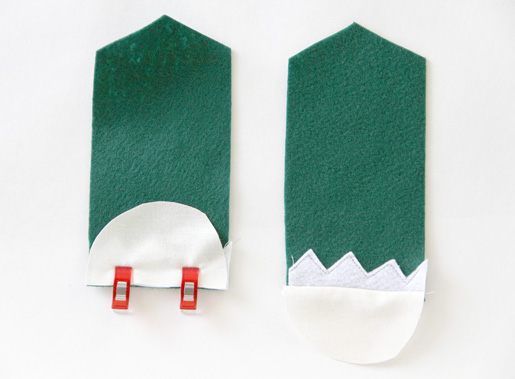
Pin the sleeve detail on top of the bottom of the arm, matching up the straight edges. Sew around to secure.
Pin the straight edge of the hand to the bottom of the arm, right sides together. Sew. Repeat for other arm.
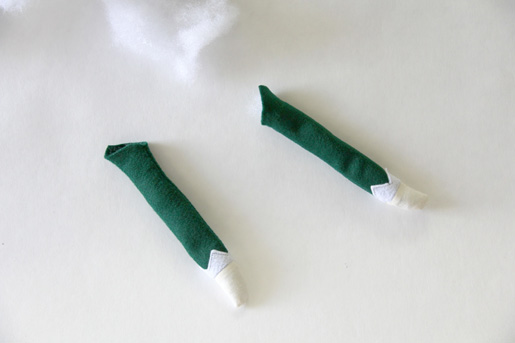
Fold arm in half, right sides together, and pin along the outer edge. Sew. Clip curved seams.
Turn right side out, and use a blunt pointy object to push out all edges. Stuff with PolyFil.
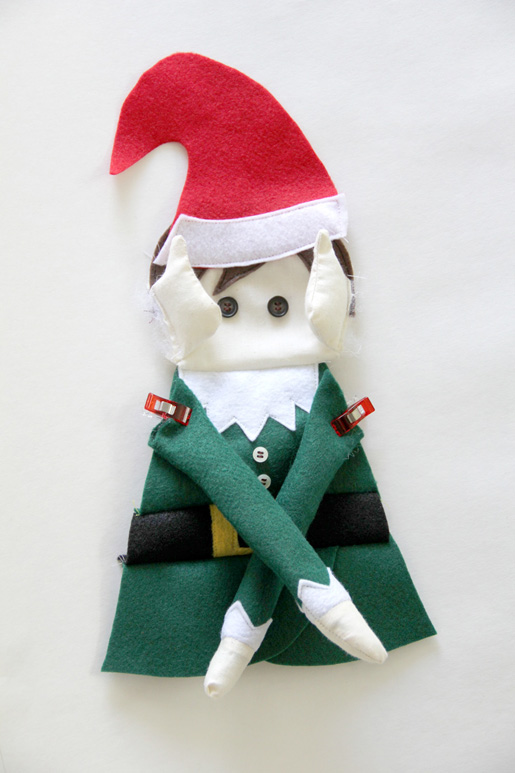
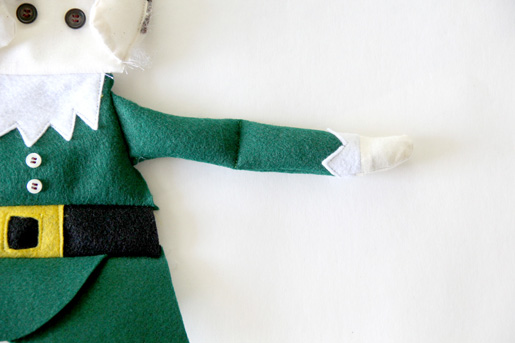
Pin arms to the Elf sides, matching up the raw edges, so that the arms are pointed downwards. Sew, using a 1/8″-wide seam allowance to secure.
If desired, sew a straight line in the very middle of each arm to create an “elbow joint.” Set aside.
Step 4) Make the elf legs and shoes.
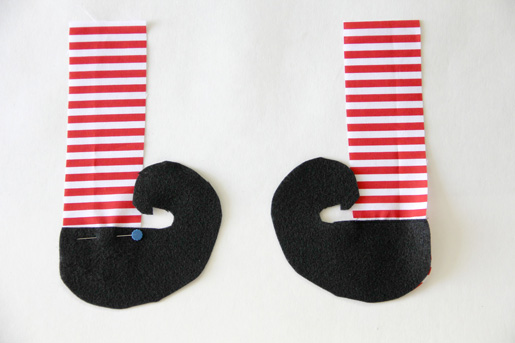
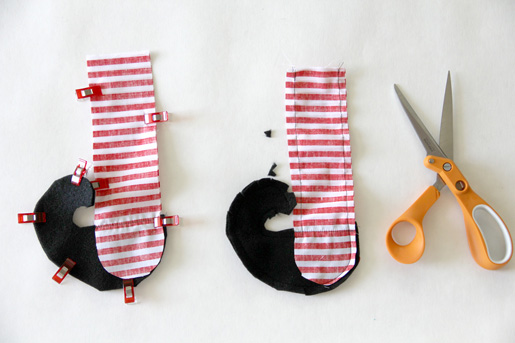
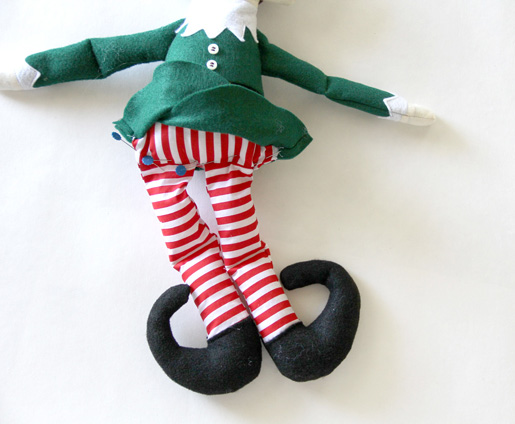
Place a sjoe directly on top of the bottom of the a leg, with the curved bottom of the leg matching up with the bottom of the shoe. Pin the top of the shoe to the leg, and sew a straight line to secure. Repeat for other (3) legs and shoes, making sure to do mirror images.
Place (2) legs right sides together, and pin around outer edges. Sew, leaving the top edge open. Clip curved seams. Repeat for the other leg.
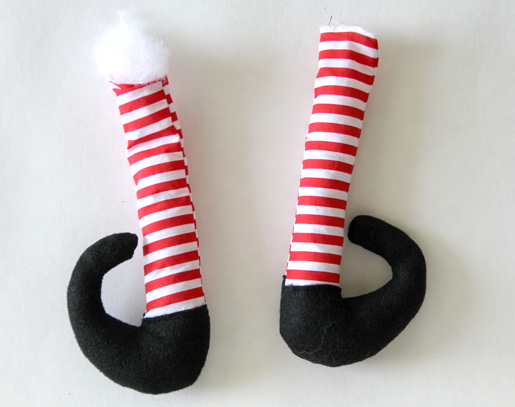
Turn legs right side out using a blunt pointed object. Stuff with PolyFil. Add a “knee joint” if desired, as we did with the elbow joint.
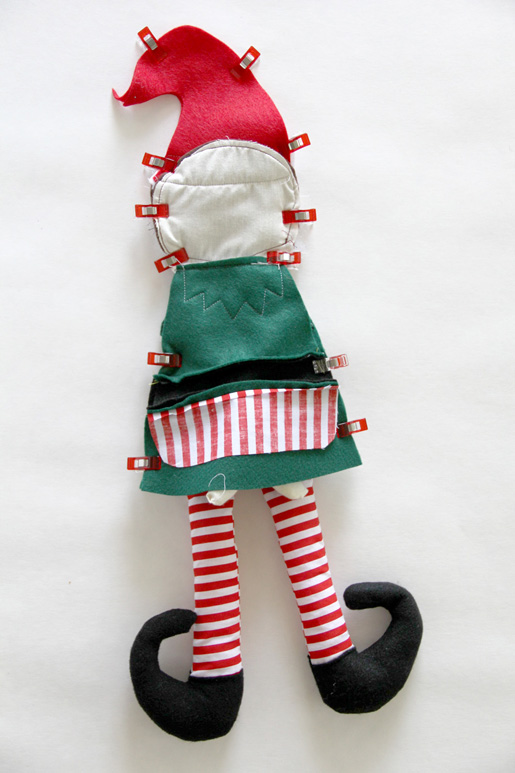
Flip up the Elf’s skirt, and pin the top of each leg to the bottom of the front Elf body. You can choose whether or not you want the shoes pointed outwards towards the side, or towards the front. Sew.
Place the Elf front and back right sides together, matching up all sides. Pin around and sew, leaving the bottom of the elf open.
Stuff with PolyFil.
Flip the Elf skirt up, turn the Elf bottom in 1/4” towards the wrong side, and pin together. Whipstitch to secure closed.
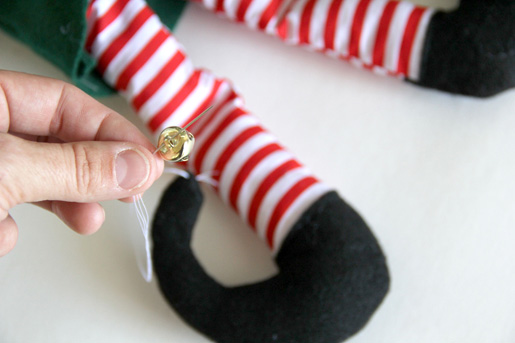
Sew on bells or pompoms to the points of the hat and shoes.
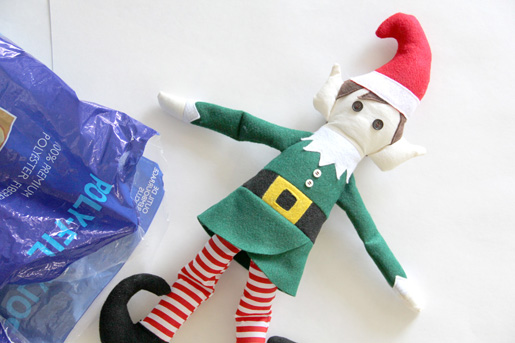
And you are finished! You might get creative and embroider your Elf’s name on the back of his skirt. Enjoy :).
What you might also like
5 comments on “DIY Christmas Elf”
-
-
Just finished making this elf-turned out so cute. Did put a smile on him! Feel that the final closure requiring whip stitching is not appropriate for a little person who will play with the elf or use it for many years. Still trying to make the closure more permanent and more professional since the rest of the elf is put together so well and will tolerate a lot of use. Other than that this is a great project and good pattern.
-
I made this little guy out of cotton fabric. It took longer to make but he came out so cute. I would lI’ve to be able to post a pic. I did reduce his size by 25% but he was still pretty good size.
-
We’d love to see your elf, too! Send a photo to [email protected] and I’ll add it to the original post. Thanks! Jo
-
Leave a Reply
You must be logged in to post a comment.











He needs a smile!