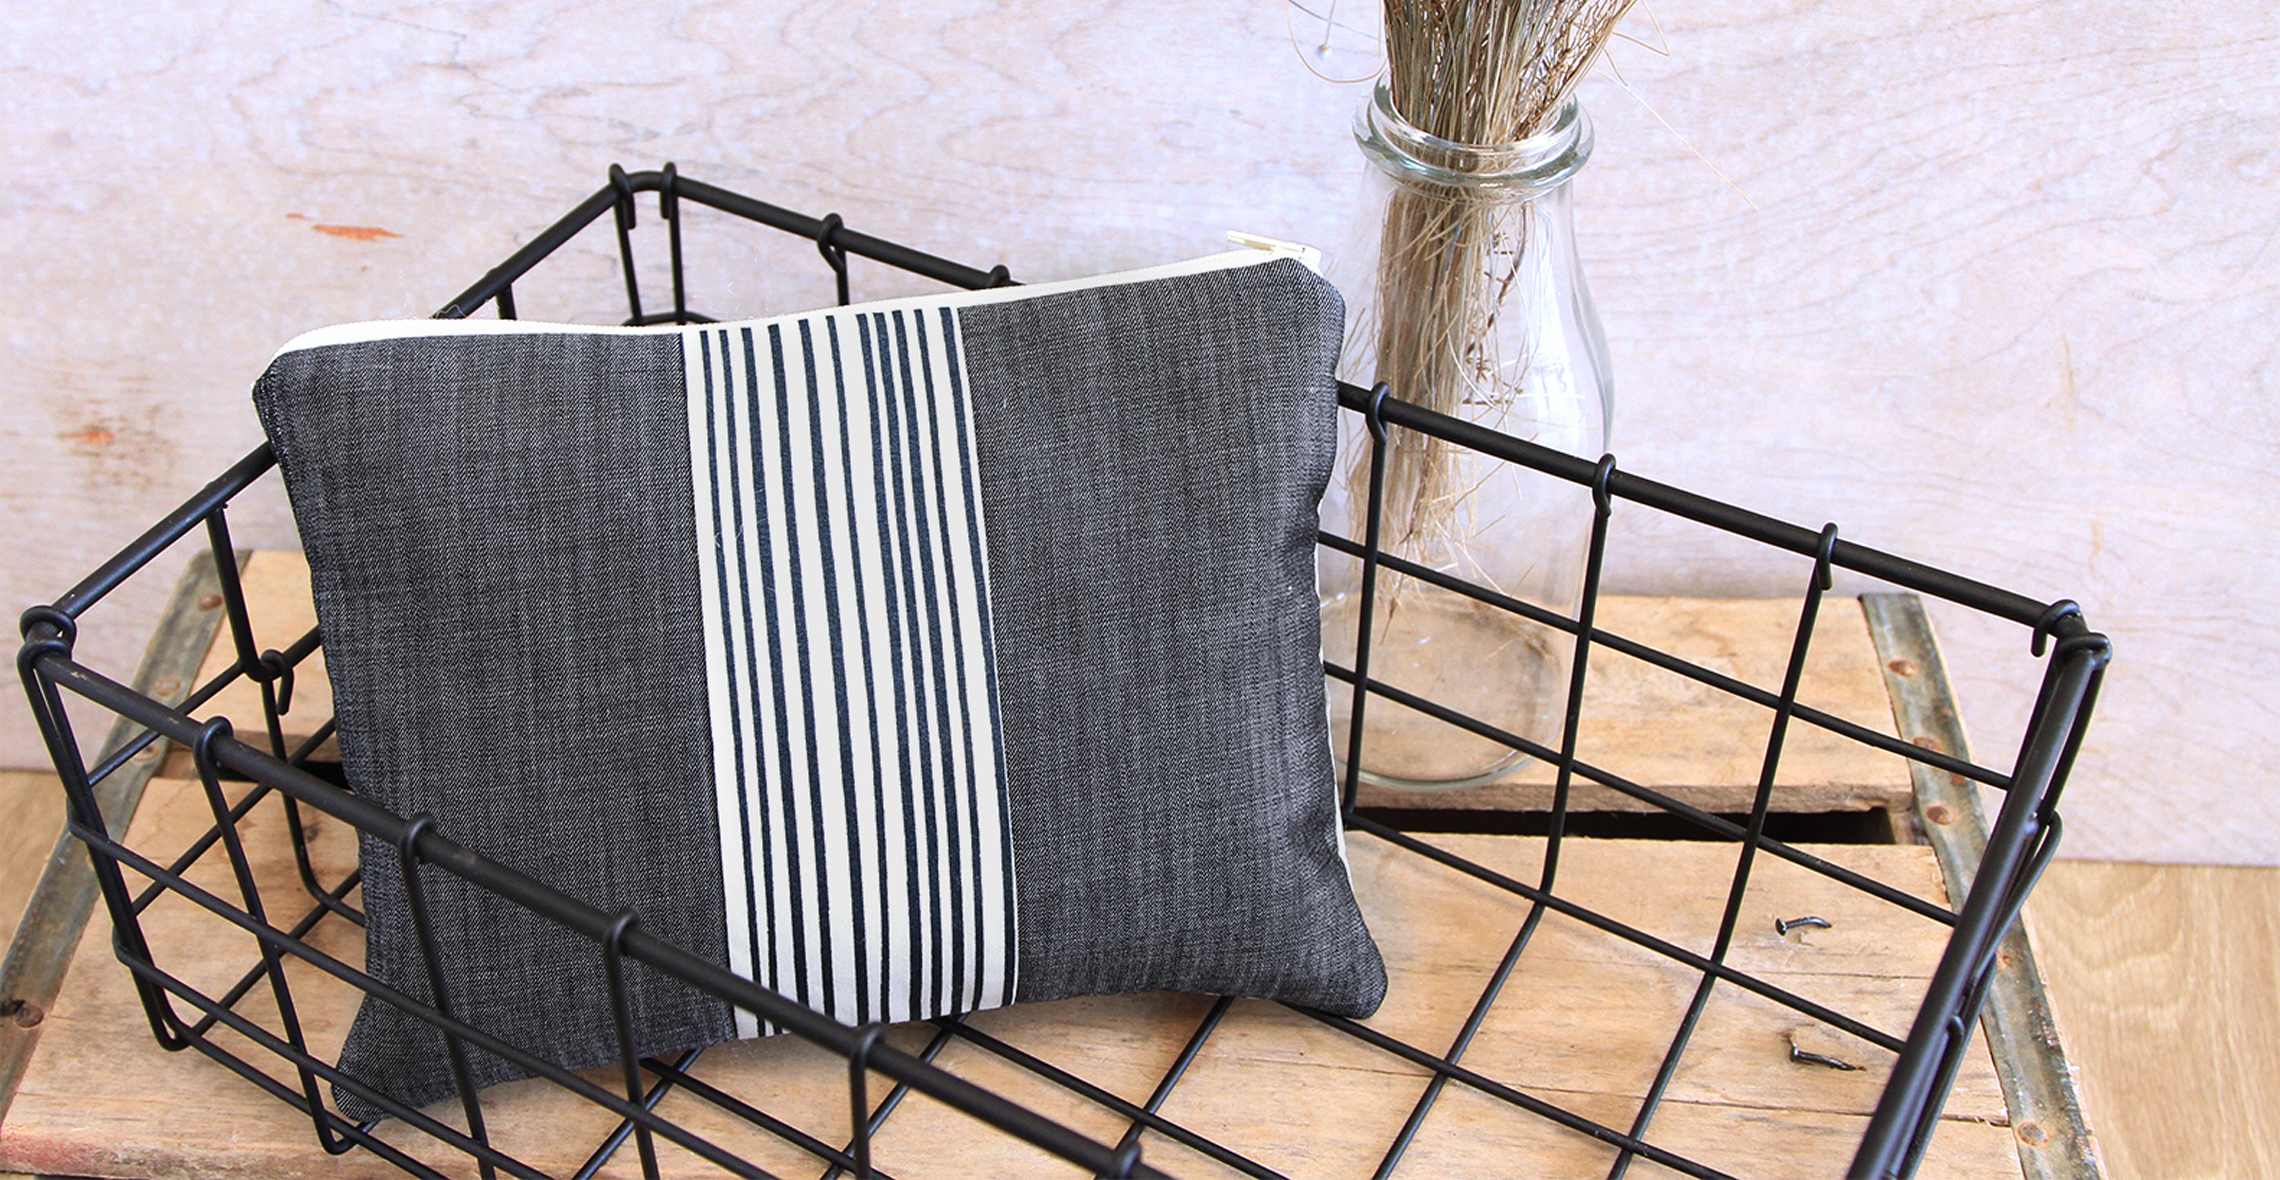
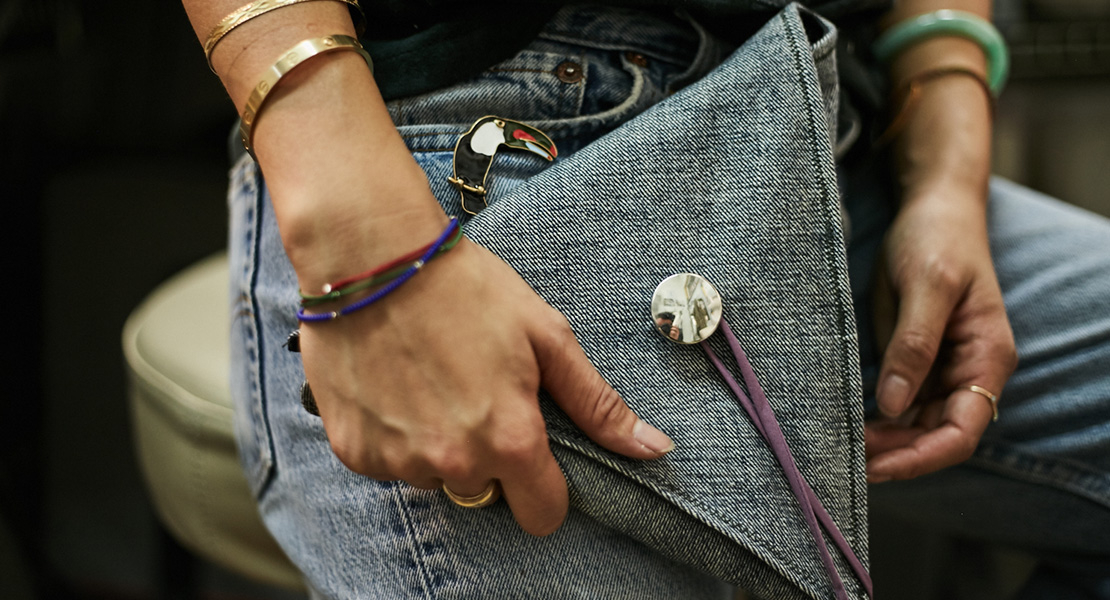
Clutch With Detachable Chain Strap
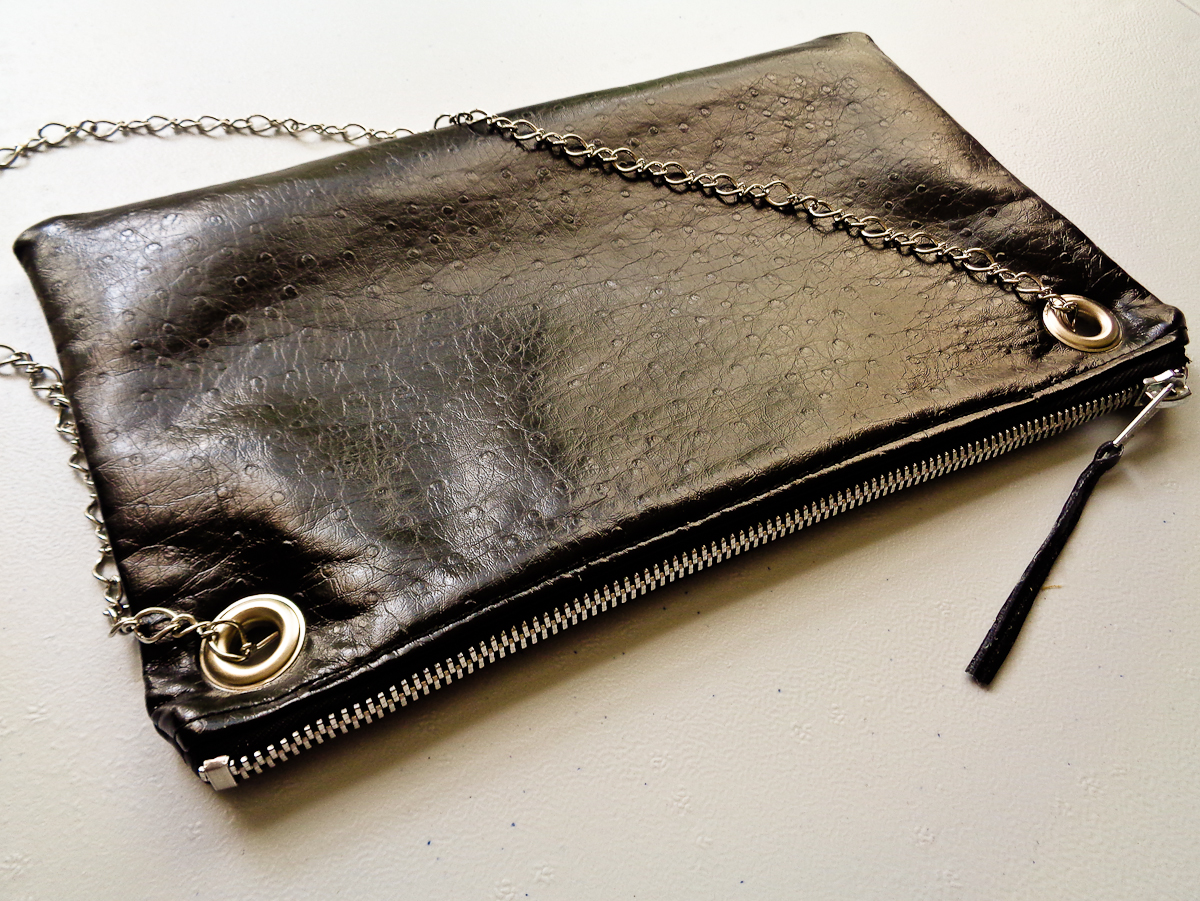
Awesome accessories are always a necessity, especially shoulder bags and clutches. When I go out for the evening, I only need something large enough for my cards, keys, cellphone and a lipcolor for touch-ups. So I decided to make something sleek and compact, with a shoulder strap that can also double as a clutch bag. And this is what I came up with, a (faux) leather clutch with a detachable chain strap.
Now let’s get into this tutorial so I can show you all how I made my super fab new shoulder bag:
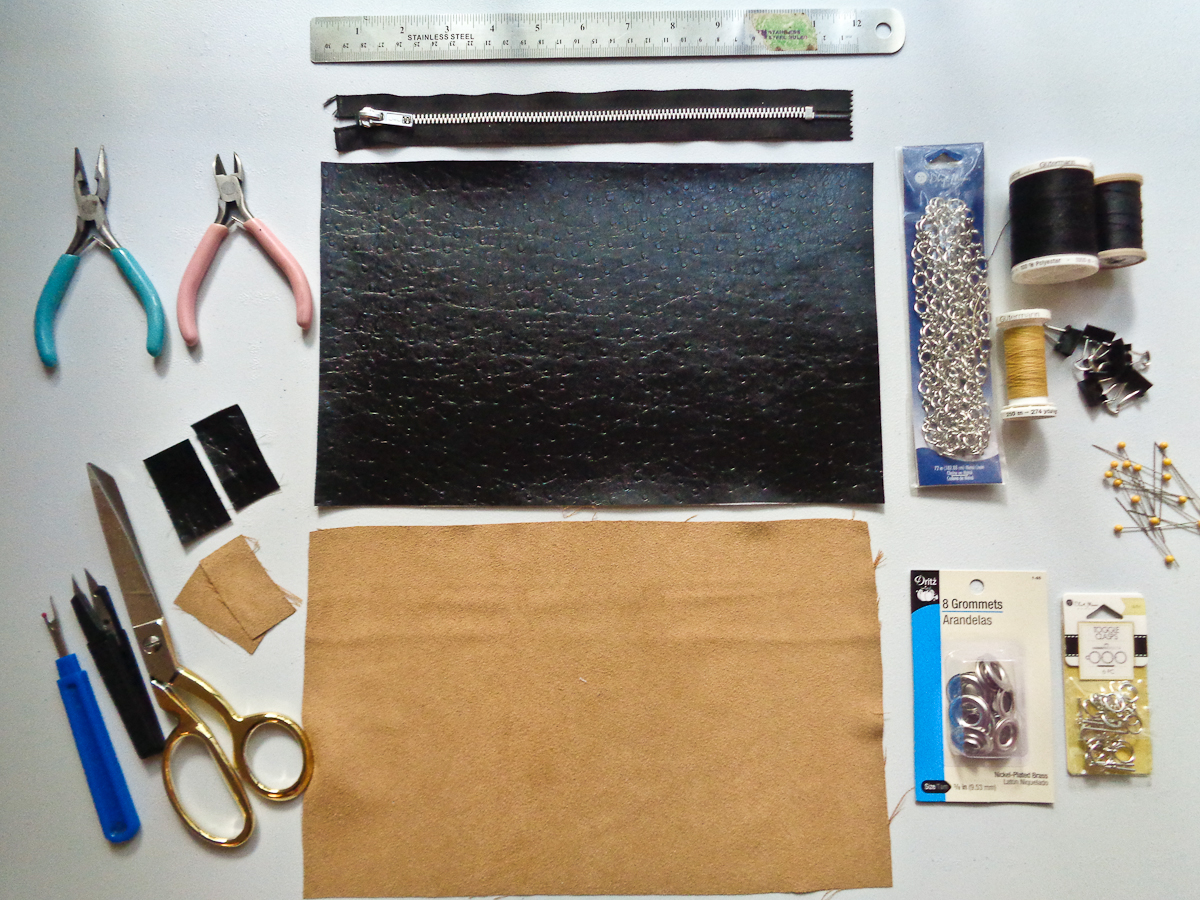
Materials needed:
- 2 pieces of leather or faux leather (I used faux leather) – 12 inches by 7.5 inches
- 2 pieces of lining fabric (I used a faux suede. Almost any lining fabric will work) – 12 inches by 7.5 inches
- 2 small pieces of leather or faux leather – 1 inch by 2 inches
- 2 small pieces of lining fabric – 1 inch by 2 inches
- optional: interfacing
- 1 metal zipper – 10 inches
- leather needle
- rotary cutter
- scissors
- thread nippers
- seam ripper
- coordinating thread (I used thread in the color of my faux leather, matching topstitching thread and thread for the lining fabric)
- pins
- small binder clips
- ruler
- 2 – 3/8 inch metal grommets
- grommet tool kit or grommet setting pliers
- 2 jewelry toggles
- 1 yard of decorative chain
- optional: jeweler’s tools (small needle nose pliers and side cutter)
- Sewing machine. I’m using my BERNINA 350 PE.
- Presser feet: Open embroidery foot with non-stick sole #56 or Walking foot #50 and Zipper foot #4
- leather sewing machine needles or microtex/sharp needles
How to sew the clutch with detachable chain strap:
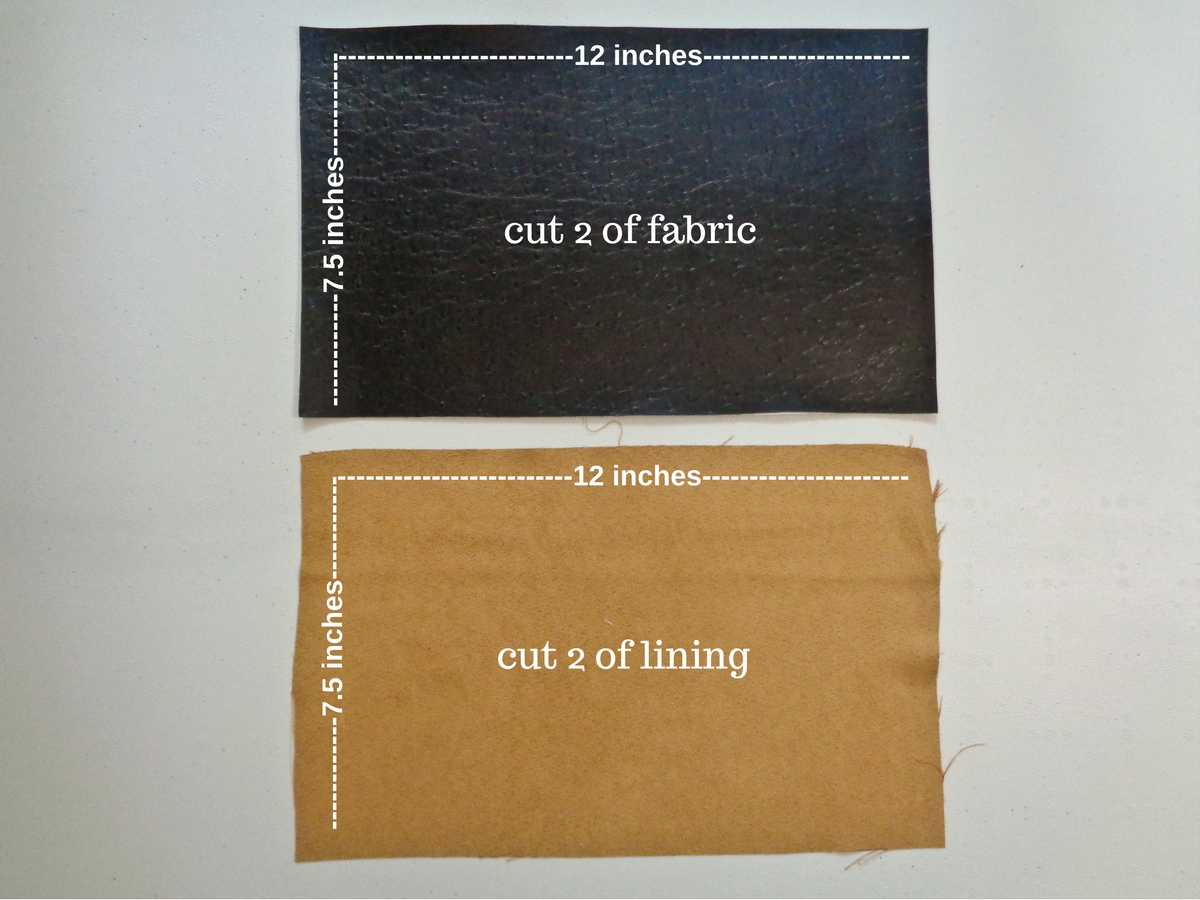
Cut out 2 pieces of the leather or faux leather and the lining in the above specified dimensions. I suggest using a rotary cutter instead of scissors for a cleaner edge. And while you’re at it, go ahead and cut out your 1 inch by 2 inch pieces as well.
Note: Depending on how much body your leather or faux leather has, it may need to be interfaced. I wanted my faux leather to have a more stabilized hand. I used a knit fusible interfacing. I applied it using my iron at a lower temperature and I also used a pressing cloth. (You can check the manufacturer’s instructions for how to apply the interfacing you are using.)
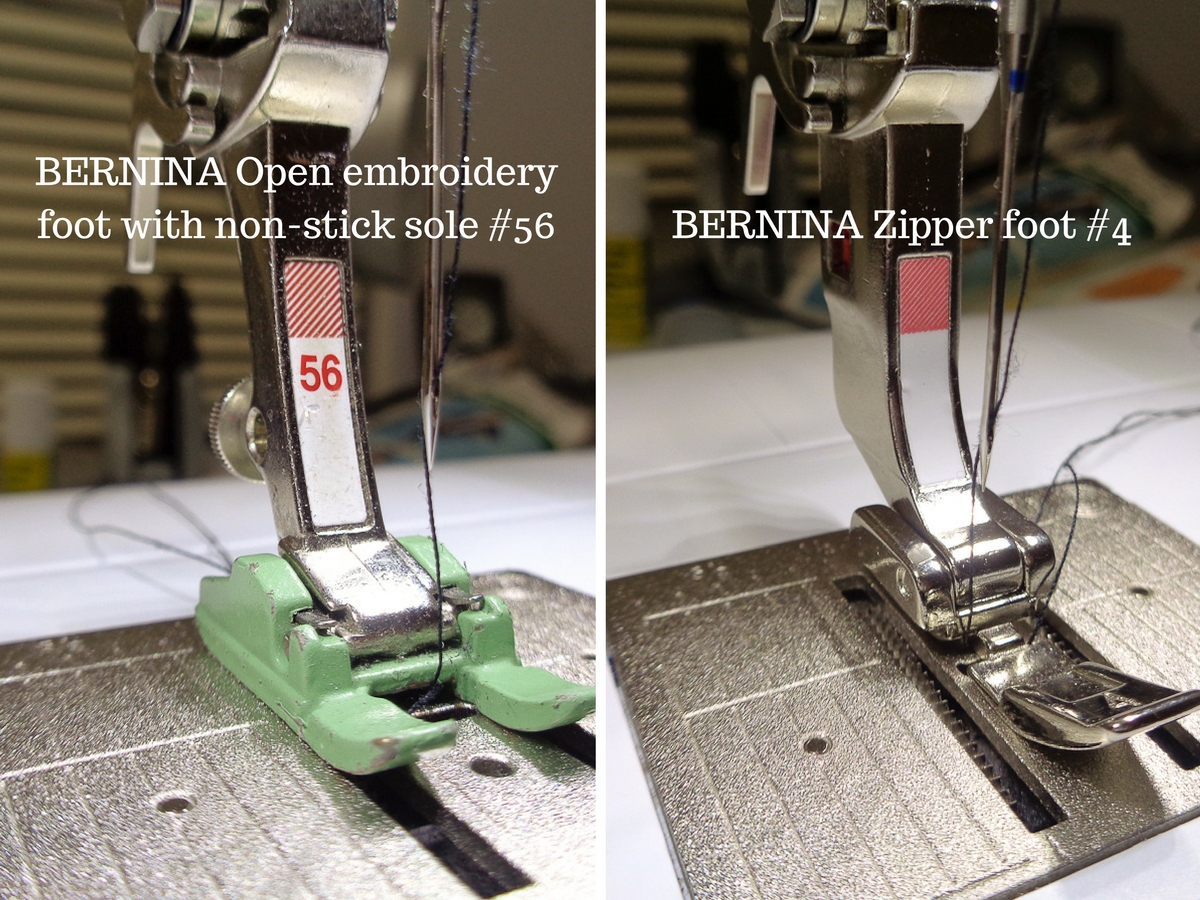
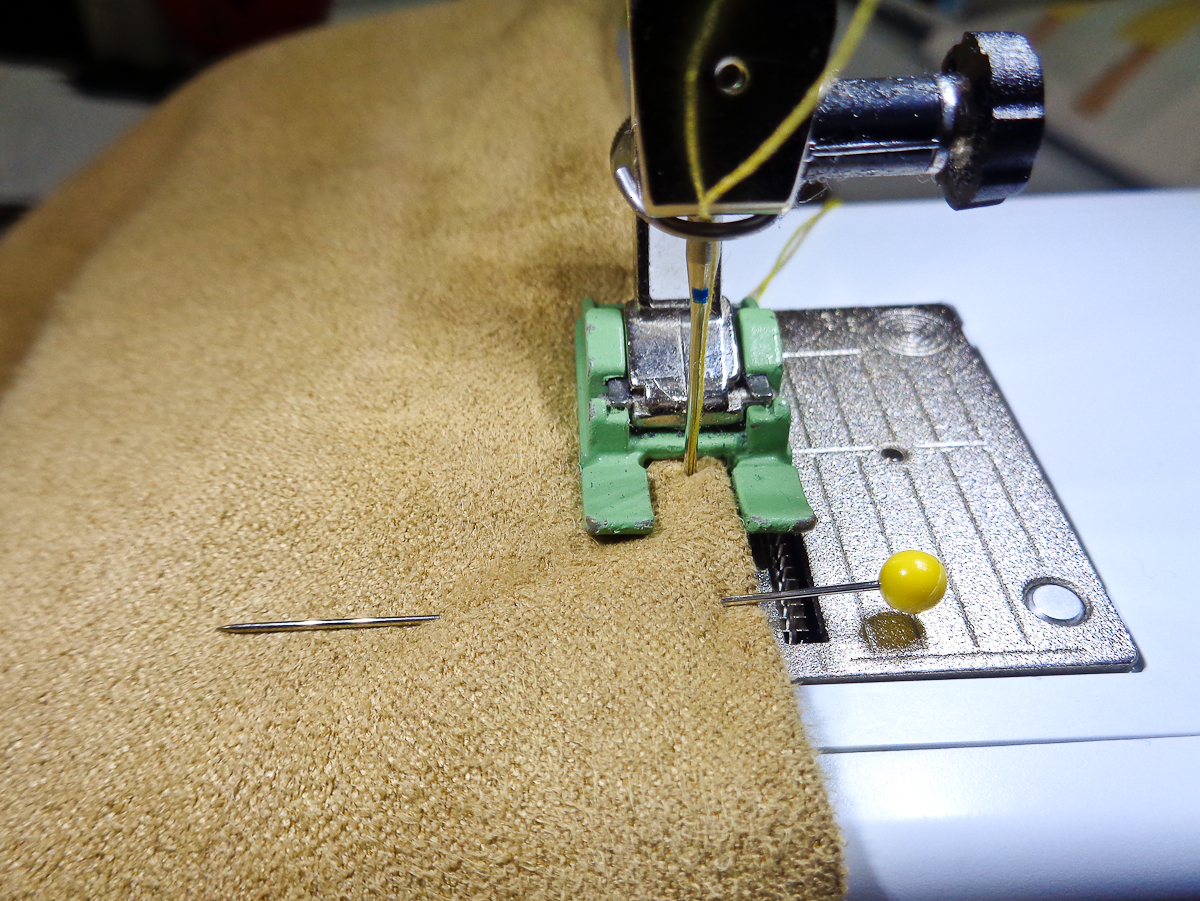
Sewing leather and faux leather can be tricky. It’s essential that you have the proper sewing tools. These are two presser feet that I suggest for sewing this project. When not sewing the zipper, the Walking foot #50 will work as well. I also suggest that you use either a leather sewing machine needle or microtex/sharp needles.
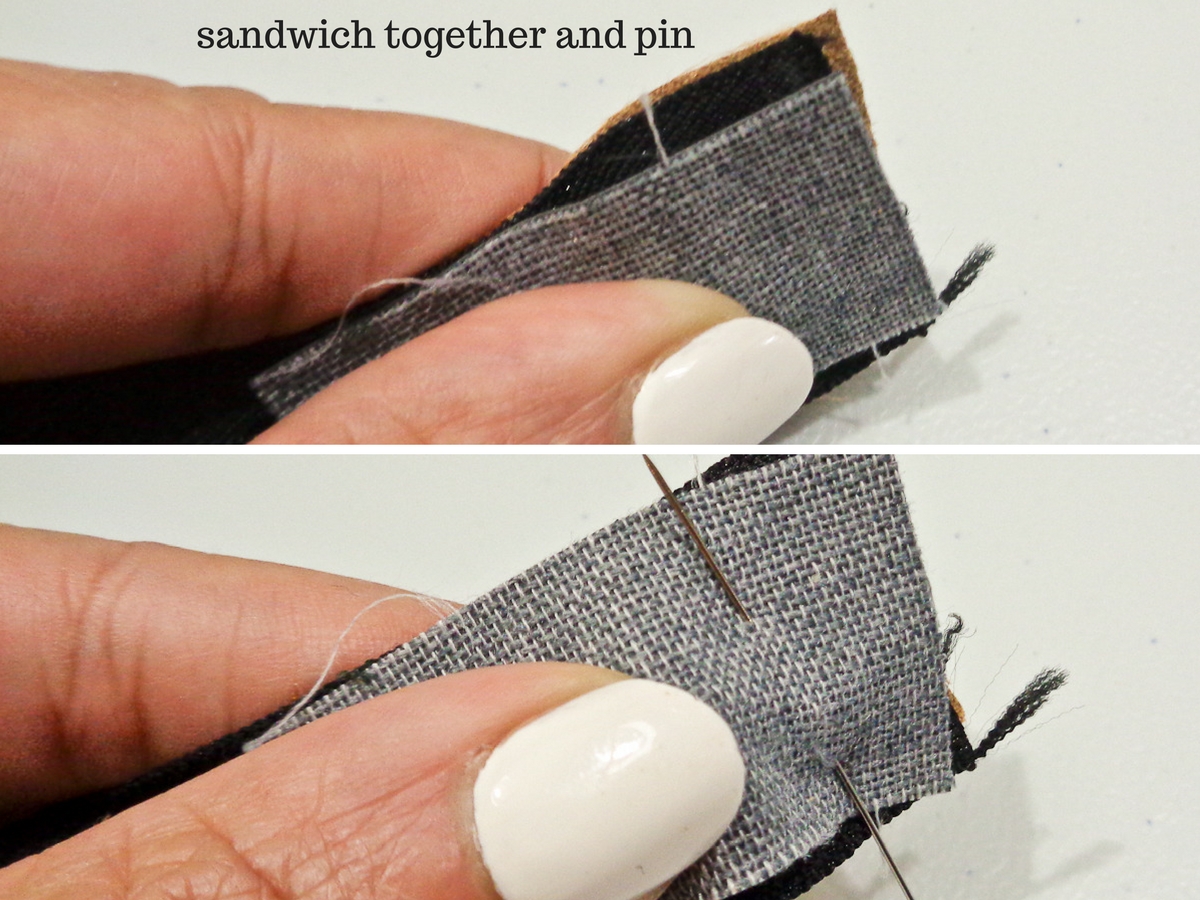
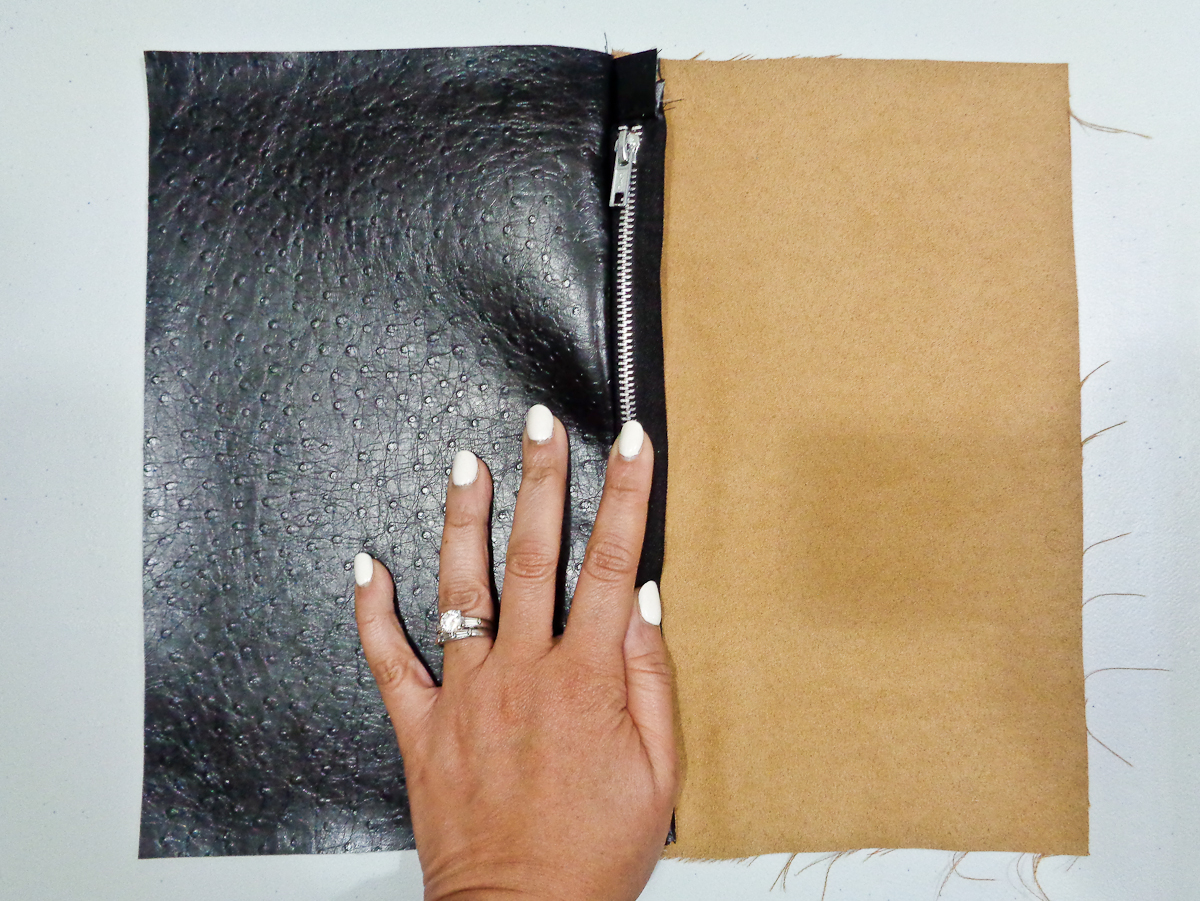
Sandwich each end of the zipper with the leather or the faux (on the right side) and the fabric lining (on the wrong side).
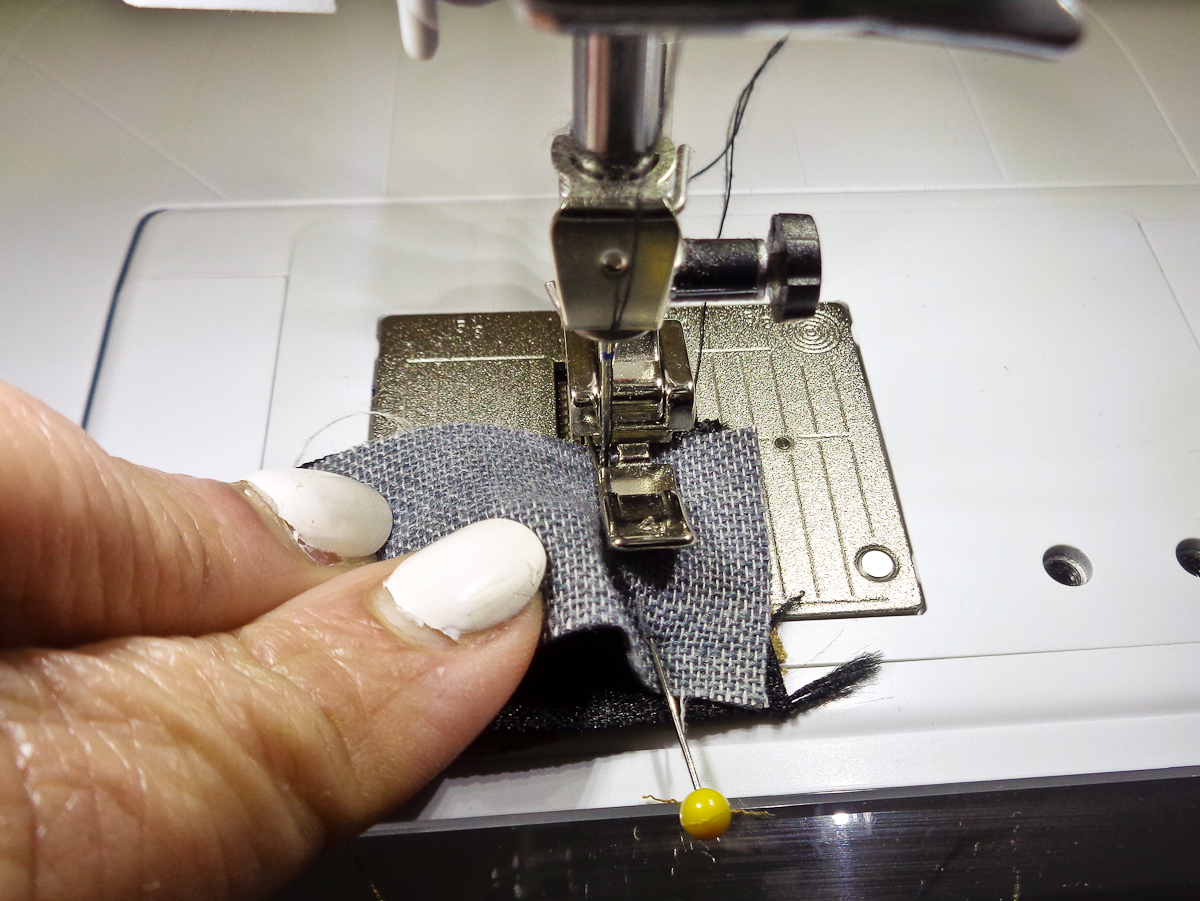
Pin and stitch using the zipper foot as close as possible to the zipper pull and the zipper stop. Be careful not to sew over the metal zipper and break your needle!
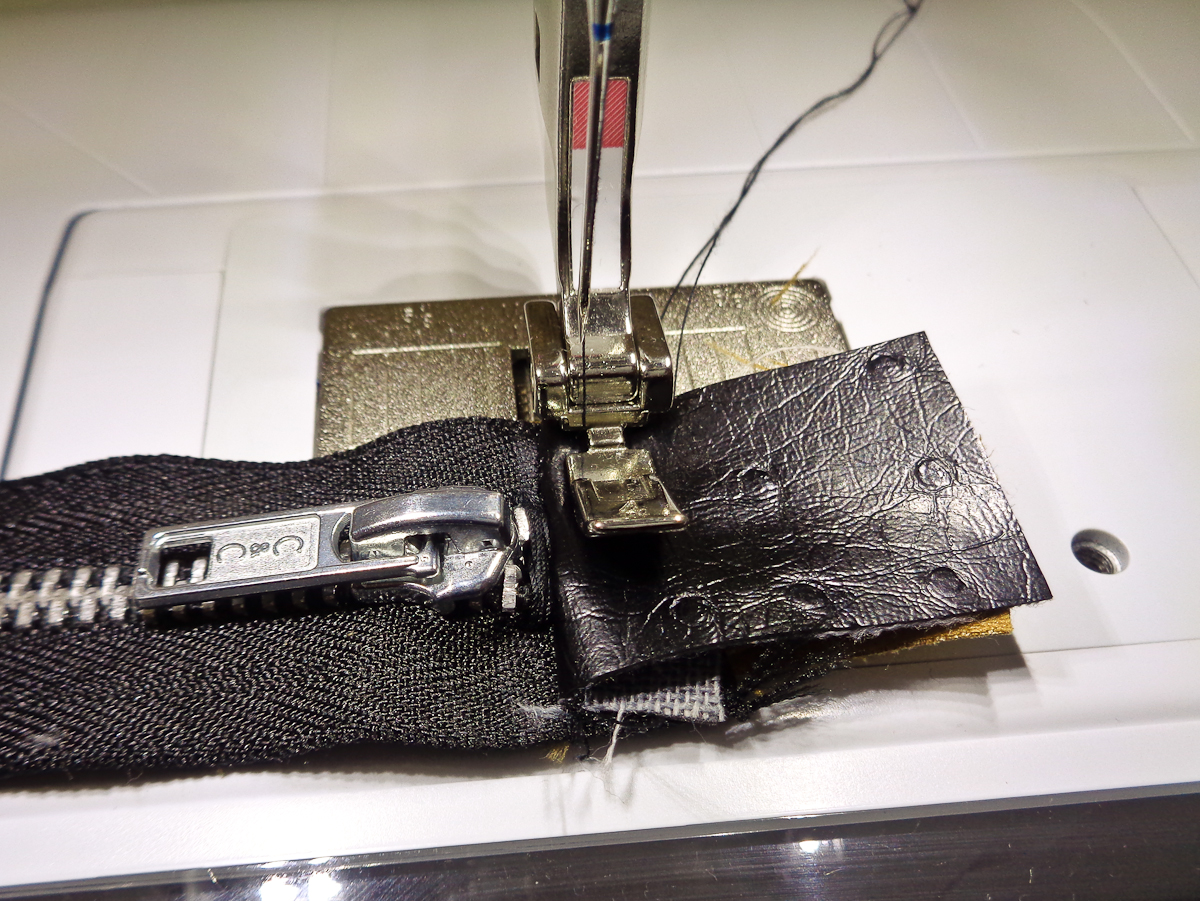
Topstitch close to the zipper ends.

Here is the front and the back.

With right sides together, sew your zipper to your main fabric (your leather or faux leather) along the top edge. Make sure that your zipper is exactly the same length as the edge of your main fabric.
Sew the lining piece right sides together to the main fabric piece with the zipper sandwiched in between.
With a pressing cloth, press your main fabric.
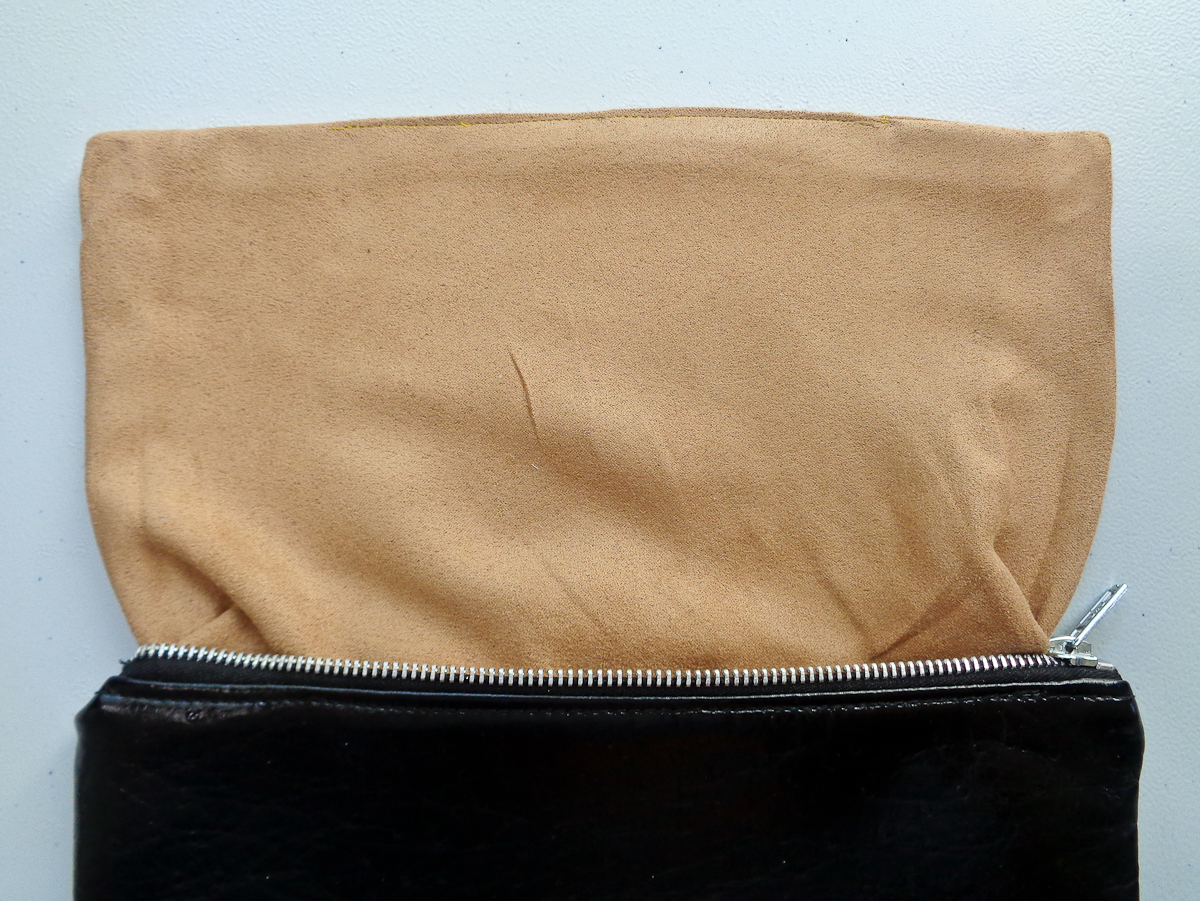
Then sew the main fabric and the lining to the other side of the zipper the same way.
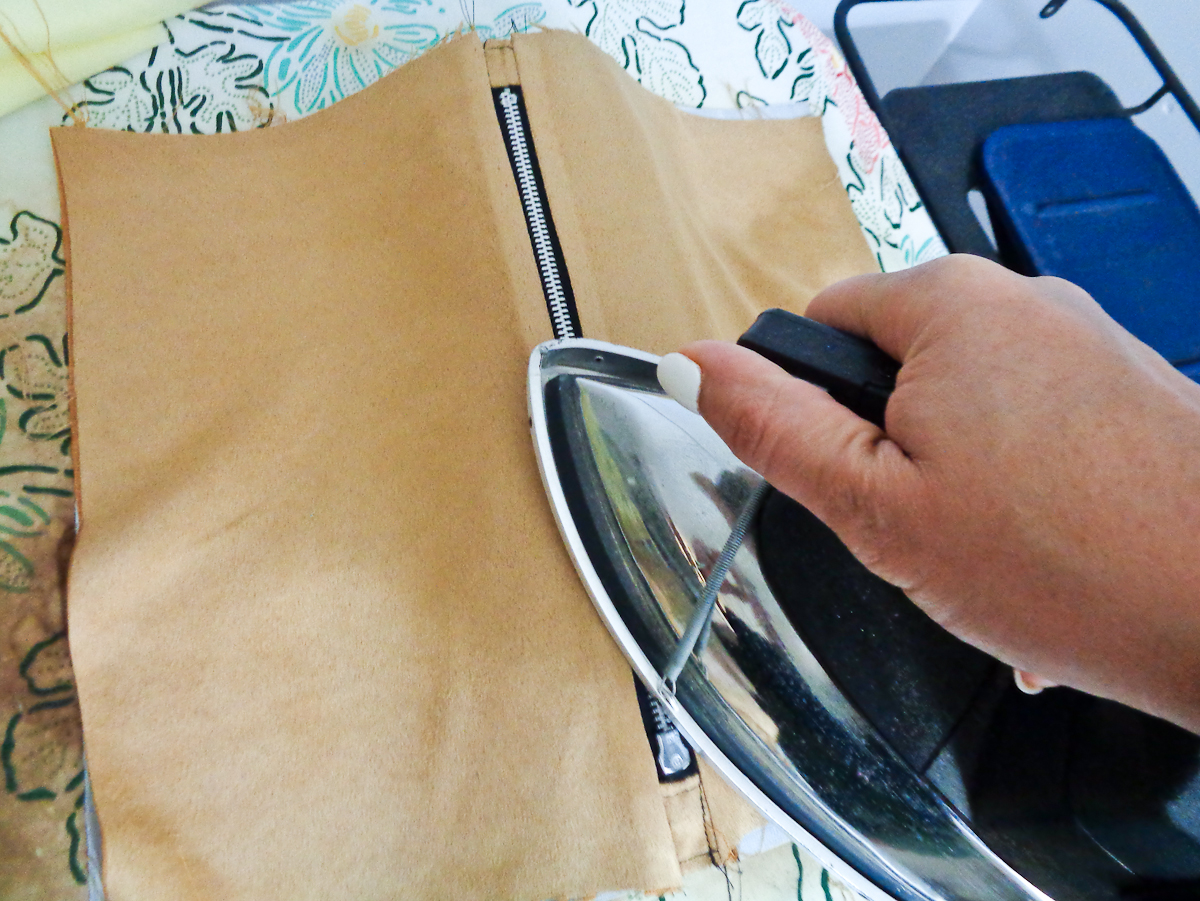
And turn it over and make sure the other side is well pressed too.

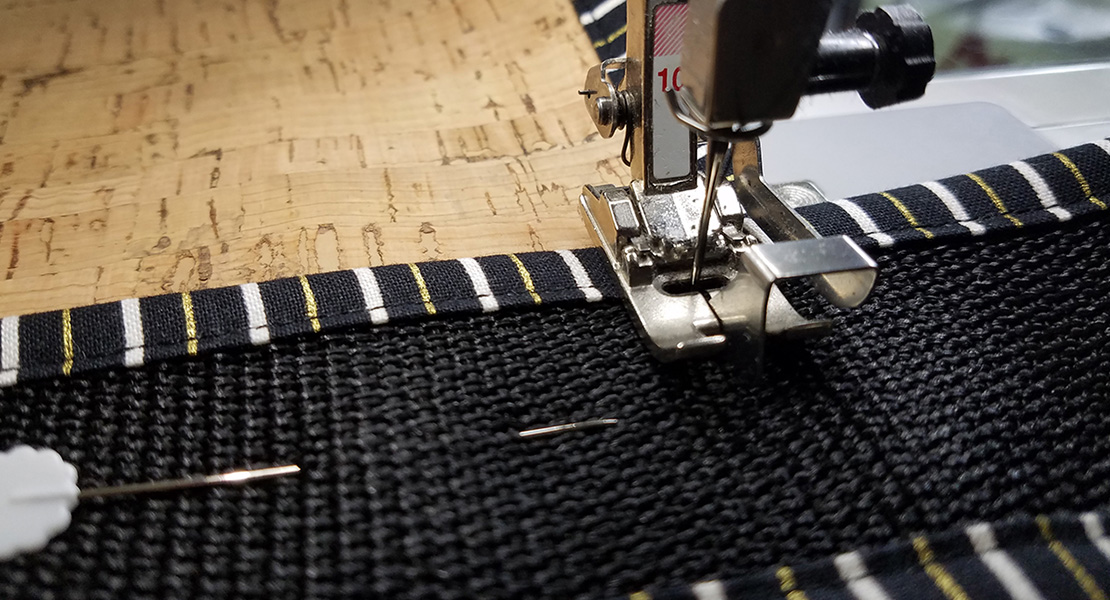
Using your Open embroidery foot with non-stick sole #56 or Walking foot #50 and your topstitching thread, edgestitch down each side.

Time to turn this into a shoulder bag now. First, let’s sew the main fabric side. Make a small pleat at the zipper end to even things out and to keep from having a wonky pucker. And from that point, sew the side seams using a 5/8 inch seam allowance.
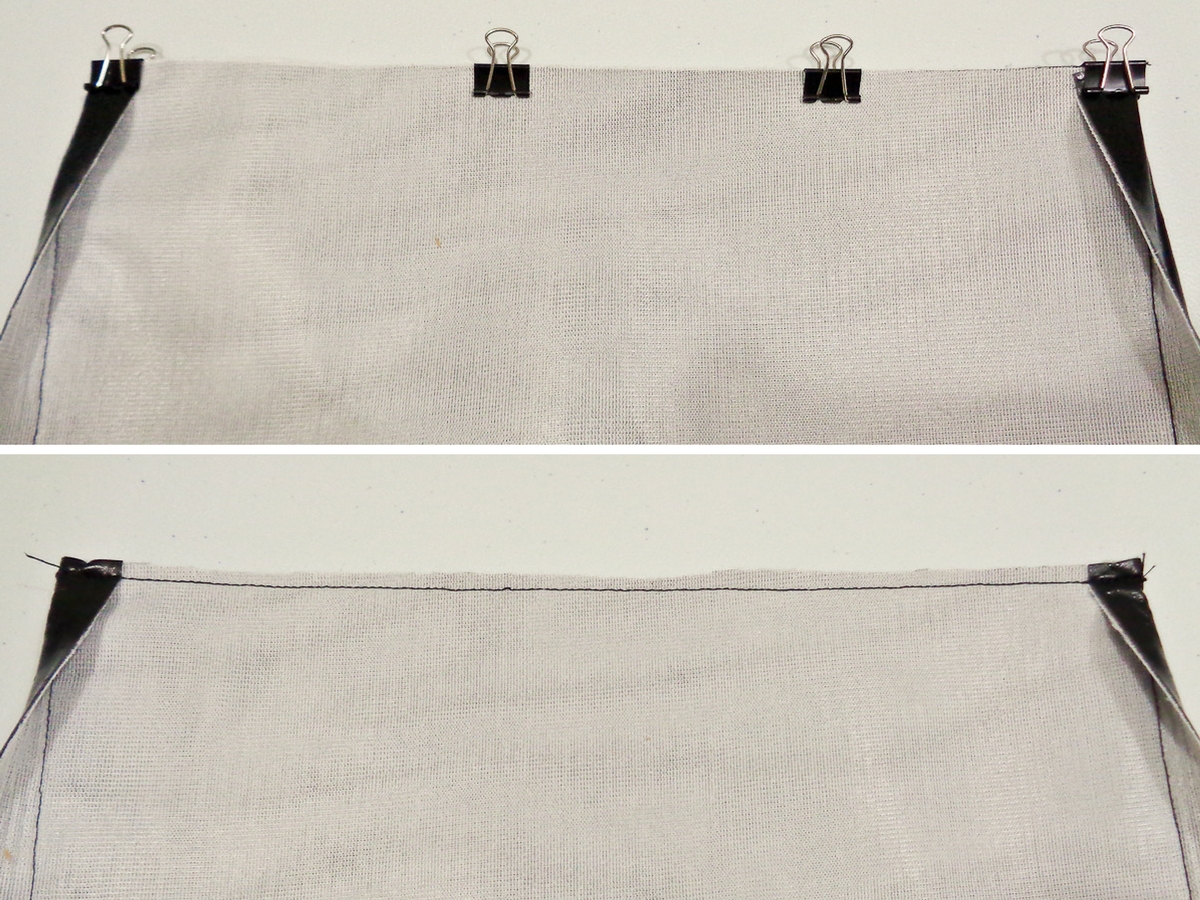
To make sure that you get good corners, fold in the seam allowances and stitch the bottom edge at a 5/8 inch seam allowance. Trim the seam allowance down to about 1/8 inch.
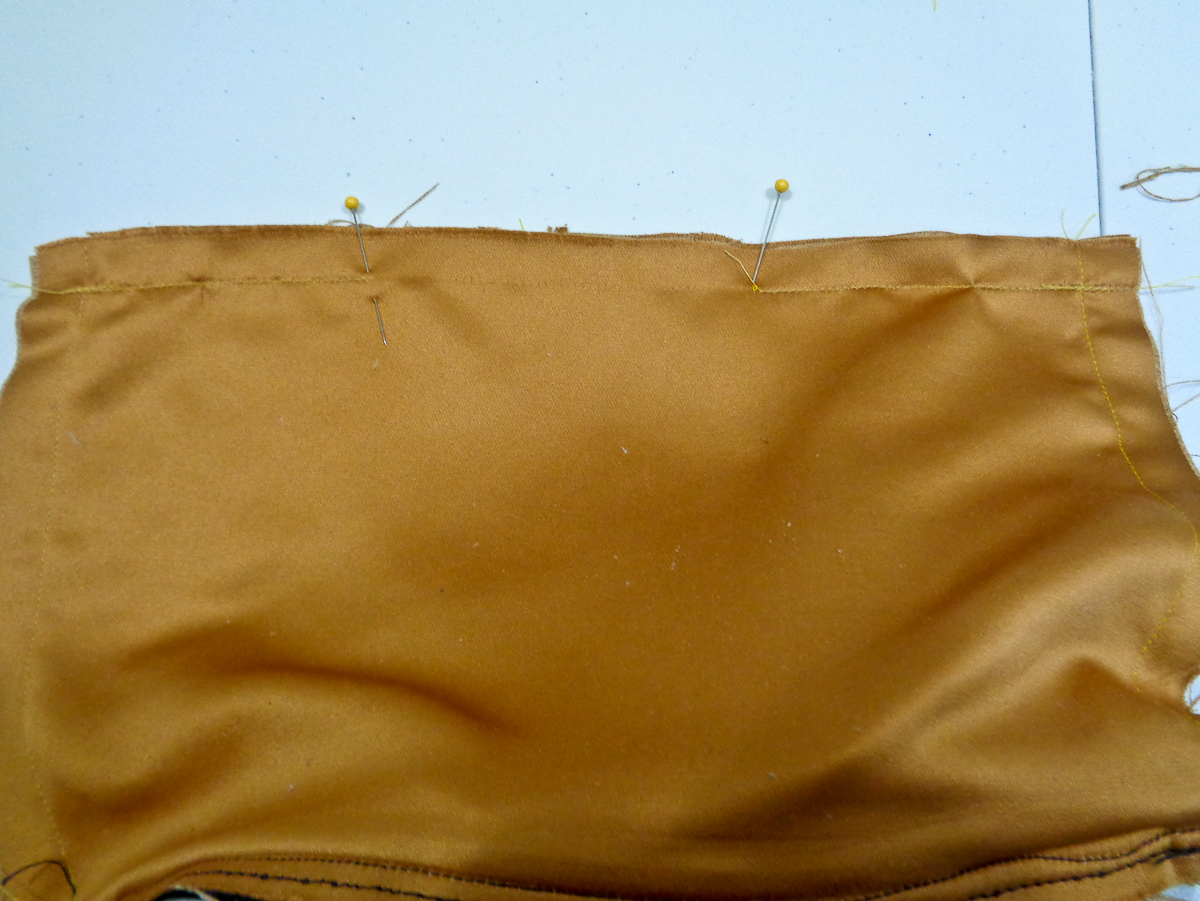
Turn the bag around and sew the lining using your matching thread at a 5/8 inch seam allowance. Leave an opening of 4 inches at the bottom edge to turn.
Turn right side out and edgestitch closed your opening closed.
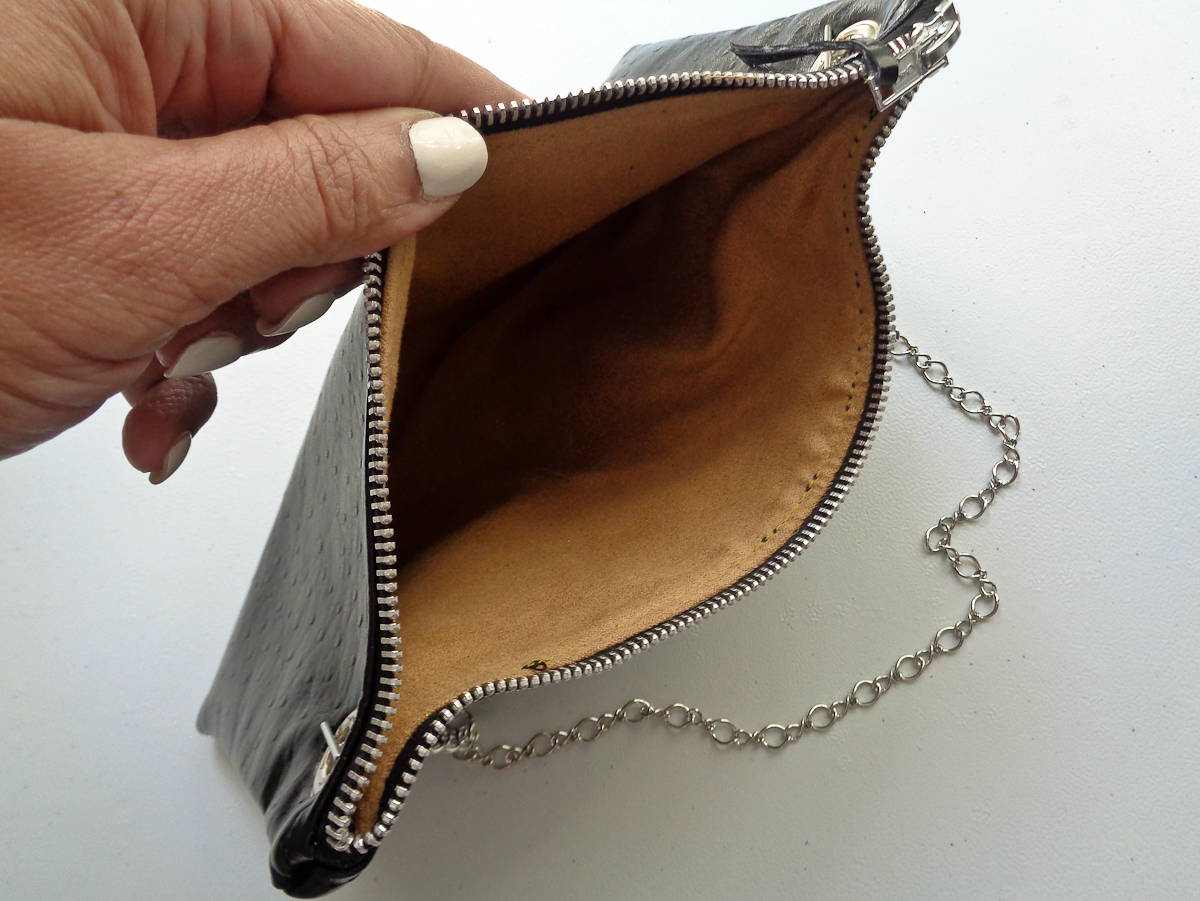
At this point, this is how it should look.
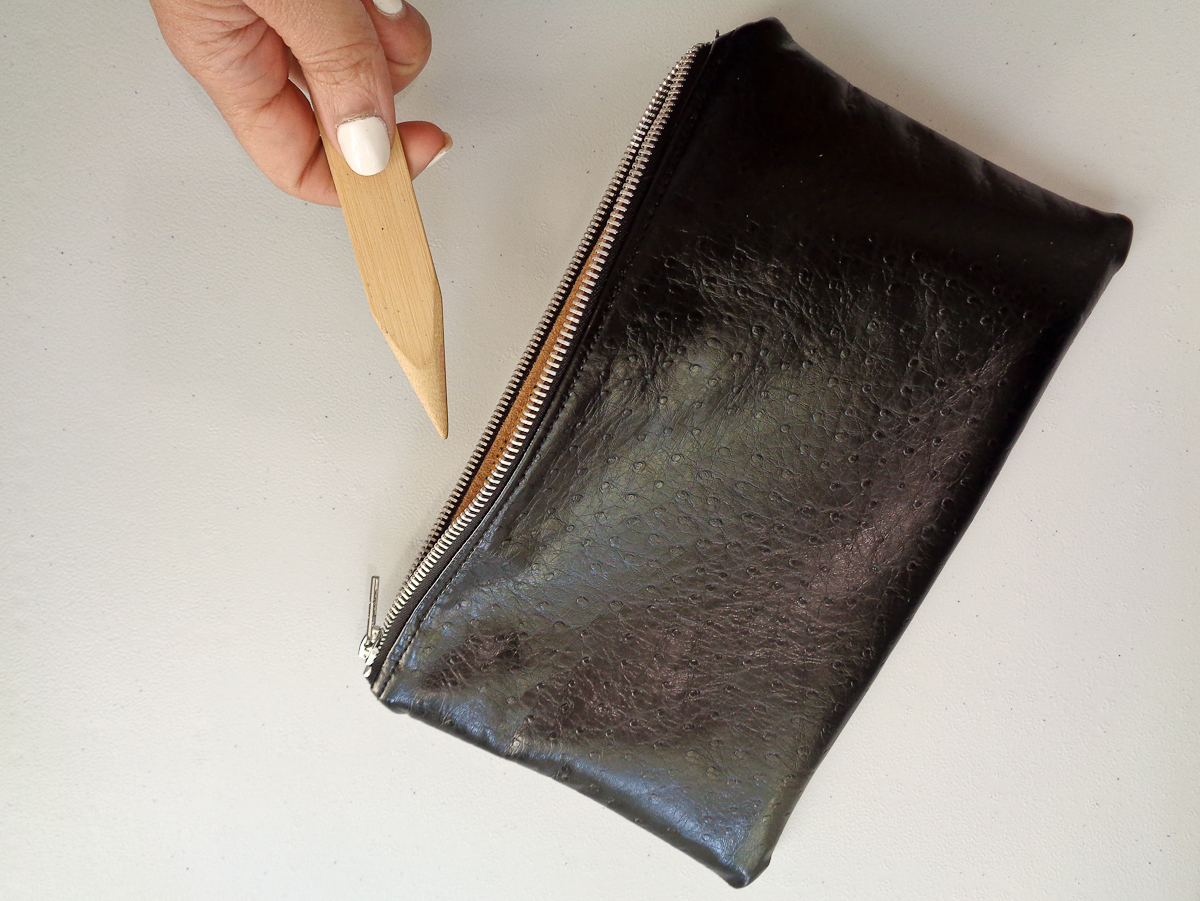
Using a point turner, push out all of your corners. Using a pressing cloth, give the shoulder bag a good press.
Adding the detachable chain to the clutch:
In each corner, 1/2 inch from the top and the sides, make a marking for your grommet.
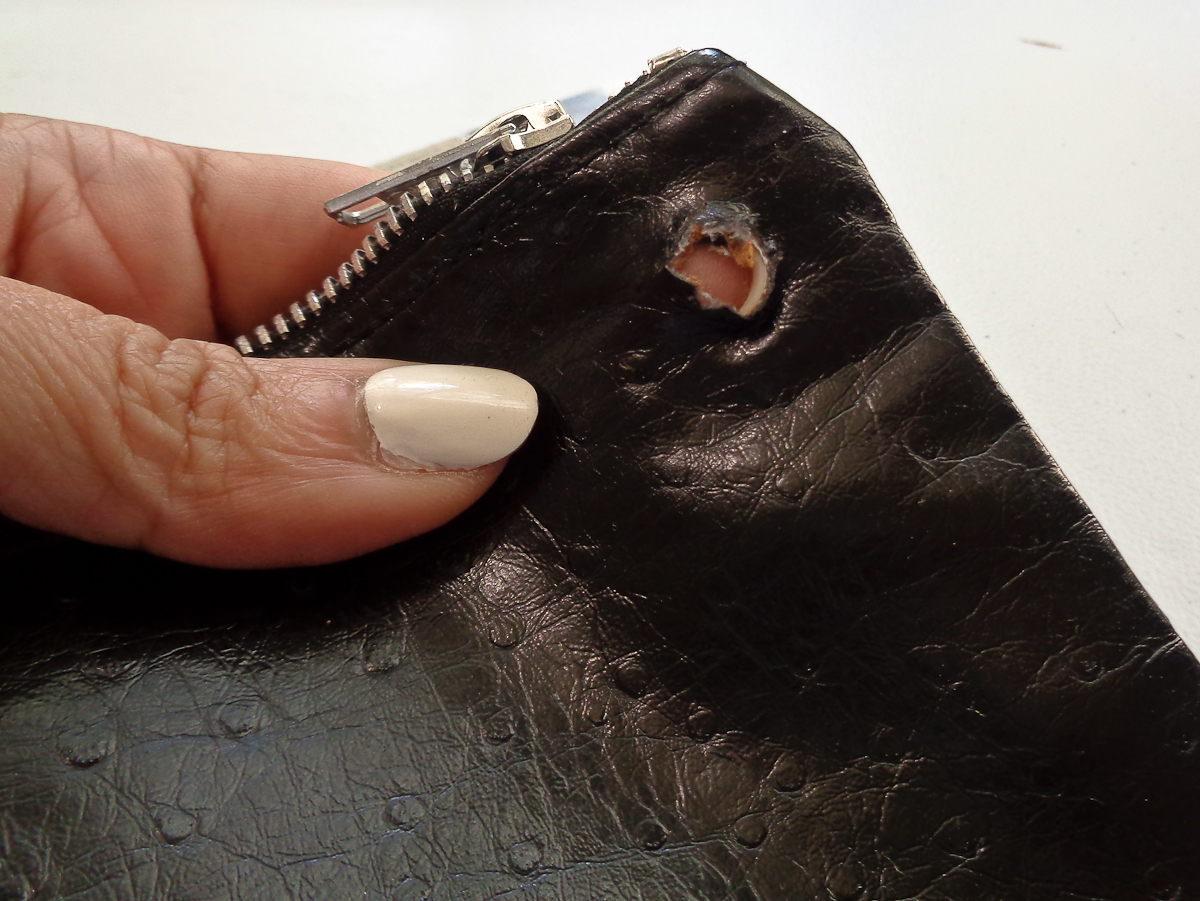
Using an exacto knife or scissors, make a hole large enough for your grommet to fit in. Cut through both sides of the clutch.
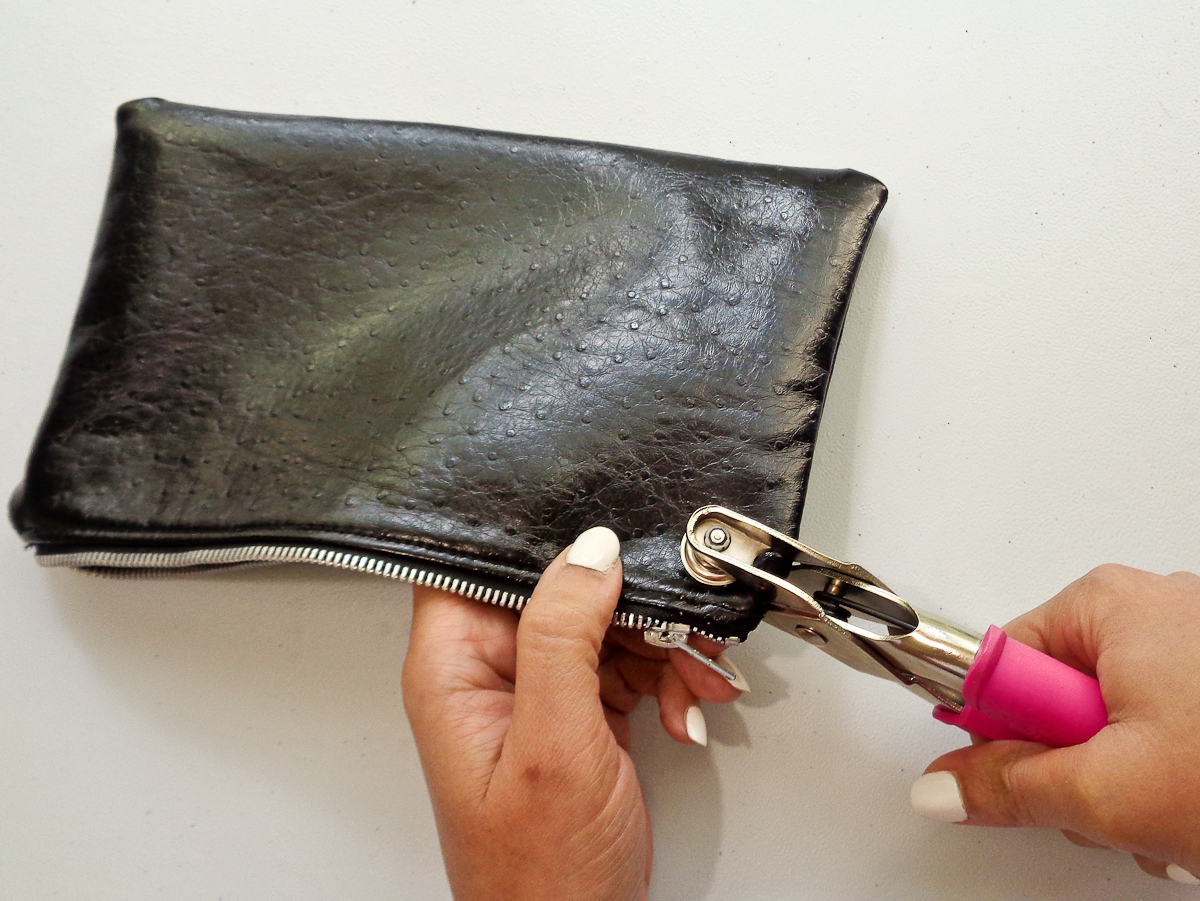
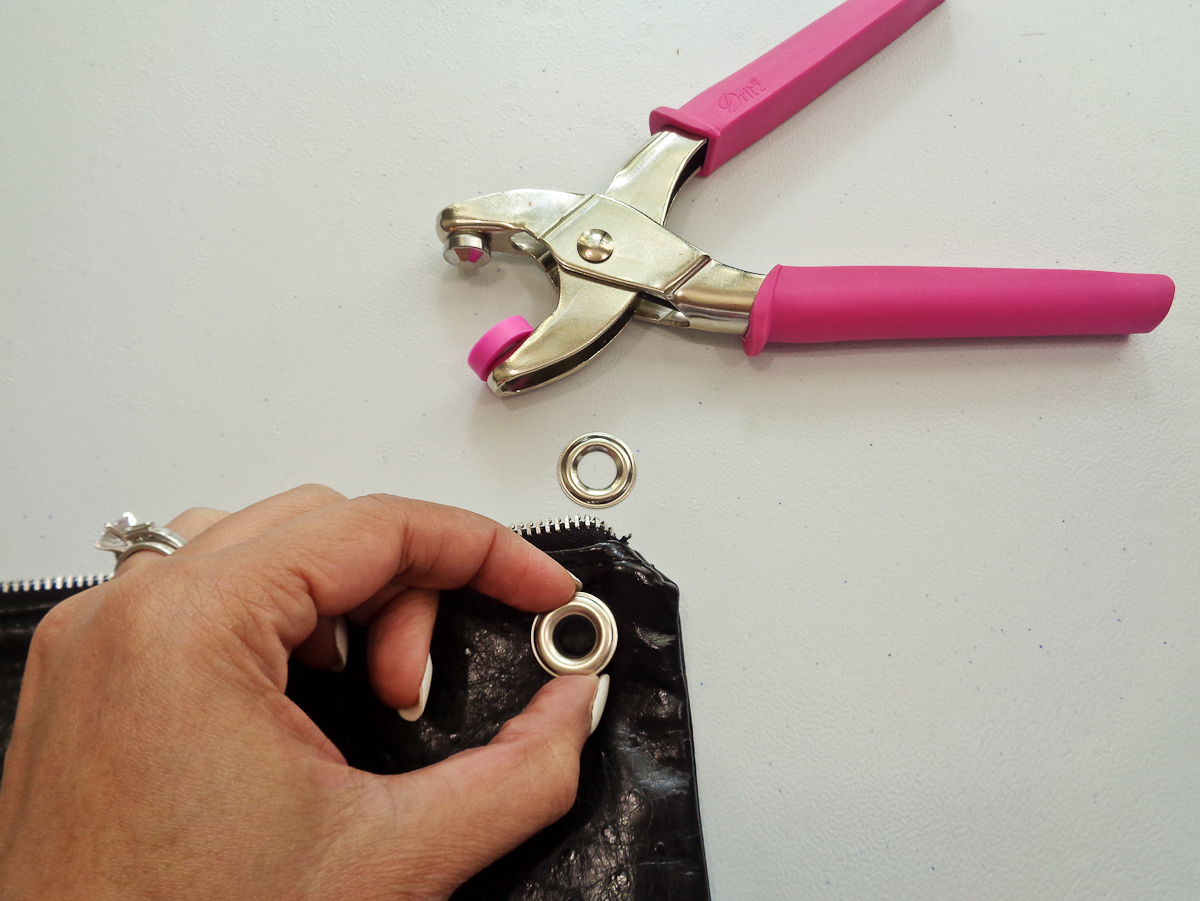
Slide the grommet through the hole and the washer on the other side. Use either a grommet tool kit or grommet setting pliers to secure the grommet.
Repeat in the other corner.
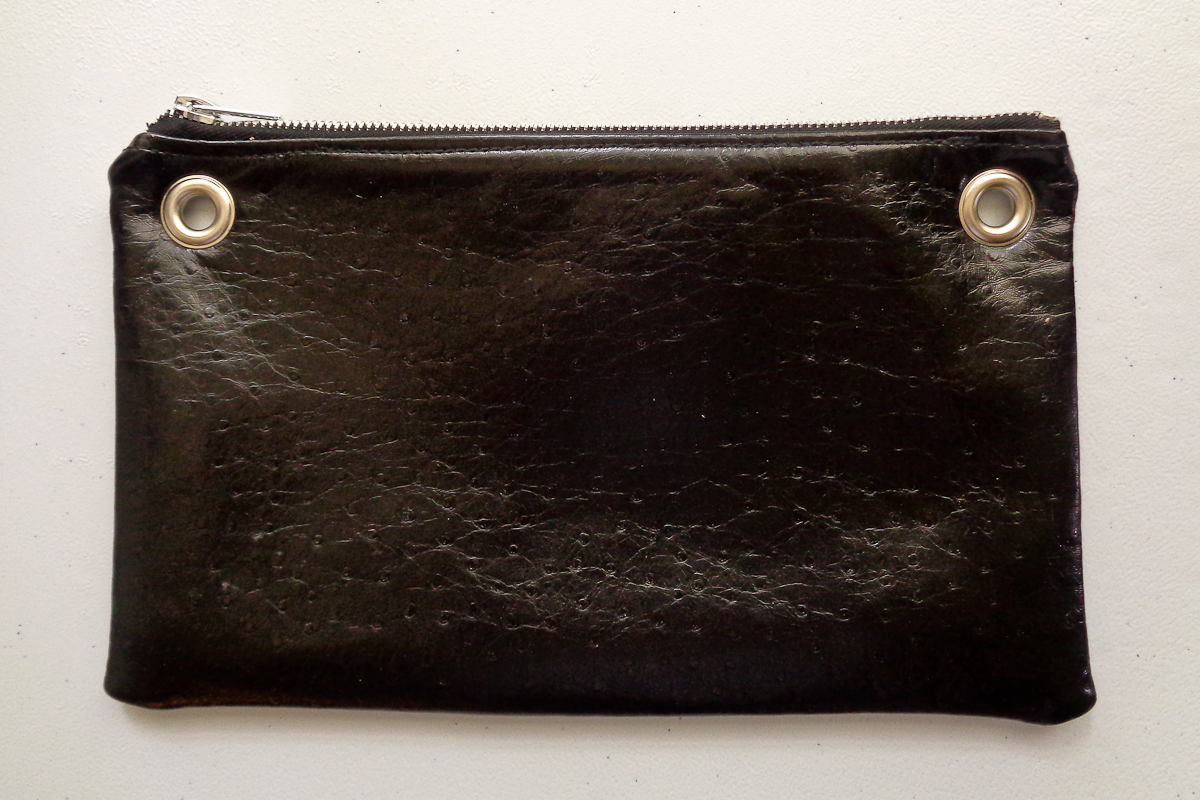
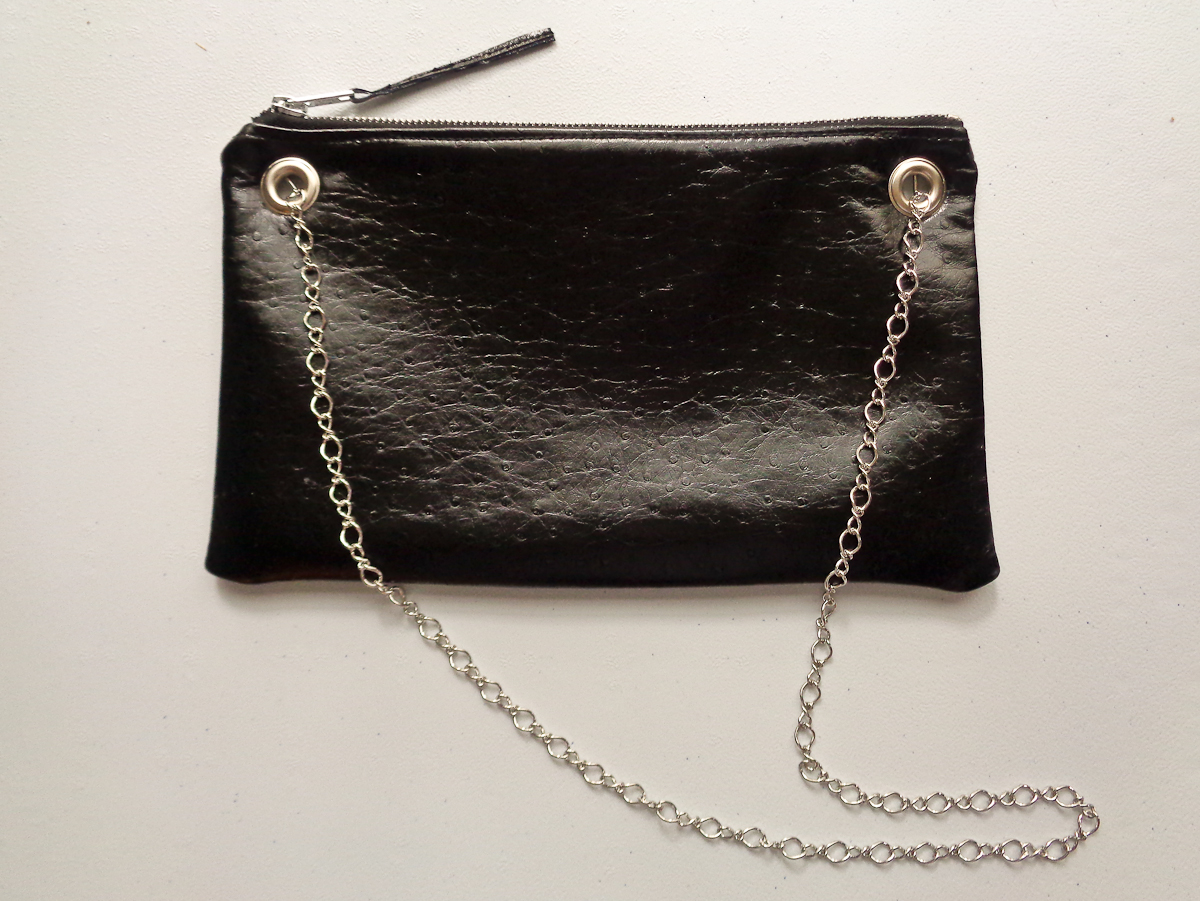
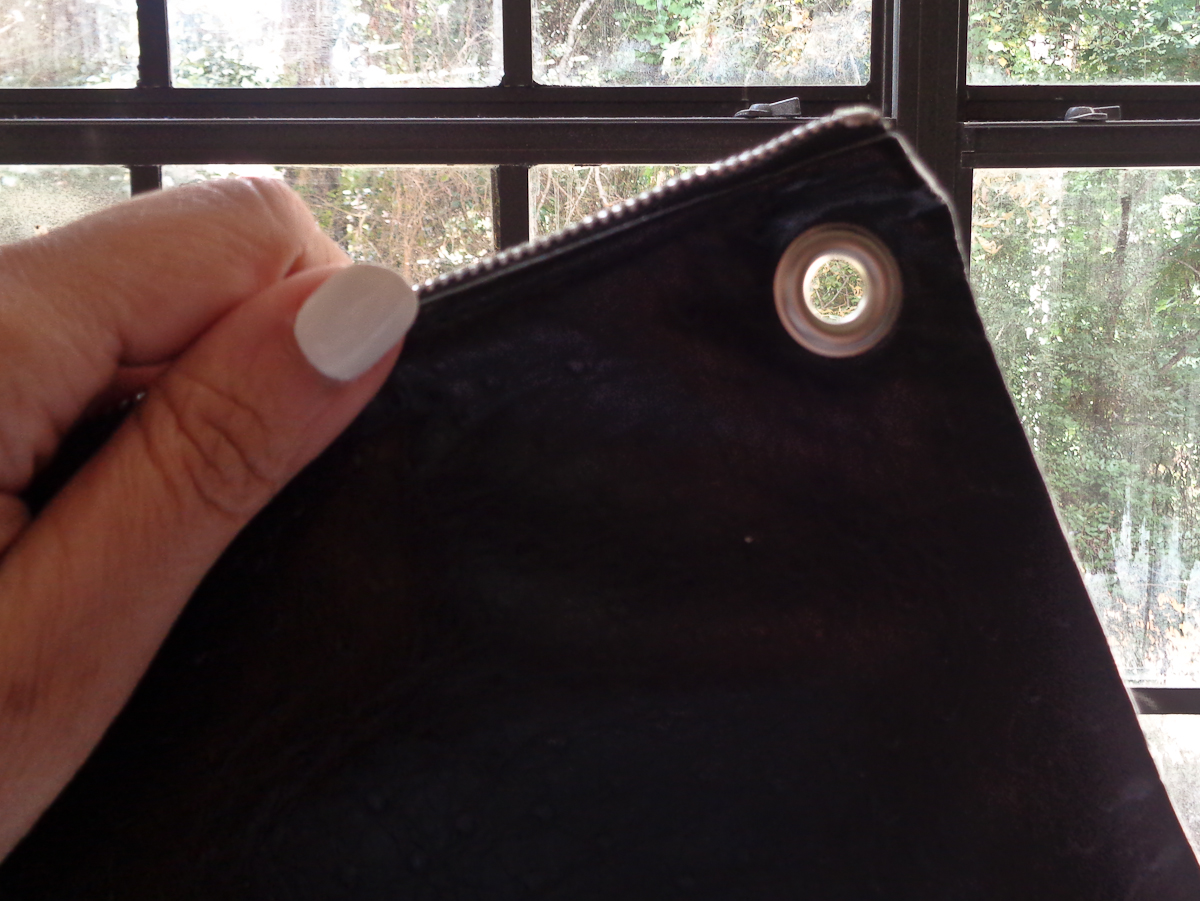
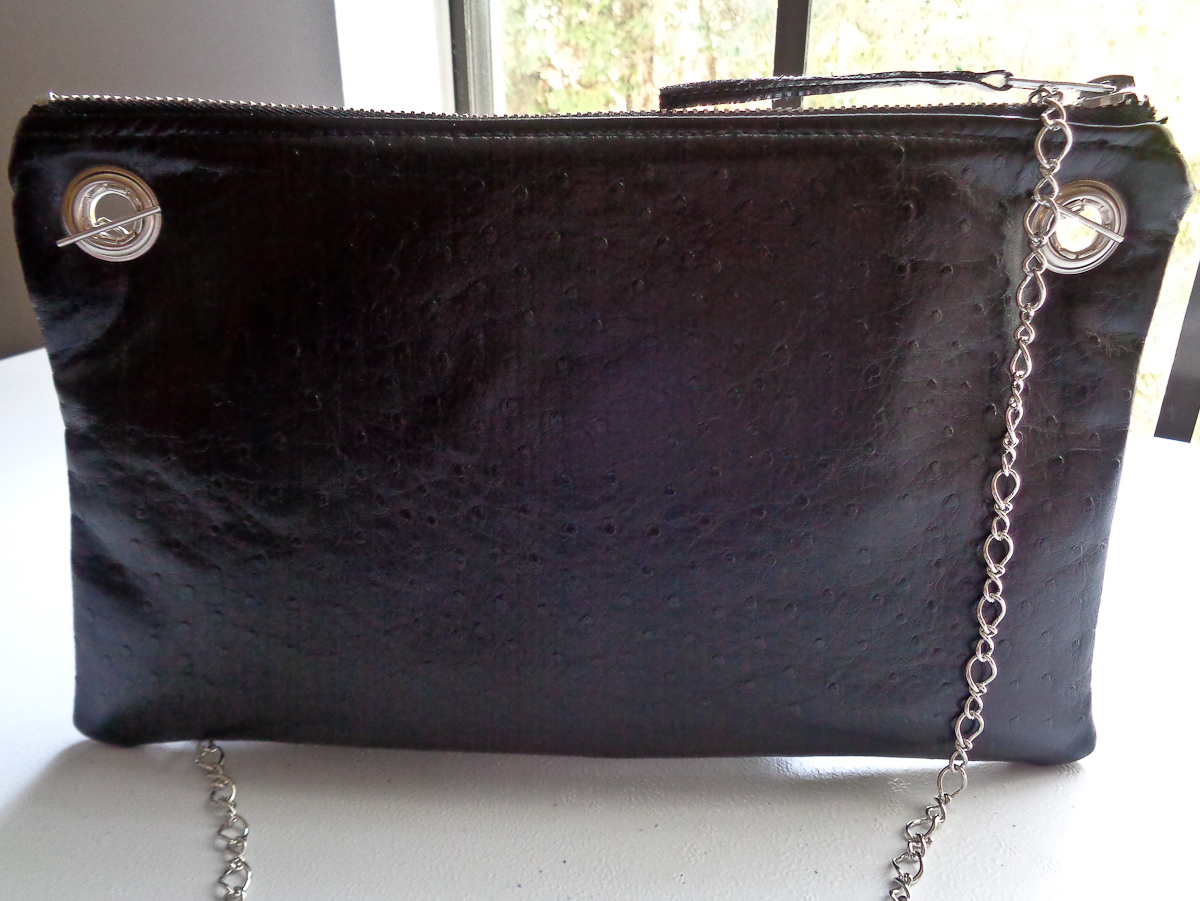
Both grommets are now set. Let’s add the chain.
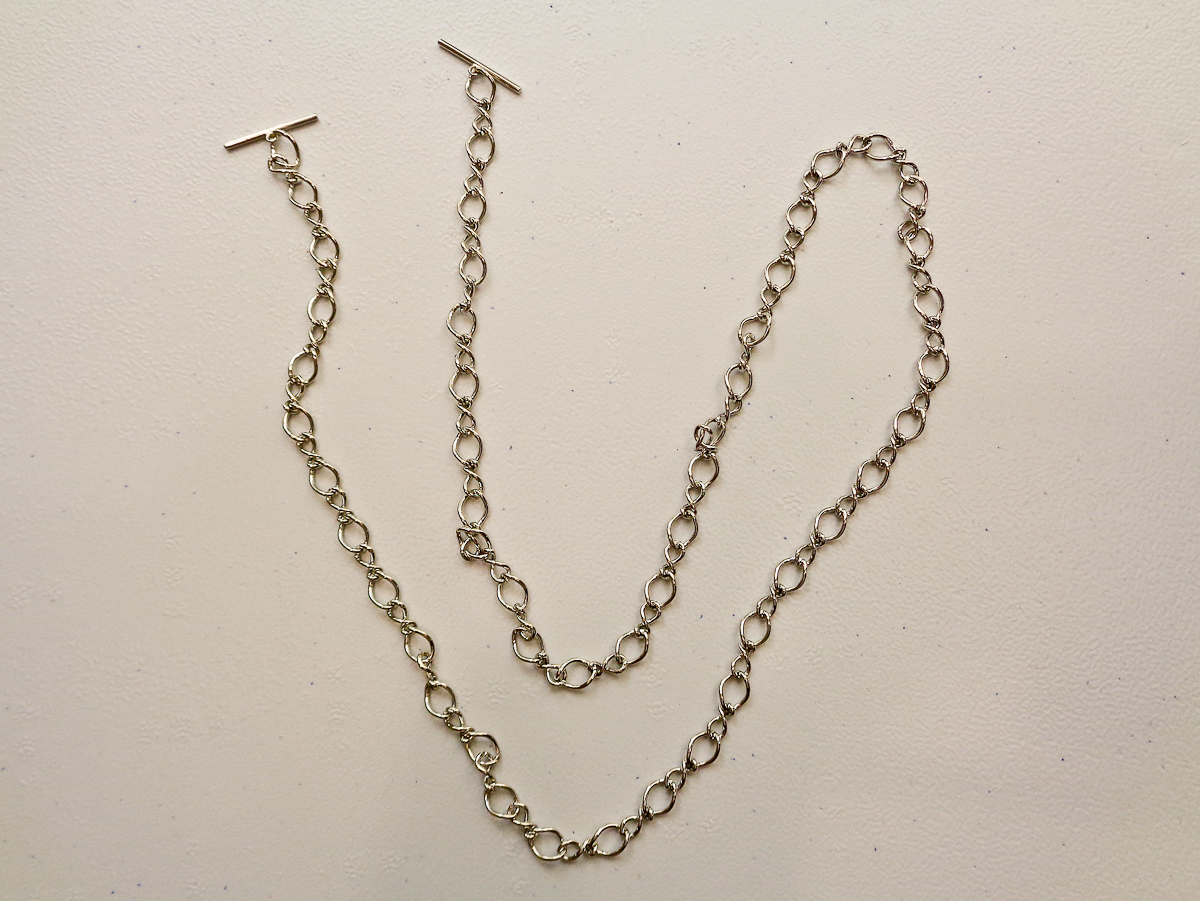
You can find your chain and toggles in the jewelry making section of your favorite craft store. My chain is around 30 inches. You can make yours shorter or longer. I used a side cutter to cut the length. And needle nose pliers to open the link and add the toggles to each end. Slip a toggle through the grommets on the same side of the clutch.
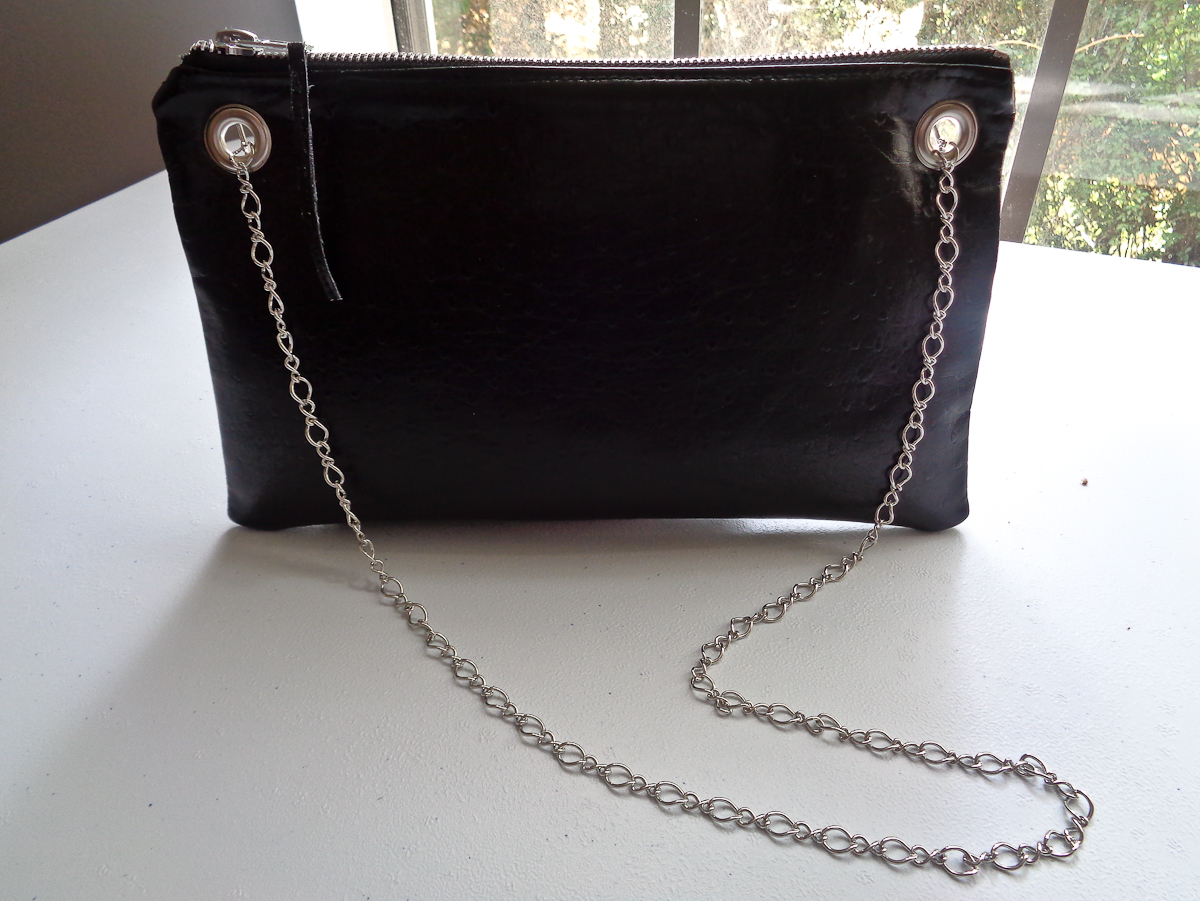
You can add a strip of leather to embellish your zipper pull if you like.

And your clutch with chain strap is done! I hope you have enjoyed this tutorial and your new bag.
Used Products


What you might also like


3 comments on “Clutch With Detachable Chain Strap”
-
-
I love anything that can perform double duty! Thanks Michelle!
-
Hi, I know this post is so last year but I just have to comment on how nice that clutch is, I really like it!
Leave a Reply
You must be logged in to post a comment.
Cute I like adding the grommets with the chain option and it still would look cool without the chain.