Daring Garland
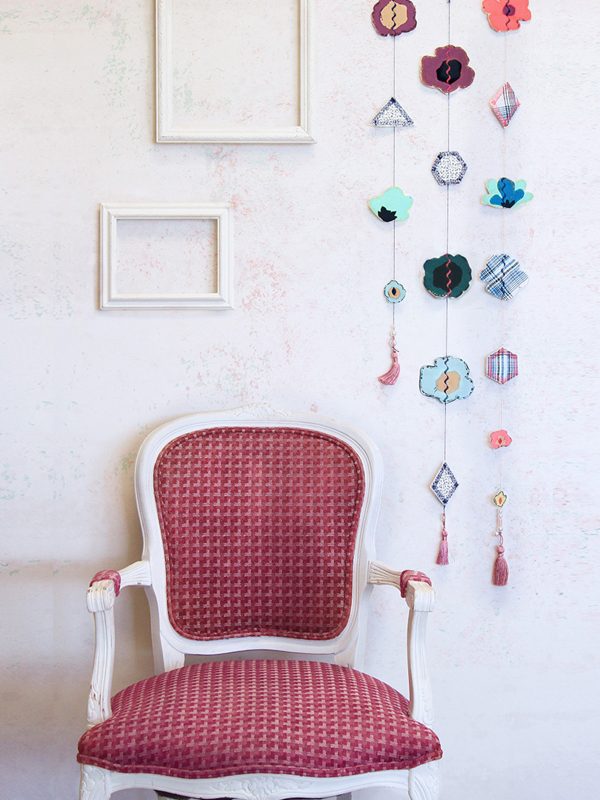
I wanted to share a quick and easy tutorial that will give your home decor a daring accent. This Daring Garland project will teach you how to use the satin and heirloom stitch that BERNINA 790 features. During the weekend I prepped this adorable Daring Garland using my latest collection, Dare Fabrics. It is so fun and easy to make, you are going to adore it! For this garland, I added tassels and pearls for decoration, but you can adorn it however you see more fit. Follow the instructions below to have this cutie ready.
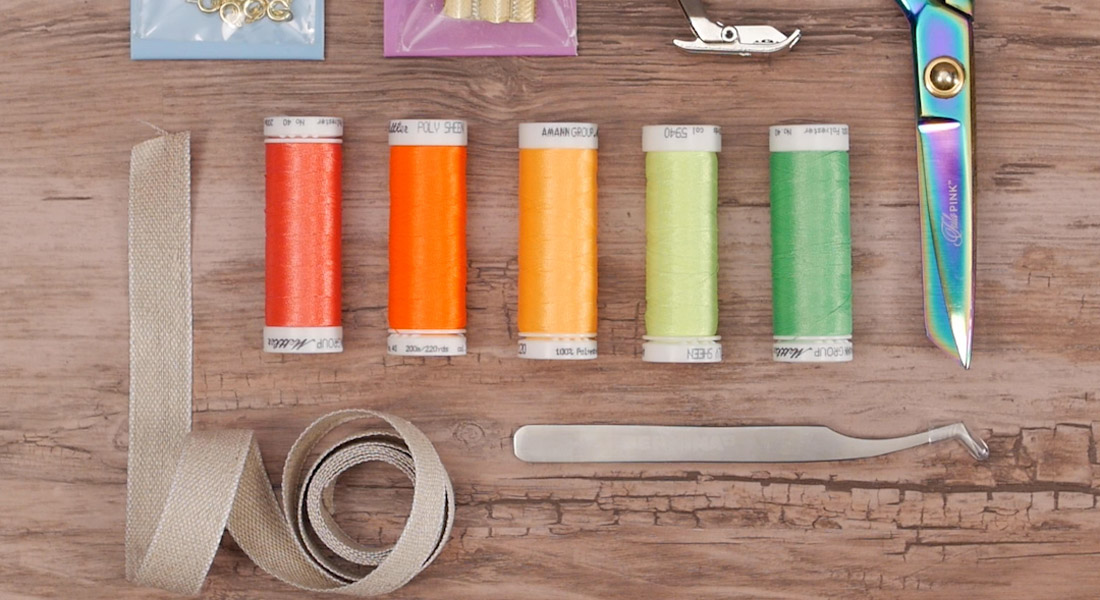
Materials to sew the Daring Garland
- 1 yard of Dare Fabrics DAR-54300
- 1 yard of Dare Fabrics DAR-64300
- 1 fat quarter of Dare Fabrics DAR-54305
- 1 fat quarter of Dare Fabrics DAR – 54301
- 1 yard of double sided fusible stiff interfacing
- Universal needles, size 80/12
- Your sewing machine: I sew on a BERNINA 790
- Open embroidery foot (BERNINA Open embroidery foot #20C)
- AURIFIL cotton thread 2530, 2783 and 2783, 2530 floss thread
Cutting Instructions:
- From the 1 yard of Dare Fabrics DAR-54300 and Dare Fabrics DAR-64300 cut as many flowers as you see required to complete your preferable garland length. In my case, I created three garlands measuring 28”, 48” and 50” respectively. So I cut 11 flowers.
- For the 1 fat quarter of Dare Fabrics DAR-54305 and Dare Fabrics DAR – 54301, I cut 1 triangle, two hexagons and two rhombus shapes. Also these fabrics will work as backing for the flowers. In my case, I used the same fabric for the backing as for the geometrical shapes per garland e.g for row measuring 28” and 48”, I used DAR – 54305 for both backing and geometric shapes. And for row measuring 50” I used DAR – 54301 for both backing and geometric shapes.
- From double sided fusible stiff interfacing, cut the shapes of all the flowers and geometrical shapes.
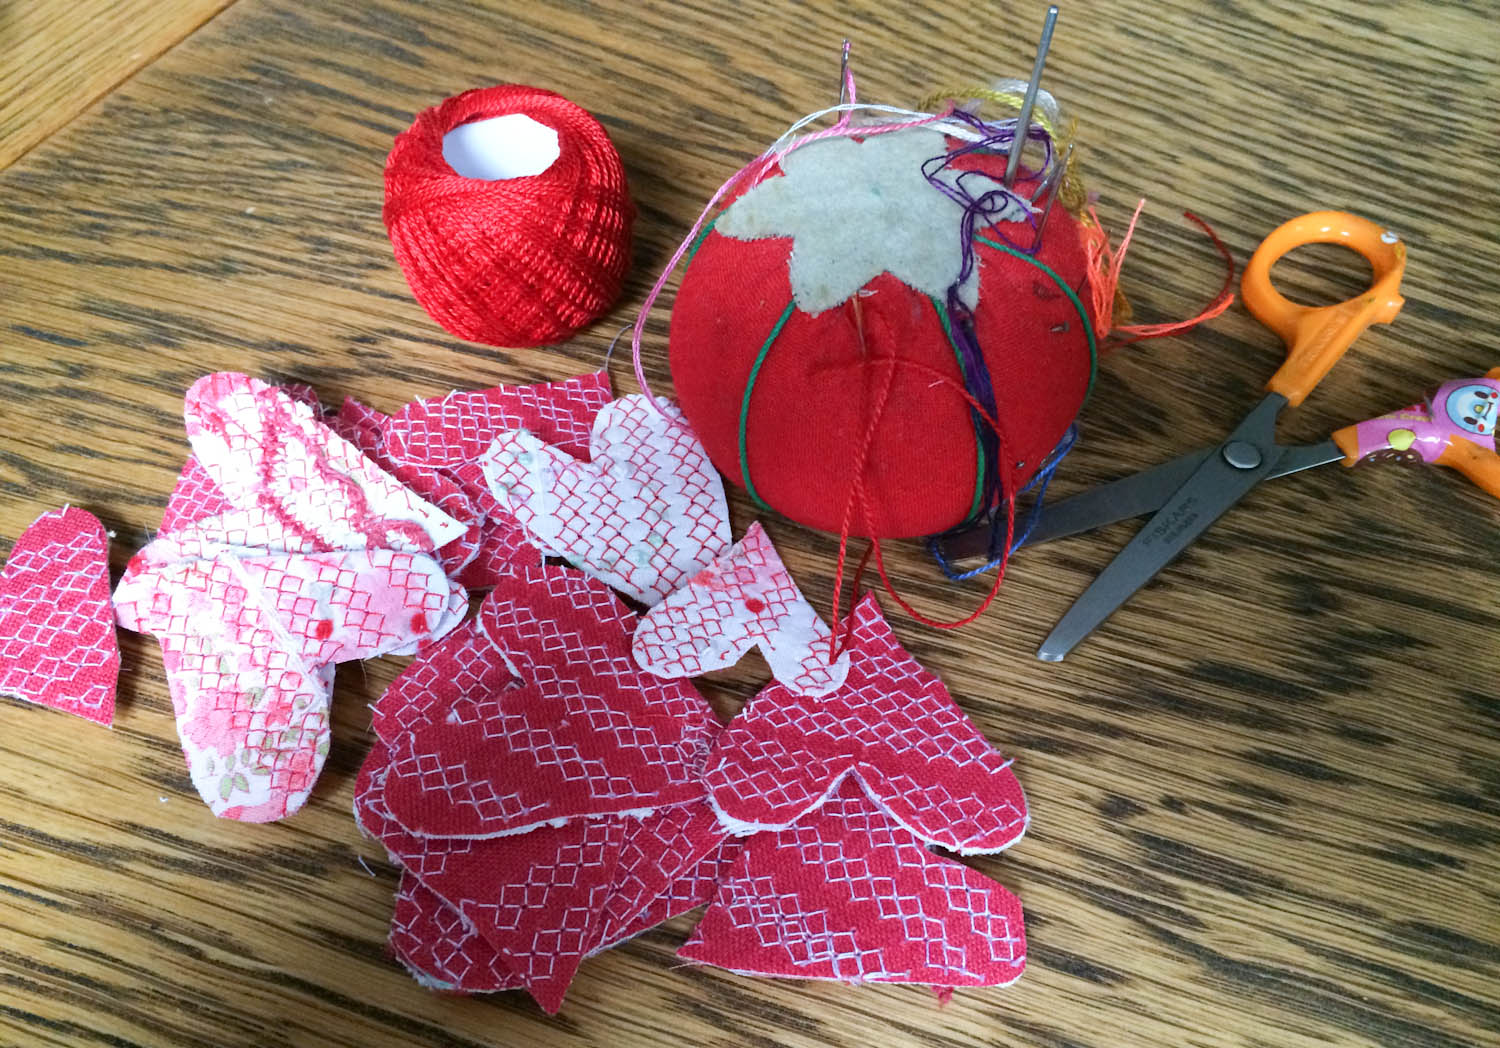
Step 1- Attach 2783 Floss Thread to Flowers and Shapes
Once all of your pieces are cut, we will start sandwiching the pieces with the 2783 floss thread in the middle.
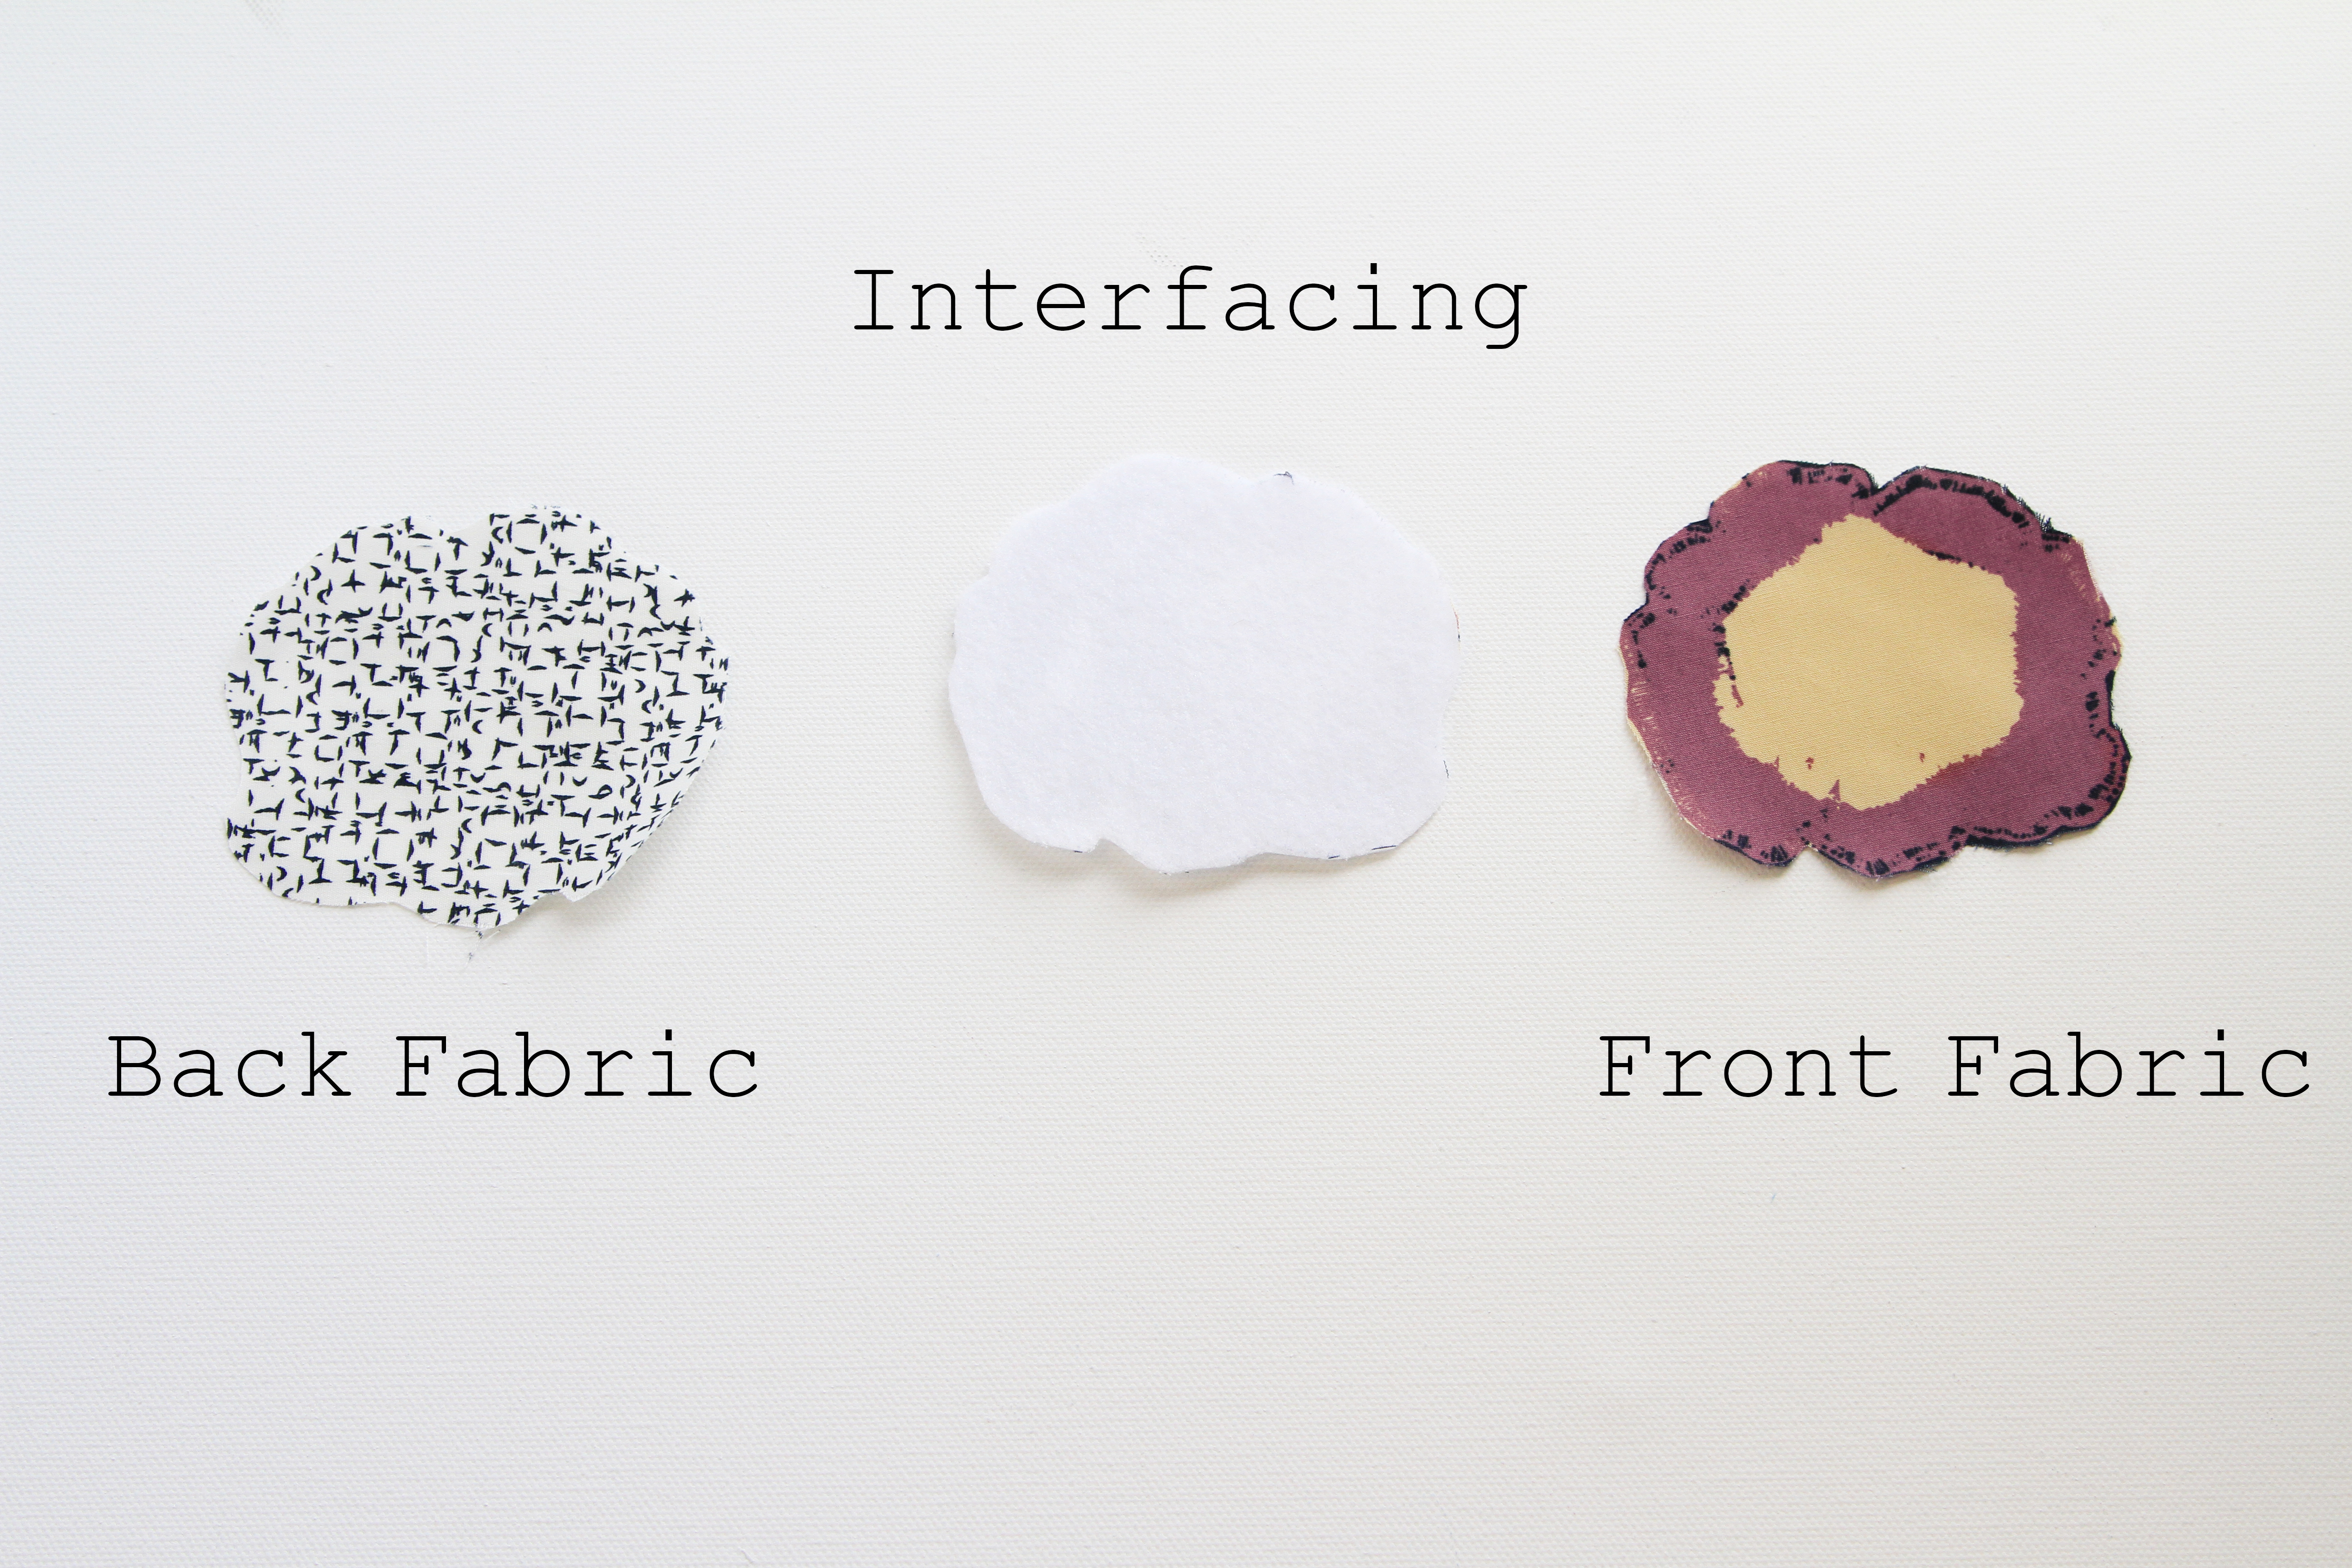
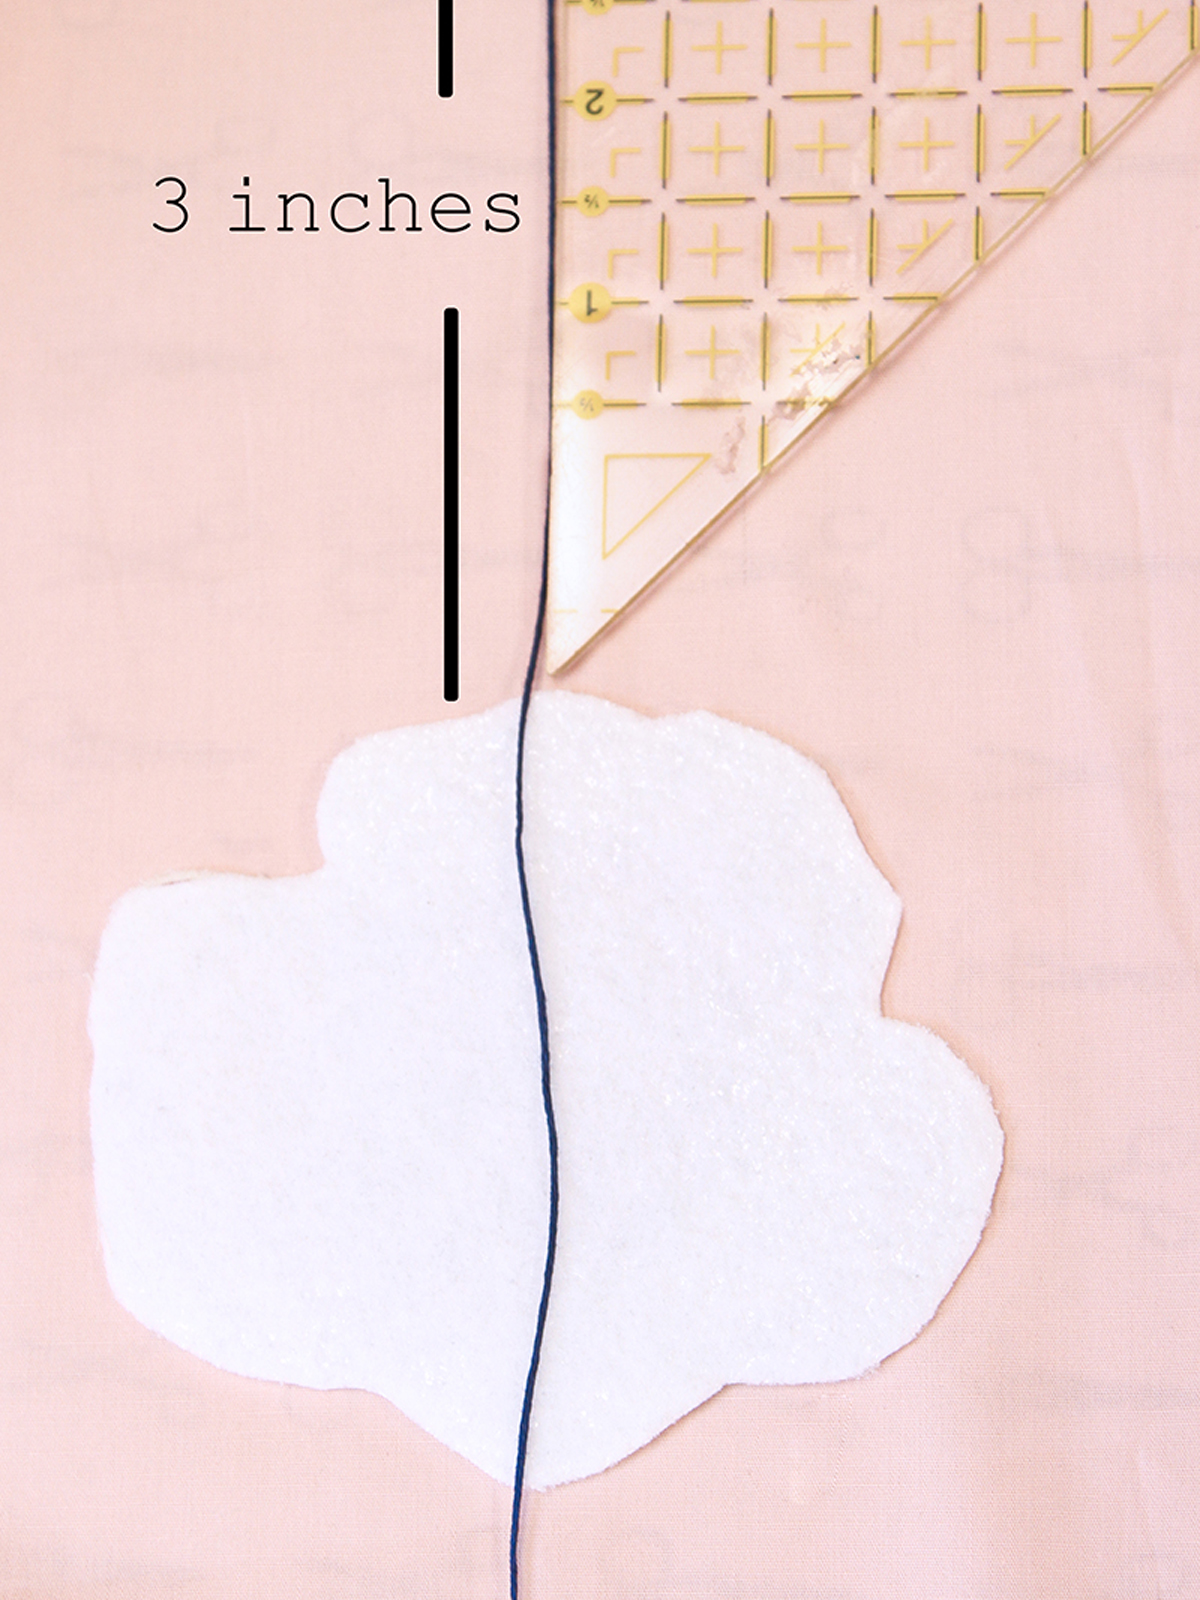
Start by pressing the back fabric with interfacing (we will start with the 48” garland), then get a piece of floss thread measuring 48” and from top to button measure 3”. Get the pressed backing and interfacing, having the interfacing facing up, add the floss thread.
TIP: Due to the interfacing being double sided fusible, I used a piece of cloth when pressing, that way it wont stick on my pressing board.
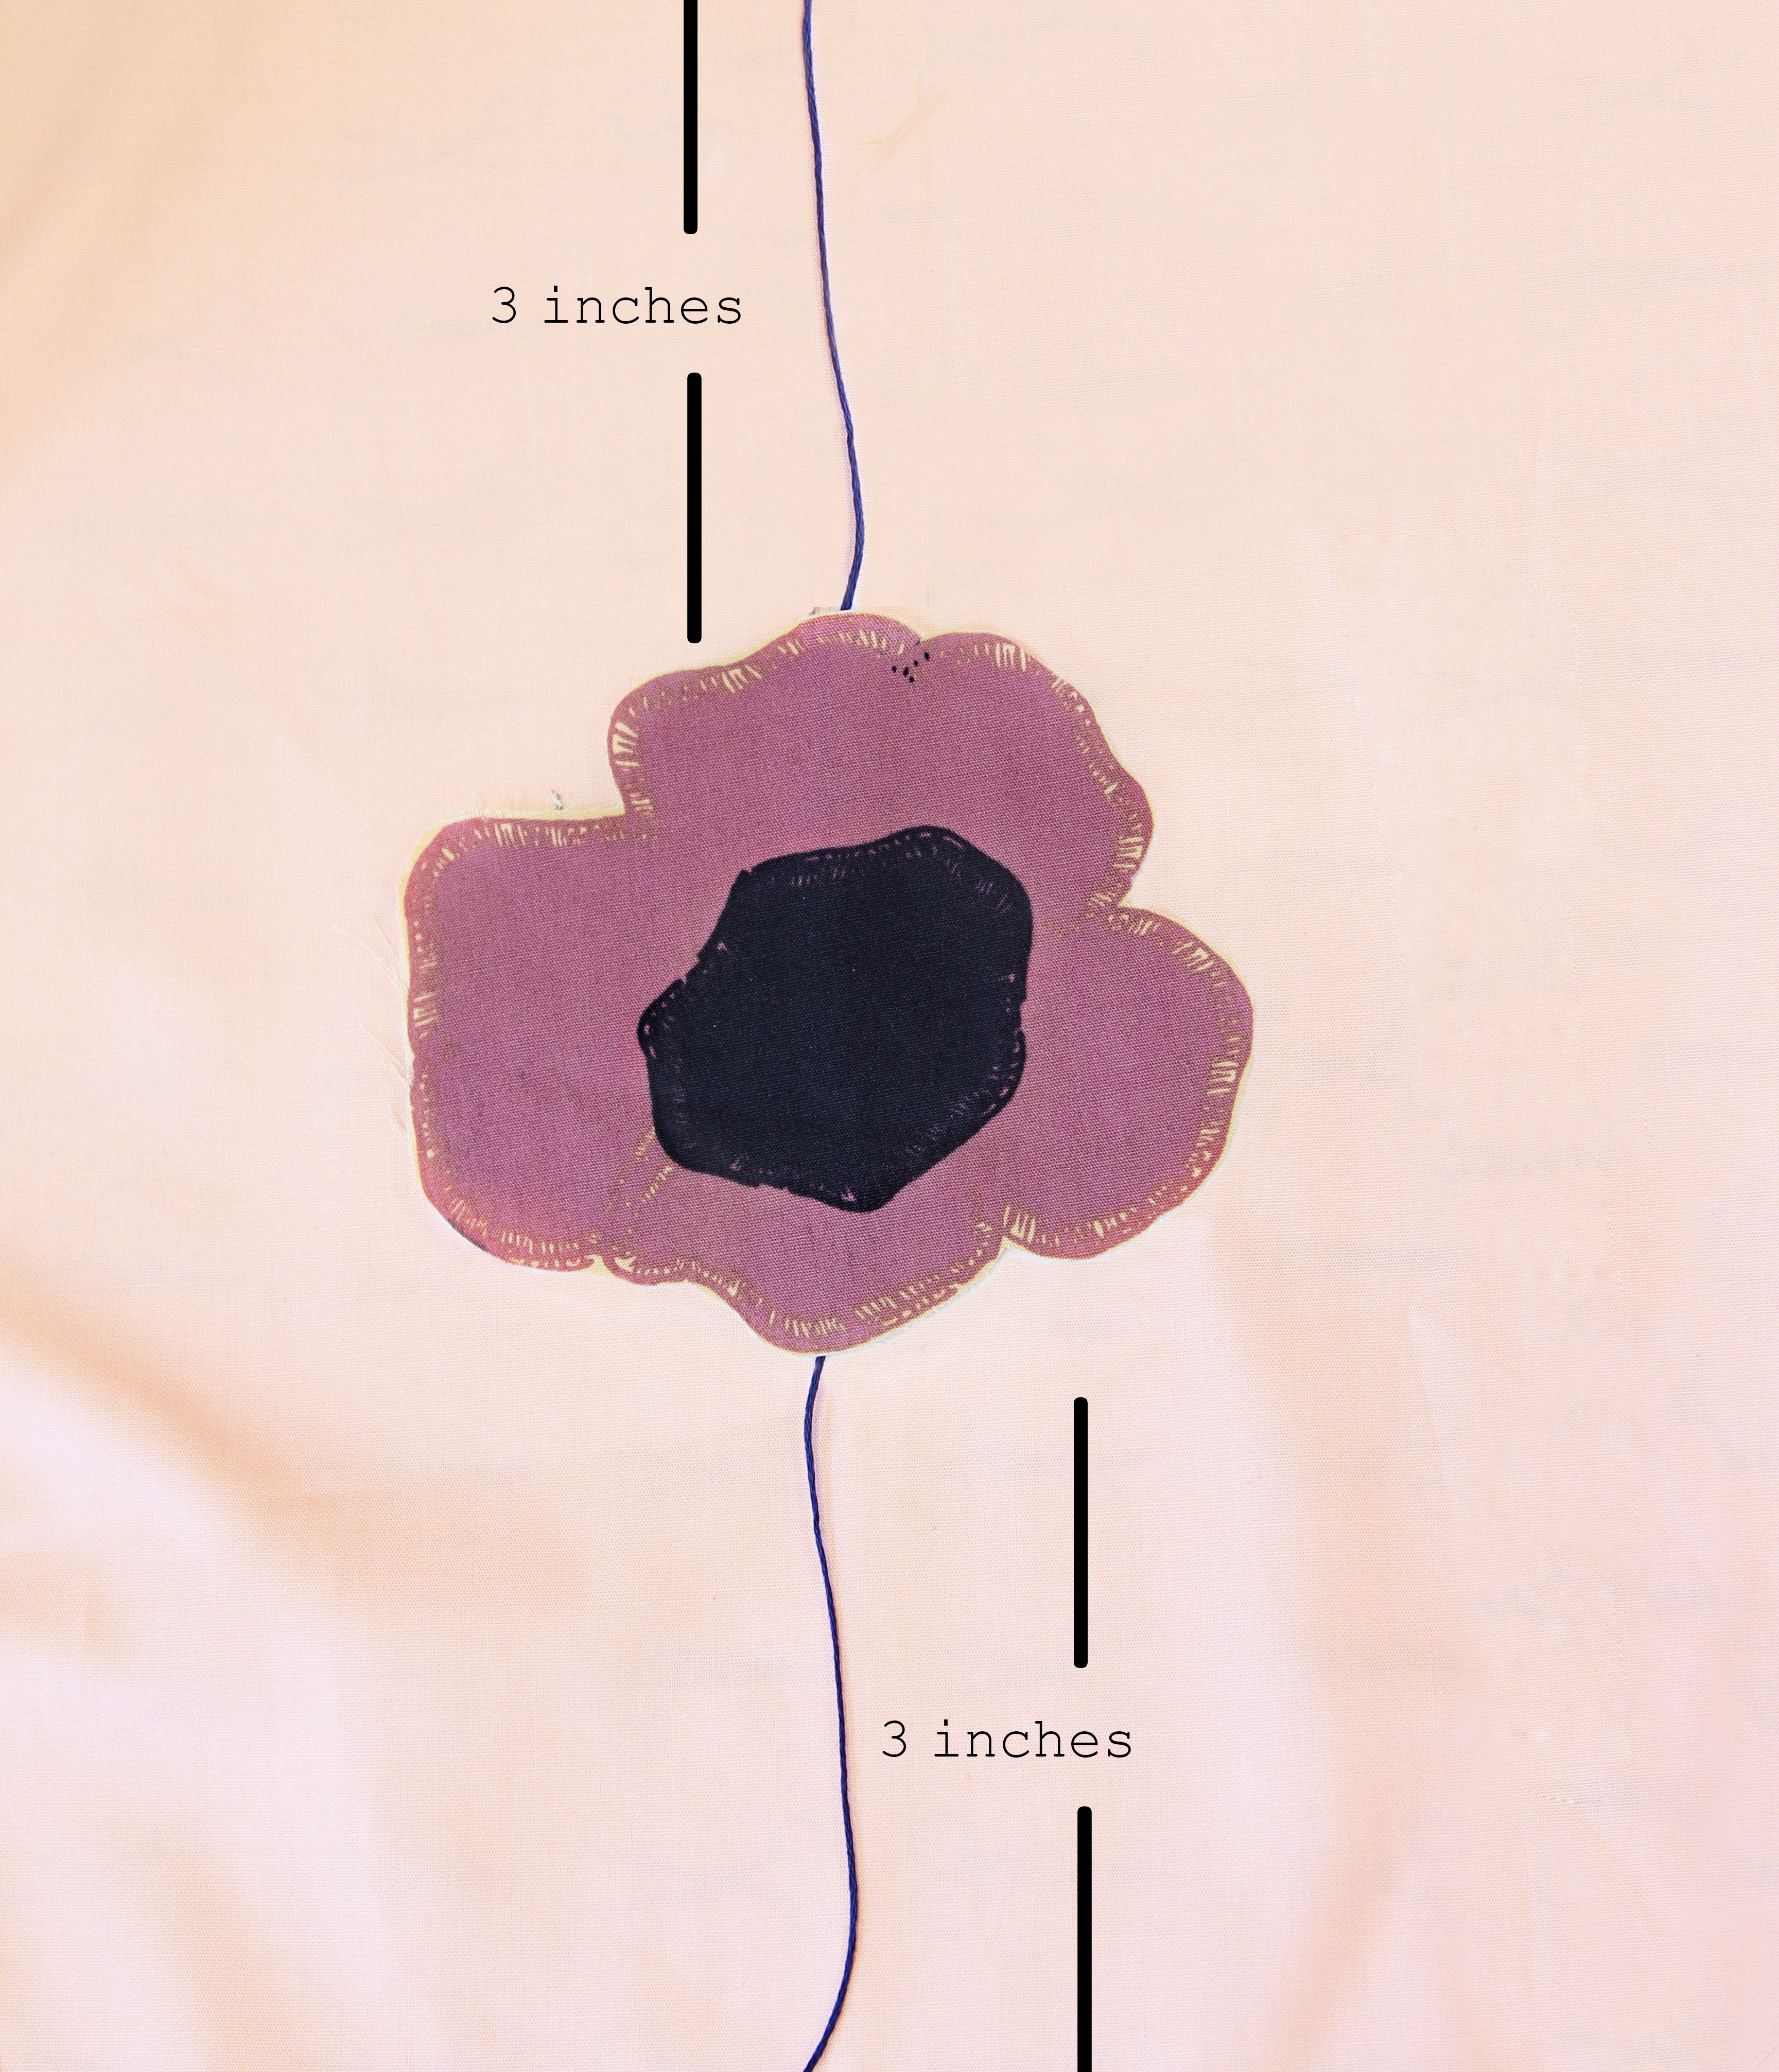
Now press the front fabric and we have the first flower attached, repeat this step with the rest of the flowers and geometrical shapes. This is a free project that you can design as you want.
NOTE: For the 48” and 50” garland, I made a 3” separation from each flower or shape; and for the 20” garland is a 2” separation. Also for the 50” garland I used Aurifil # 2530 floss thread.
Step 2- Adding Stitches
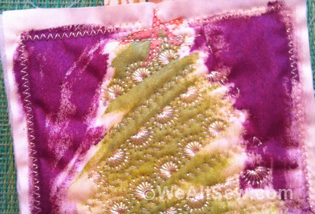
For all the geometrical shapes I decided to use the Heirloom Stitch #753. So prep your machine with BERNINA Open embroidery foot #20C and Aurifil 2530, and on your BERNINA screen select the search button and enter #753
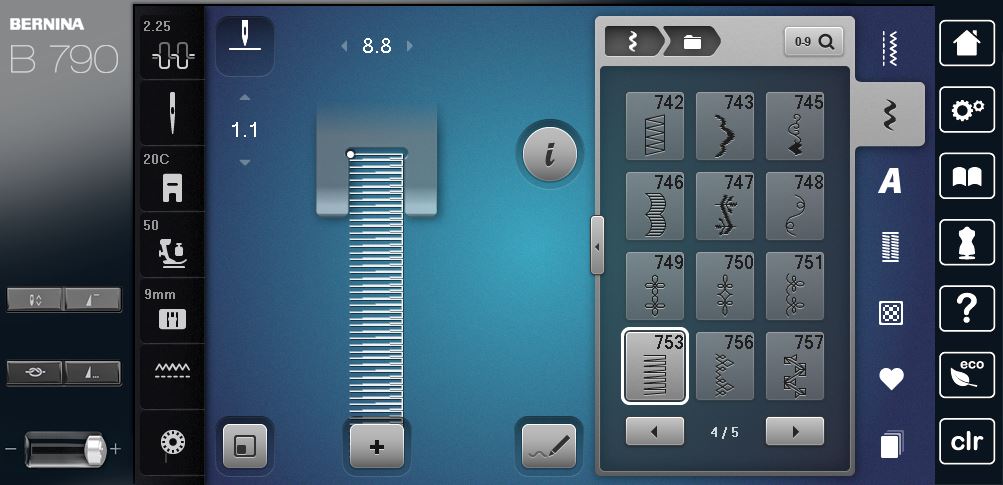
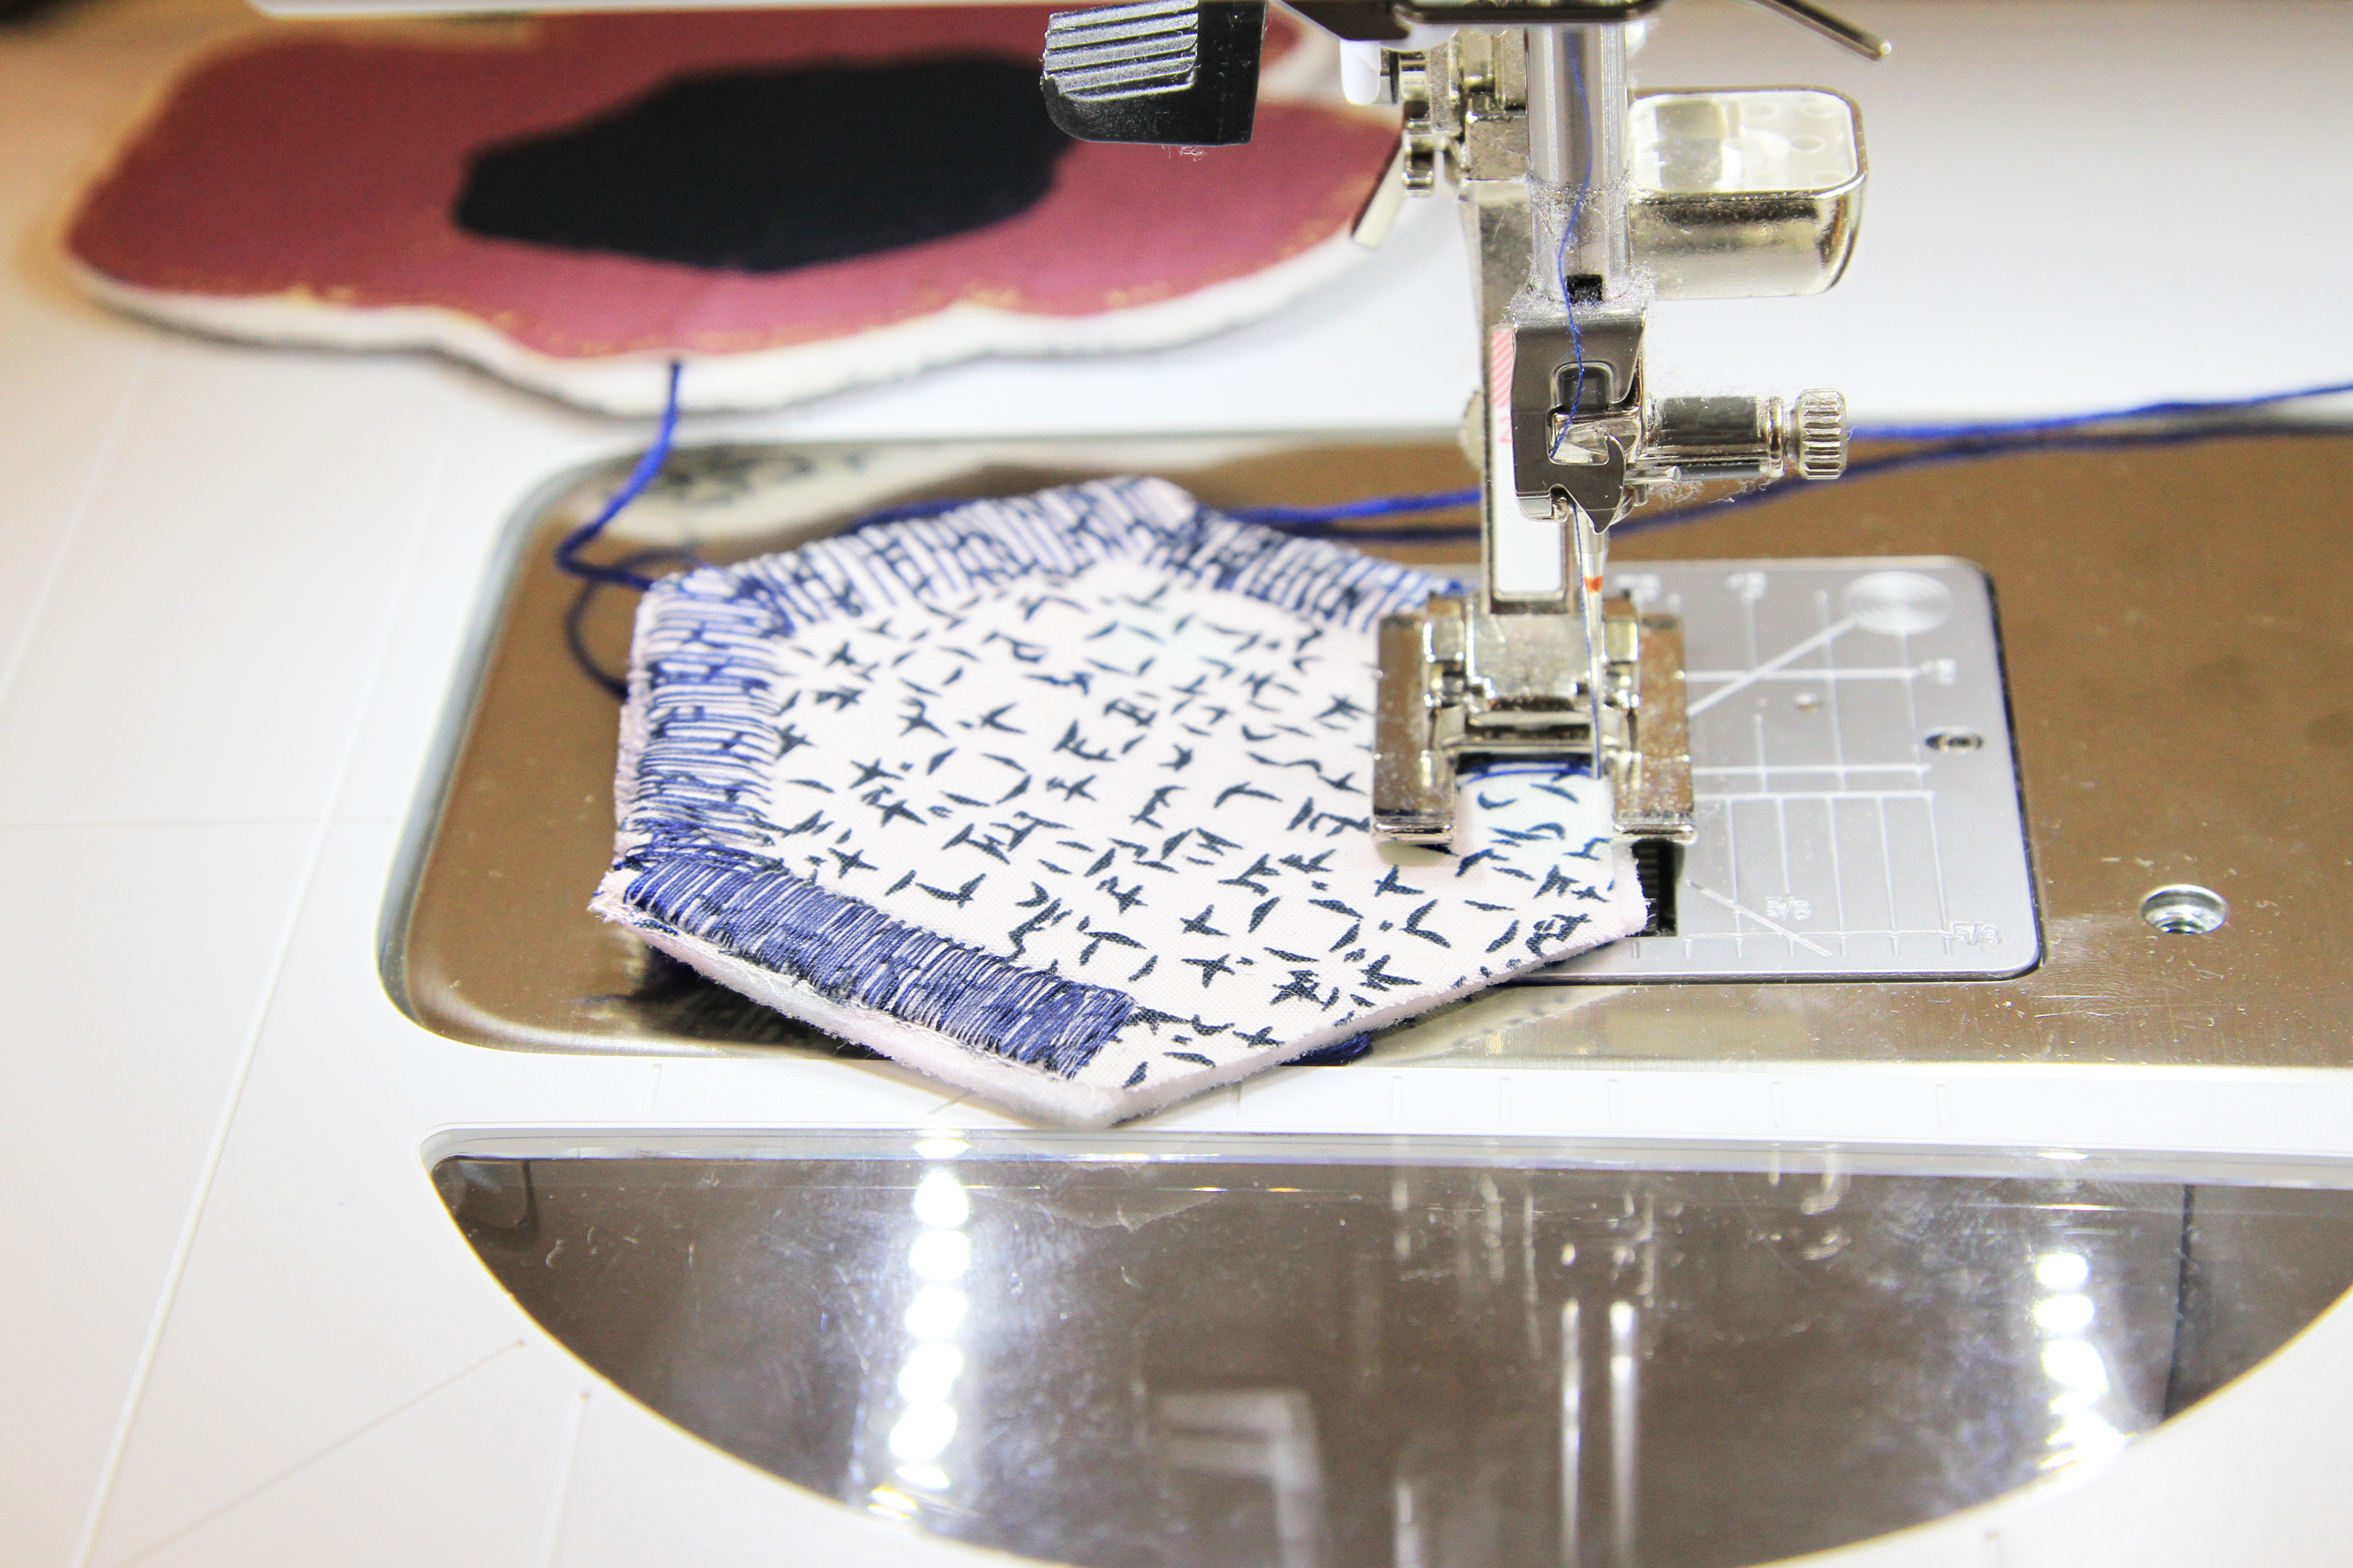
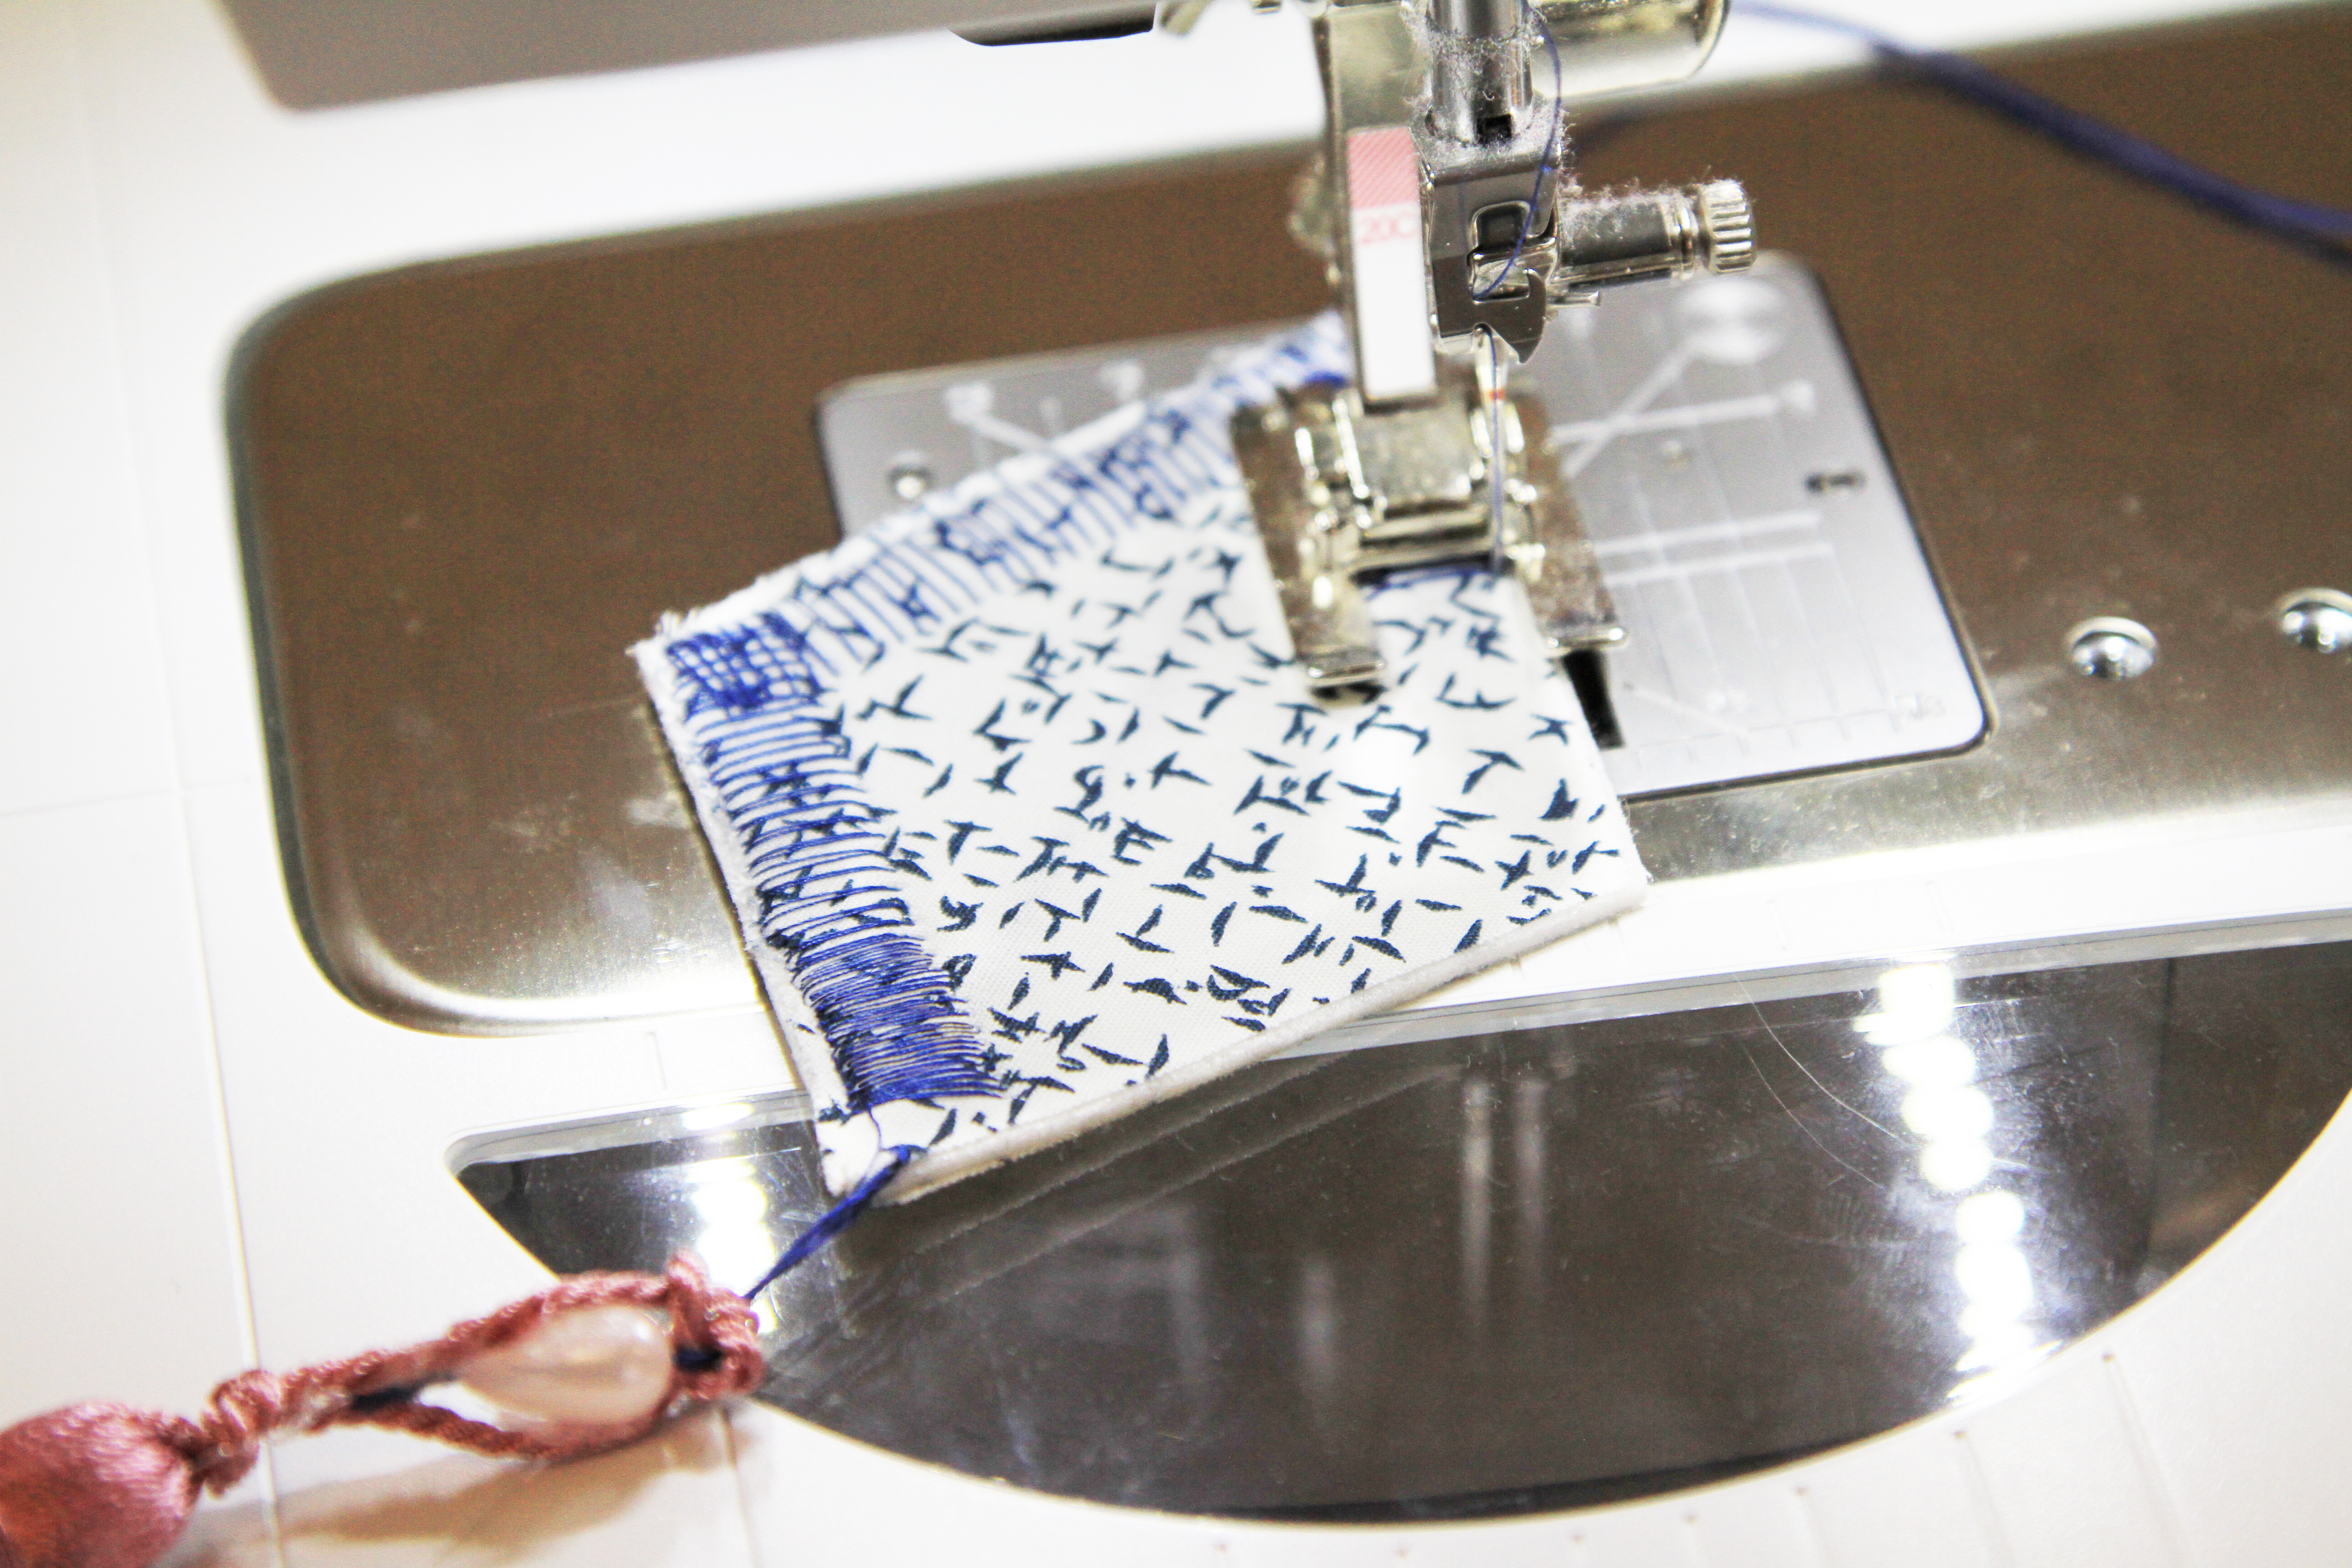
Begin stitching just around the edges of the geometrical shape as shown on the image below.


In my case, when stitching with Dare Fabrics DAR – 54301 I used Aurifil thread #2530. Therefore, when using Dare Fabrics DAR – 54305, I stitch with Aurifil thread #2783. This is just my personal taste, you can used whichever thread you prefer.
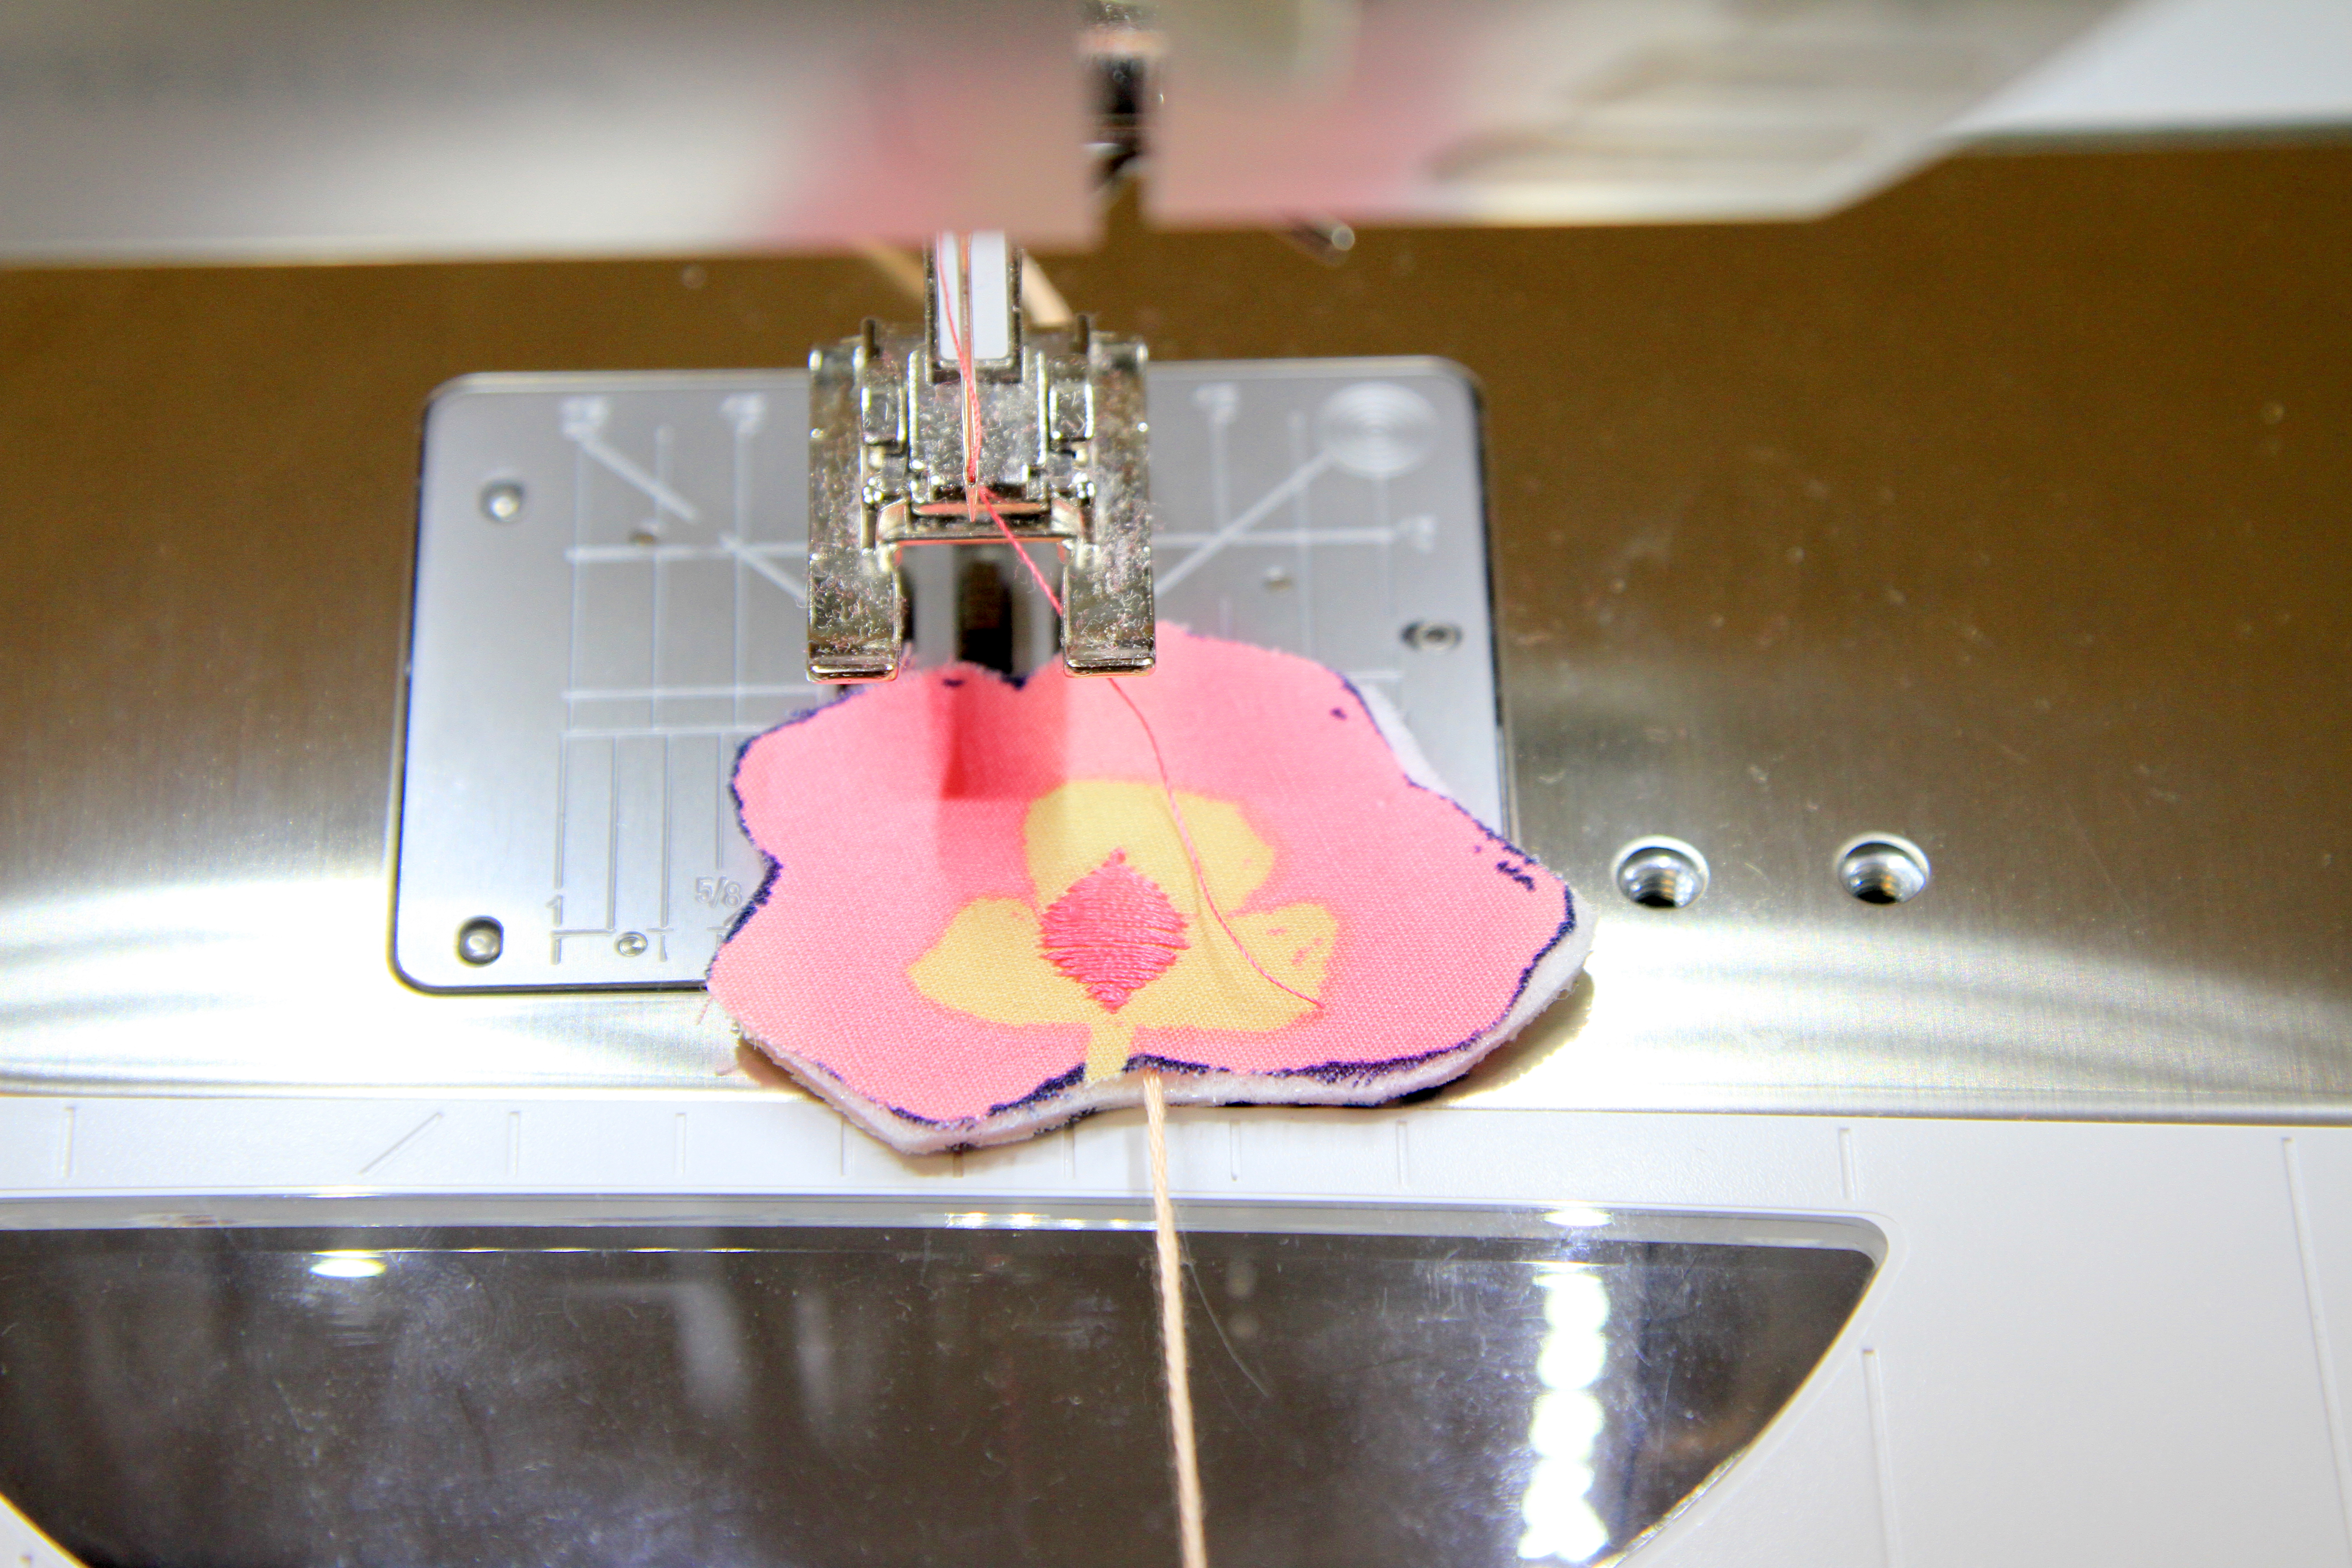
For some of the small flowers I used stain stitch #407.
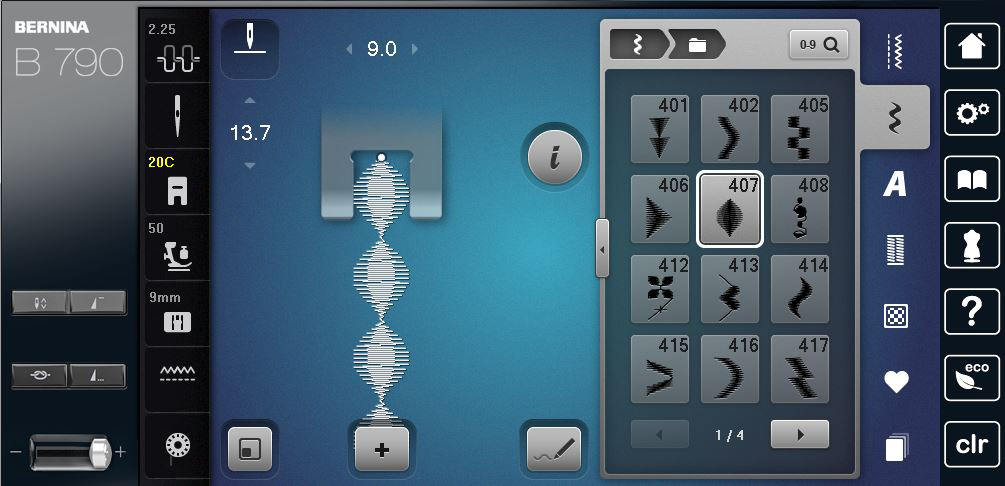
In this case, I want to used just one stain stitch, so click on the info button and select just one repeat of the satin stitch.
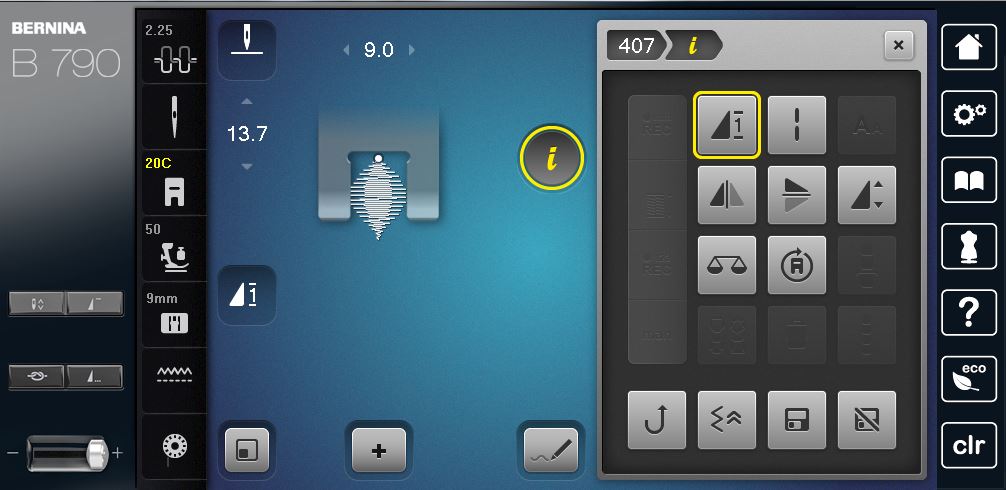
I used both Aurifil thread #2530 and #2783 for the small flowers.

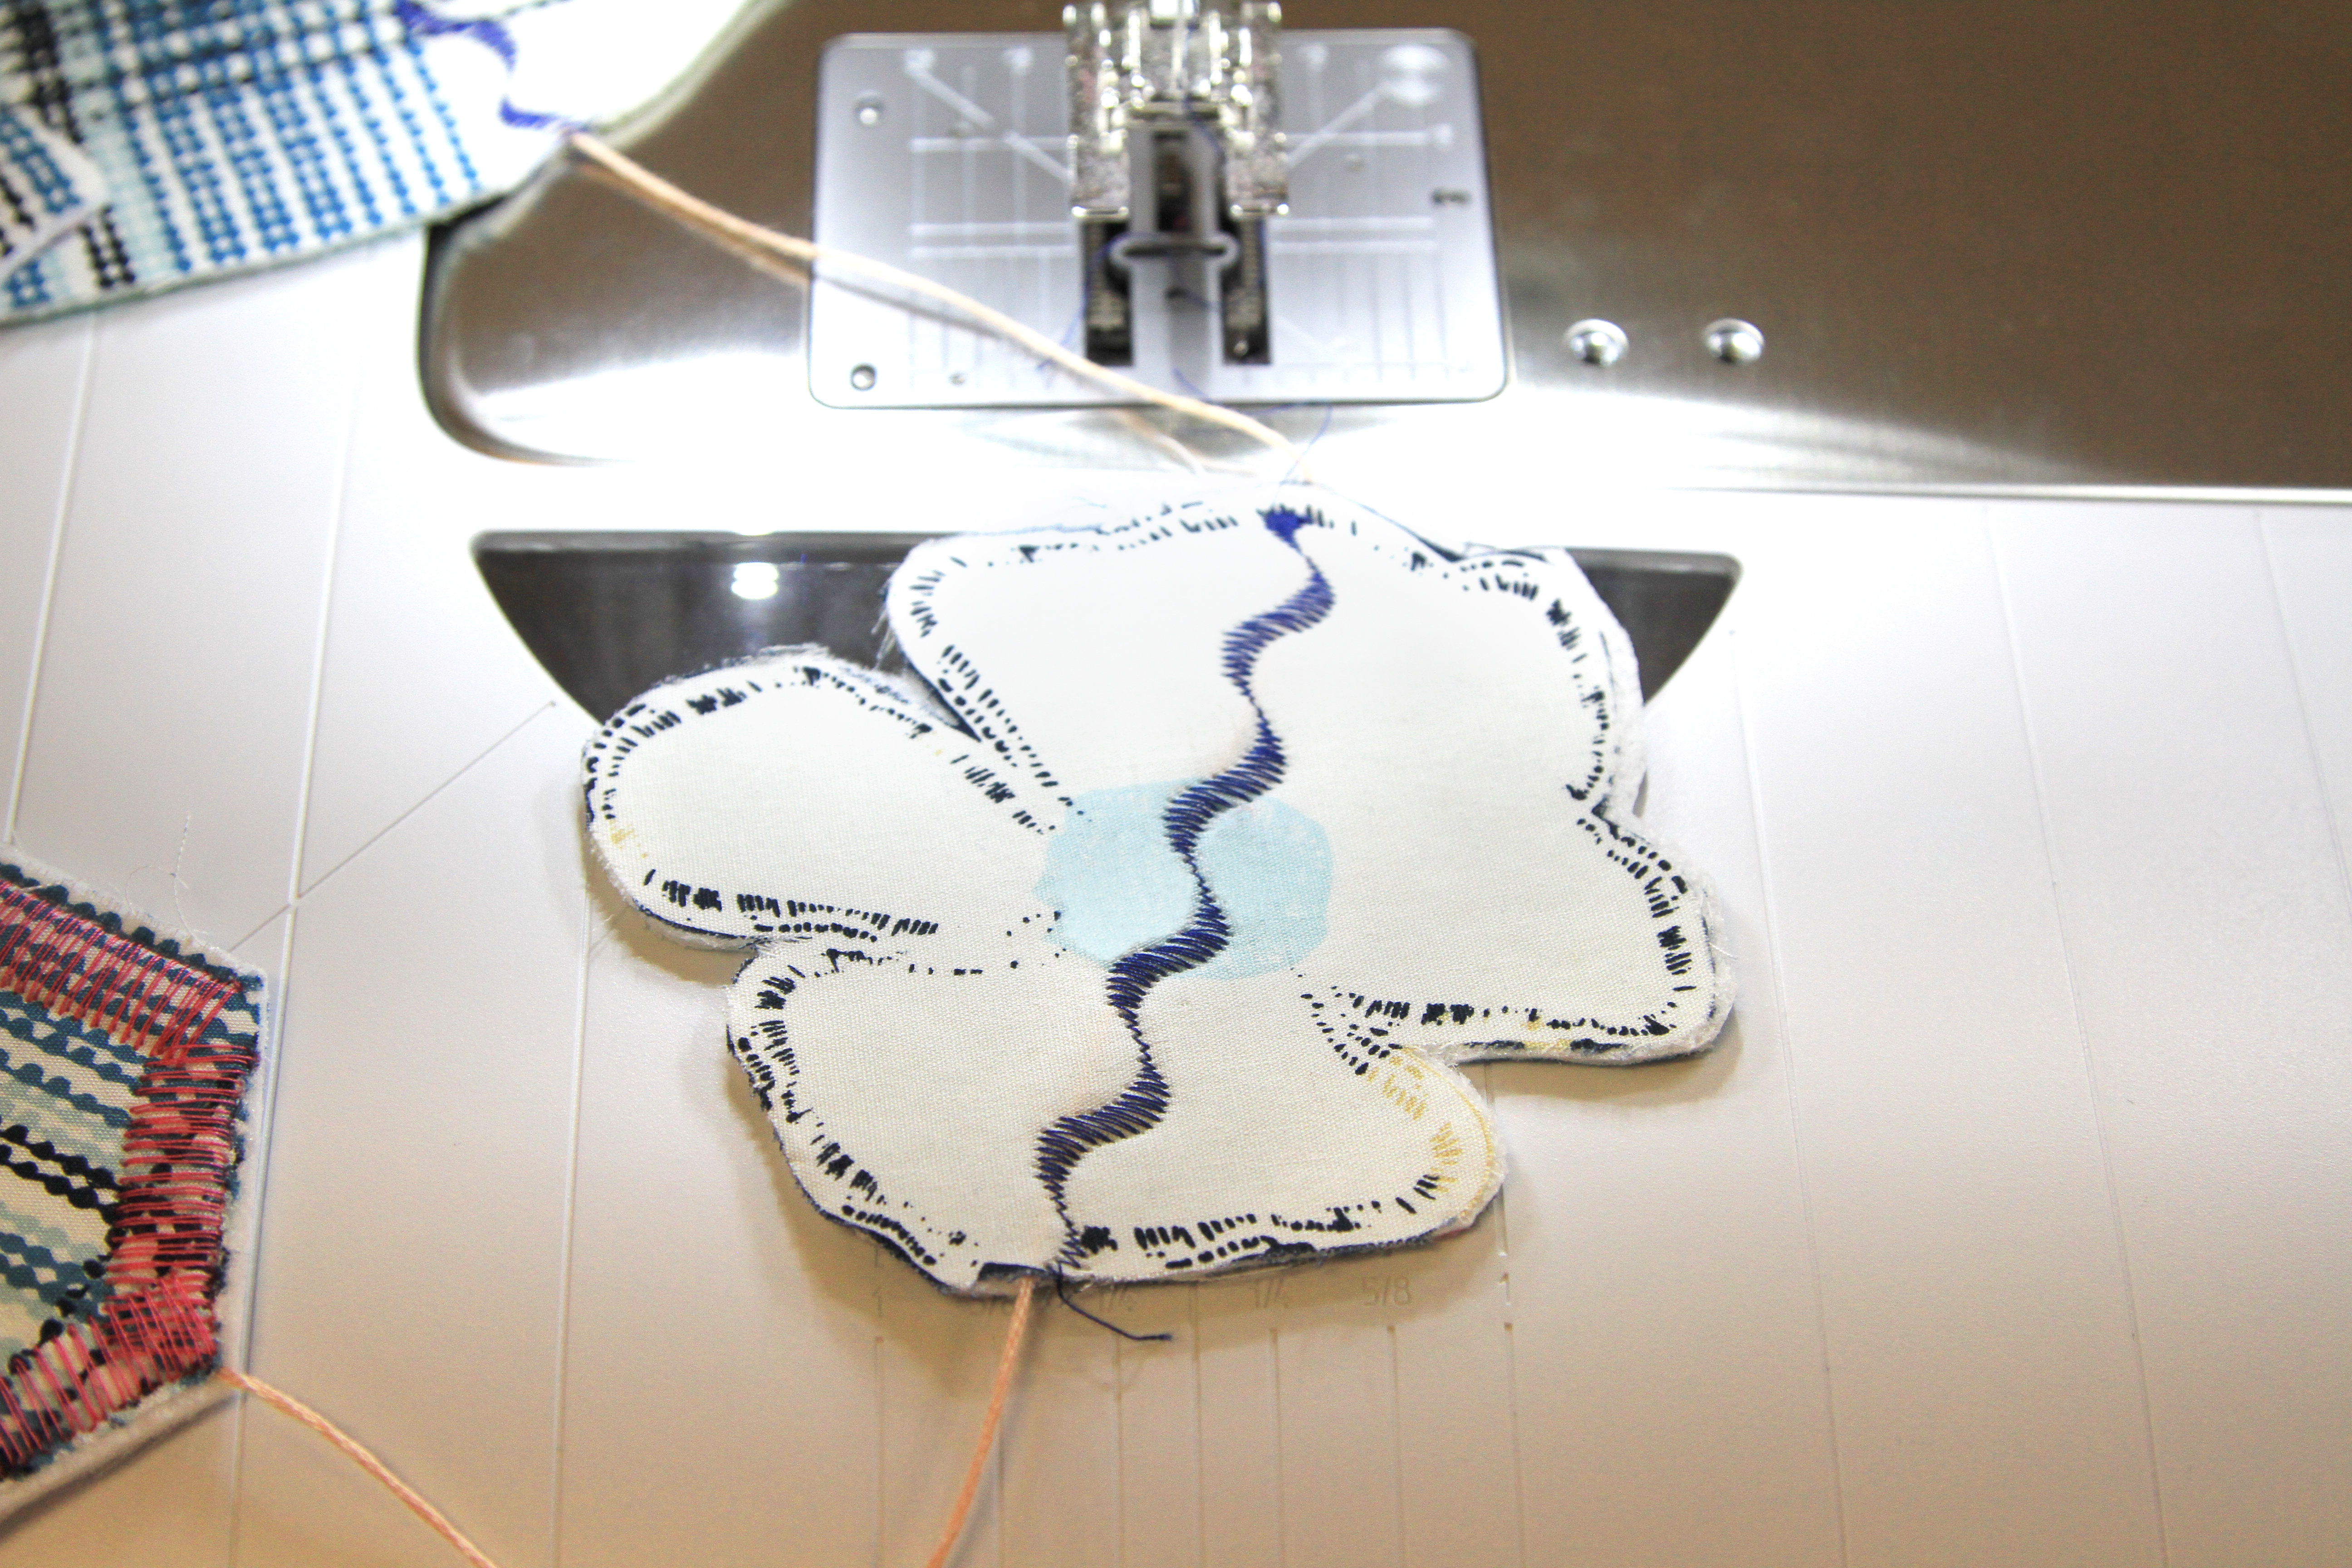
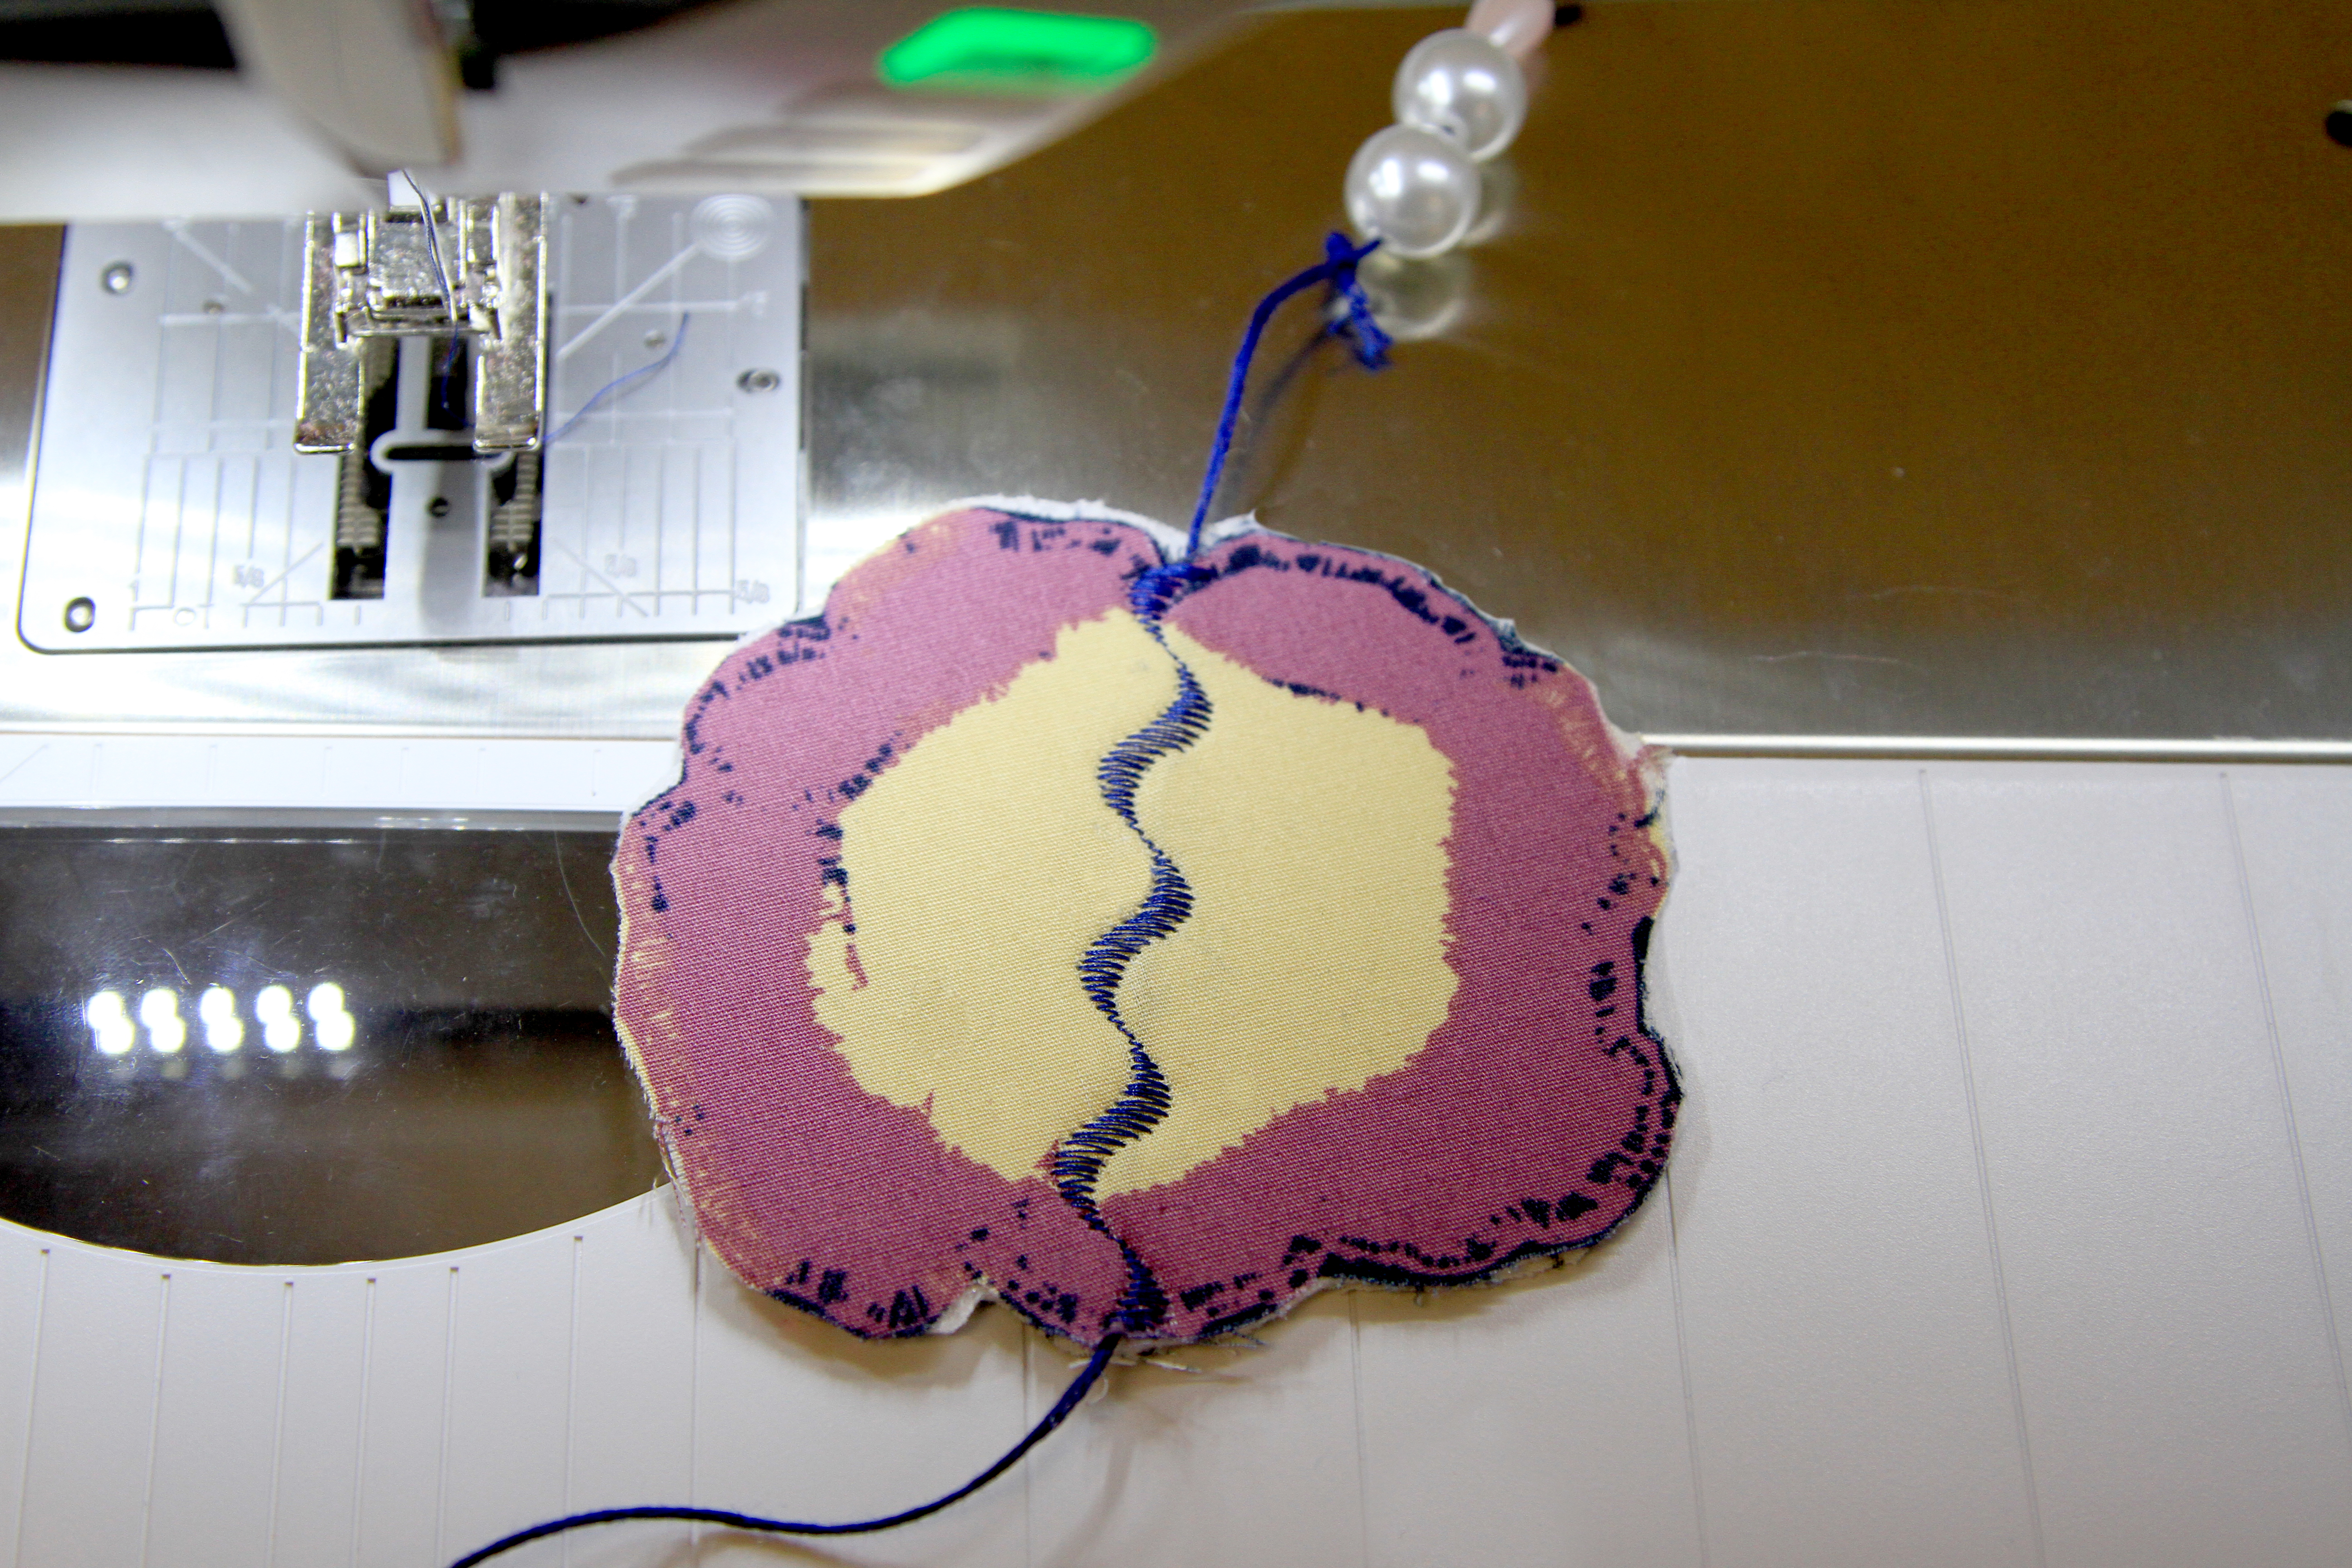
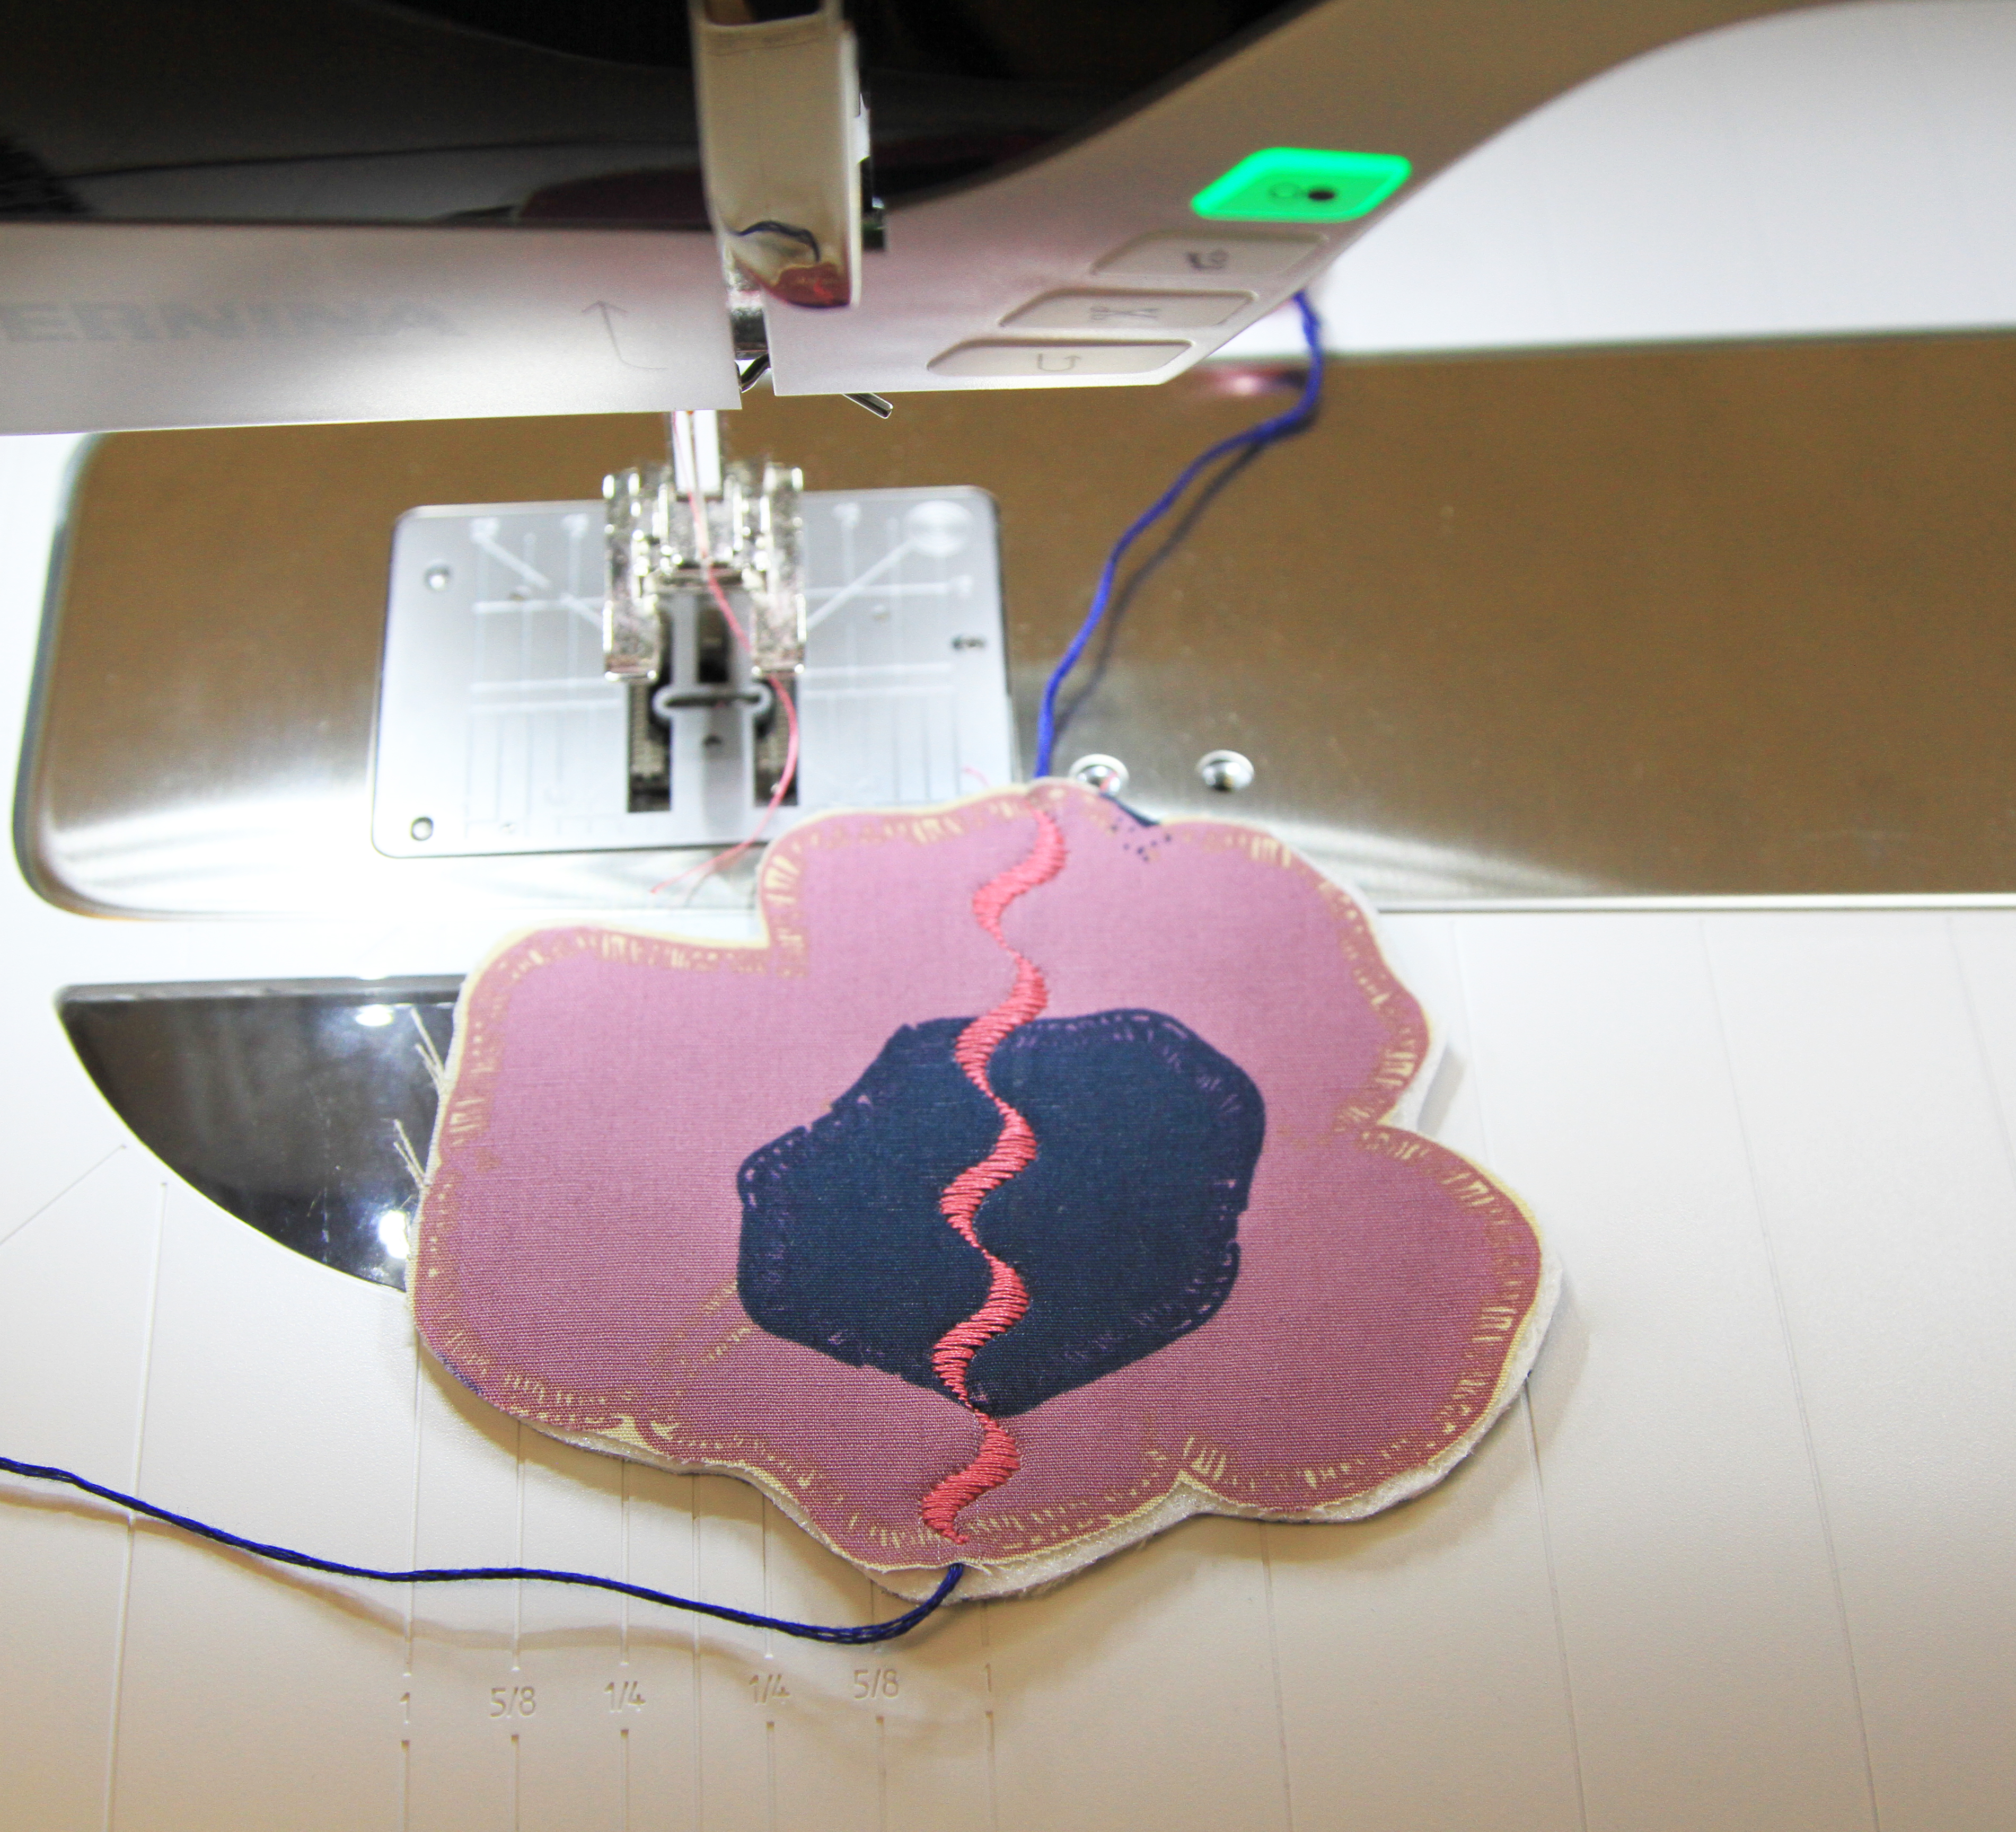
Now for the large flowers lets use sating stitch #414

I used both Aurifil thread #2530 and #2783 . Satin stitch in the middle of the flowers to make the illusion of continuity of the garland floss thread.
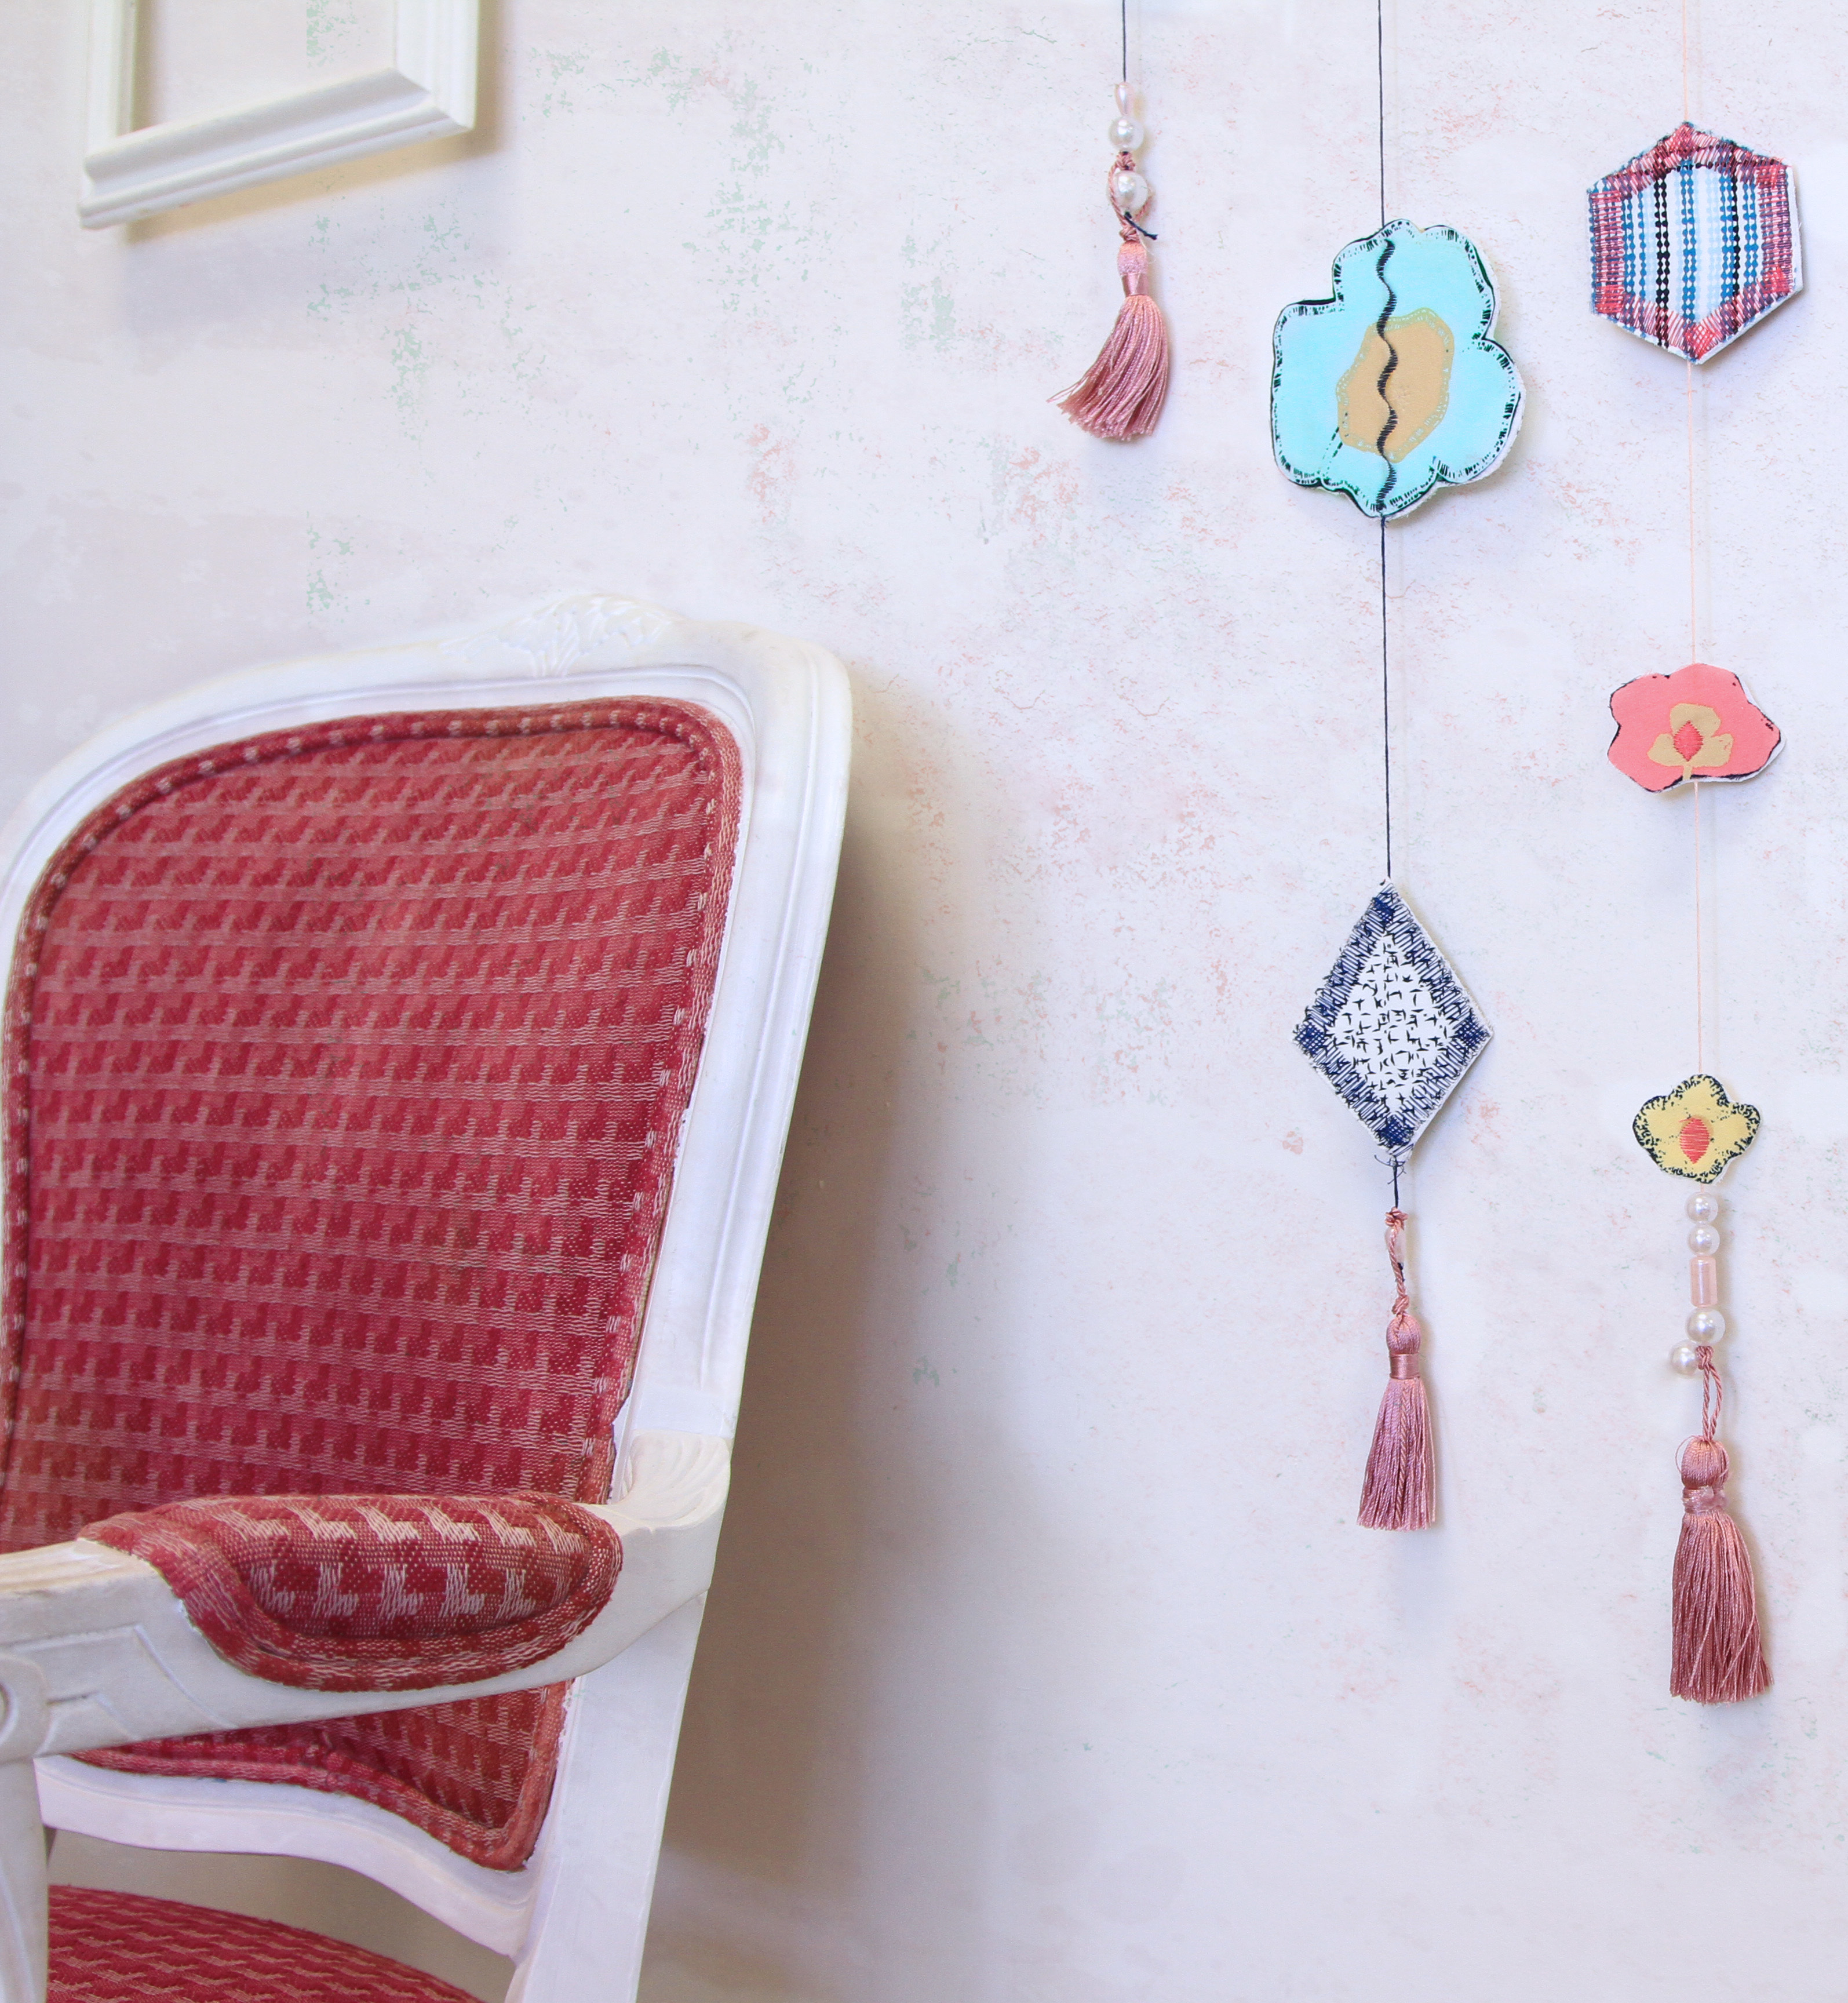
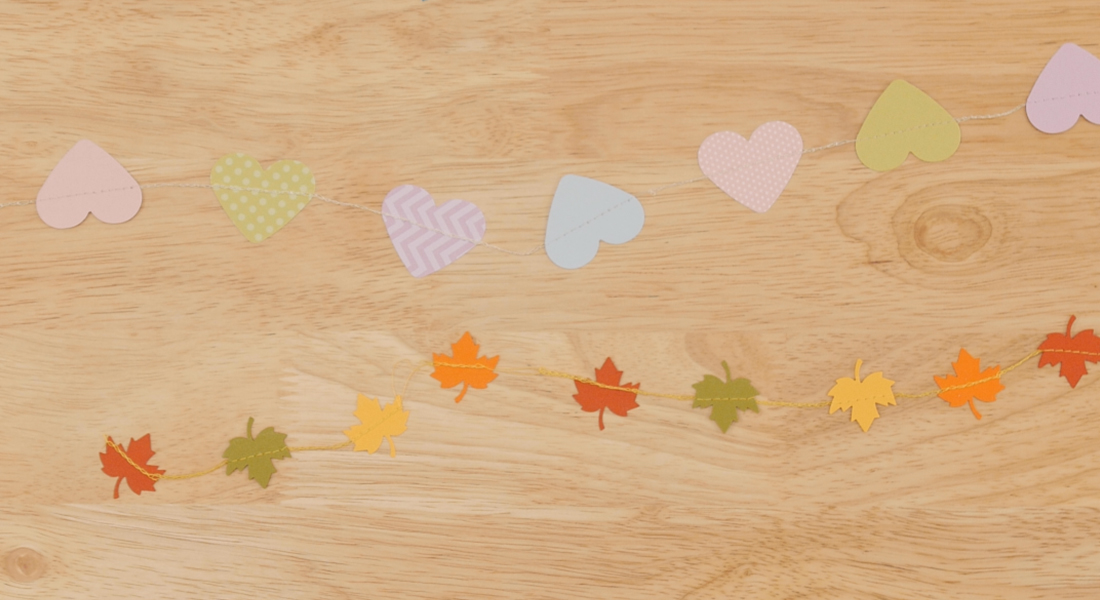
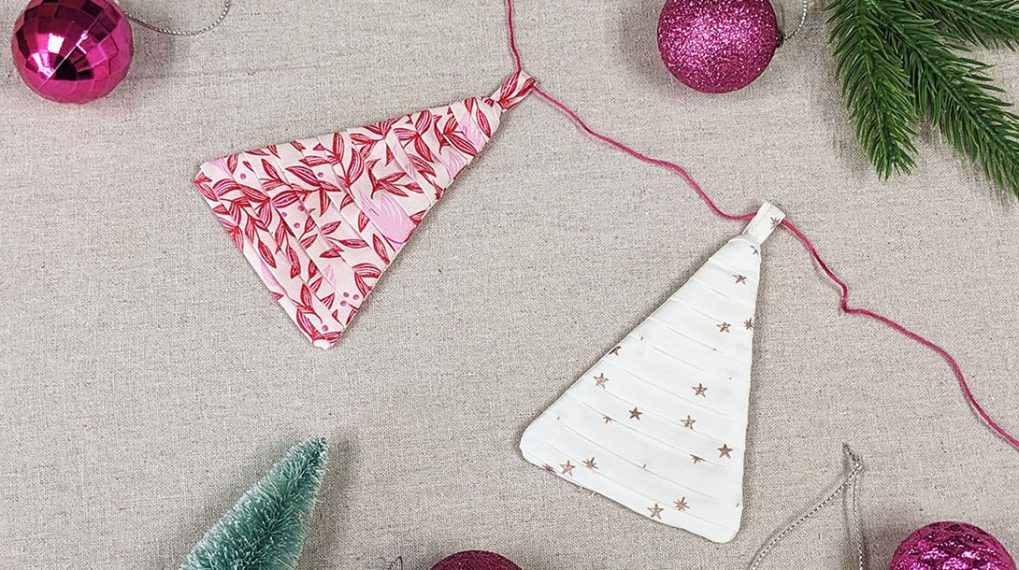
And voila lovelies! You have completed this super easy and fun garland tutorial!
NOTE: For the button and top decoration, I just randomly added pearls and tassels, but you can add whatever you prefer.


