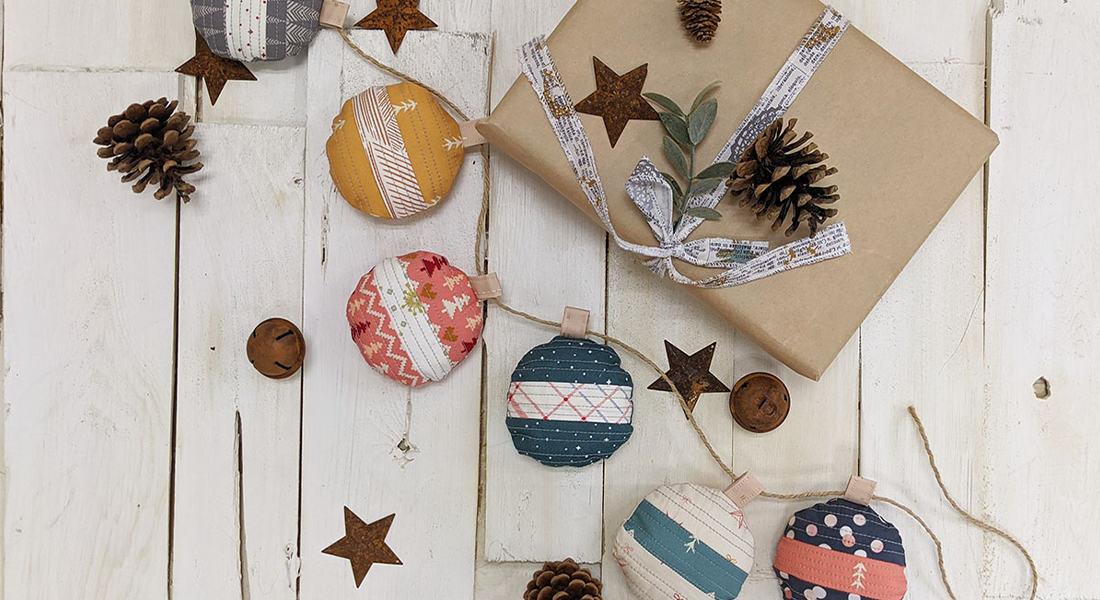
Felt Bulb Garland Tutorial
Hi friends, It’s Nicole from Modern Handcraft and I am excited to show you how to make your very own Felt Bulb Garland.
Before I started quilting, creating with felt was my favorite creative outlet. It’s easy to work with, comes in lots of colors and gives me a chance to sew with a clear monofilament thread. I have been making felt holiday ornaments for years and thought it might be fun to take my favorite ornament and make it into a garland tutorial for you.

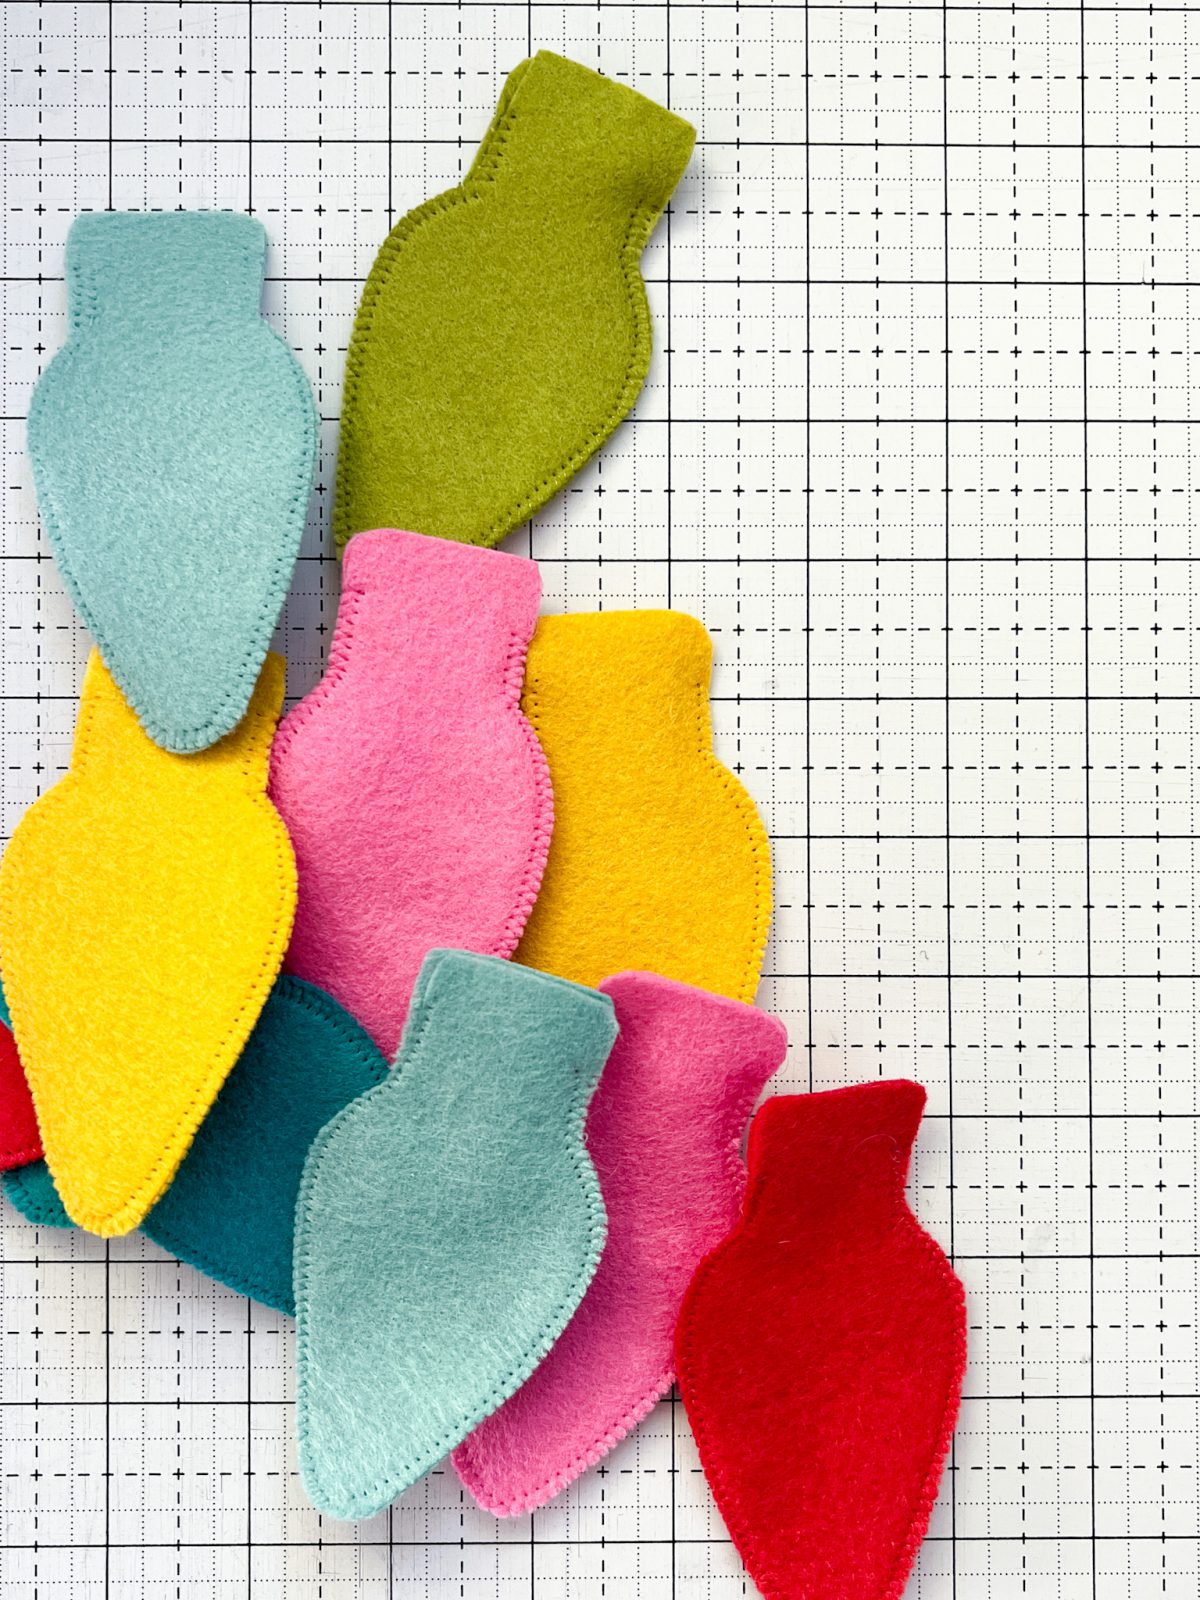
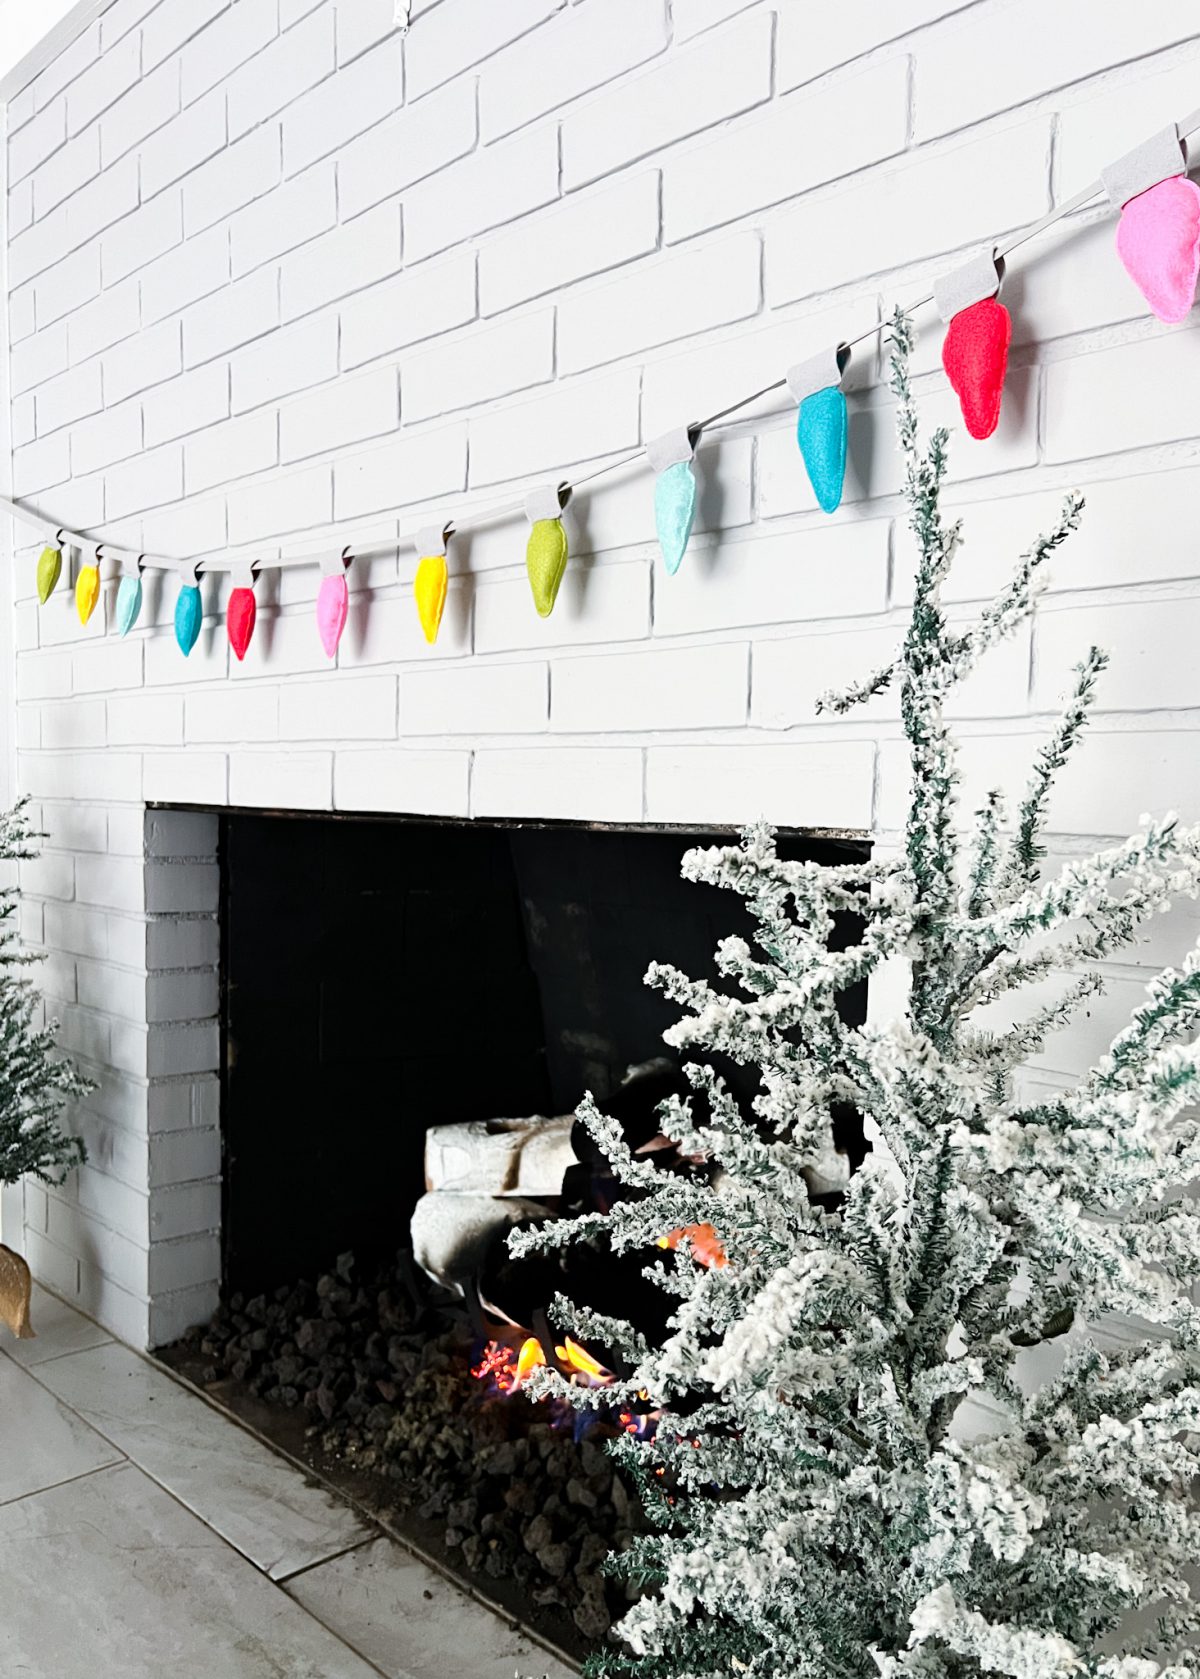
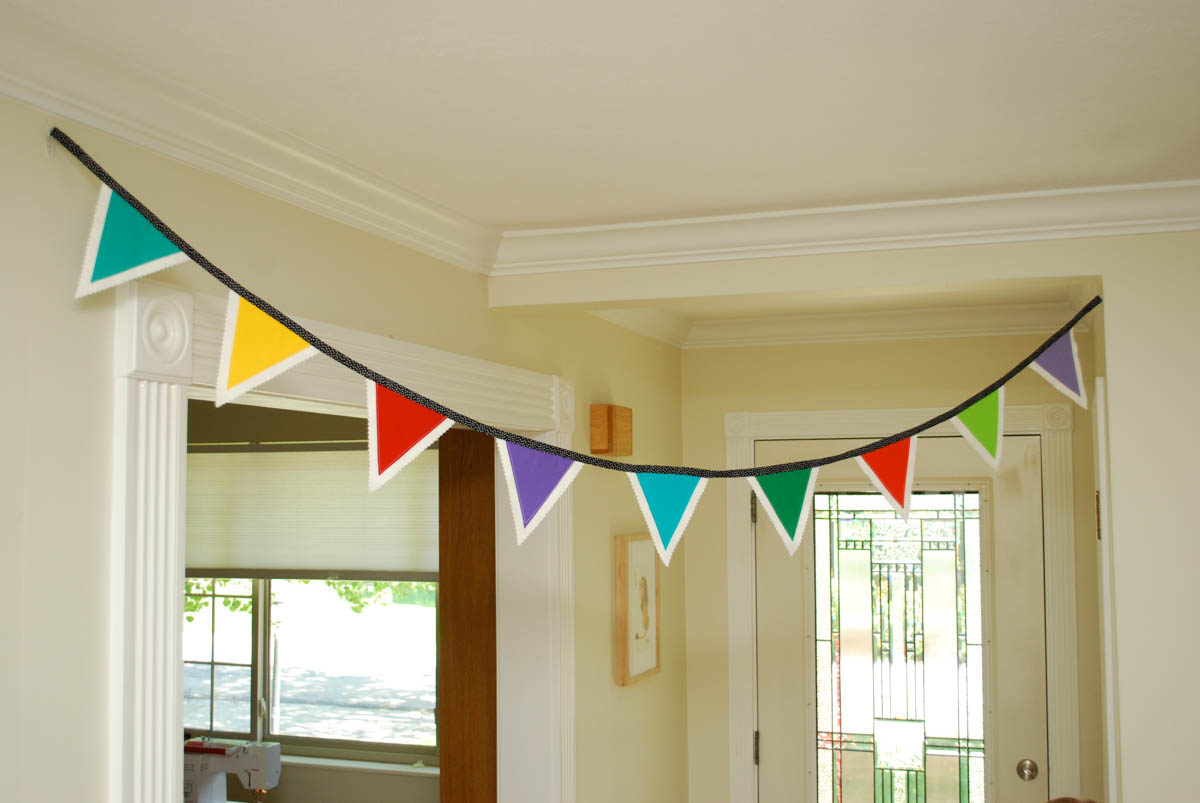
The Felt Bulb Garland can adorn your fireplace, an entryway or even drape it on your tree – the decorating options are endless! The hardest part you will have with this project is choosing what colors of felt you want for your holiday bulbs.
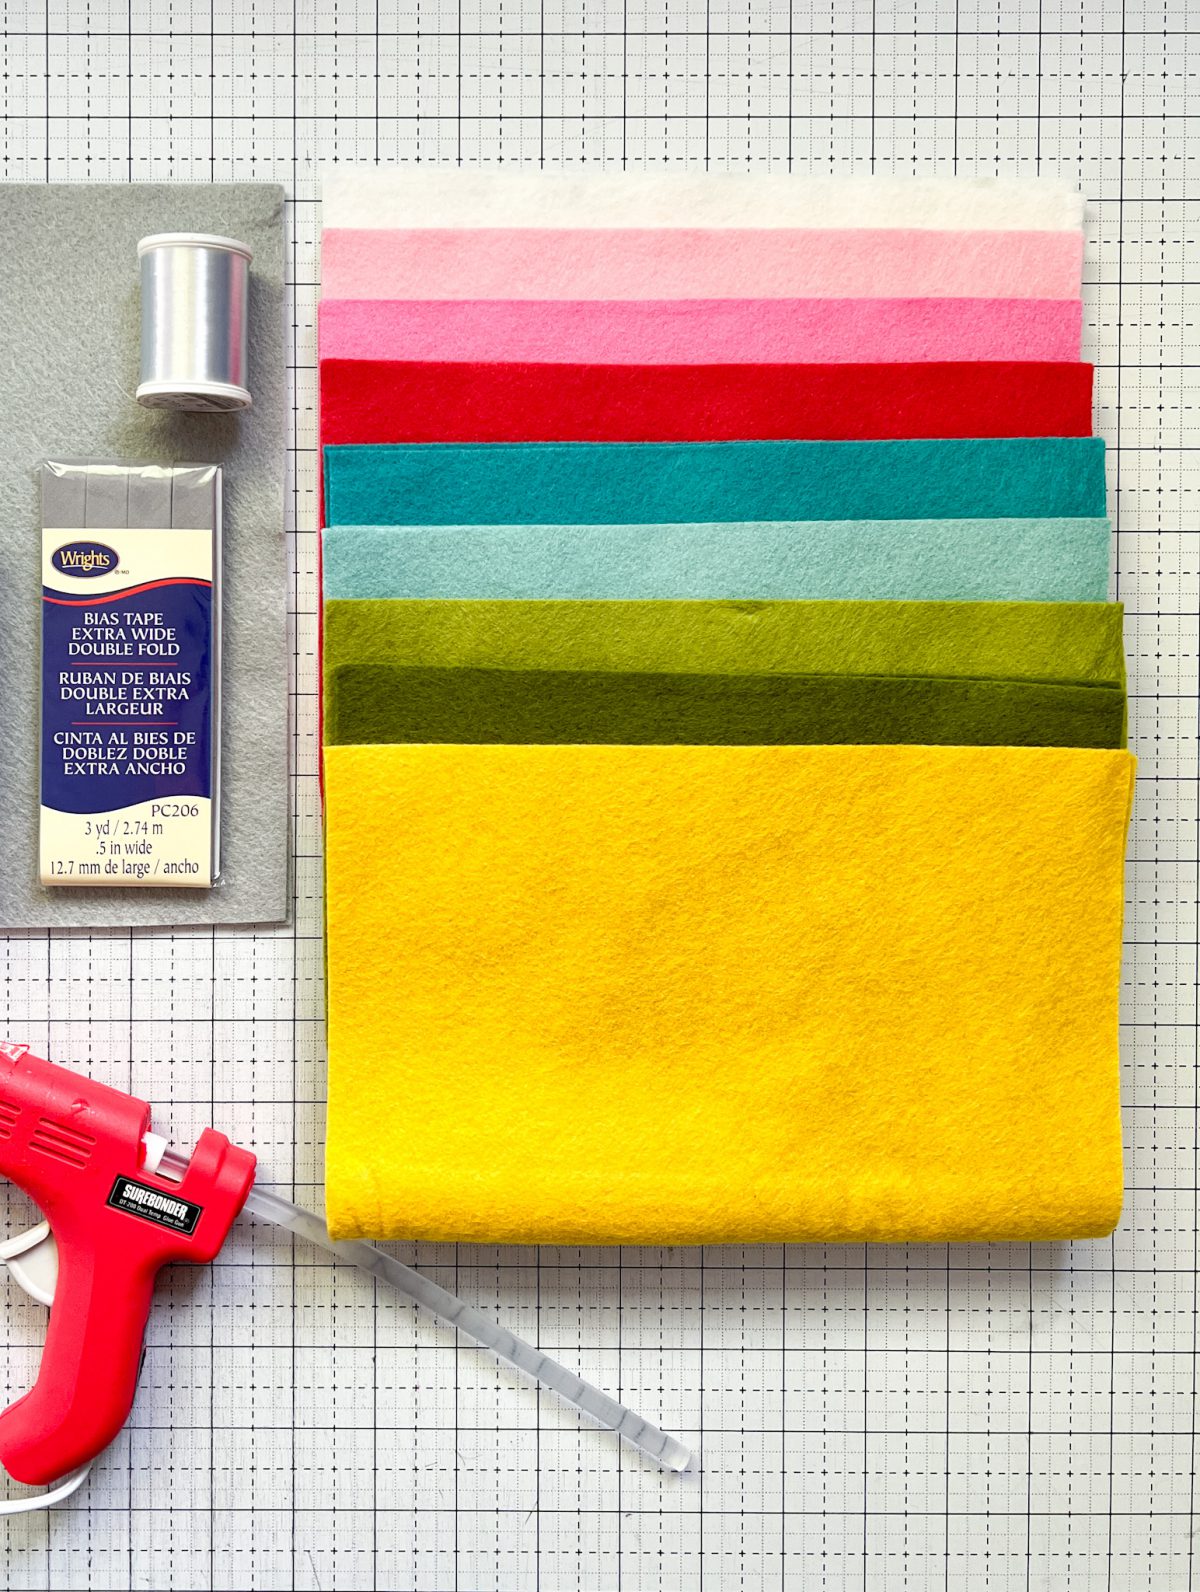
Materials to Sew a Felt Bulb Garland

- BERNINA 770 QE PLUS
- Reverse Pattern Foot #1C
- Bulb Template Printable
- Wool blend or acrylic felt sheets 9″ x 12″ – choose an assortment of colors for your bulbs and a color for your bulb toppers
- Clear monofilament thread
- Polyester fiber fill (this usually comes with a stuffing tool, any pencil-sized tool will work)
- Double fold, double wide bias tape – 3yd package or 3 yd ribbon (matching your bulb topper felt)
- Straight Pins or hot glue (optional)
Instructions to Make a Felt Bulb Garland
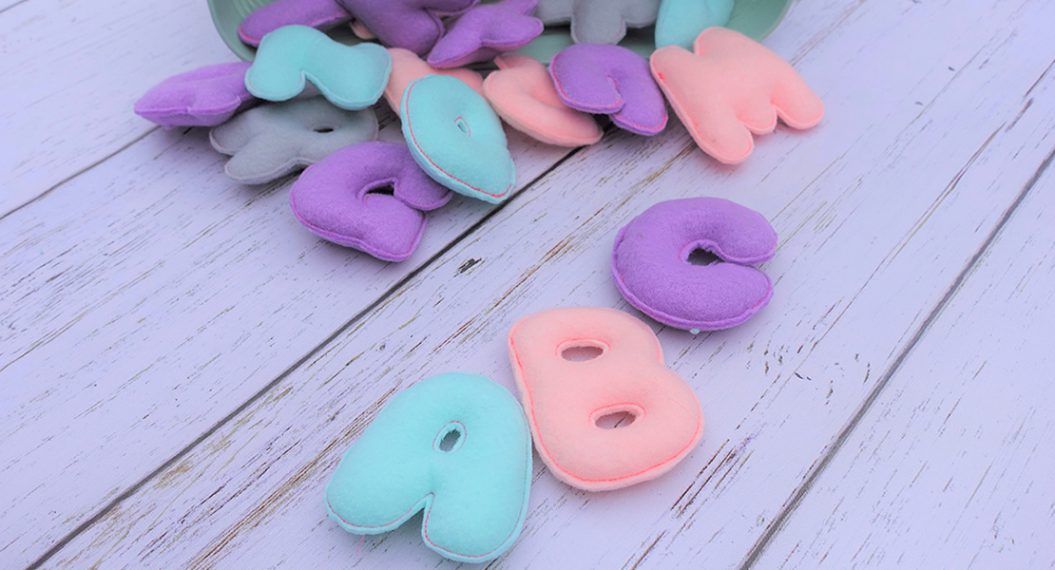
Step 1: Cutting Out Felt Bulb Shapes
Begin by printing the bulb template. The finished size of the felt bulbs will be just under 4 1/2″ tall, if you would like to create a larger bulb shape just enlarge the template to your liking. Cut out the bulb and the bulb topper templates.
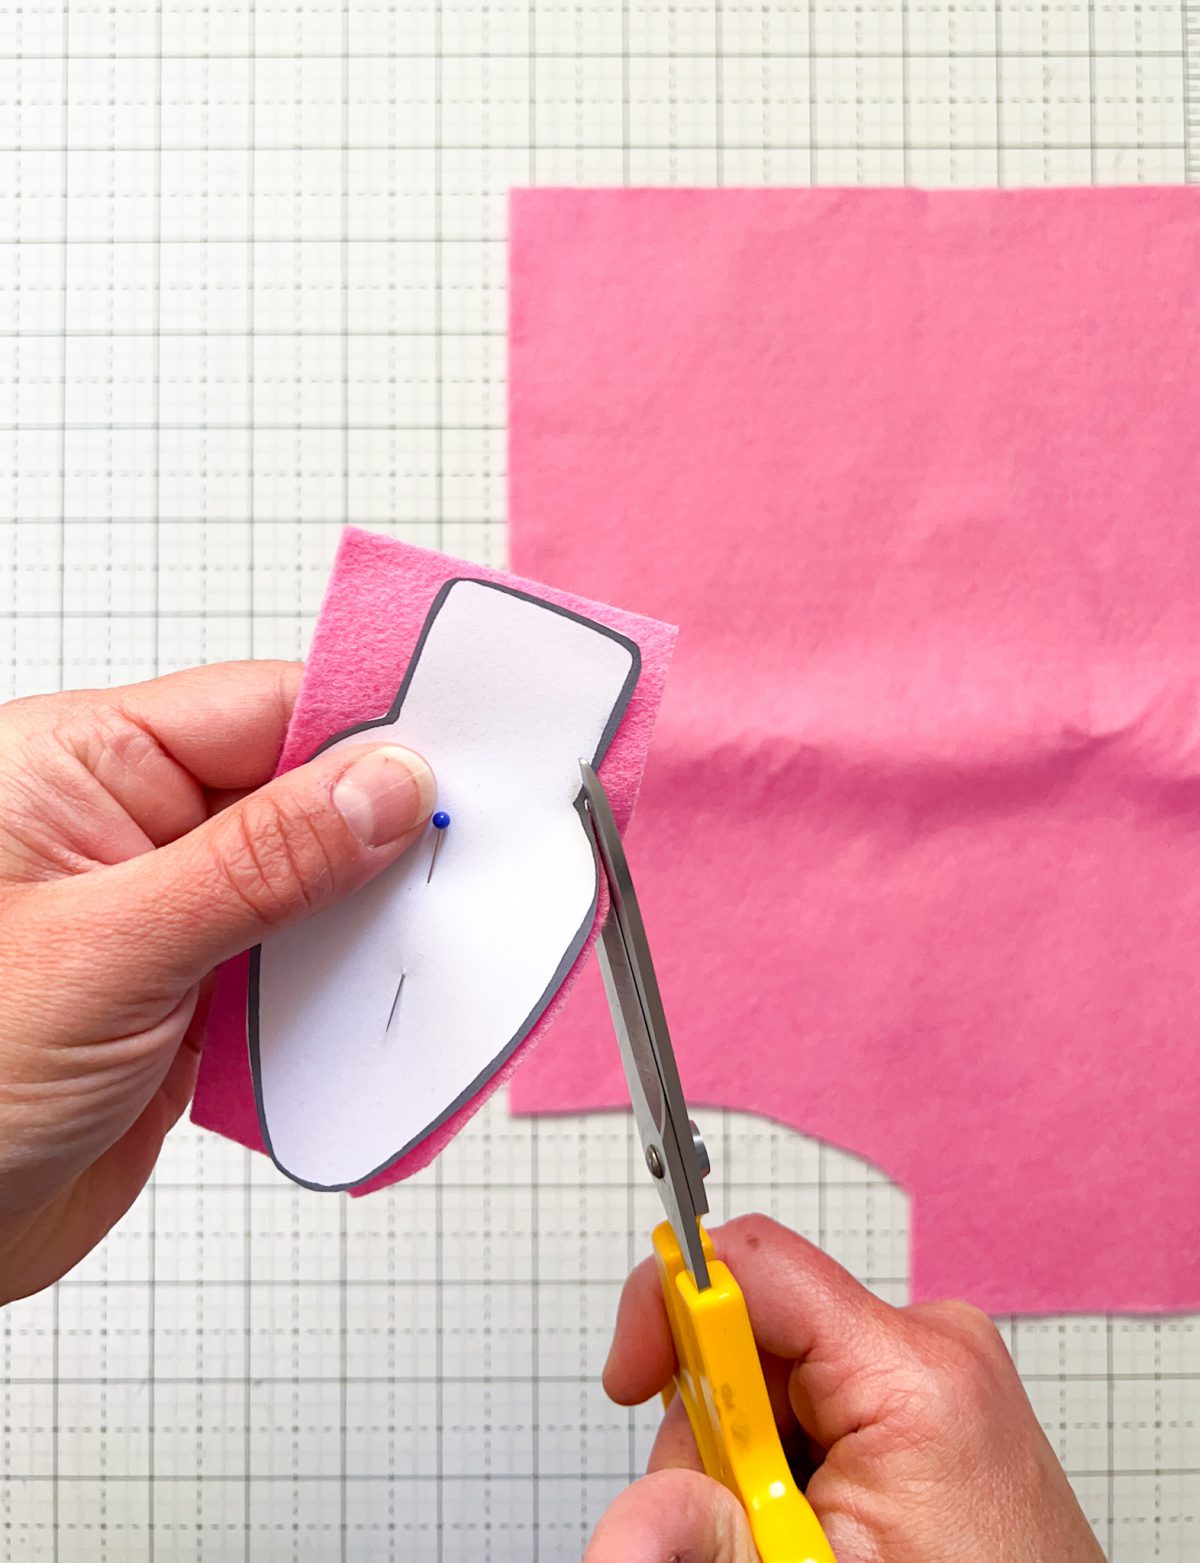
Pin your bulb templates onto a piece of felt and pin in place. This will keep the paper template from sliding around while cutting out your shapes. Cut out two bulb shapes for each finished bulb you would like on your garland.
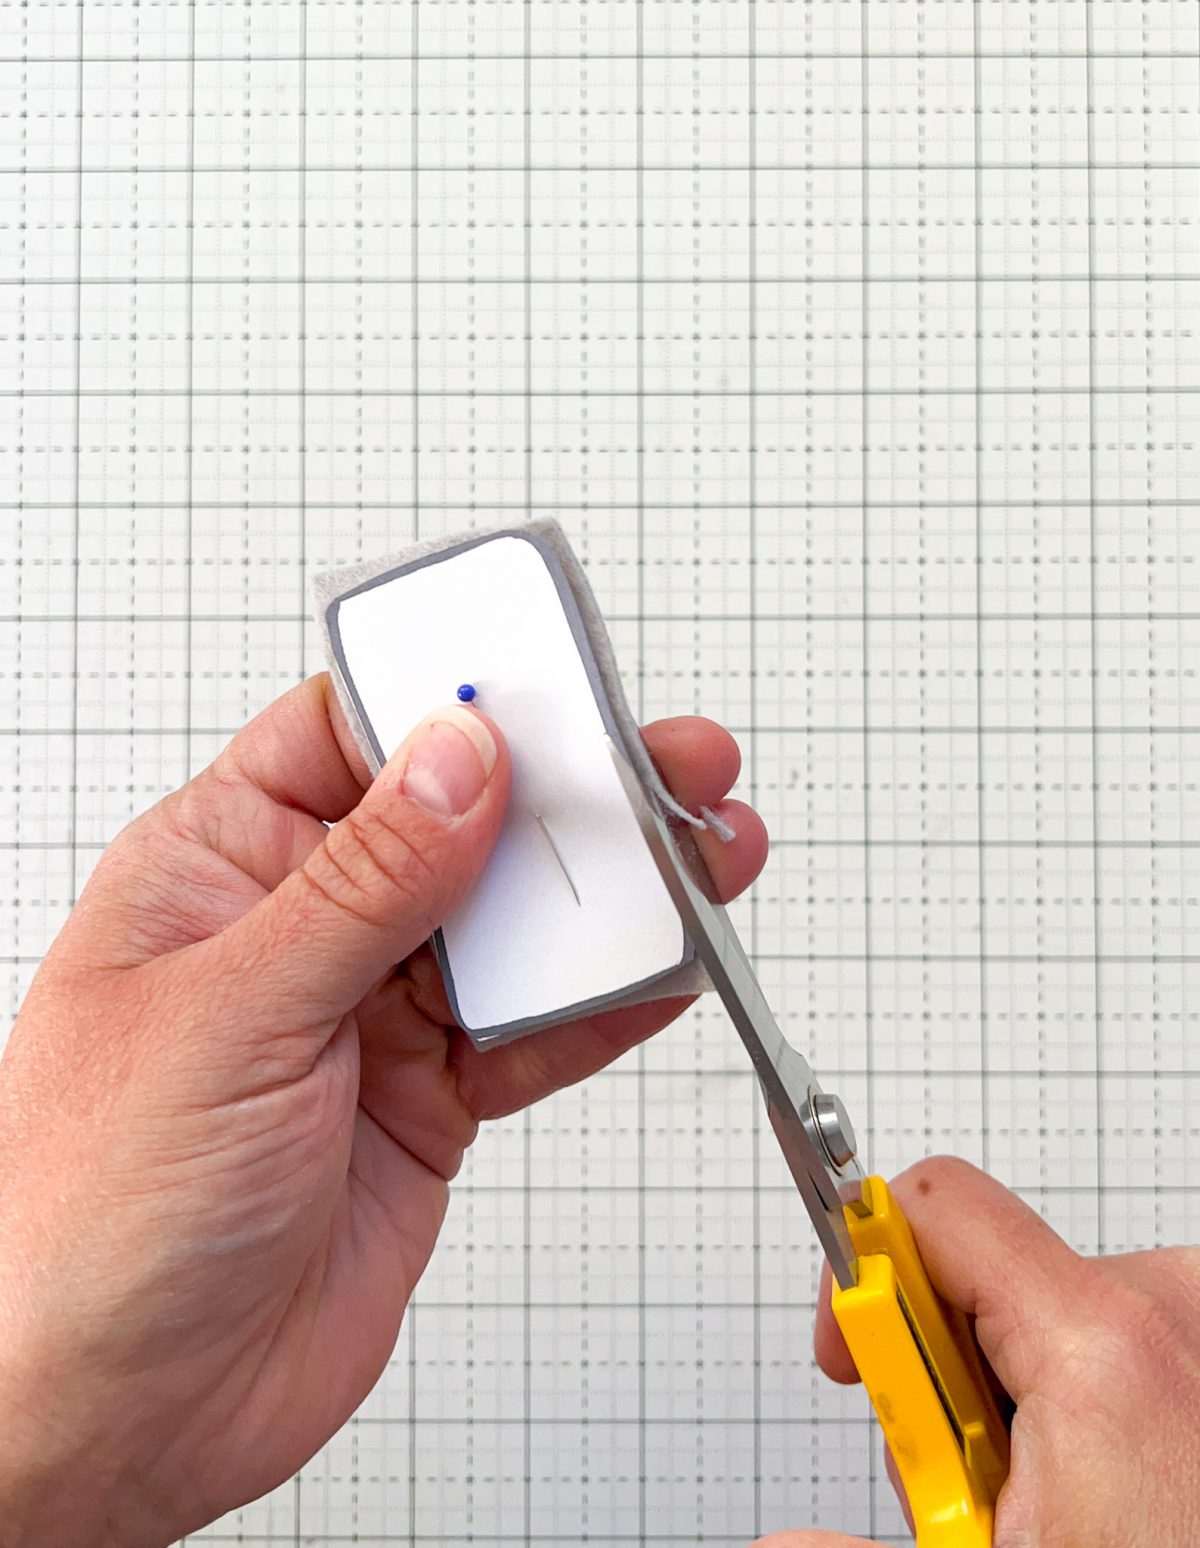
Pin your bulb topper template onto the felt you have chosen for your bulb topper pieces. Cut out one bulb topper piece for each finished bulb.
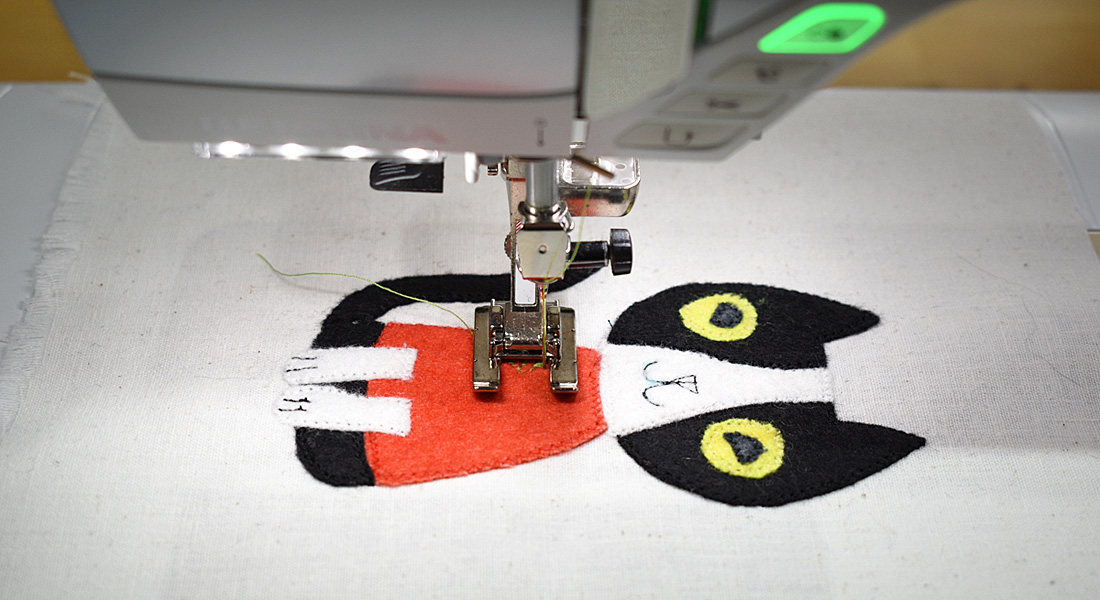
Step 2: Machine Settings
For the bulb shapes I like to use a zig zag stitch around the edges of my two bulb cutouts. Clear monofilament thread is a great choice for this project, because it blends in with the felt nicely and you do not have to change out thread colors for each bulb that you sew. Monofilament thread is easy to work with and works well with the zig zag and straight line stitch we will be using on this project.
I chose the Reverse Pattern Foot #1C for this project. It’s an all-purpose foot that works for straight stitching as well as decorative stitches.
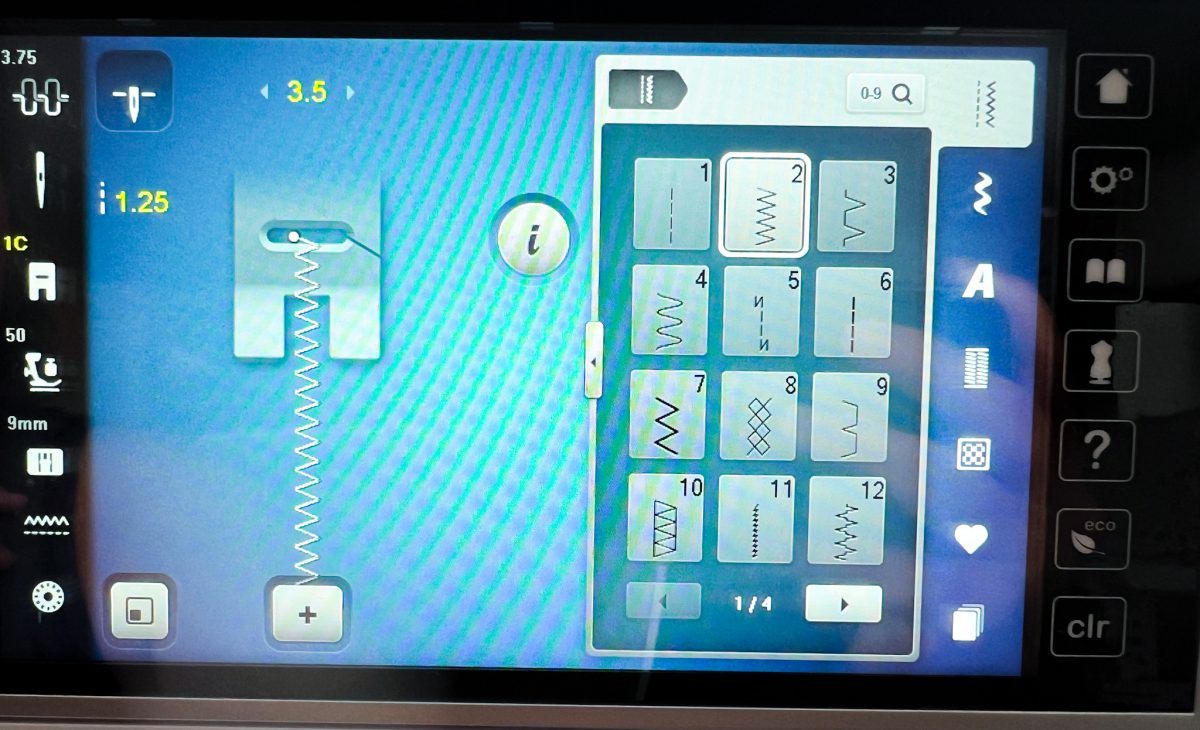
Stitch: Zigzag, option 2 / width 3.5 / stitch length 1.25 / needle down
Step 3: Zigzag Stitching Your Bulb Shapes
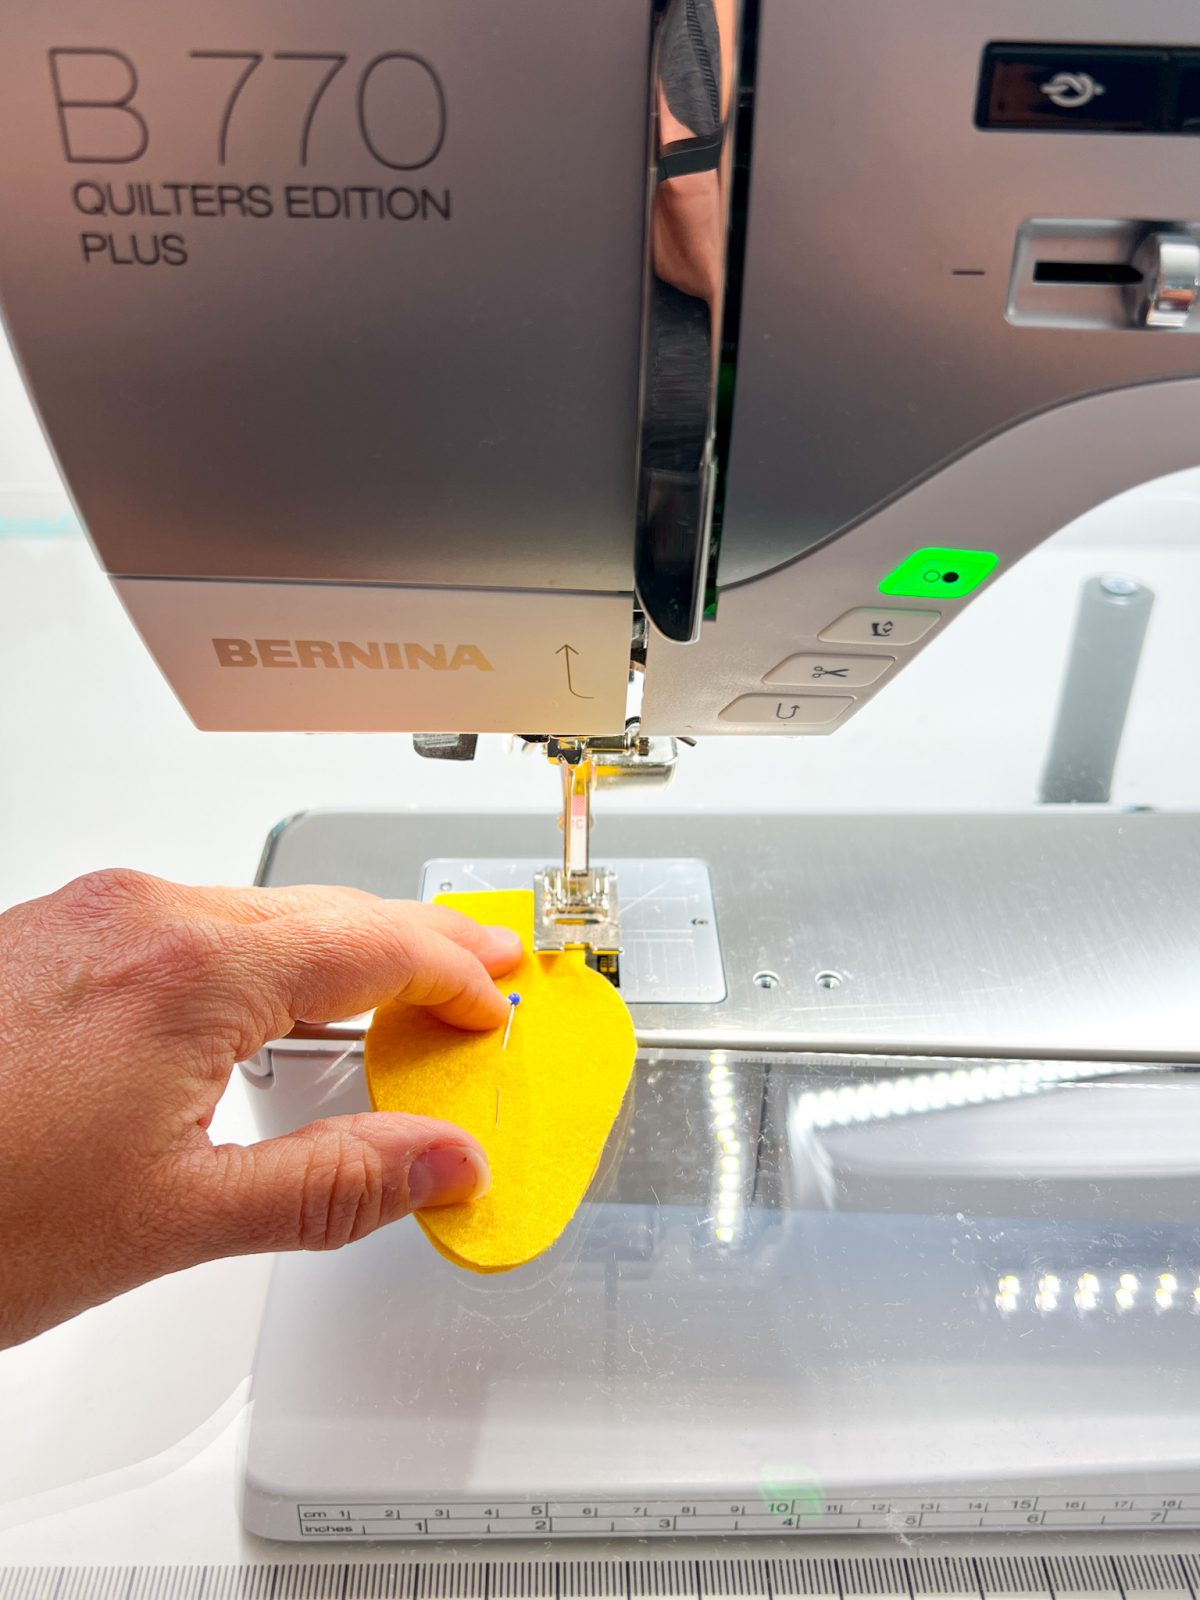
Start out by pairing up two bulb shapes in the same color, pin together to keep the felt pieces from shifting.

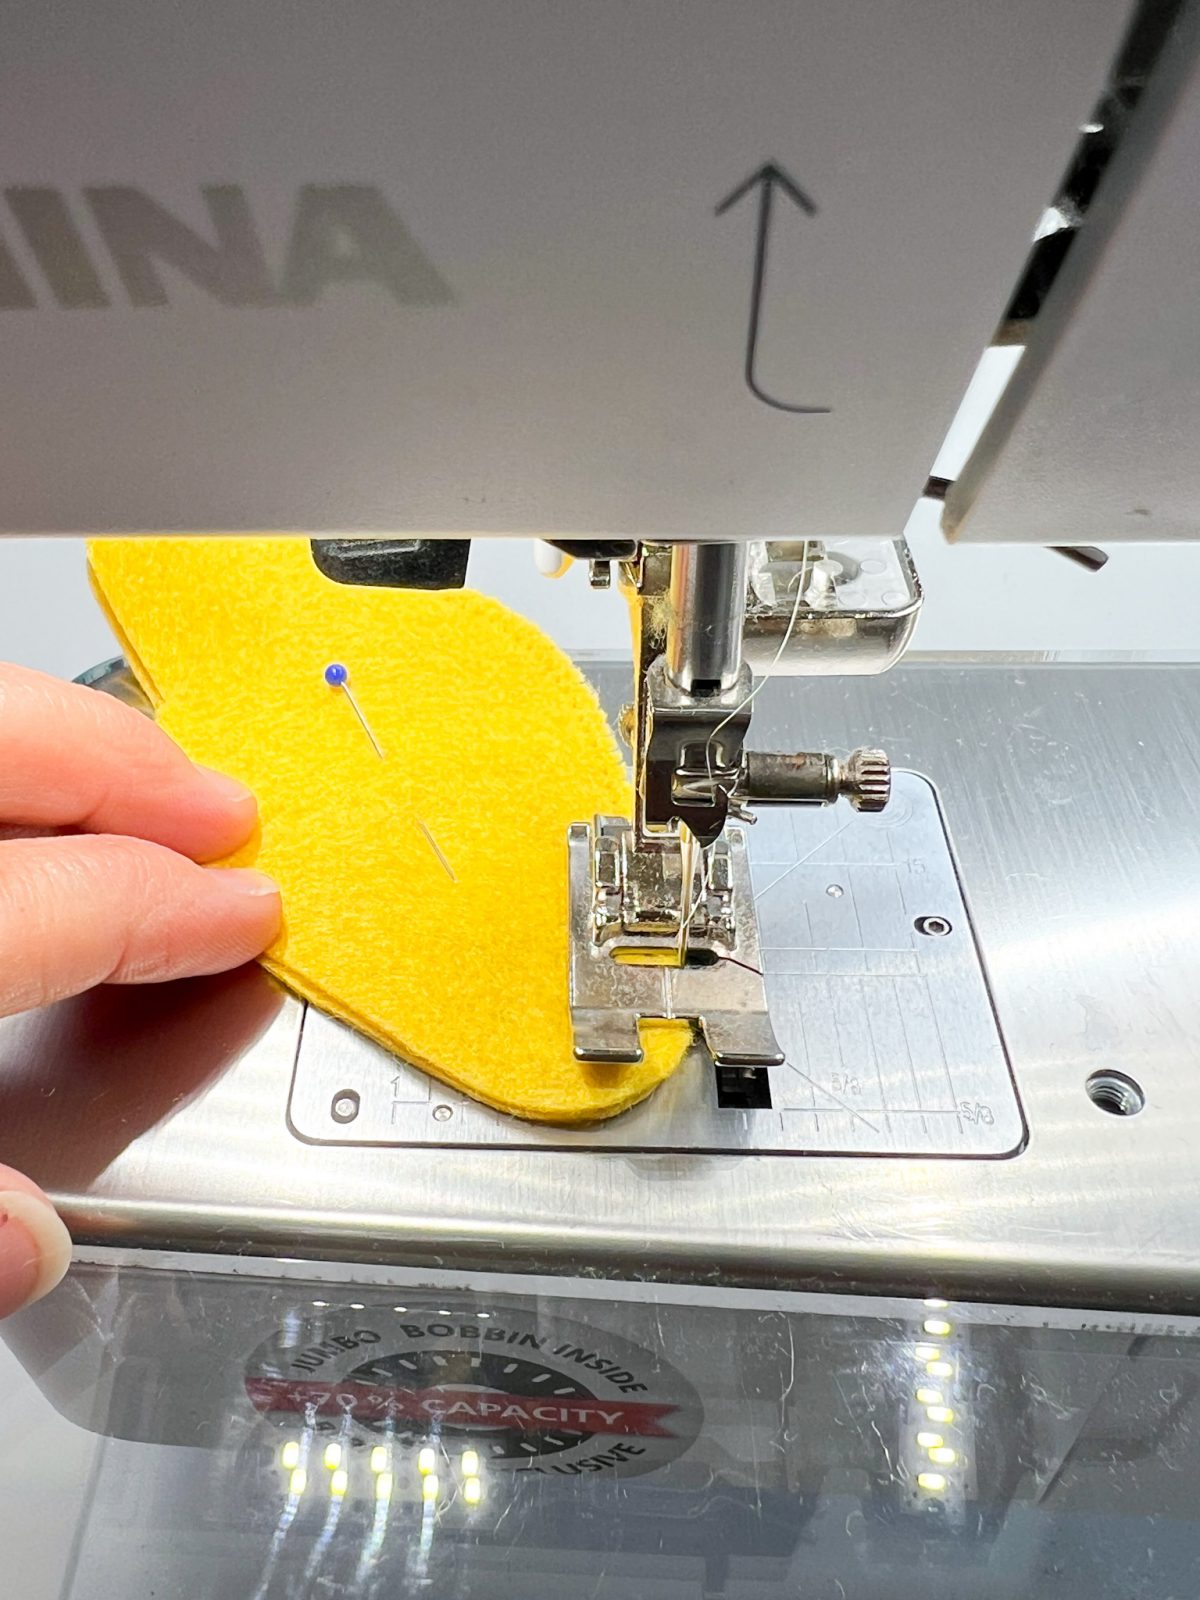
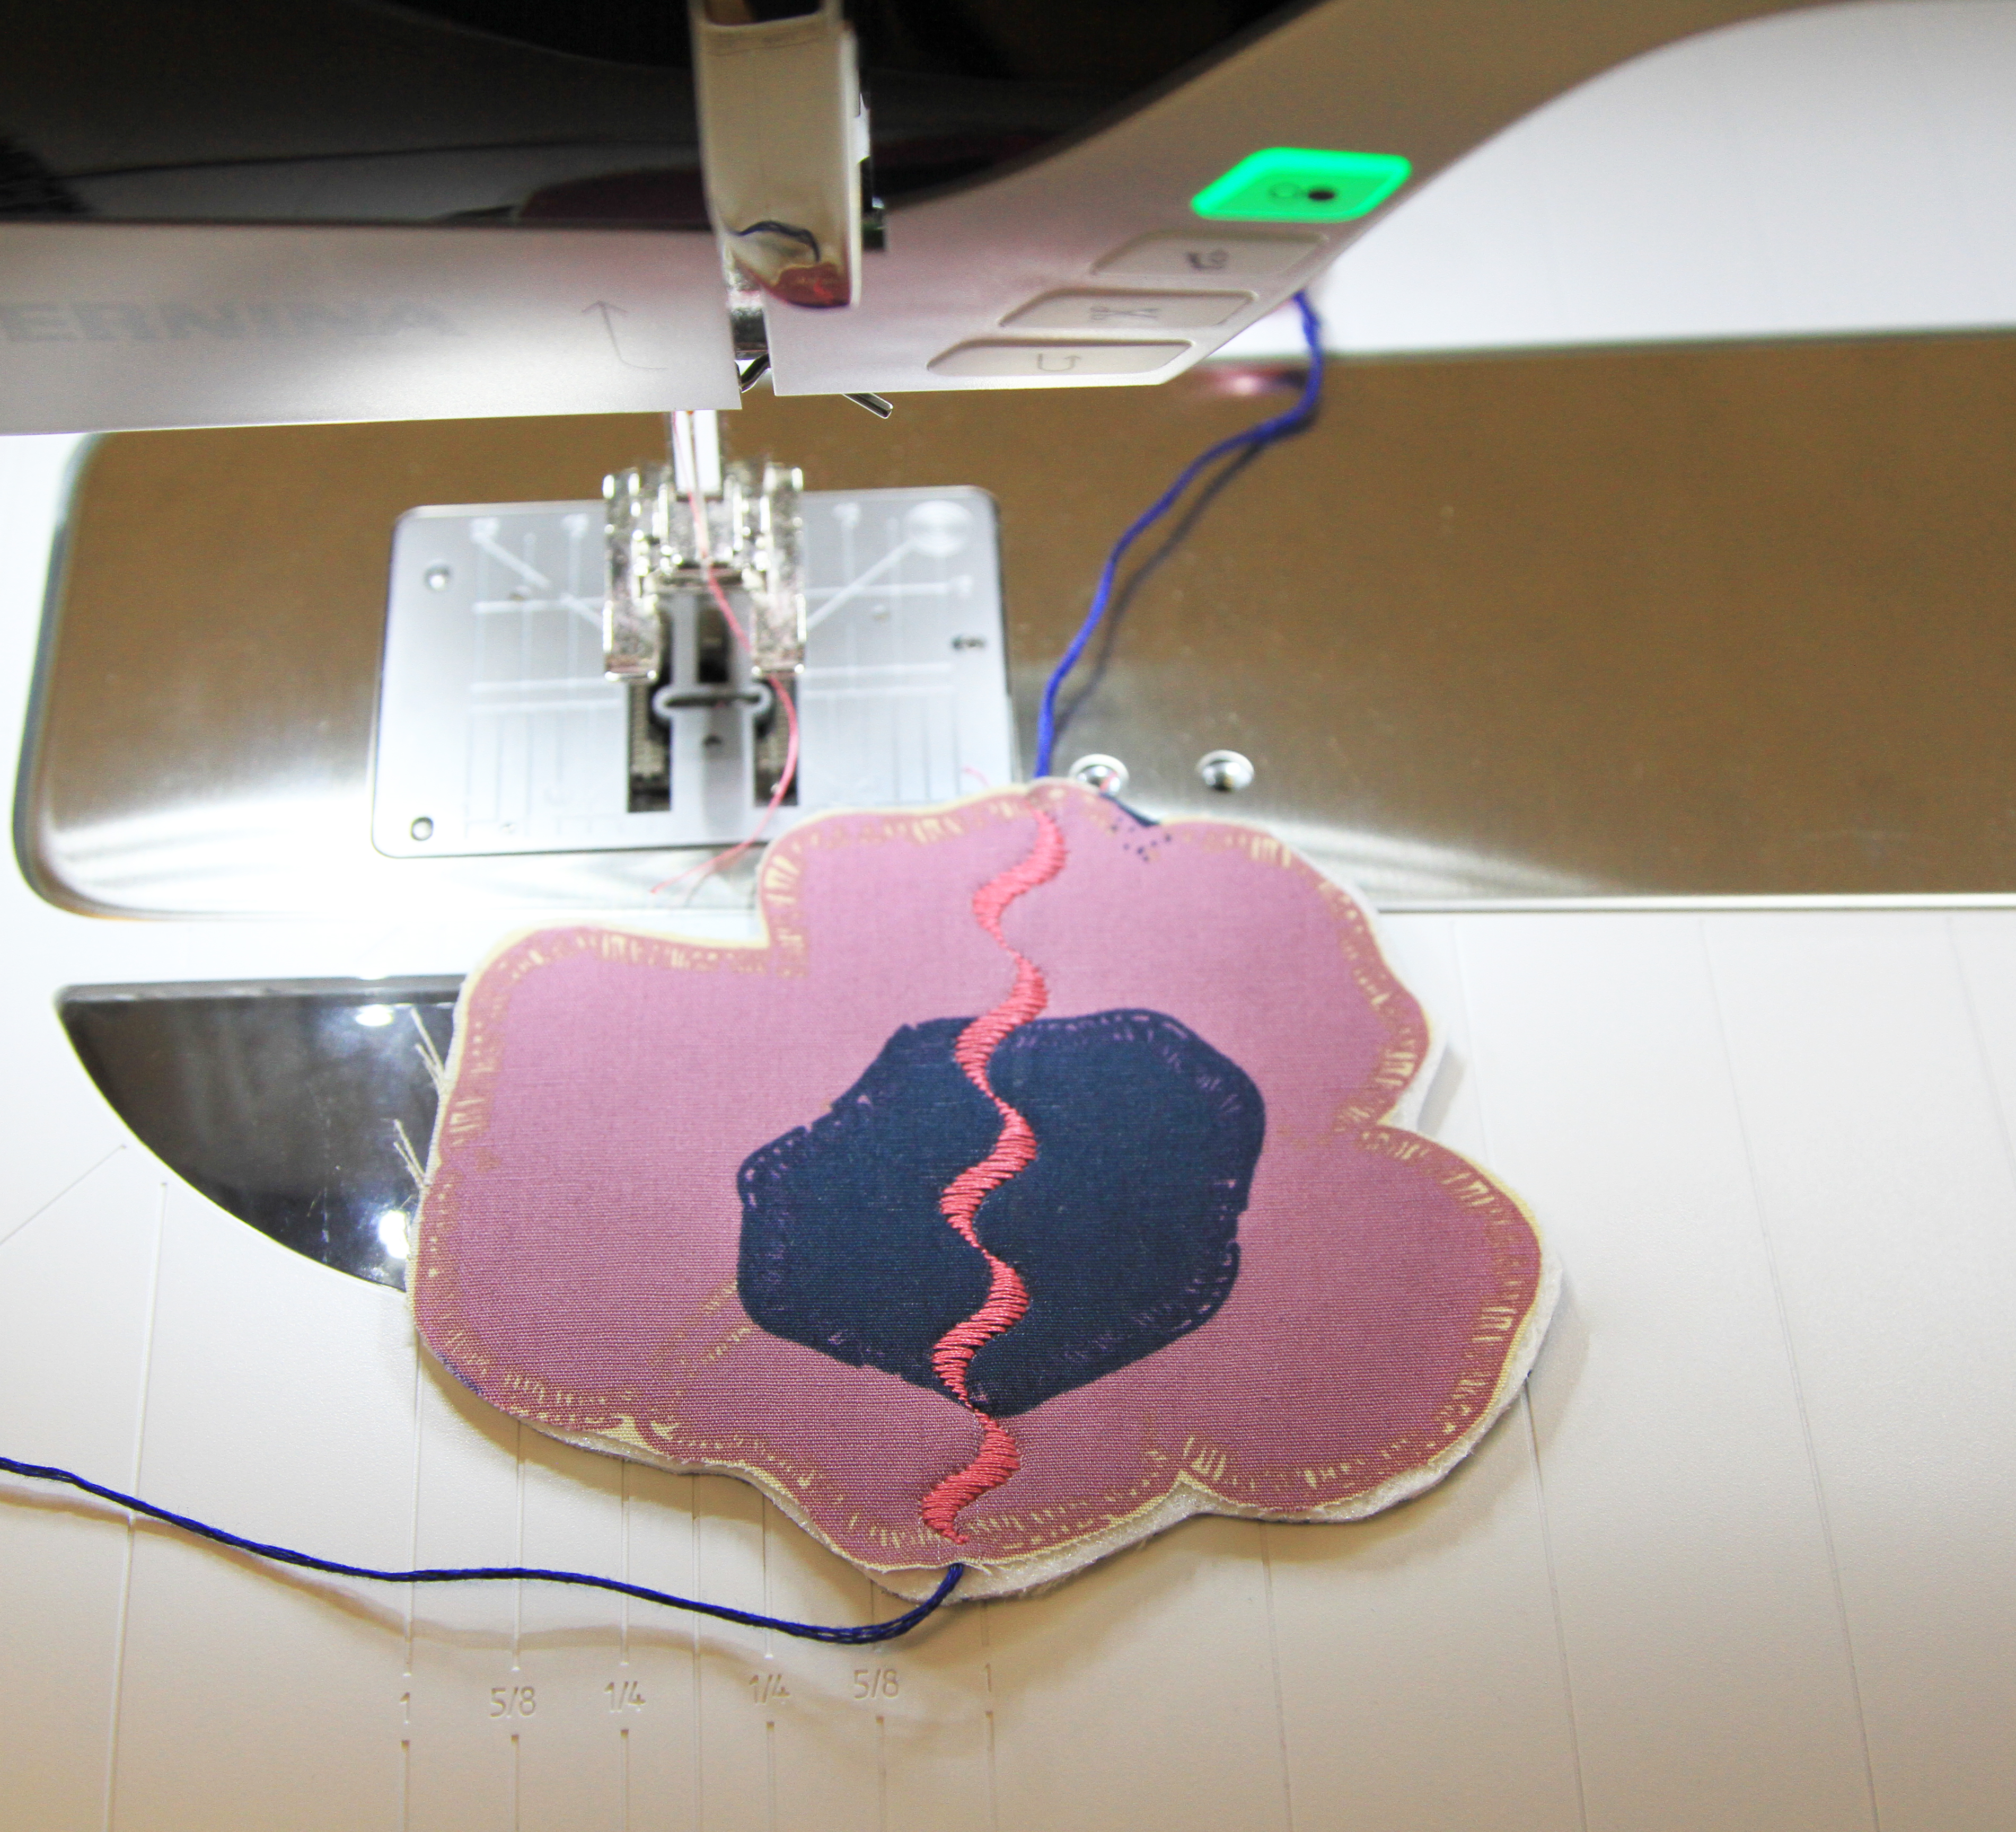
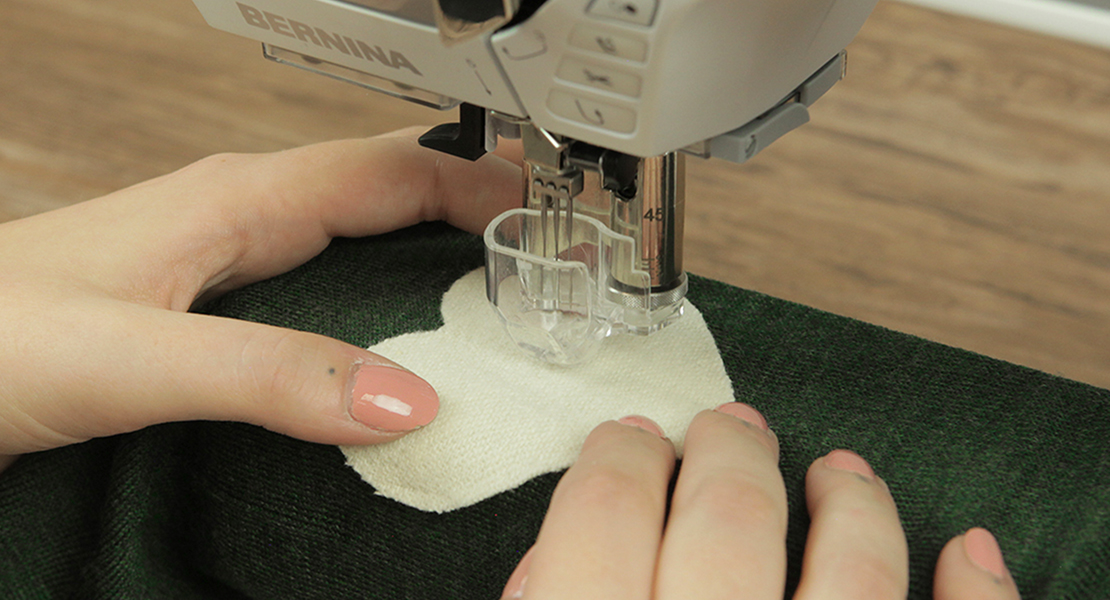
Starting half way down the flat side at the top of the bulb, begin stitching. You will line up the edge of the zigzag sttich with the edge of the felt.
Continue around the perimeter of the bulb shape, when you get to the bottom corner, use your leg lift to lift your foot so you can move your shape easily while stitching.
You will finish stitching at the half way point on the other side of the top part of the bulb. Below shows the starting and stopping points.
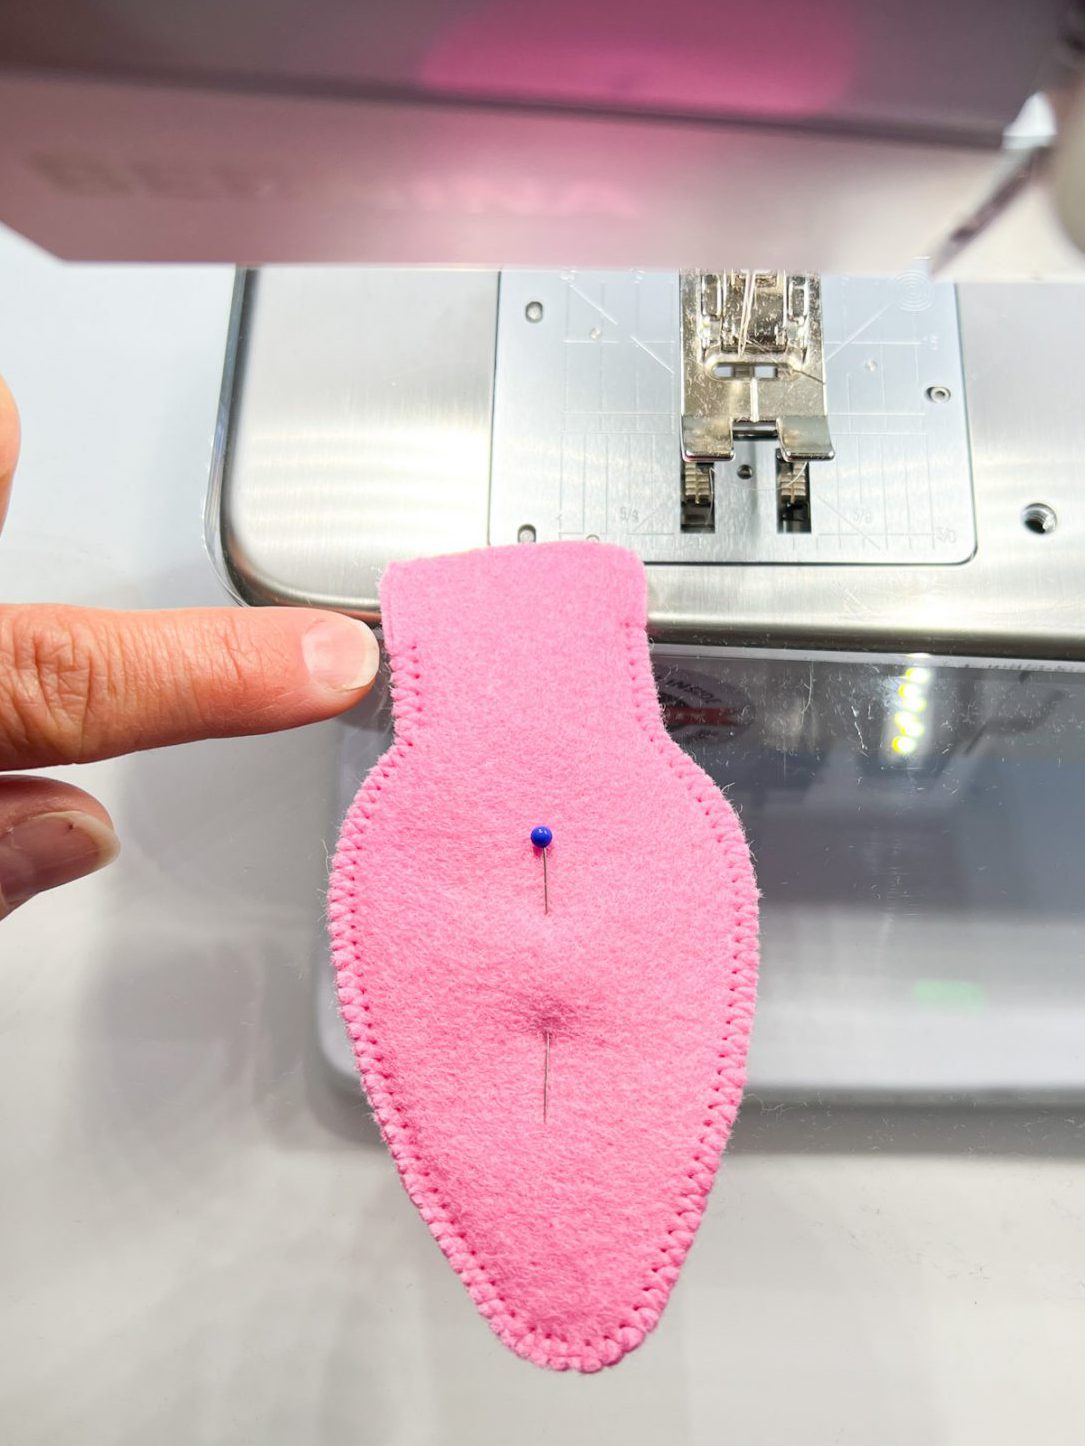
Repeat this step until all of your bulb shape pairs have been sewn into finished bulbs. Snip any loose monofilament threads at the beginning and end of your zigzag points.
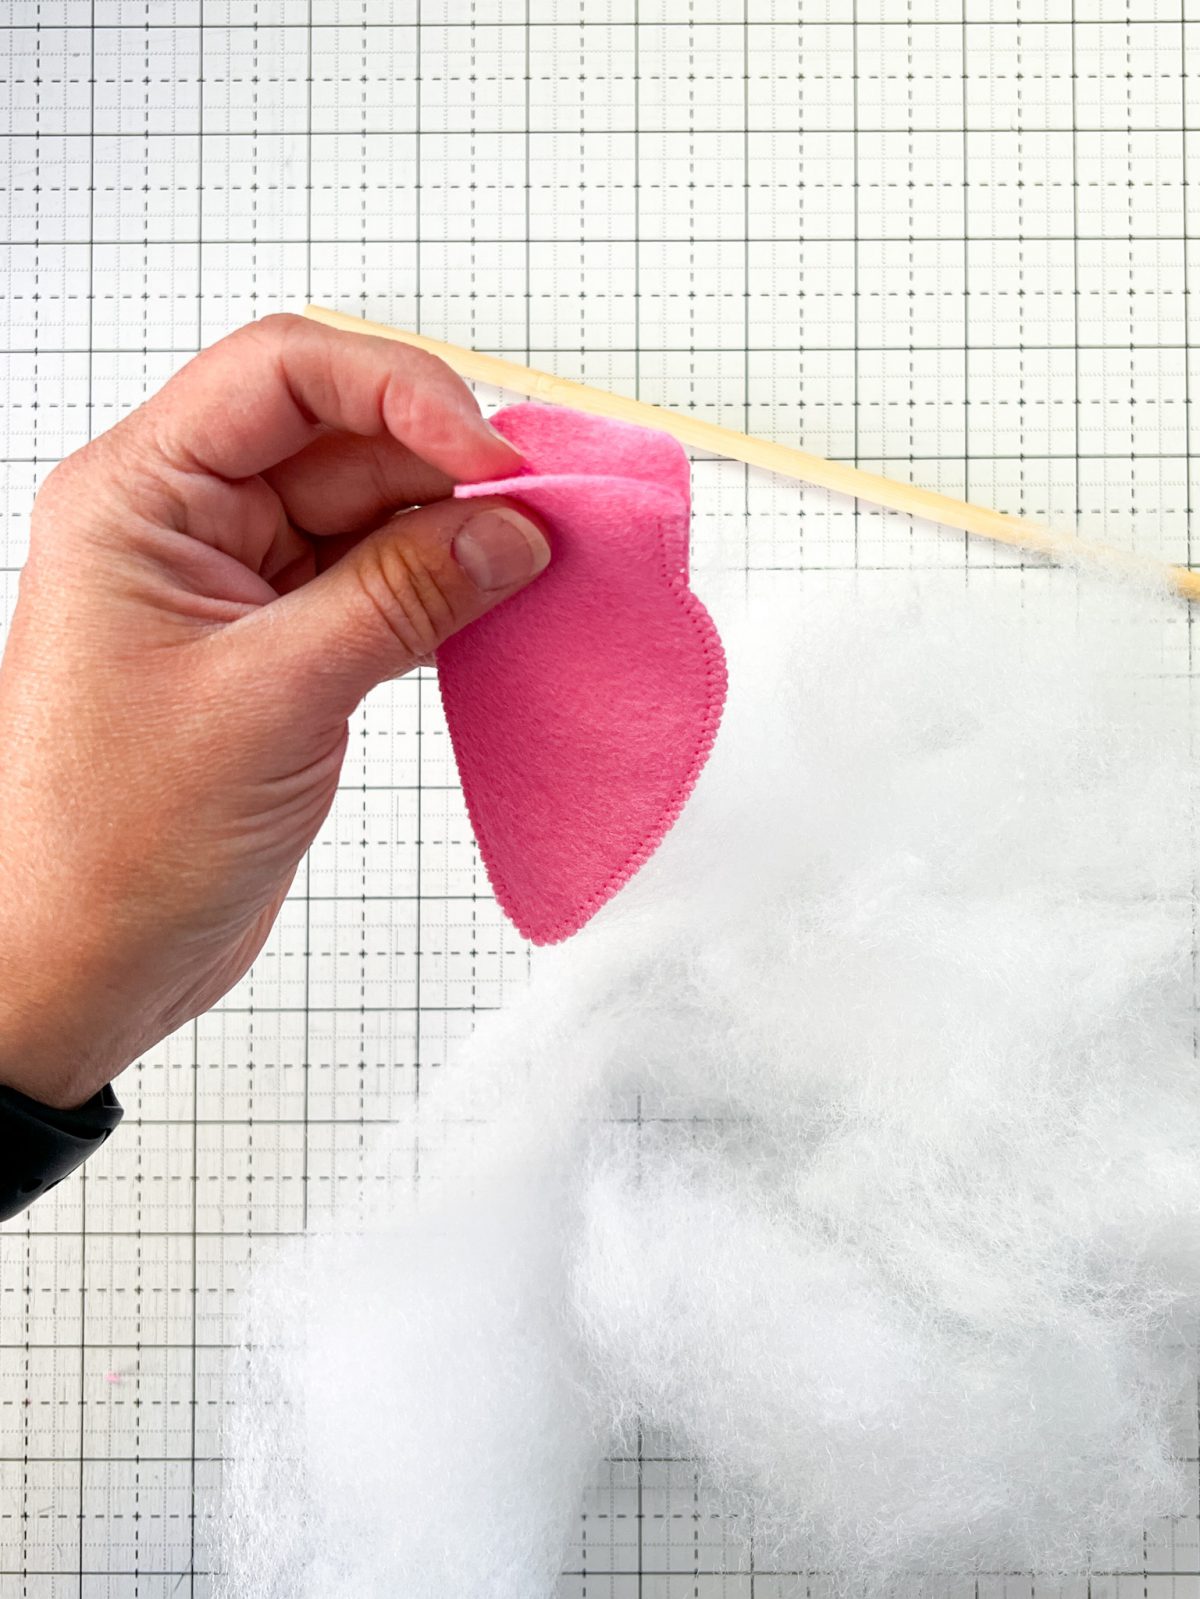
Step 4: Stuffing the Bulb Shapes
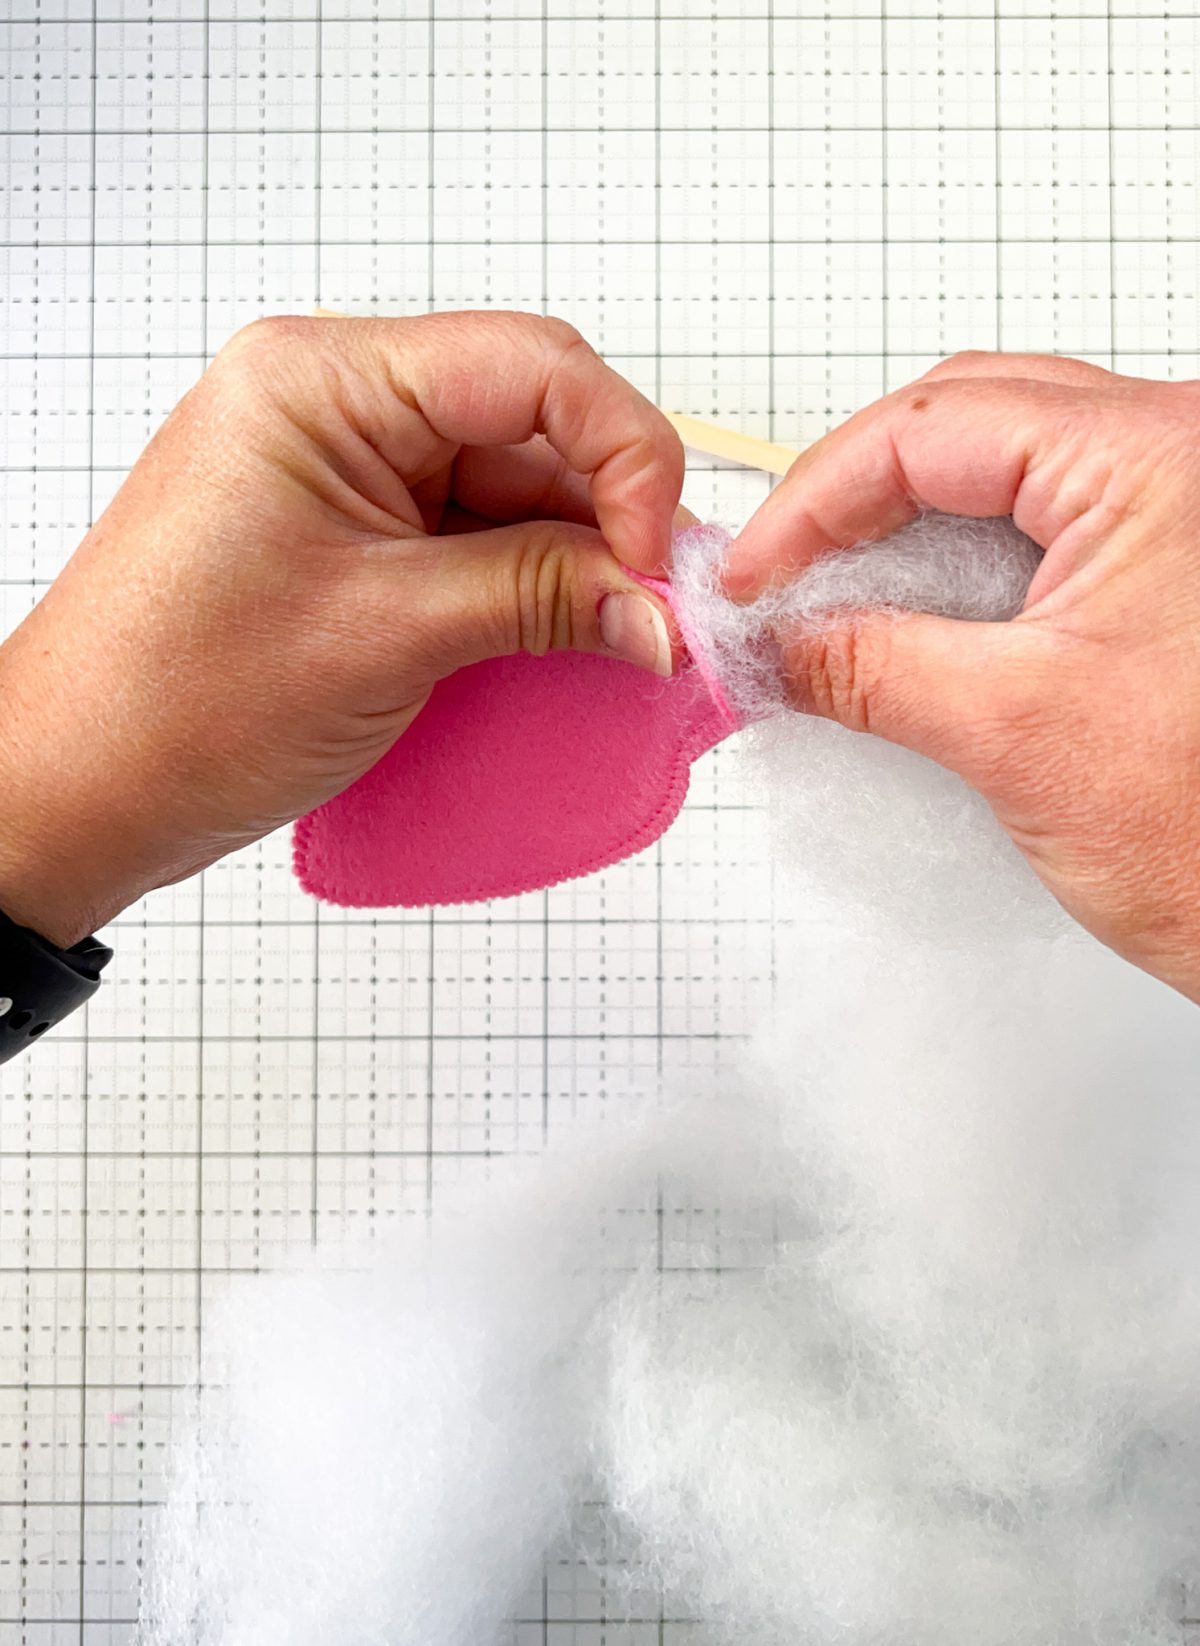
Grab a small handful of polyester fiber fill material and the stuffing tool – a small wooden dowel or pencil works as well. Open the top of your bulb shapes and insert a small amount to get started.
Twisting a section of fiber fill sometimes helps get the process started if you are having trouble.
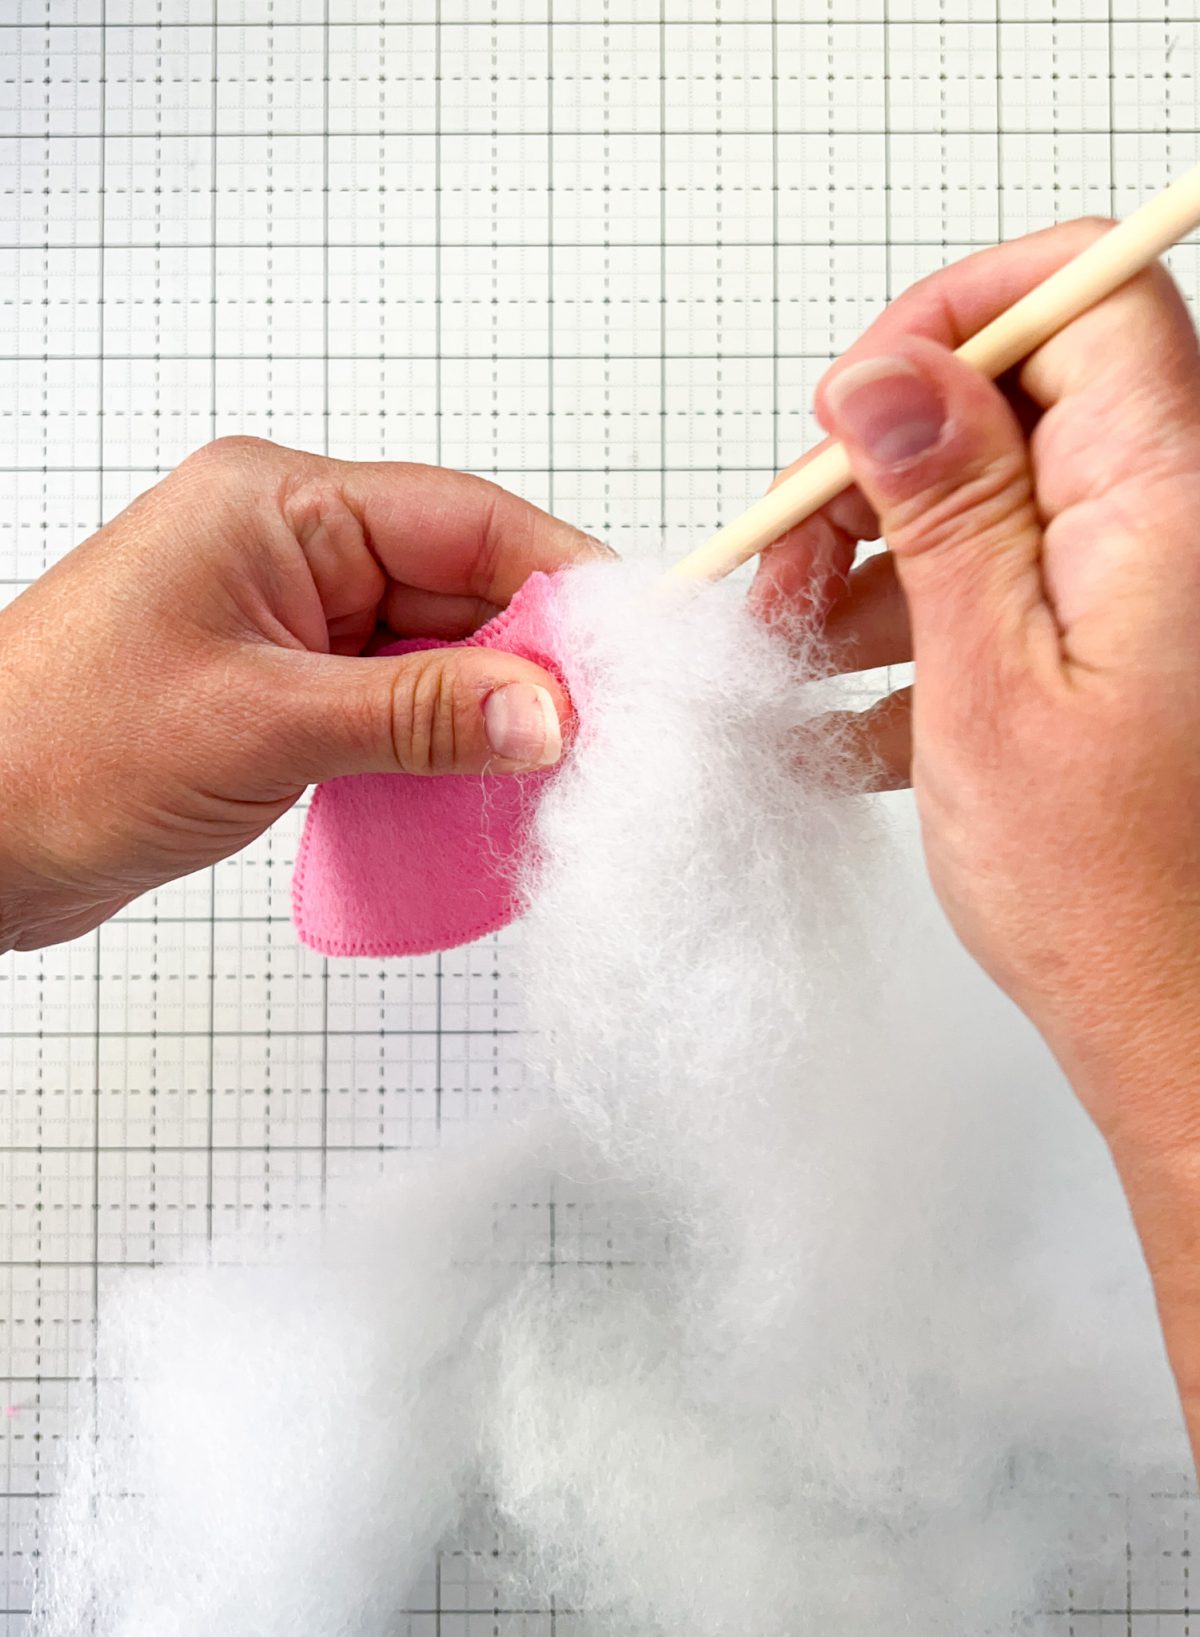
Using the stuffing tool – push your fiber fill into the bulb shape until you have enough to give the bulb a bit of shape.
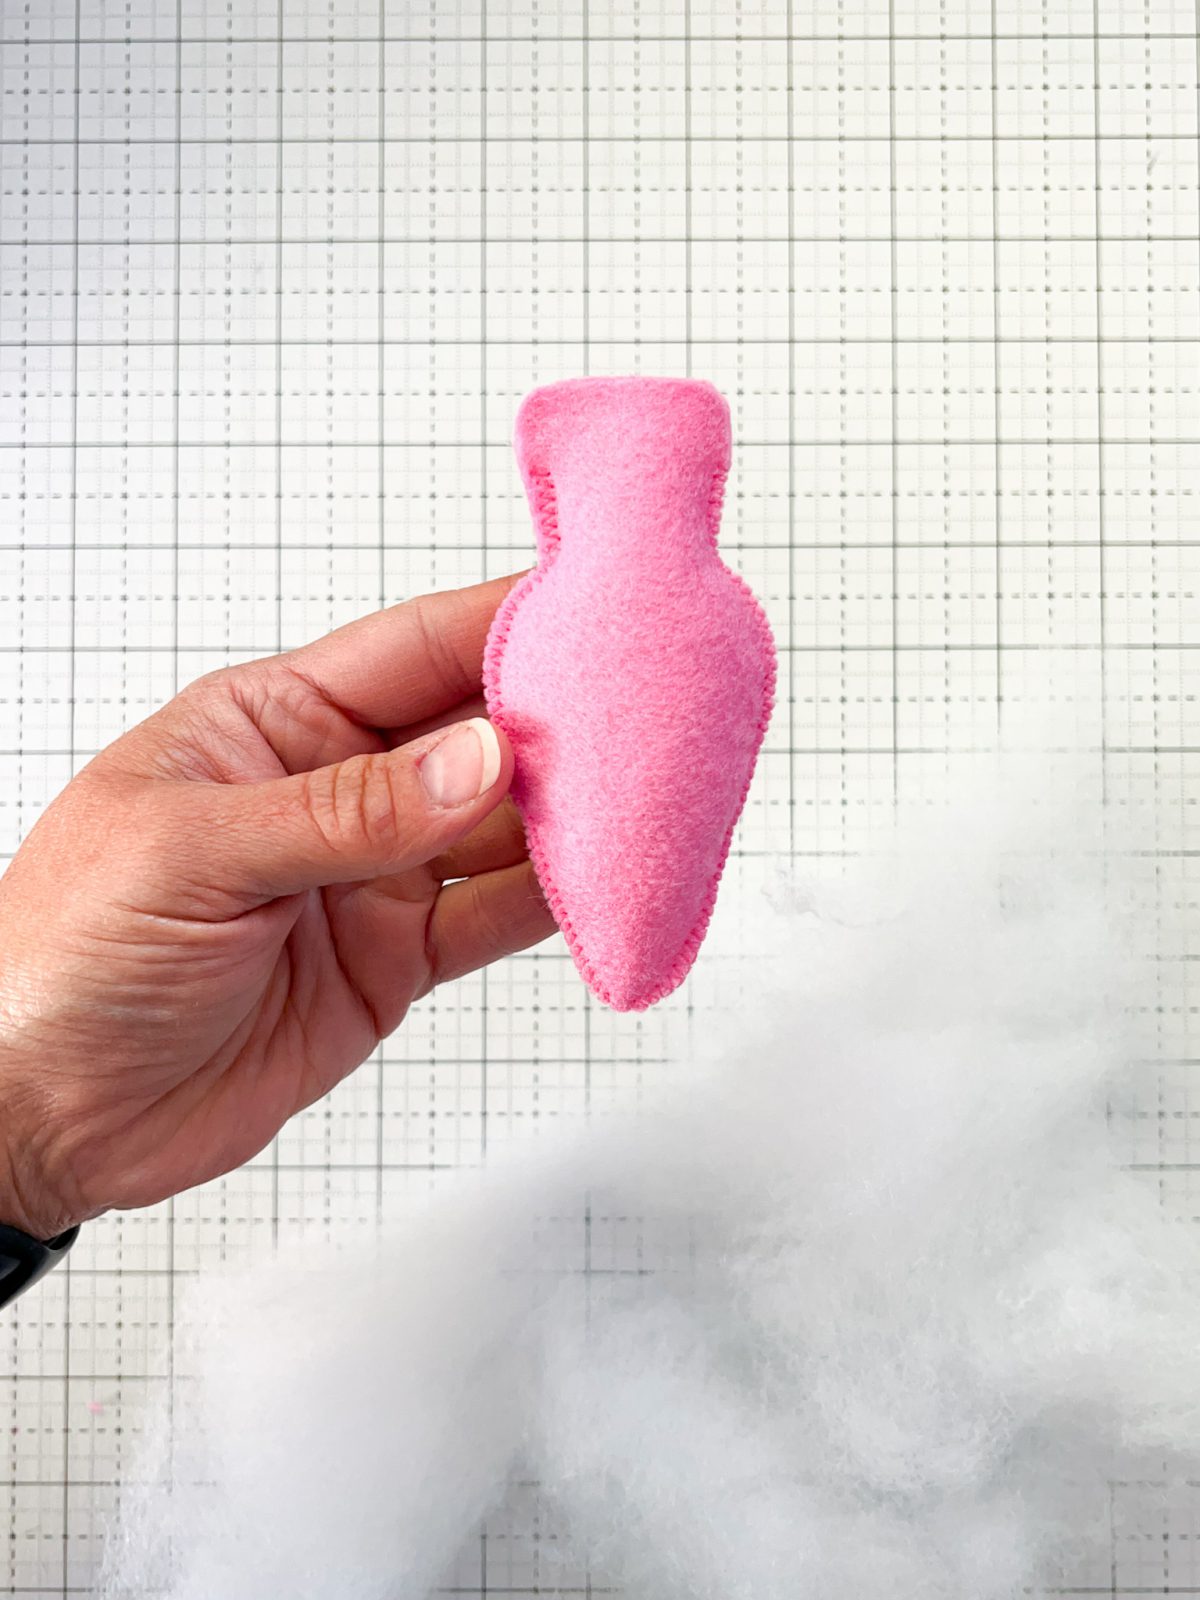
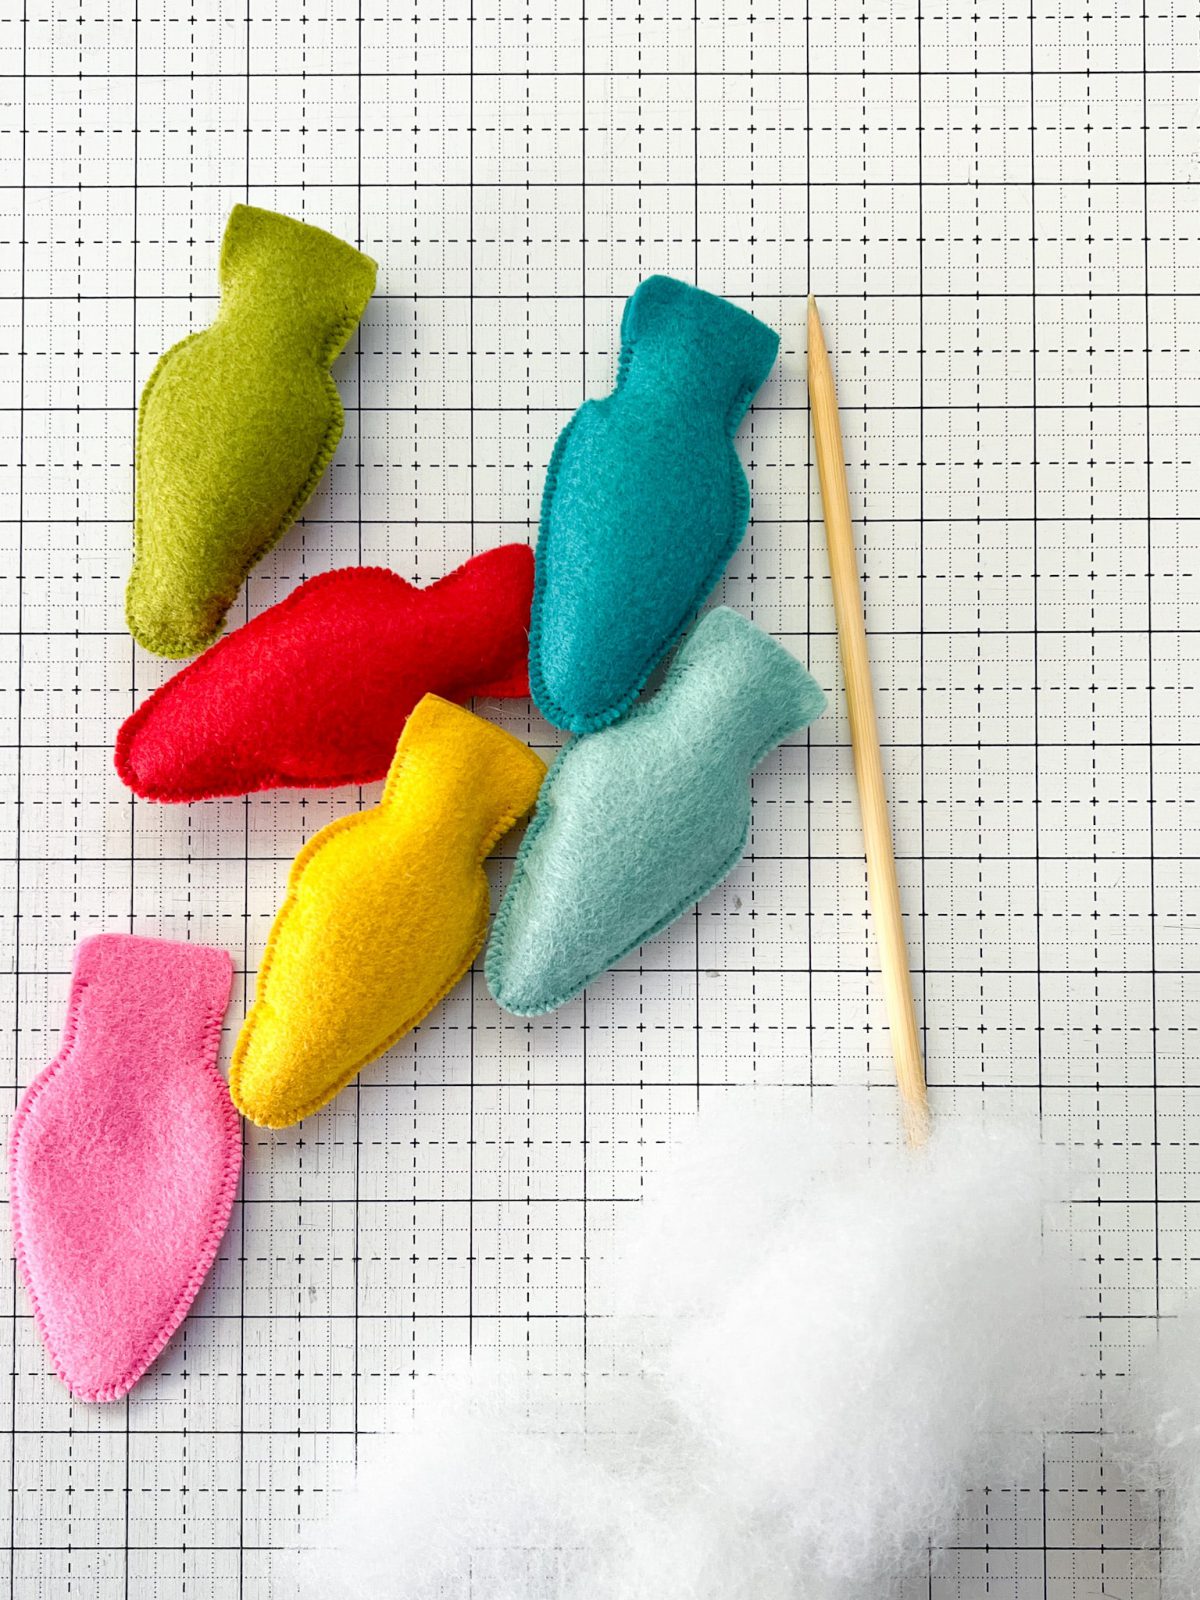
You will have enough fiber fill in your bulb shape when it looks similar to the bulb below – make sure to not overstuff your bulb shape or it will distort the look.
Step 5: Adding Bulbs to Garland
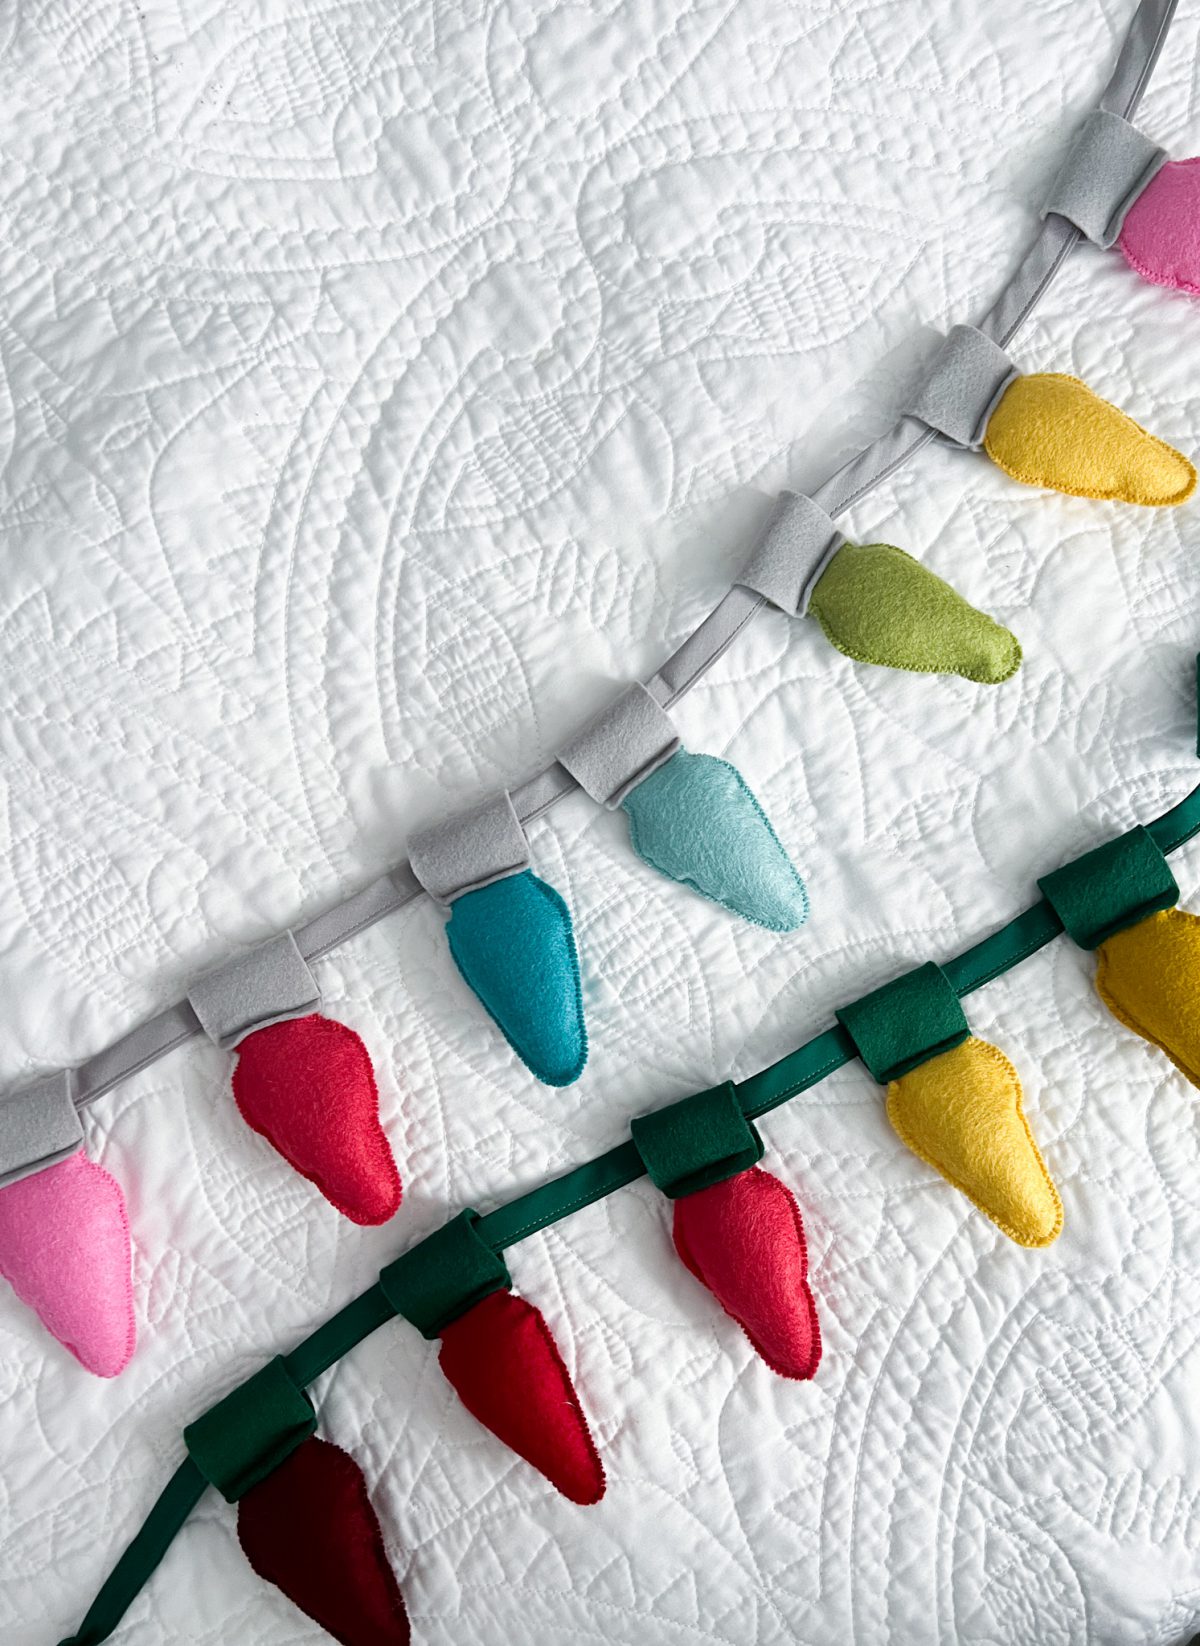
You have a couple of options for your garland, a coordinating ribbon, twine or you can use a double wide, double fold bias tape. These come in a large assortment of colors and can be found near the thread at your local sewing shop or online. I love the look and the thickness of this bias tape and feels like it really adds to the handmade look of the Felt Bulb Garland.
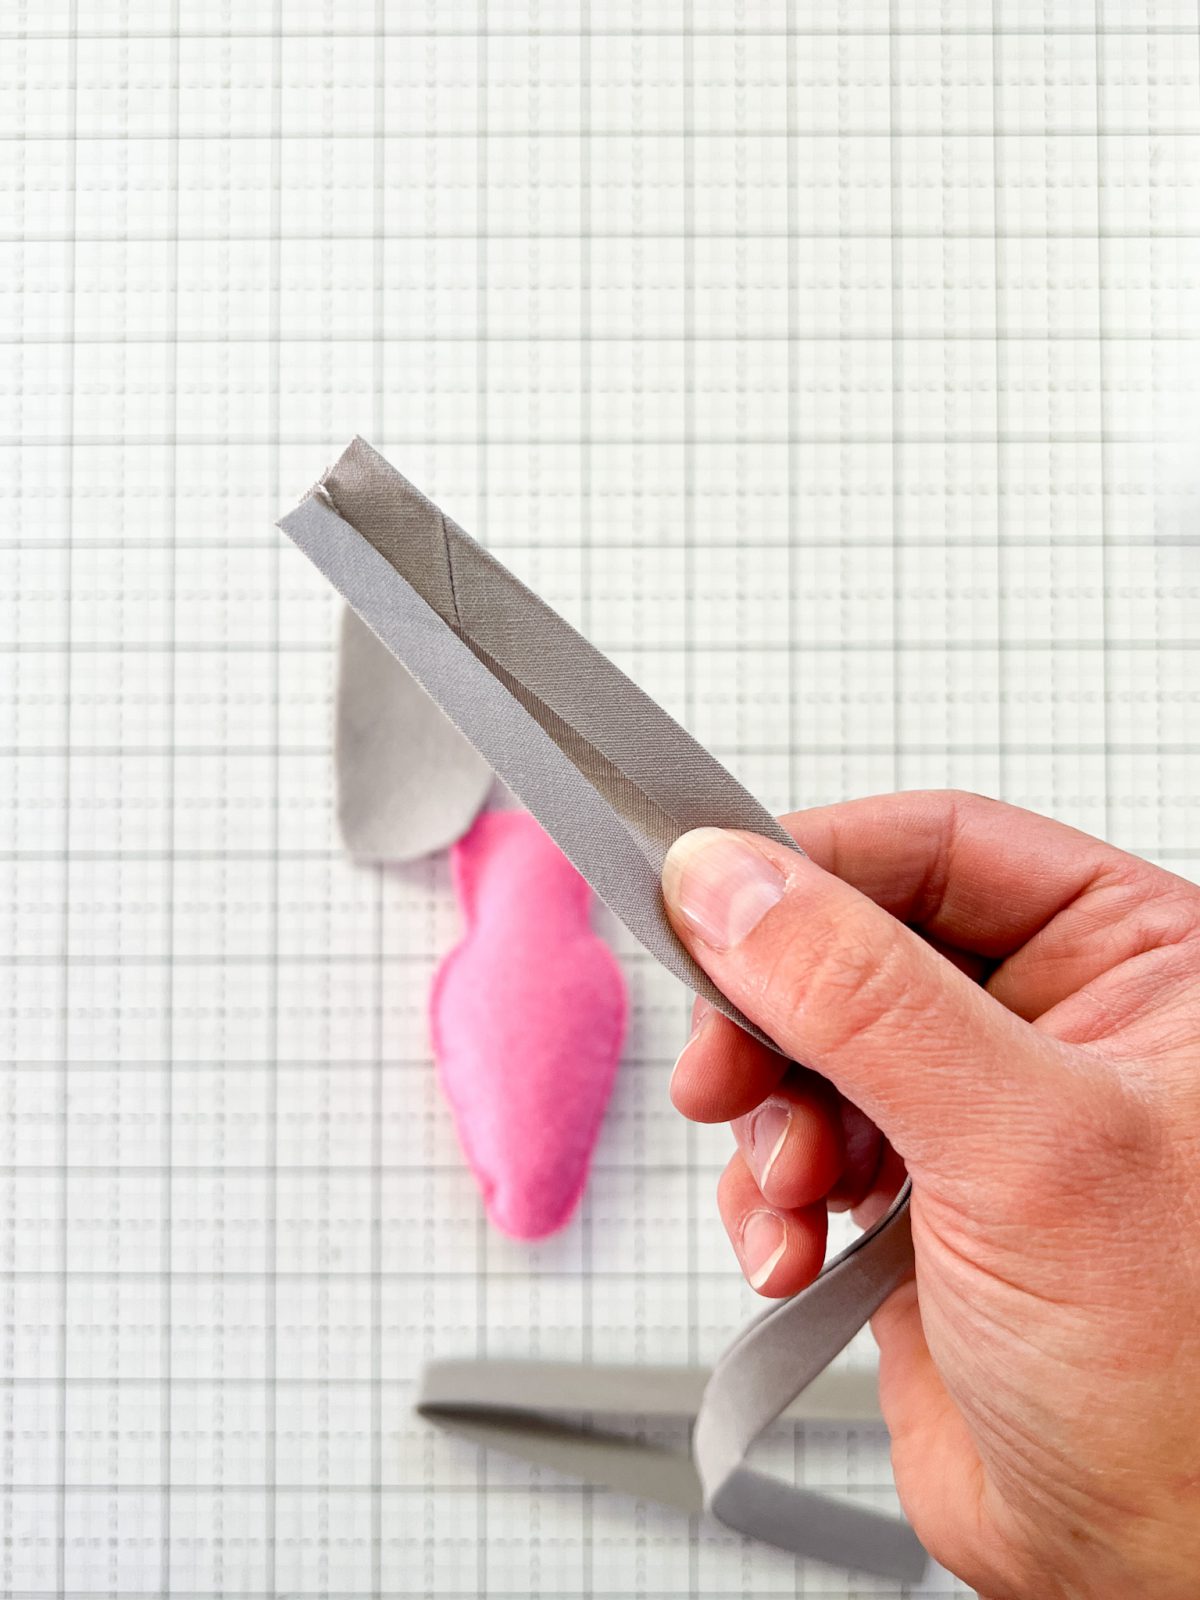
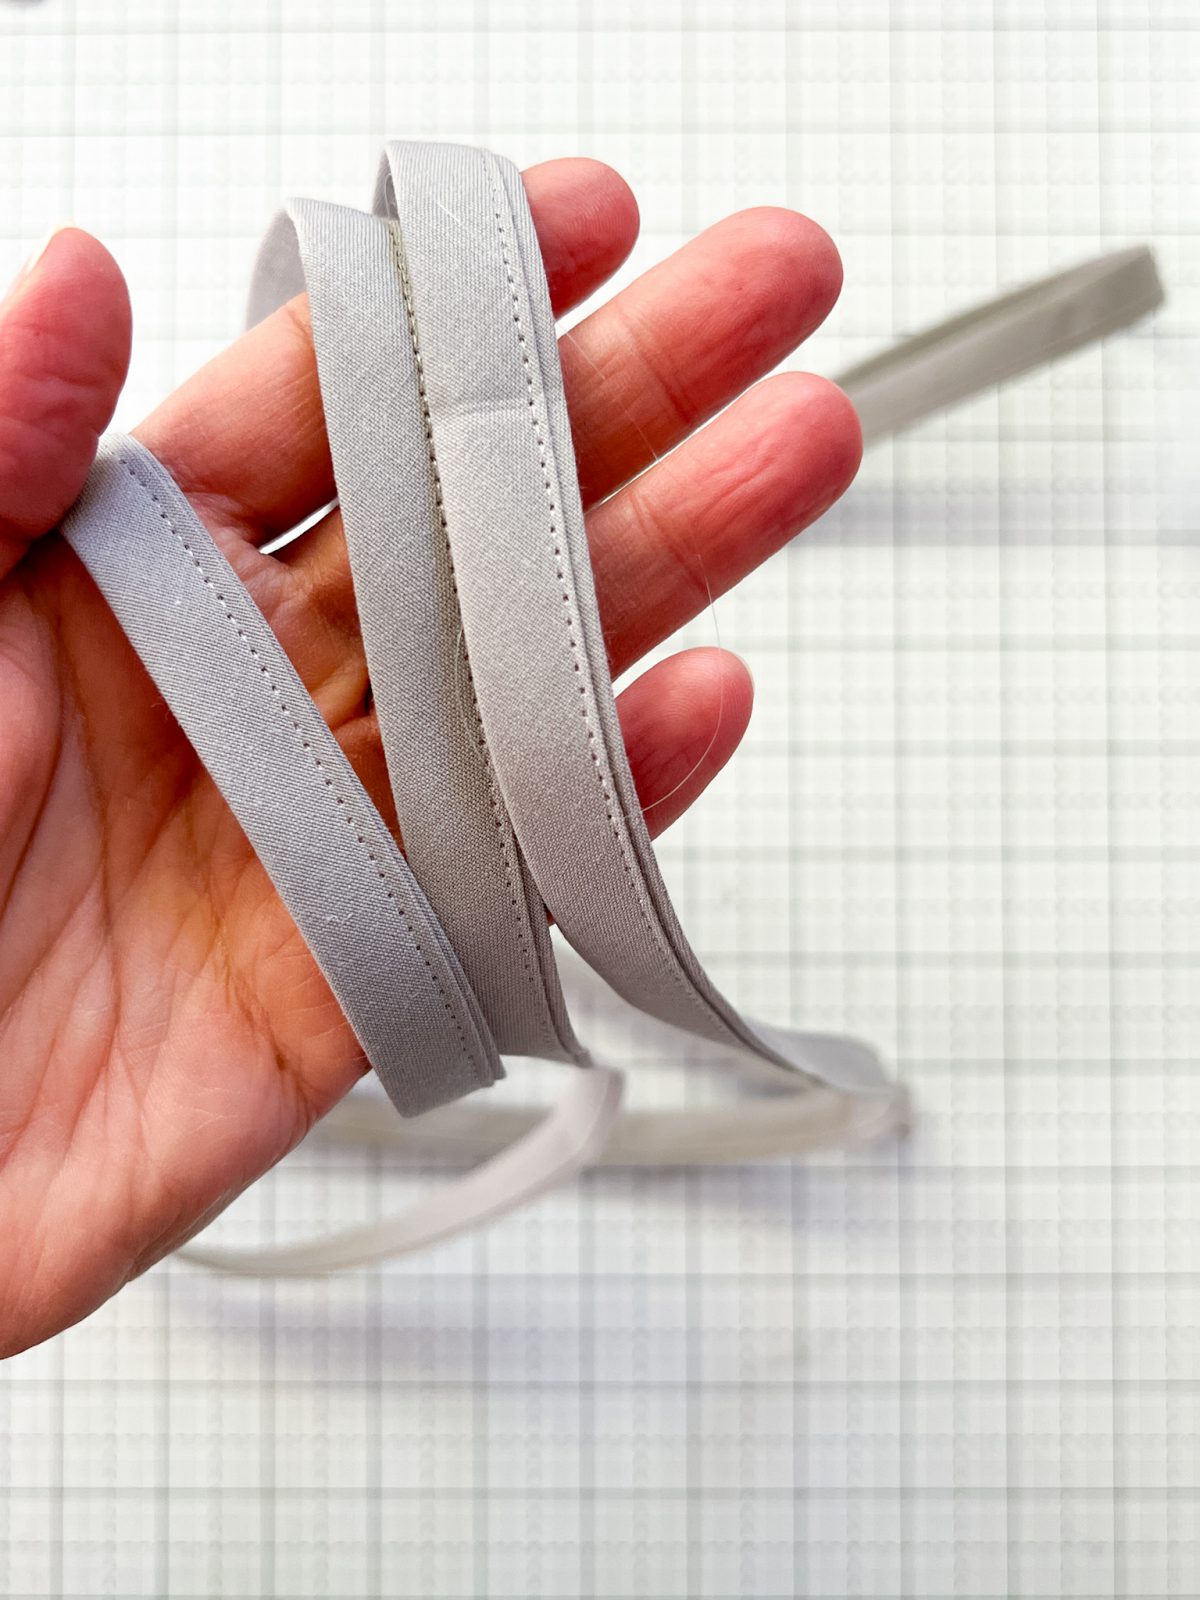
Since the double fold bias tape is open, you will need to close it up using a straight stitch. I used my clear monofilament thread and a quick straight stitch to secure my tape.
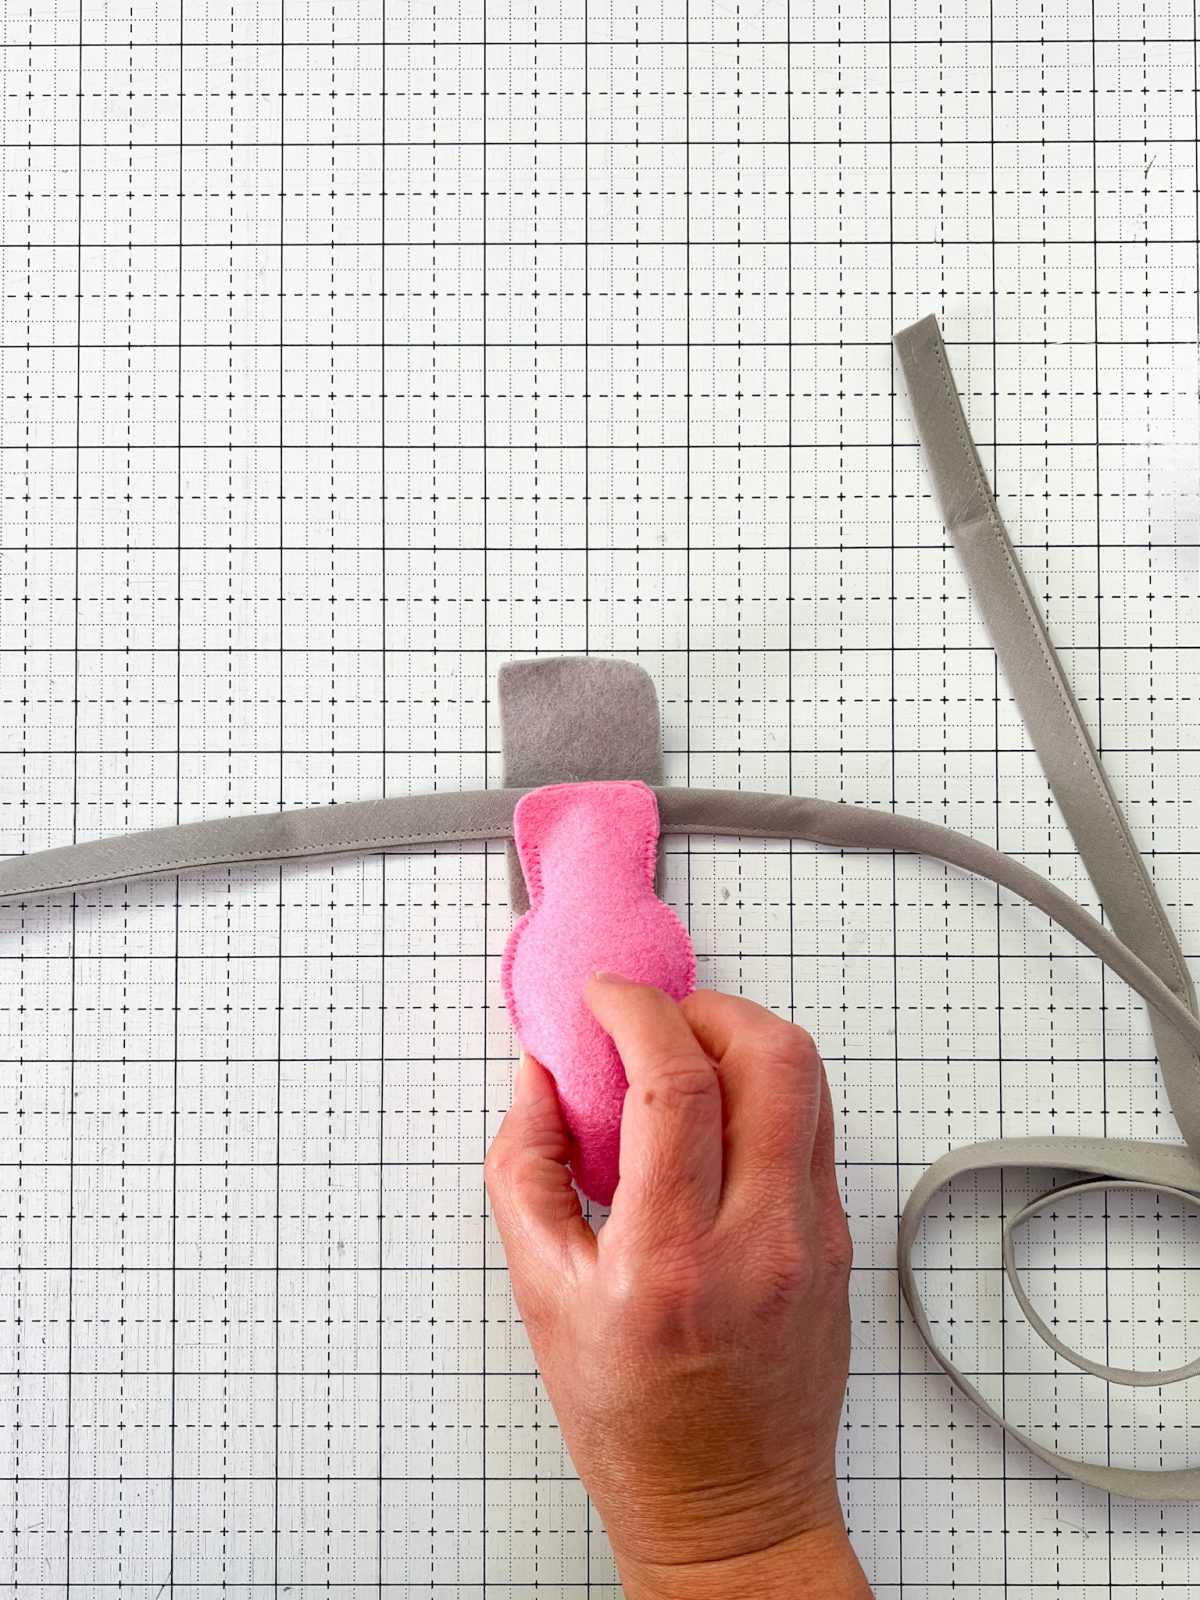
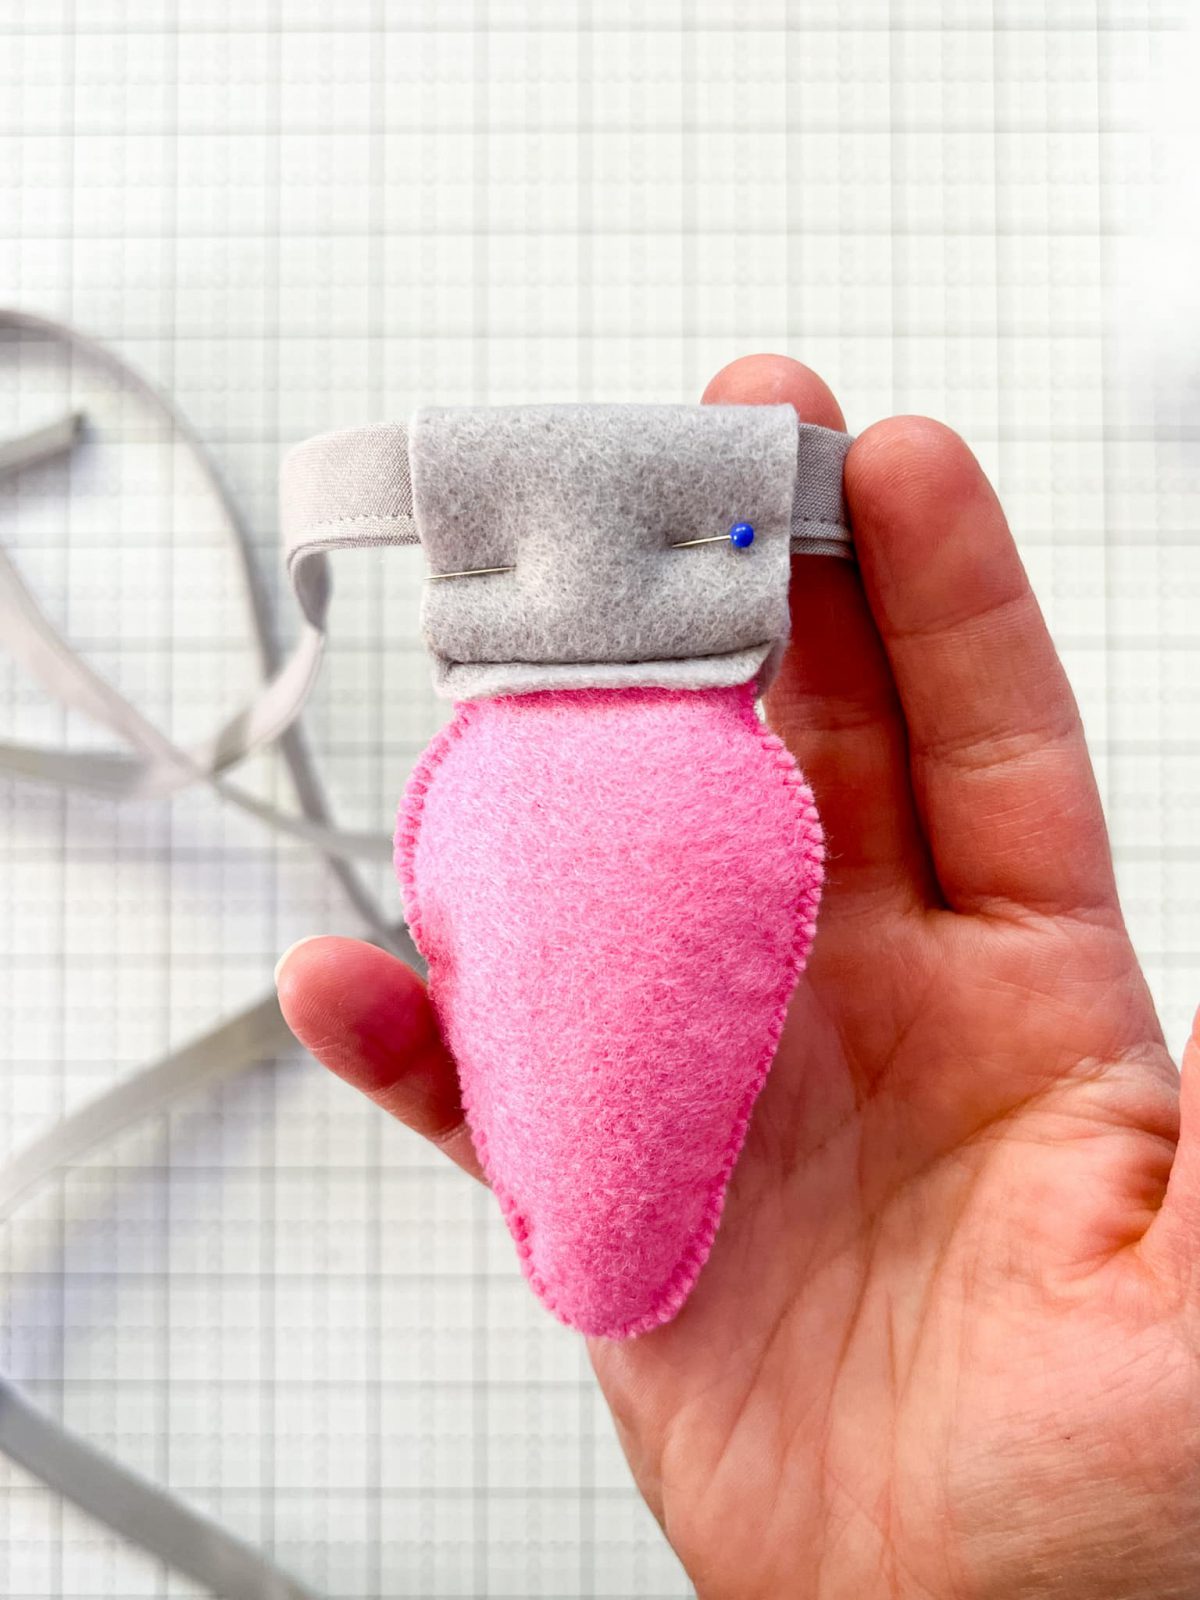
Once you know what order your bulbs will be in, we can start adding them to our garland. Lay your bias tape or ribbon down on your work area and place once bulb topper underneath at the halfway point on the felt shape.
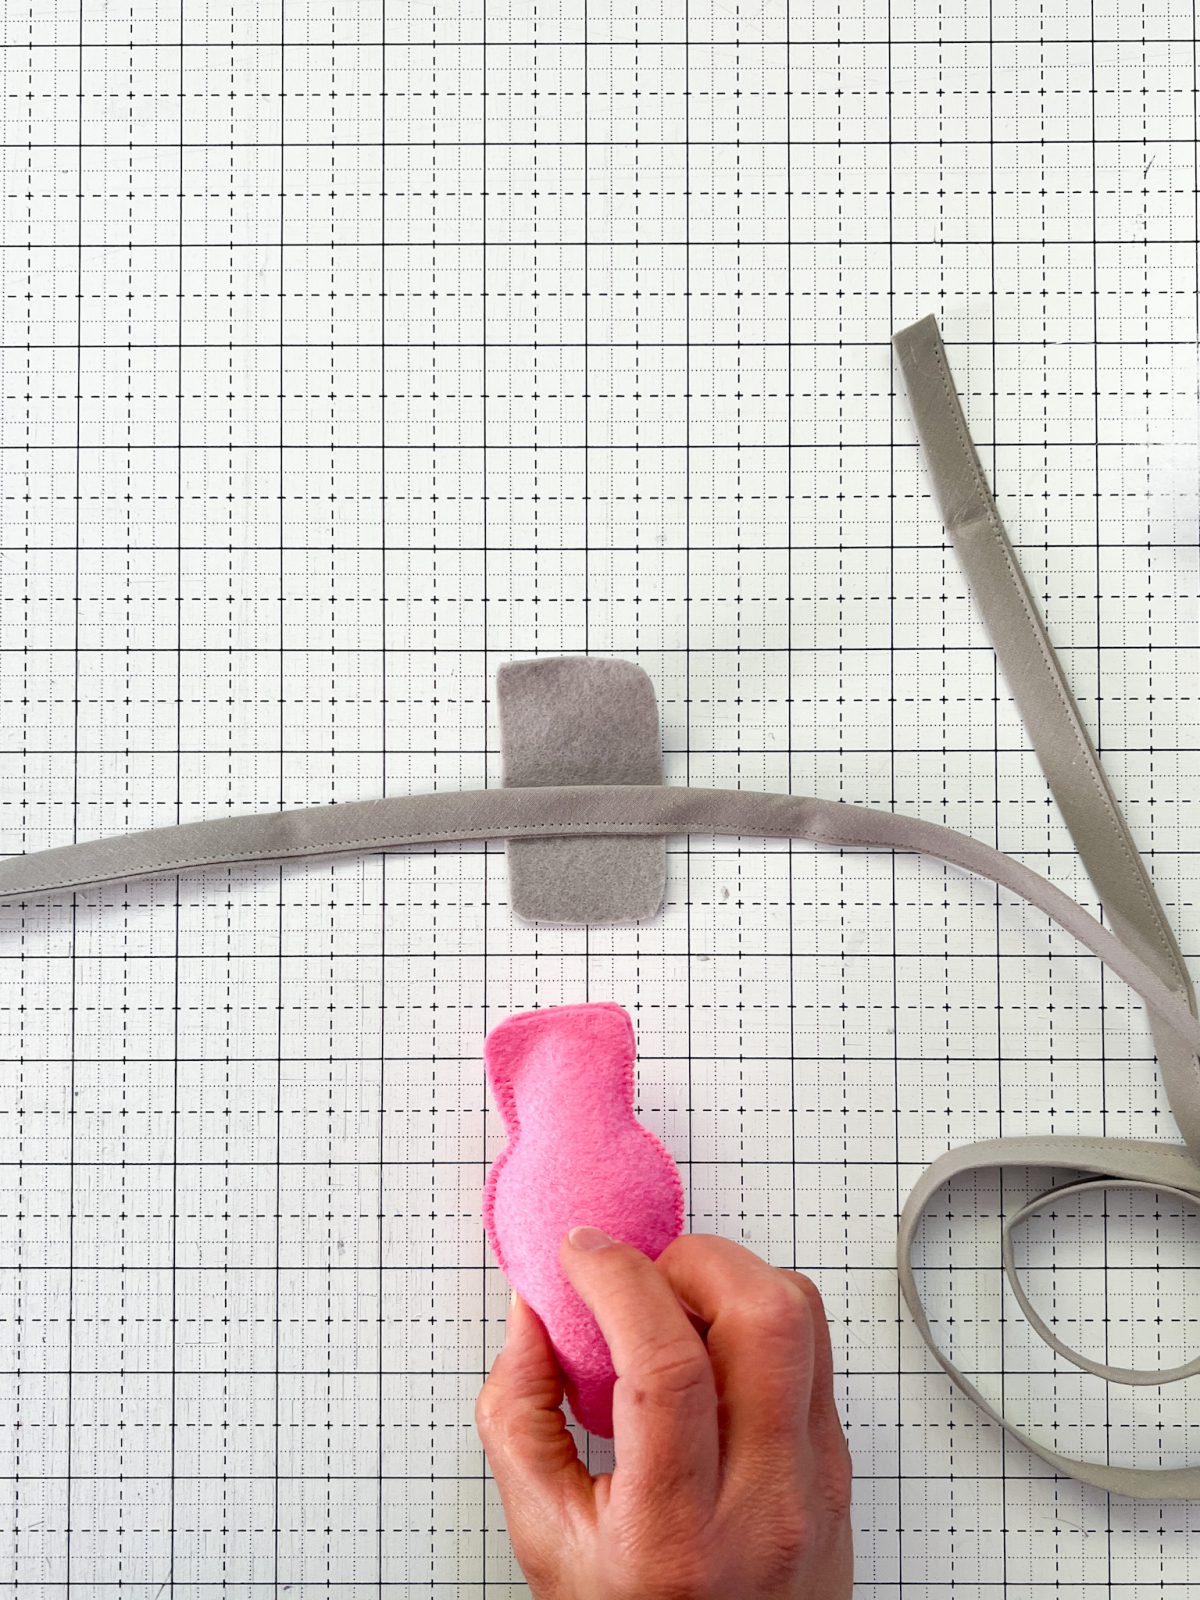
Place your stuffed bulb shape with the top edge along the top edge of your bias tape / ribbon.
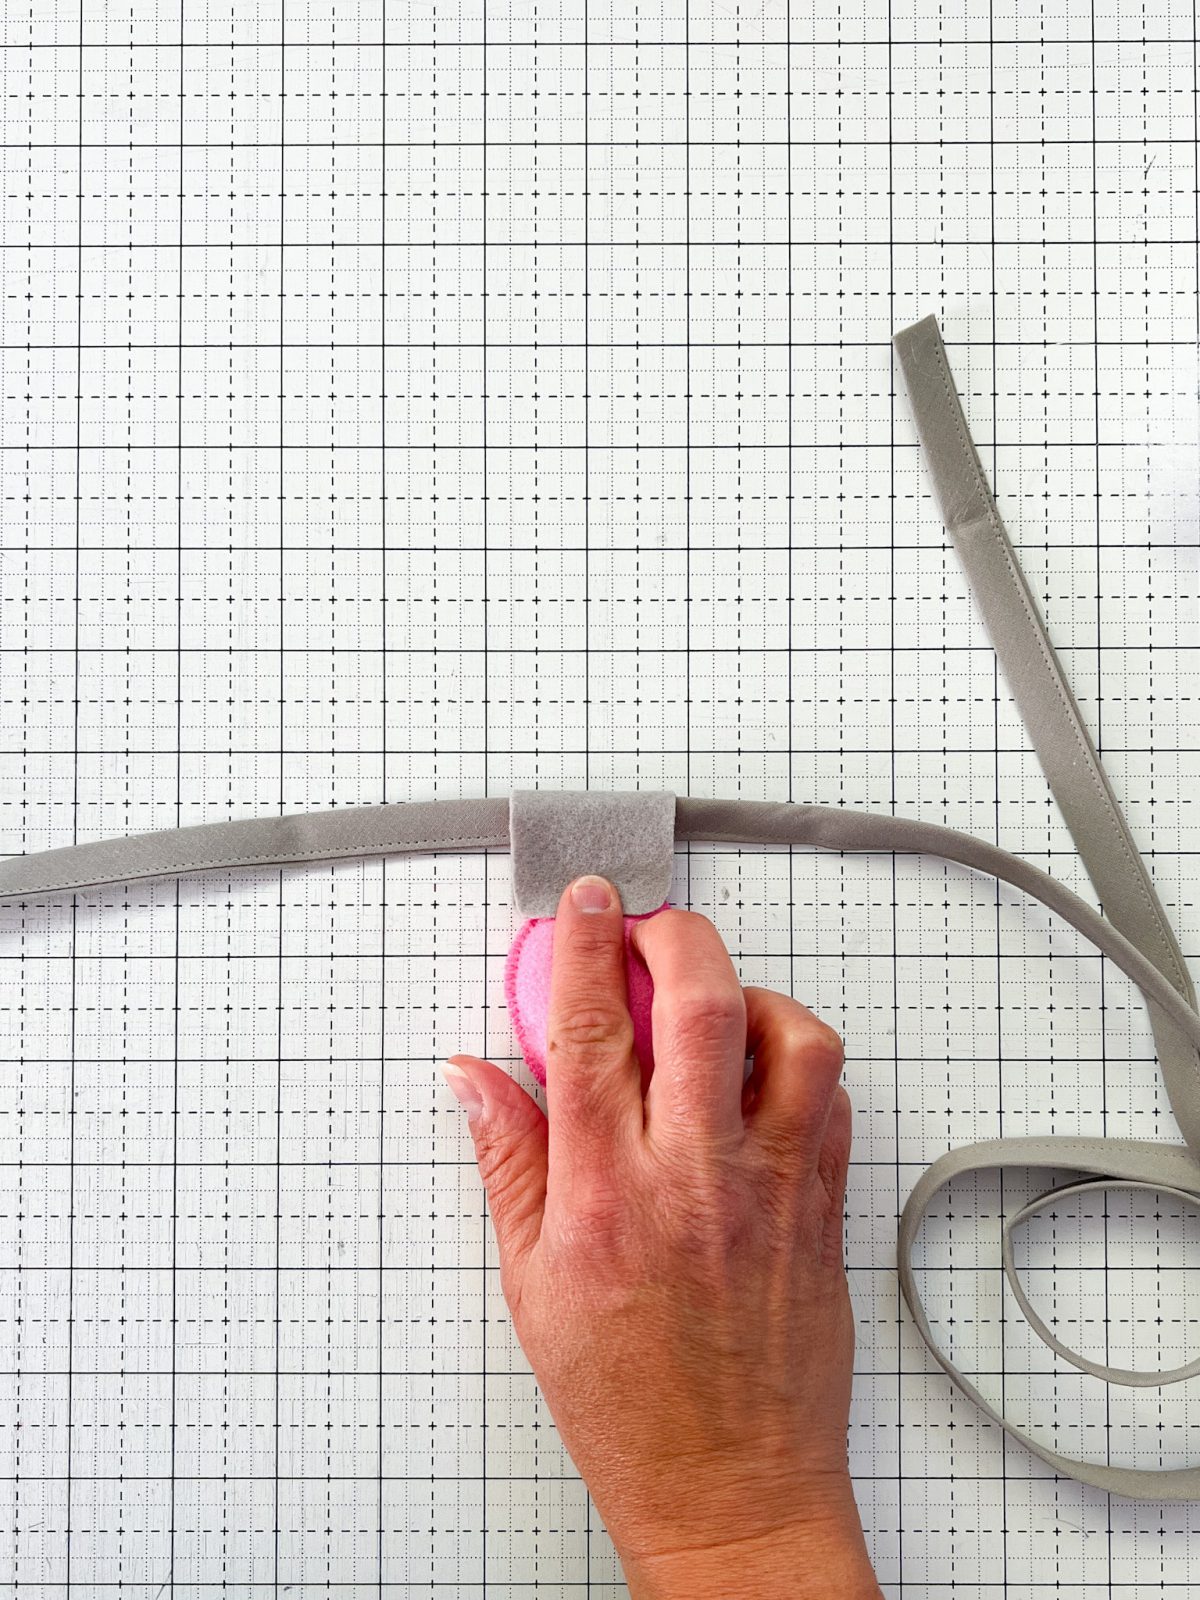
Fold over your bulb topper, shifting the bulb and topper until its an even fold.
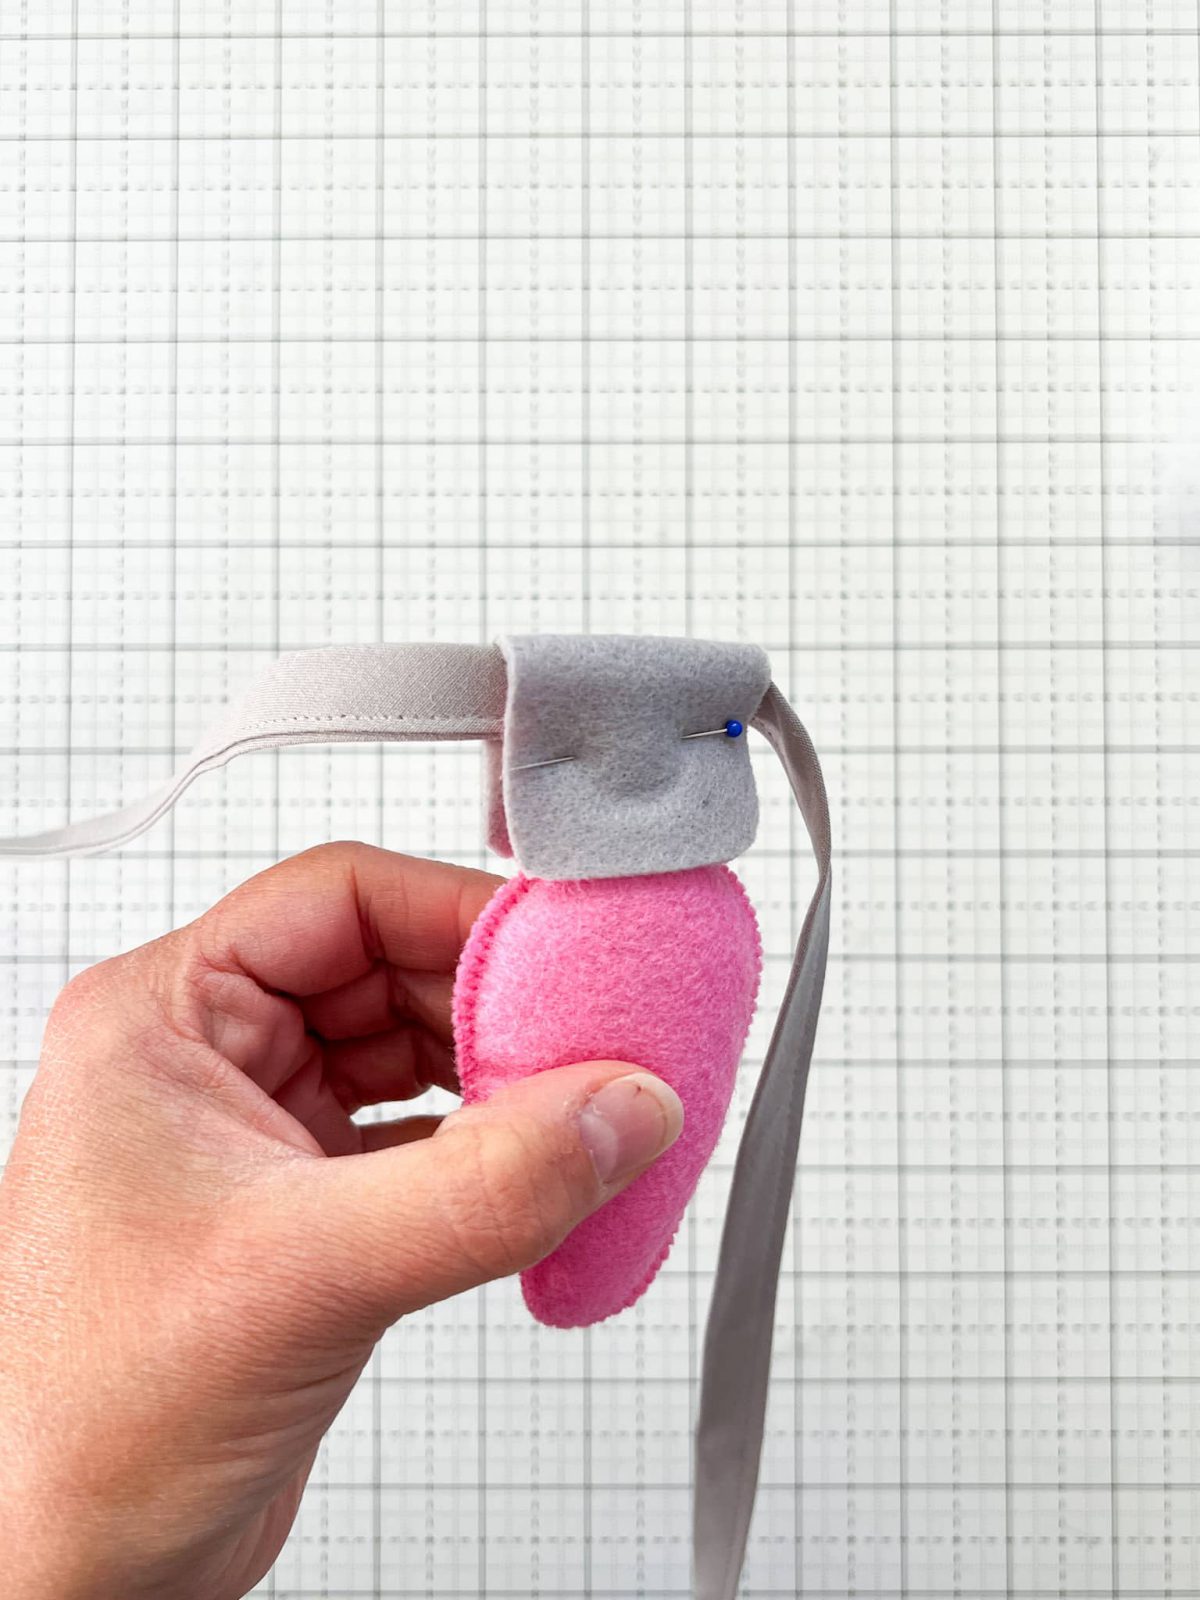
Using a straight pin, pin through all the layers just below the bias tape / ribbon.
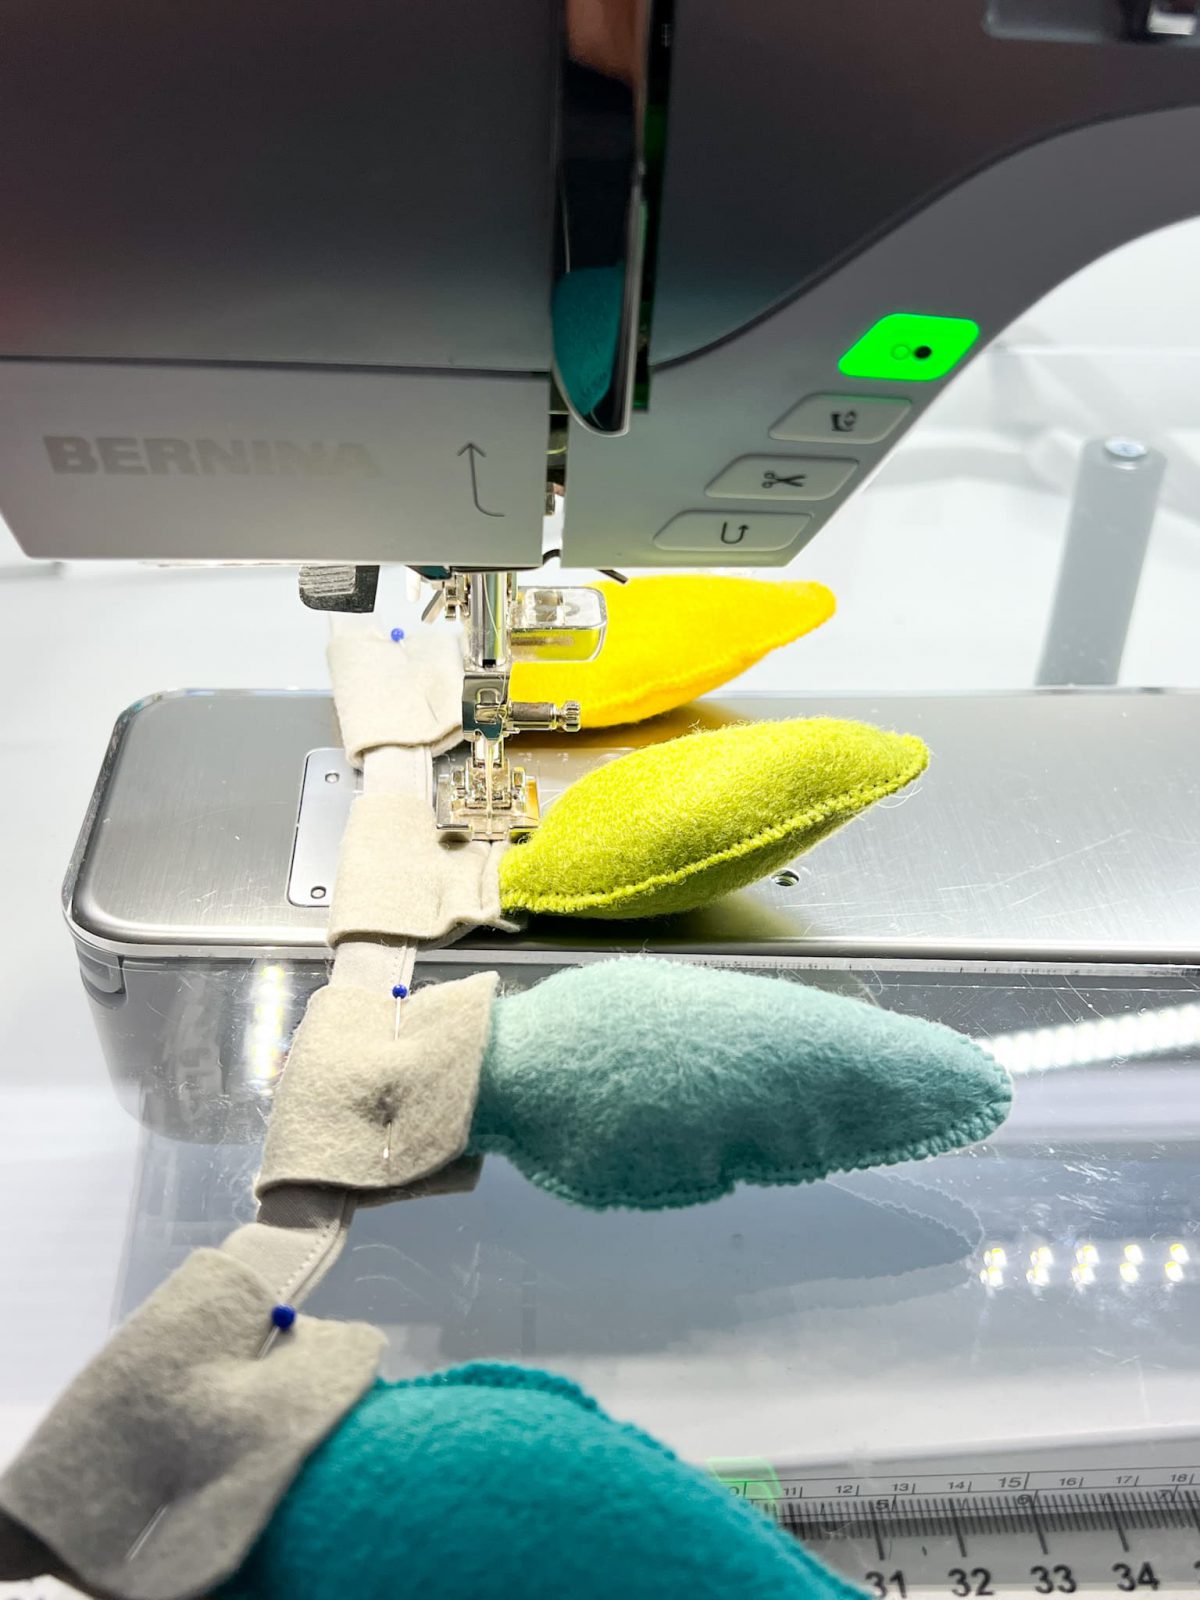
At your machine you will switch to a straight stitch, still using your clear monofilament thread. Stitch just along the top of the edge of your bulb topper – one at a time or you can chain stitch if you have several bulbs pinned and ready to go.
Adding a back stitch at the beginning and end of each section that you stitch will give you a more secure hold.
Your straight stitch will look like this along each bulb shape on the garland. This will allow you to move your bulbs around on your finished garland, as it is not sewn onto the bias tape / ribbon. If you would like to secure the bulbs in place, a small dot of hot glue just inside the bulb topper and bias tape / ribbon will secure it in place.
Now you are all set to decorate!


Do you use monofilament in the bobbin, also?