How to Make a Reindeer Feltie
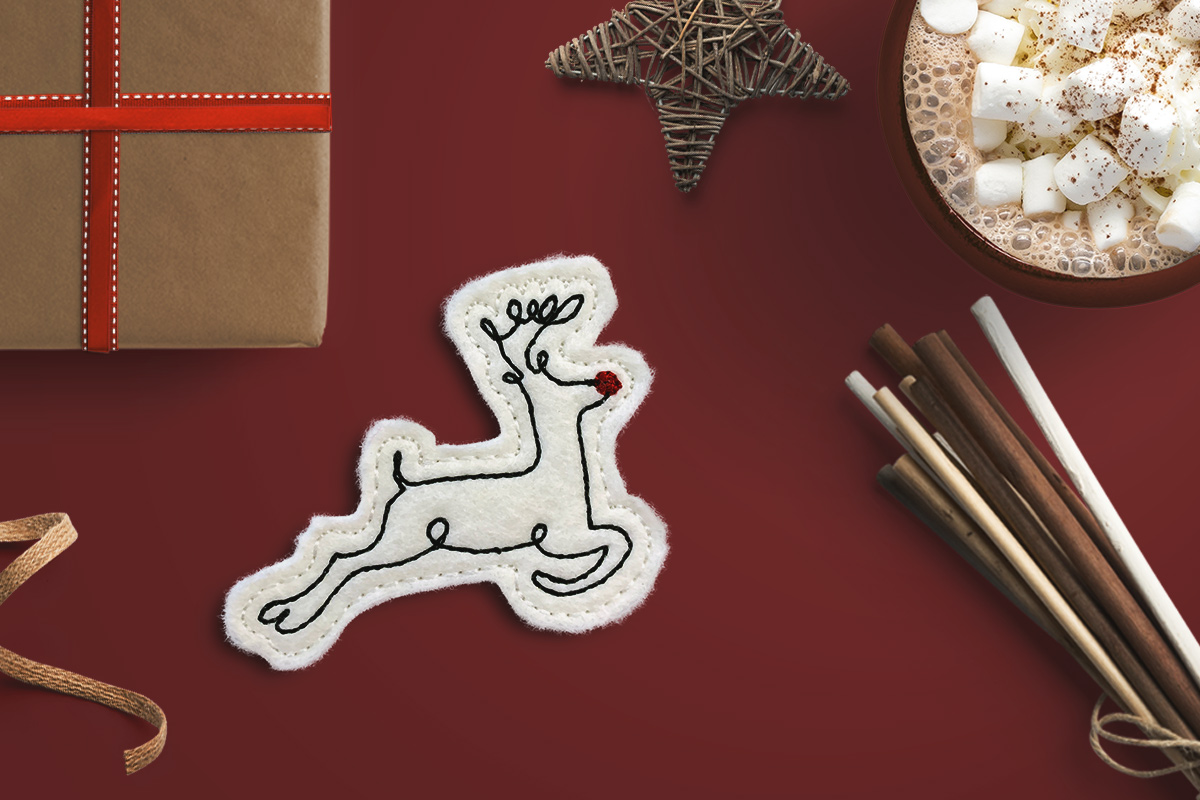
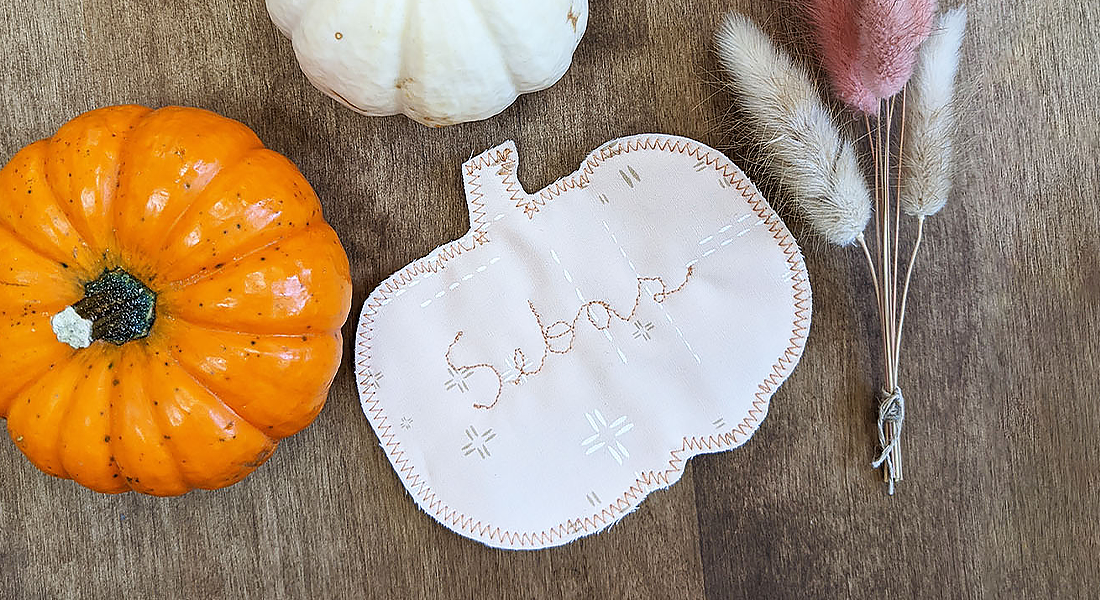
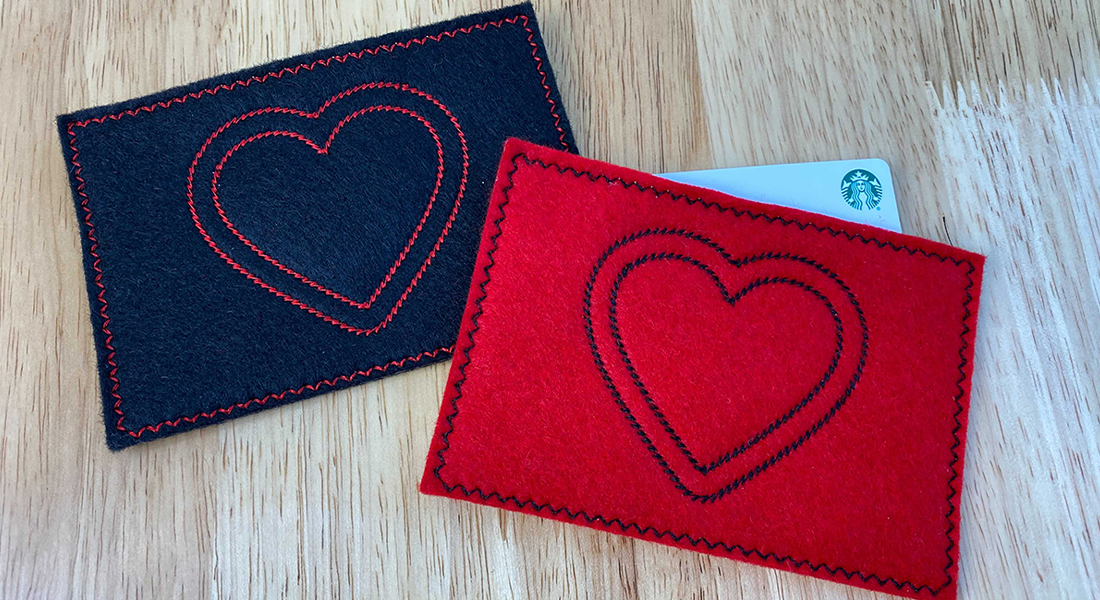
Need a super last minute little something to add the finishing touch to your holiday projects? How about a feltie? Wait, have you not been introduced to felties yet?!?!? Felties are small, embroidered treasures (on felt, obviously) that can be anything you want them to be. You can turn them into refrigerator magnets, brooches, pencil toppers, zipper pulls, bag charms, you name it. Even—ornaments. Here’s a fun, stylized reindeer design to introduce you to the world of felties while adding some cheer to your holidays.
Materials for Machine Embroidering a Reindeer Feltie
- White felt scraps
- Thread in black, white and red
- Embroidery machine and hoop (I used 120mm x 180mm, but you might be able to get away with smaller)
- Stabilizer (I used tearaway)
- Tape, pins, whatever you prefer for attaching the back side felt just before the final stitch run
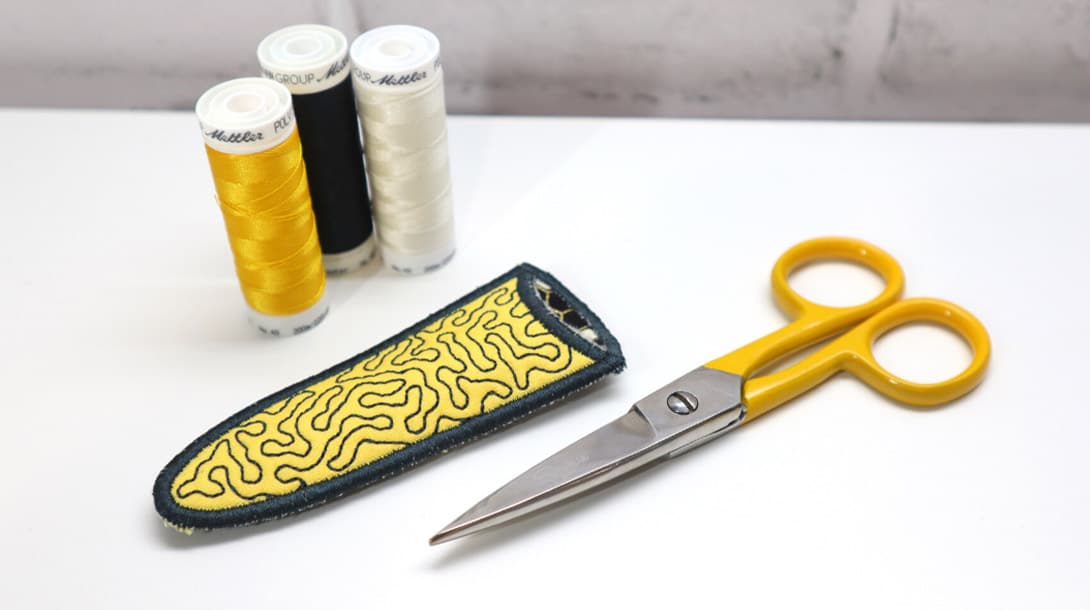
- Scissors
- Any finishing items like a bar pin to turn it into a brooch, a magnet if you want to add it to your fridge, ribbon if you want to make an ornament, etc.
- Free Reindeer Machine Embroidery Design

Instructions for Machine Embroidering a Reindeer Feltie
Ready to get stitching? You’re only moments away from your first finished feltie!
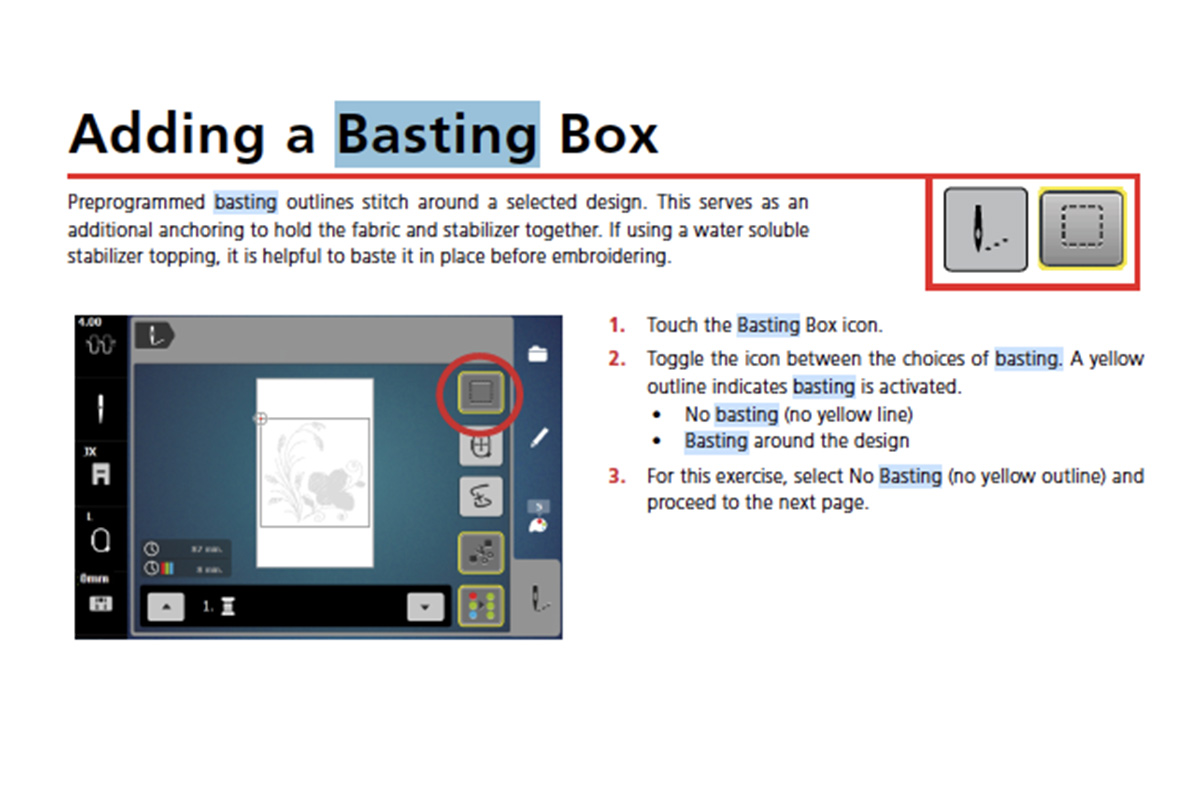
Step 1: Add a Basting Stitch
If your machine has this feature—it’s awesome! Once you get your stabilizer and fabric hooped up, just tap the needle icon, then the square basting stitch icon to auto-generate a basting stitch to secure your fabric before stitching. So. Easy.
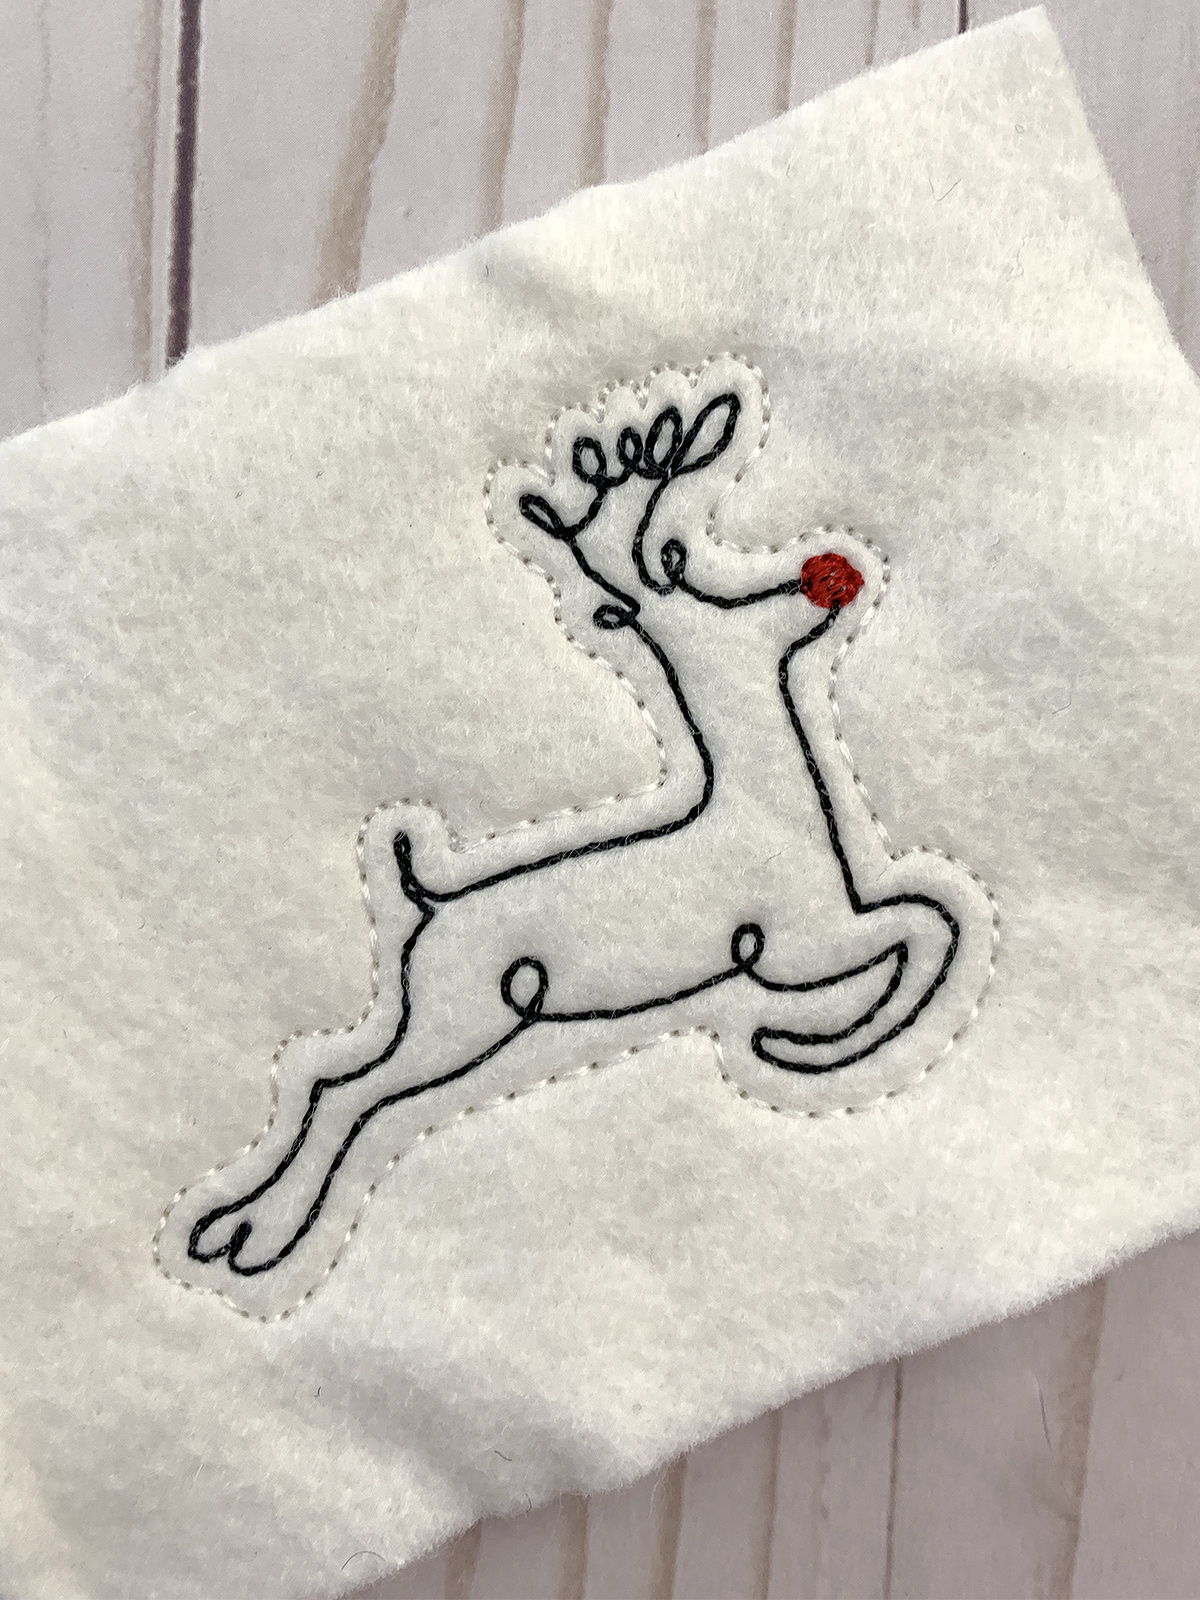
Step 2: Run the First Color | Black
Bam. You’re practically finished already!
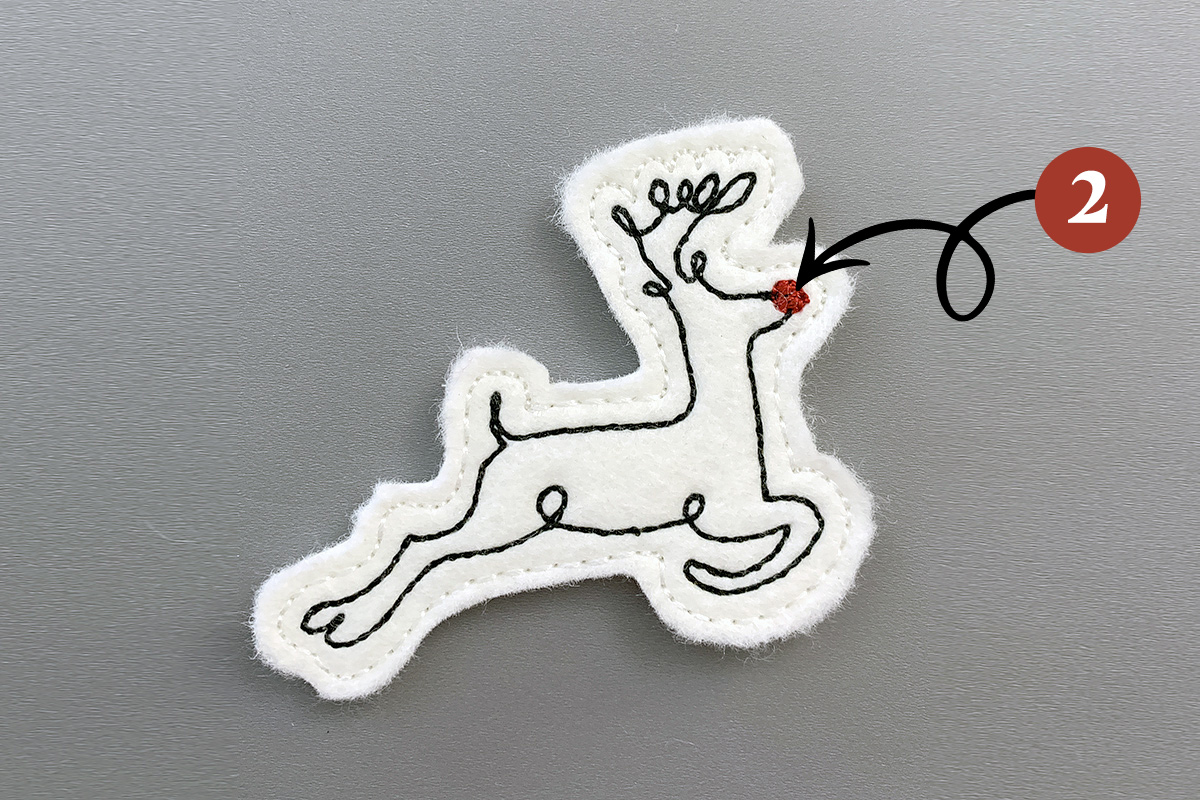
Step 3: Run the Second Color | Red
This one goes even faster. Don’t blink or you’ll miss it!
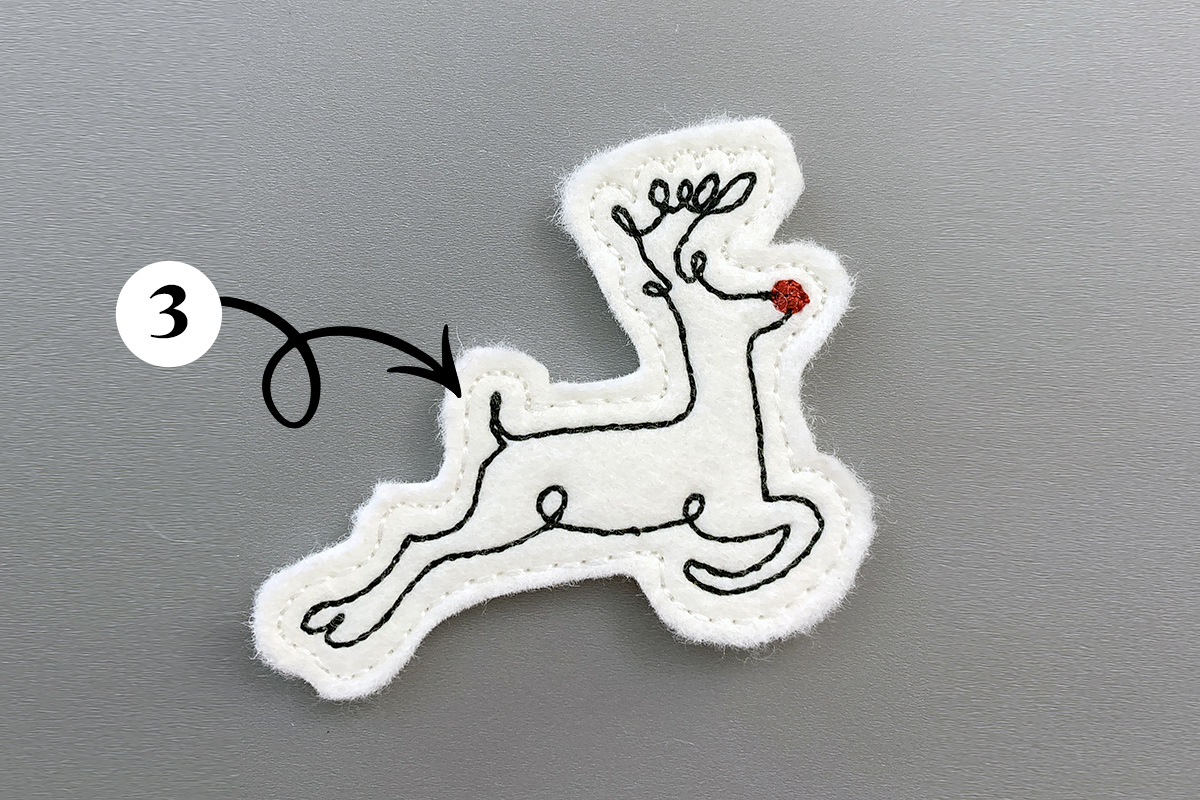
Step 4: Add the Back Felt Layer and Run Color Three | White
Remove the hoop from the machine and attach the back piece of felt on the underside of the hoop. You can hold it in place with pins or masking tape, just make sure nothing will get in the way of the needle.
If you want to turn your feltie into an ornament, do yourself a favor to avoid having to hand-sew a ribbon on later and sandwich some ribbon in there now.
Next, run the third color, white.
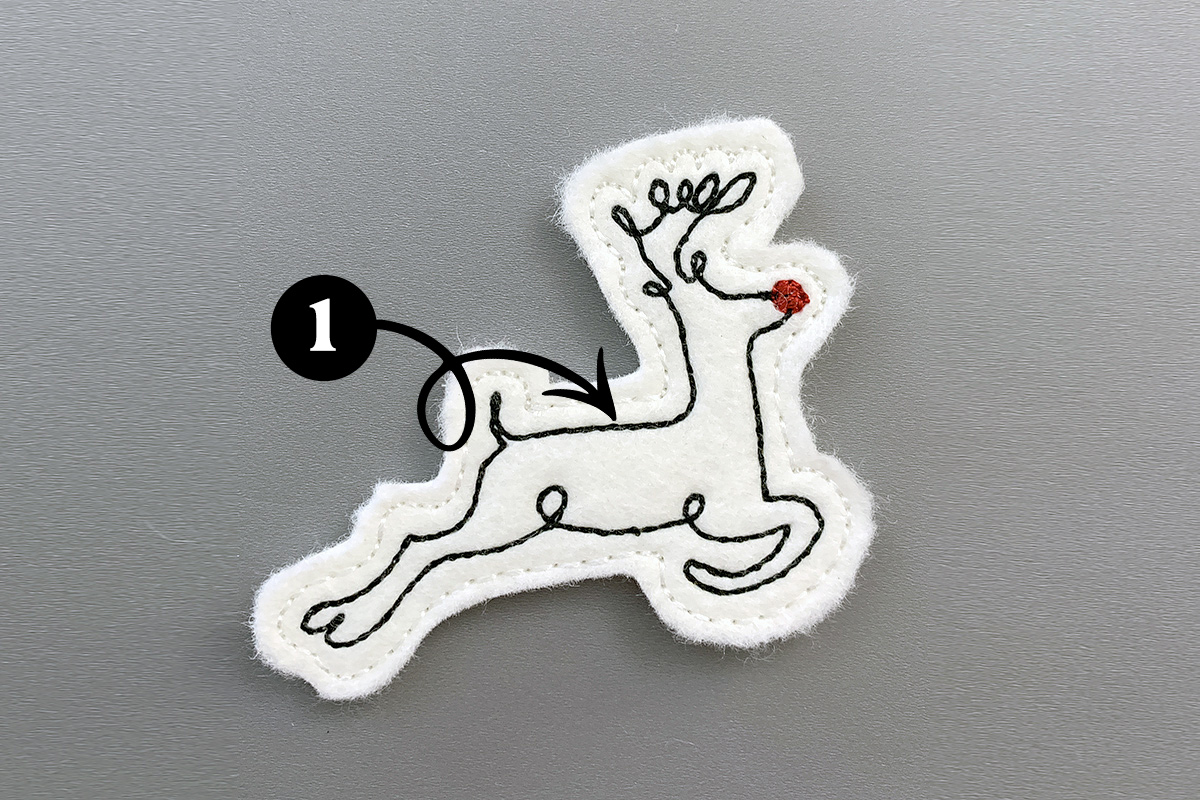
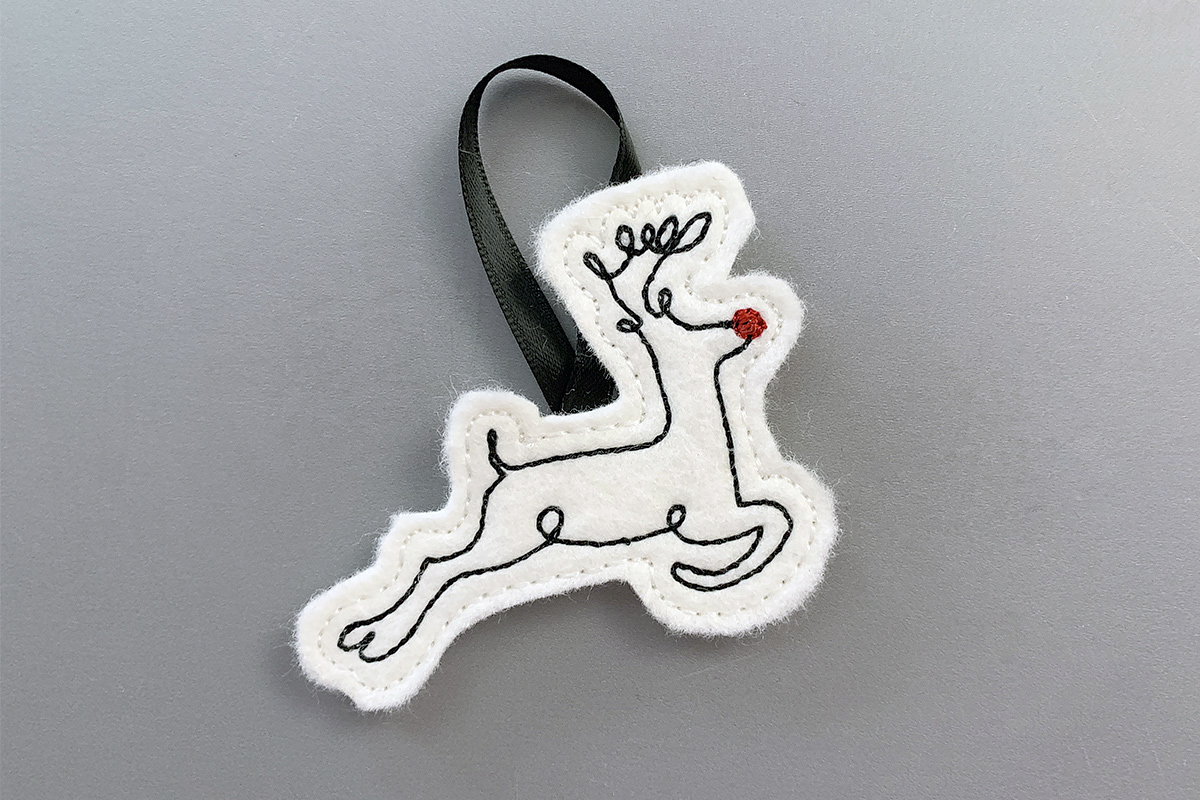
Step 5: Trim & Finish as Desired
Using a sharp pair of scissors, carefully trim the edge of the felt about 1/8″ from the white stitching. You just made your first feltie!
Finish it by gluing a magnet on the back or sewing on a bar pin to turn it into a brooch. If that’s your jam. When I showed my finished feltie to my husband, he instantly suggested we hang it on our tree (hence the suggestion to sandwich ribbon for hanging if you think that’s the direct you want to take things).
Used Products

What you might also like


One comment on “How to Make a Reindeer Feltie”
Leave a Reply
You must be logged in to post a comment.

Super cute! I might add a red sequin for the nose!