Lemon Clutch Tutorial
This Lemon DIY clutch was such a fun and easy project to make. I think this would make the prefect Mommy and daughter sewing project. You can get as creative as you want with this project. I started by searching for a image using a lemon clip-art search. There are tons of great images and they are easy to recreate. Voilà, there you have it, a lemon shaped template. Alright here we go!

Materials to Make a Lemon Clutch:
- Lemon image for template
- Leaf image for template
- Card stock/construction paper for your template
- Faux yellow leather or any heavy fabric [enough for the clutch and piping. I had 1/2 yd]
- Faux geen leather or any heavy fabric [enough for the leaves I used 4×4 inch scraps ]
- Matching thread
- Matching 14 Inch zipper [you will cut to fit the opening]
- Medium size upholstery cable cording [I used 3/16 inch pack]
- Adhesive spray [optional to hold your zipper in place when sewing]
- Quilting clips to hold your purse in place while sewing
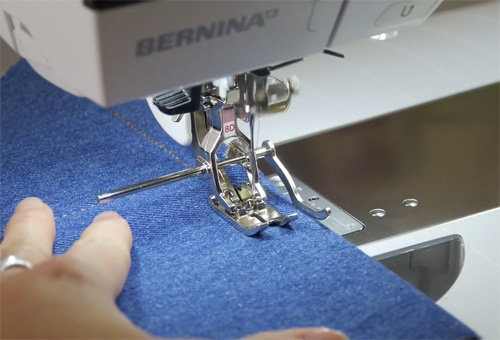
- Sewing machine. I am using the BERNINA 350PE
- BERNINA Zipper foot #4/#4D
- Leather sewing machine needle
- Lemon Clutch Template
**Since you will be sewing with faux leather you will need to use a wide stitch for this project. Normally I would use the Walking foot #50 for the faux leather but because we are using piping you can not use the walking foot for this project.
Instructions to Sew the Lemon Clutch
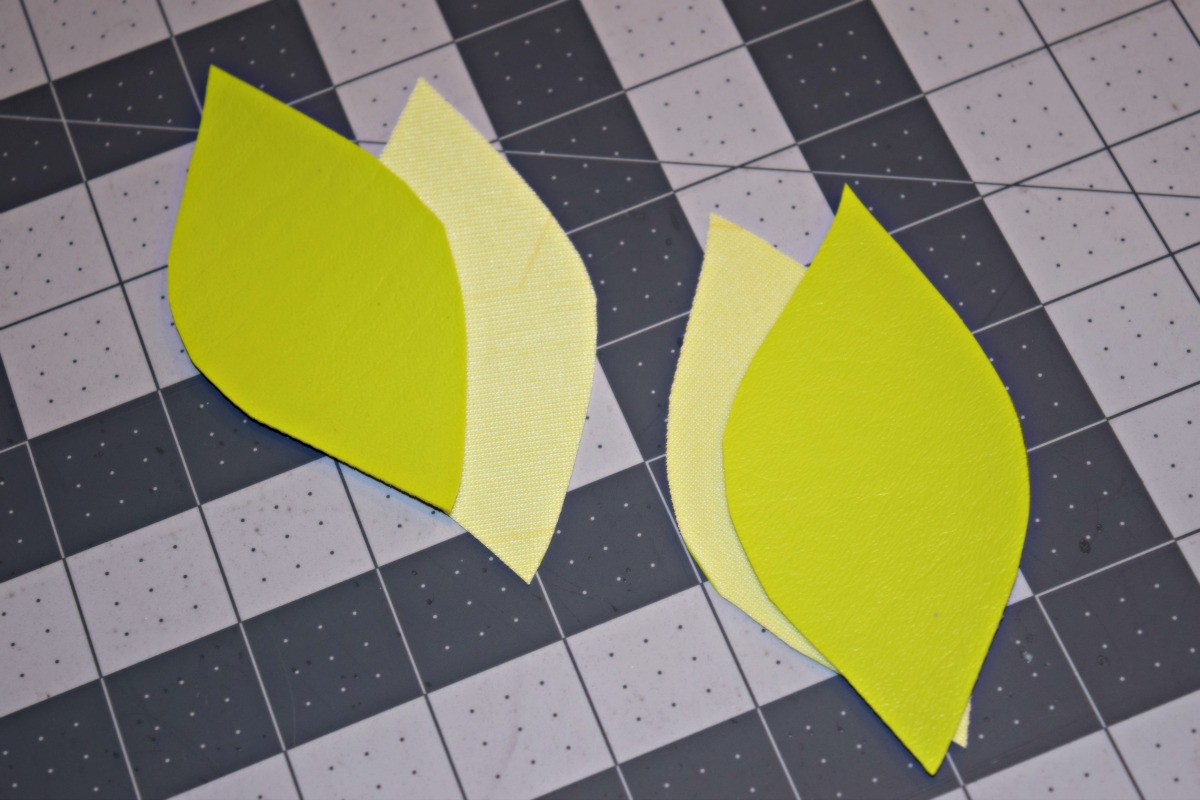
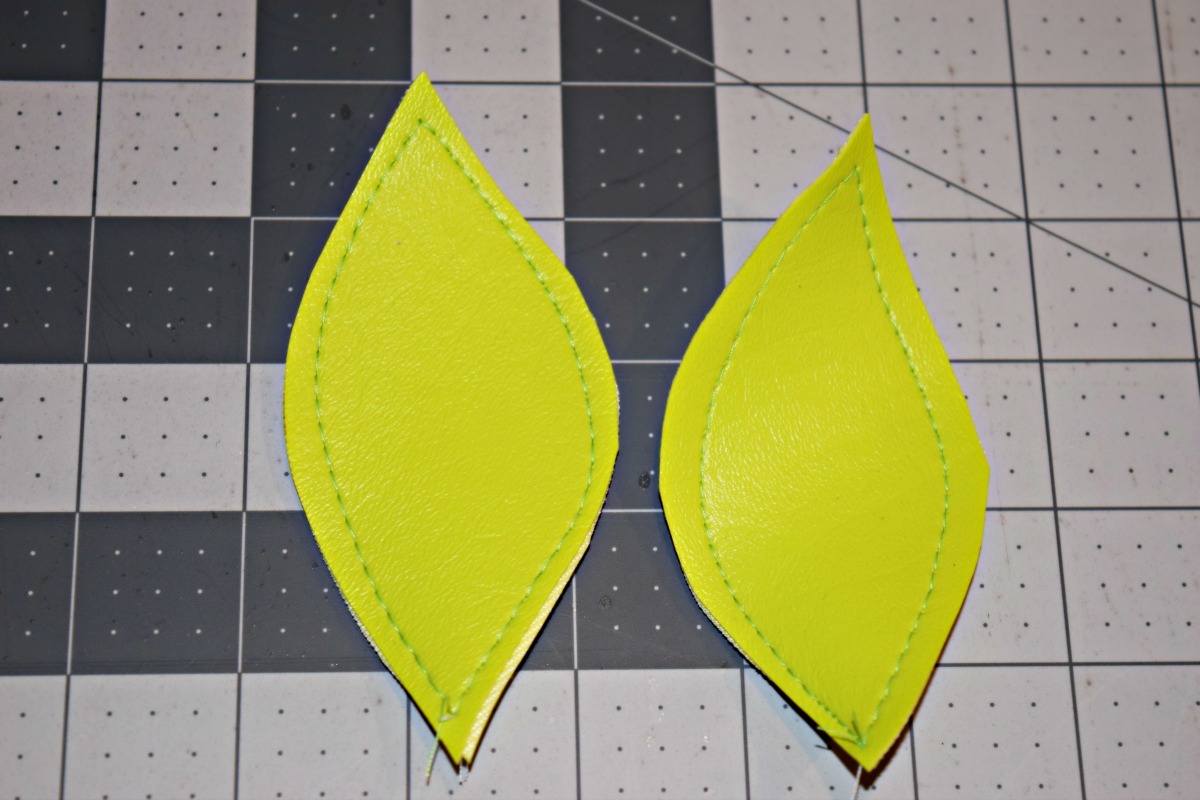
STEP ONE: Cutting out the leaves. Print out the Lemon Template, and cut out the leaf pattern. Trace your leaf template four times on the back of your green fabric. Cut them out, take two pieces and place them wrong sides together, and stitch around your leaf. Repeat the process for the last two pieces. Now place those to the side.
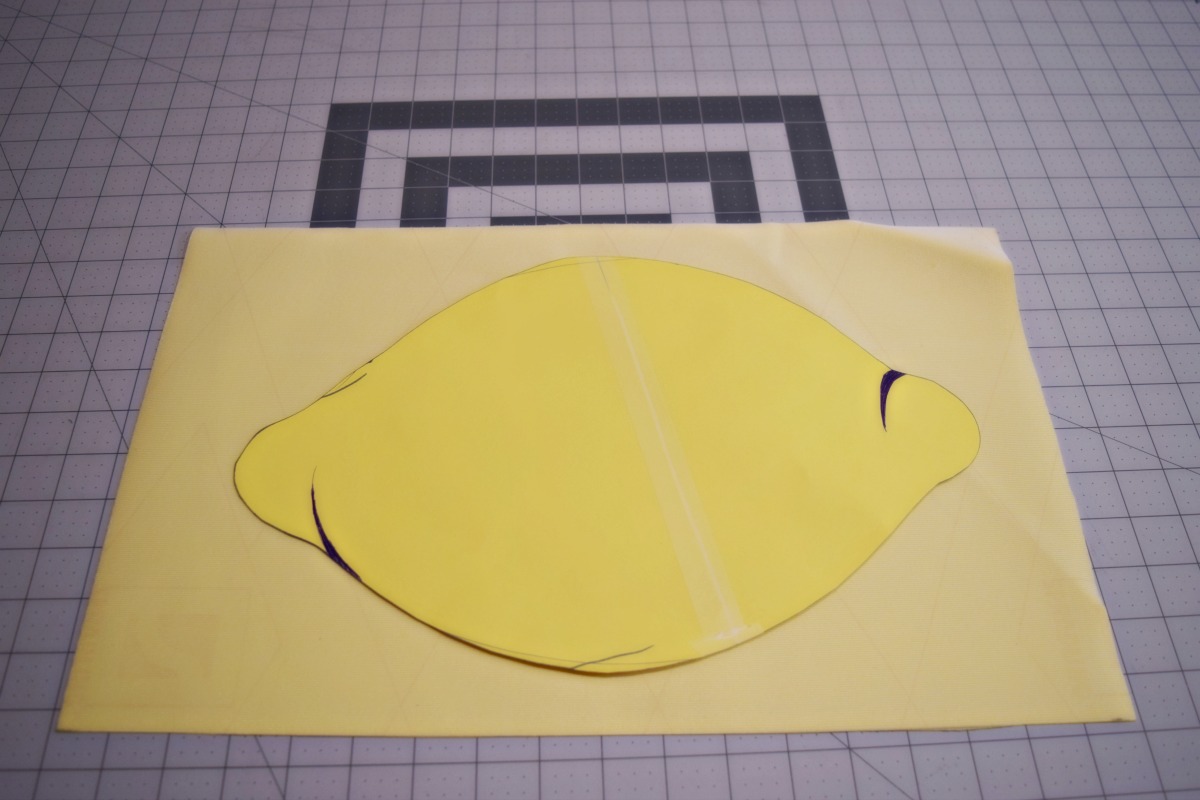
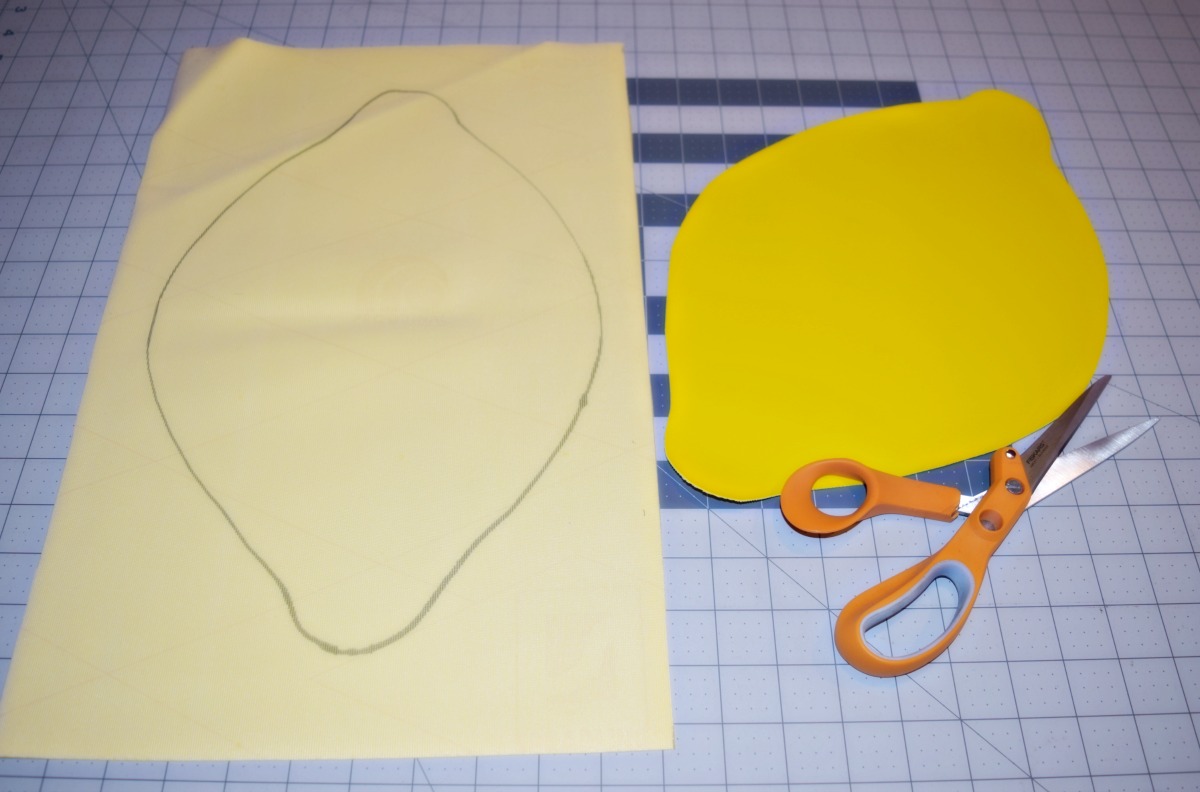
STEP TWO: Cutting out the clutch. Print the Lemon template twice, cut and tape together to make the pattern. Mark the front of your clutch template. Trace your template on the back of your fabric with the template front facing up. Now turn your template on the other side and place it on the back of the fabric and trace. The reason you are doing this is because the pieces will not be identical all the way around and you need them to match up with you face the right sides together. (A lesson I learned the hard way.)

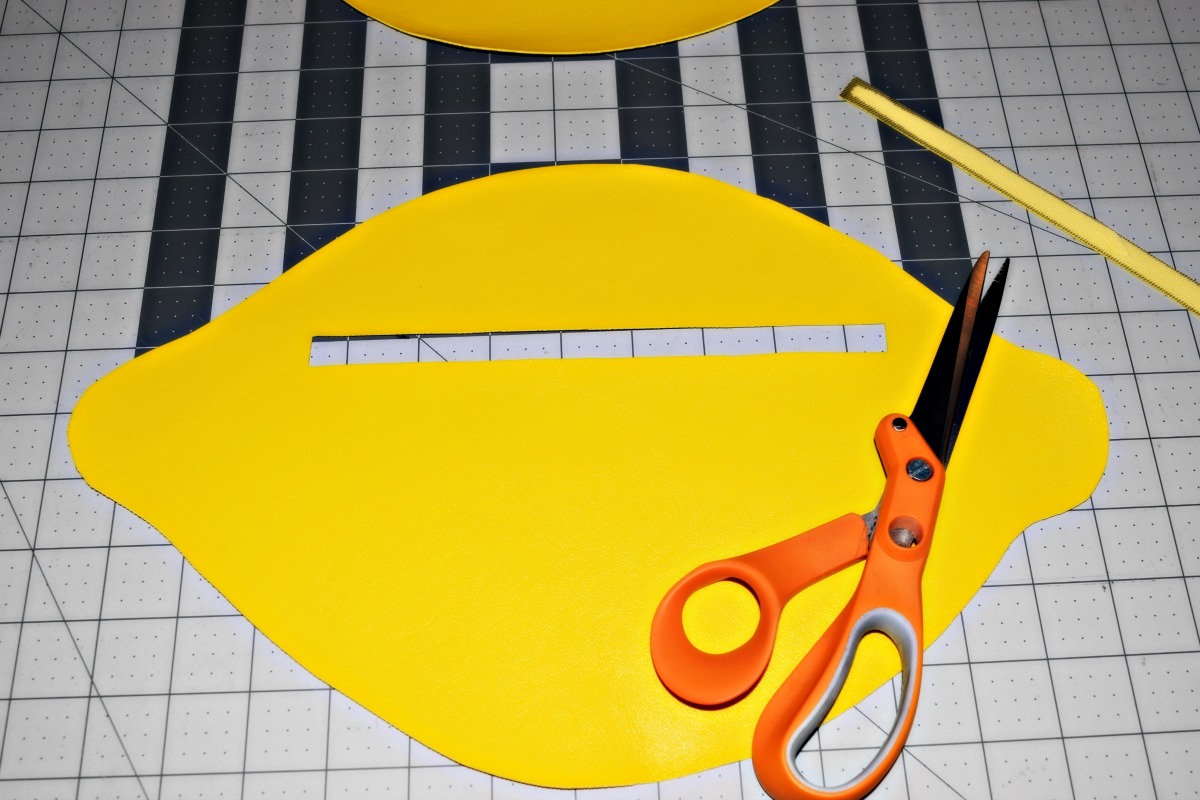
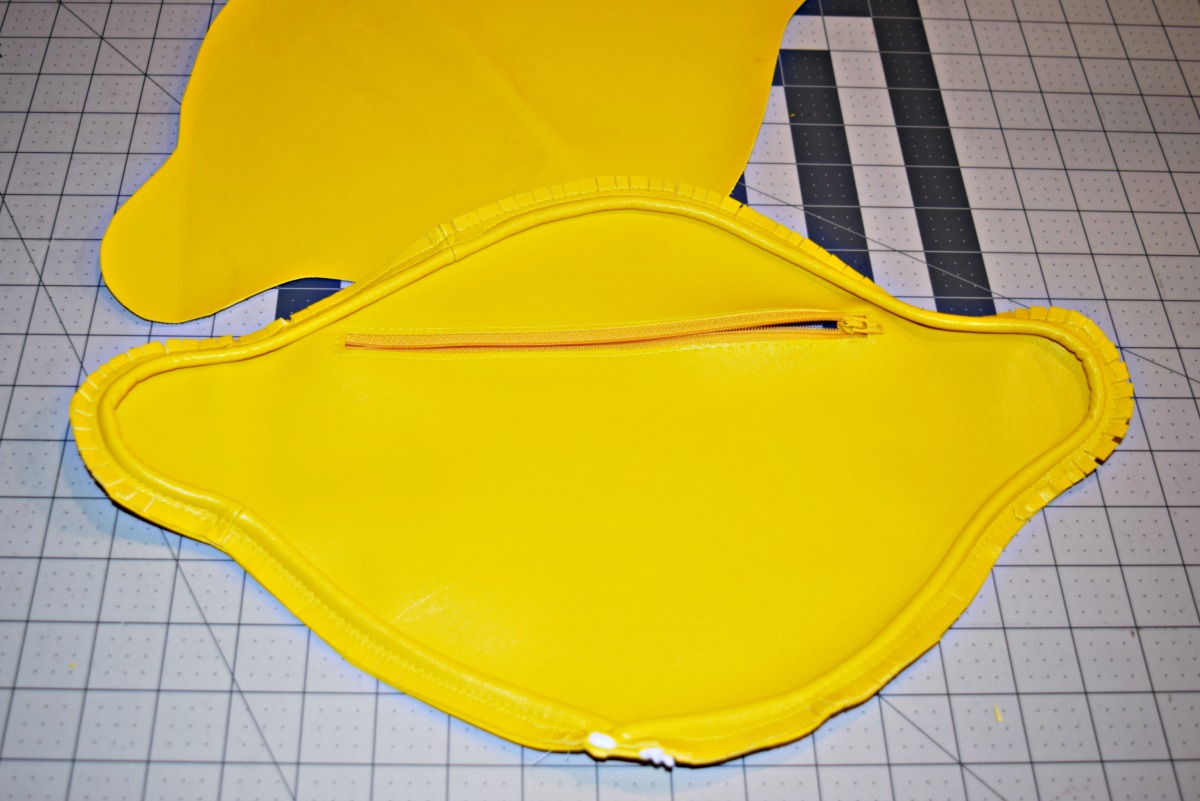
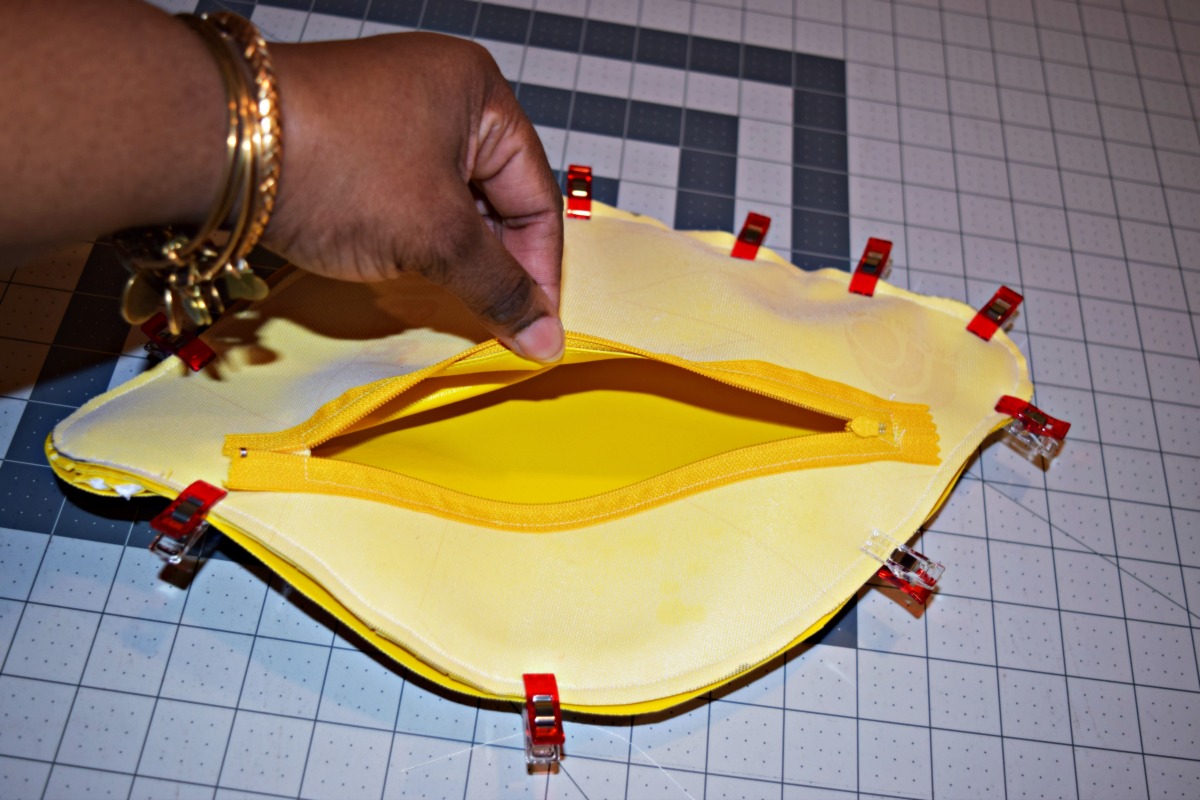
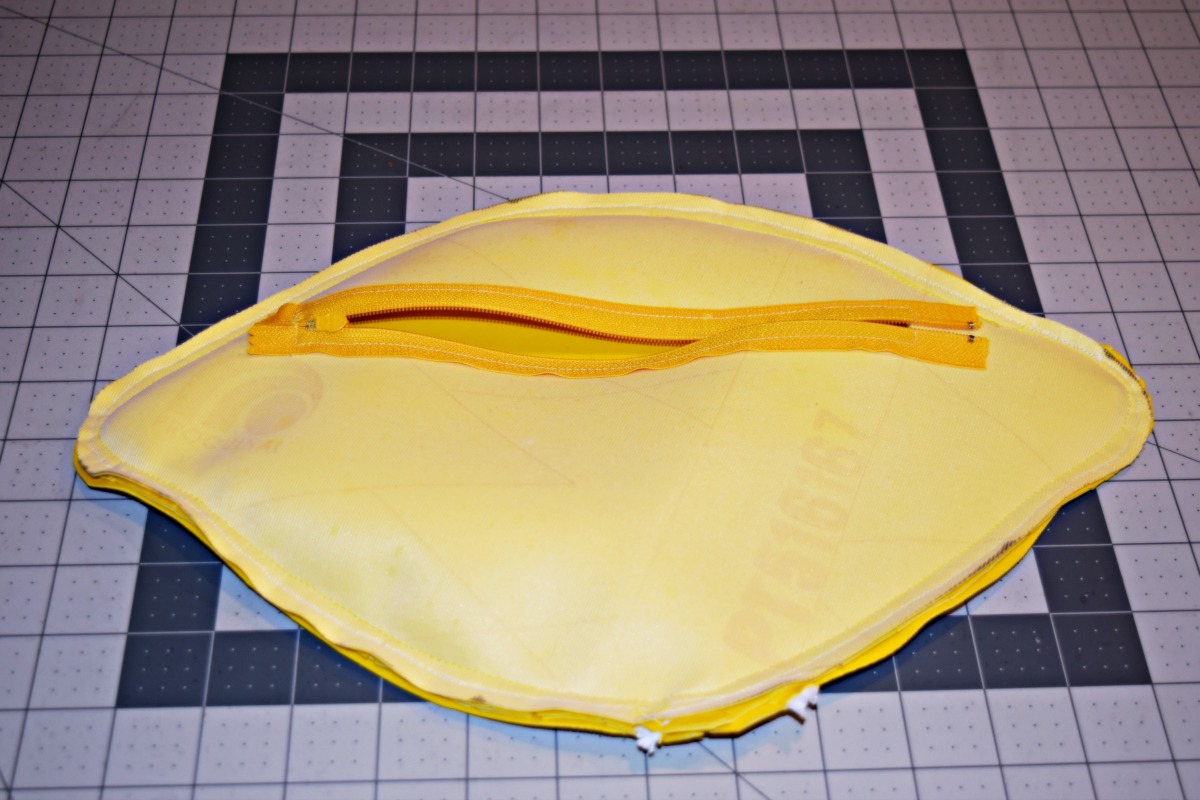
STEP THREE: Let’s put in that zipper. Placement of the zipper will be on the back of your clutch. You will need to make a rectangle that you will cut out for your zipper opening. Place the rectangle near the top of the back lemon shape, and make it 1/2 inch wide by about 9 inches long. Cut out the opening and lay over top of the zipper for fitting. The zipper stop should be just inside the cut out, you will be cutting off the excess at the top of the zipper after it has been sewn to the fabric.
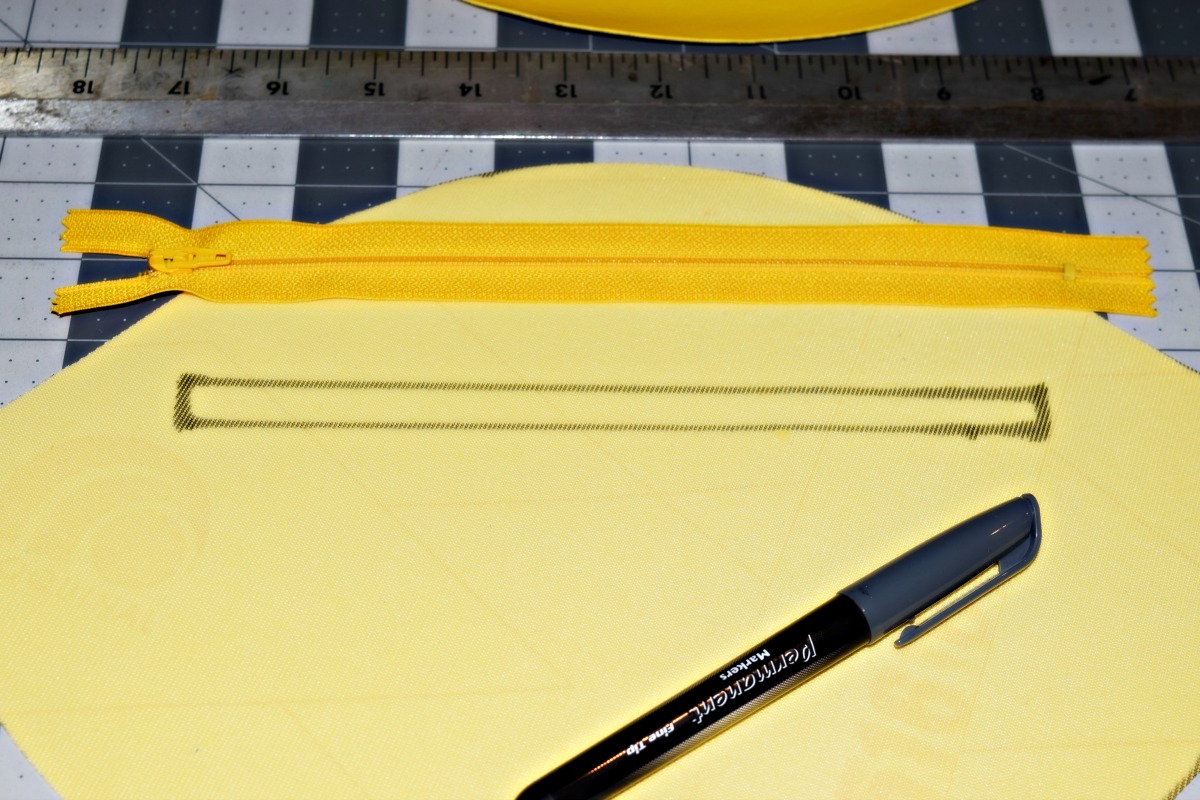

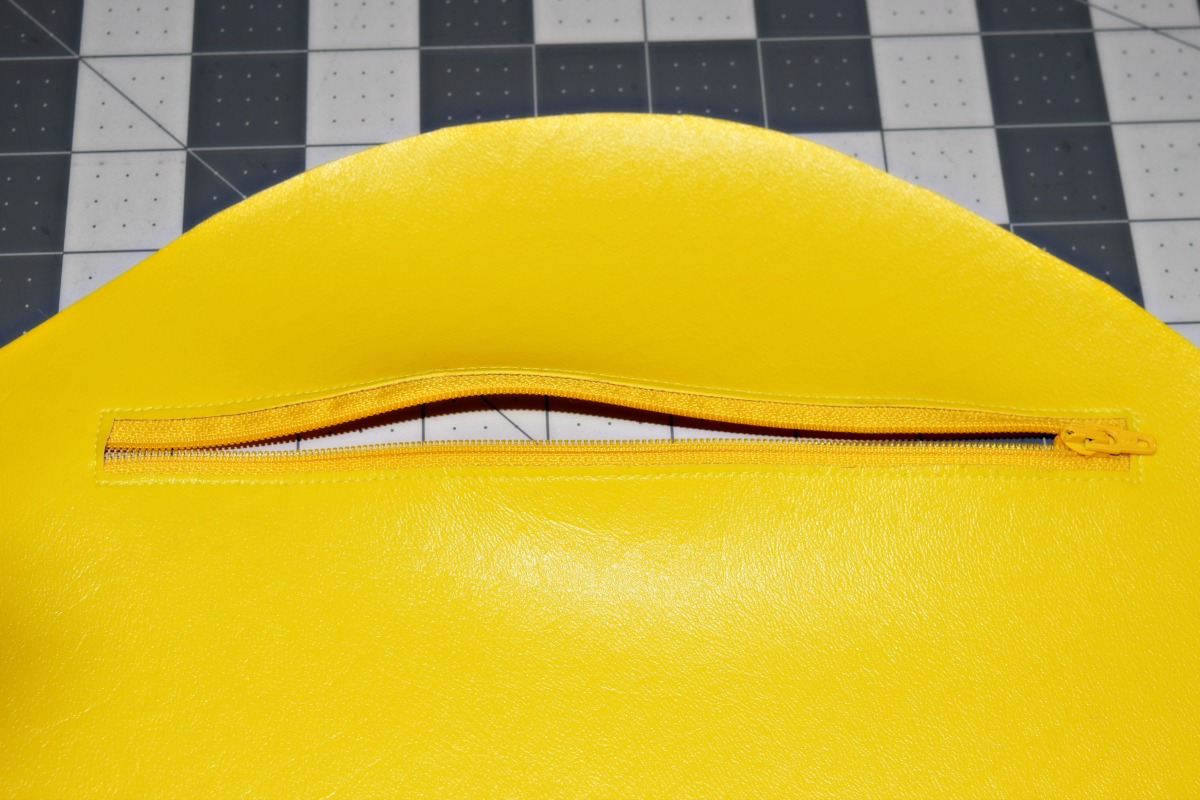
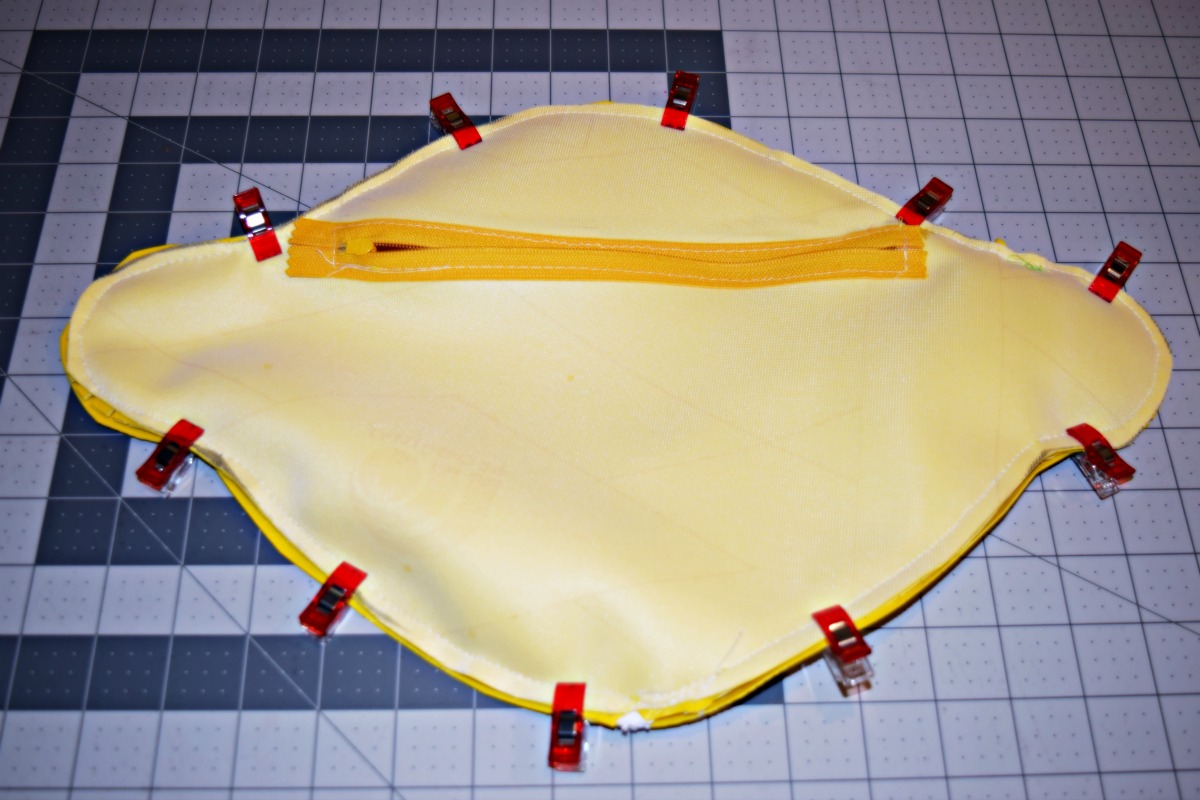
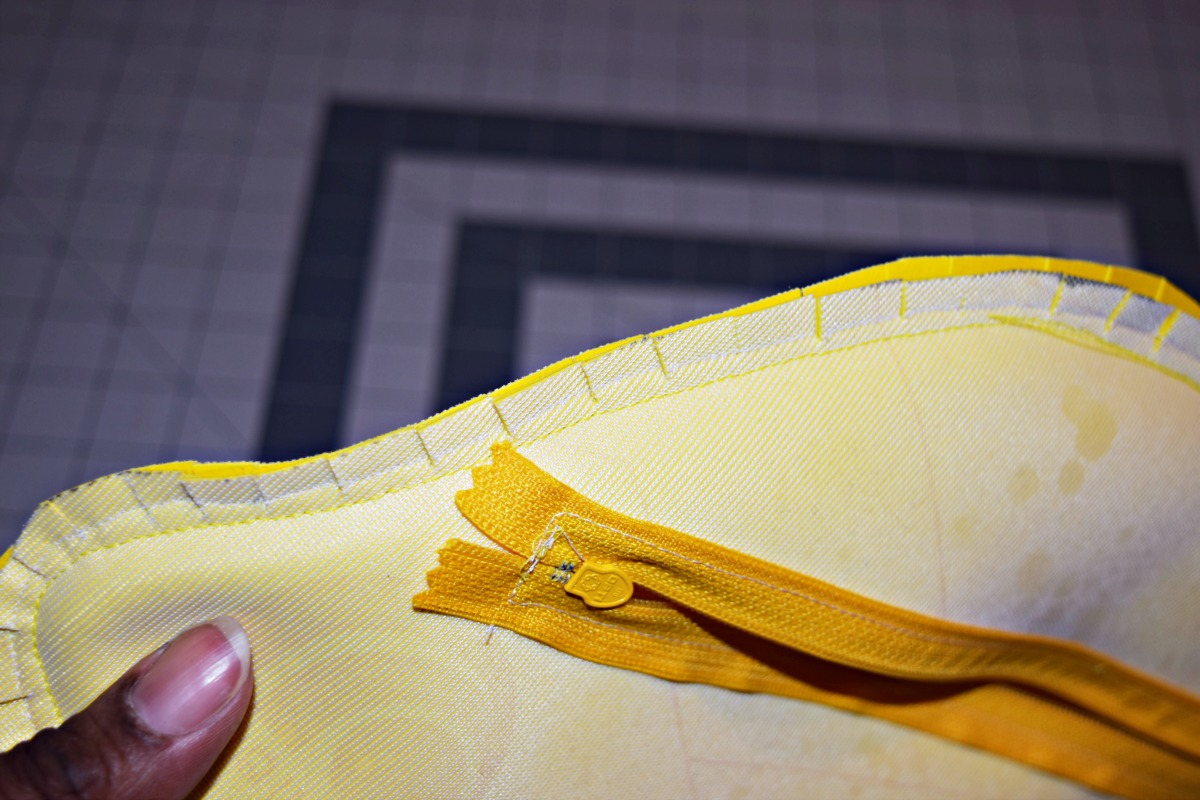
*If you’re using adhesive, spray it to the back of the fabric around the opening. Then lay the fabric over the zipper and once the placement is right press it together. Now sew around the edge of the rectangle. Use the Zipper foot #4/#4D and stitch close to the cut edge of the fabric. Use a wider stitch of about 3mm, and cut off the excess zipper at the top after stitching. Presto the zipper is now installed!

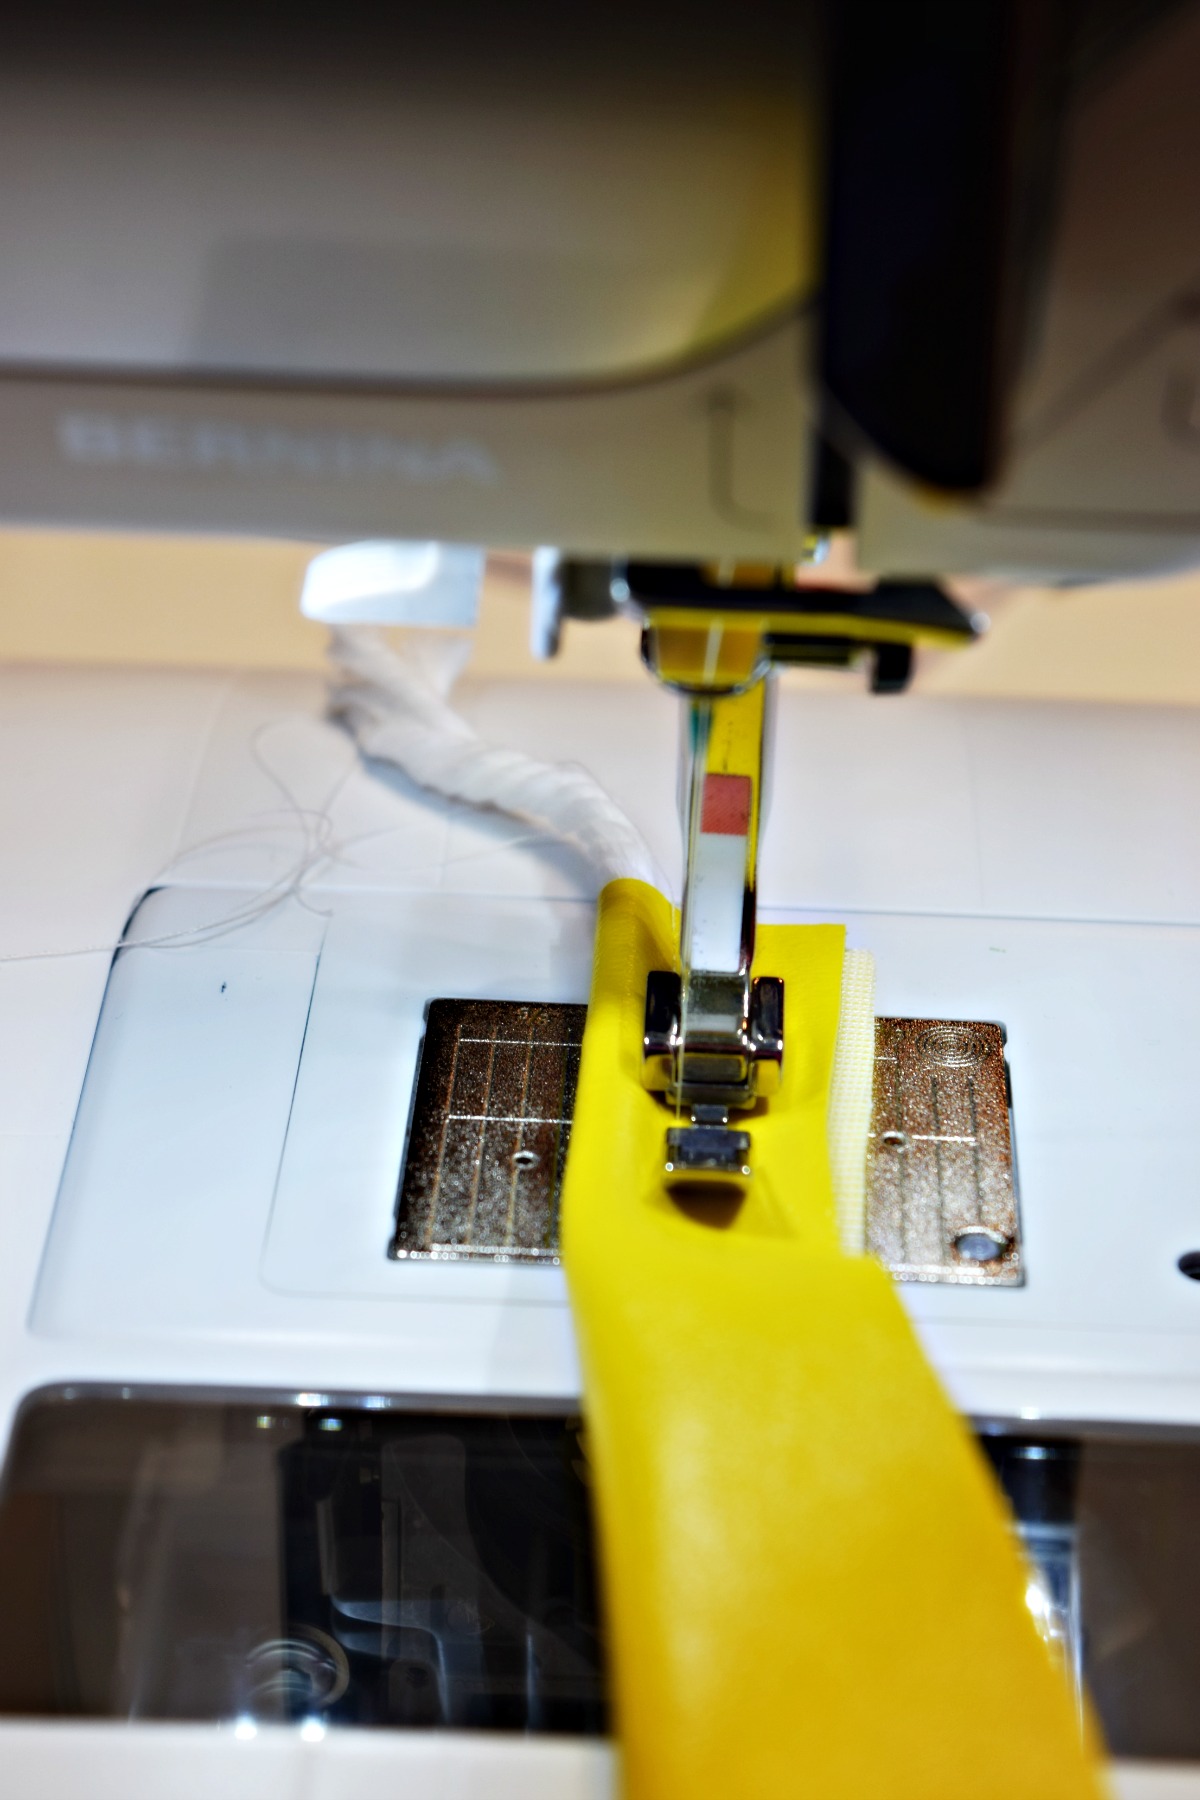
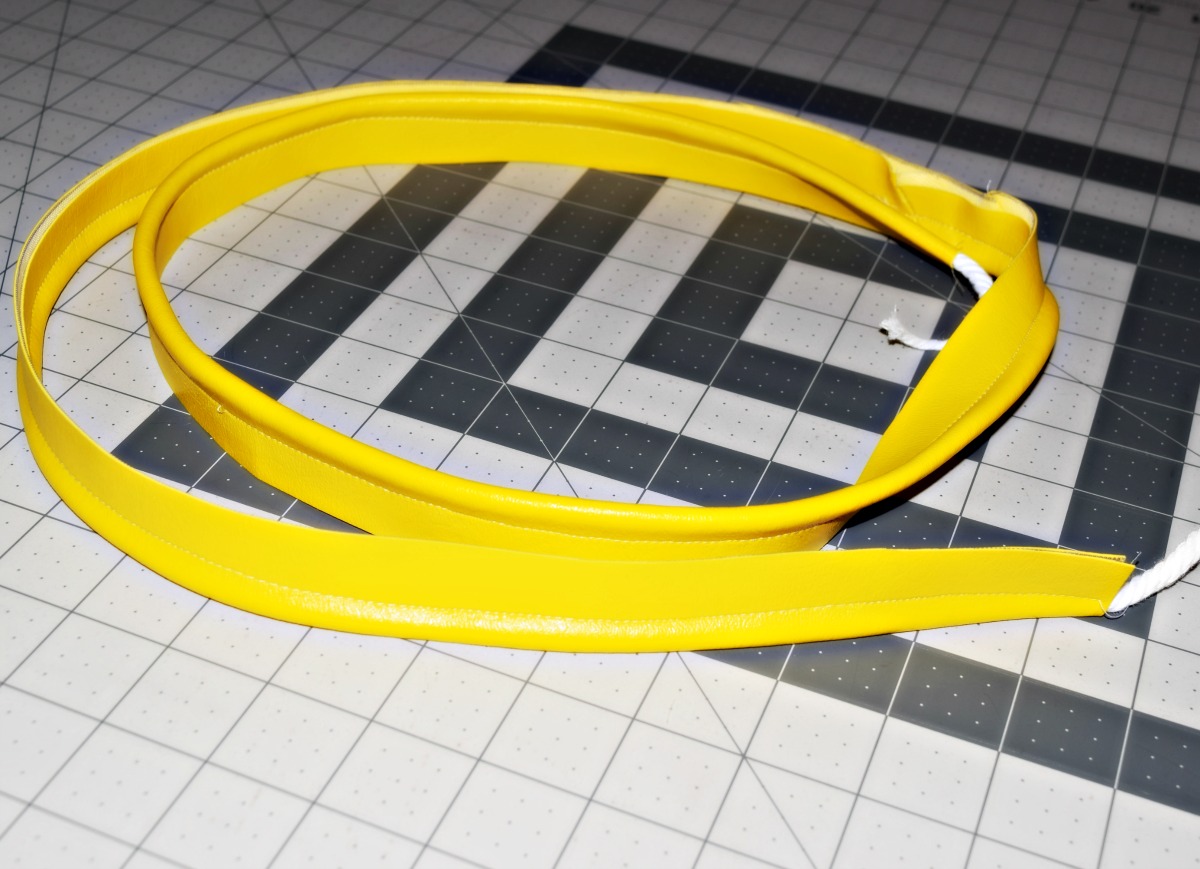
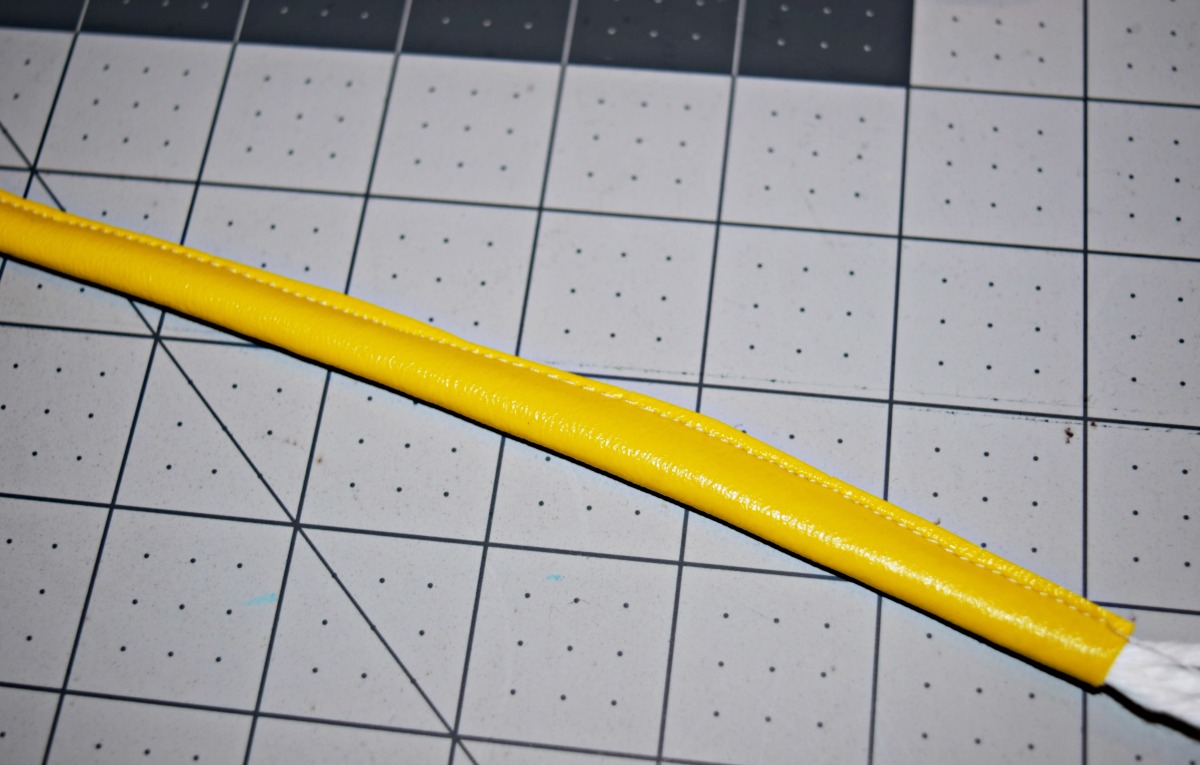
STEP FOUR: Making the piping. With the remaining yellow fabric, cut out a 1 1/2 inch wide strip to make your piping. Make it long enough to go all the way around your clutch and to make your handle. I had to sew a few pieces together to make sure my piping was long enough. Now sandwich your cable in the middle a sew it together using your zipper foot.
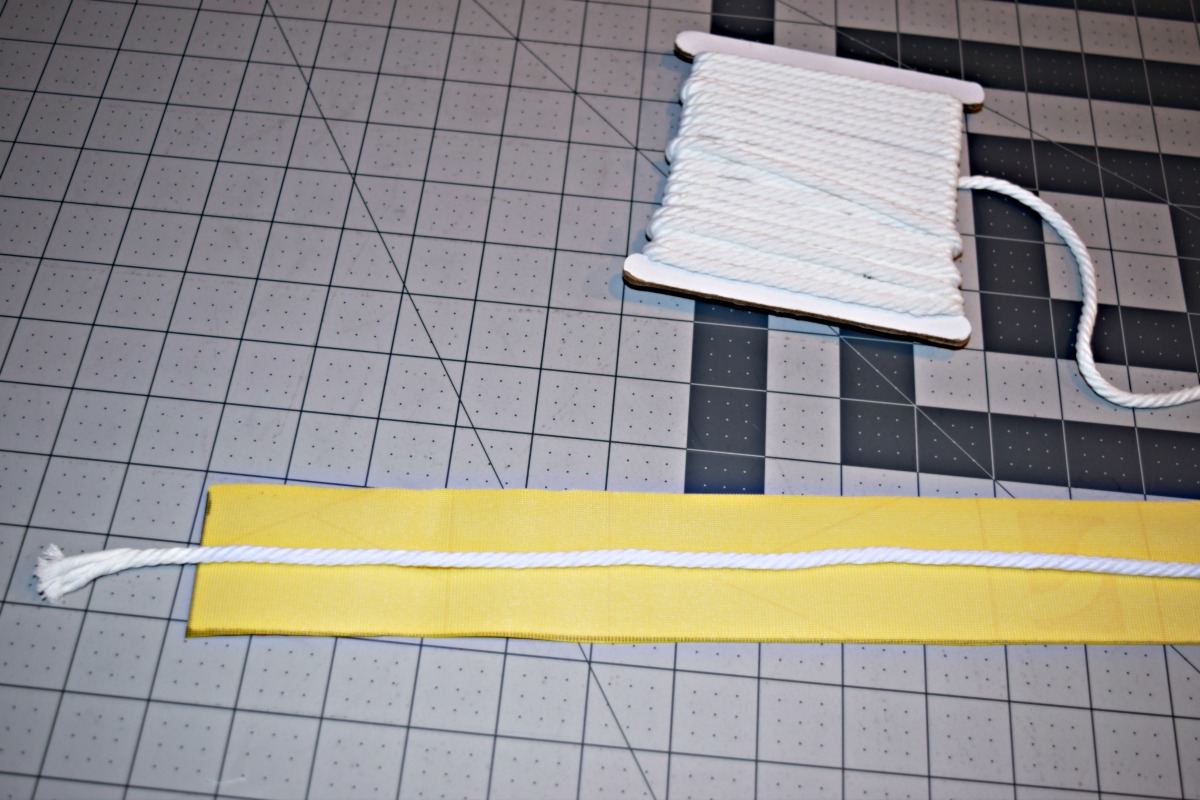

Be sure to stitch as close as you can to the cording.
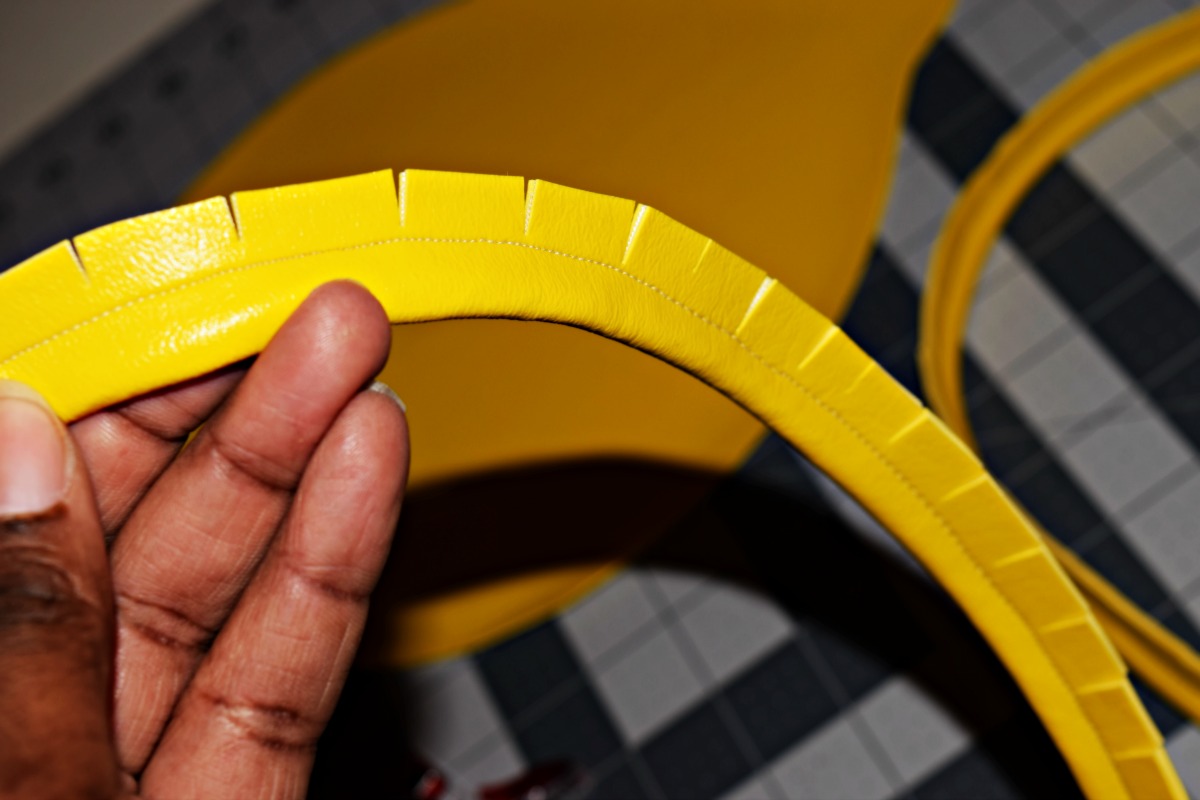
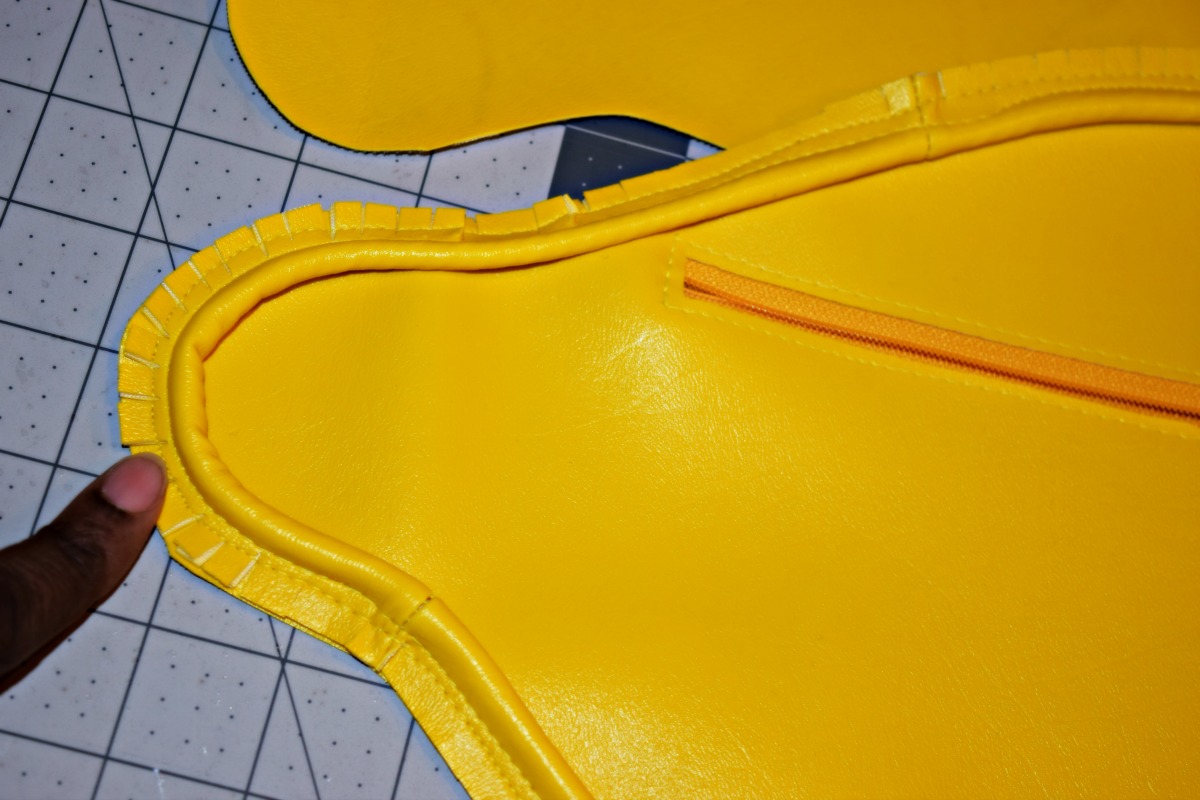
Now clip into the edges that will be sewn to the clutch. This will make it easier to shape around the curves of the lemon.
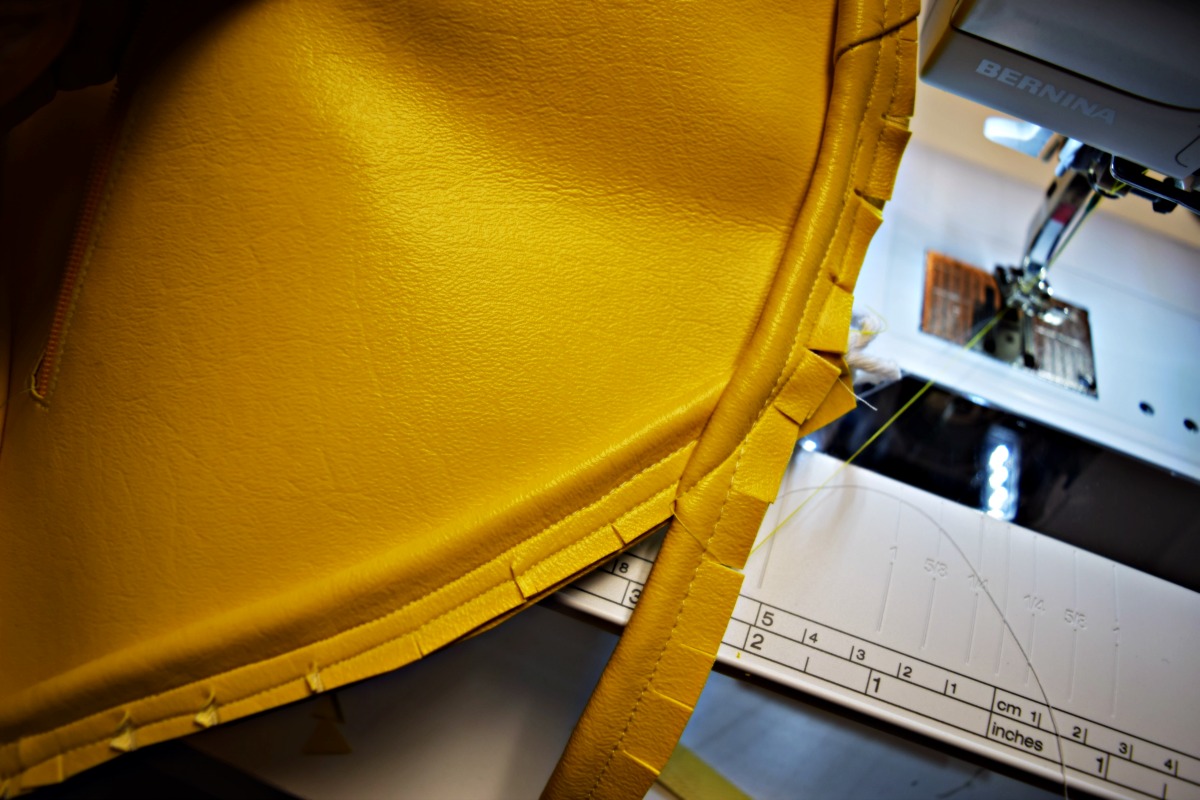
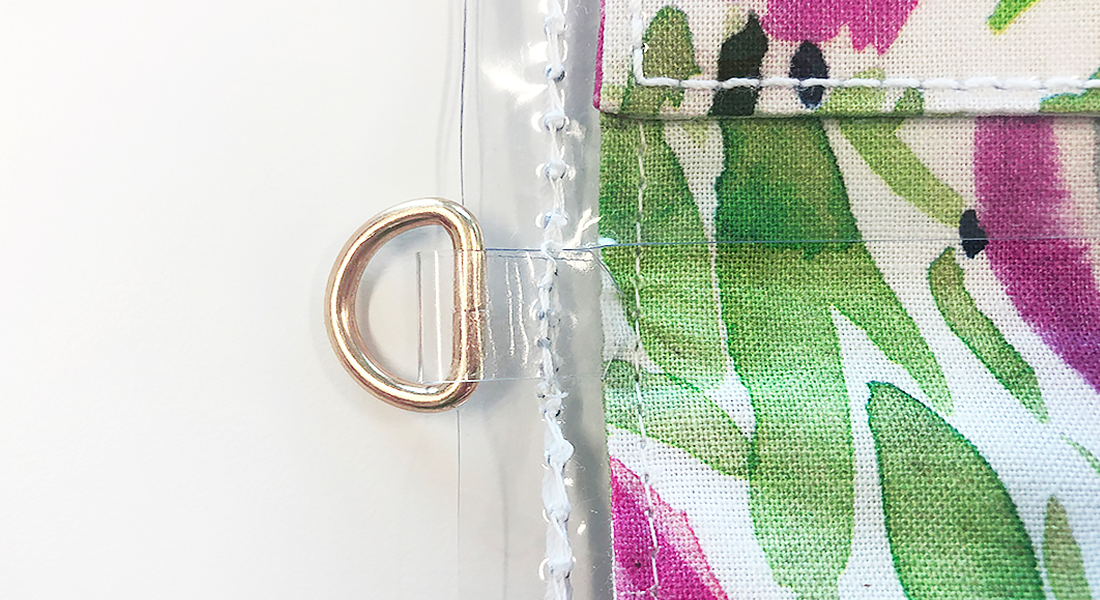
STEP FIVE: Adding the piping to the clutch. Grab your clutch back piece with the zipper installation. Start placing the piping at the bottom of the clutch, right side of the clutch with the raw edges together. Use your quilting clips all the way around to hold it in place for sewing. Now stitch the piping to the clutch using your zipper foot for this application as well. Overlap the ends slightly.
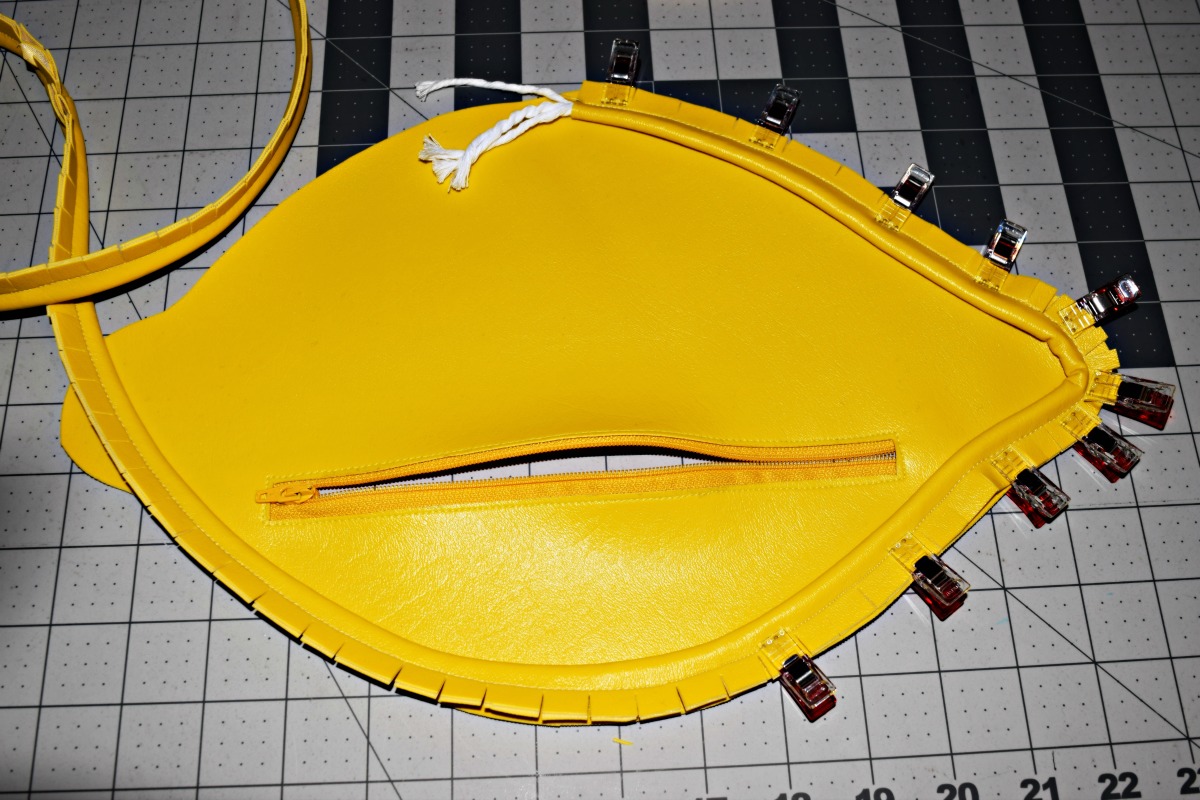
You will have a little bulk at the bottom where the piping will meet because your piping will have to overlap each other tapering off into the seam. Remember keep the excess piping for the handle.
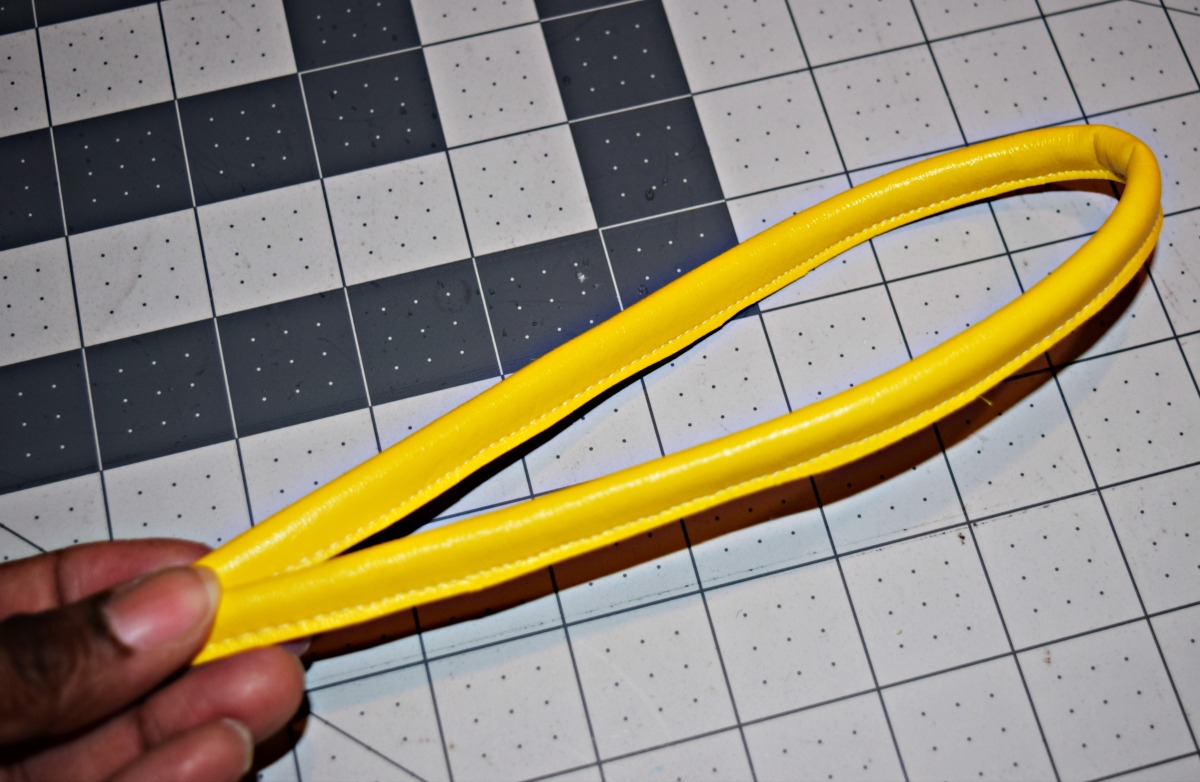
STEP SIX: Trim the excess edging from the piping for the handle (or you can leave the handle off), make sure not to cut into the stitching. Make a loop big enough to insert your hand but not to big.
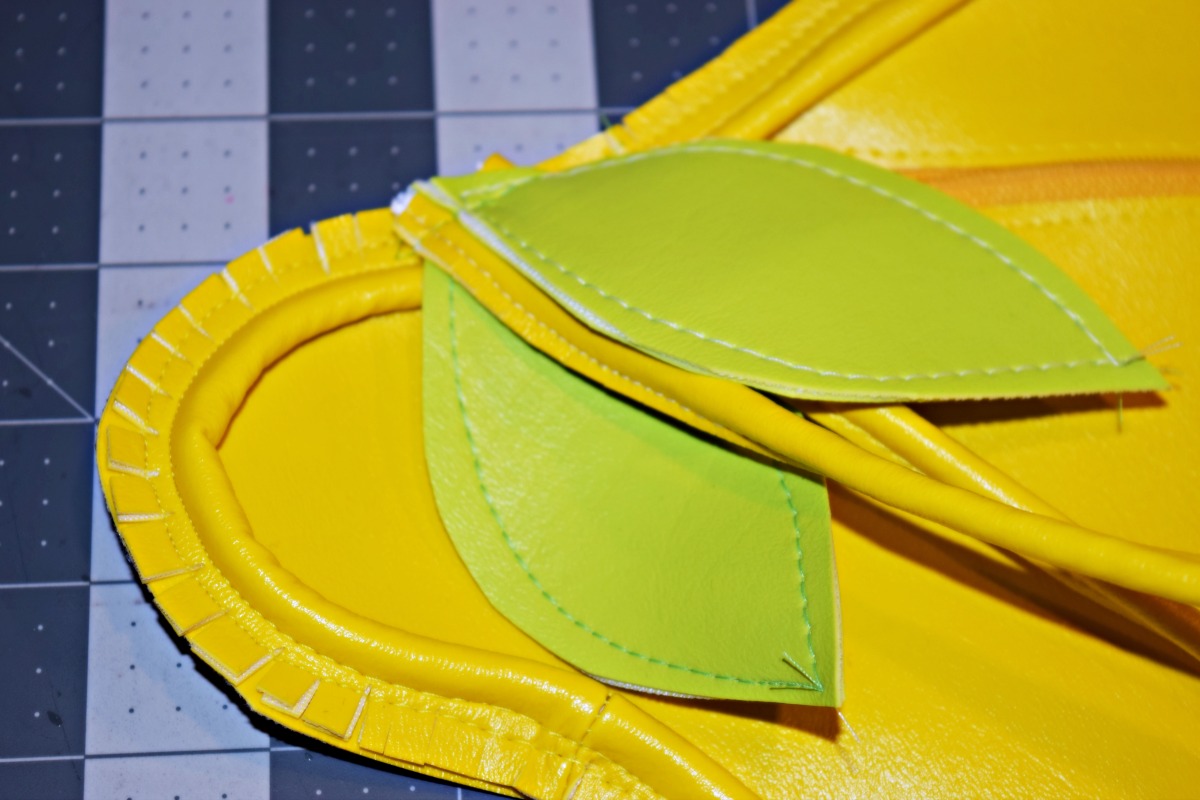
STEP SEVEN: Adding the handle and the leaves. I like the placement of the leaves at the handle near one end of the lemon shape, but you can add them wherever you see fit. Clip the leaves and the handle to the seam of the clutch and sew in place. They should be facing the right side of the clutch.
STEP EIGHT: The last step! Let’s put this all together. Make sure your zipper is open all the way before sewing this step! If your zipper is not open you will not be able to turn your clutch over to the right side. Right sides together, we have to sew around the entire clutch, still using your zipper foot. When sewing the clutch together make sure you do not catch your handle in your seams.
You may want to clip into your seams through all the thickness so that the curves are as smooth as possible when you turn it inside out. Make sure not to clip too close to the stitching.
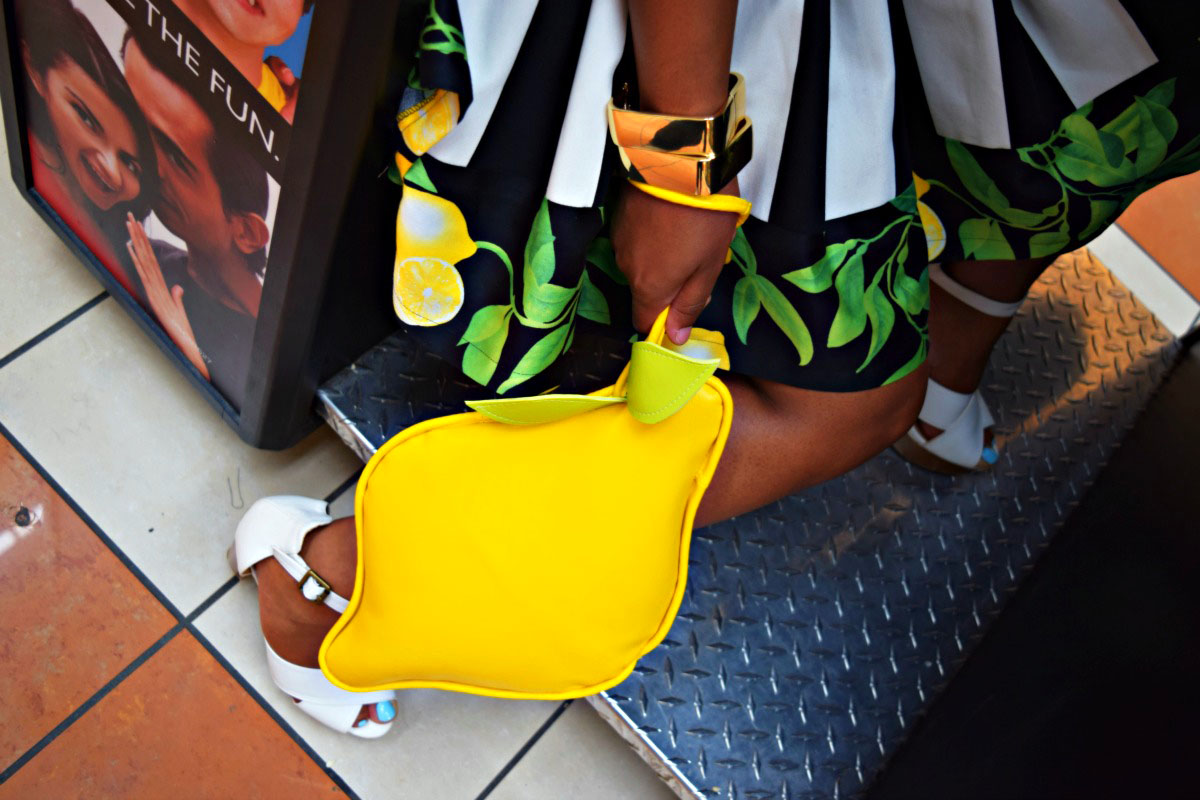
Turn the lemon clutch right side out. All done!!!

Used Products


What you might also like


8 comments on “Lemon Clutch Tutorial”
-
-
Absolutely! I have a watermelon in my arsenal as well!
-
-
This is so cute Michelle! Very Kate Spade! I love it!
-
Thanks Erica, I agree on the Kate Spade front!
-
-
Very clever idea. I especially like your zipper application, no folding over the edges to make it bulky. After all it won’t fray. I might try to use a different piping just to make it less bulky, like a matching yellow cotton, or even a yellow/green stripe cut on the bias or yellow/white stripe or a green to match the leaves. Hmmm. This is such a wonderful project. Thanks so much for sharing it.
-
Hmmmmm, you’re right that’s another option to consider. You could also use a woven fabric as well. I would love to see what you come up with so please share once you’re done!
-
-
Really creative and cute. Love it!! Where did you find the faux fabric? If you don’t mine sharing
-
All the fabrics were from Joann’s. If you make it please share and let me know what you thought about the tutorial! Michelle @ http://www.thatblackchic.com
-
Leave a Reply
You must be logged in to post a comment.

This is the cutest clutch , so appropriate for summer! I can see a while fruit bowl of purses! Thanks for the idea.