Mantel Cover
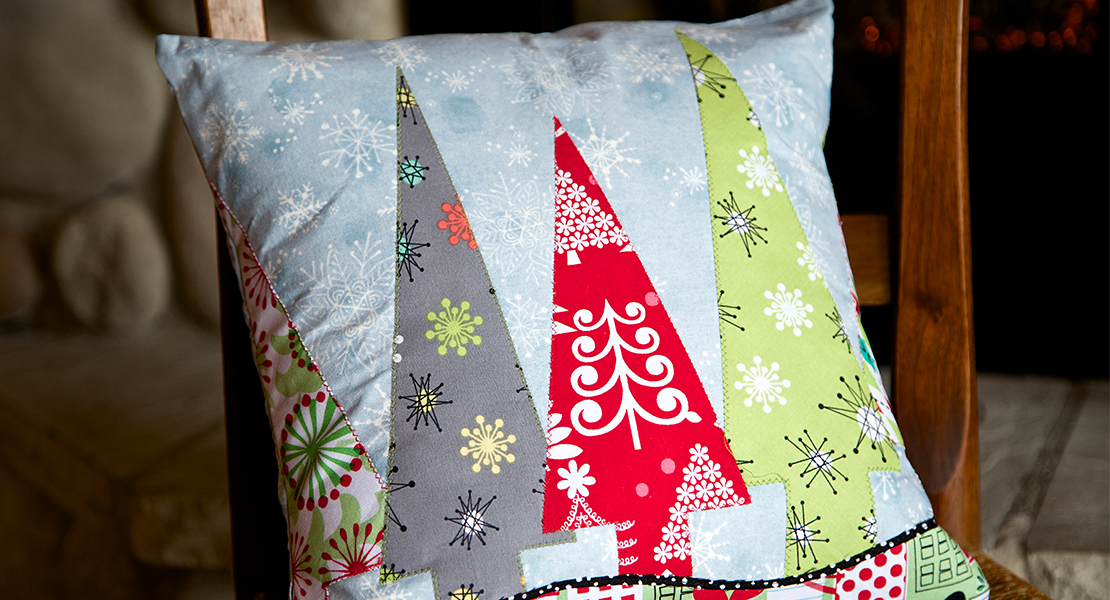
Add a Little Cheer with an Appliqued Mantel Cover by Sandy Fitzpatrick of Hissy Fitz Designs.
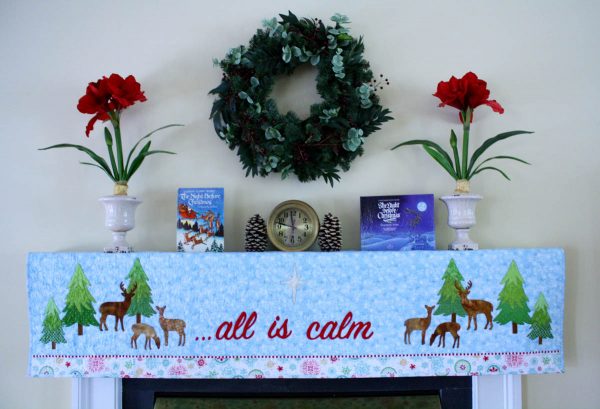
It’s a hustling, bustling time of year and sometimes we just need a little reminder to take it easy and relax. I’ve created a free appliqued mantel cover design for you to give your own home a cheerful pop of color. Also, a little reminder to take a deep breath to remind yourself that “…all is calm”. If you don’t have a fireplace, this would also make a great tablerunner.

First you will need to measure the depth and the width of your fireplace mantel, as I’m sure there are many variations here. My mantel is 6½” deep and 74″ wide.
I added an additional 2″ to my width measurement to allow for any “shrinkage” during the applique and quilting process. I also added 14½” to the depth measurement to allow room for the applique designs. So my measurements were 76″ x 21″. Your measurements should be…
Mantel depth __________+ 14½” = Depth measurement ___________
Mantel length__________ + 2″ = Width measurement _____________
Materials to create a mantel cover
- Pattern for applique designs: All Is Calm Pattern
- Background fabric and binding—2¼ yards (if your mantel is longer than 74″ add to this measurement)
- Backing fabric 2¼ yards or if you want to piece the backing instead of cutting it from fabric length, you will need 1½ yards
- Accent flange—1/8 yard
- Contrasting bottom strip—¼ yard
- Letters “…all is calm”—1 fat quarter
- Trees—a variety of green scraps measuring at least 7″ x 7″
- Tree trunks—brown scrap – 6″ x 6″
- Deer—a variety of brown scraps, measuring at least 7″ x 9″
- Star—scrap – 6″ x 7″
- Batting
- Fusible Web—1½ yards
Step 1
Cut your background fabric to your required measurement. Fold this piece in half and lightly press a vertical center line to help with your applique alignment. Then fold 6 ½” up from the bottom and lightly press another guideline here. Set this aside for now.
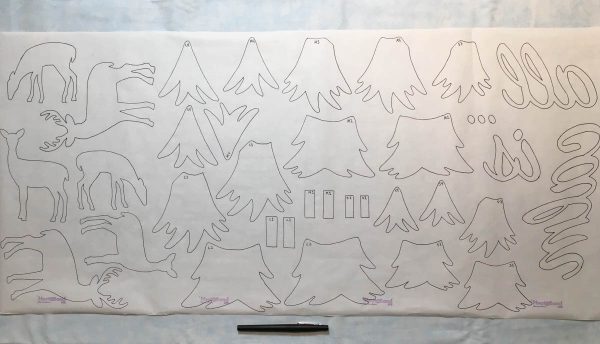
Step 2
Trace the pattern applique pieces onto your favorite fusible web. Be sure to label each piece and leave at least ½” between each piece.
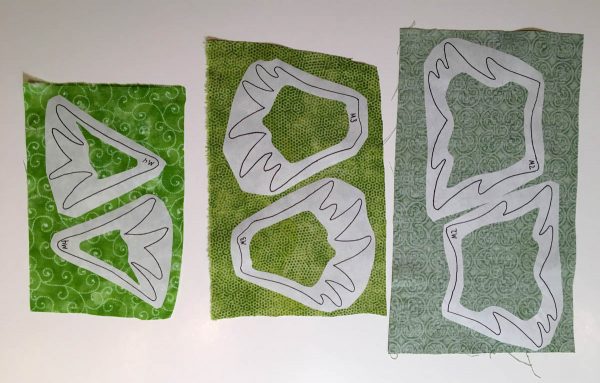
Step 3
Roughly cut each of the applique pieces apart and iron to the WRONG side of your chosen fabric piece. If you would like to avoid excess fusible throughout your piece, you may want to trim out the inside fusible area leaving at least ¼” inside the drawn line.
Step 4
When all pieces have been fused to the wrong side of your fabrics, cut them out on the drawn line. Double check that you have cut out all the pieces.
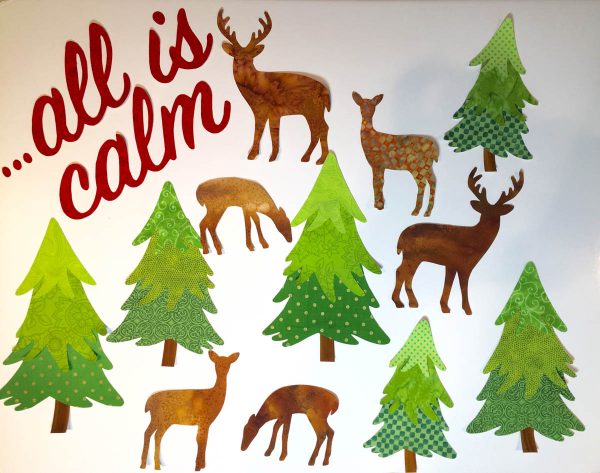
Step 5
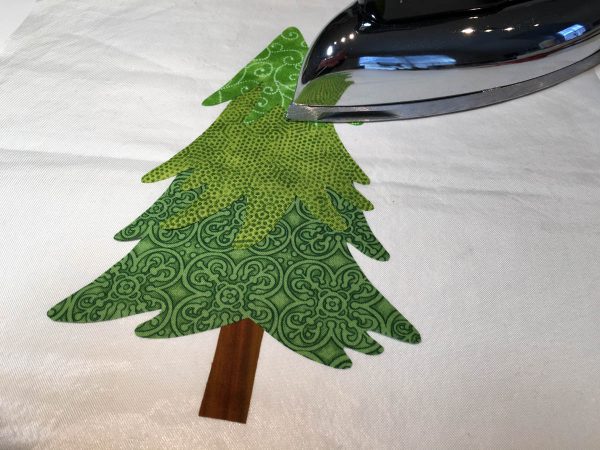
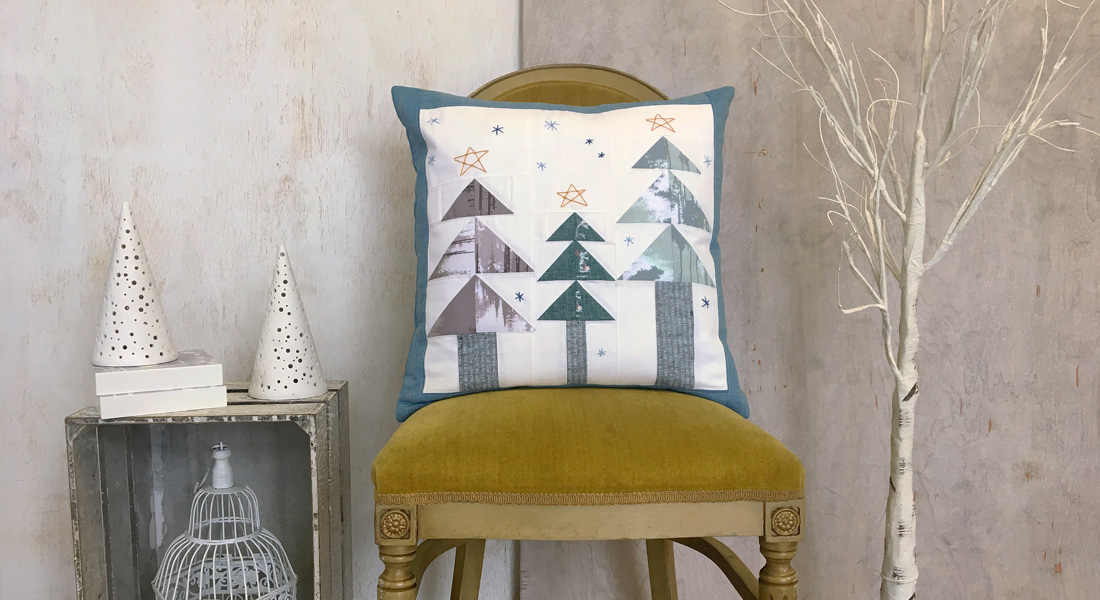
Create the trees by fusing the top, middle, and bottom pieces together and add the tree trunk. An applique press sheet will help in this process because it will allow you to peel the paper backing off and fuse all four of these pieces together on the applique press sheet and then peel the completed tree off so that it is ready to apply to your background fabric as one unit.
Step 6
Now that you have all your pieces cut out, remove the paper backing from each piece and press in the appropriate place on your background fabric. This is where the previously pressed guidelines come into place to help with your alignment.
Step 7
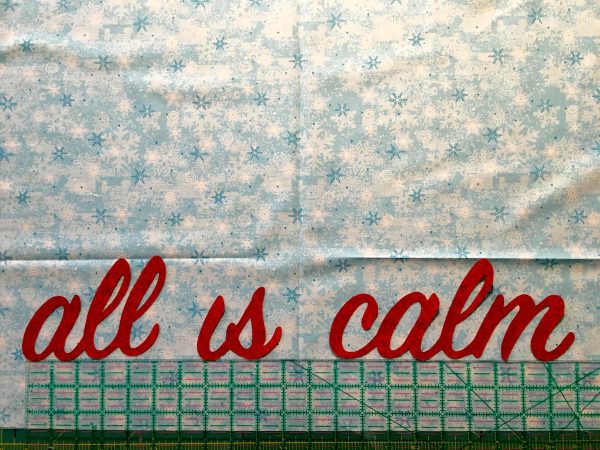
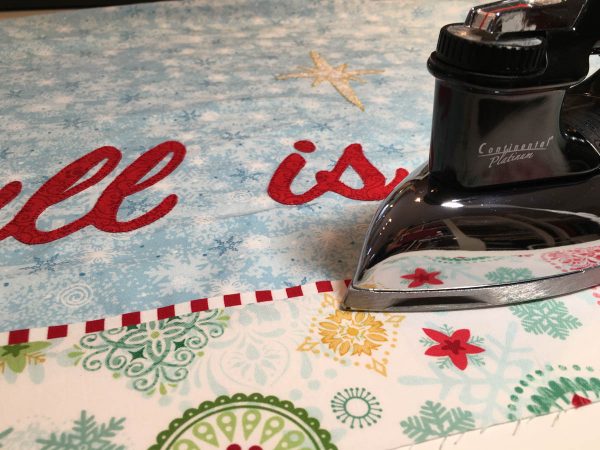
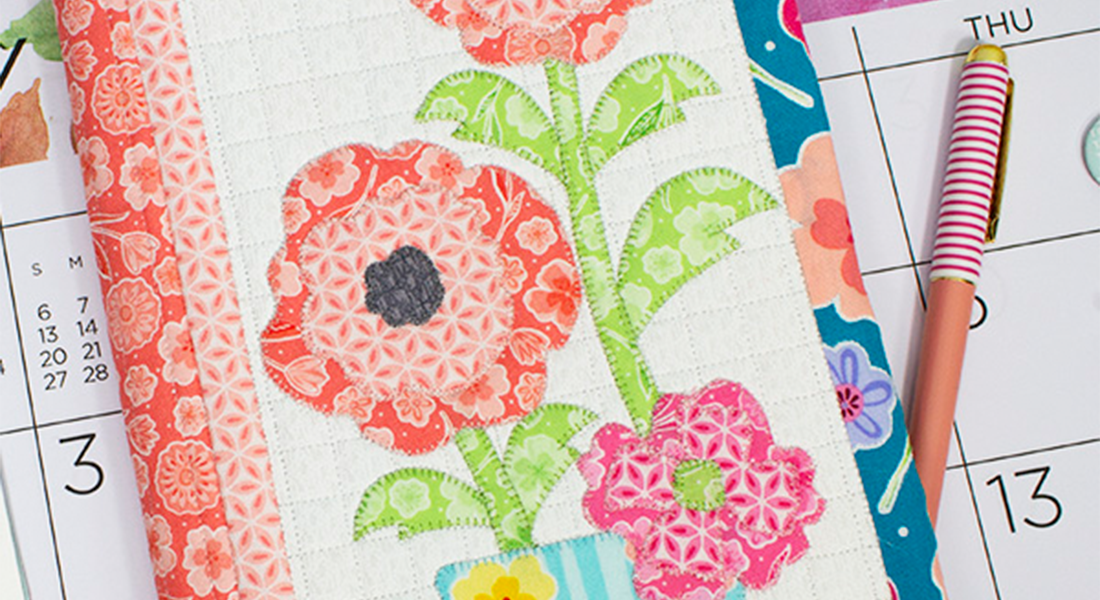
Start with the words, “…all is calm” and line them up so that the tops of the l’s touch the fold line that was pressed 6½” from the bottom of your background fabric. You can see that the vertical center mark will be between the words “is calm”. Fuse the words in place.
Step 8
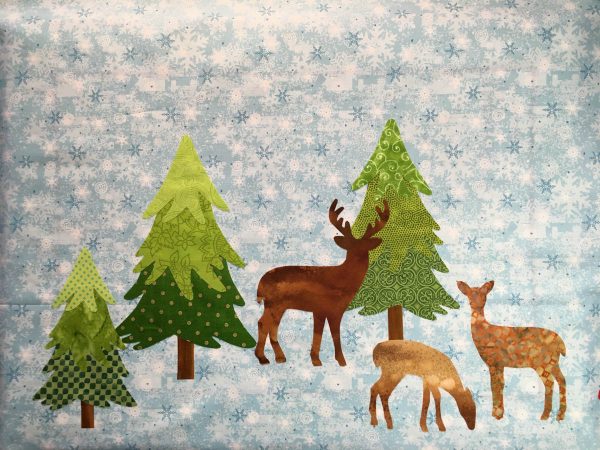
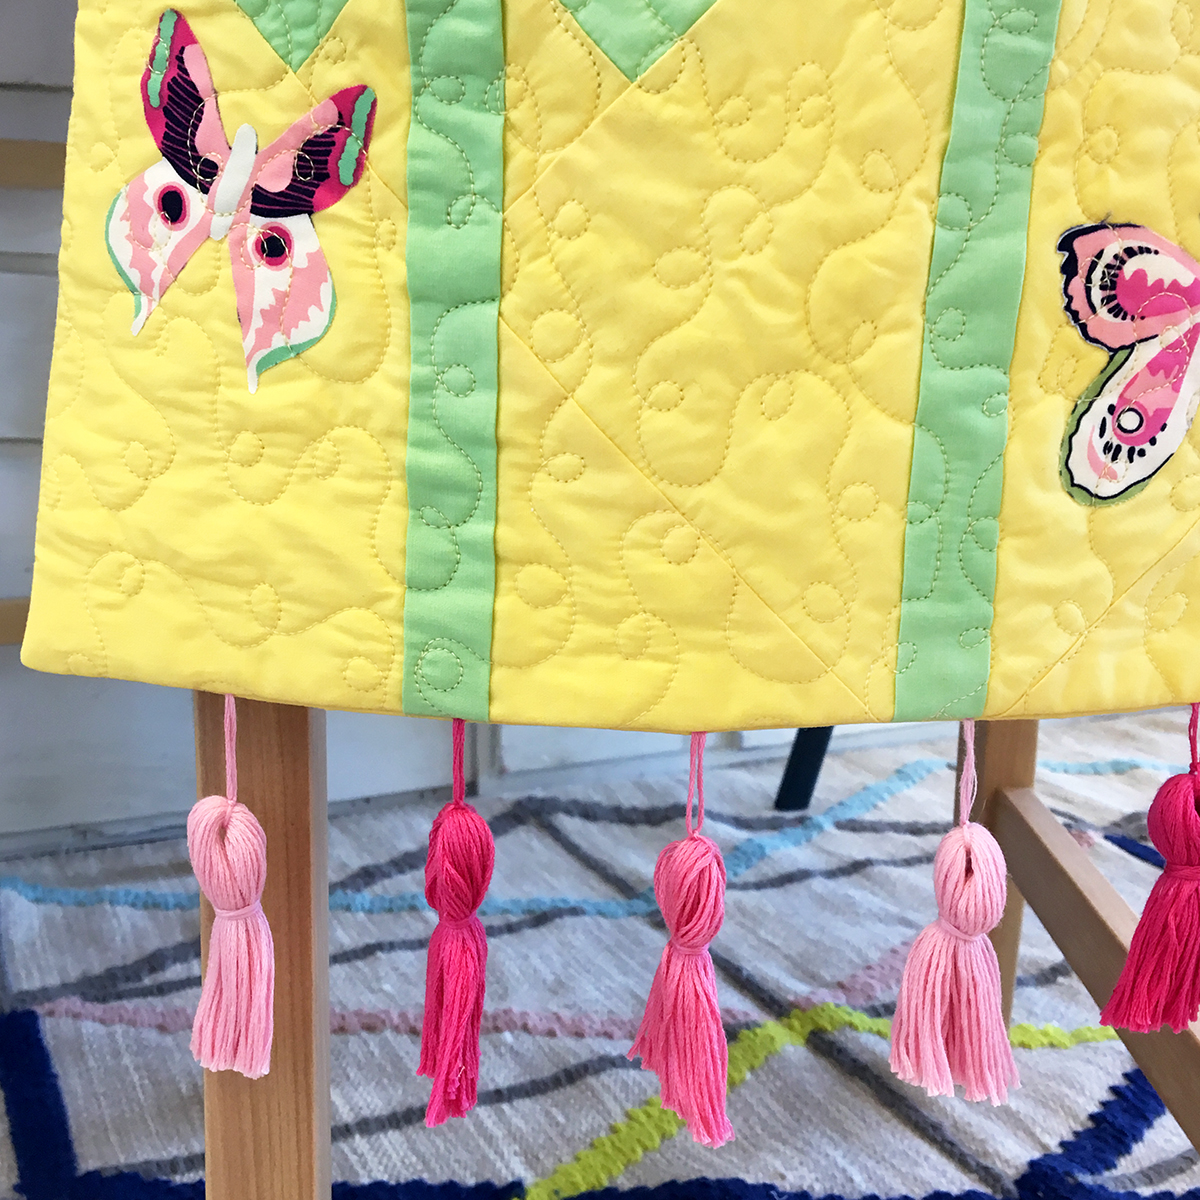
Using the photos as a guide, continue to add the trees and deer to each end of your background fabric.

Step 9
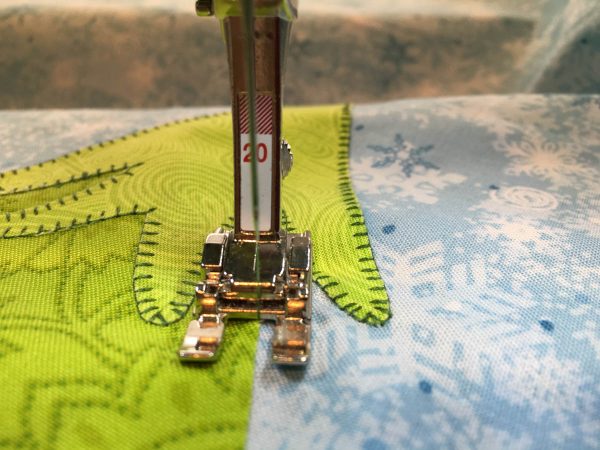
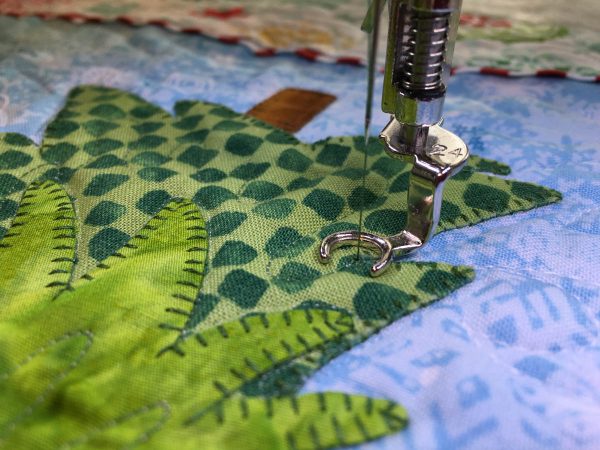
When all of your pieces have been fused in place, you are ready to stitch each piece down. I used the blanket stitch #107 on my BERNINA 380 along with the BERNINA Open embroidery foot #20, which is great for applique because it allows complete visibility of your stitching area.
Step 10
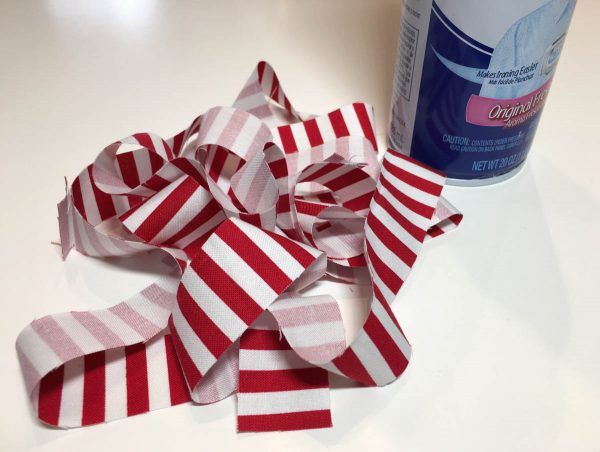
Once you have all of your pieces stitched in place, it’s time to add the flange strip to the bottom of your background fabric. Cut two strips of fabric 1″ x width of fabric, remove selvedges and stitch together so that you have one long strip of fabric.
Step 11
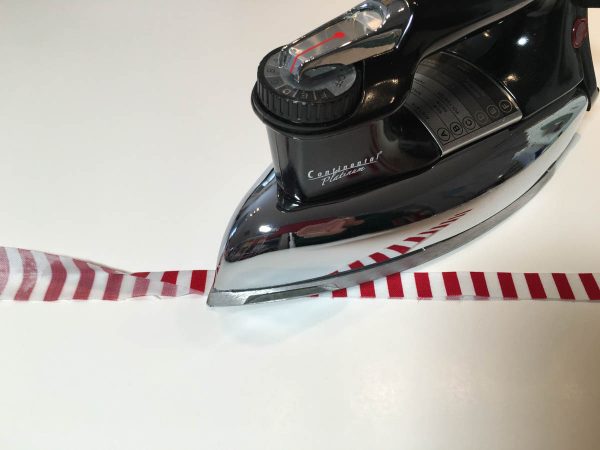
I like to add a little spray starch to this strip to give it a little more “body” as I press it in half with the wrong sides together. You will end up with a long skinny strip of fabric that is ½” in width.
Step 12
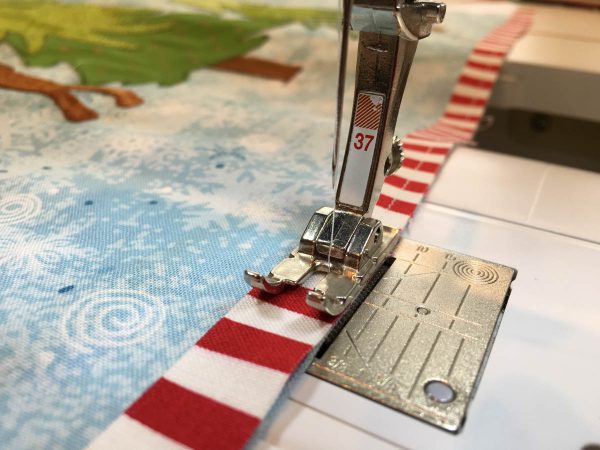
Line the raw edge of the flange strip up with the raw edge of the bottom background fabric and stitch with a ¼” seam allowance, I used my BERNINA Patchwork foot #37 here for a perfect measurement.
Step 13
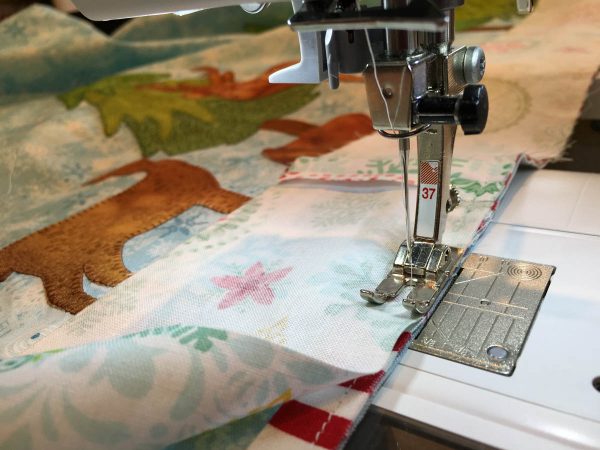
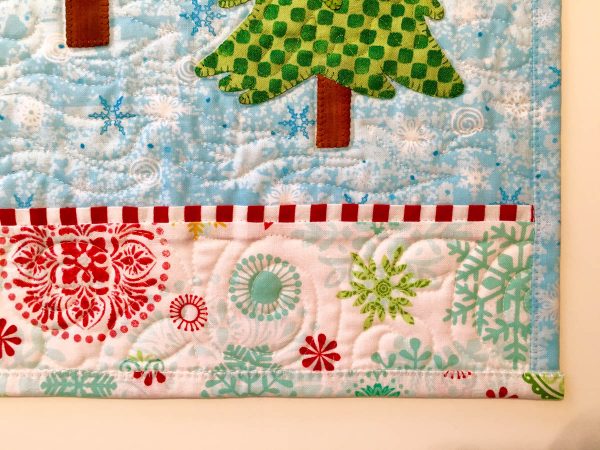
Now, cut two strips of contrasting fabric for the bottom band measuring 3″ x width of fabric. Remove the selvedges and stitch together to make one long contrasting strip. Lay this strip on top of your previously stitched flange, lining up the raw edges so that the flange is sandwiched between the background fabric and this contrasting strip. Again, stitch with a ¼” seam allowance. Press.
Step 14
Cut your backing fabric and batting approximately 4″ larger than your finished piece and layer them up as you would a quilt, backing, batting and appliqued piece on top. Pin or hand baste and quilt. Since I love free-motion quilting, I chose to use foot #24, drop my feed dogs, and quilted with a simple breezy looking design.
Step 15
Finally, when all quilting is complete, re-measure your mantel cover. You may need to trim a small amount off each side to make sure it is the width of your mantel. Square up your mantel cover and add your binding. I stitched my binding to the back of my mantel cover and then folded over to the front and stitched it down by machine using the blanket stitch.
You may notice, in the photo of our fireplace, that there are a couple of books on the mantel. One of our favorite Christmas traditions is reading The Night Before Christmas on Christmas Eve.
When we were first married, my husband gave me the book on the left for our first Christmas together. It’s a Hallmark pop-up book, which holds so many memories because as our children were born he would read it to them each Christmas Eve and they would take turns moving the pop-up pieces. Even as our three children grew older, they looked forward to this tradition each year. One year my husband was deployed to the desert for Christmas but he planned ahead and recorded the reading on a cassette so that we would still be able to carry on the tradition that year.
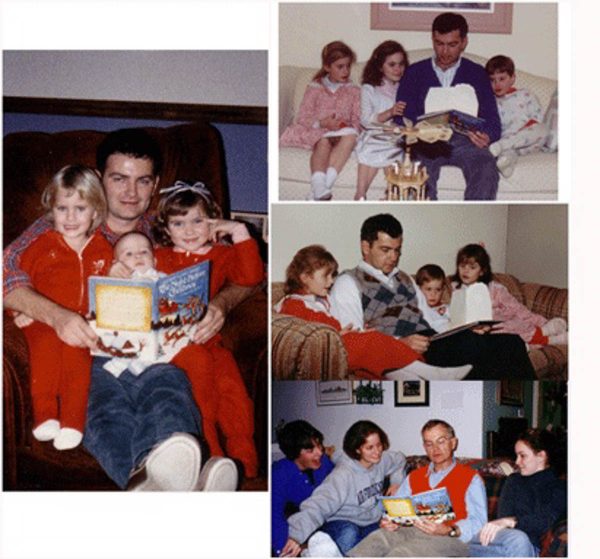
Our children are grown now and have children of their own. A few years ago Hallmark came out with another pop-up book, which I bought for each of them, so that they could read this wonderful story to their own children. You can see it in the photo on the right of the mantel. However, they still insist that my husband be the one to read from the original book each year. We are long distance grandparents and don’t always have everyone here for Christmas. So on those occasions, you can find us sitting in front of the computer using Skype or Facetime, in order to keep this tradition alive with our grandchildren as far away as Okinawa or Bangkok.
If you are looking for patterns to add a little whimsy to your life, check out Sandy’s line of patterns at Hissy Fitz Designs.
Our December 16 Gift For You
Today’s gift is a fun black and silver slap watch with measuring tape style wrist band and scissor hands to one awesome WeAllSew fan. All you have to do is post a comment below answering the following question:
Do you have the book “The Night before Christmas in your library”?
A winner will be chosen at random on December 17, 2015 and announced later this week!
Good luck!
Congratulations to our WeAllSew reader “elizabethcook”, the winner of the December 16 gift. Enjoy!
What you might also like


67 comments on “Mantel Cover”
-
-
I have a very old copy that I bring out every year, at least as a decoration.
-
-
No! But we have The night before the night before christmas!! 🙂
-
sorry no
-
-
Absolutely!!! I even love to read it!
-
We had the book years ago when there were still kids around. This is a beautiful project!
-
No we don’t own the book, but we don’t have any little ones, just us grown ups. We celebrate the night before Christmas more with a nice glass of wine and a mince pie
-
Absolutely. It’s one of the books that we have in our Christmas book collection. My daughter selects one to read as a countdown to Christmas tradition.
-
Nope, but our family loves Charles Dickens ” A Christmas Carol”
-
Yes, we do. We have the pop up book. Love it.
-
Not any more. Gave it to one of my kids for their kids.
-
Yes, I have this book and a variety of other Christmas classics on our bookshelf. Nothing beats reading this book on Christmas Eve to little ones.
-
We have several copies of this book (because we have a tendency to not be able to find them on Christmas Eve). Even though my children are no 16, 11 and 11, we still get together every Christmas Eve, before we go to bed, and my husband reads the book.
-
Yes, I do have “The Night before Christmas” since my children were little and now for the Great-grans.
-
Cute idea! Be aware of possible fire hazard with this one though! If you have a working, wood burning fireplace, stockings and mantle scarfs that hang too low can and will catch on fire! Be safe… keep them short!
-
Yes I do, love it
-
-
Yes, it’s one of my favourites, my daughters’ favourites and it’s becoming a favourite with the grandchildren too!
-
I do not have the Night Before Christmas” book in my house , but I do read How the Grinch stole Christmas
.
I love this project and have it on my “to do” list foe the coming year -
My favorite book as a child was the littlest Angel. I still have it somewhere. Dont’ know if we had The Night before Christmas book or got it from the Library. Christmas has always been a very celebrated holiday in my life. Not for gifts. But, we went to midnight Mass Christmas eve. Then came home ate breakfast. The next day was all family and dinner. Yes there were gifts but that was not the focus.
-
We absolutely do and read it to our children when they were young. Alas, they are adults now, but no grandchildren yet. We keep hoping though! I love the deer in the mantel cover- the fabrics are amazing! Happy Holidays to you and your family!
-
Yes i have a copy! It is well worn out by my family and my daughter is now 32 🙂
-
I don’t! I left it at my parents house 🙁
-
Yes we still have our much loved copy of this classic Christmas story. We find it fun trying to explain the meanings of some of the old English words like kerchief, and phrases like threw open the sash, droll little pipe. This is fun as well as a lesson in literature for the ones who are raised in the electronic age. Merry Christmas to all and to all a goodnight ? ? ?
-
Not any more. But this year as a gift to each of my daughters for them to read to their little ones.
-
Yes, we have the Night Before Christmas and our daughters always loved that book.
-
yes, we have the book “The Night before Christmas in our library. We used to read it every year but slacked off as the bigger boys moved up and out of the nest.
-
Yes, we have a very very old one that my mom used to read to us. I was the lucky kid of 3 that inherited it. I still love the old pictures especially the one with “sugar plums” dancing in the kids dreams. I also have the pop up Hallmark book that one of mine will “inherit” someday!
-
Haha, yes! I bought a copy many years ago when I realized I could not remember the whole poem any more. Now when I get stumped, I pick up my illustrated copy.
-
Yes of course we have it. It is an all-time favorite book at Christmas. I made my 7 month old grandson a cloth book of The Night Before Christmas. I hope he will appreciate at some point in his life.
-
I certainly do – pages are worn and tattered! Thank you for sharing the the mantle project. It is beautiful.
-
I had it as a child but sadly do not know where the book went to
-
We don’t have the book but our daughter is a librarian at school and I’m sure she will read it to the kids before they get out for the holidays.
-
No, it went with my daughter for her children
-
What a great tutorial and thanks for the pattern!! Can you believe we have every other Christmas book but this one. I can still remember reading this and what the actual book looked like from my childhood. Guess who needs to go shopping ; )
-
Yes I sure do and next year my first great granddaughter will be here to have it read to her.
-
Yes, I have the book. I also have given a copy to my grandchildren.
-
No, we don’t have the book but have read it many times.
-
I like this pattern. I have been wanting to make one of these for a number of years – always too busy and didn’t quite get to it. thanks for the pattern !!!!!
-
Yes, we have a copy that has been in our collection for many years.
-
No, I wish I still had my childhood copy but alas, it was lost in a move somewhere along the way.
-
Yes I have the Night Before Christmas book.
-
Yes we do have the book “Night Before Christmas.” This mantel cover is a neat idea.
-
I haven’t had a copy since I was a child. I must buy one for my grandchildren.
-
We still have a copy of the story, it’s a Christmas tradition.
-
Yes, I have the book ” The Night Before Christmas.” I have read it so many times that I can repeat it by heart.
The Grandchildren love listening to the story. What fun it will be to have the mantel cover.
-
Yes. But my copy of the story is in a coloring book. ?
-
One of my favorite stories for children and now grandchildren.
-
Very nice story! Yes we have the story and several “takes” of it some funny some more traditional.
-
Absolutely! Really love the mantel cover.
-
no, we do not have a copy but I think I will look for one now. This is a very nice tradition.
-
It was formerly in our library but a child has taken it to their home now. This is a lovely project that will have to wait for now. Thank you for the pattern.
-
Yes, we’ve had it for years! but I think it might be at one of my son’s houses currently.
-
Yes, We have the book “The Night Before Christmas”.
Love the mantel project. Can’t wait to do it for next year for my niece.
Happy Holiday’s -
Our kids are grown now, but yes we still have that book. We had lots of fun reading it over the years!
-
Yes, it is in my library. In our family, we watch How the Gringe Stole Christmas each year and we have a Christmas puzzle that we put together every year for the last 25 years.
-
I actually have a digital book of the “The Night Before Christmas”. I do remember having a hard copy growing up years ago, it ended up with one of the older siblings, so it goes. Merry Christmas!
-
No I have not read the book, “the night before Christmas “.
-
Yes one that I made of a fabric book when my children were babies. A cloth book. I put it on the coffee table every Christmas.
-
Yes! In fact I have 3 different books of the tale I love it so much! I was, and still is, the BEST Christmas story to read to children! My daughter, when she was small, would act out the characters as I read the book. Wish I’d been able to afford a video camera back then, would love to play that out for her now that she’s much older. Merry *Pieceful* Christmas to you and yours! Ann in NC
-
Yes, I have it here somewhere, unless the grandkids took it home with them. lisajcowell(at)cs(dot)com
-
No I don’t have the book but reading the comments I may have to get one. Sounds like a lovely tradition to share with the family.
-
Of course, we have The Night Before Christmas and this year I plan to read it to our 4 year old great granddaughter whom we met just a year and a half ago. She wasn’t with us last Christmas, so this is my chance to continue a tradition I started with my own two daughters many years ago. It is something wonderful to look forward to this year.
-
We always watch the movie Christmas Vacation.
-
Sure do but I always dress up like the Grinch and recite from memory the story “How the Grinch Stole
Christmas.” My grandchildren (and their parents) love it and it has become a tradition. -
I had the book, somehow it got lost in a move along with many handmade ornaments my children had made over the years and precious stockings that were hand knitted as gifts from a loved one!
-
No book. I love your design!!
Leave a Reply
You must be logged in to post a comment.

Oh, yes! And I am now 75 years young, so it must be an antique by now. Ha- Ha