Sewing a Kaleidoscope of Freestanding Embroidered Butterflies

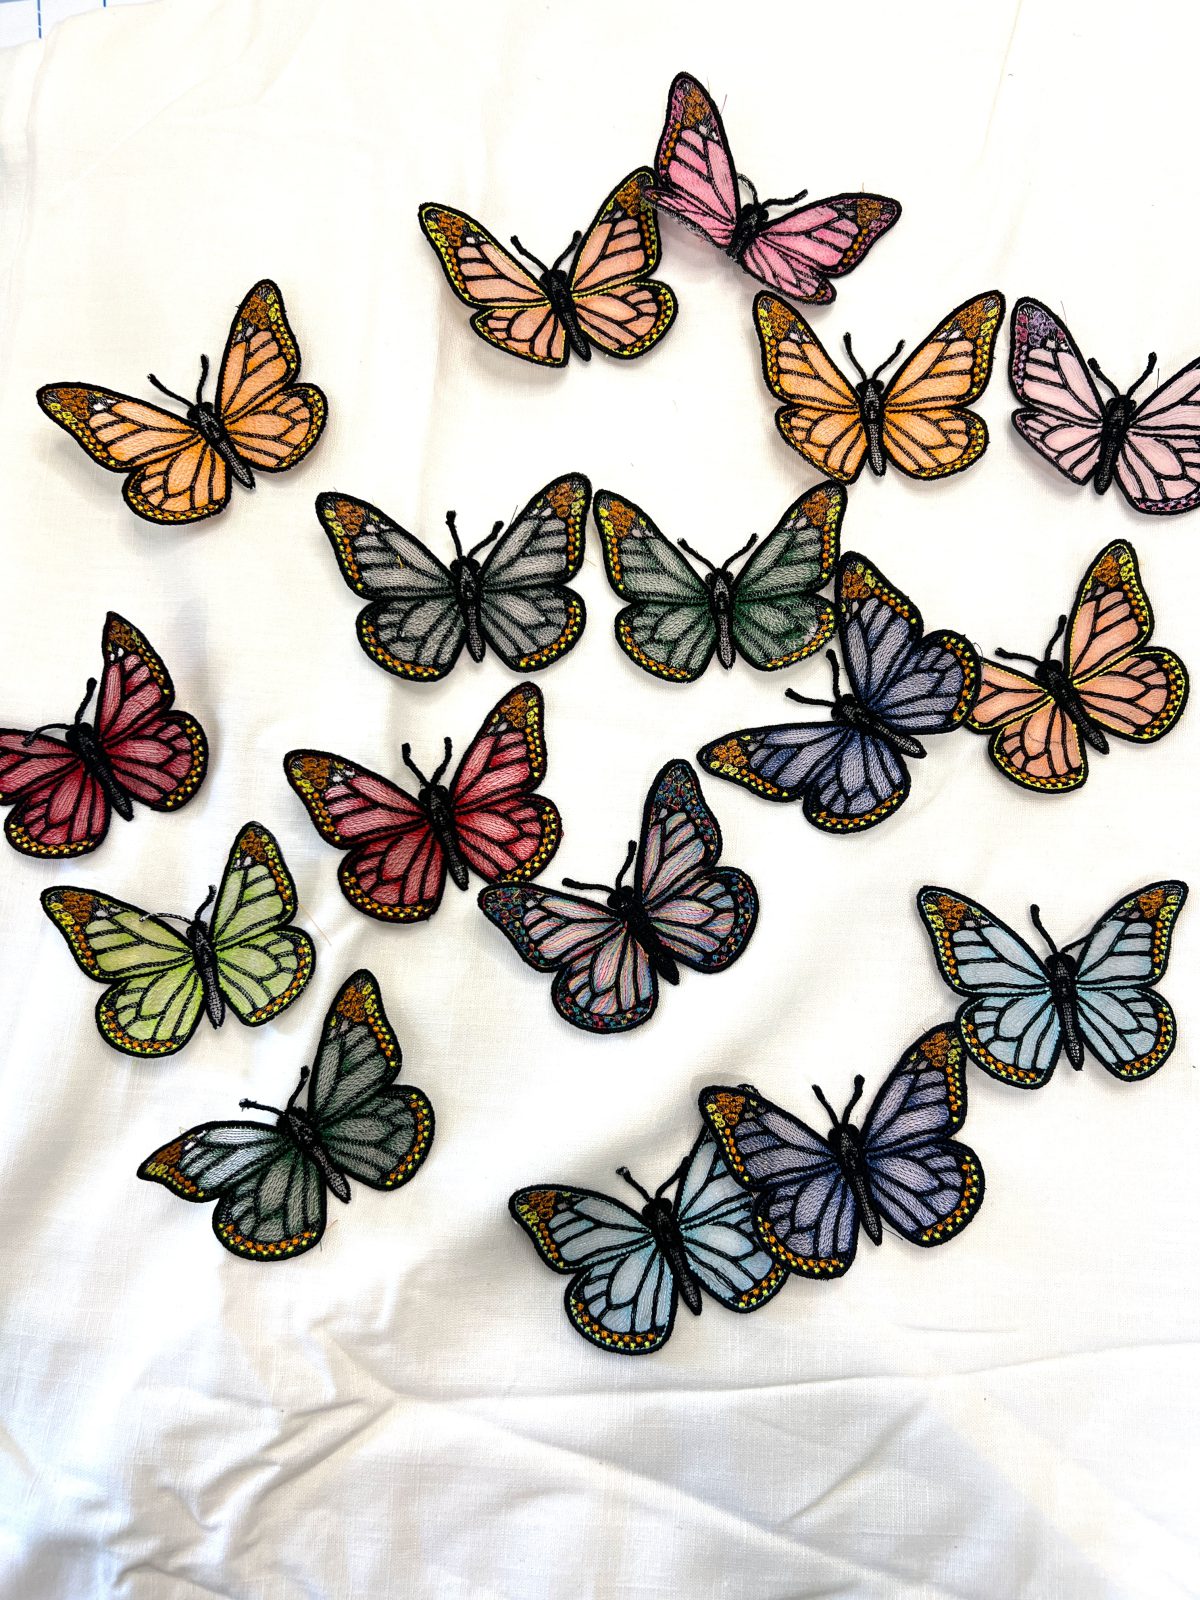
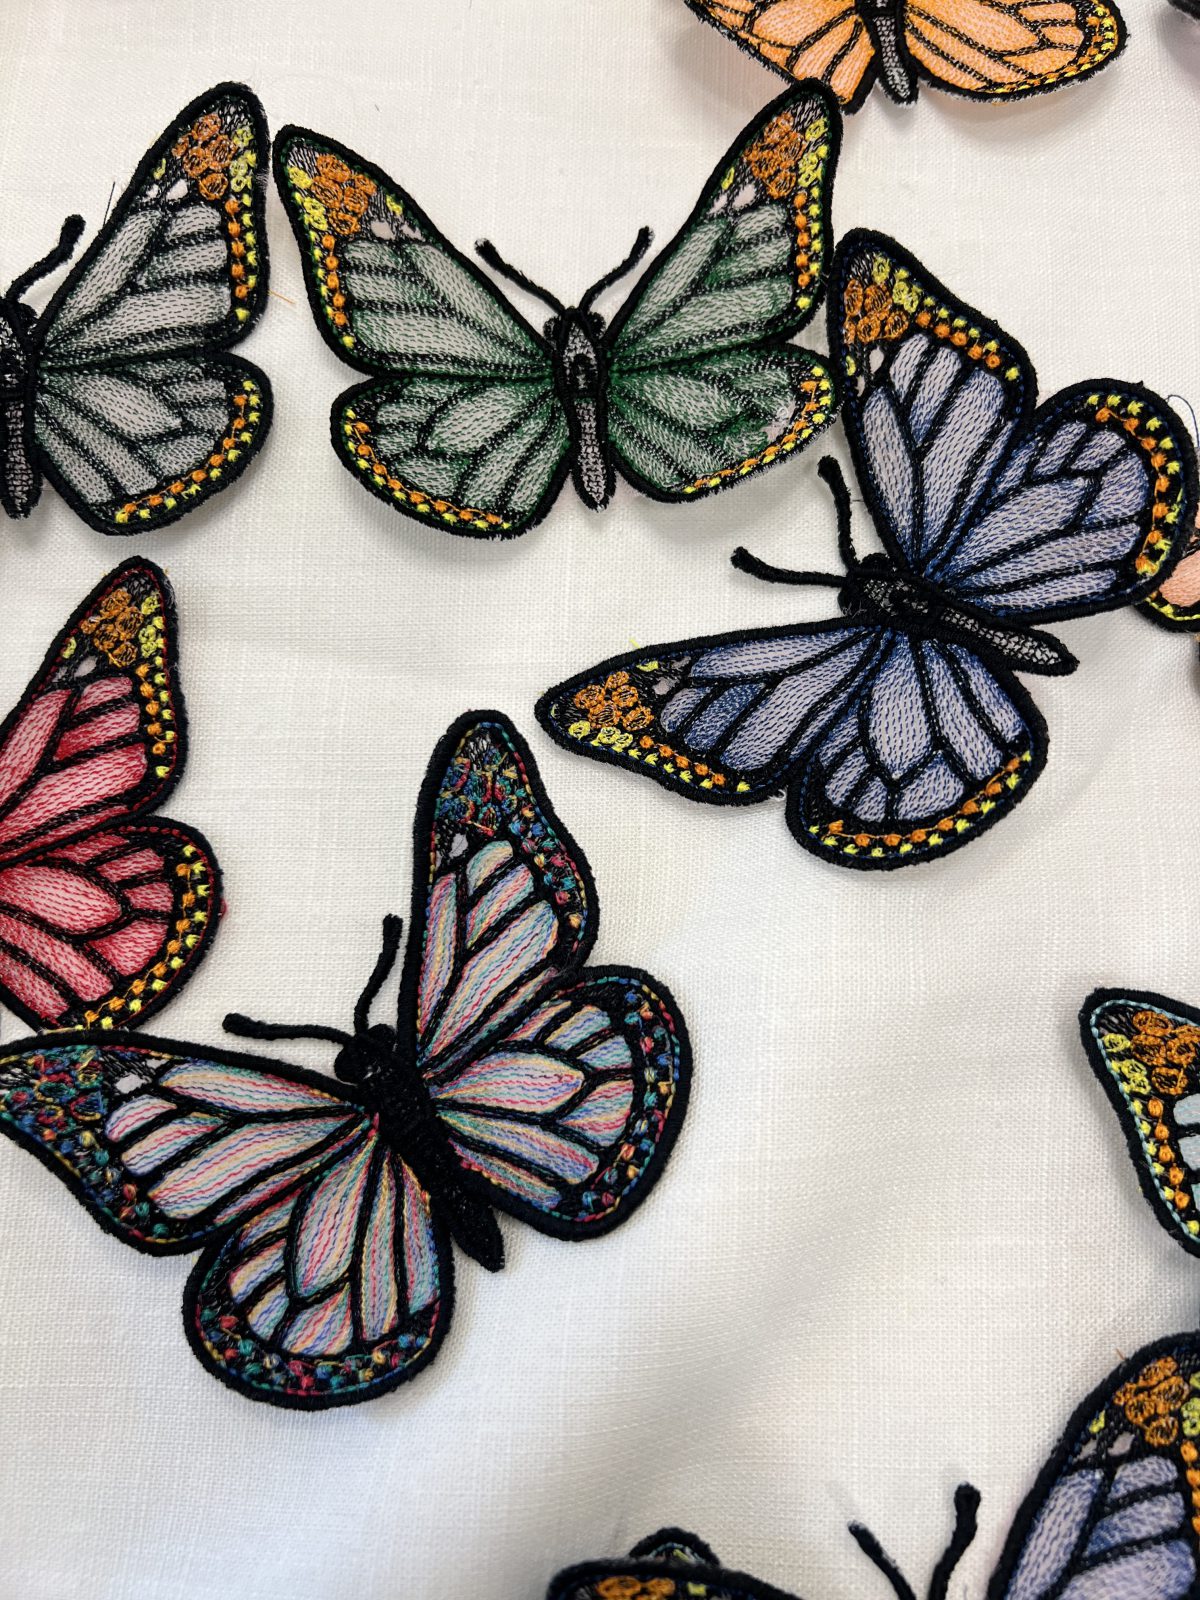
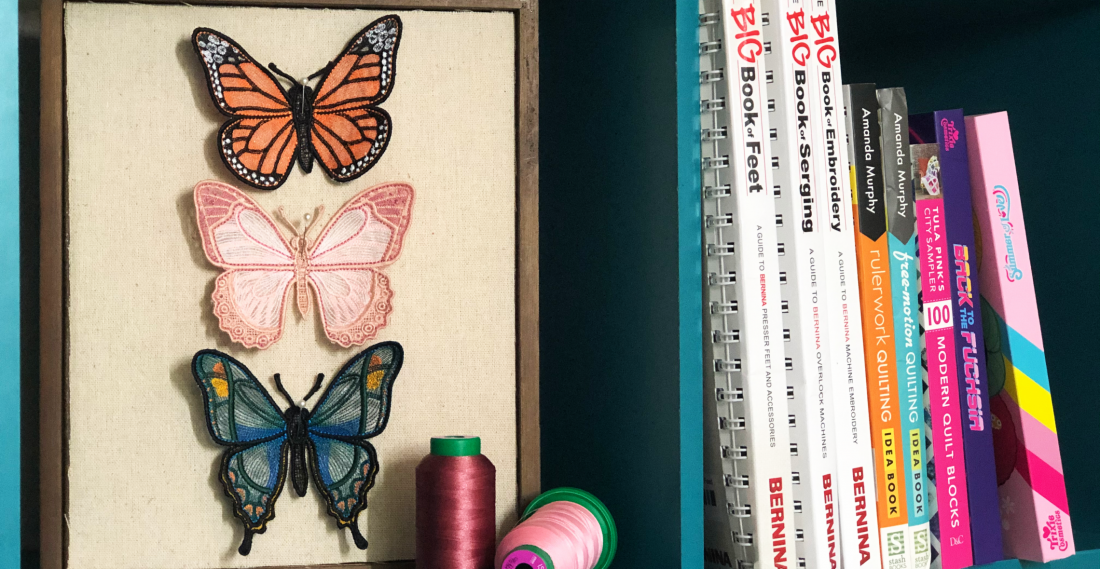
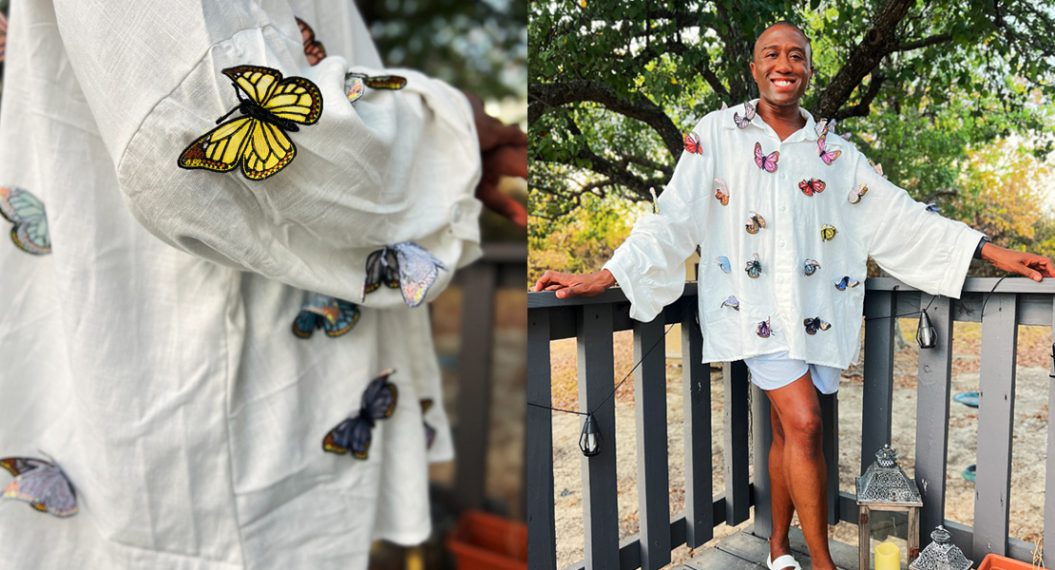
Learn how I created colorful freestanding embroidered butterflies using OESD embroidery designs, sheer fabric, vibrant thread, and machine embroidery! I first saw these embroidered butterflies on the OESD site; I knew I needed to make them for a project! There are quite a few different styles to choose from, and I knew with my extensive embroidery thread collection, I could make some really pretty and colorful butterflies!
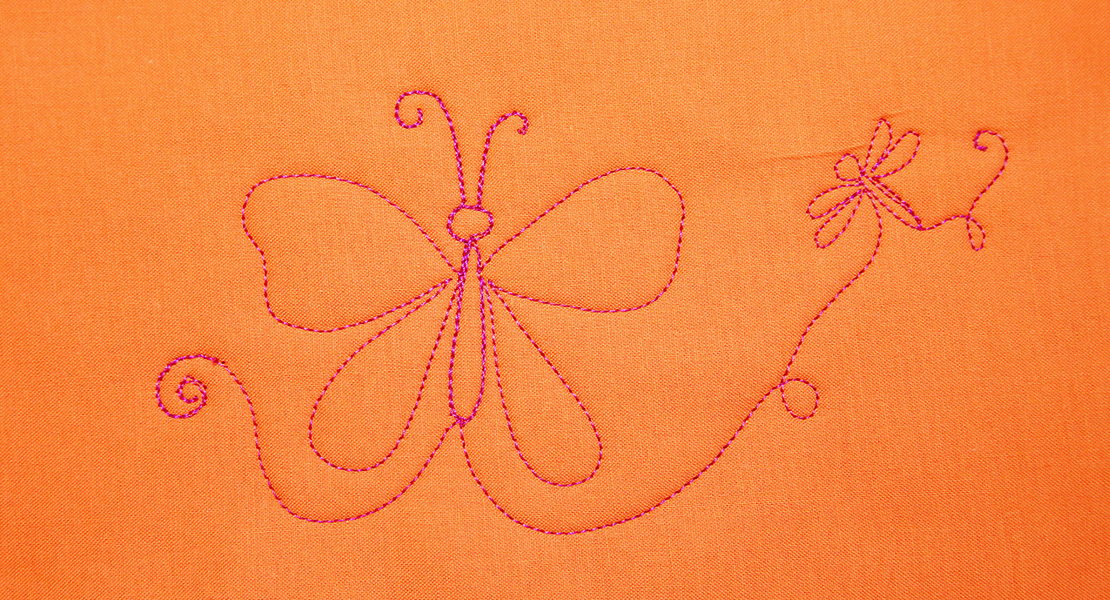
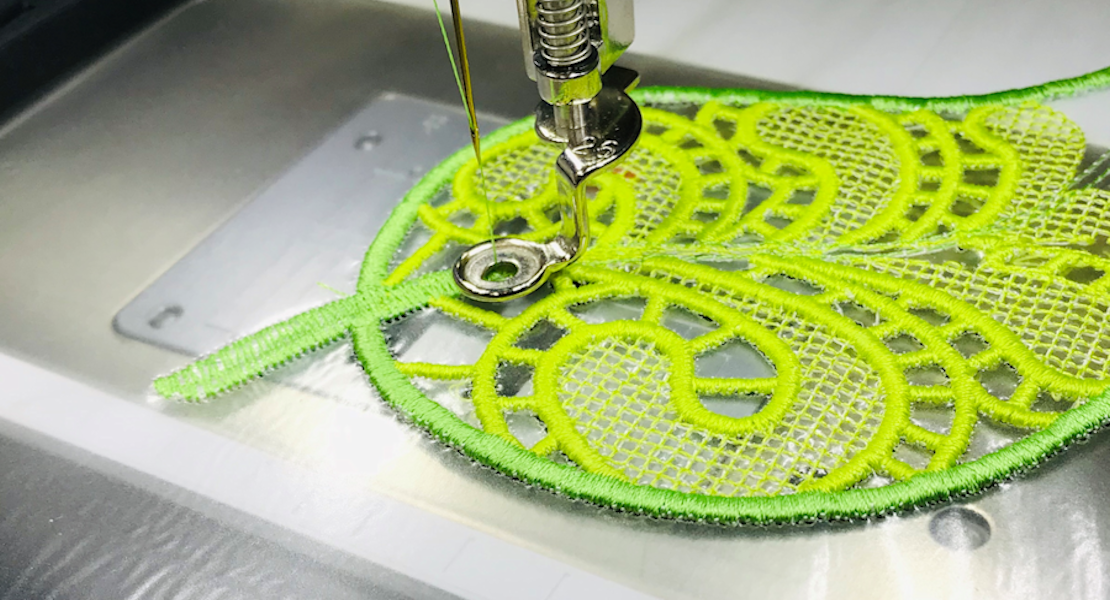
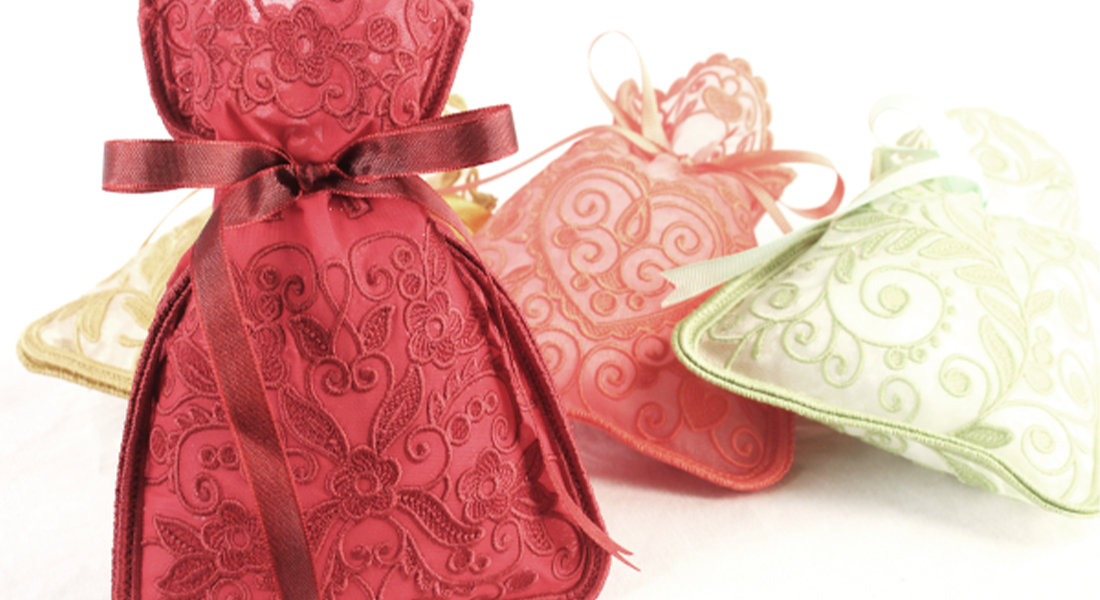
For these butterflies, I used the OESD Luminous Freestanding Butterflies embroidery collection. The collection includes six butterfly designs made using a freestanding lace technique. The butterflies are really easy to make, great for a beginner just getting into embroidery, and don’t take long to embroider at all! With only a few supplies, you can easily make these freestanding butterflies!
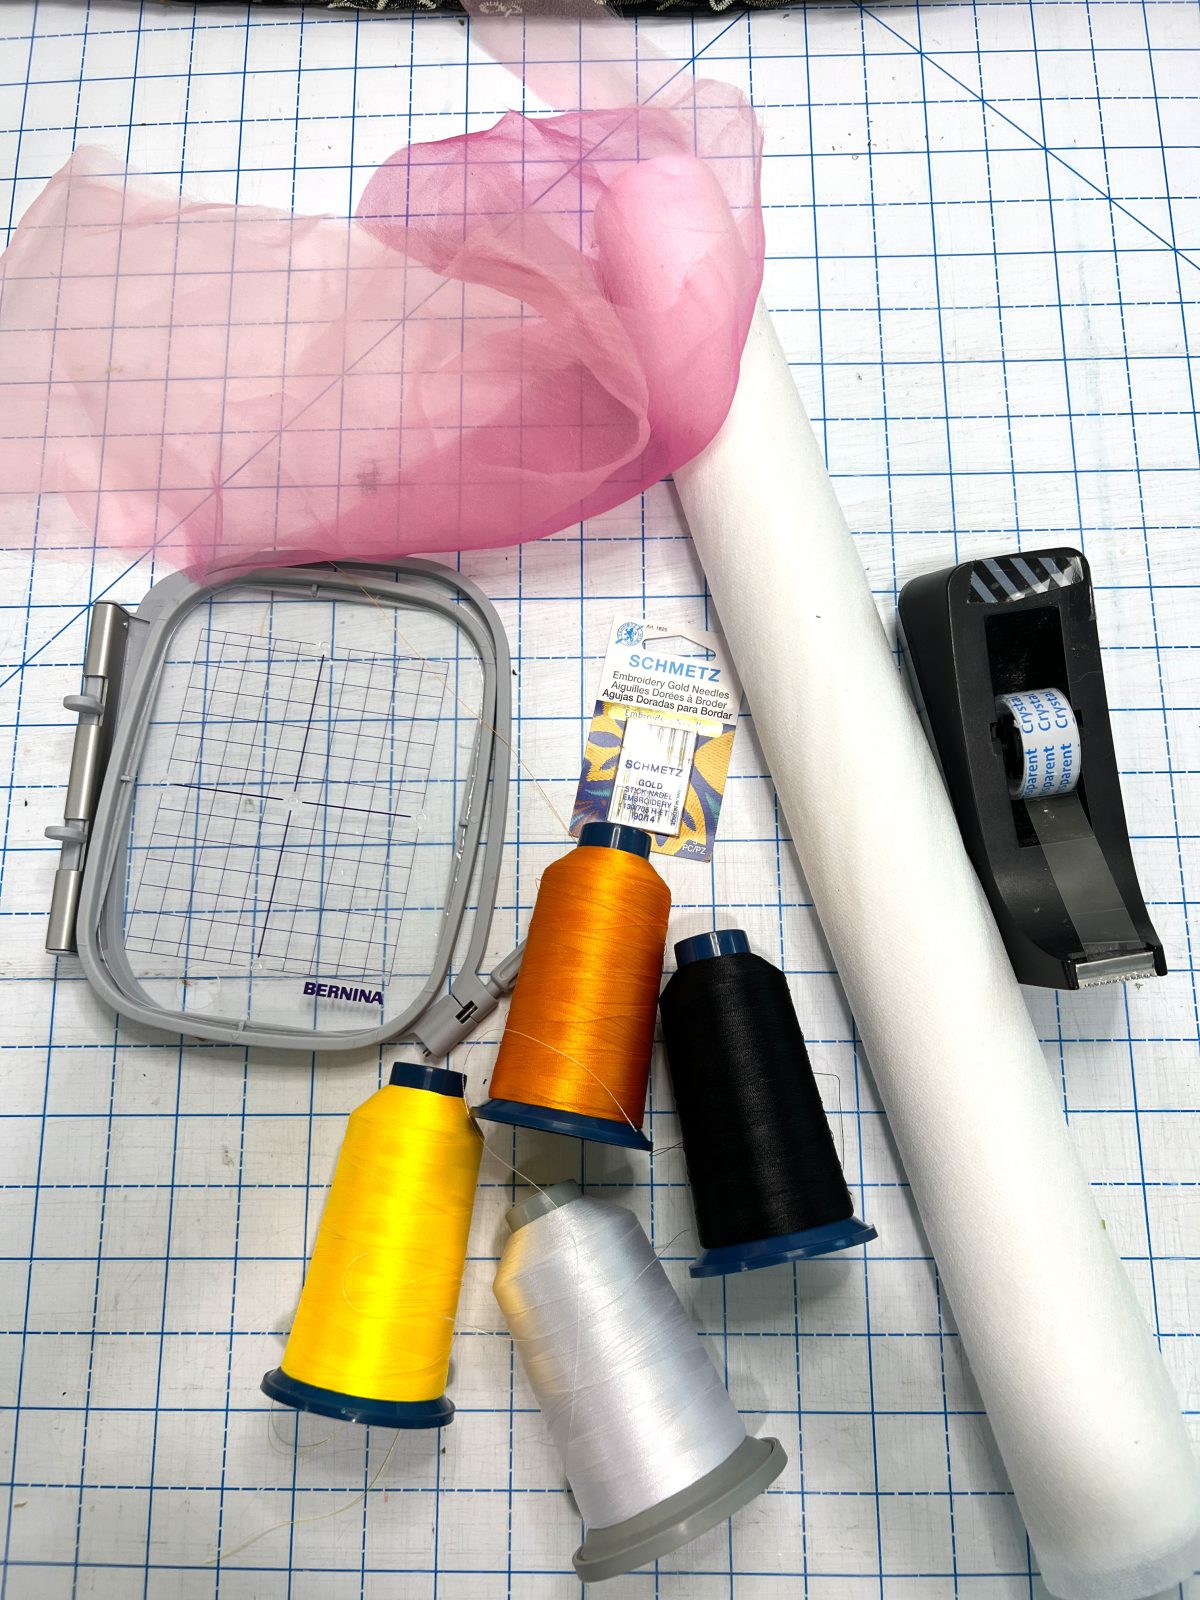
Materials Needed To Embroider Butterflies
- OESD AquaMesh WashAway
- Sheer organza or tulle 5” x 5”
- Tape
- Embroidery Needle Sharp 75/11
- Embroidery Thread
How to Embroider Butterflies
Step One: Cut the Appliqué Fabrics
Cut the applique fabrics 1/4”-1/2” larger than the templates that are included at the end of the instructions.
Step Two: Hoop the Stabilizer
Hoop one layer of AquaMesh for all designs.
Step Three: Load Your Designs
Load the selected design into the machine.
Step Four: Thread Your Machine
Thread the machine per the thread chart.
Step Five: Prepare the Bobbin
Match the bobbin thread to the upper thread.
Step Six: Attach the Hoop
Place the hoop on the machine.
Step Seven: Sew the Placement Stitch
Stitch Machine Step 1, the Placement Stitch.
Step Eight: Remove the Hoop
Remove the hoop from the machine, but NOT the project from the hoop.
Step Nine: Lay the Hoop Flat
Place the hoop on a flat surface.
Step Ten: Position the Appliqué Fabric
Place the applique fabric, right side up, completely covering the placement stitch.
Step Eleven: Tape
Tape in place to secure.
Step Twelve: Attach the Hoop
Return the hoop to the machine.
Step Thirteen: Tackdown
Stitch Machine Step 2, Cut Line and Tackdown.
Step Fourteen: Remove the Hoop
Remove the hoop from the machine.
Step Fifteen: Lay the Hoop Flat
Place the hoop on a flat surface.
Step Fifteen: Trim Fabric
Trim the excess fabric as close to the cut line as possible.
Step Sixteen: Stitch
Return the hoop to the machine and stitch the remaining machine steps per the thread chart.
Step Seventeen: Match Bobbin Thread
Match the bobbin thread to the upper thread.
Step Eighteen: Remove Project From Hoop
When the design is complete, remove the project from the hoop and trim the stabilizer 1/4”- 1/2” outside the design.
Step Nineteen: Rinse
Rinse in warm running water until the design is only slightly tacky.
Step Twenty: Let Dry
Place right side down on a non-stick surface to dry. Parchment paper or a cooling rack will prevent curling. Dry completely.
Step Twenty-One: Press
Once dry, press right side down.