Single-shoulder Ruffle Top Tutorial

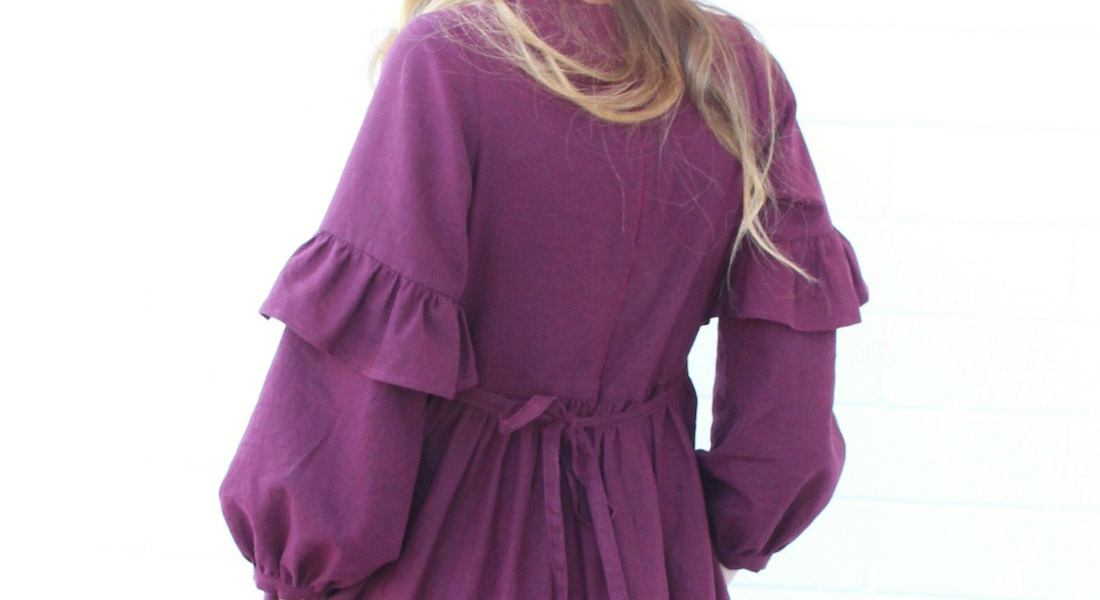
This season is all about the shoulders. And this little single-shoulder ruffle top shows just enough skin to have fun in the sun! For the last few weeks, I’ve really been enjoying wearing different variations of this trendy style. So I decided to share a sewing tutorial of my latest incarnation of this style.
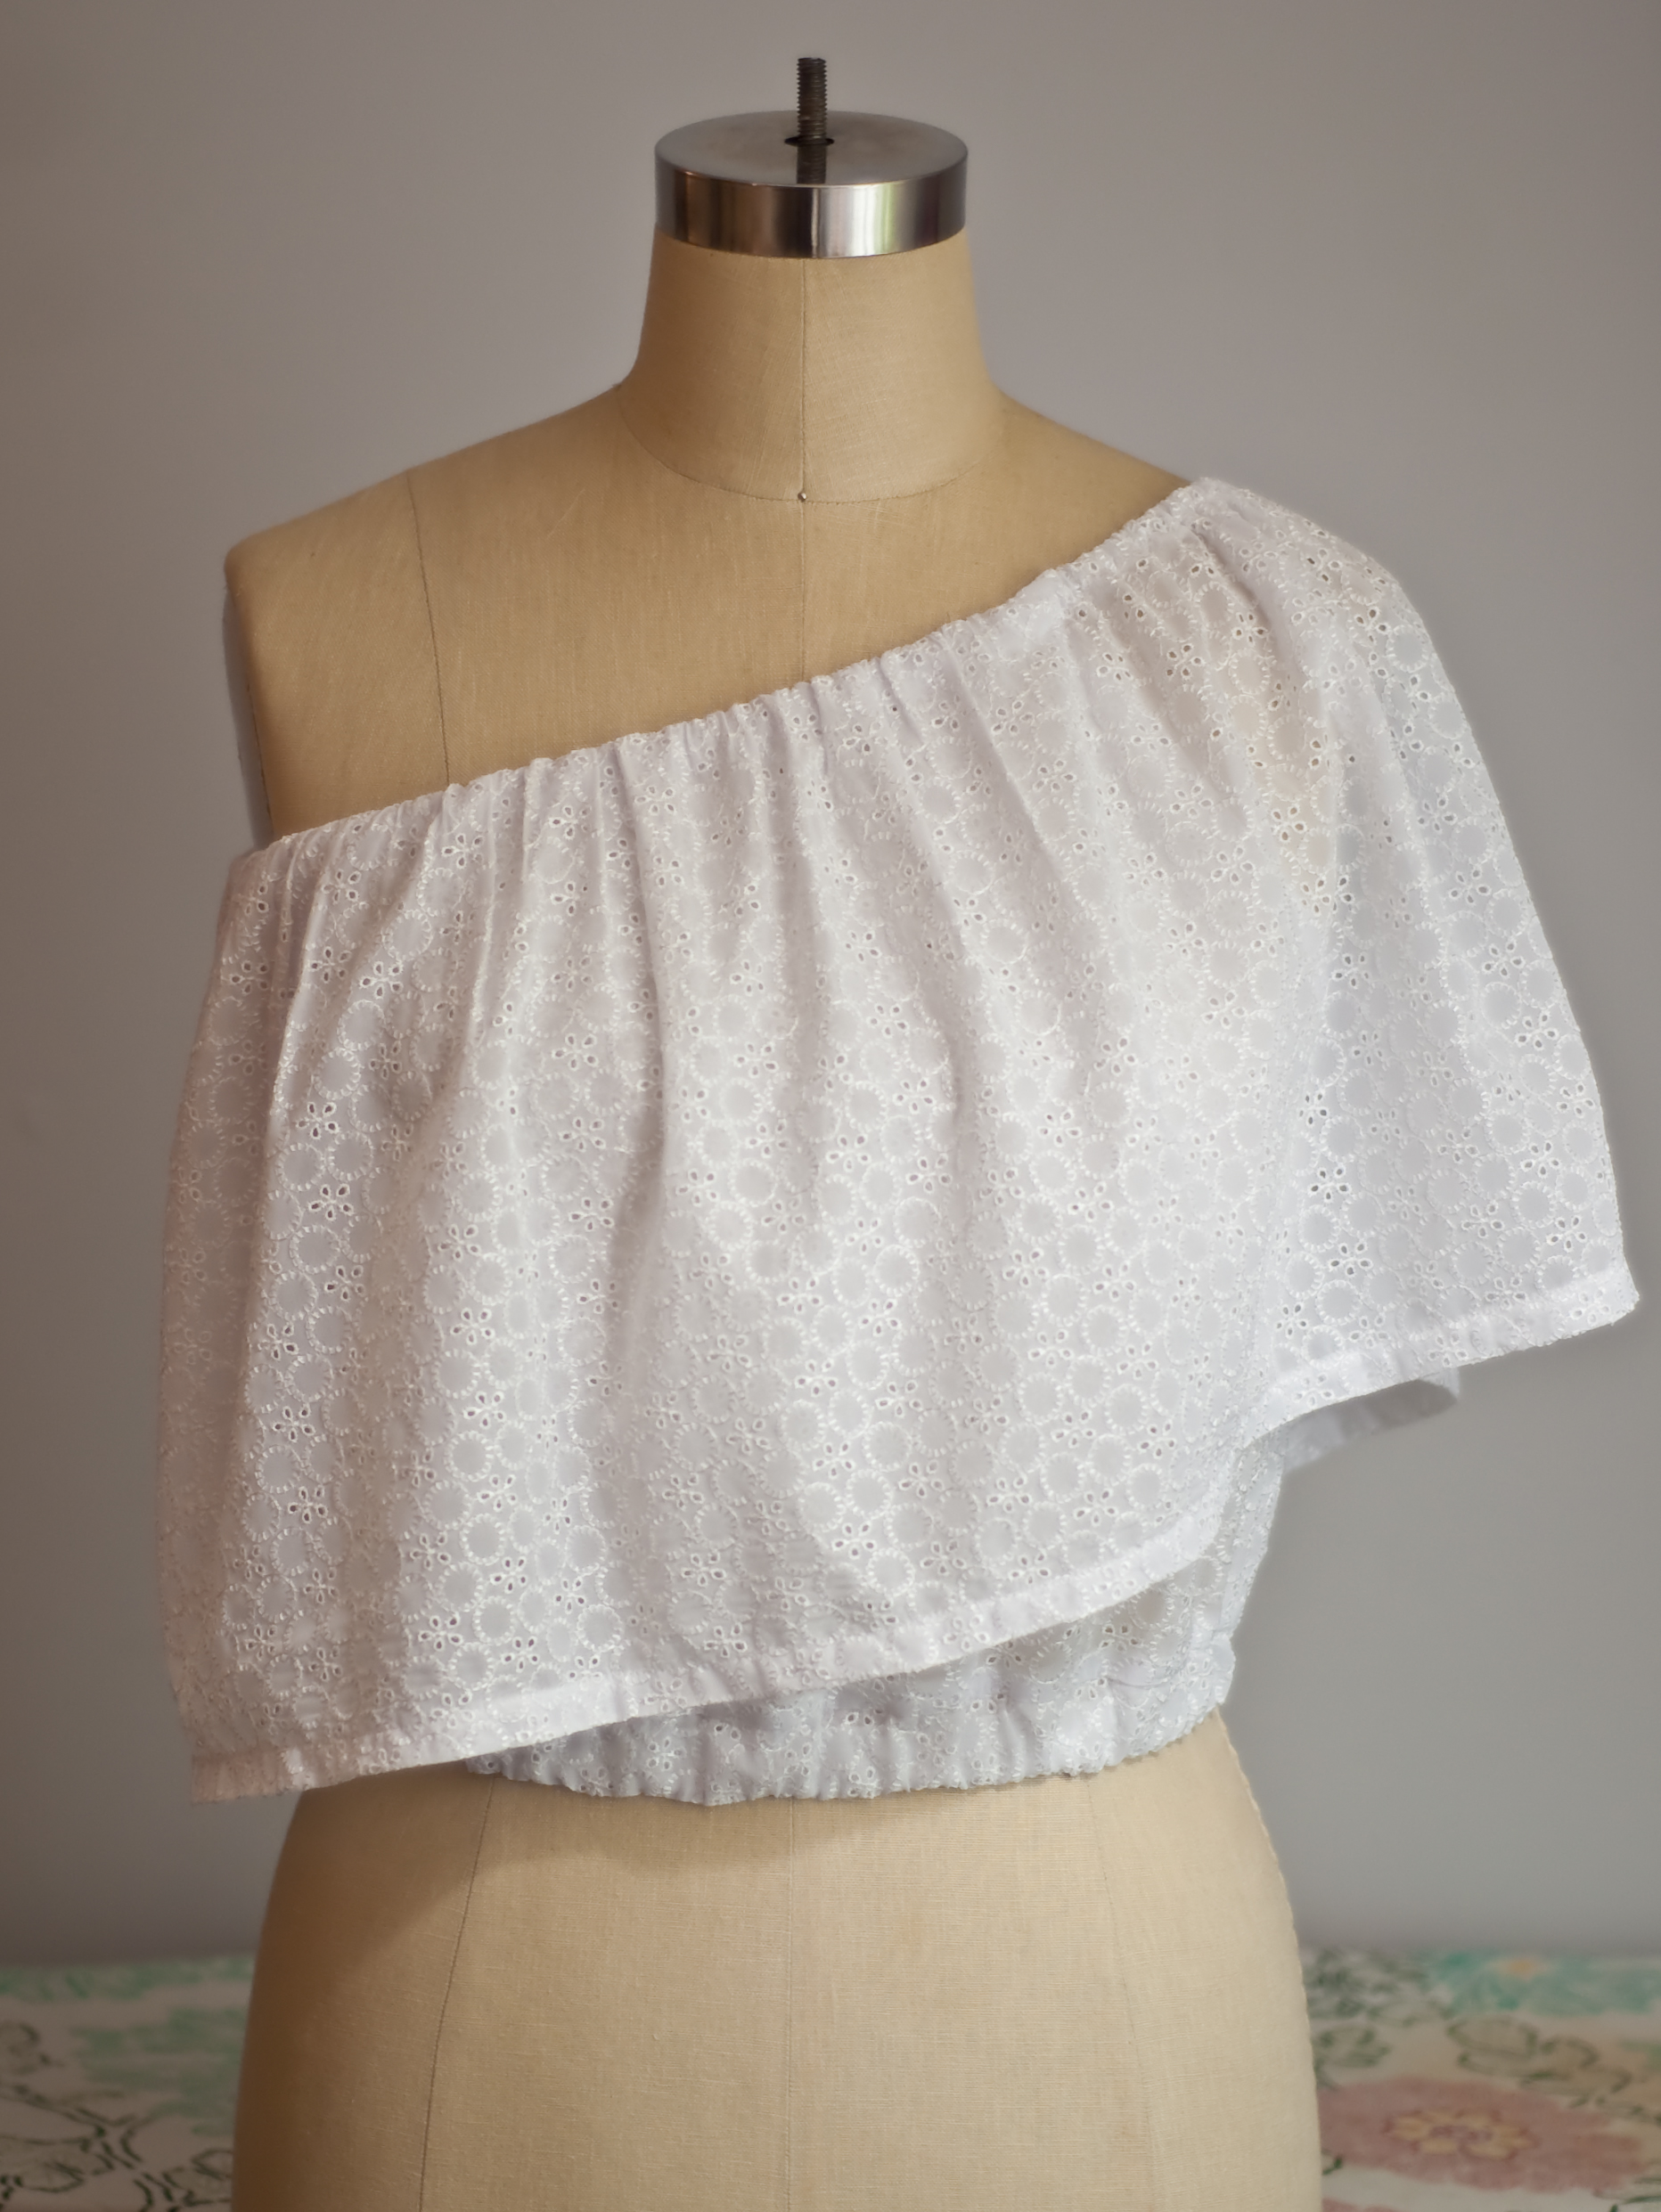
Let me show you how I created my great white summer top from a pattern hack.
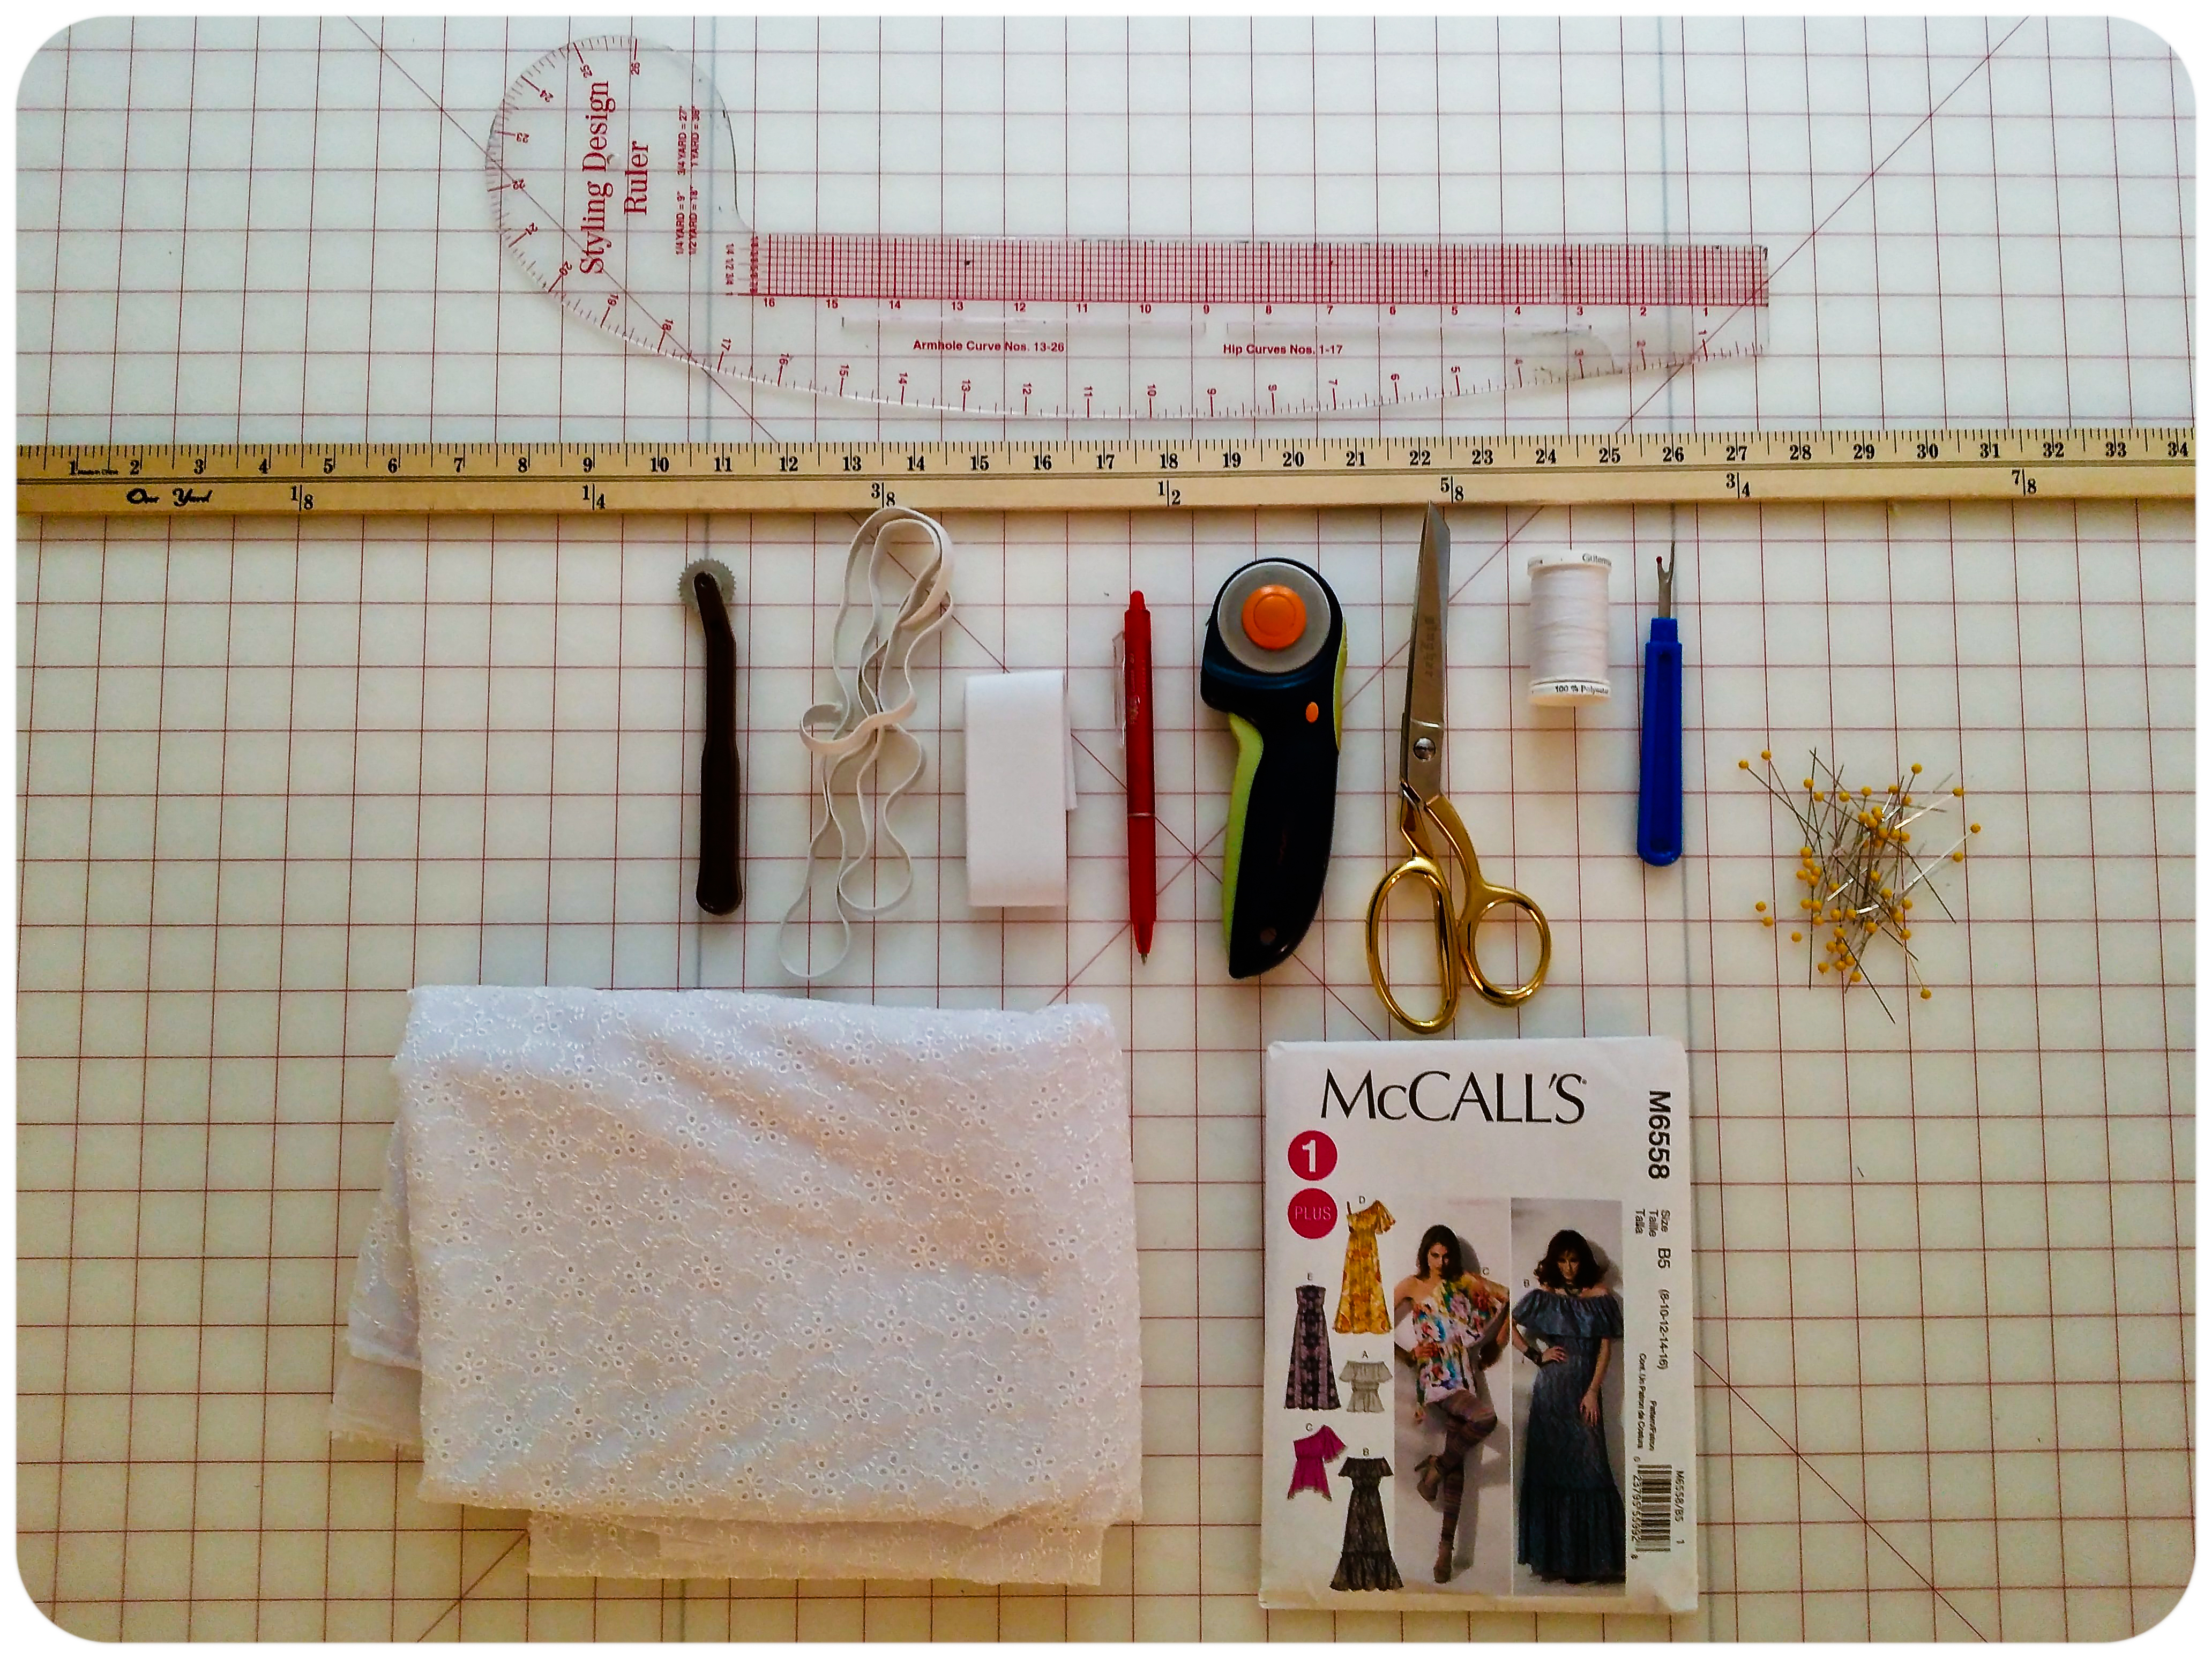
Materials to Make a Single-Shoulder Ruffle Top:
- McCall’s 6558 as a base pattern
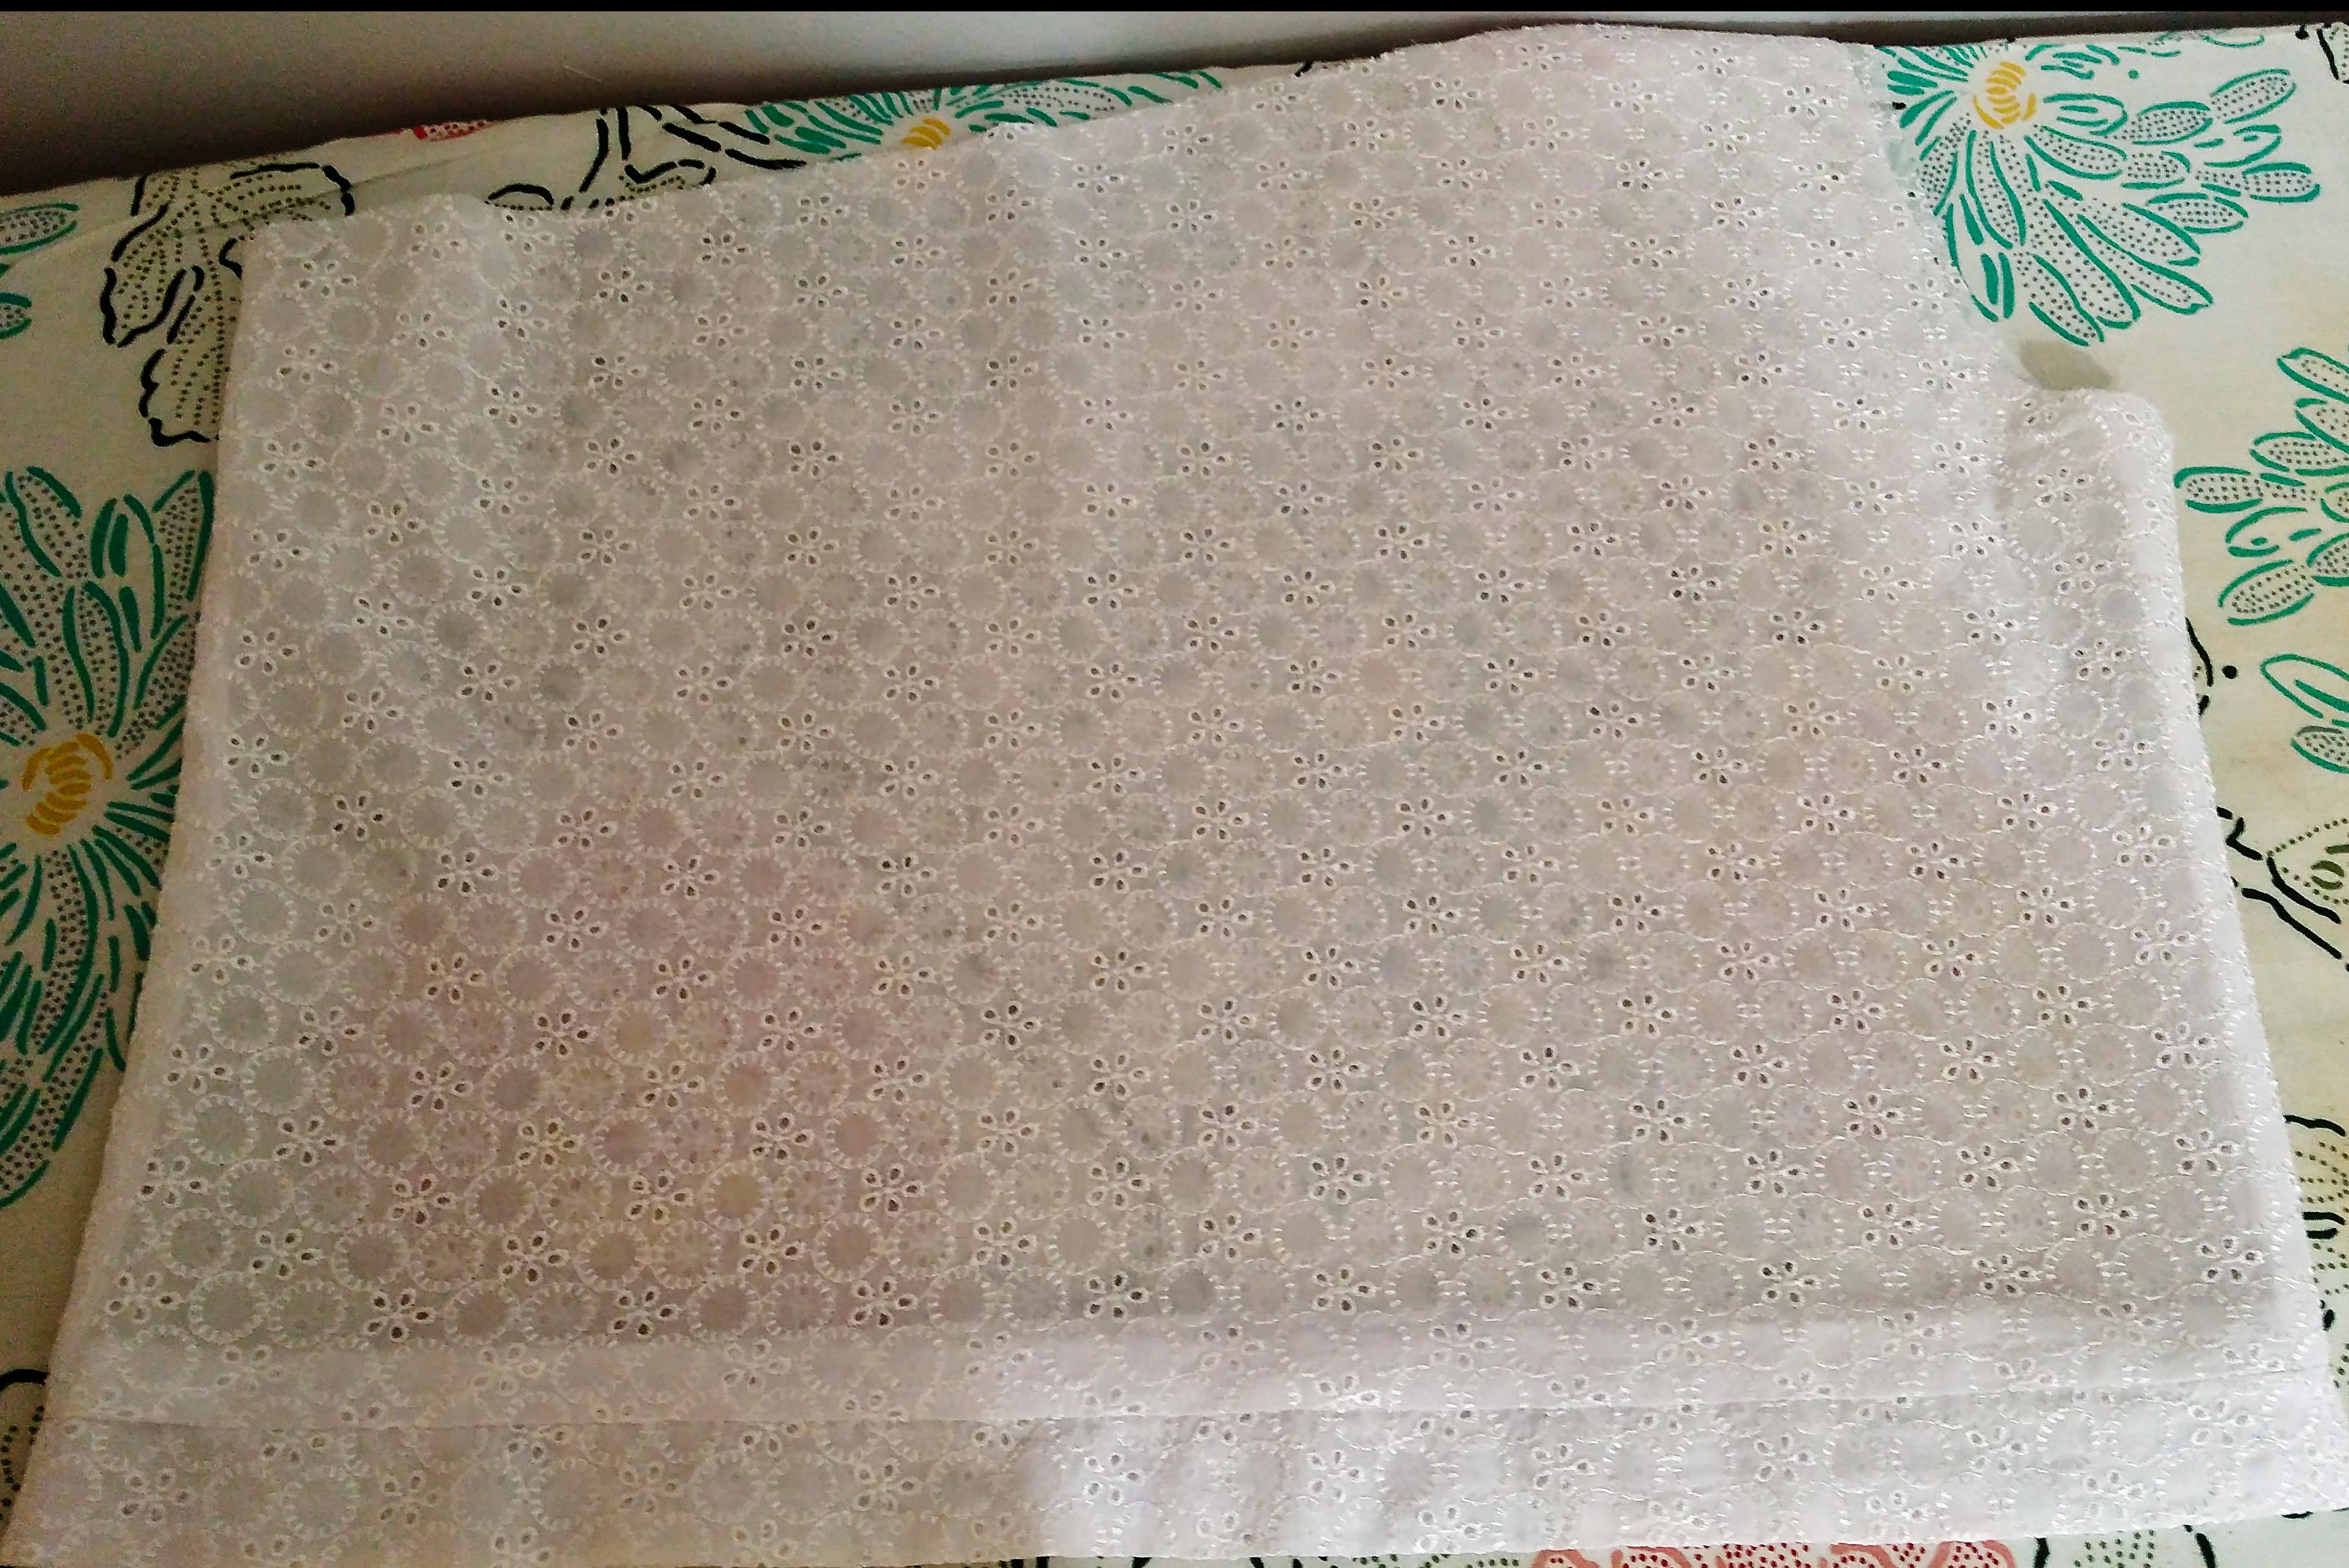
- 1.5 – 2 yards of lightweight fabric. I used an eyelet. But this will also work in a knit.
- Matching thread
- 3/8 inch elastic
- 3/4 inch elastic
- Pins
- Rulers
- Cutting tools
- Tracing wheel
- Tracing paper
- Marking tools
- Bodkin
- Seam ripper for mistakes (I make them!)
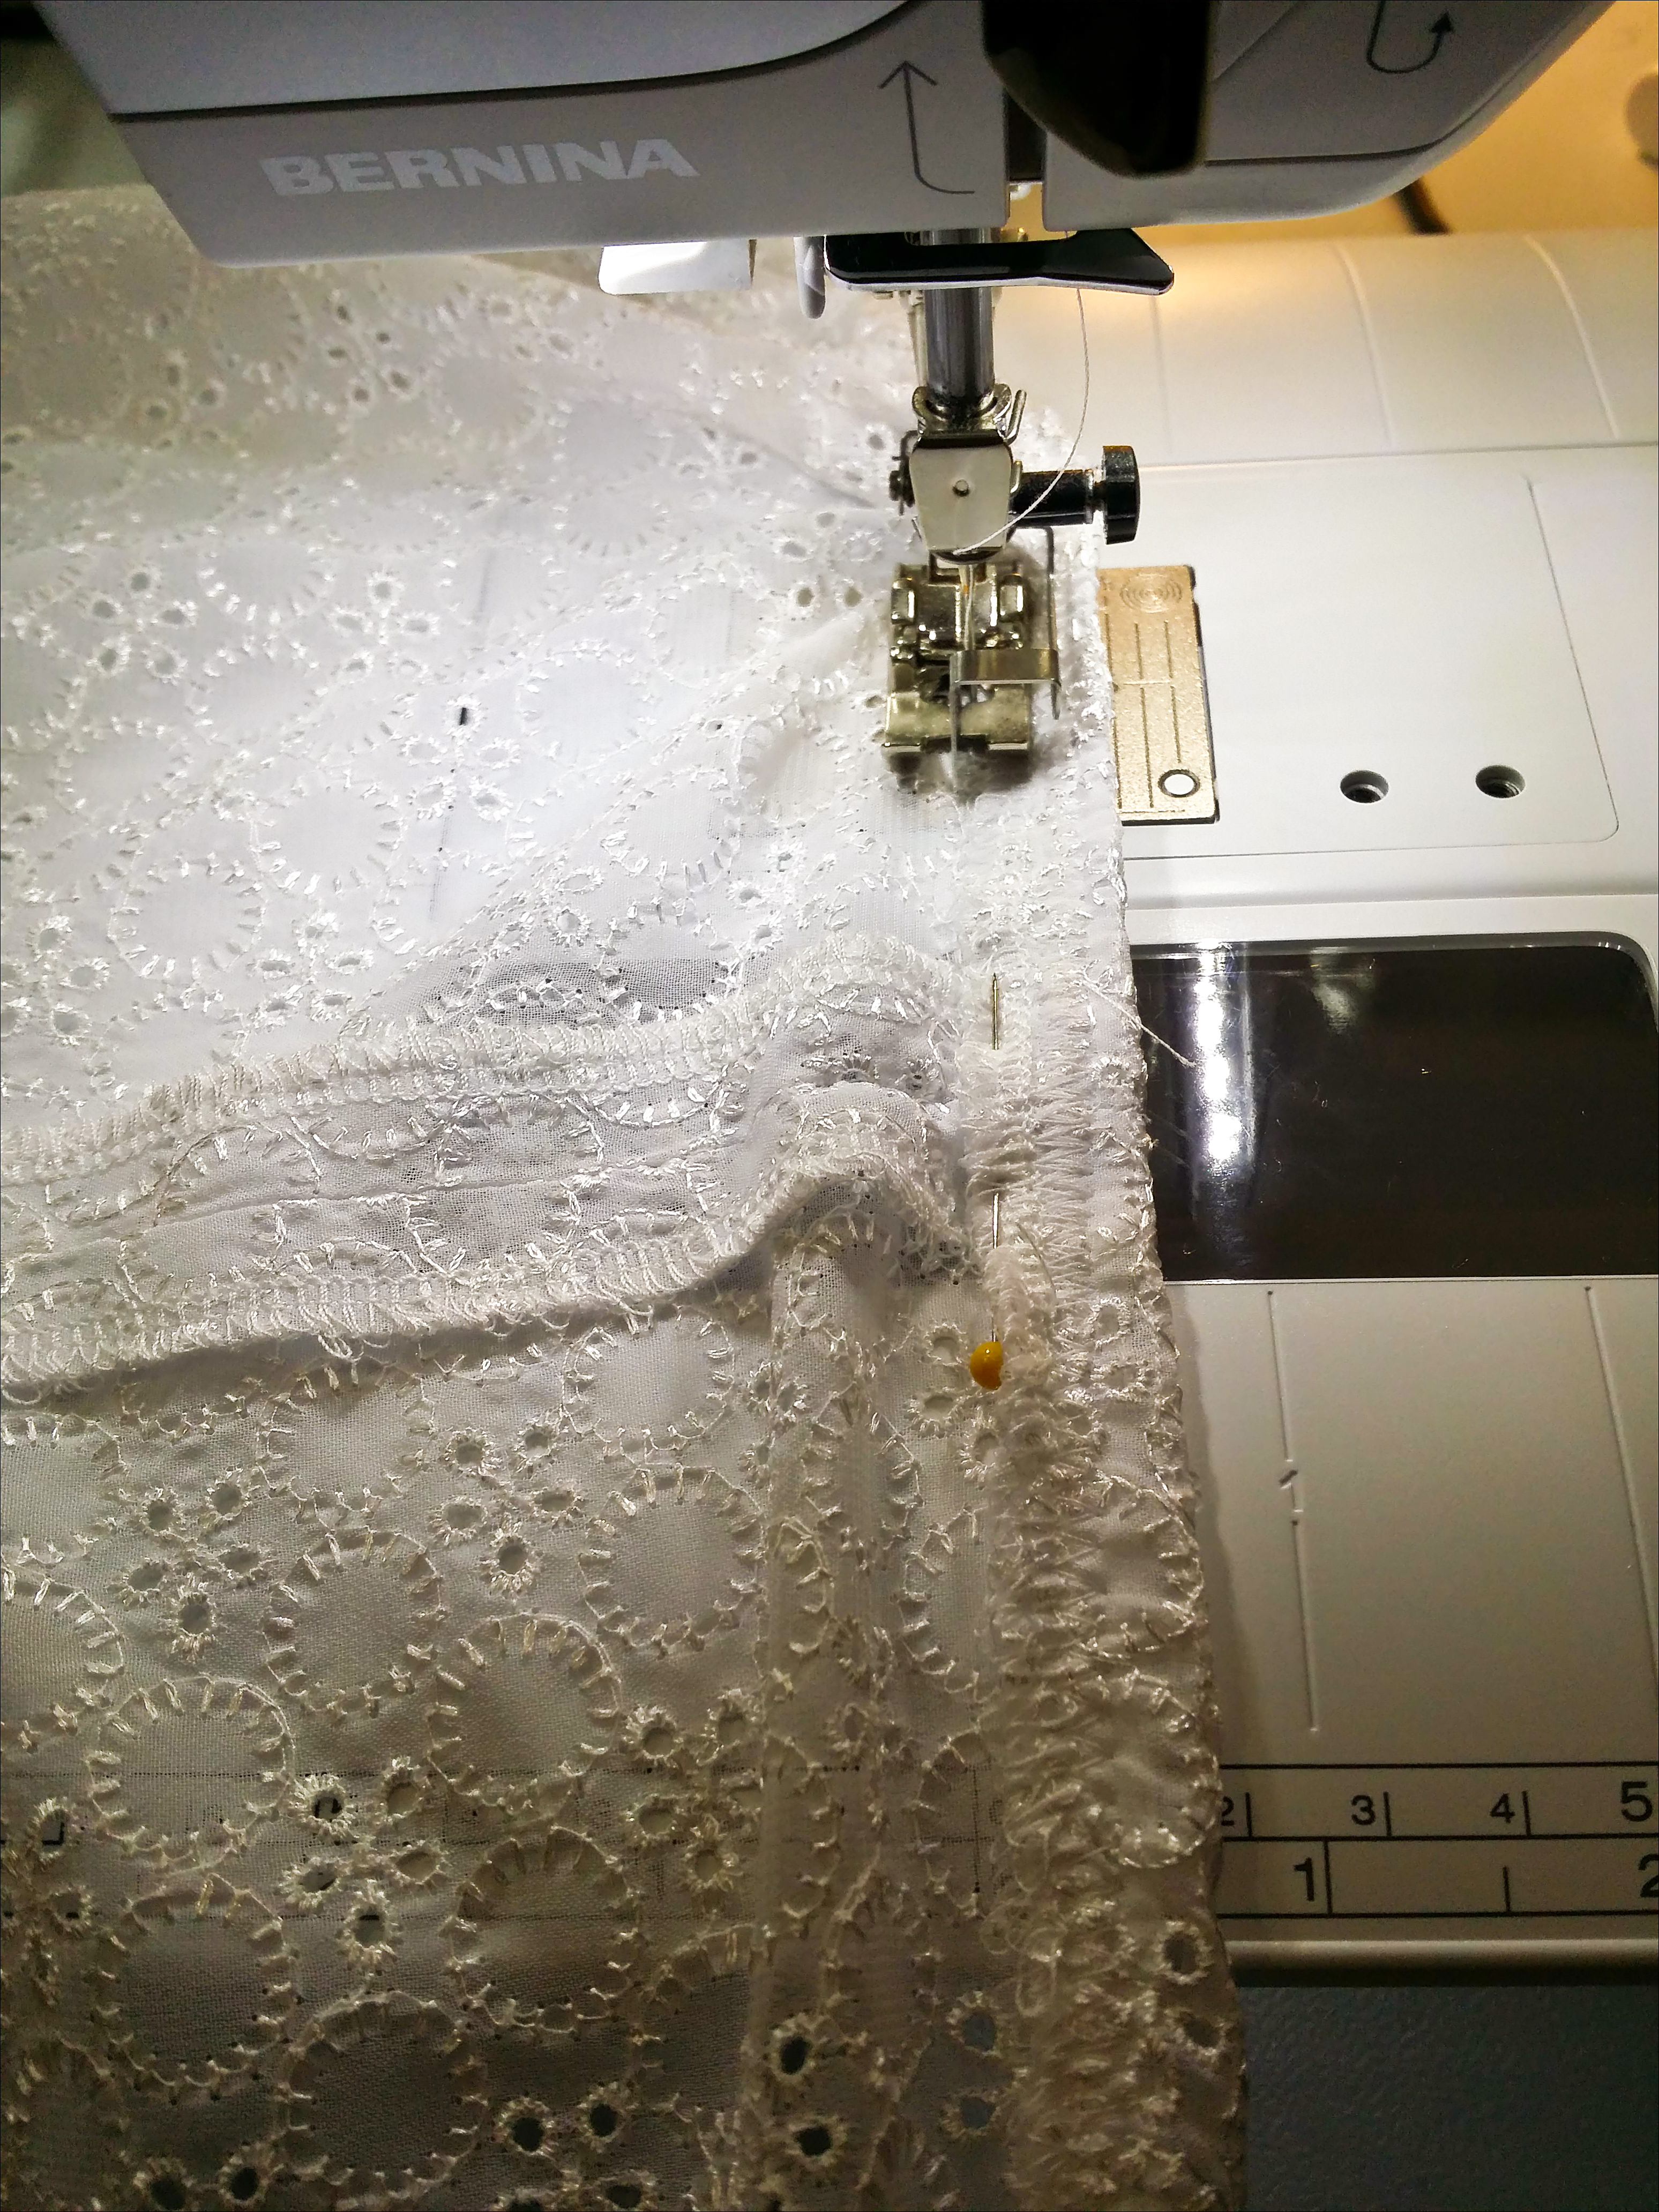
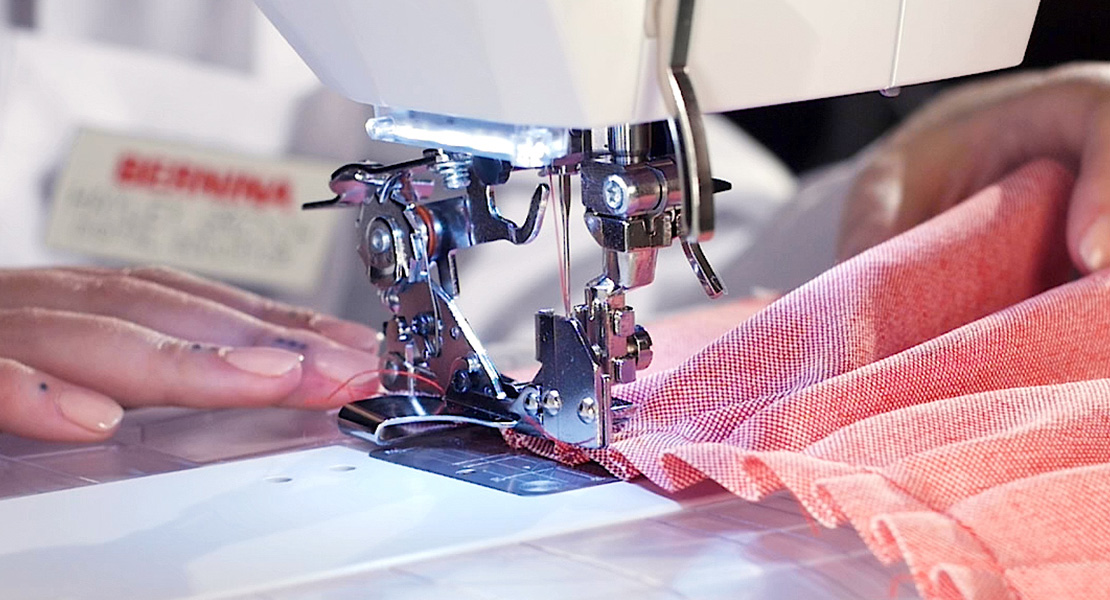
- Sewing machine. I’m using my BERNINA 350 PE.
Instructions:
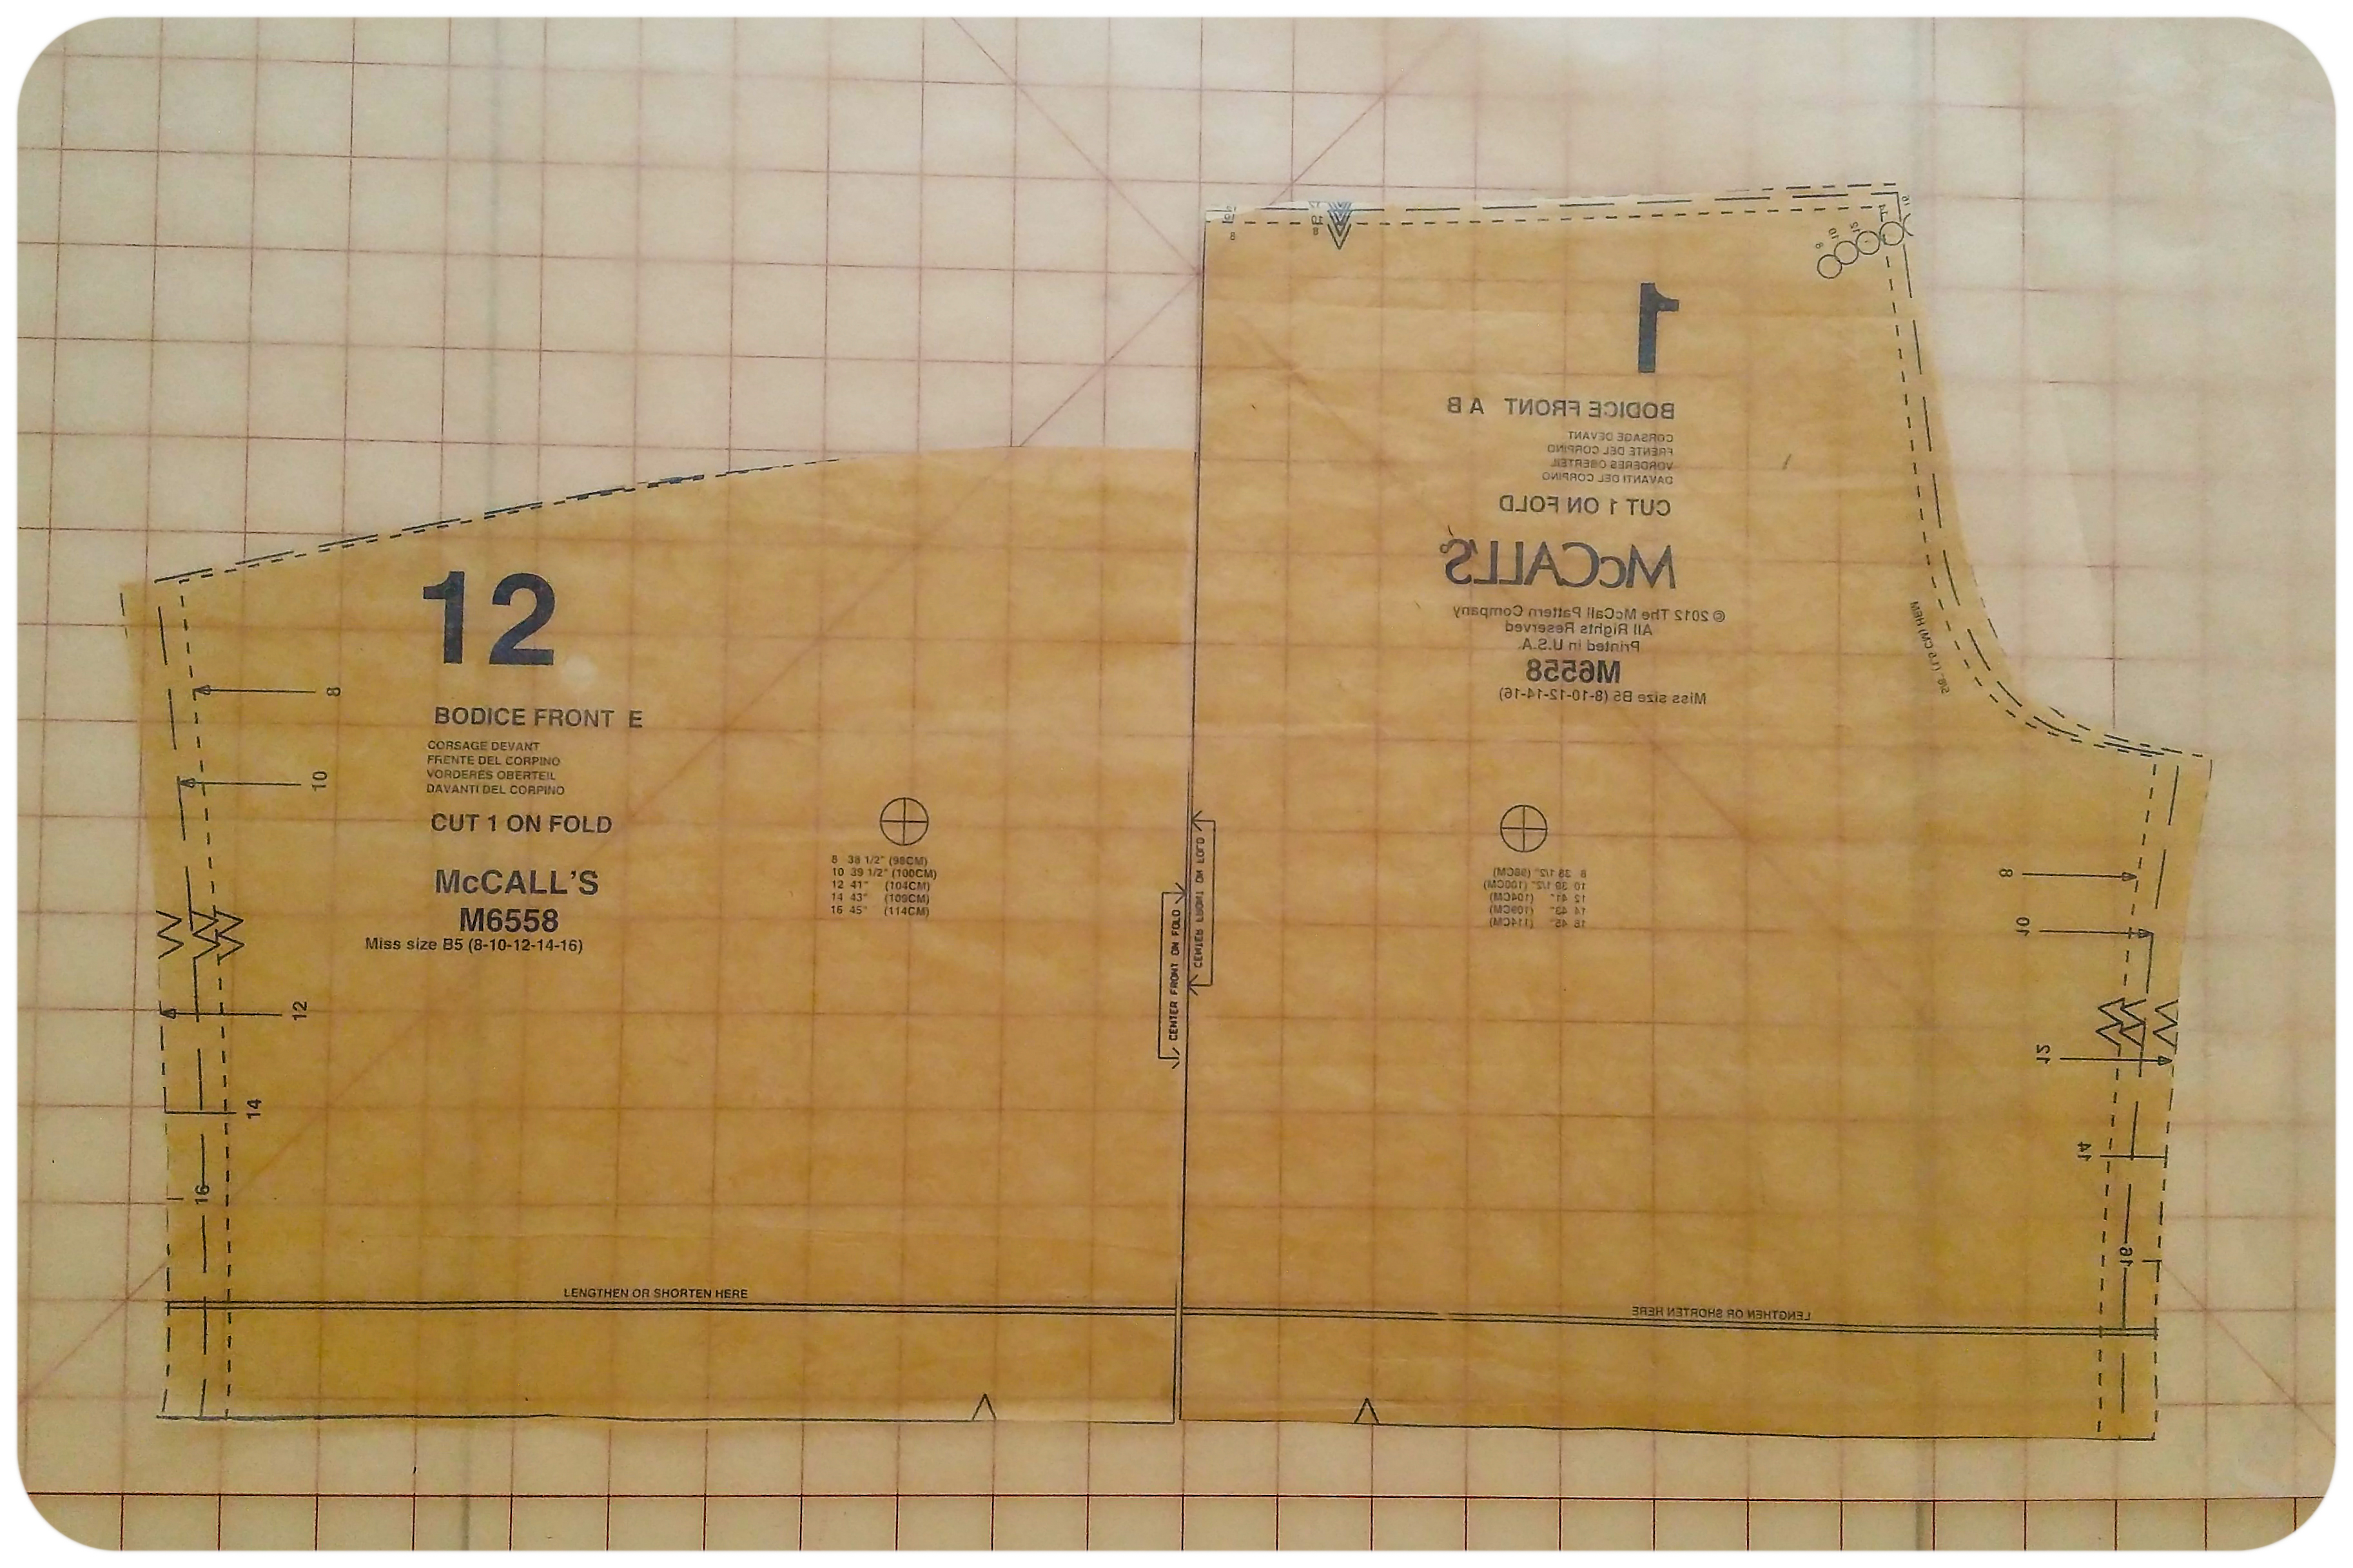
From McCall’s 6558, I used pattern pieces 1 and 12 in my size (I cut the size 12). On top of the tracing paper, I joined them at the center as shown above.
I used the tracing wheel to trace the pattern shapes onto the tracing paper.

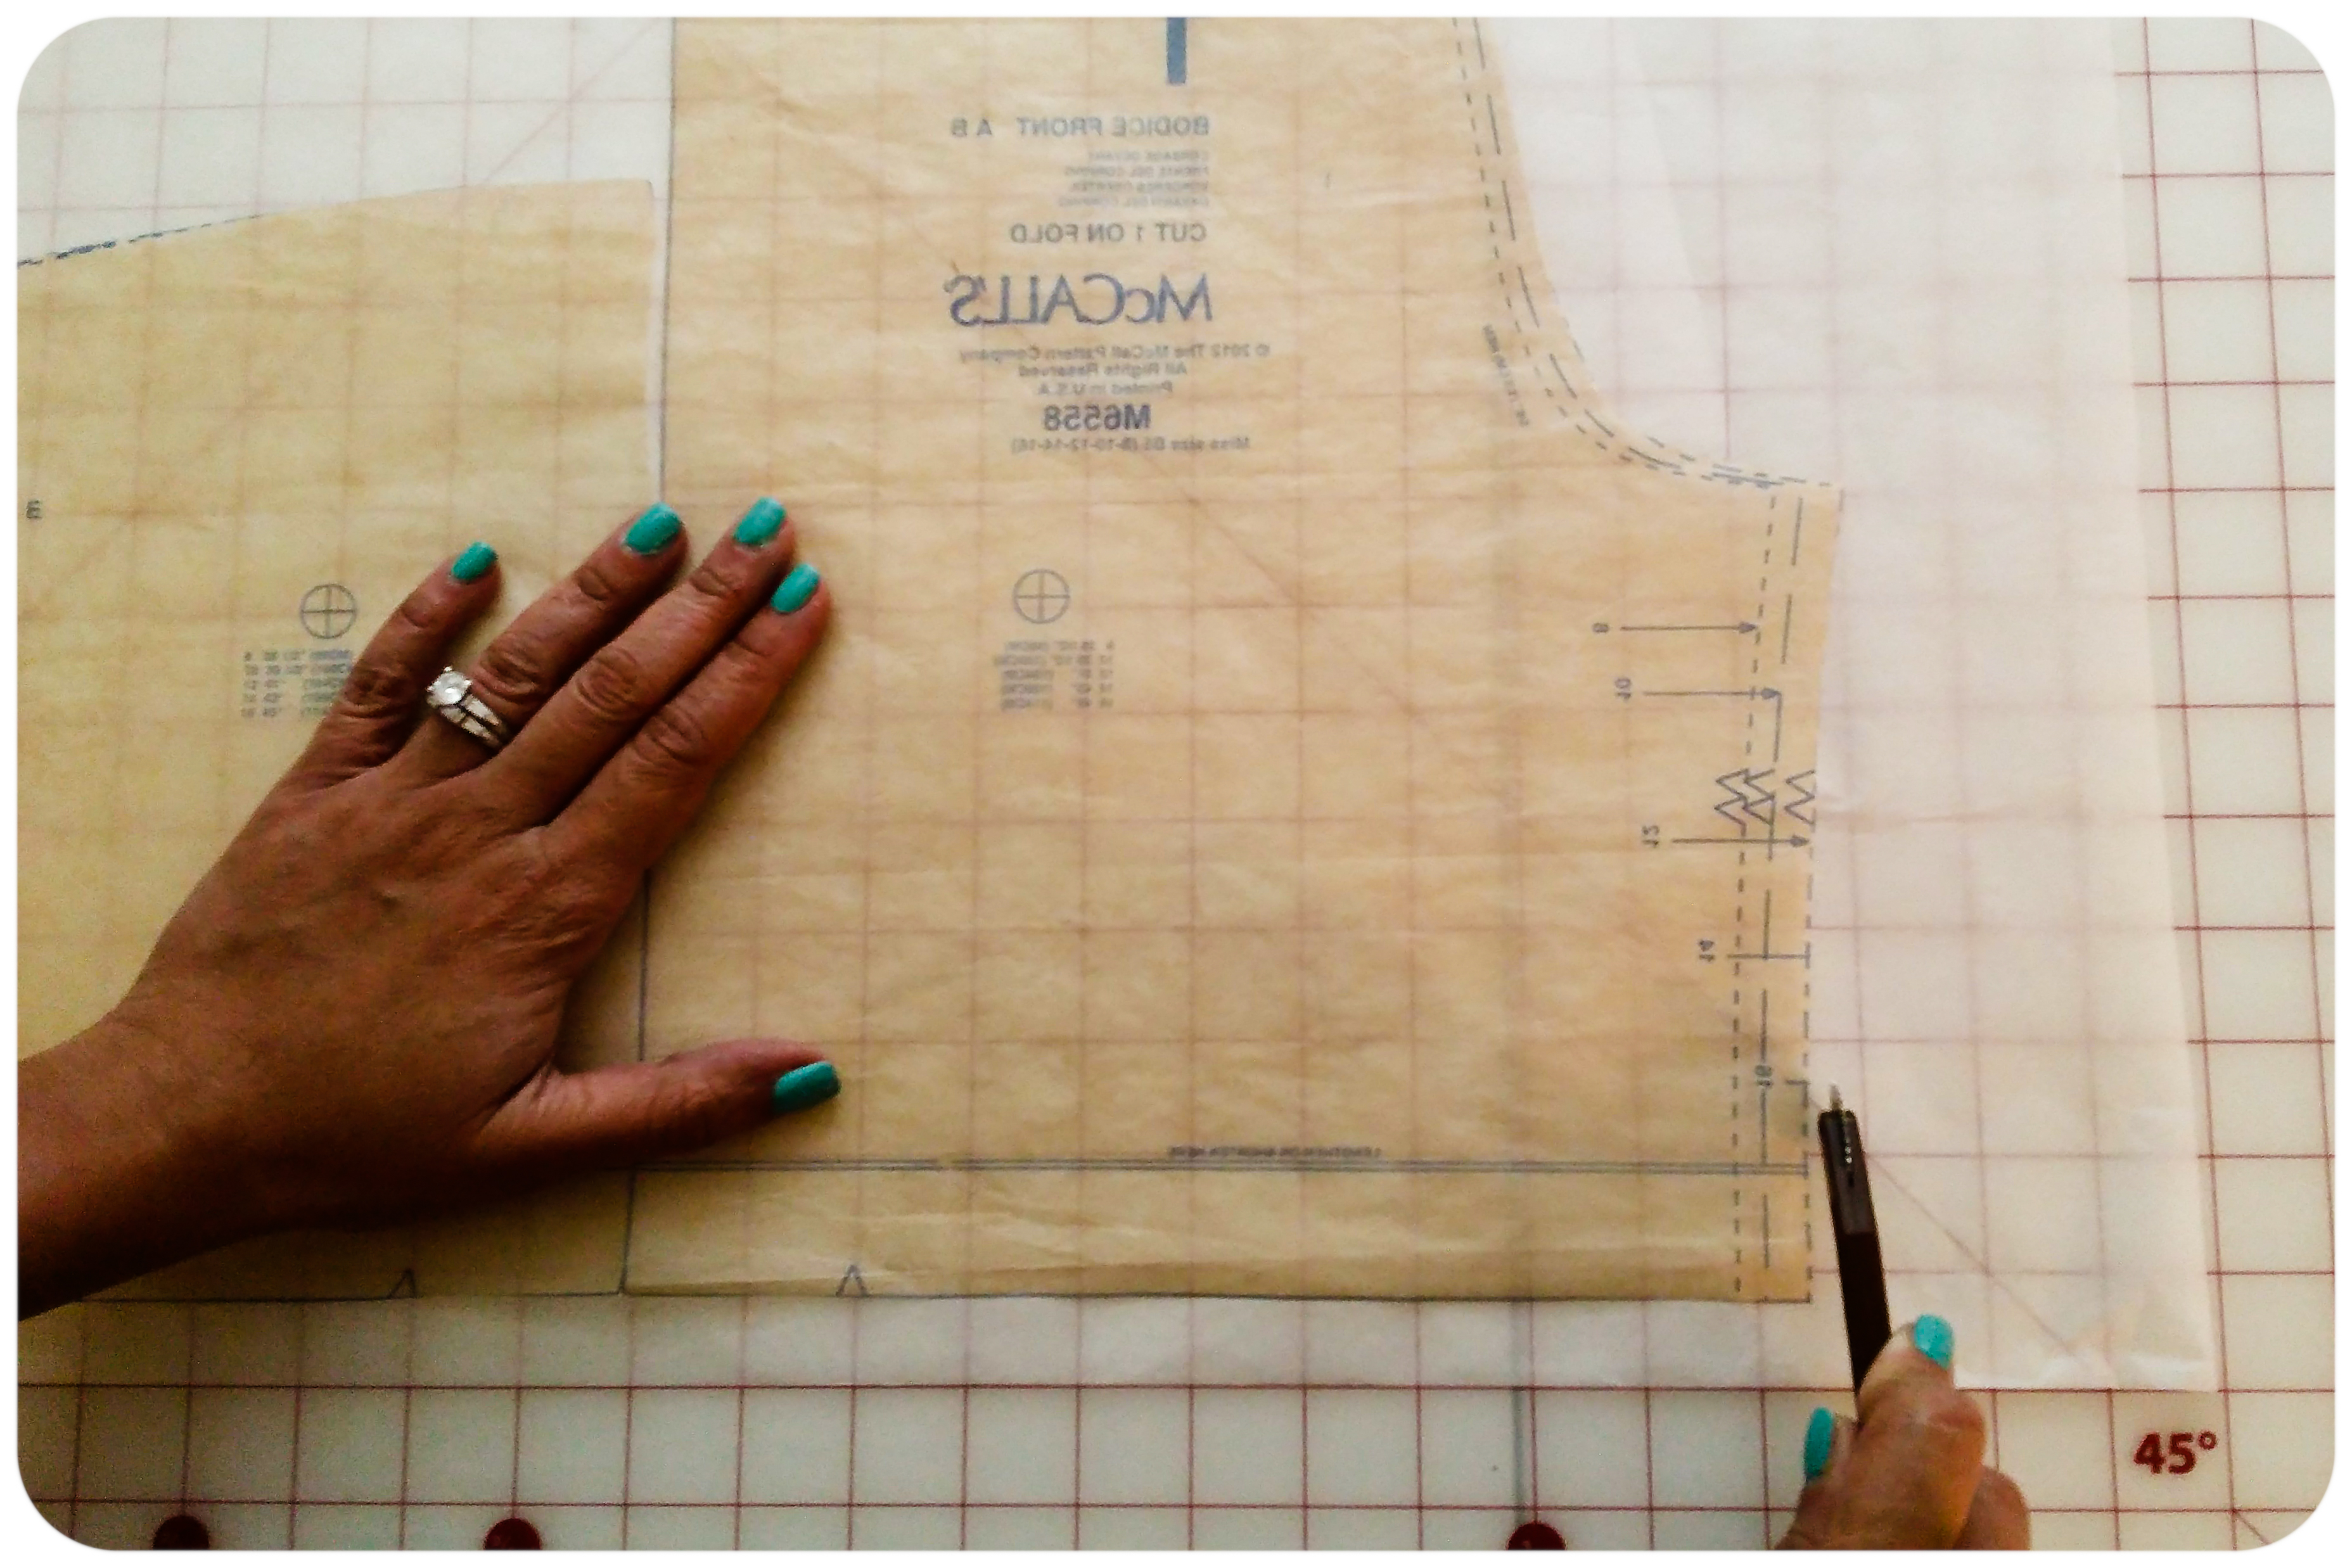
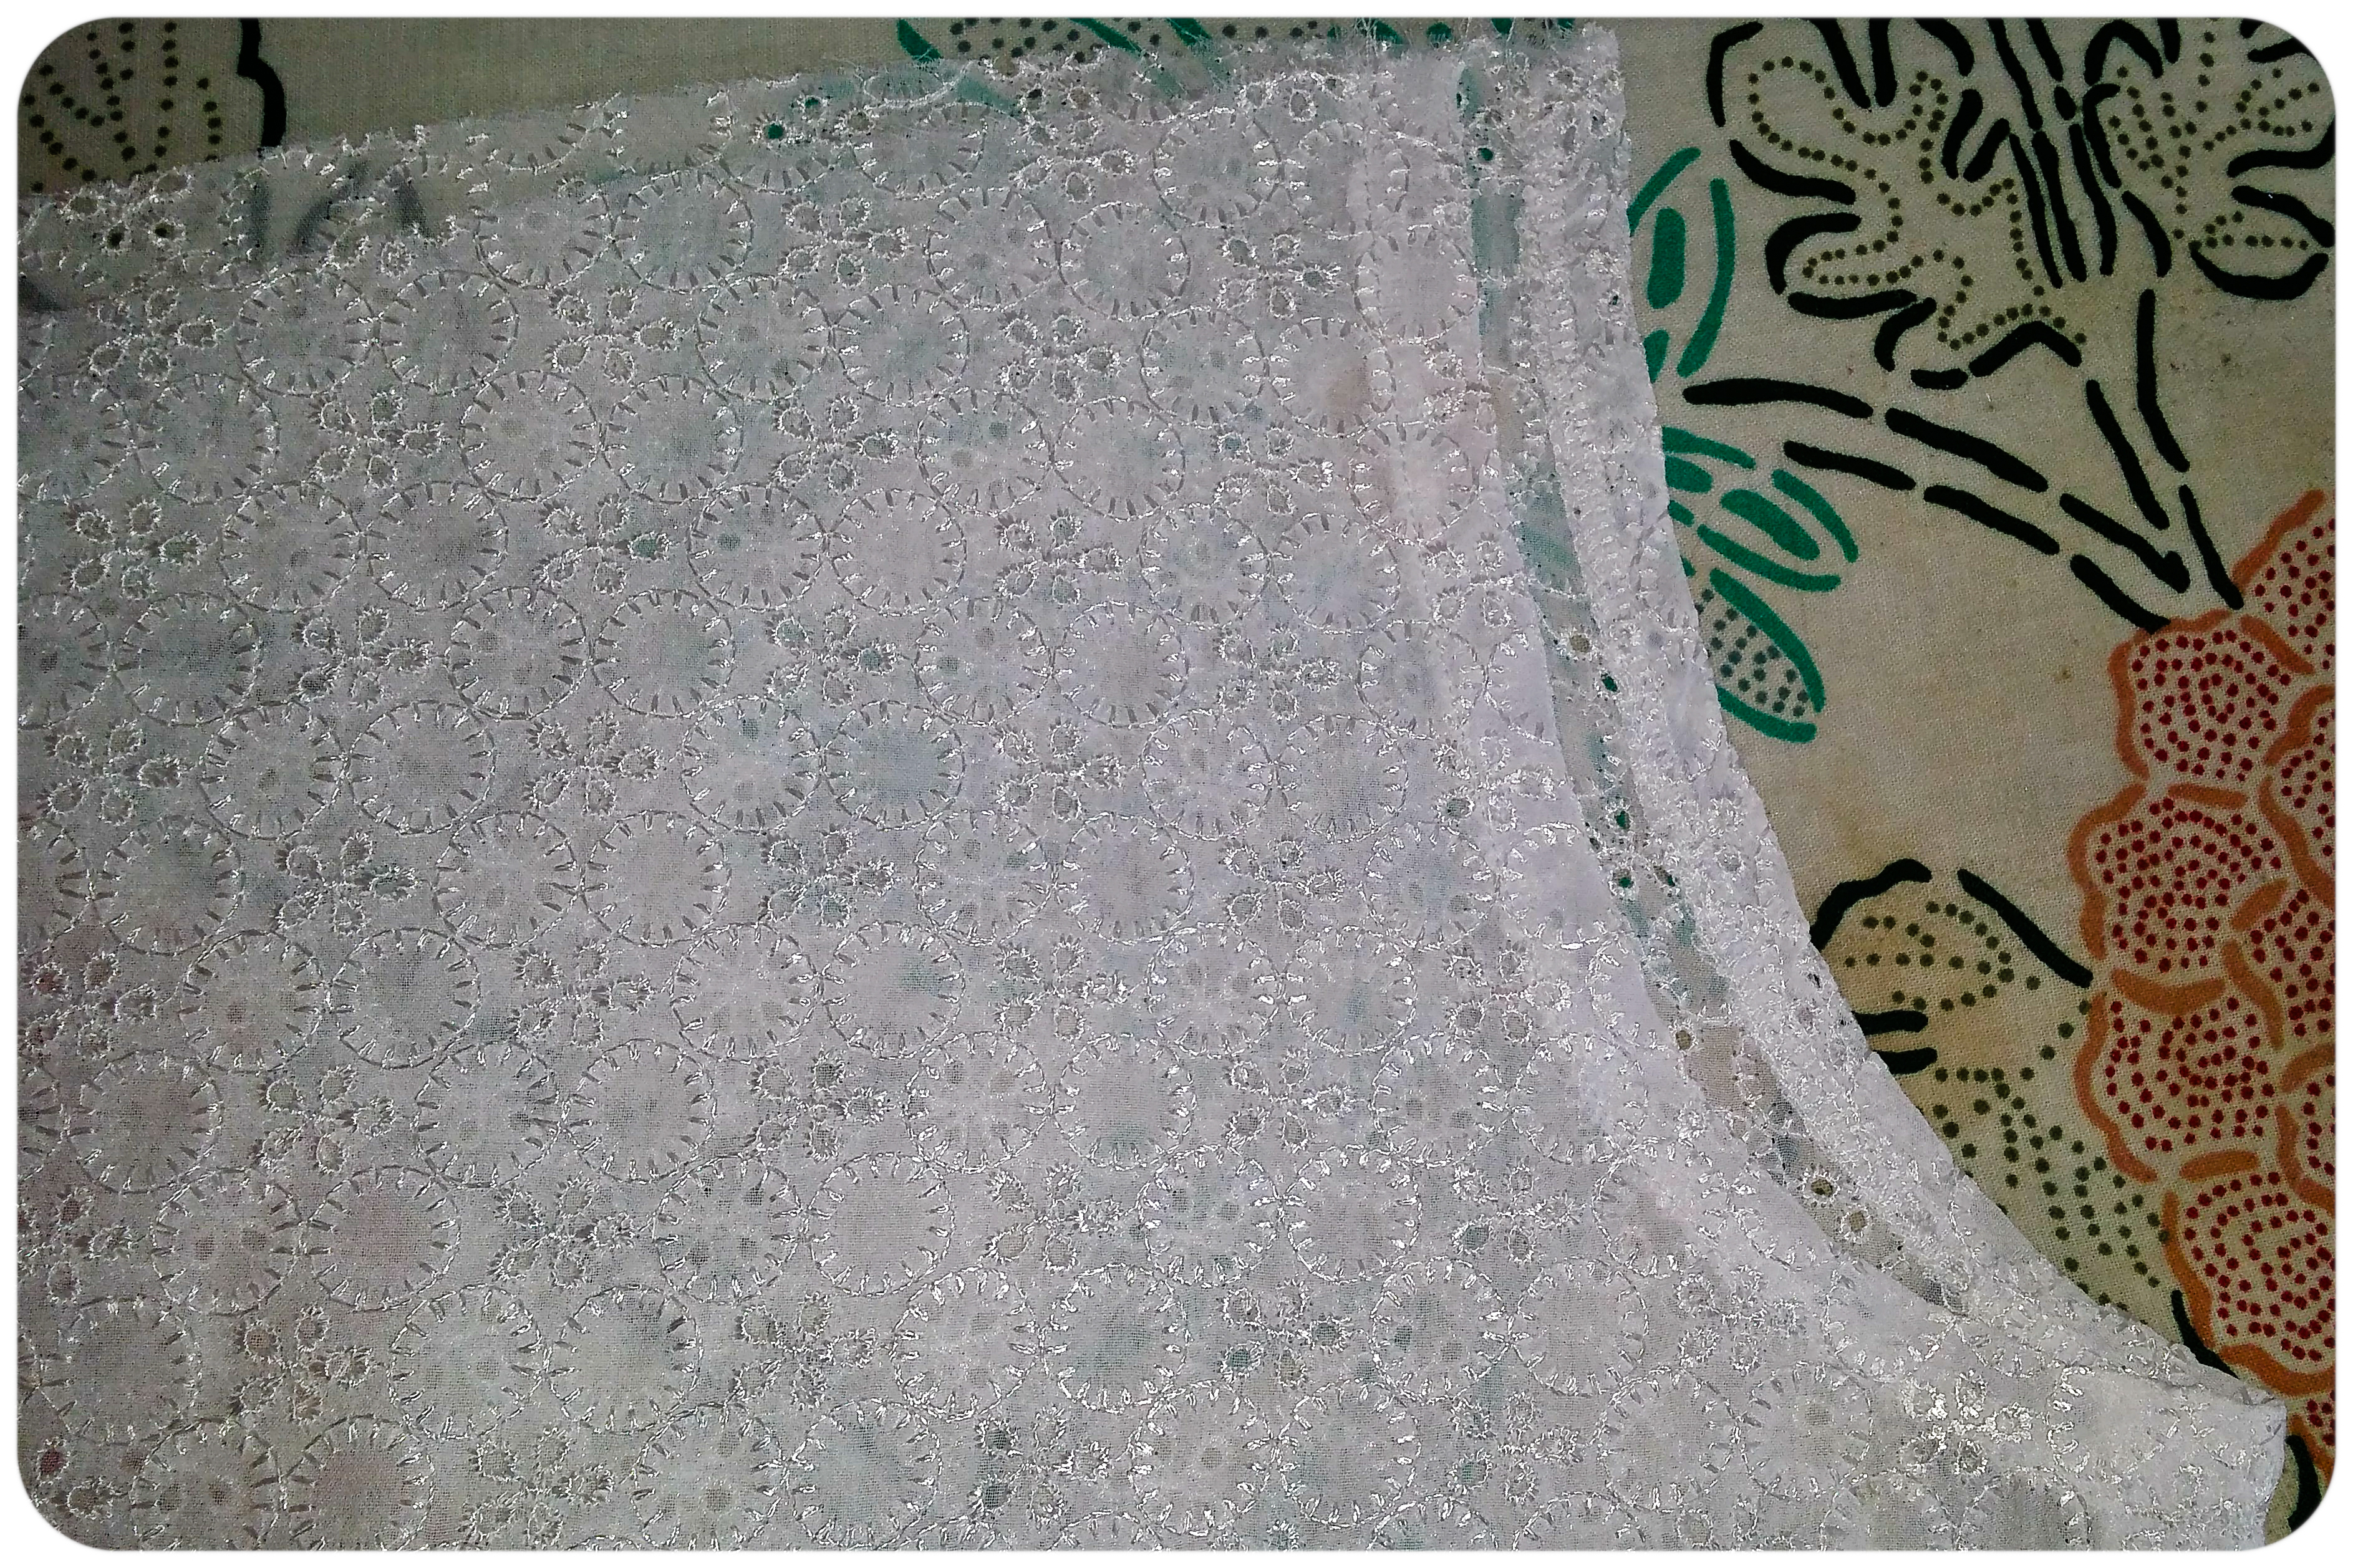
Using your marking tool, go ahead and draw over your perforated outline. Using your ruler, draw a straight line to connect the top left side to the top right side creating the asymmetrical neckline. And cut it out. You’ve now created your front and back bodice pattern piece. Go ahead and cut out 2 in your fabric. Make sure your fabric is folded on the grain with right sides together.

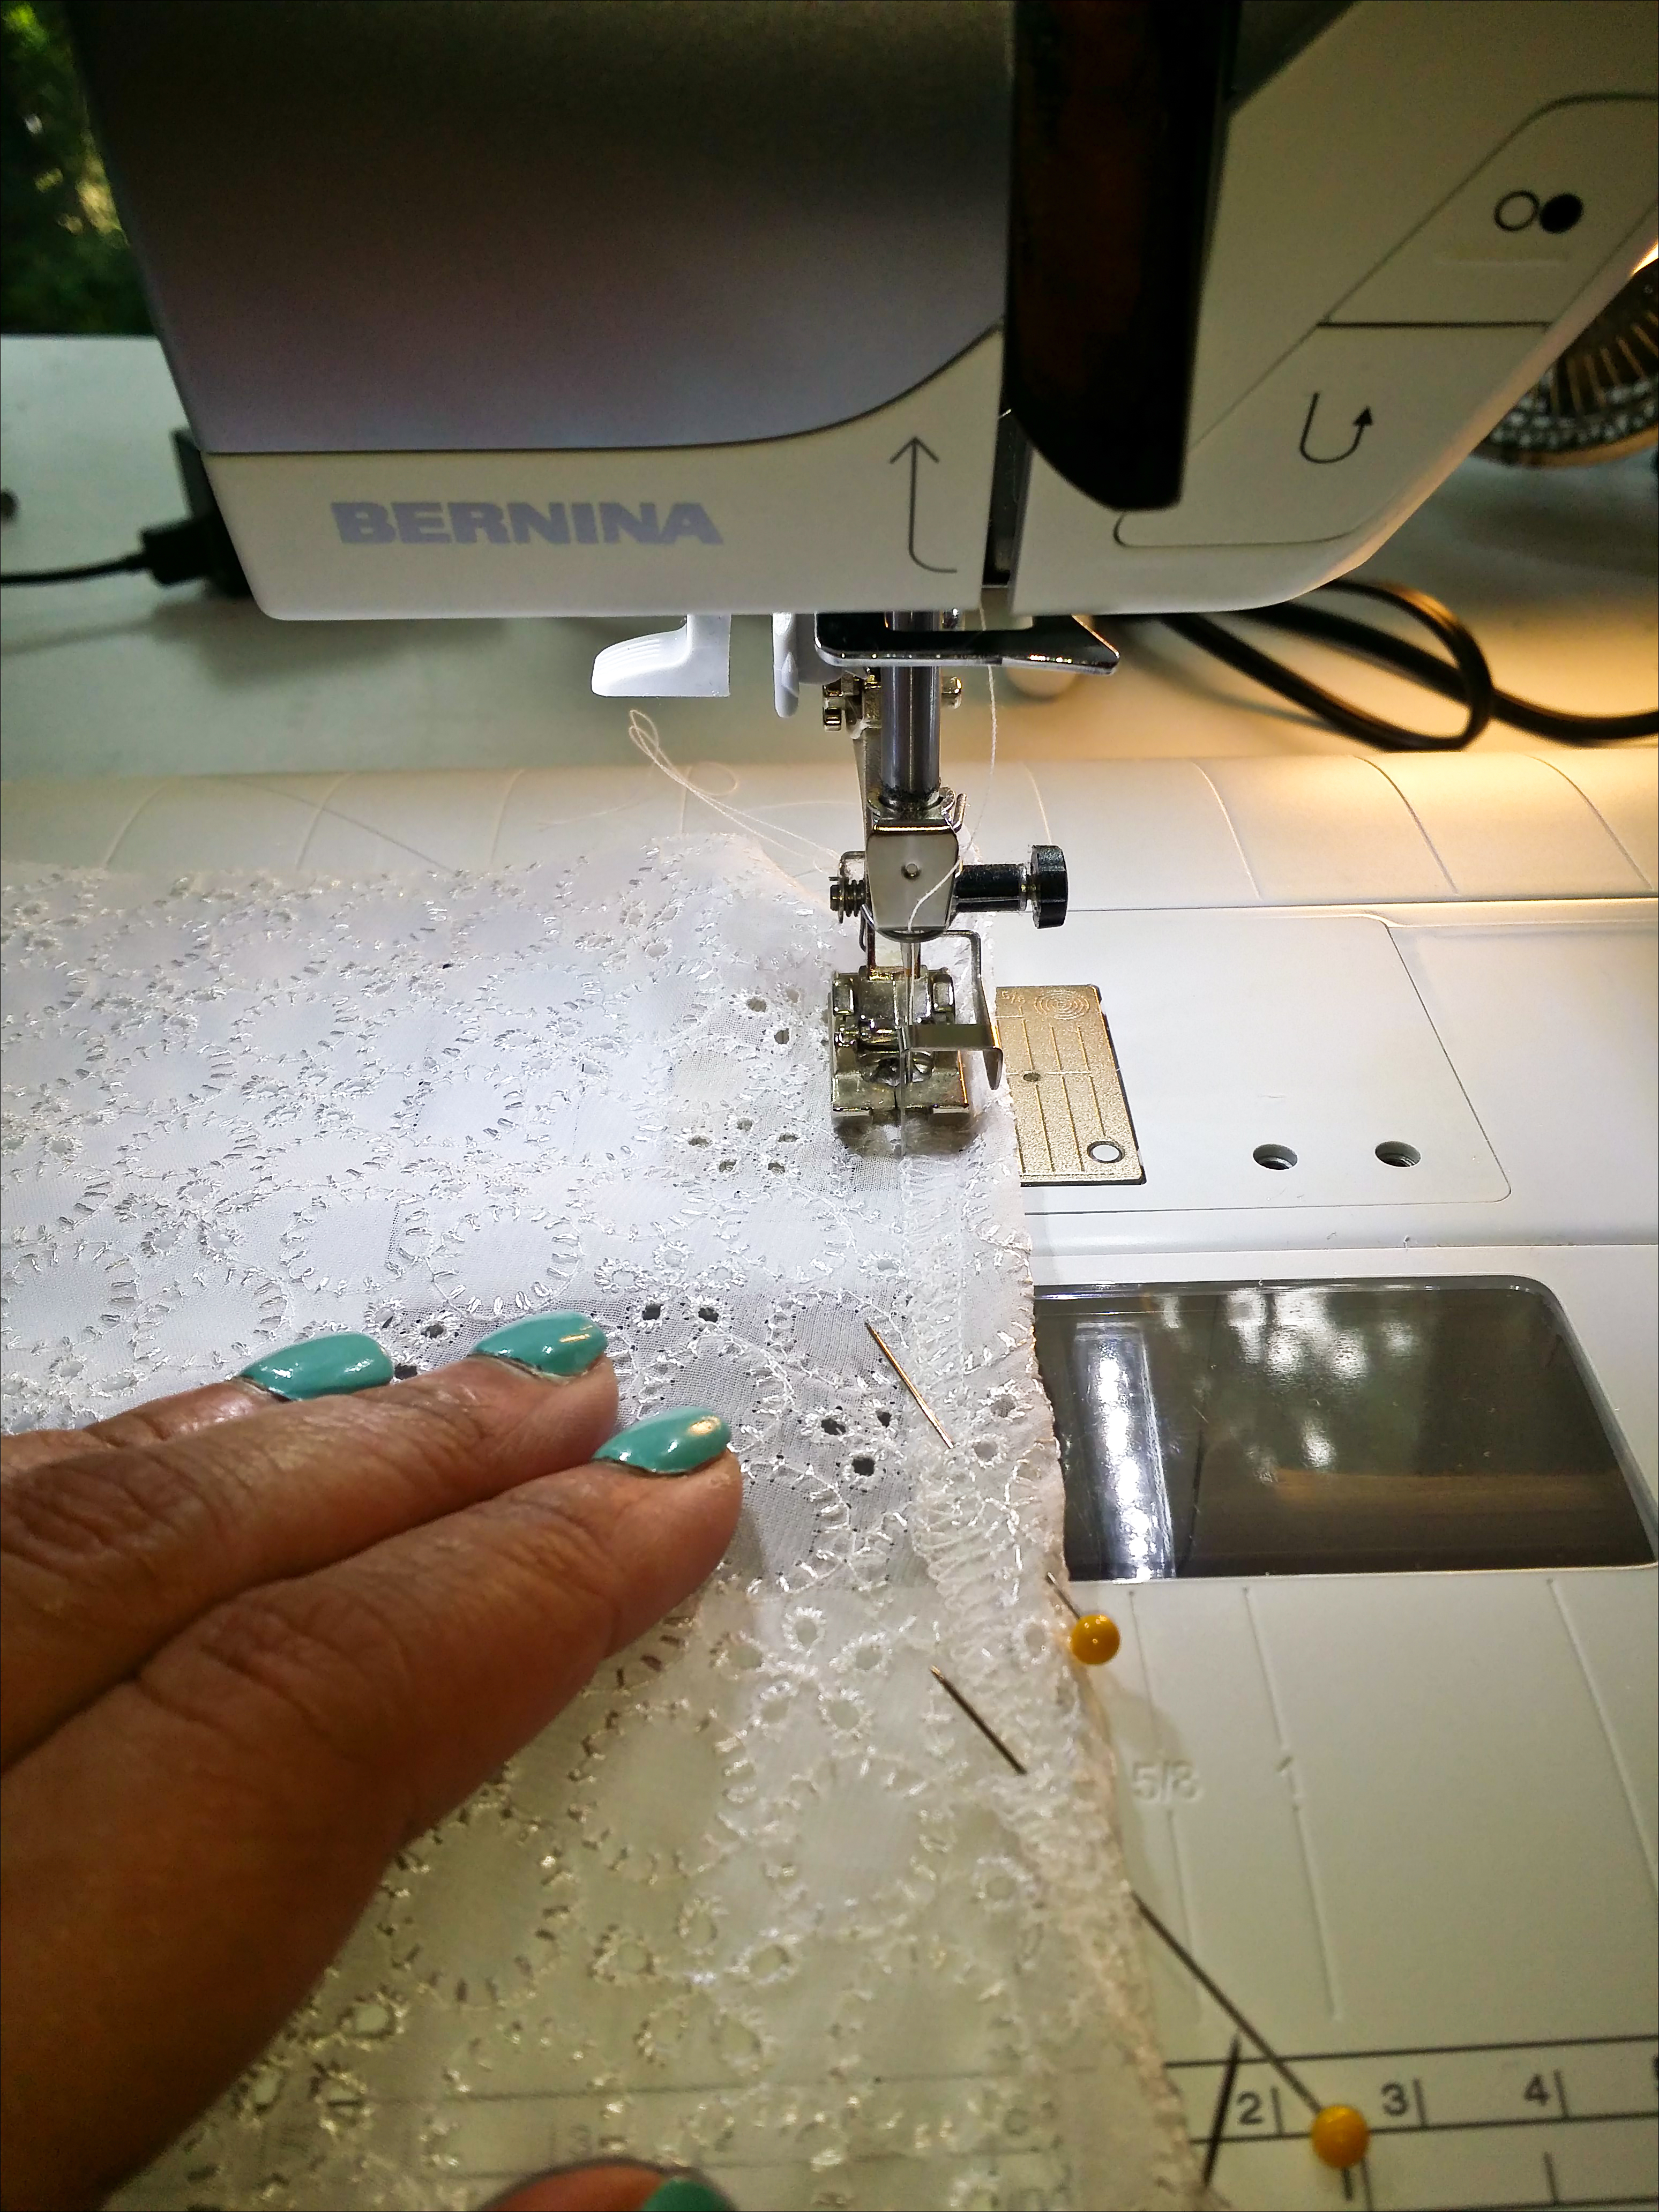
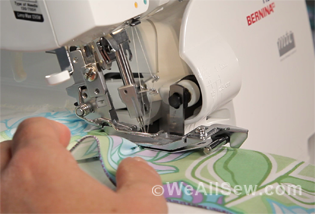
With right sides together, stitch the side under the armhole first. All seams are 5/8 inch unless stated. I finished my seams with my serger. If you don’t have a serger, you can use the Double Overlock stitch.
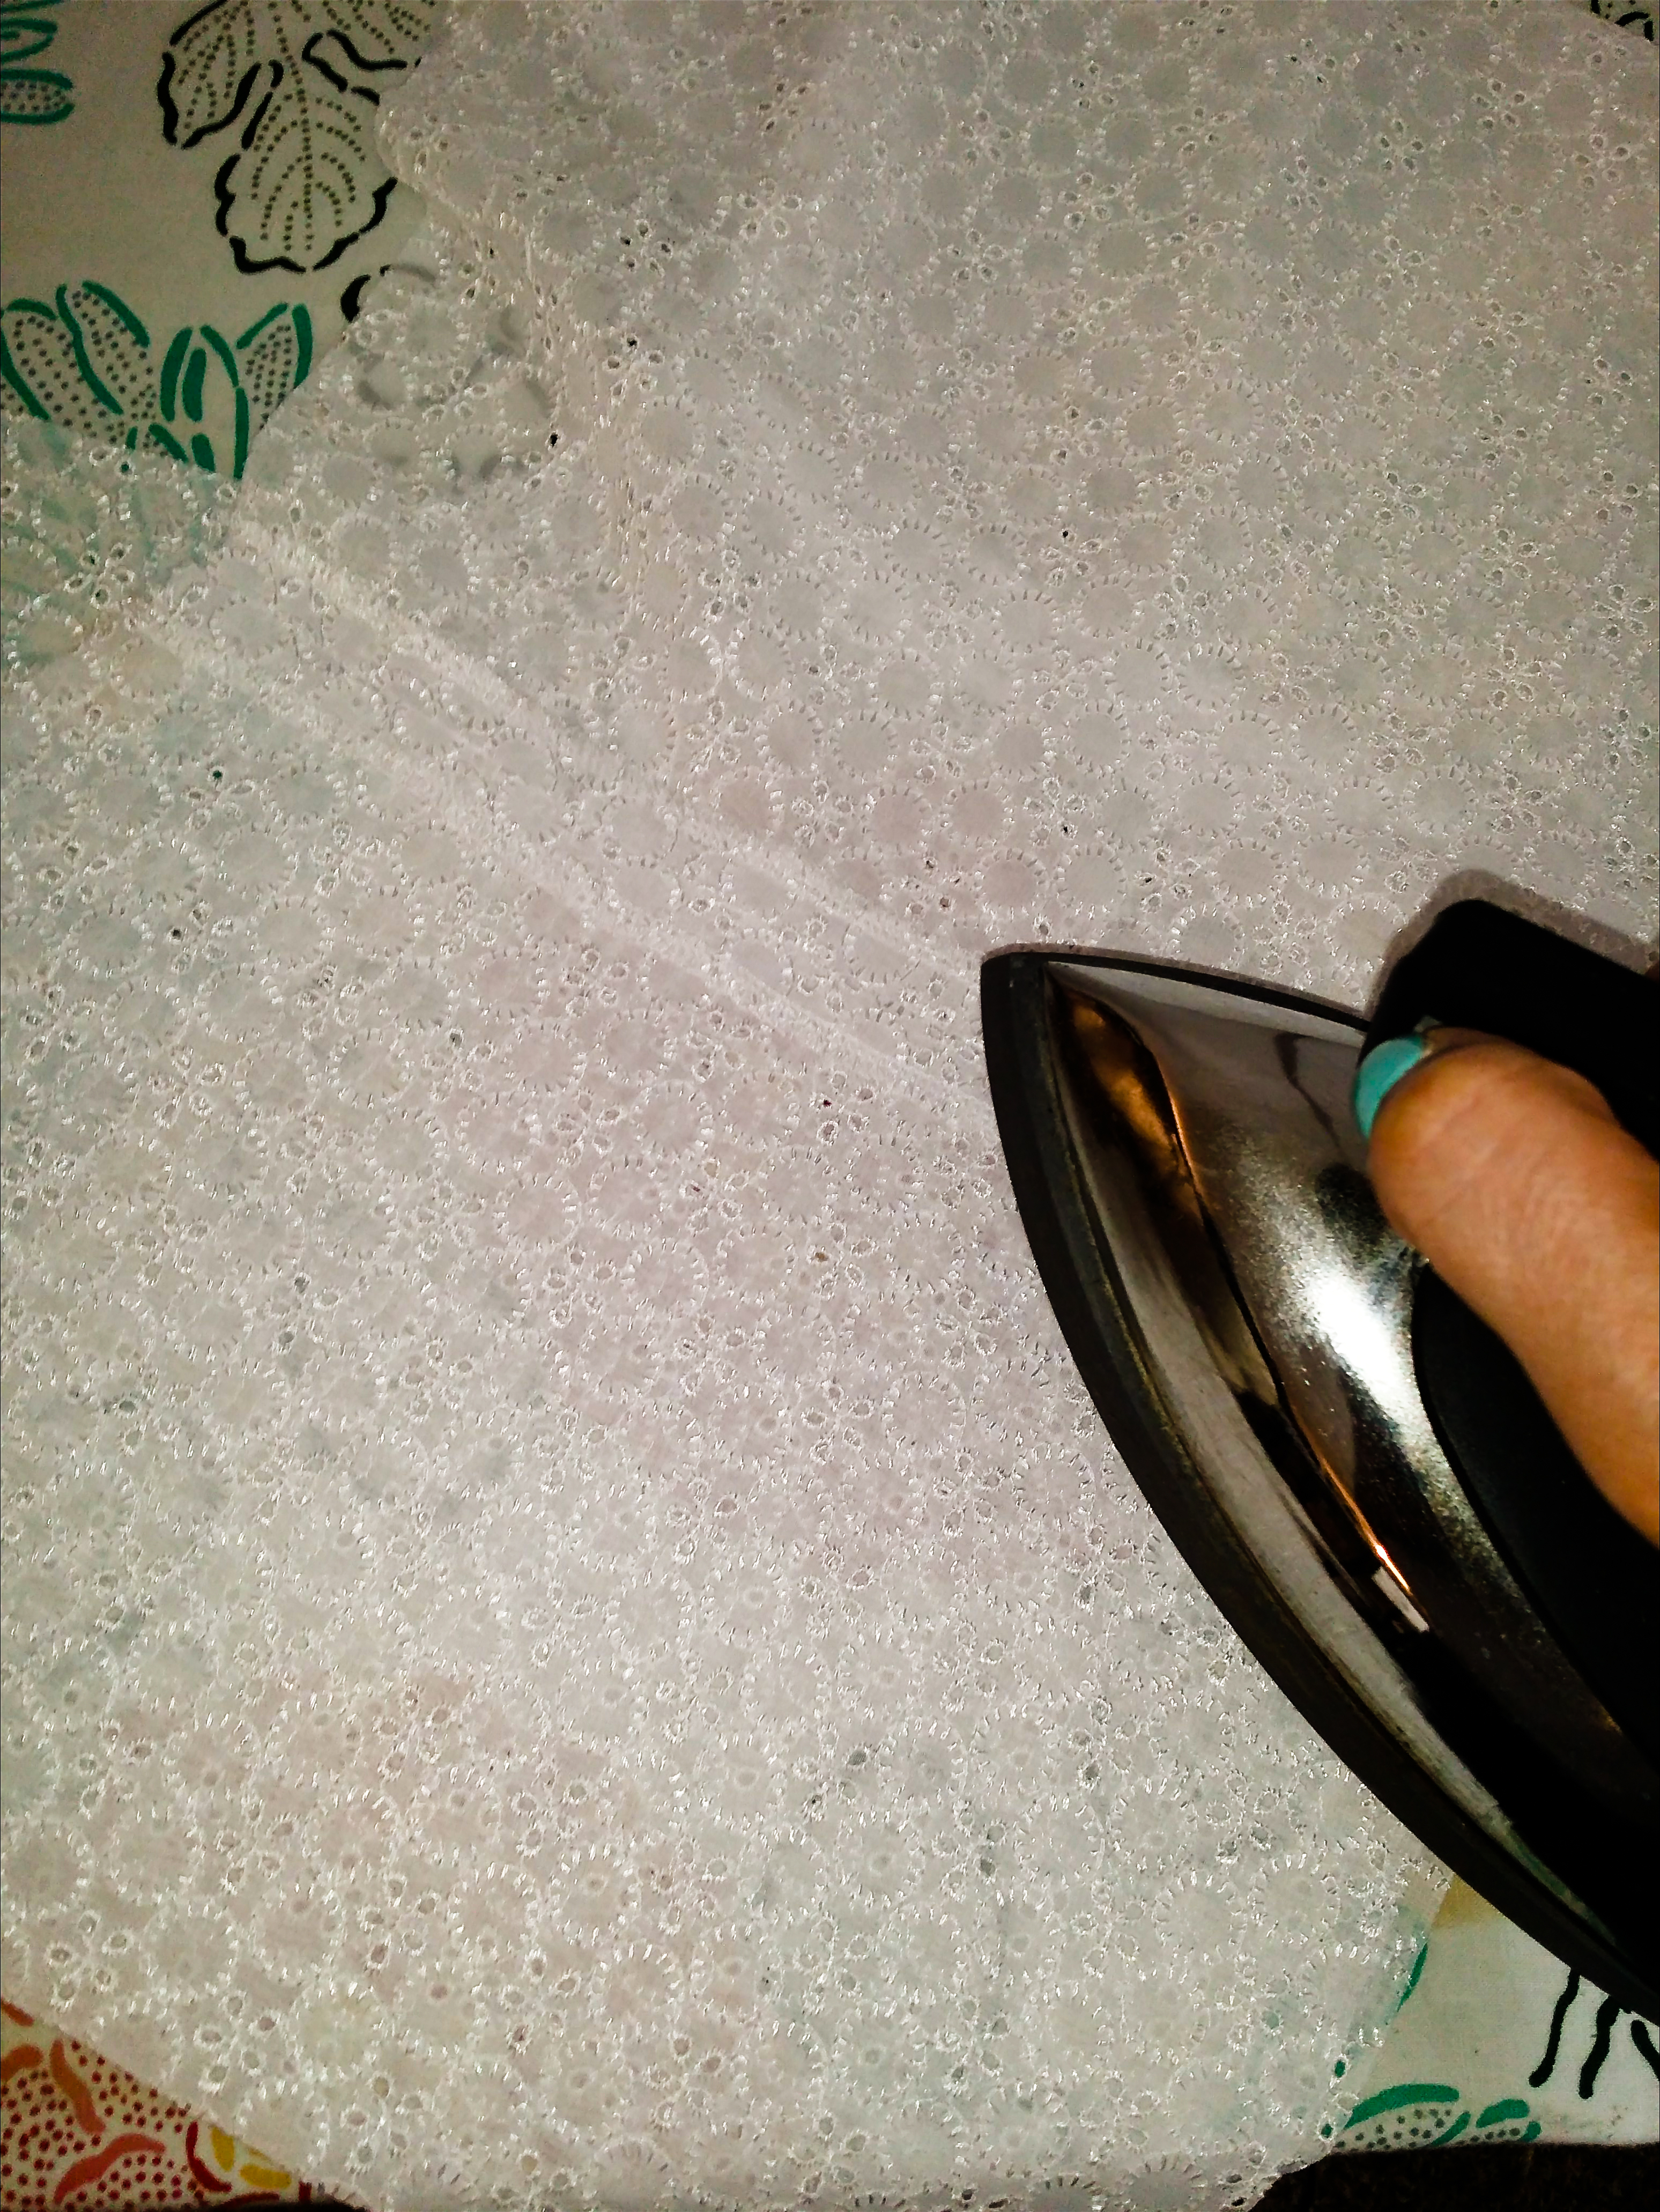
Press your seam open.
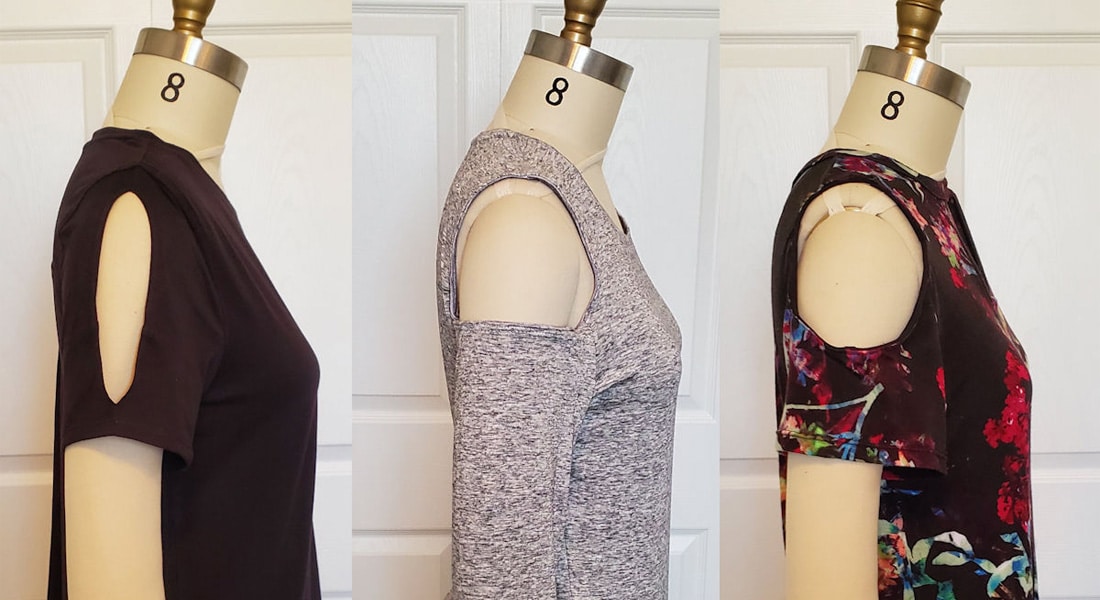
Create a 5/8 inch armhole hem. I edge stitch mine with the Blindstitch foot #5. Or you can use the Edgestitch foot #10/#10C/#10D.
And press. Go ahead and stitch the other side, press the seam open.
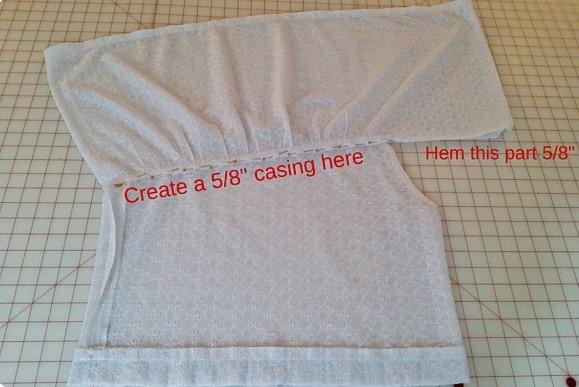
Next, create a waistband casing.
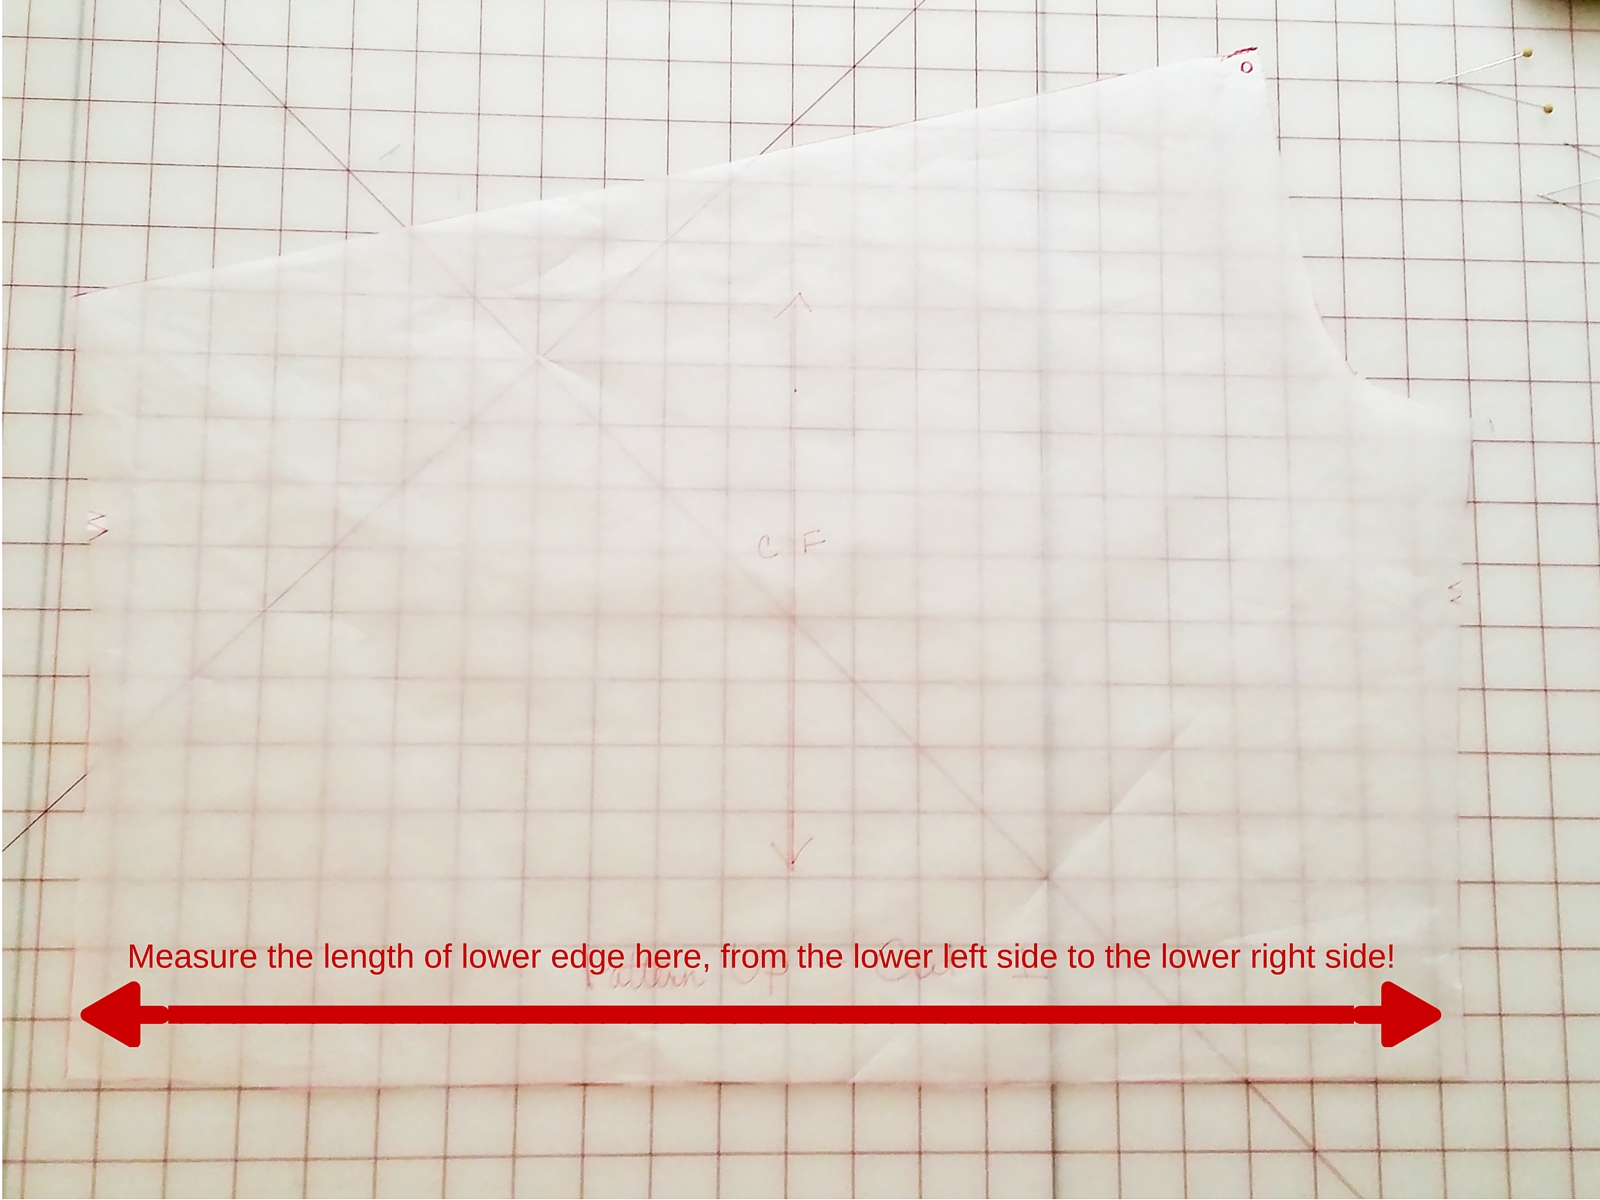
To do this, measure the length of the lower edge of the bodice. Cut two pieces of your fabric the length of the lower edge on the cross grain, 4 inches wide. With right sides together stitch the side seams and trim down your seam allowance. Fold in half lengthwise with wrong sides together and press. Pin to lower edge of bodice matching seam lines, right sides together and stitch, leaving around a 1 inch opening to feed in the elastic.
Press seam towards the bodice.

For the ruffle, I used McCall’s 6558, pattern piece #3. I traced out the dimensions and I added 3 inches to the length for a longer style ruffle. You will cut 2 on the fold. And transfer the same markings, the circle onto the fabric. Your marked circle should be 7.25 inches from the center fold line.

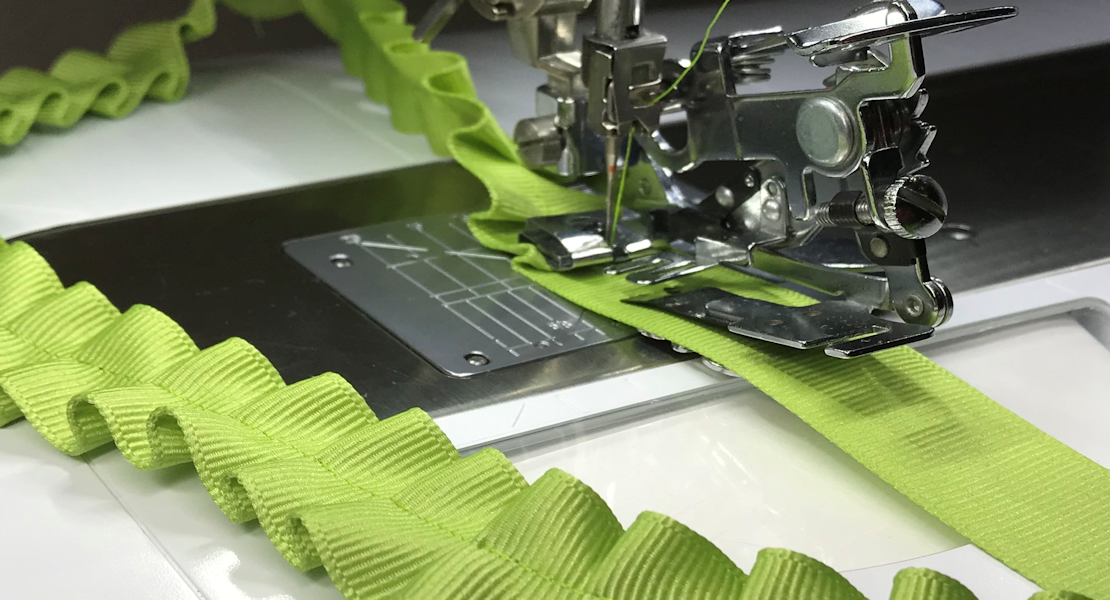
With right sides together, stitch both sides and press seams open. And create a 5/8 inch hem on the on marked edge. And press. Now, we’re going to gather the upper edge to the left of the circle on the front and back of the ruffle. (On the back it will be to the right of the circle.)

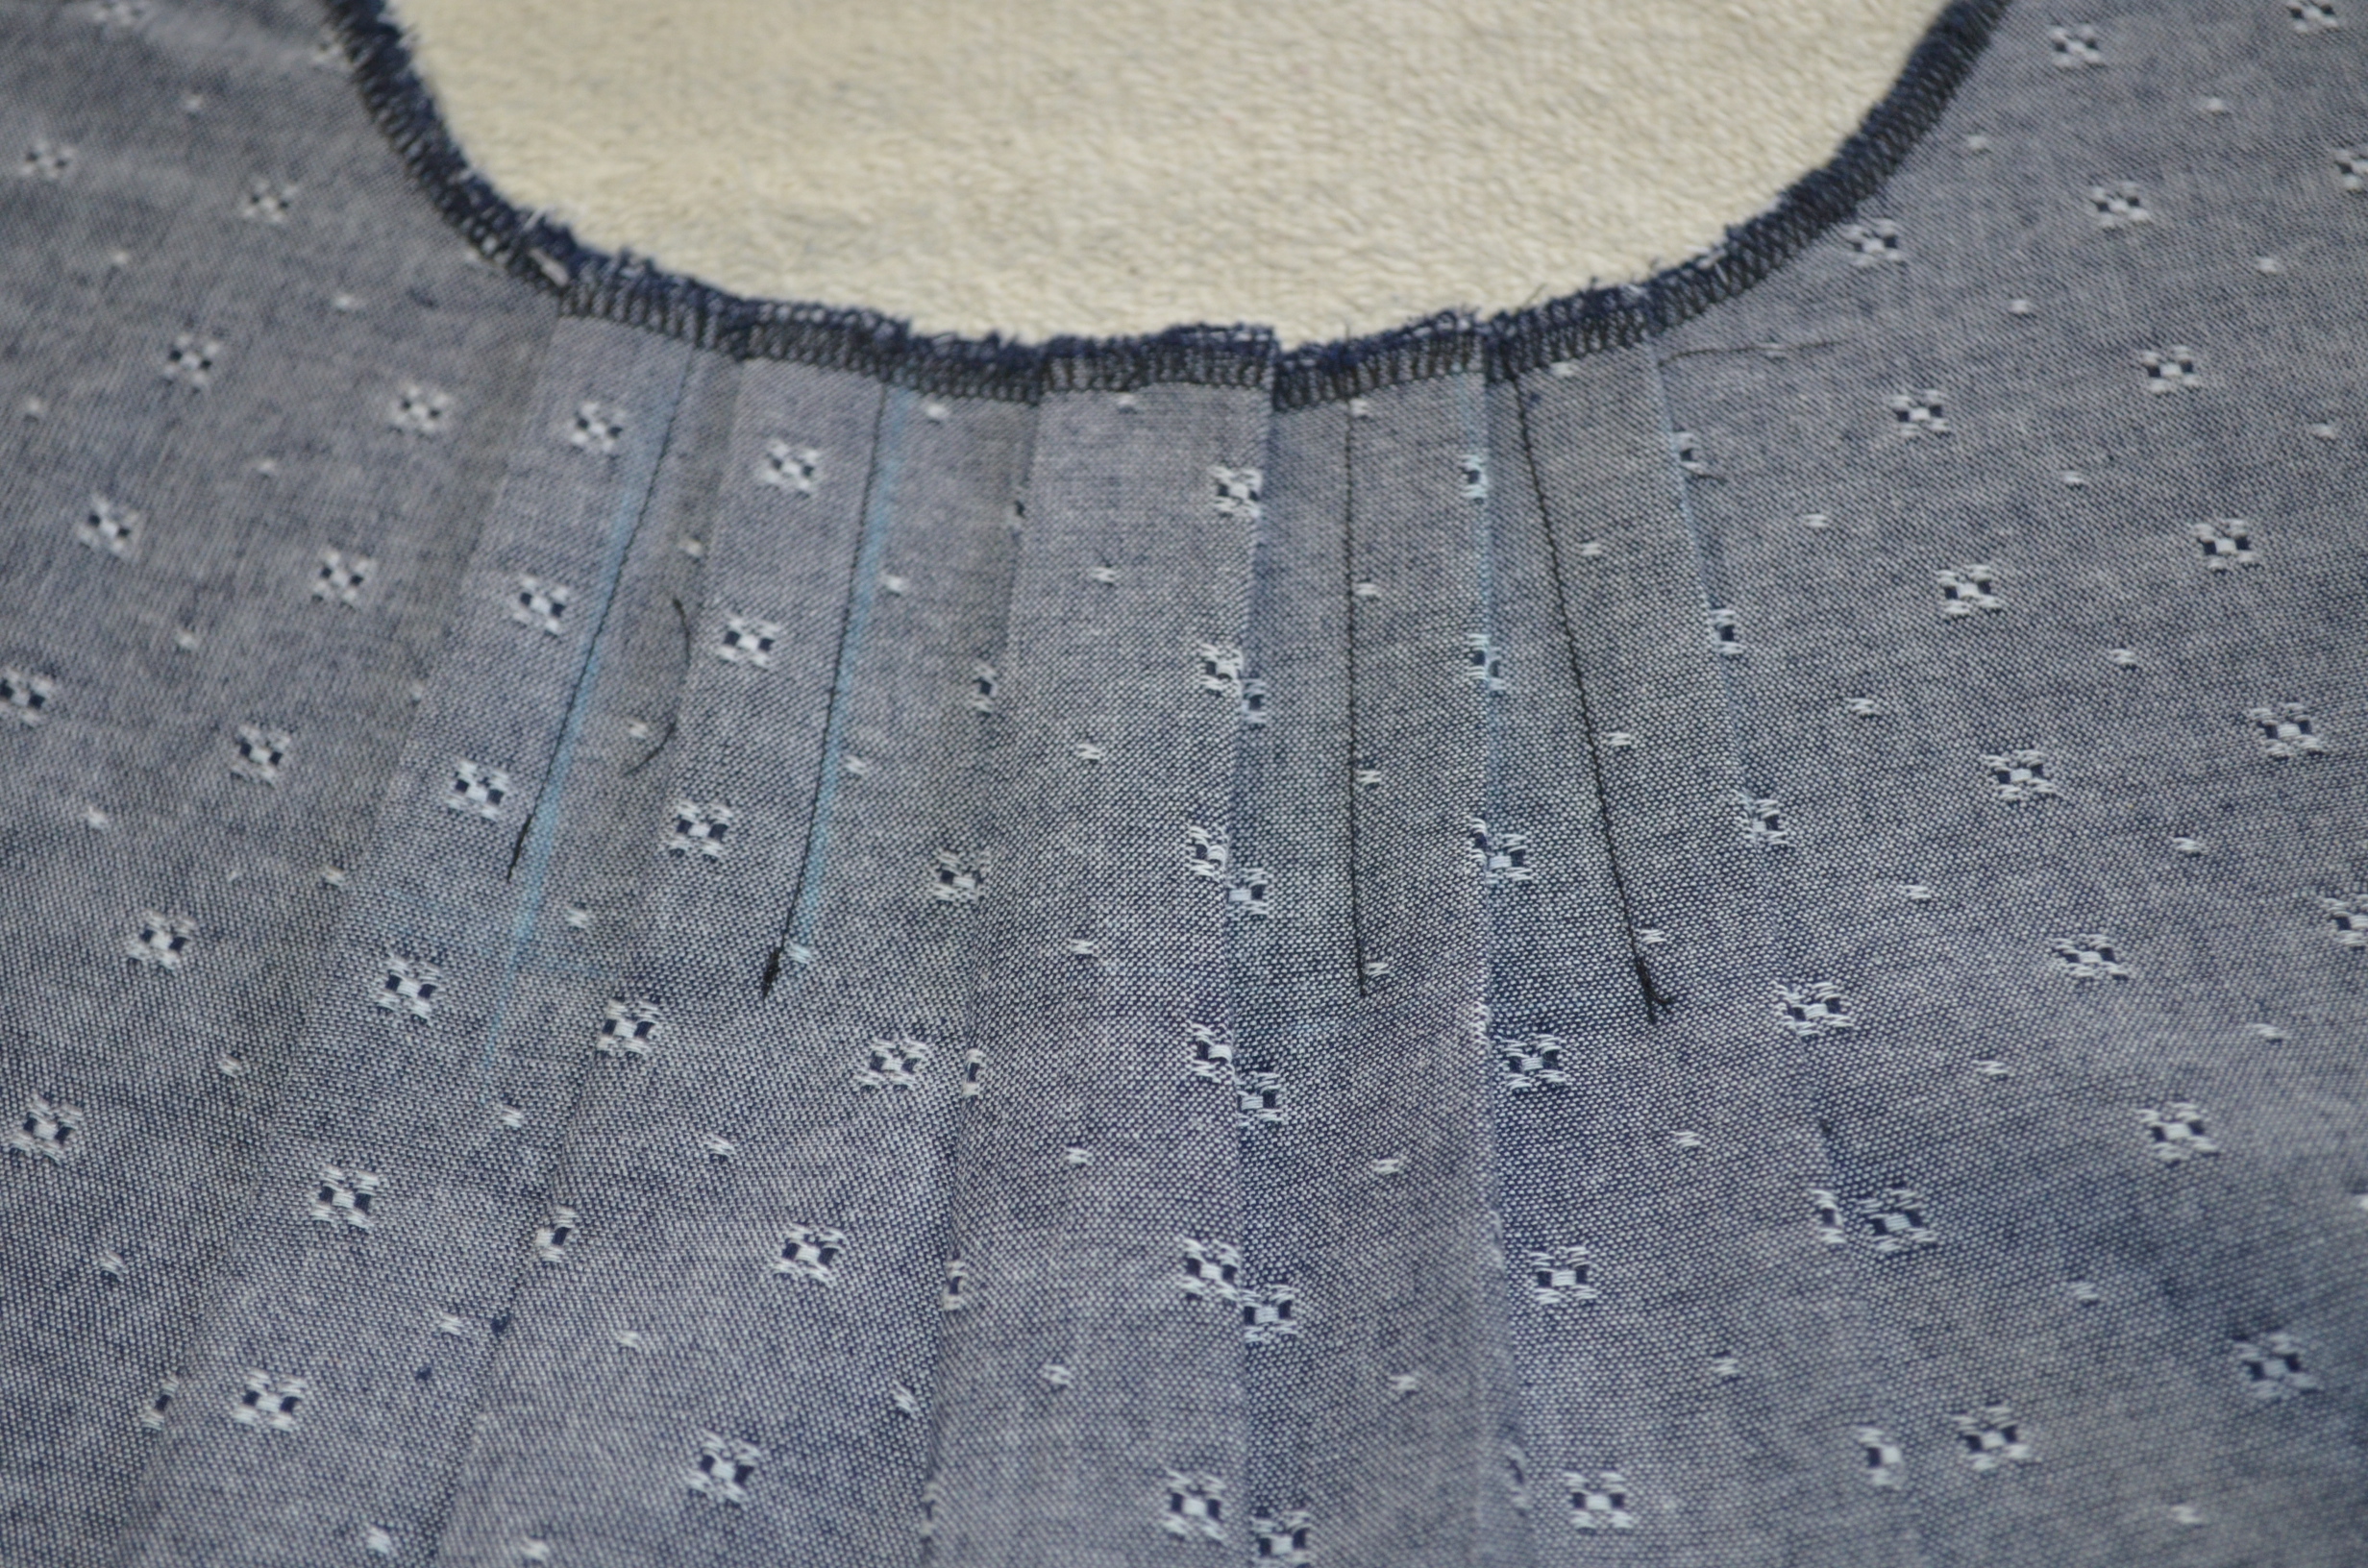
Pin wrong side of ruffle to right side of the bodice. On the left side, match seam lines. On the right sided, match the circles to the top of the armholes like above. Adjust the gathers and stitch with a 5/8 inch seam allowance. Scantily finish the edge with your serger or overlock stitch. Very scantily, the seam allowance will be your casing.
Turn the top inside out. Raise the ruffle above the bodice. Press the seam towards the bodice. Using either your Blindstitch foot #5 or Edgestitch foot #10, edge stitch the seam to the bodice from armhole to armhole to create a casing. Turn the ruffle down and hem the shoulder portion of the ruffle, leaving an opening around 1 inch to insert elastic.
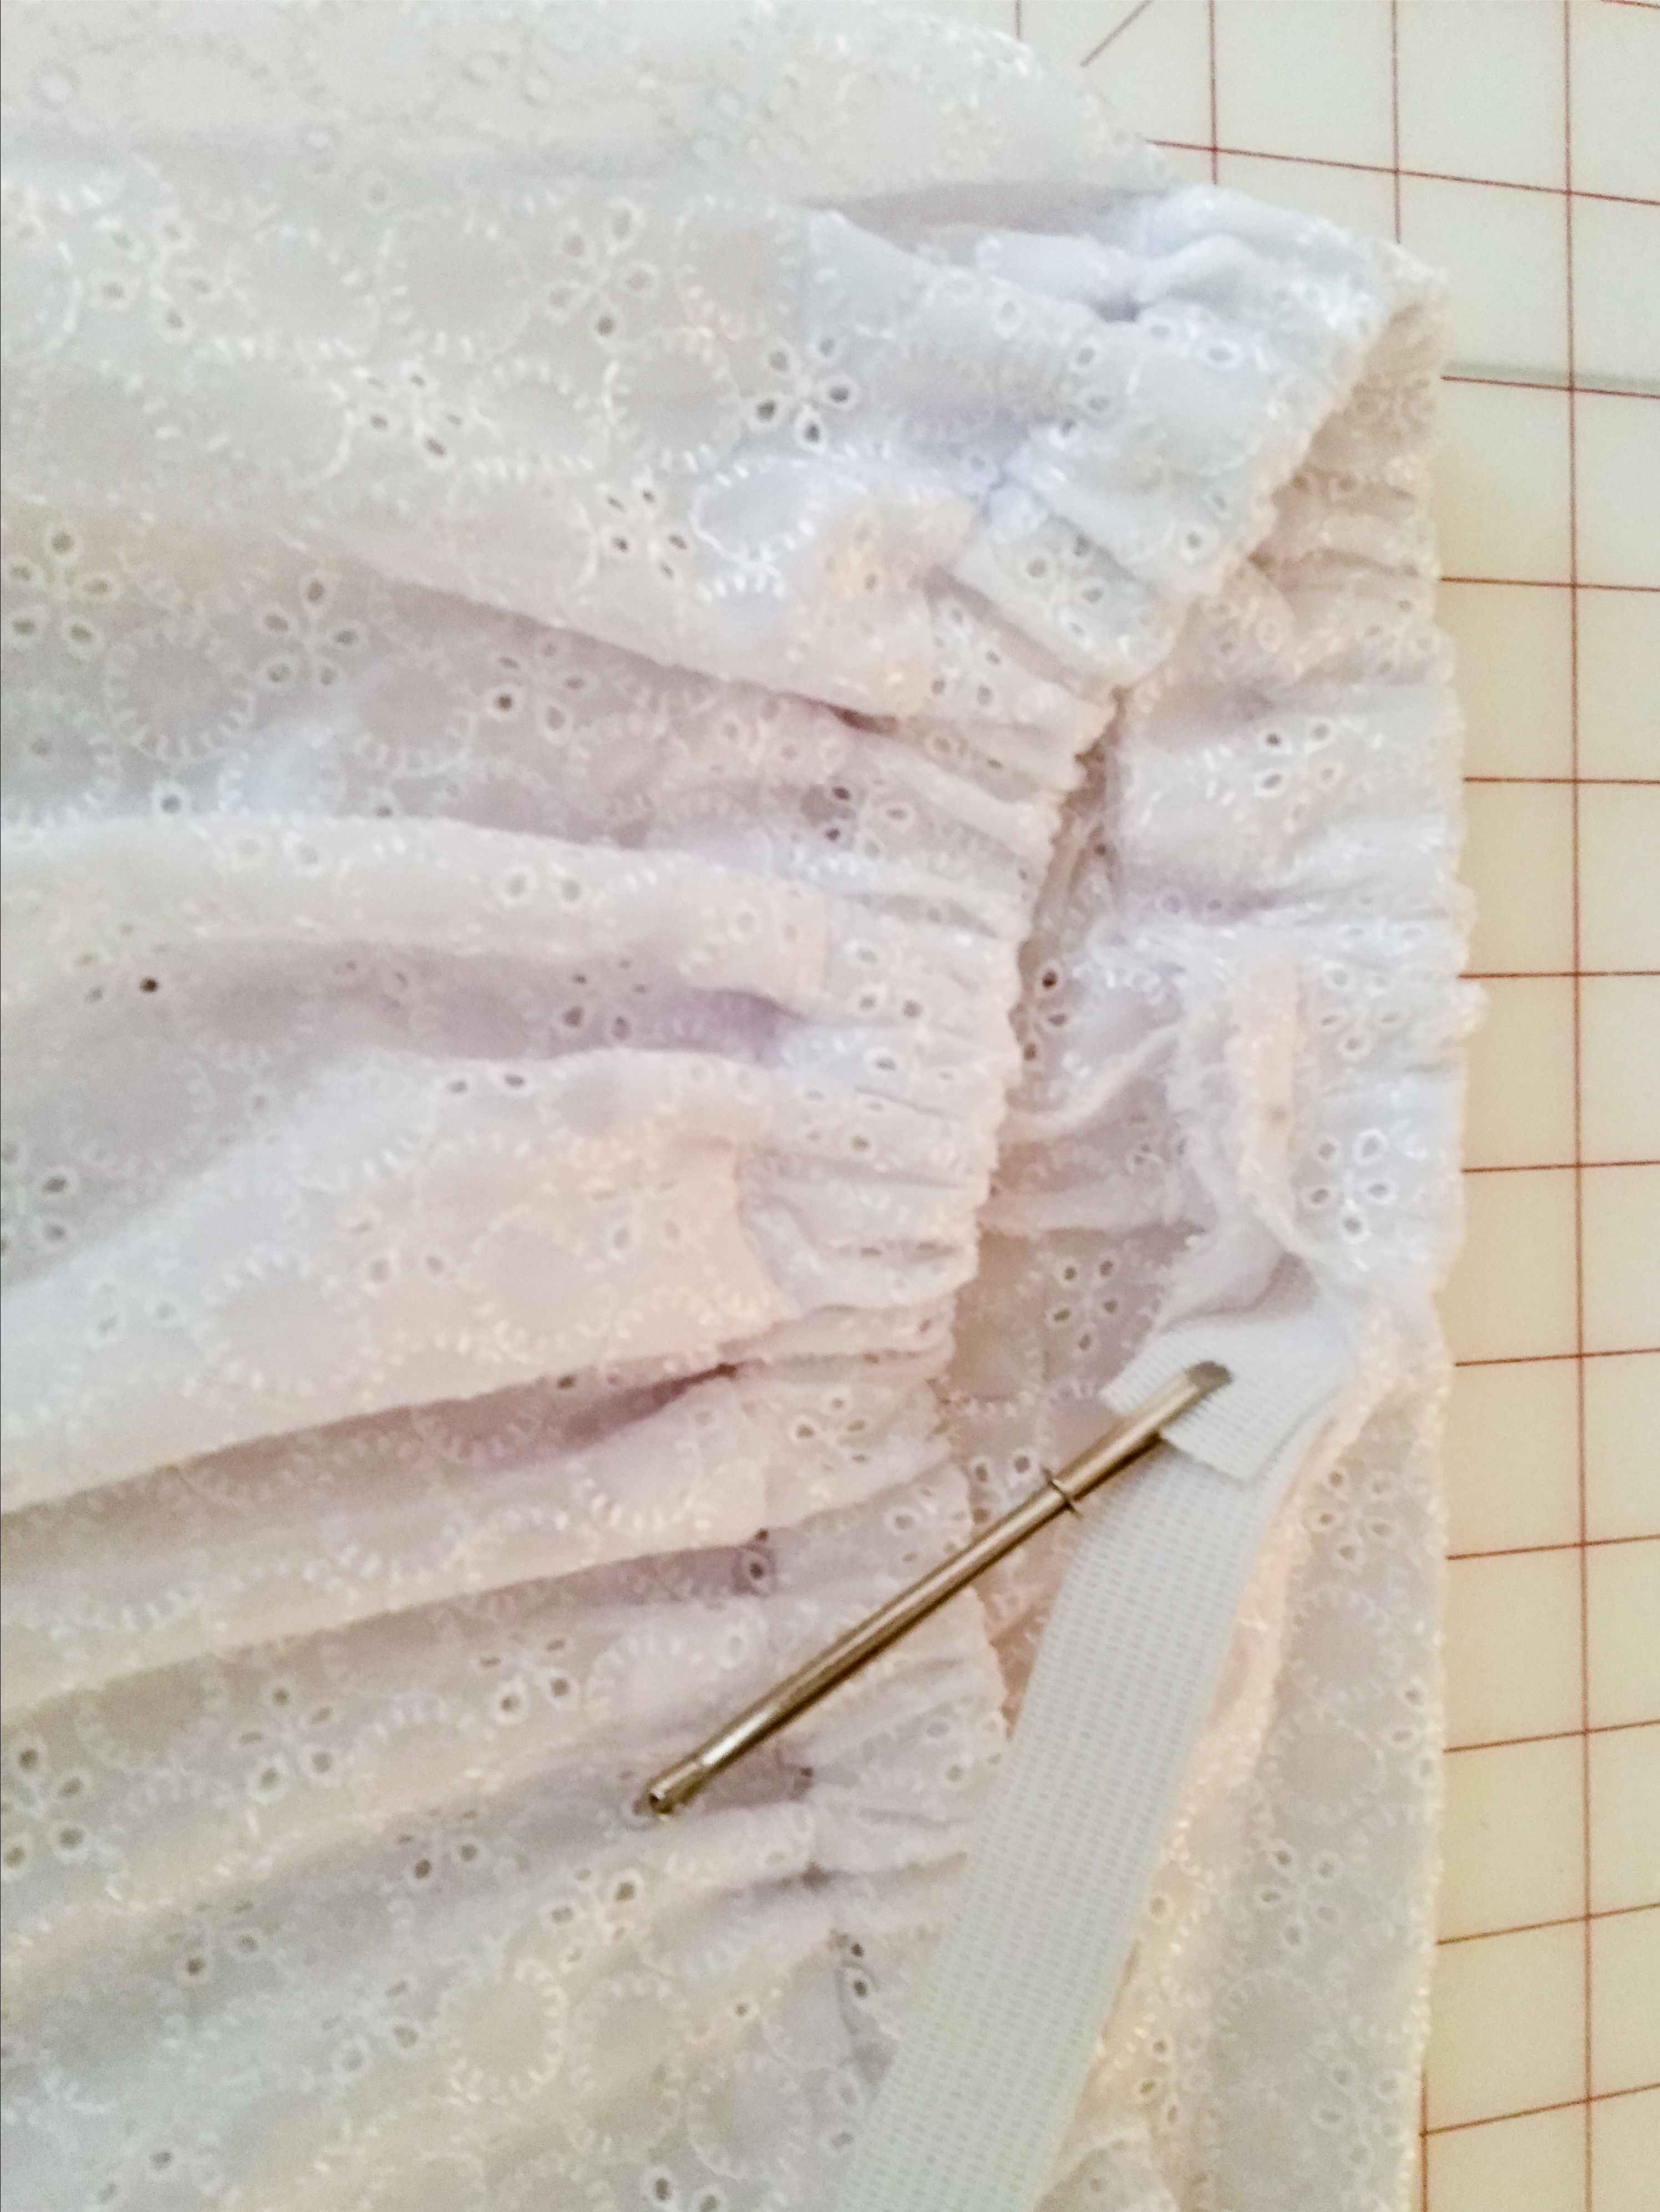
For the neckline, use your 3/8 inch elastic and the 3/4 inch for the waistband. Feed the elastic through with your bodkin.
Note: For the 3/8 inch elastic for the neckline, measure the distance around your shoulder and underarm (the way the neckline will fit). Cut your elastic 2 inches smaller than your measurement. Measure your waist and cut your 3/4 inch elastic the same way. Try on to make sure that your elastic is not too tight or too loose before you sew up the opening of your casing.
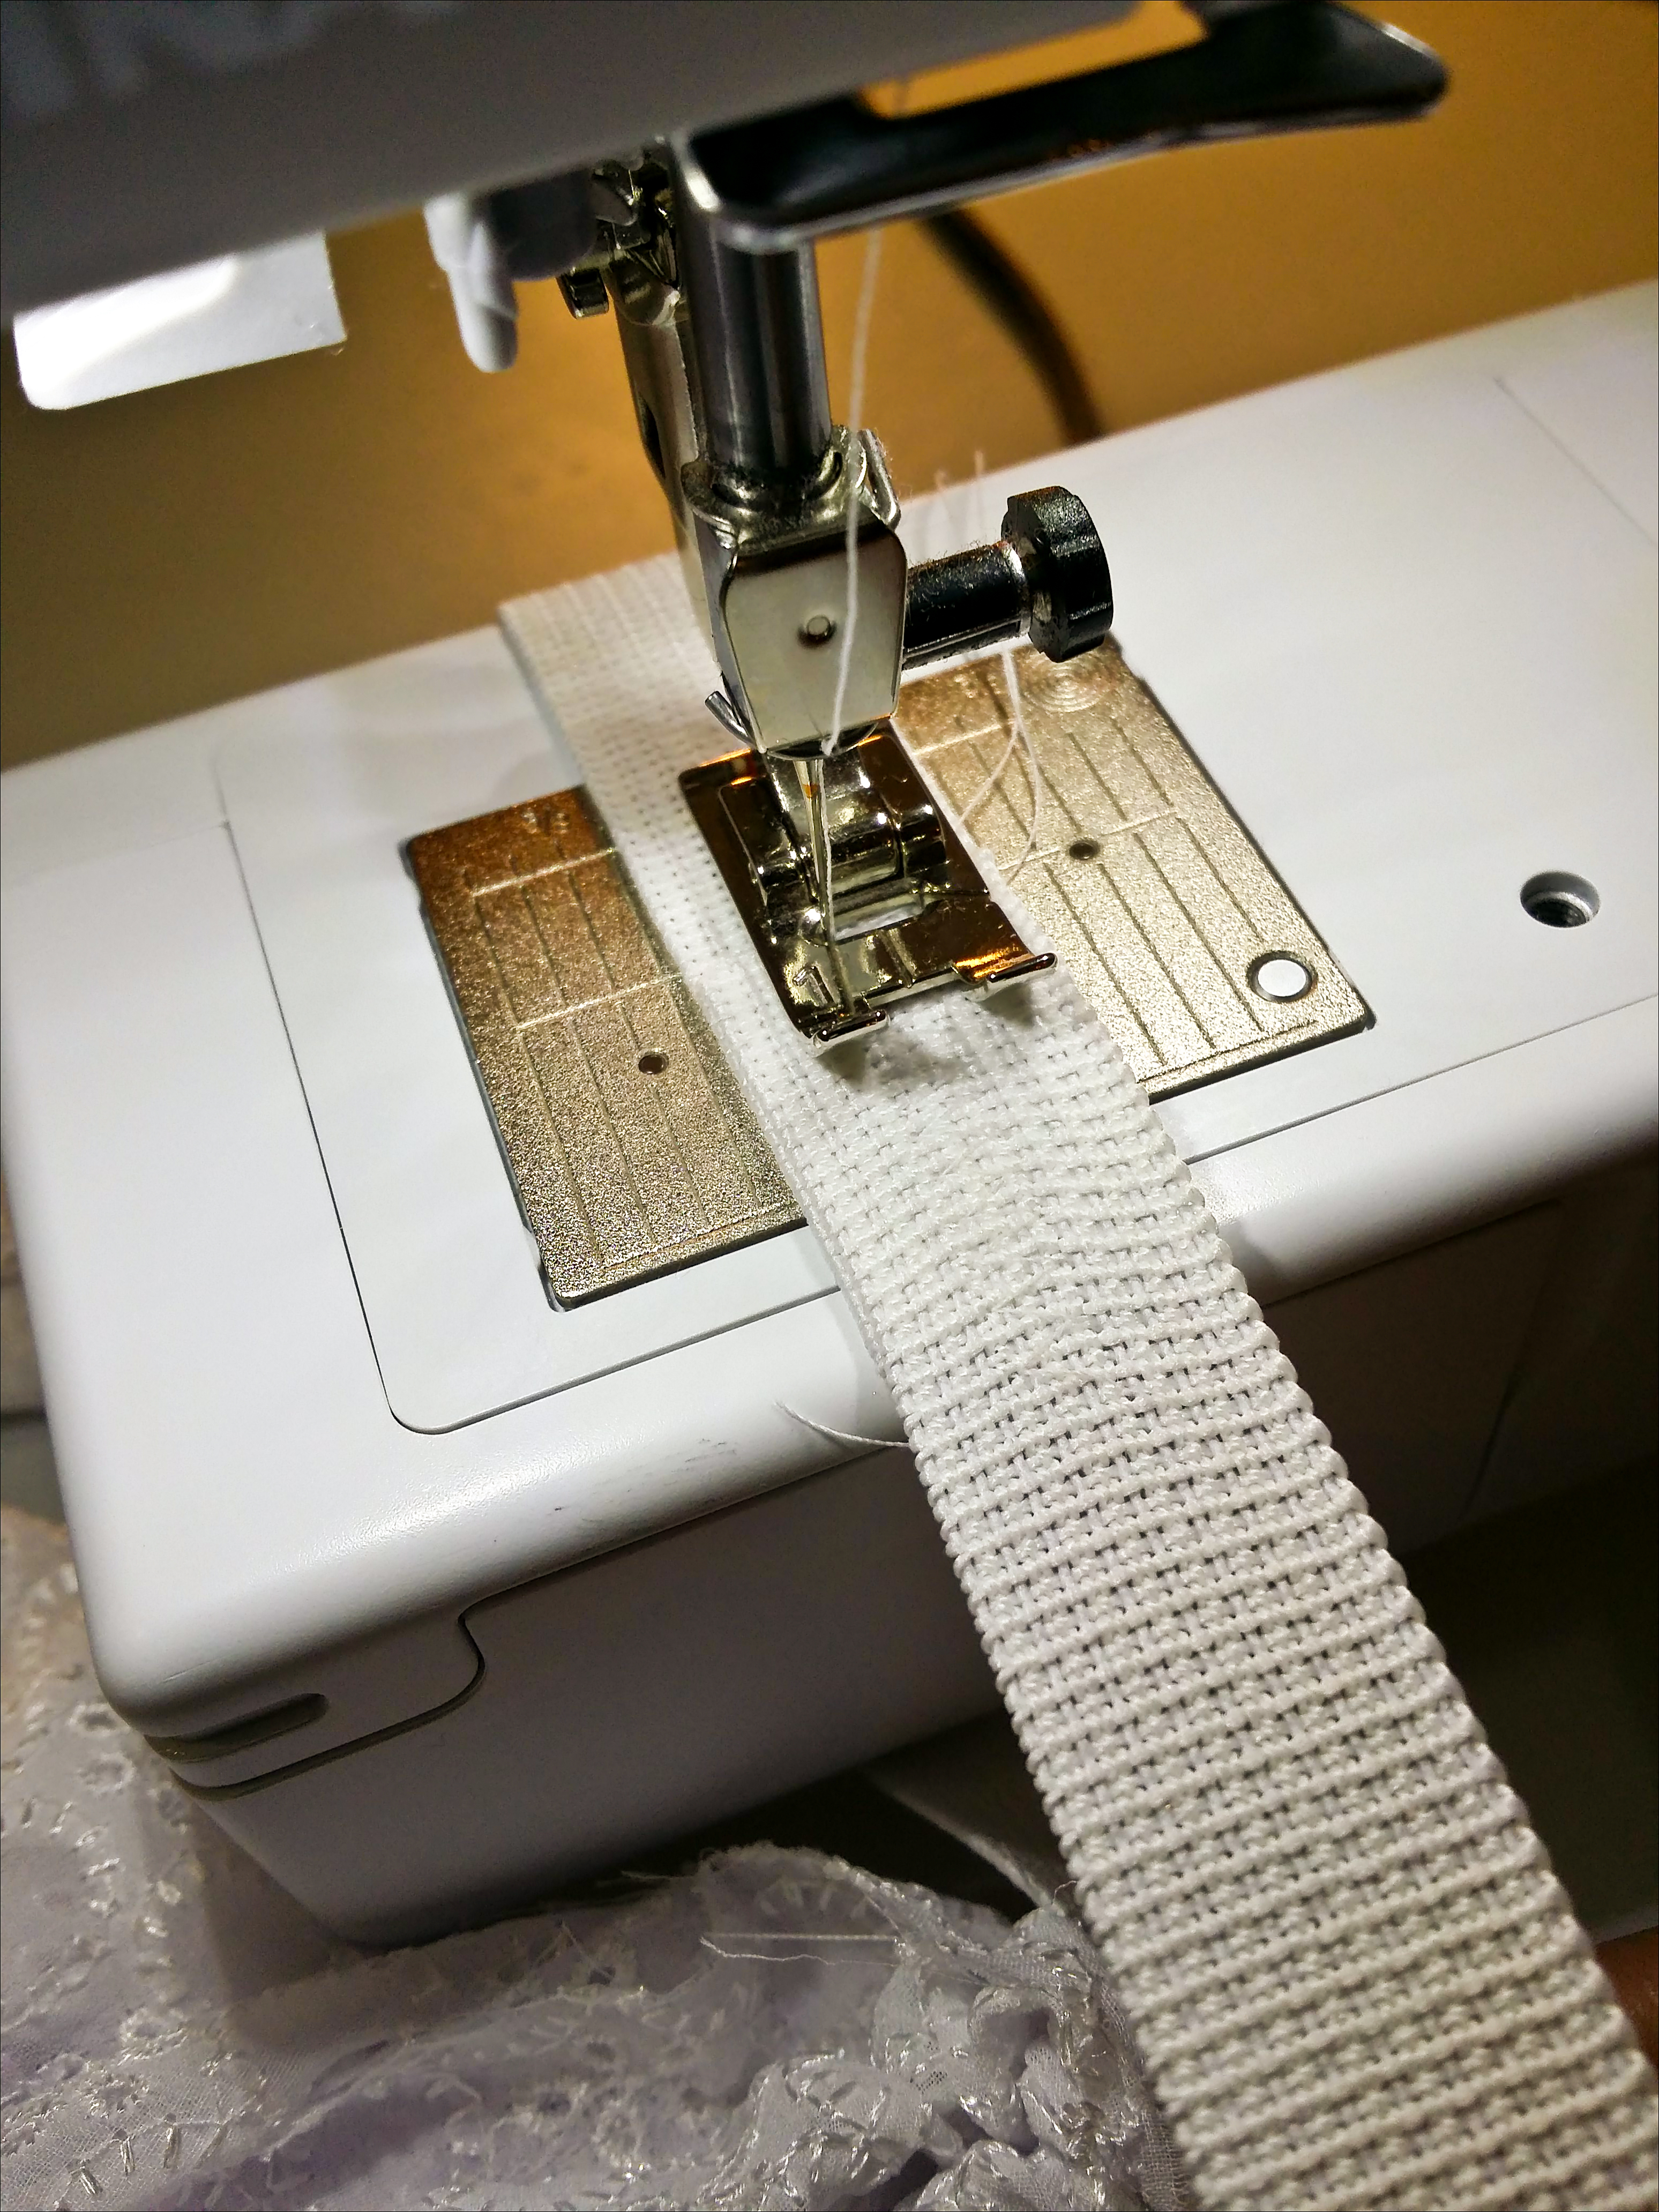
Overlap each end of the elastic and stitch using a wide zig zag.
And edge stitch the opening closed. Give it a good pressing!

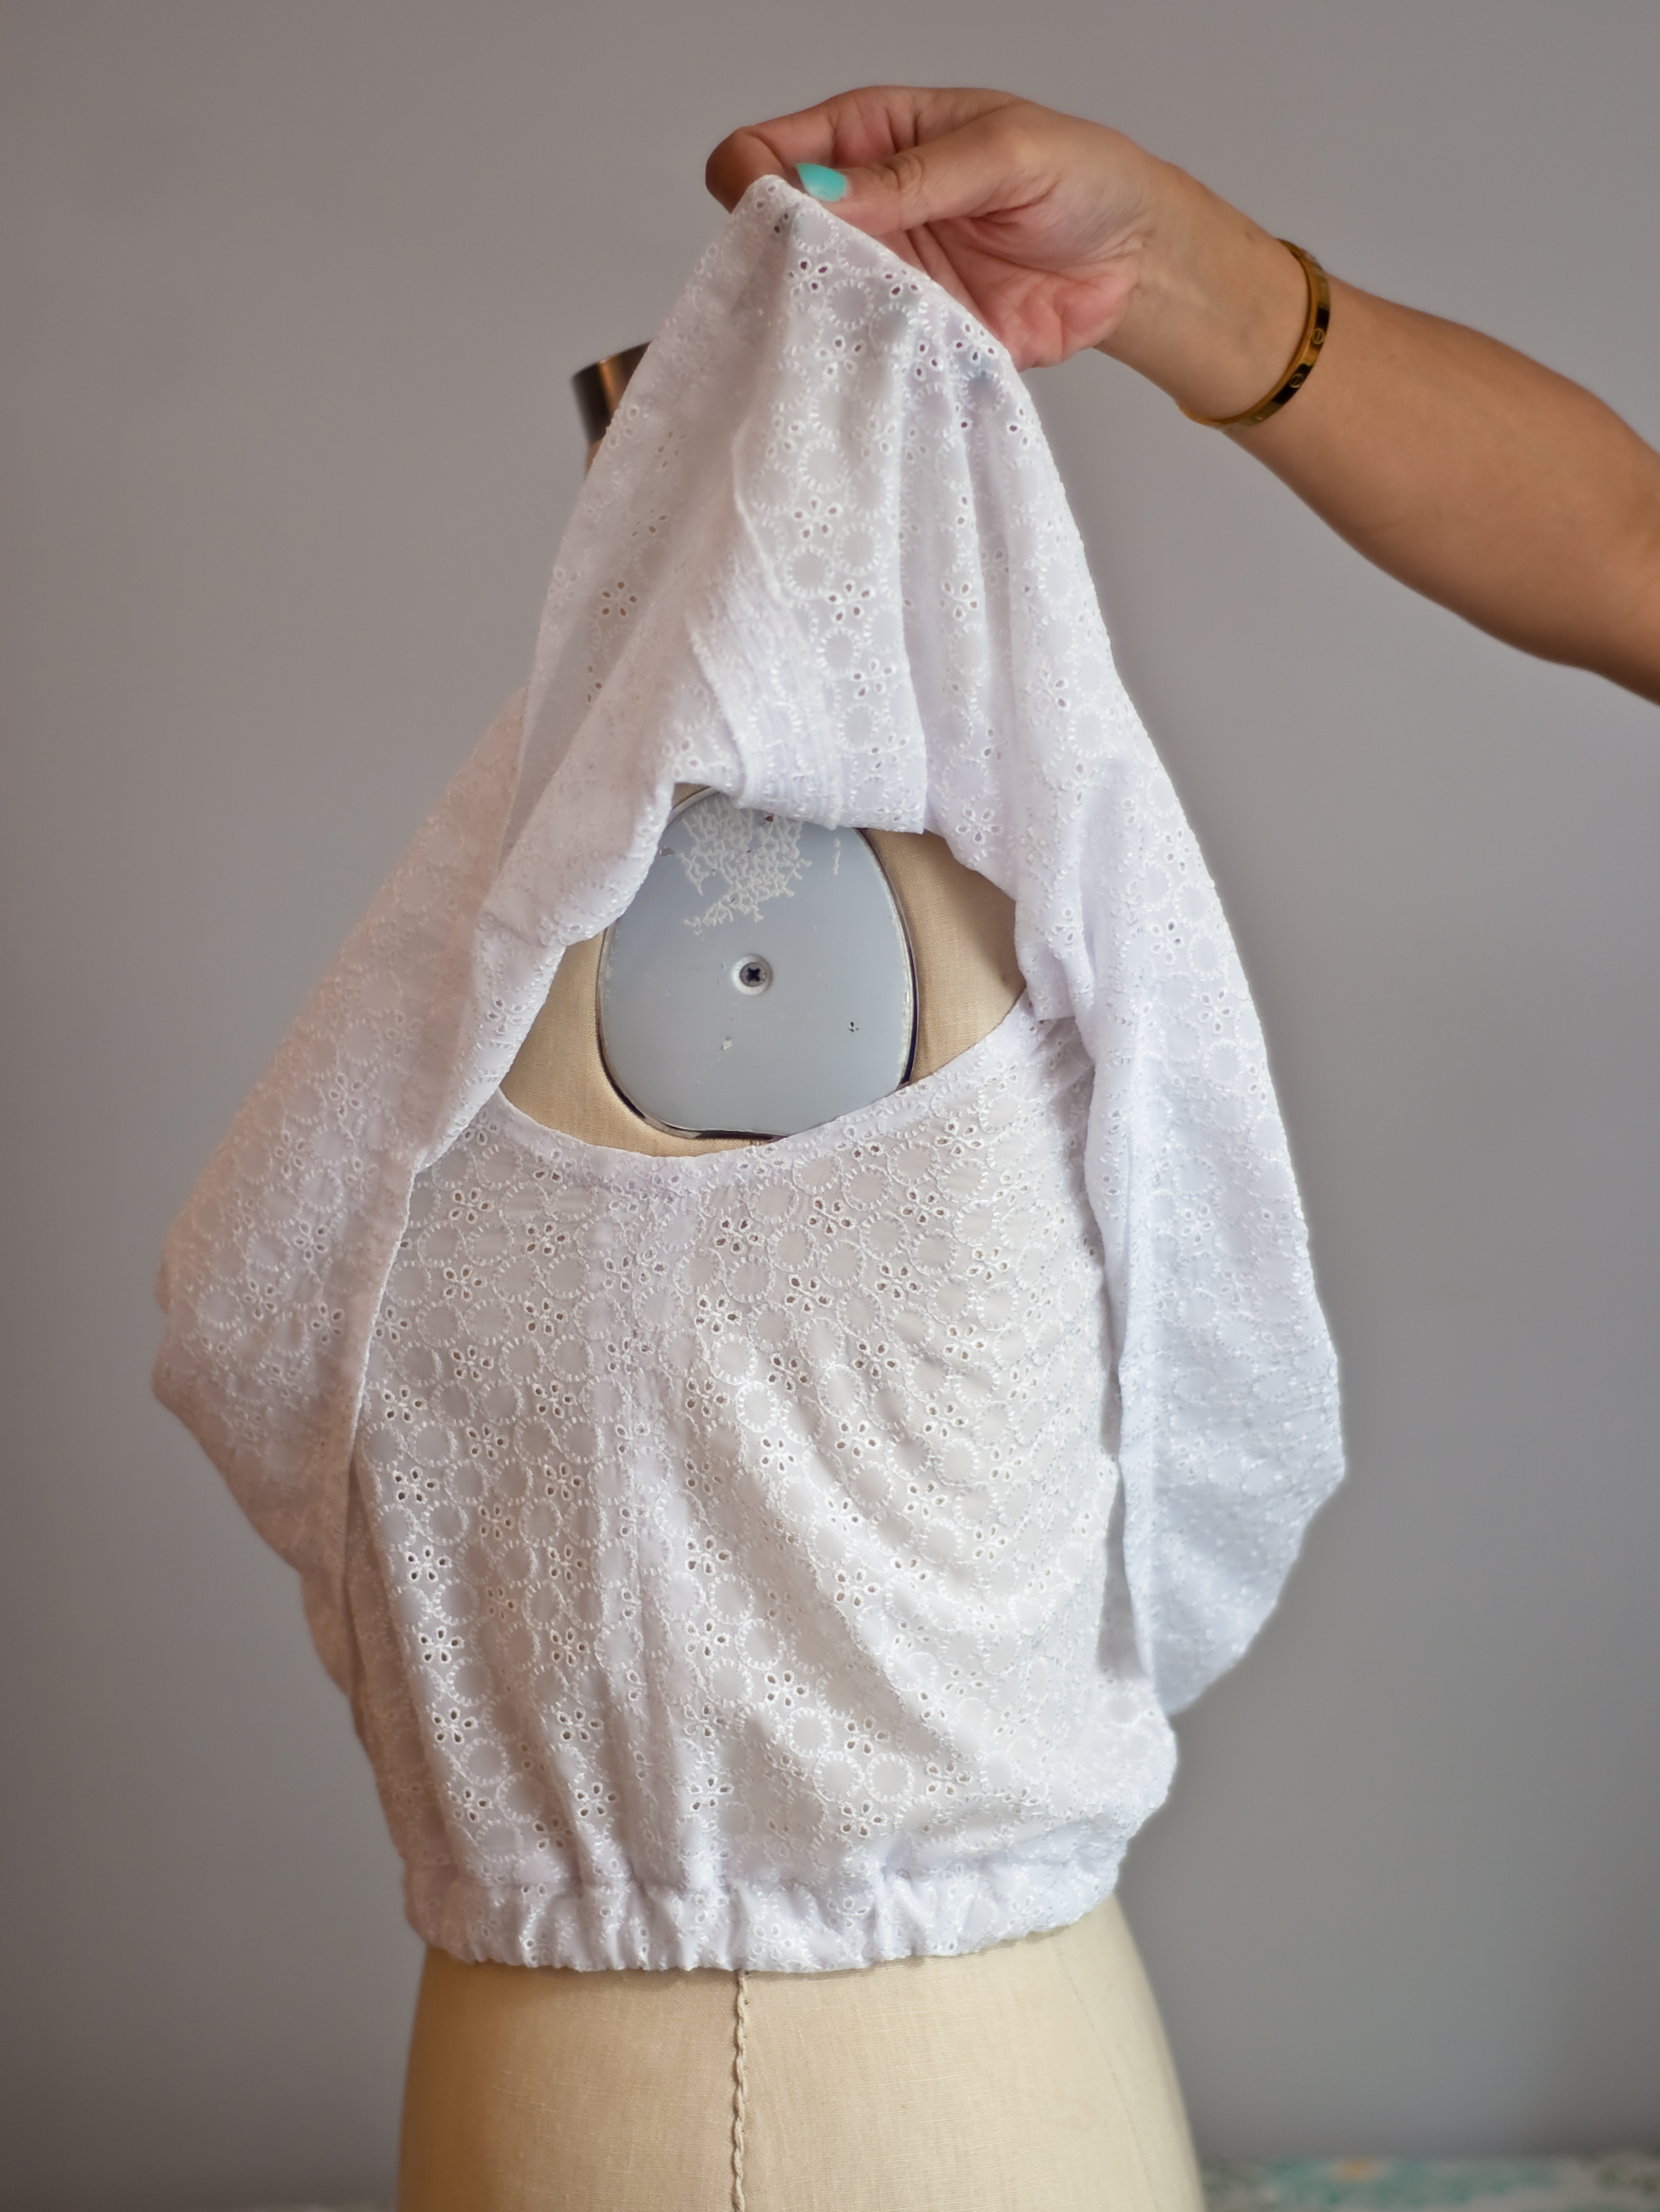
And wear it!


What you might also like


4 comments on “Single-shoulder Ruffle Top Tutorial”
-
-
Thanks Michelle! It makes a great top on its own and a great bodice for a dress or jumpsuit!
-
-
Really pretty. I’m going to try this! Thank you for sharing?
-
Thank you and I hope you enjoy it!
Leave a Reply
You must be logged in to post a comment.

Nicely done and you make it look oh SOOOoooo easy. The shoulders are hot right now and this is a winner!