Quilting Basics: How to Fold a Mitered Corner
Your quilt has been quilted . . . but it is not finished until the binding is on! When applying a traditional binding many falter when it comes to doing a mitered corner. But actually a mitered corner is very easy – the secret is all in the folding.
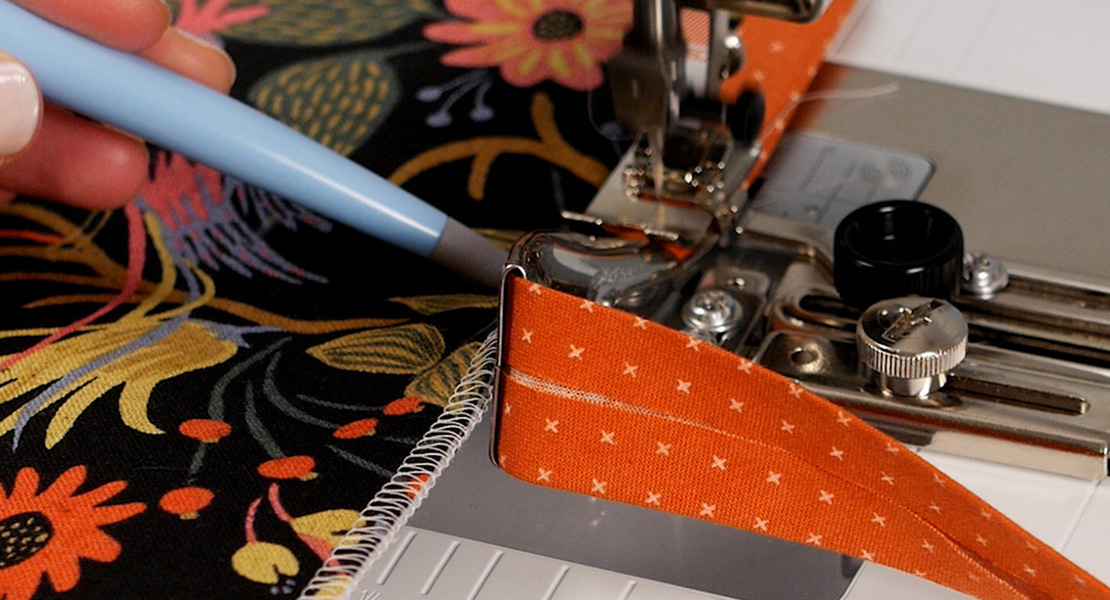
Begin by determining the correct seam allowance. This will vary depending on the cut width of the binding and the thickness of the batting. For this example, the binding has been cut 2-1/2″ wide and the seam allowance is 3/8″.
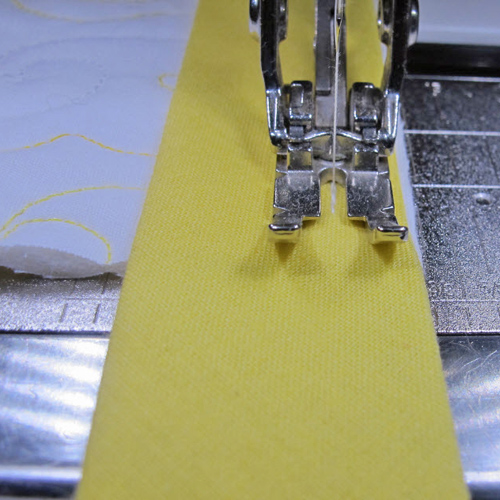
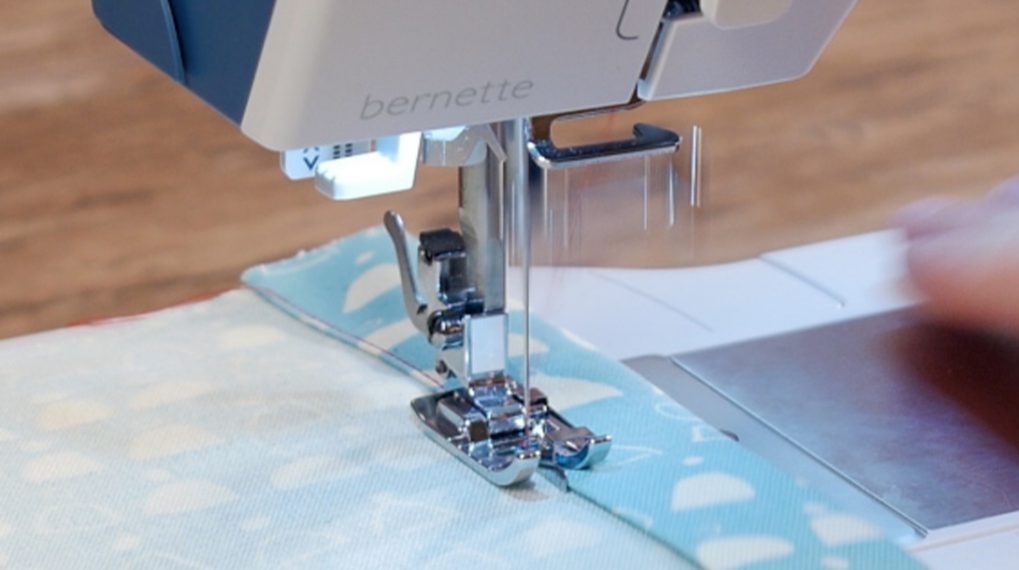
Begin stitching in the middle of one side. As you approach the corner of the quilt, stop stitching 3/8″ (width of seam allowance) from the corner and backstitch.
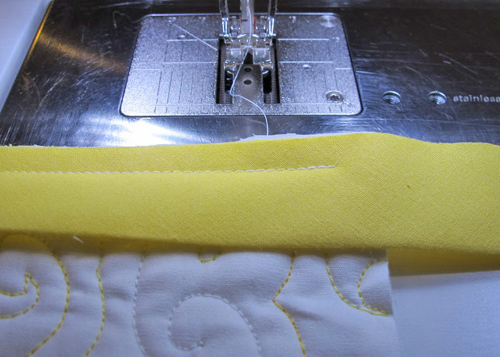
Turn the quilt so the line you just stitched is horizontal.
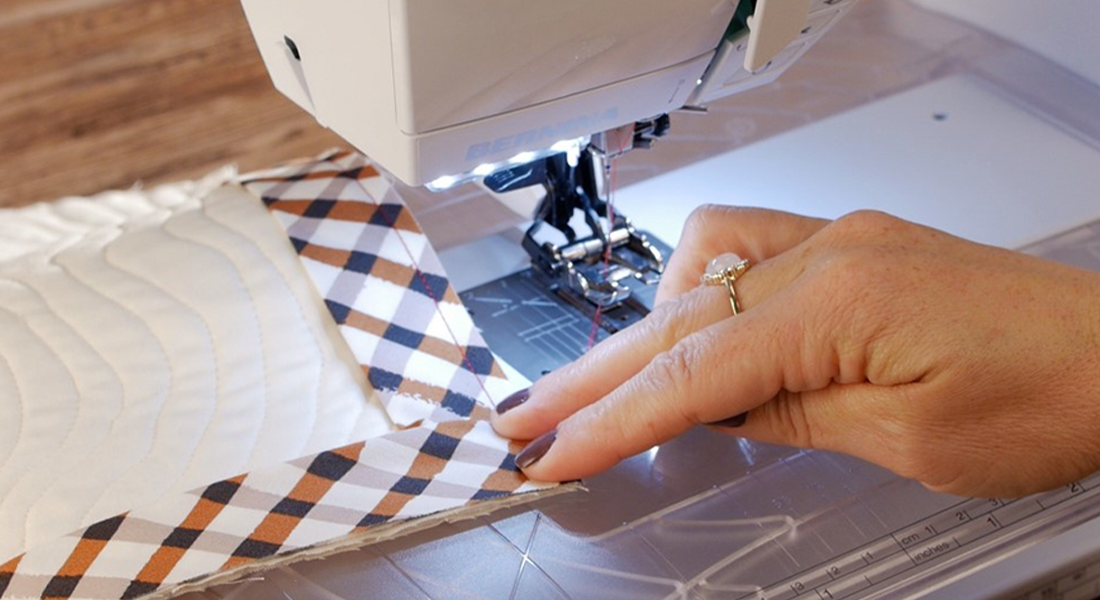
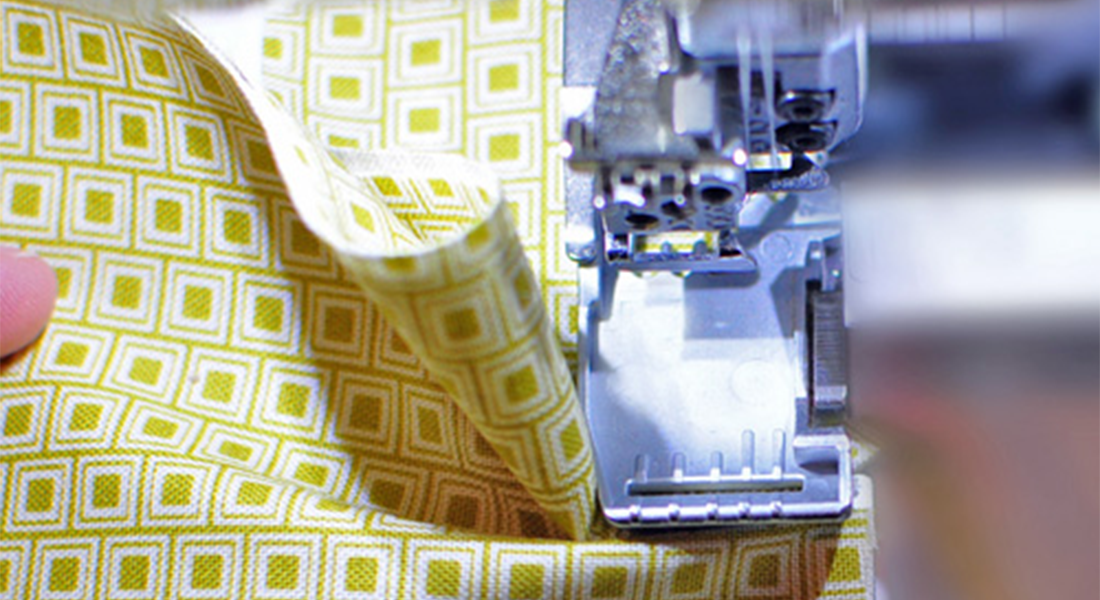
Fold the binding back (away from you) folding in a 45° angle. Make sure the cut edges of the binding form a straight line with the raw edge of the quilt.
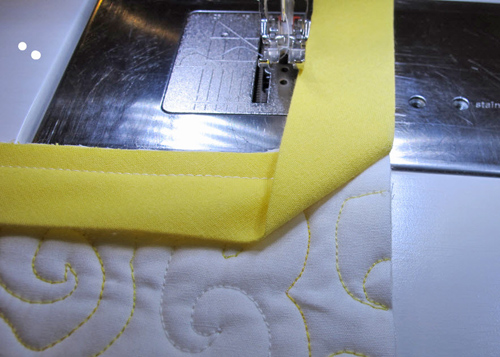
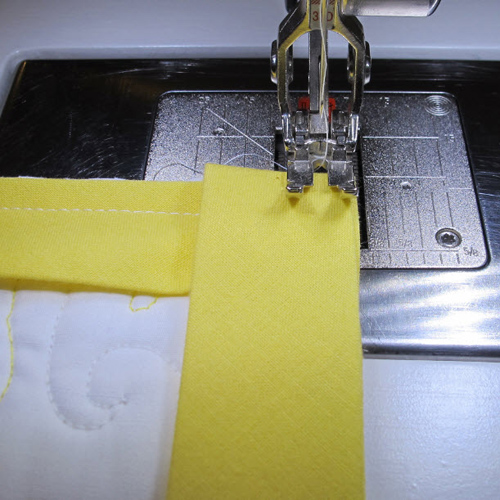
Fold the binding towards you so the raw edges of the binding and quilt are even and the fold in the binding is even with the adjacent raw edge.
Begin stitching at the edge of the quilt, using the same seam allowance.
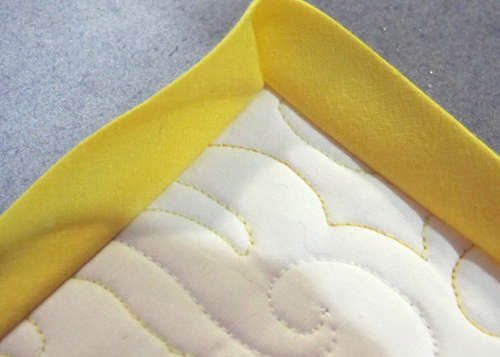
When the binding has been attached and you have mitered all four corners, turn the quilt over so that the right side is facing up. Press the binding away from the quilt. The corner will automatically miter.
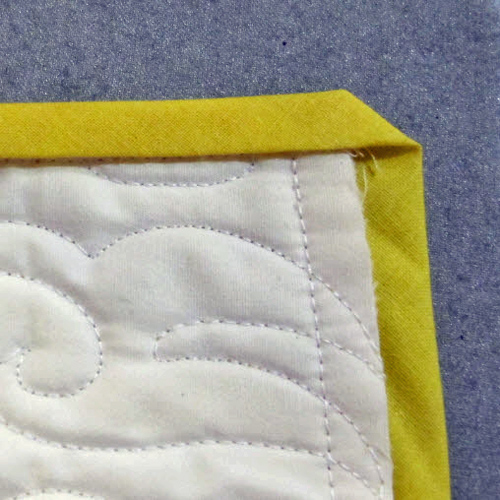
Turn the quilt so the back is facing up. Press the binding on one side of the quilt so the folded edge just touches the line of stitching formed from sewing it on.
Fold the next side in the same way. Press the mitered corner.
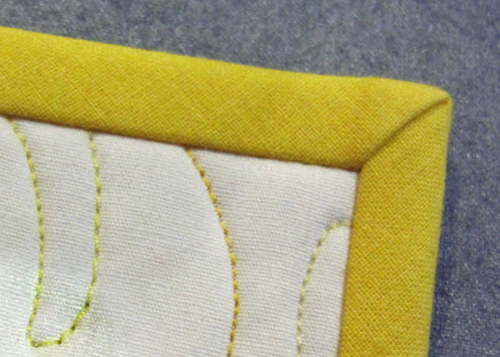
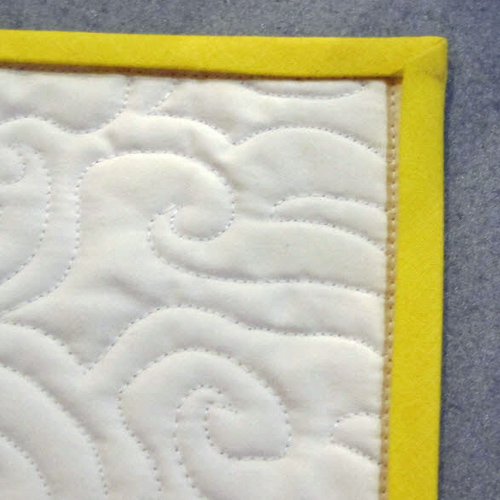
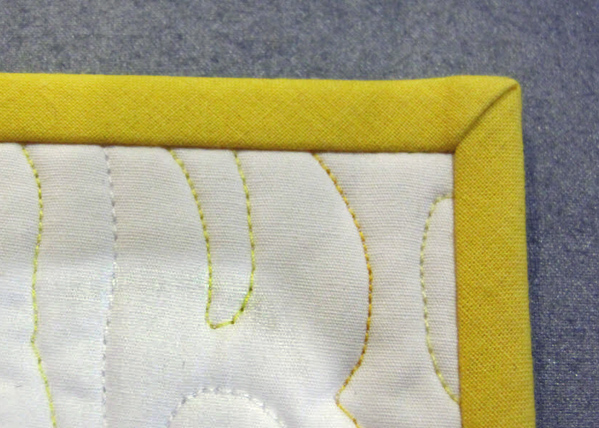
When you turn the quilt over you have a perfect miter!
We’ll have more Quilting Basics tips from Nina McVeigh here on WeAllSew every month or so – stay tuned! Jo






3 comments on “Quilting Basics: How to Fold a Mitered Corner”