How to Personalize a Quick Gift with PaintWork!
Sewing for family and friends makes me happy! I believe every sewer would agree with me that seeing the smile on a loved one’s face while unwrapping your handmade gift is one of the most rewarding feelings of giving.
I am truly a beginner sewer and on occasions such as birthdays or holidays, I am ready to face the challenge sewing. I never learned sewing in school while growing up and when I joined BERNINA I was amazed with all the talent around me and what could be created with a sewing machine….on a BERNINA sewing machine!
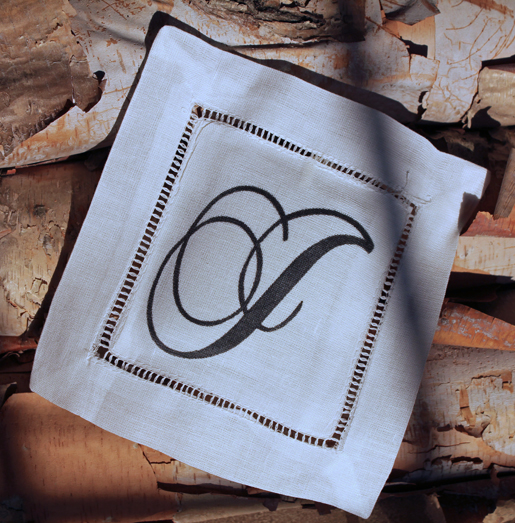
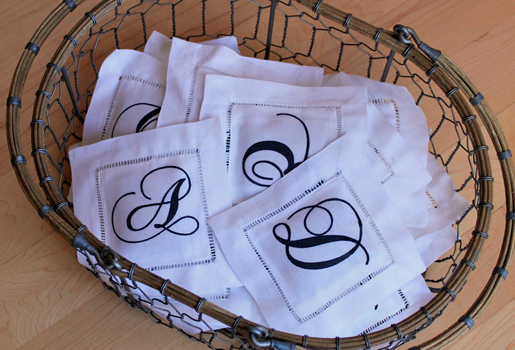
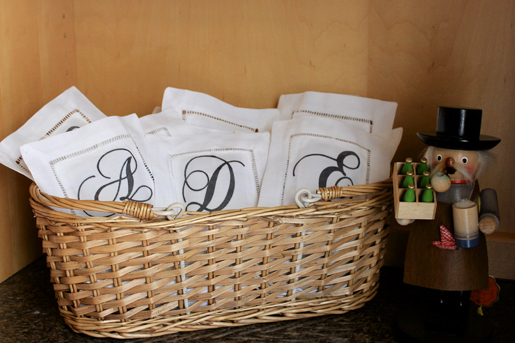
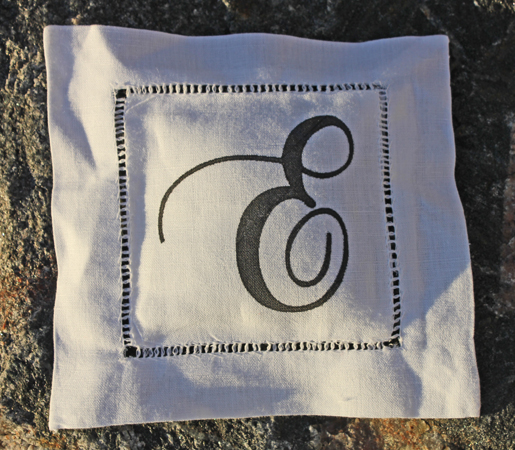
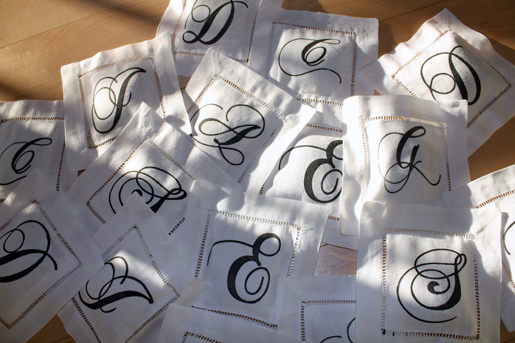
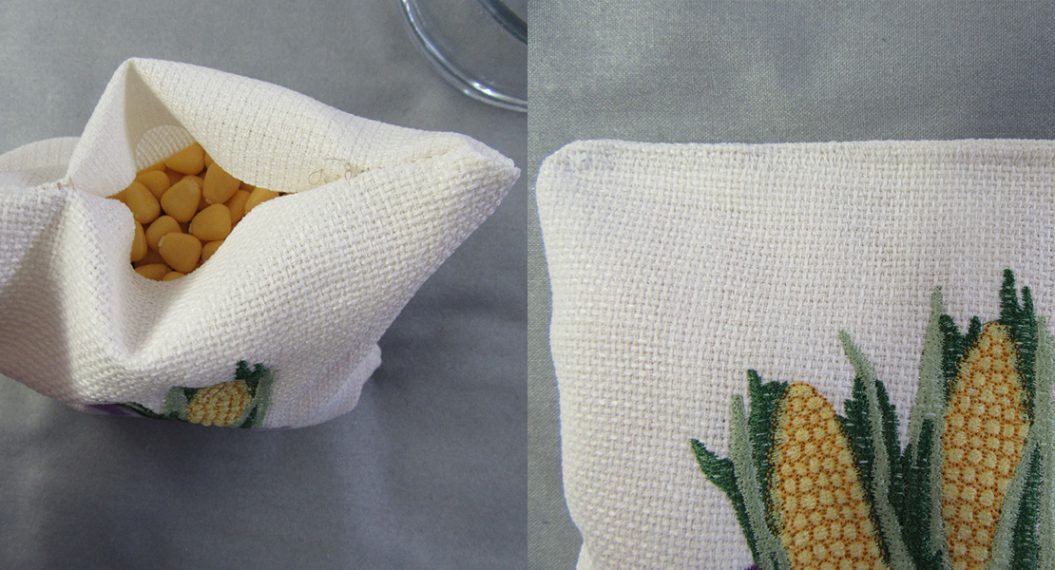
Last year’s holiday gifts for my work peers and friends were linen sachets personalized with PaintWork. I love linen sachets! This time I worked from a pre-assembled blank sachet and PaintWork seemed to be the perfect way to add the special touch to them.
I own a BERNINA 210. It is the perfect buddy for my sewing skill level. However, when we introduced our PaintWork tool, this was a bit over my BERNINA 210’s “head.” Luckily, my co-worker Gayle could help and we met for a painting session on her 8 Series machine. I am very lucky that I can learn from the best and the experience they gained in all their years of sewing. I soak it up like a sponge!
Here is how we personalized a pre-assembled linen sachet with PaintWork:
First, have your manual at hand!
Start by choosing a font you like. My font choice for the monogram was Chopin.
We created the letters on the computer and fine-tuned them in the BERNINA DesignerPlus Embroidery Software 7 as a bitmap image and imported them into the DesignWorks CutWork software.
The key to successful placement on these sachet blanks is to paint your files onto freezer paper samples first to make a template. Freezer paper is great because it can be ironed on without leaving a sticky residue, and it can be repositioned several times.
Hoop Stabil Stick stabilizer in your hoop with the paper side up. Then use a straight pin to peel the protective paper away and expose the sticky stabilizer. Stick the sachet blank on the stabilizer. Make sure that it is in the hoop straight by using the placement template that came with the hoop.
Put in some freezer paper and “stitch” all of your letters to create templates. After they are complete, cut them to the exact size of the area where you want to paint the blank sachet.
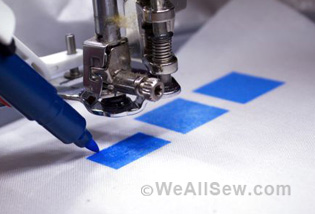
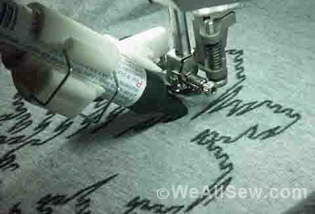
Once all of the freezer paper templates are cut to size, use an iron to press a template onto a sachet blank, making sure that it is positioned on the right side and situated with the letter at the top of the sachet. When your paintwork is starting, Make sure that the pen sits exactly where the template painting starts, then begin “painting” the letter.
Tip: Make sure that your pen is barely touching the fabric to avoid the color to bleed onto the backside of your sachet.
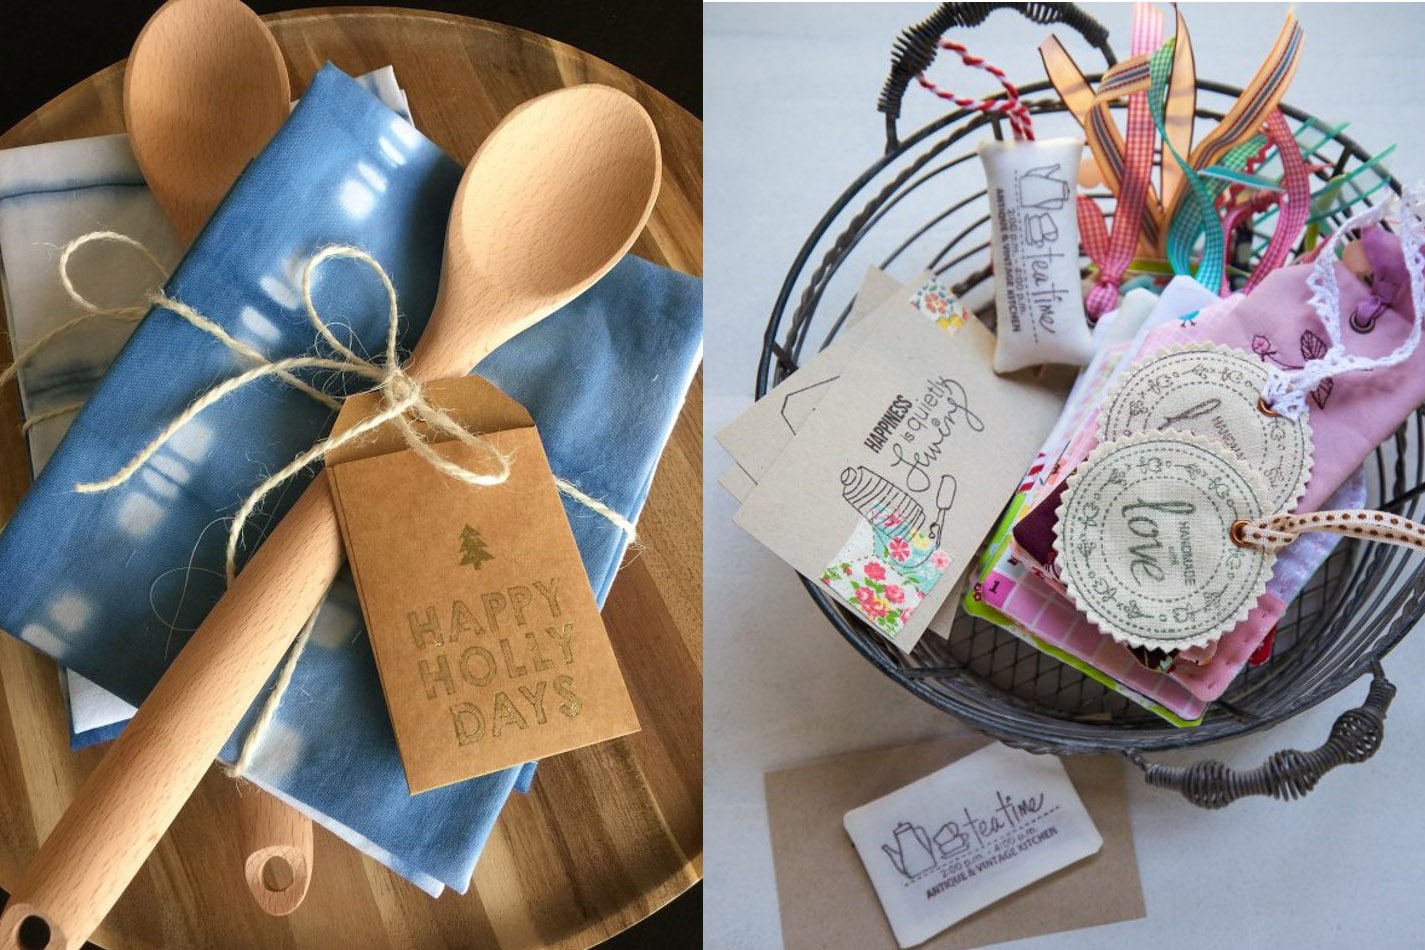
And voila! Your sachet is finished and just needs a fun wrapping!
Now, since I have my little boy Maximilian I am on a mission to grow my sewing skills. I know that the day will come when he stands before me and says: “Mom, this year I want to be Darth Vader on Halloween!” Of course as a mom you don’t want to fail preparing your little one for one of the most fun times of the year. I already see myself turning around in my office asking: “Gayle, do you already have plans after work for the next few days?”





One comment on “How to Personalize a Quick Gift with PaintWork!”