DIY Lace Insertion in the Mega Hoop
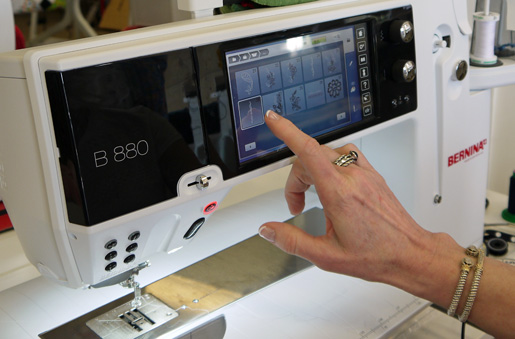
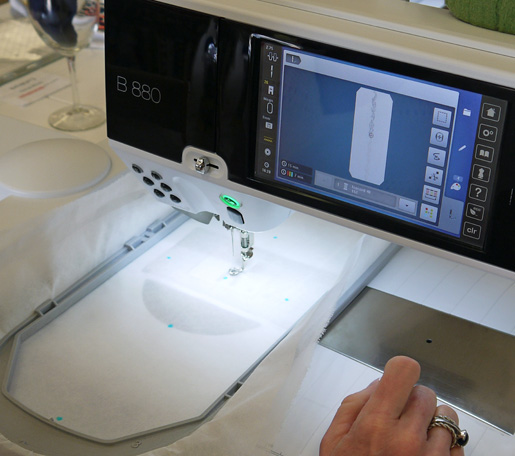
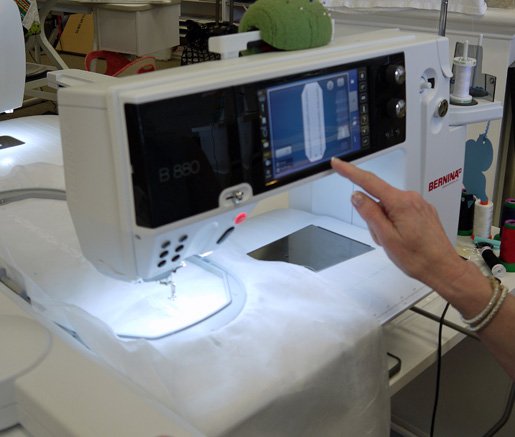
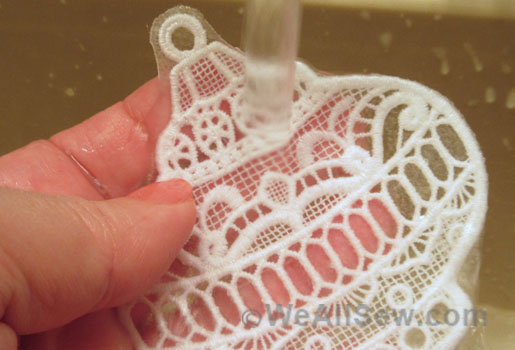
Renee’ Spell of Elegant Stitches in Cary, NC knows a whole lot about heirloom stitching and has spent years sewing adult and children’s clothing. She wanted to utilize one of the many features and built-in stitches on the BERNINA 880. She created this beautiful lace insertion using Italian organdy adhered to Floriani Wet N Gone stabilizer, the Mega Hoop, and embroidery design #26 from folder #2 on the BERNINA 880. (Other linear designs will also work with this technique.)
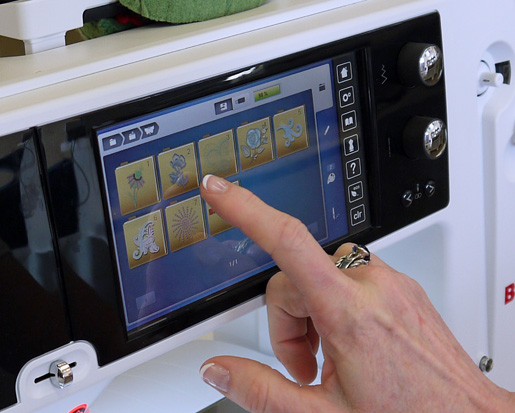
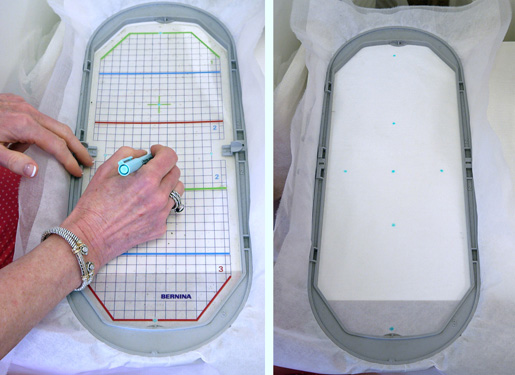
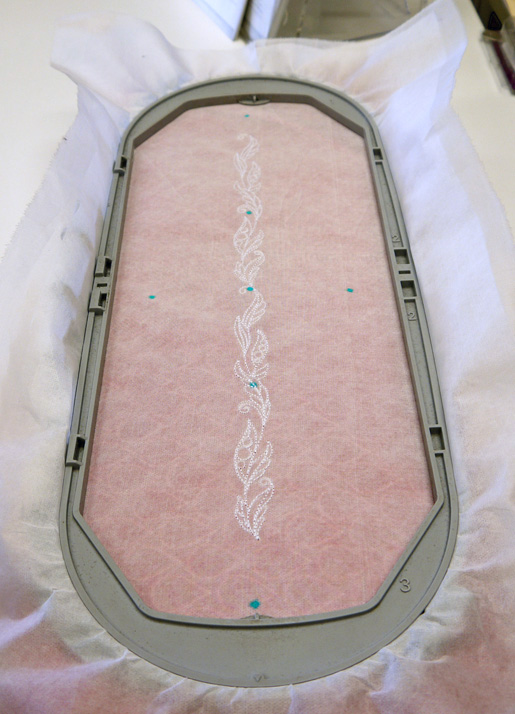
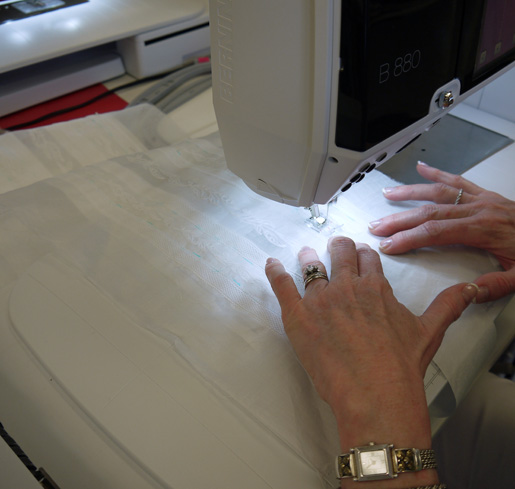
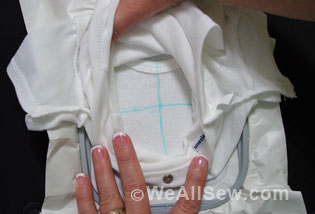
After choosing the design and setting up the machine, Renee’ used the hoop template to mark the centers for ease in rehooping the material for continuous stitching using the endless embroidery function. There’s a great Tool Tip video about endless embroidery on bernina.com.
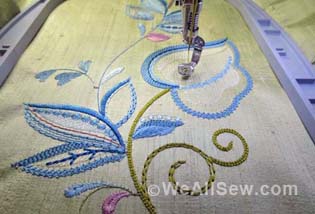
The lace insertion began with stitching the endless embroidery design centered in the hoop.
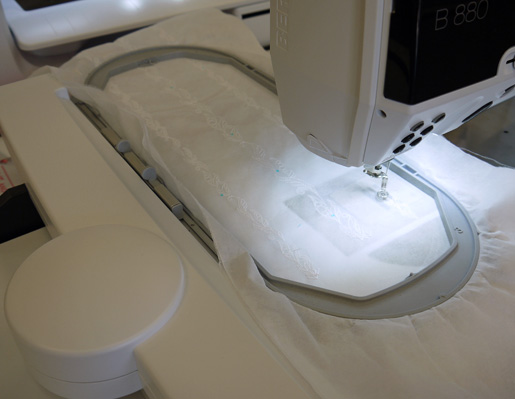
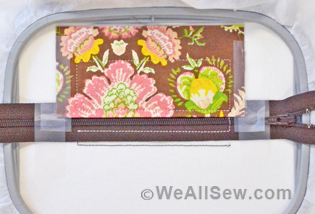
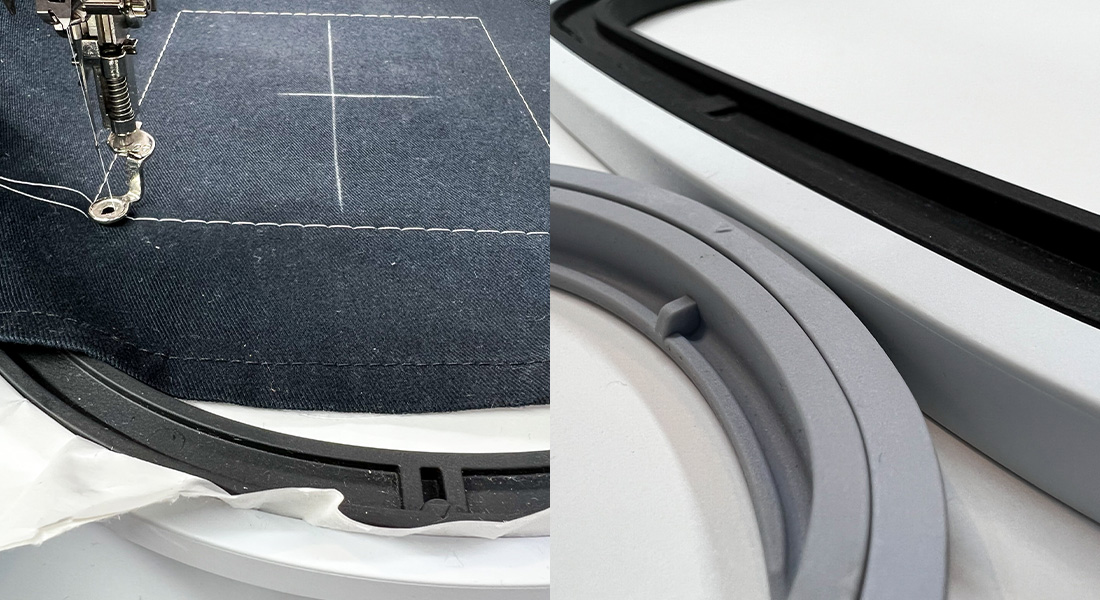
When the center design was complete, the hoop was repositioned using the center marks made on the fabric. Because the design was made smaller for the side lace insertions, the project had to be re-hooped three times. Yes, THREE times! But with endless embroidery Renee’ made it look like a piece of cake!
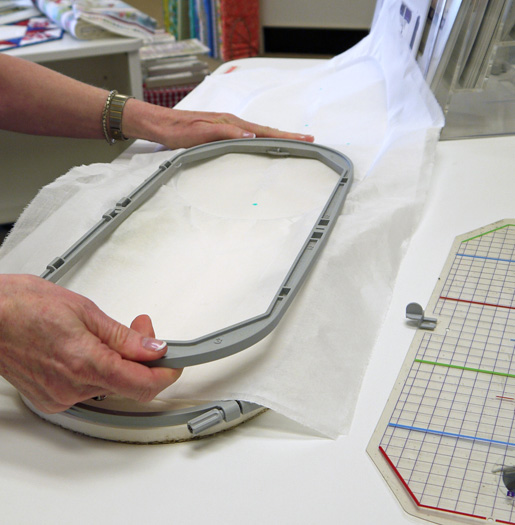
After re-hooping and aligning the reference marks, she continued stitching the middle lace design.
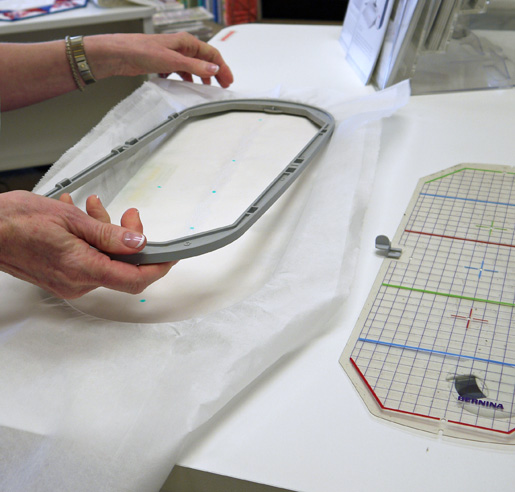
Then another rehooping before stitching the third design. Renee’ used the template marks made on the fabric to help reposition the fabric in the hoop.
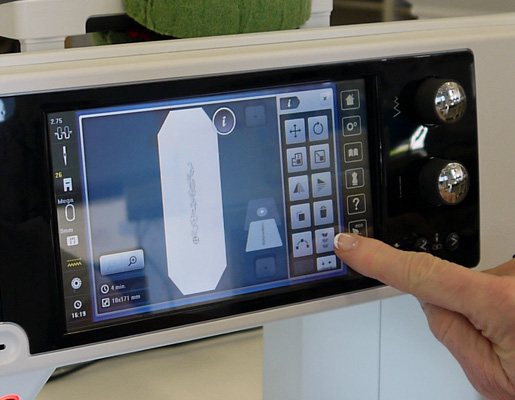
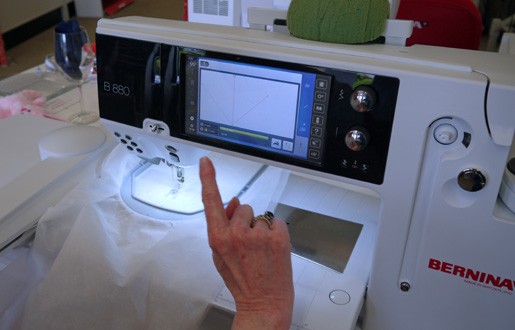
Using the same built-in design and following the video technique for creating endless embroidery, Renee’ resized the design to 70%. After doing this, she moved the design to the left-most point of the hoop and selected the Fit to Hoop icon. She duplicated this design and moved it to the right-most point of the hoop. The design was now on both sides of the original design.
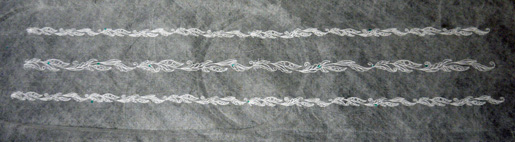
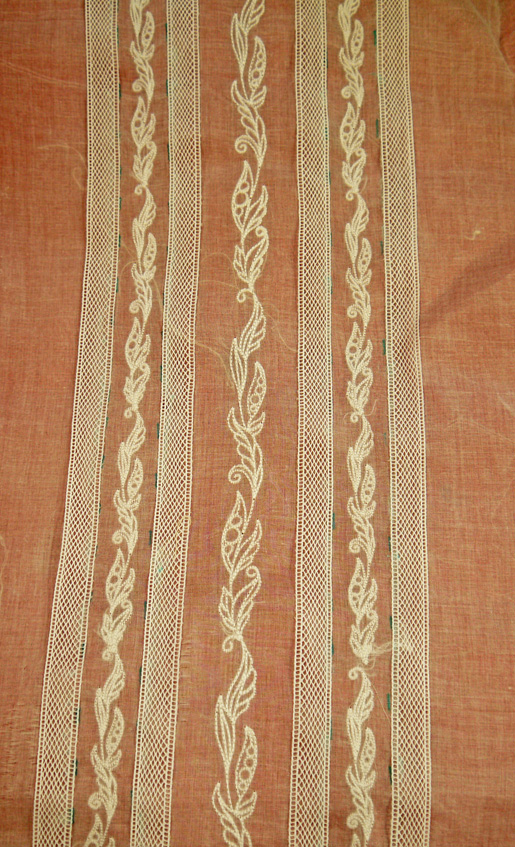
The material was repositioned one more time for the final re-hooping and the last stitches were created with the endless embroidery function.
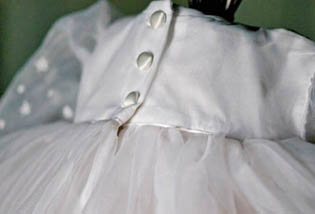
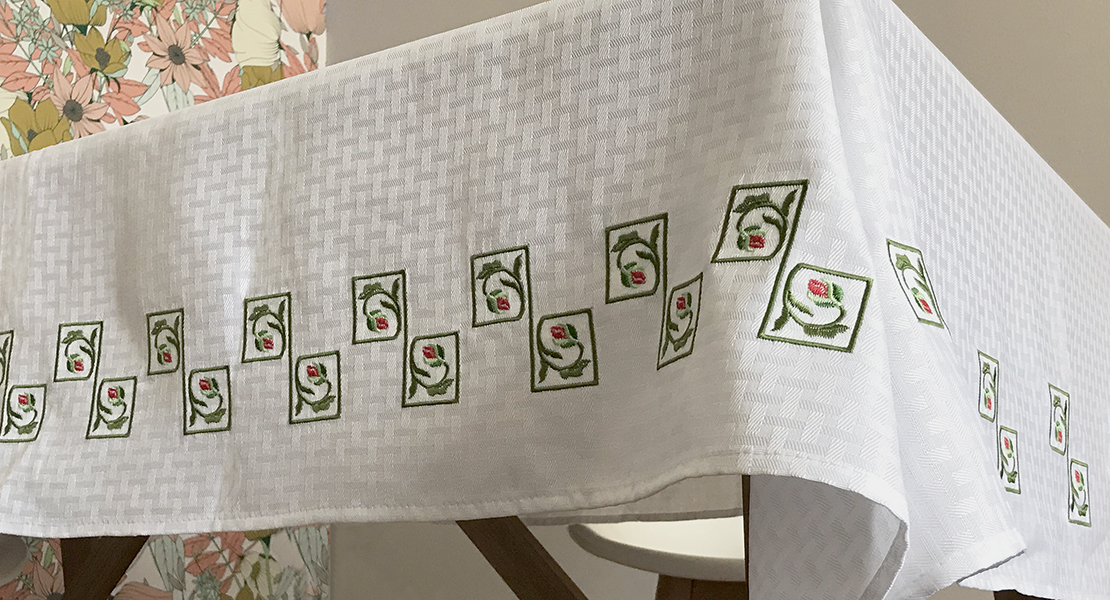
After removing the material from the hoop, this is what it looked like:
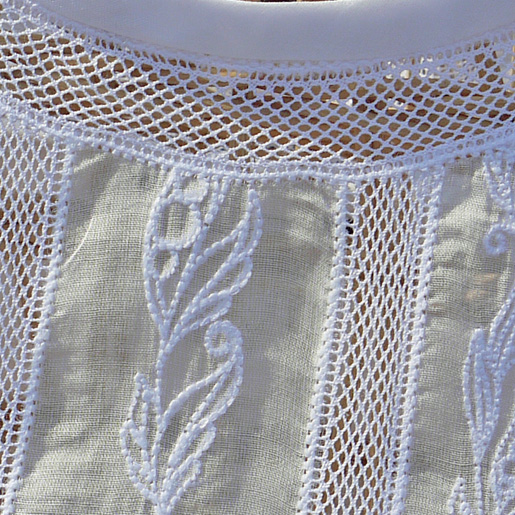
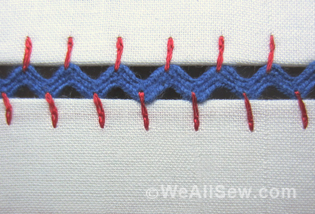
Renee’ wasn’t finished! She places Stitch-in-the-Ditch Tear-Away stabilizer behind the organdy and used Clear Sole Foot #34C and a blanket stitch (#720) to attach decorative lace to the sides of the design.
Viola’! Complete . . . but now what?
You’ll have to visit Elegant Stitches to see what Renee’ makes with the lace insertions.
Written by Rhea Lucovsky, Elegant Stitches, Cary, NC, who made a fabulous quilt, banners, and more for her daughter’s wedding last summer.


3 comments on “DIY Lace Insertion in the Mega Hoop”
What thread, cotton, polyester, etc., brand, and weight is used for the lace insertion in the article “DYI Lace Insertion in the Mega Hoop “?
Also, needle size, please.