How To Sew a Modern Fanny Pack
I was not a fan of fanny packs the first time they came around in the 1980s. Back then fanny packs were generally a tell-tale sign of someone who didn’t dress cool. They were reserved for tourists, older people or people who put function above fashion. Fast forward 20 years later, and fanny packs have evolved from their former state of dorkiness into a something that’s functional and cute.
I first started noticing the fanny pack transformation while going through vendor applications for our Patchwork Show: Modern Makers Festival a few years ago. These new fanny packs where nothing like the ones I remembered making fun of in my childhood. The updated packs featured modern fabrics and looked more like tiny aprons than small backpacks.
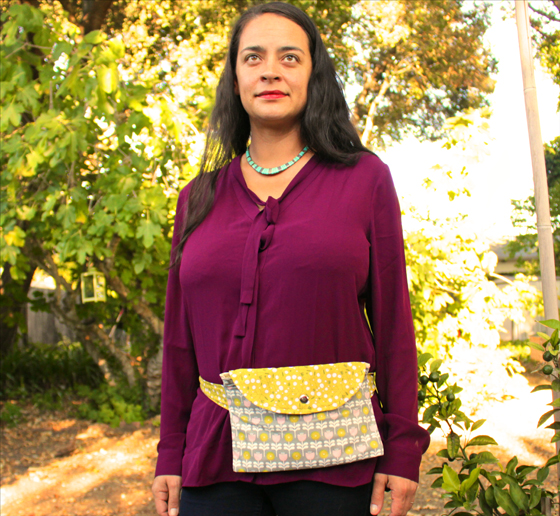
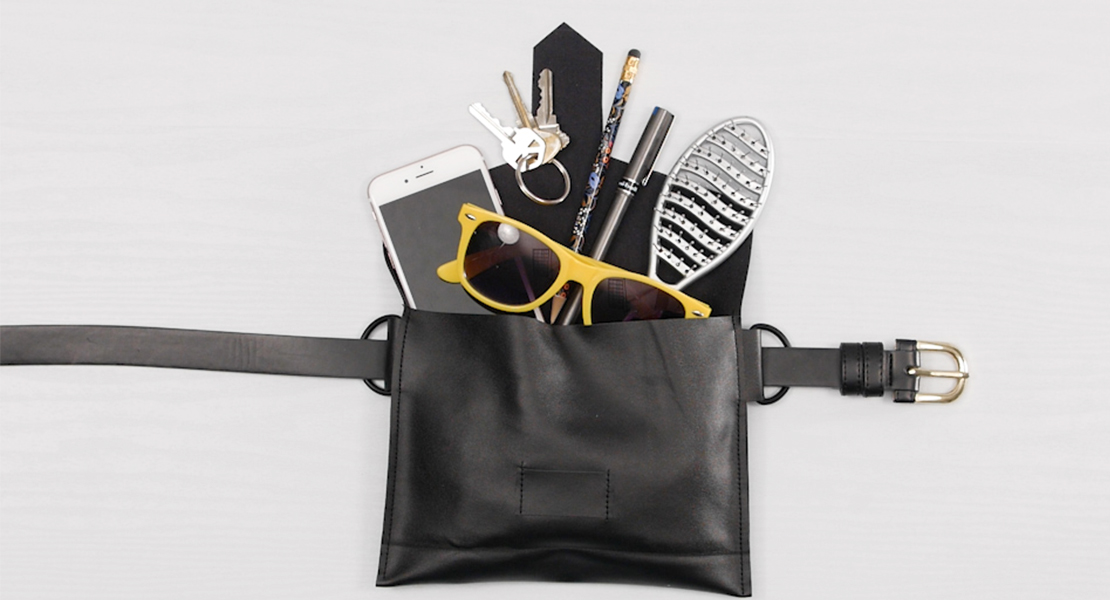
Since I finally let go of my fear of fanny packs, I thought it was time to make my own. My creation is a cross between a fanny pack and an apron with an inner pocket. It’s perfect for craft show vendors who want to keep their money and cell phone close, but is also great for the farmers market, outdoor festivals, and excercising. I use my new fanny pack on my morning walk so I’m not weighed down by a purse or tote and my hands are free. There’s plenty of space for my cell phone, keys and wallet and you can even make it a bit larger or smaller depending on what you’re planning to carry.
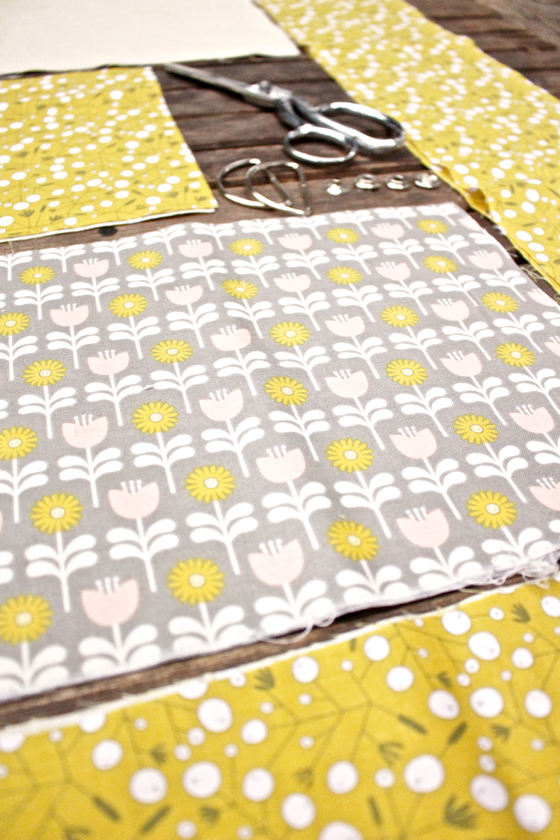
Materials:
- Two 11″ x 8″ inch pieces of fabric for the outside of the pack
- Two 11″ x 8″ inch pieces of fabric for the lining of the pack
- Two 9″ x 6 ½” pieces of fabric for the inner pocket
- Two half circle pieces of fabric for the flap (These need to be 11″ inches long and 5 ¼” inches tall at the center. Use a bowl or plate to cut your round edge if you’re not comfortable doing it freehand.)
- Two 30″ x 4 ½” inch pieces of fabric for the straps. You can make them shorter or longer depending on waist size and whether you prefer to tie the ends in a knot or bow.
- Two small pieces of iron-on interfacing. Mine were about 2″ x 2″ inches.
- Thread
- Scissors
- Measuring tape or ruler
- Snap and snap attachment tools including a hammer
- Seam ripper
- D-rings if you want to use them on the straps (or you can just tie the ends in a bow in the back like I did)
- Iron
- Ironing board
Instructions:
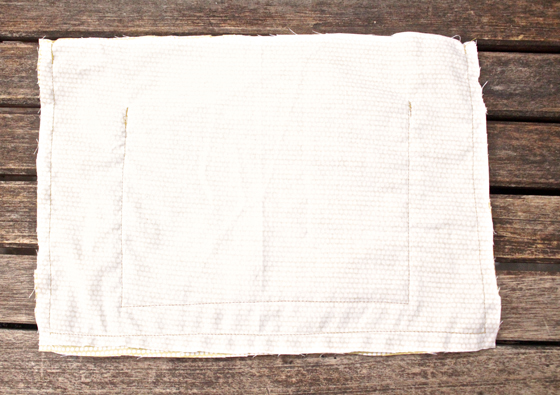
1. Sew the inner pocket. Put the right sides (printed sides) of the fabric together and sew along both sides and the bottom about 1/4″ from the edge.
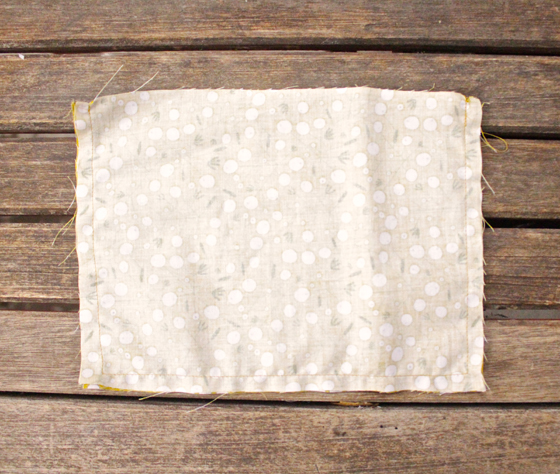
2. Turn it right way out and fold the top down inside the pocket about ¼ of an inch. Iron the fold.
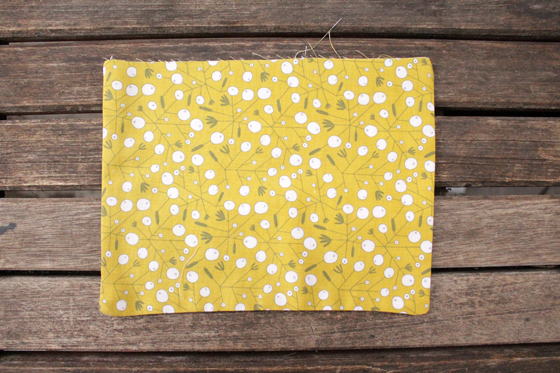
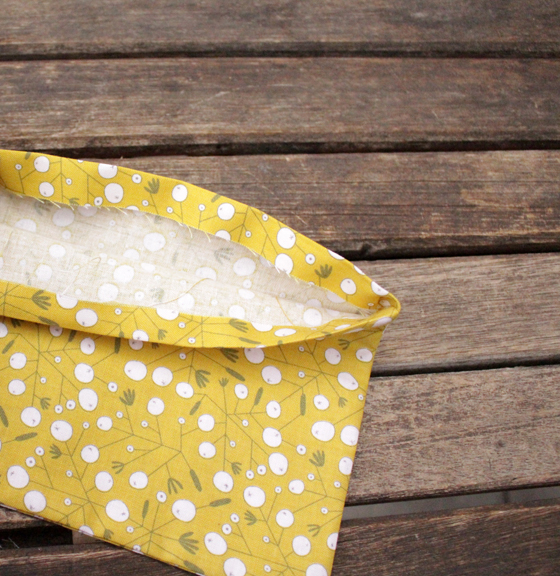
3. Close the pocket by sewing across the top fold close to the edge.
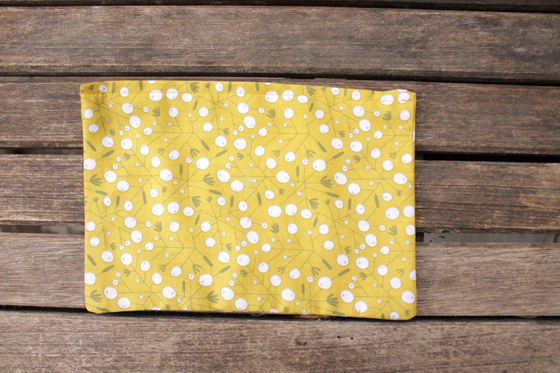
4. Sew the straps. Take one strap and fold it in half with the right side of the fabric together. Sew down the length of the strap about 1/2″ from the edge.
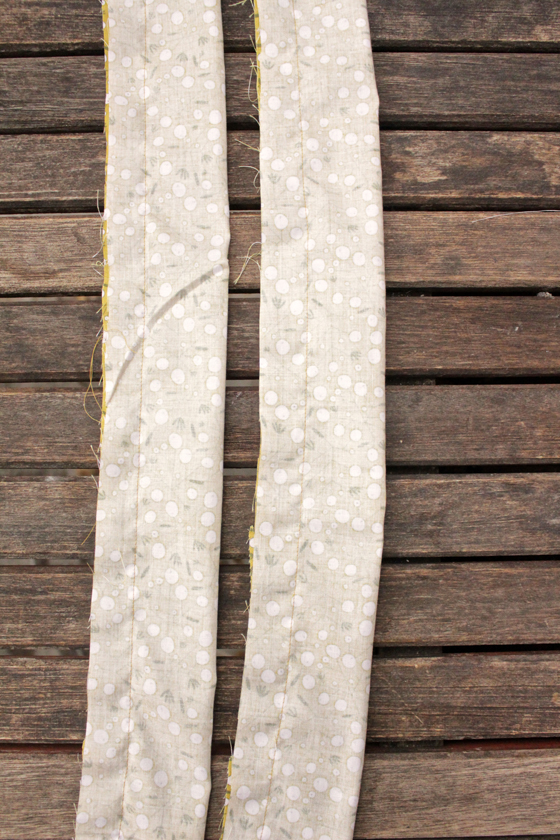
5. Turn the strap right way out using your finger or a pencil to push one end of the fabric inside the tube until it comes out the other end.
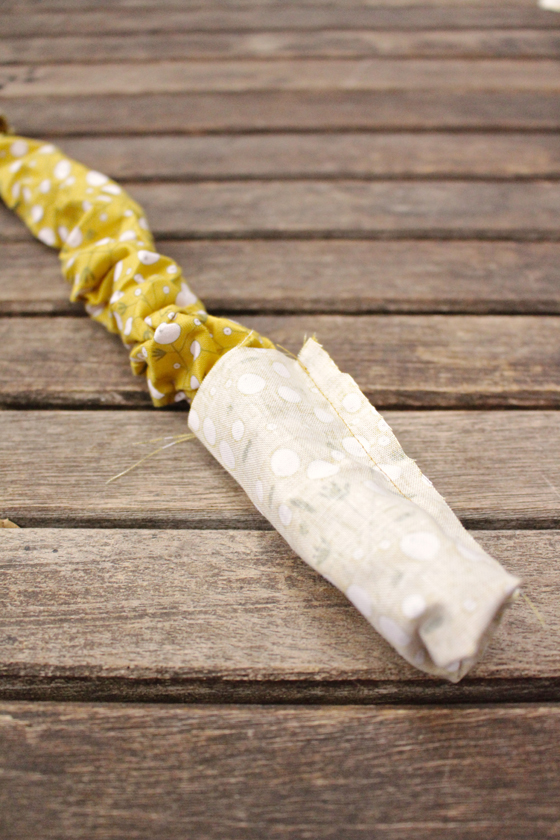
6. Iron the strap with seam in the middle of the back.
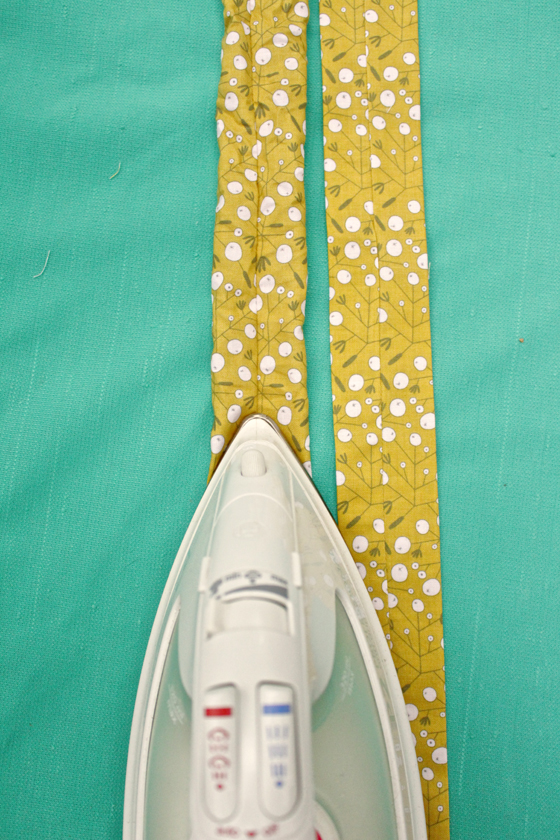
7. Topstitch each side of the strap, folding over the unfinished ends about 1/4″ and topstitch across as well.
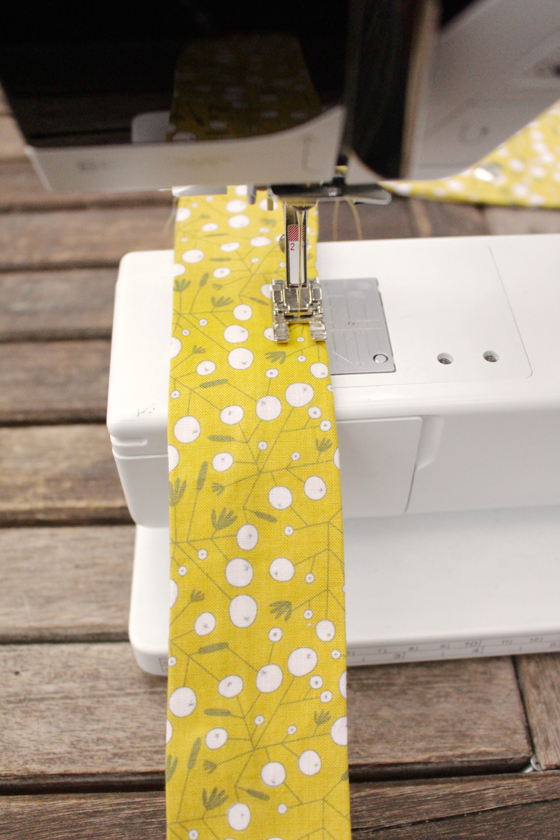
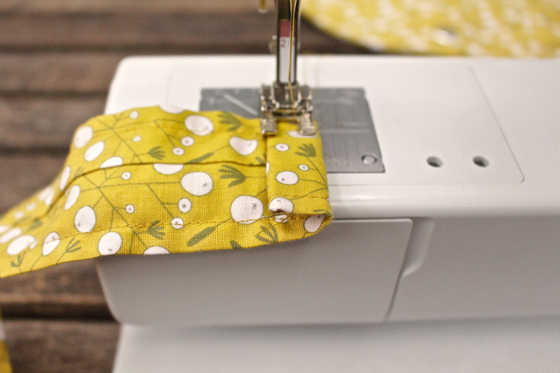
8. Repeat steps 4-7 for the other strap.
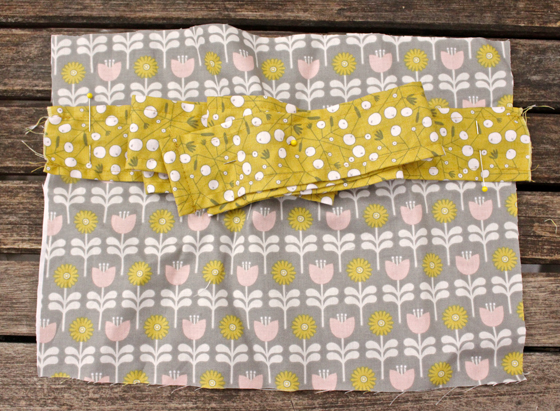
9. Sew the outside of the bag. Lay one piece of the outside fabric right side up, and place one strap end even with the side of the bag fabric, and about 1 1/2″ from the top edge of the fabric. Fold the rest of the strap on top of the outside piece. Pin the strap in place. Repeat this for the second strap.
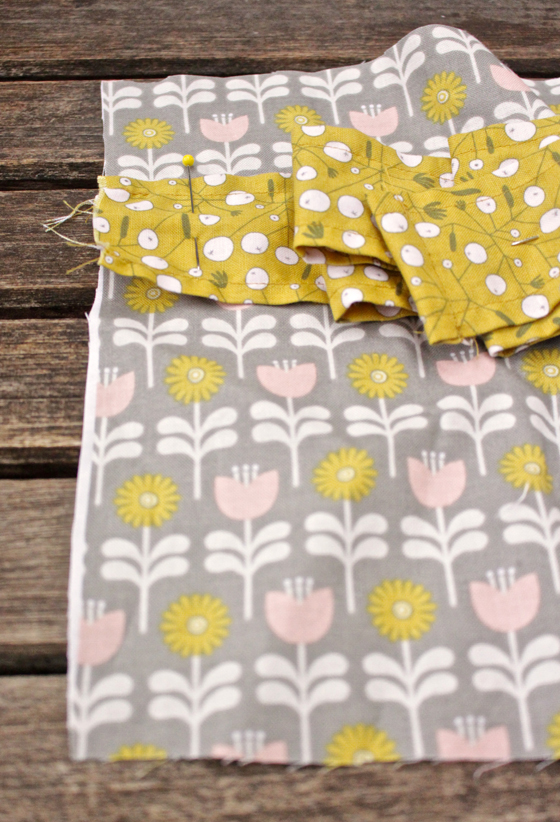
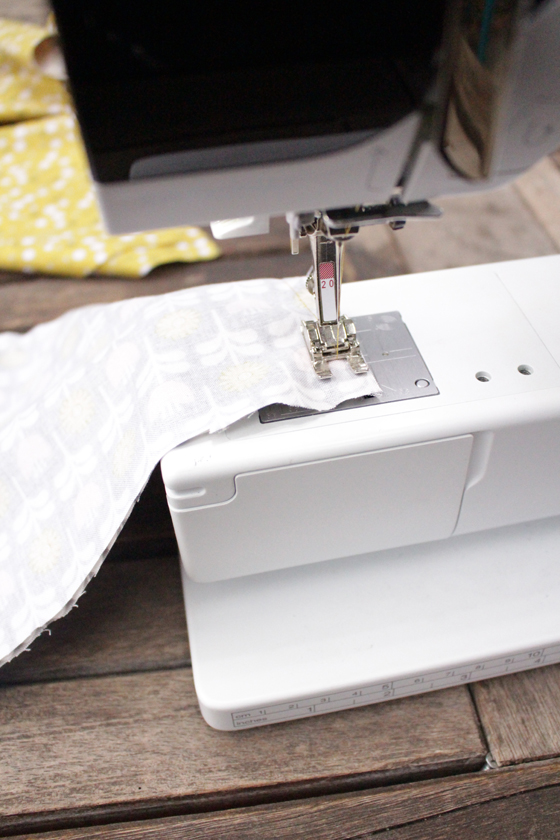
10. Place the second piece of outside fabric on top of the first piece and the straps with the right side facing the right sides together. The wrong side of the fabric should be facing you. Pin the two pieces together along the bottom and two sides, making sure to catch the straps at the edges. Sew along the sides and bottom about 1/2″ from edge.
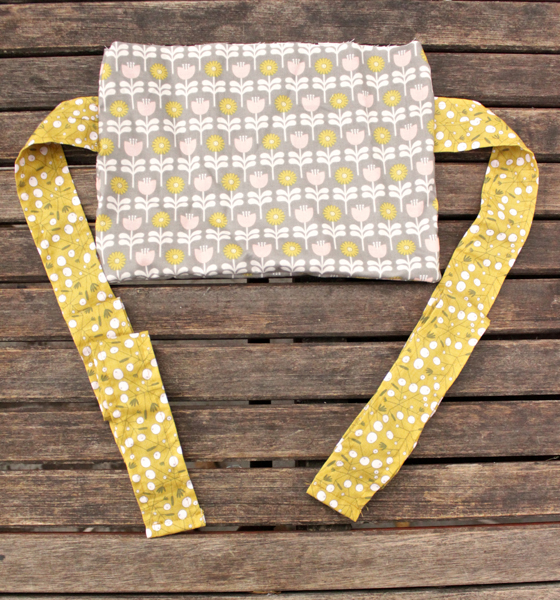
11. Turn the outside piece with the attached straps right side out and iron it.
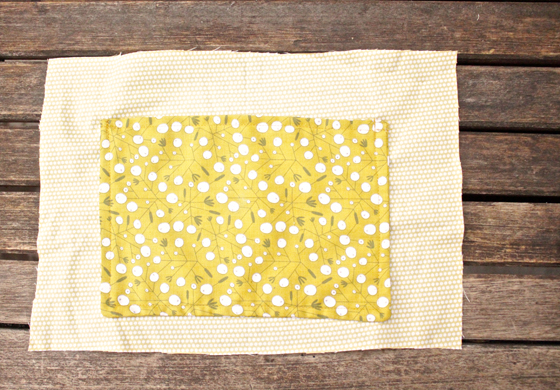
12. Sew the pocket to the lining. Position the pocket in the center on the right side of one of your pieces of lining fabric. Pin it down and sew it across the bottom and two sides. Feel free to divide the pocket into sections by sewing down the length of it to create smaller pocket the perfectly fit your phone or business cards.
13. Place the second piece of lining fabric on top of the first with the right sides together and sew along the bottom and down the sides.
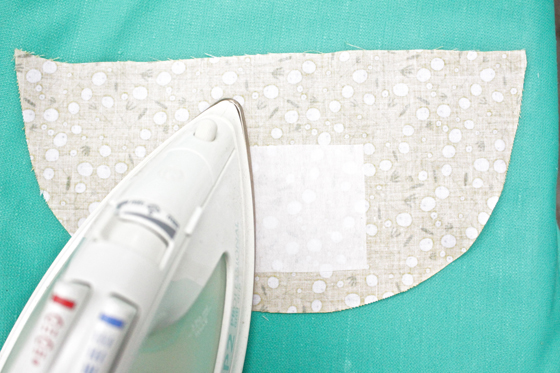
14. Sew the flap. Iron one of your pieces of interfacing in the middle of one side of the wrong side of one of your fabric pieces for flap.
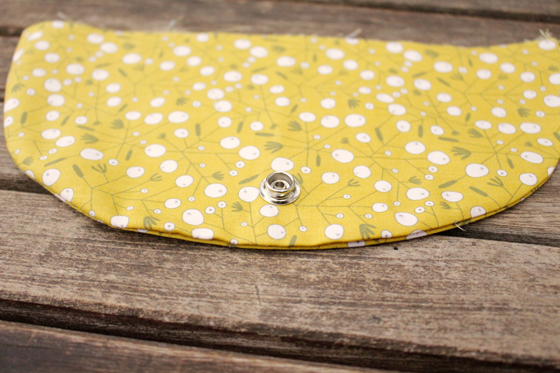
15. Attach your snap according to the directions on the package. I used a regular snap but you can use a magnetic one or even create a buttonhole and use a button.
16. Sew the flap pieces together across the curved edge with the right sides facing each other.
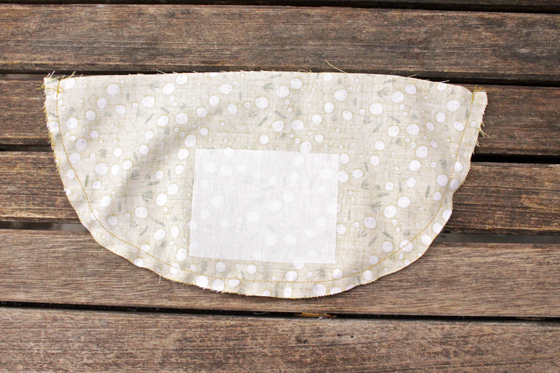
17. Iron the flap and topstitch across the curved edge.
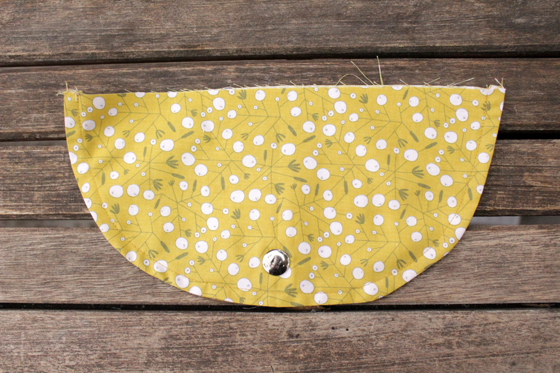
18. Put the pack together. Press under 1/2″ along the top unfinished edge of the lining and outside of bag. Place the lining in the outside pouch, then place the straight edge of the flap in the back between the lining and the outside pouch.
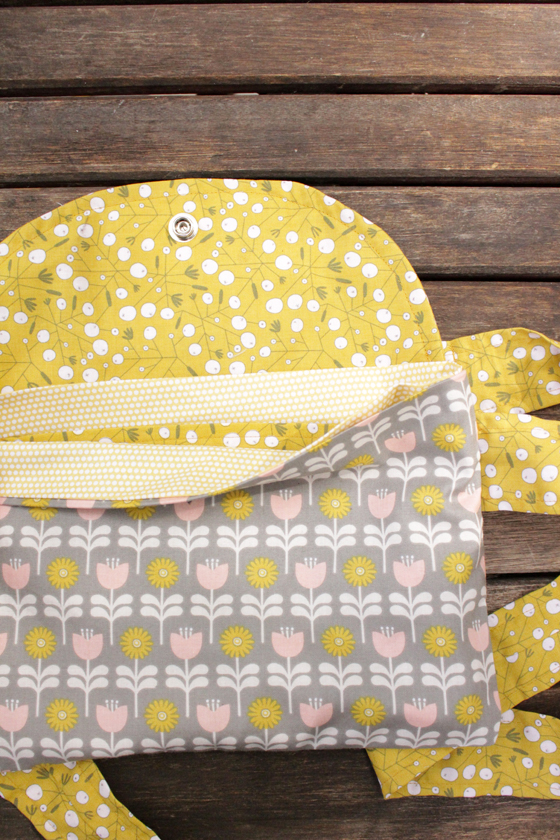
19. You need to attach the second part of your snap now. Fold the flap over and mark the spot where you need to put the second part of the snap.
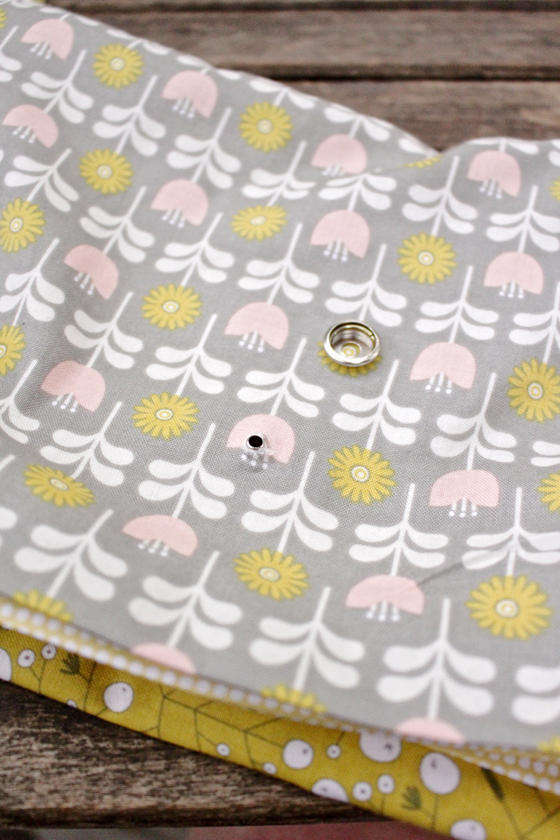
20. Iron interfacing onto the back of the spot where you’ll place the snap and then attach the snap according to the directions on the package.
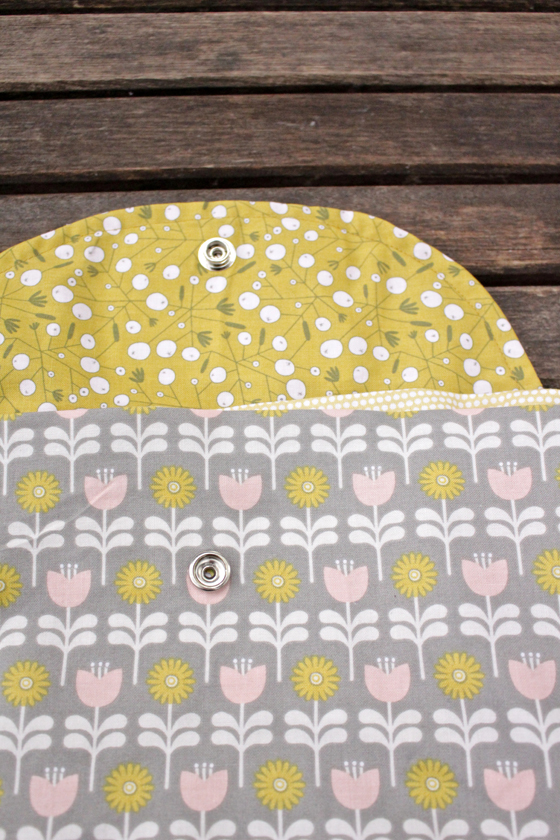
21. Pin the flap, lining and outside together along the top edge of the bag, and sew all along opening, about 14″ from the edge.
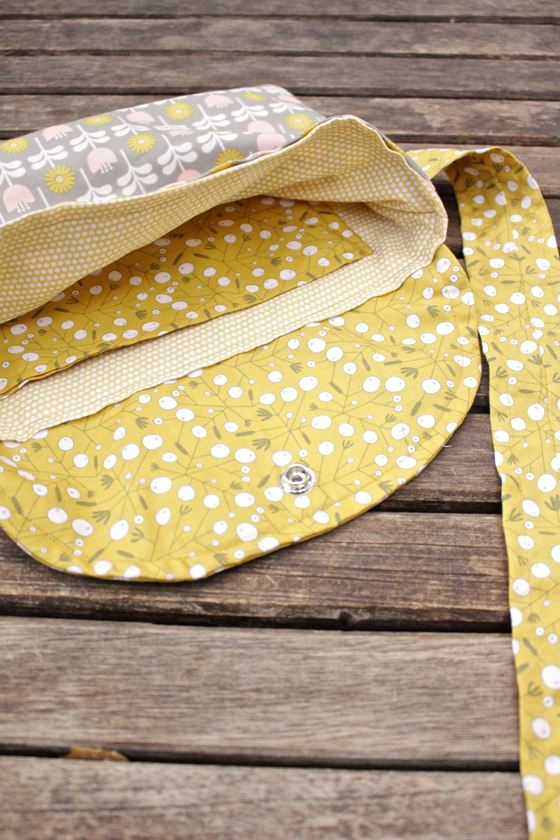
And there you have it, your very own custom and modern fanny pack!













2 comments on “How To Sew a Modern Fanny Pack”