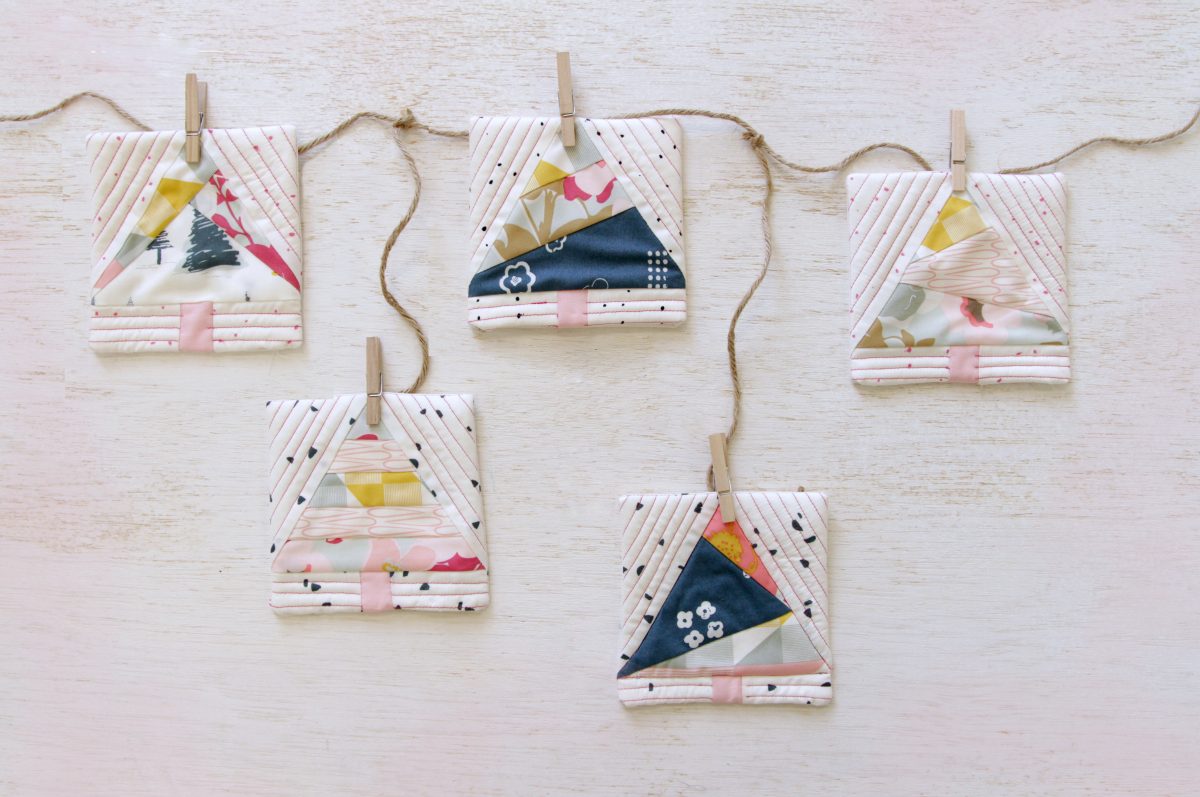
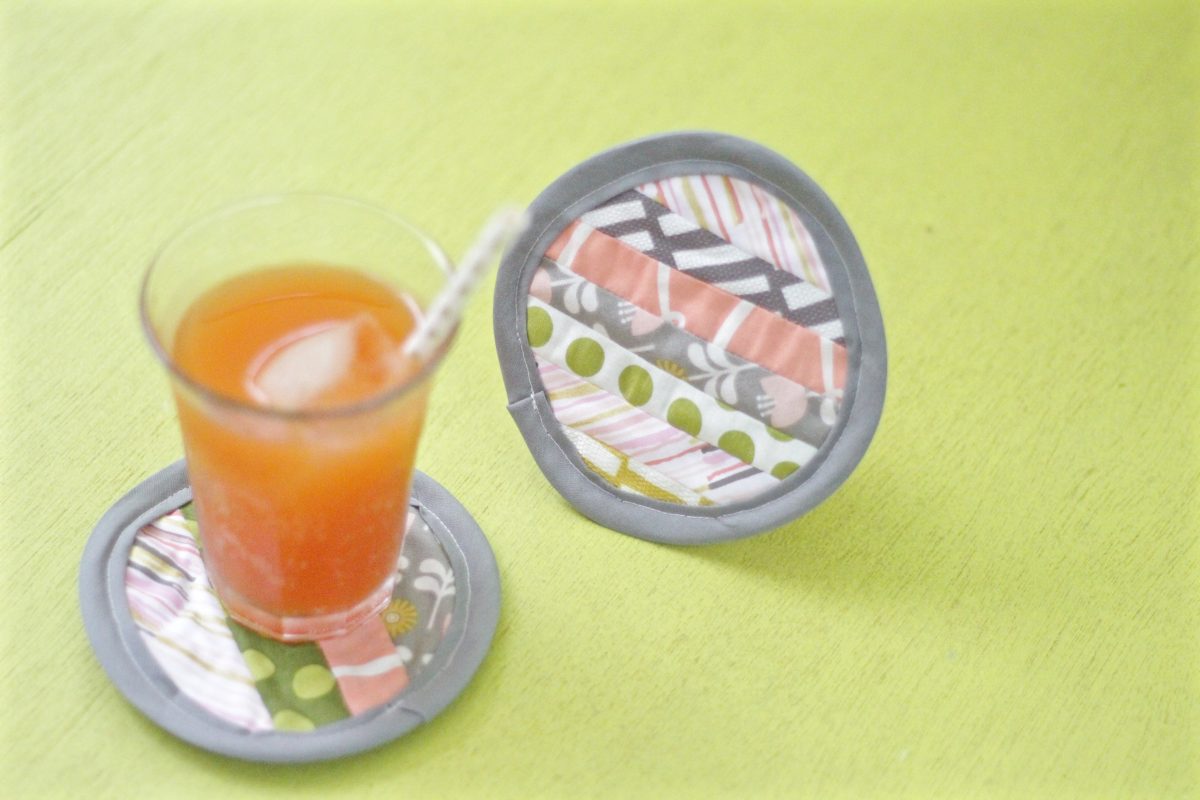
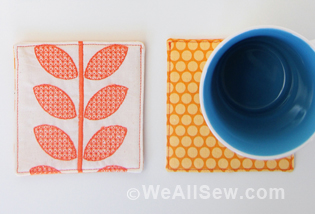
Record Coaster Sewing Tutorial
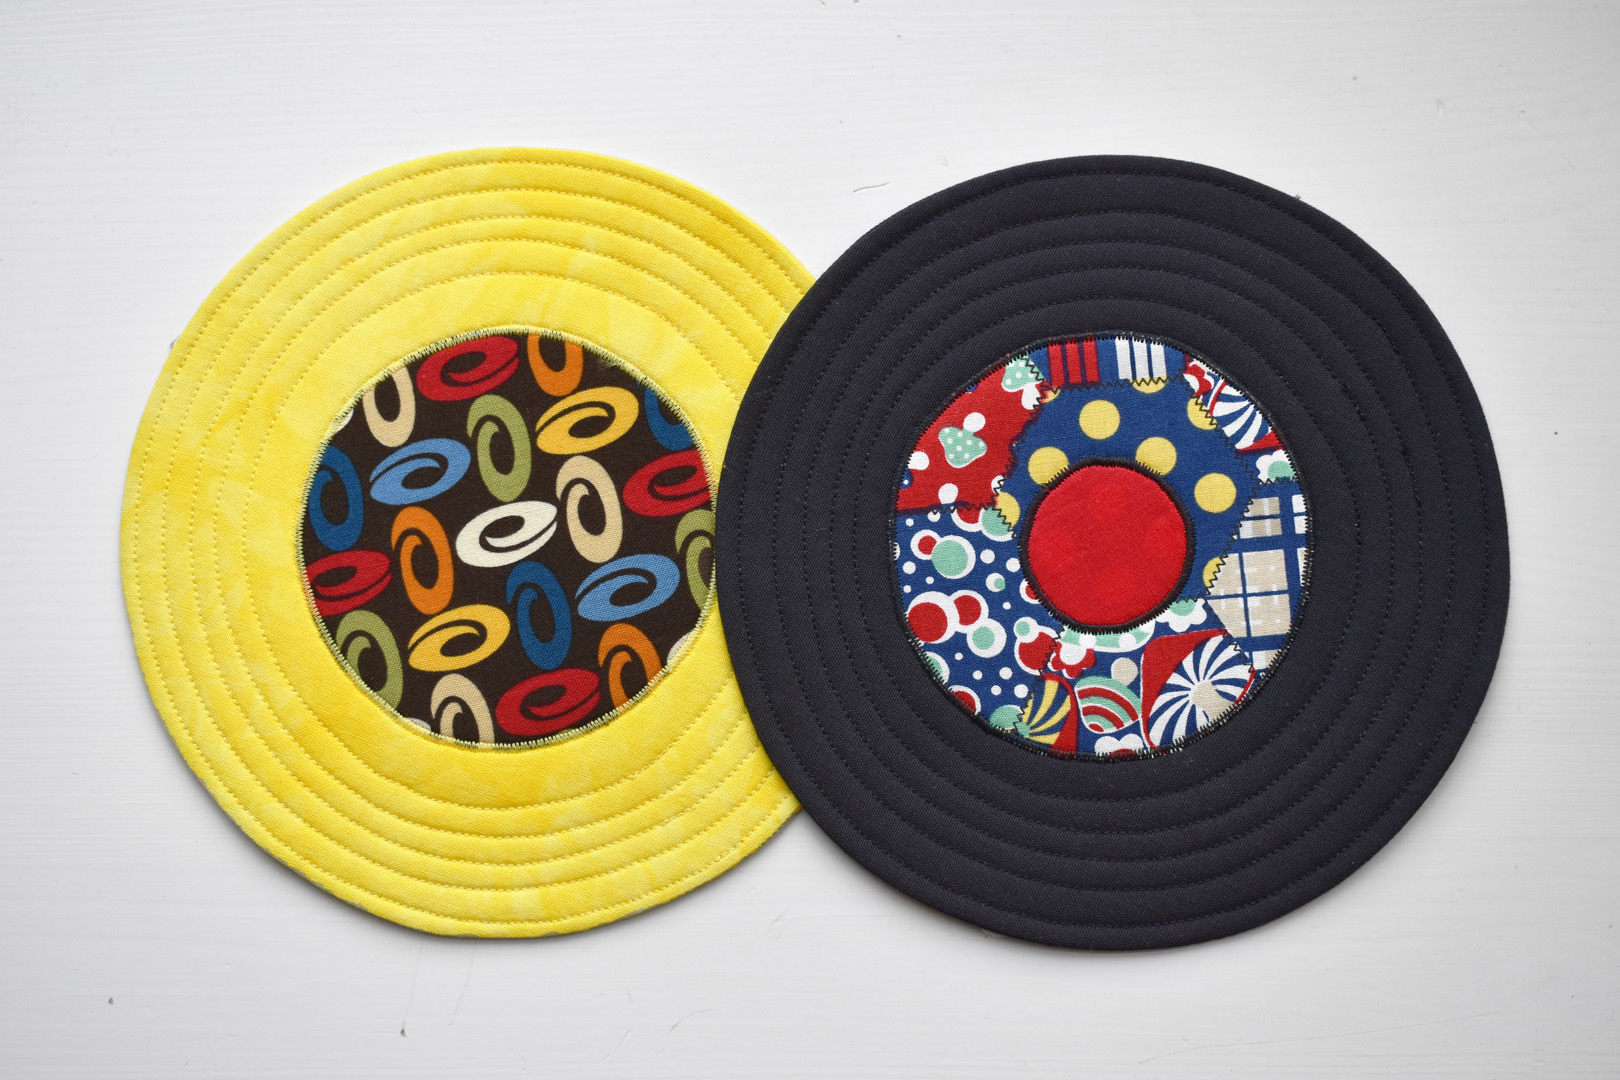
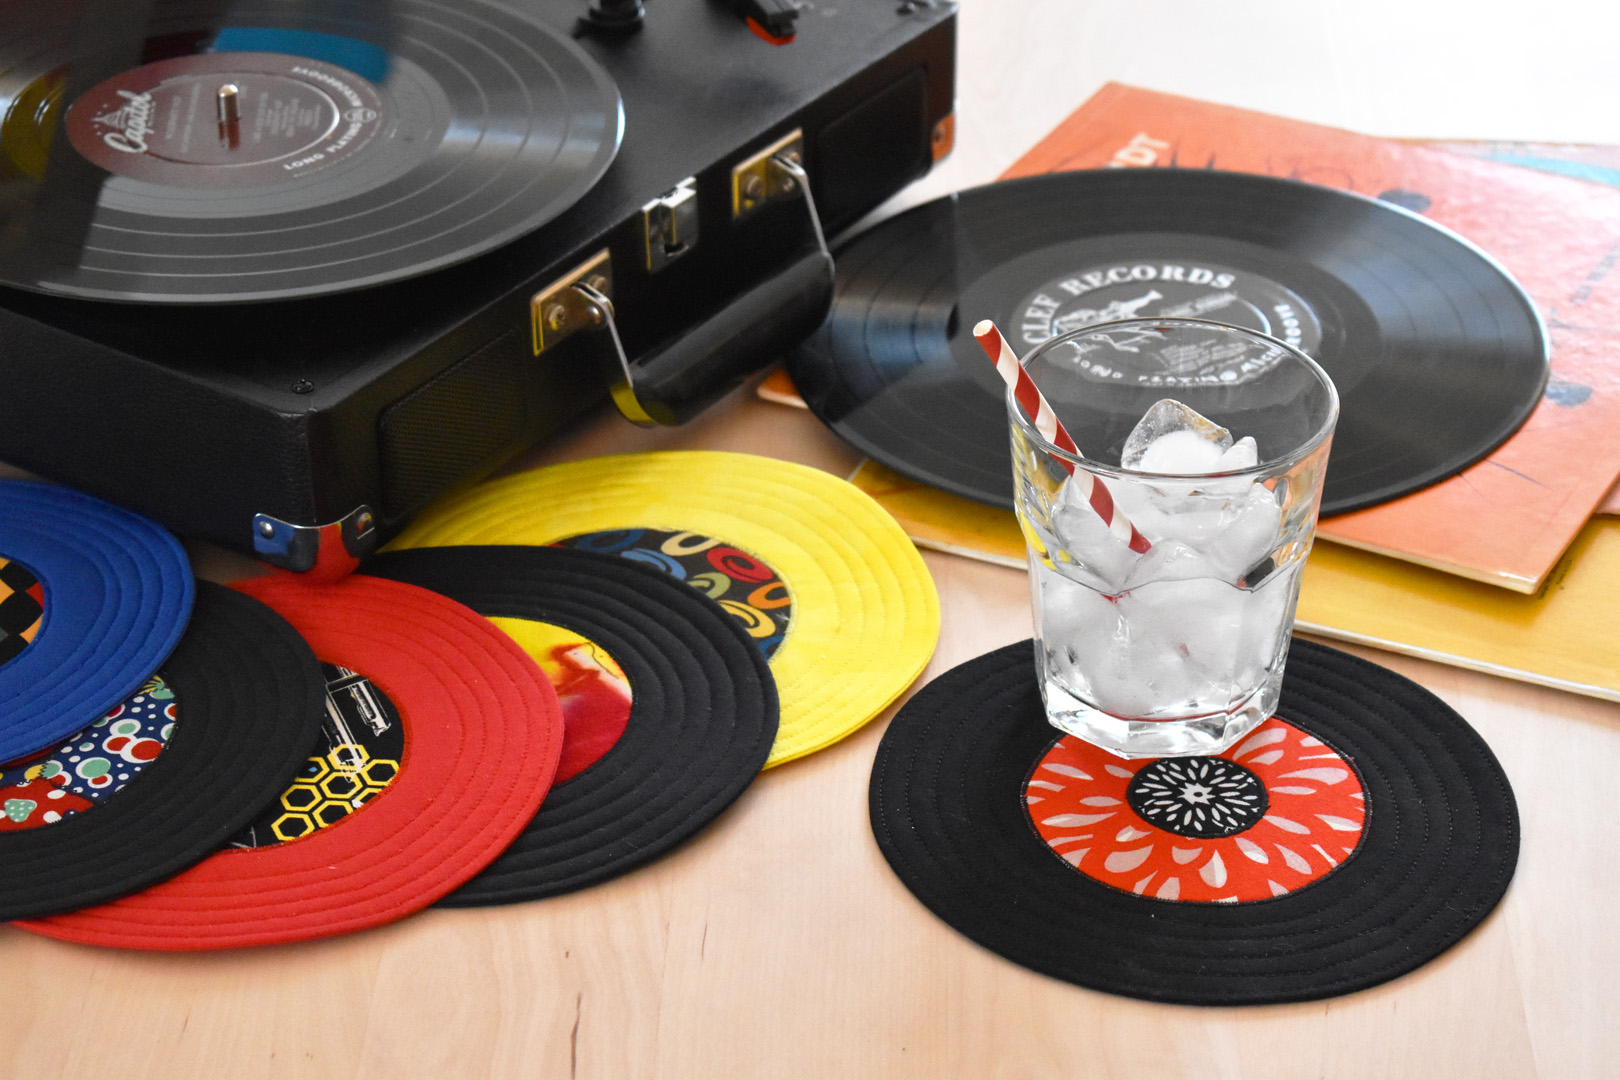
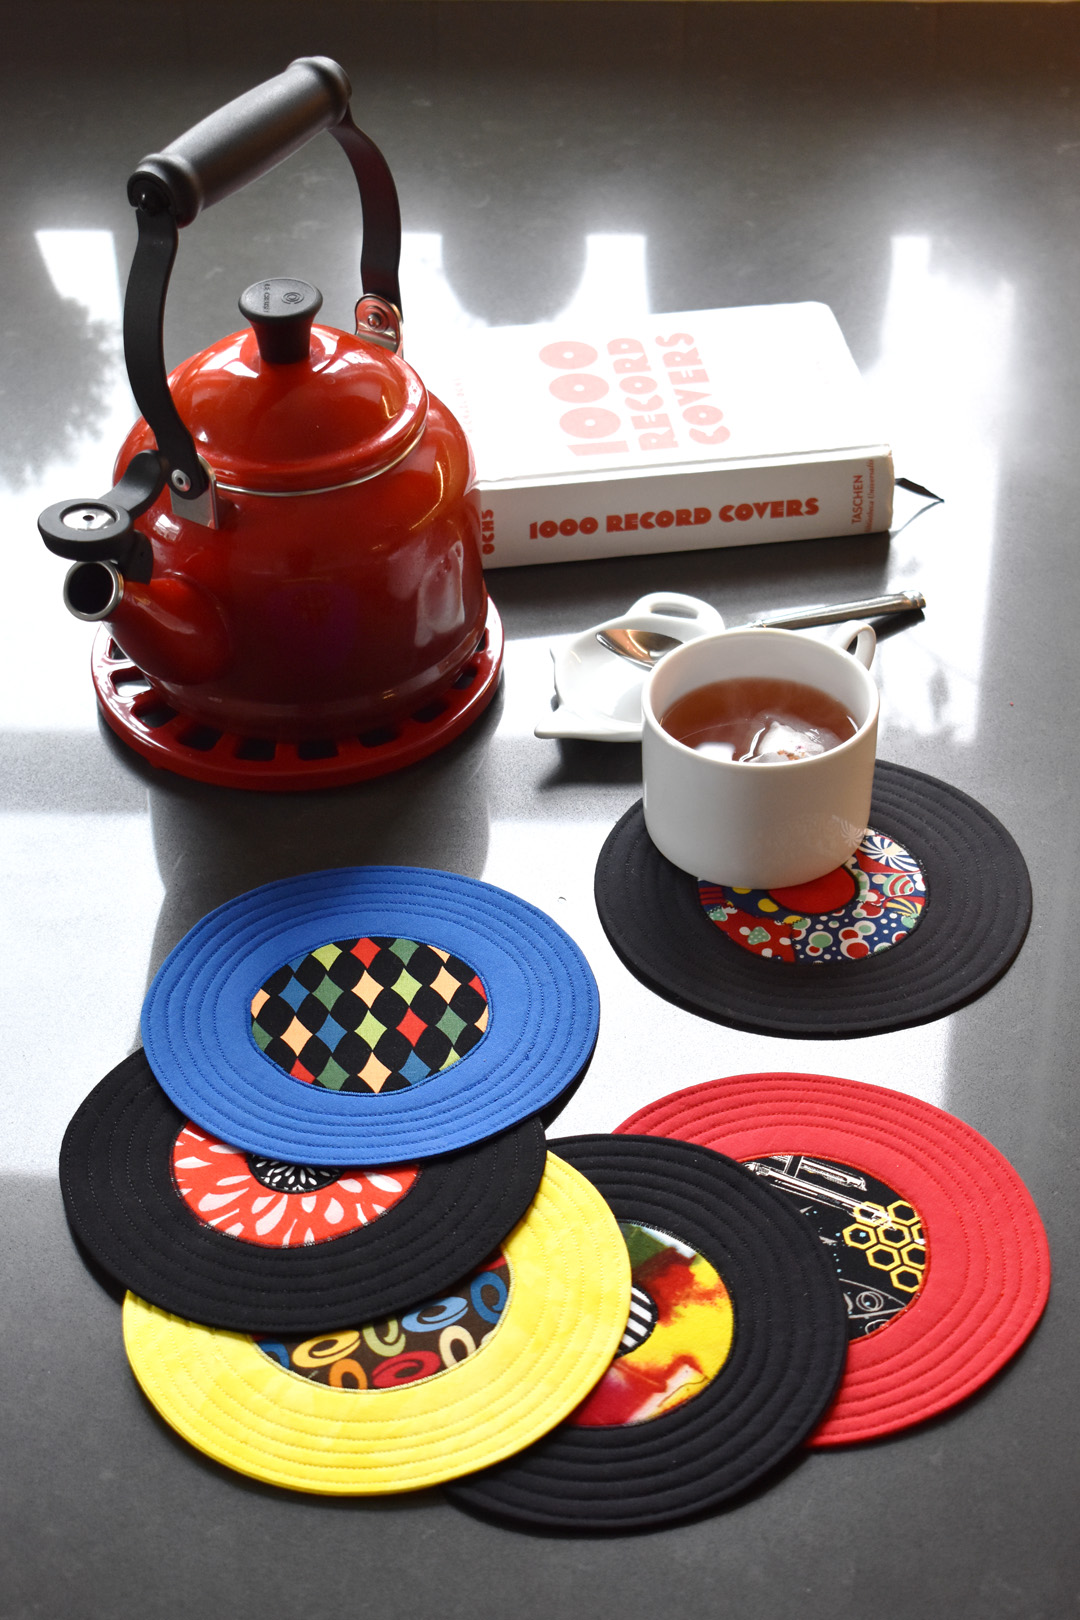
Create a set of coasters shaped just like 7″ 45 rpm records! Vintage vinyl 7″ singles can be really striking to look at with bright, multi-colored labels against the black vinyl. Sometimes these records are even produced with vivid colored vinyl.
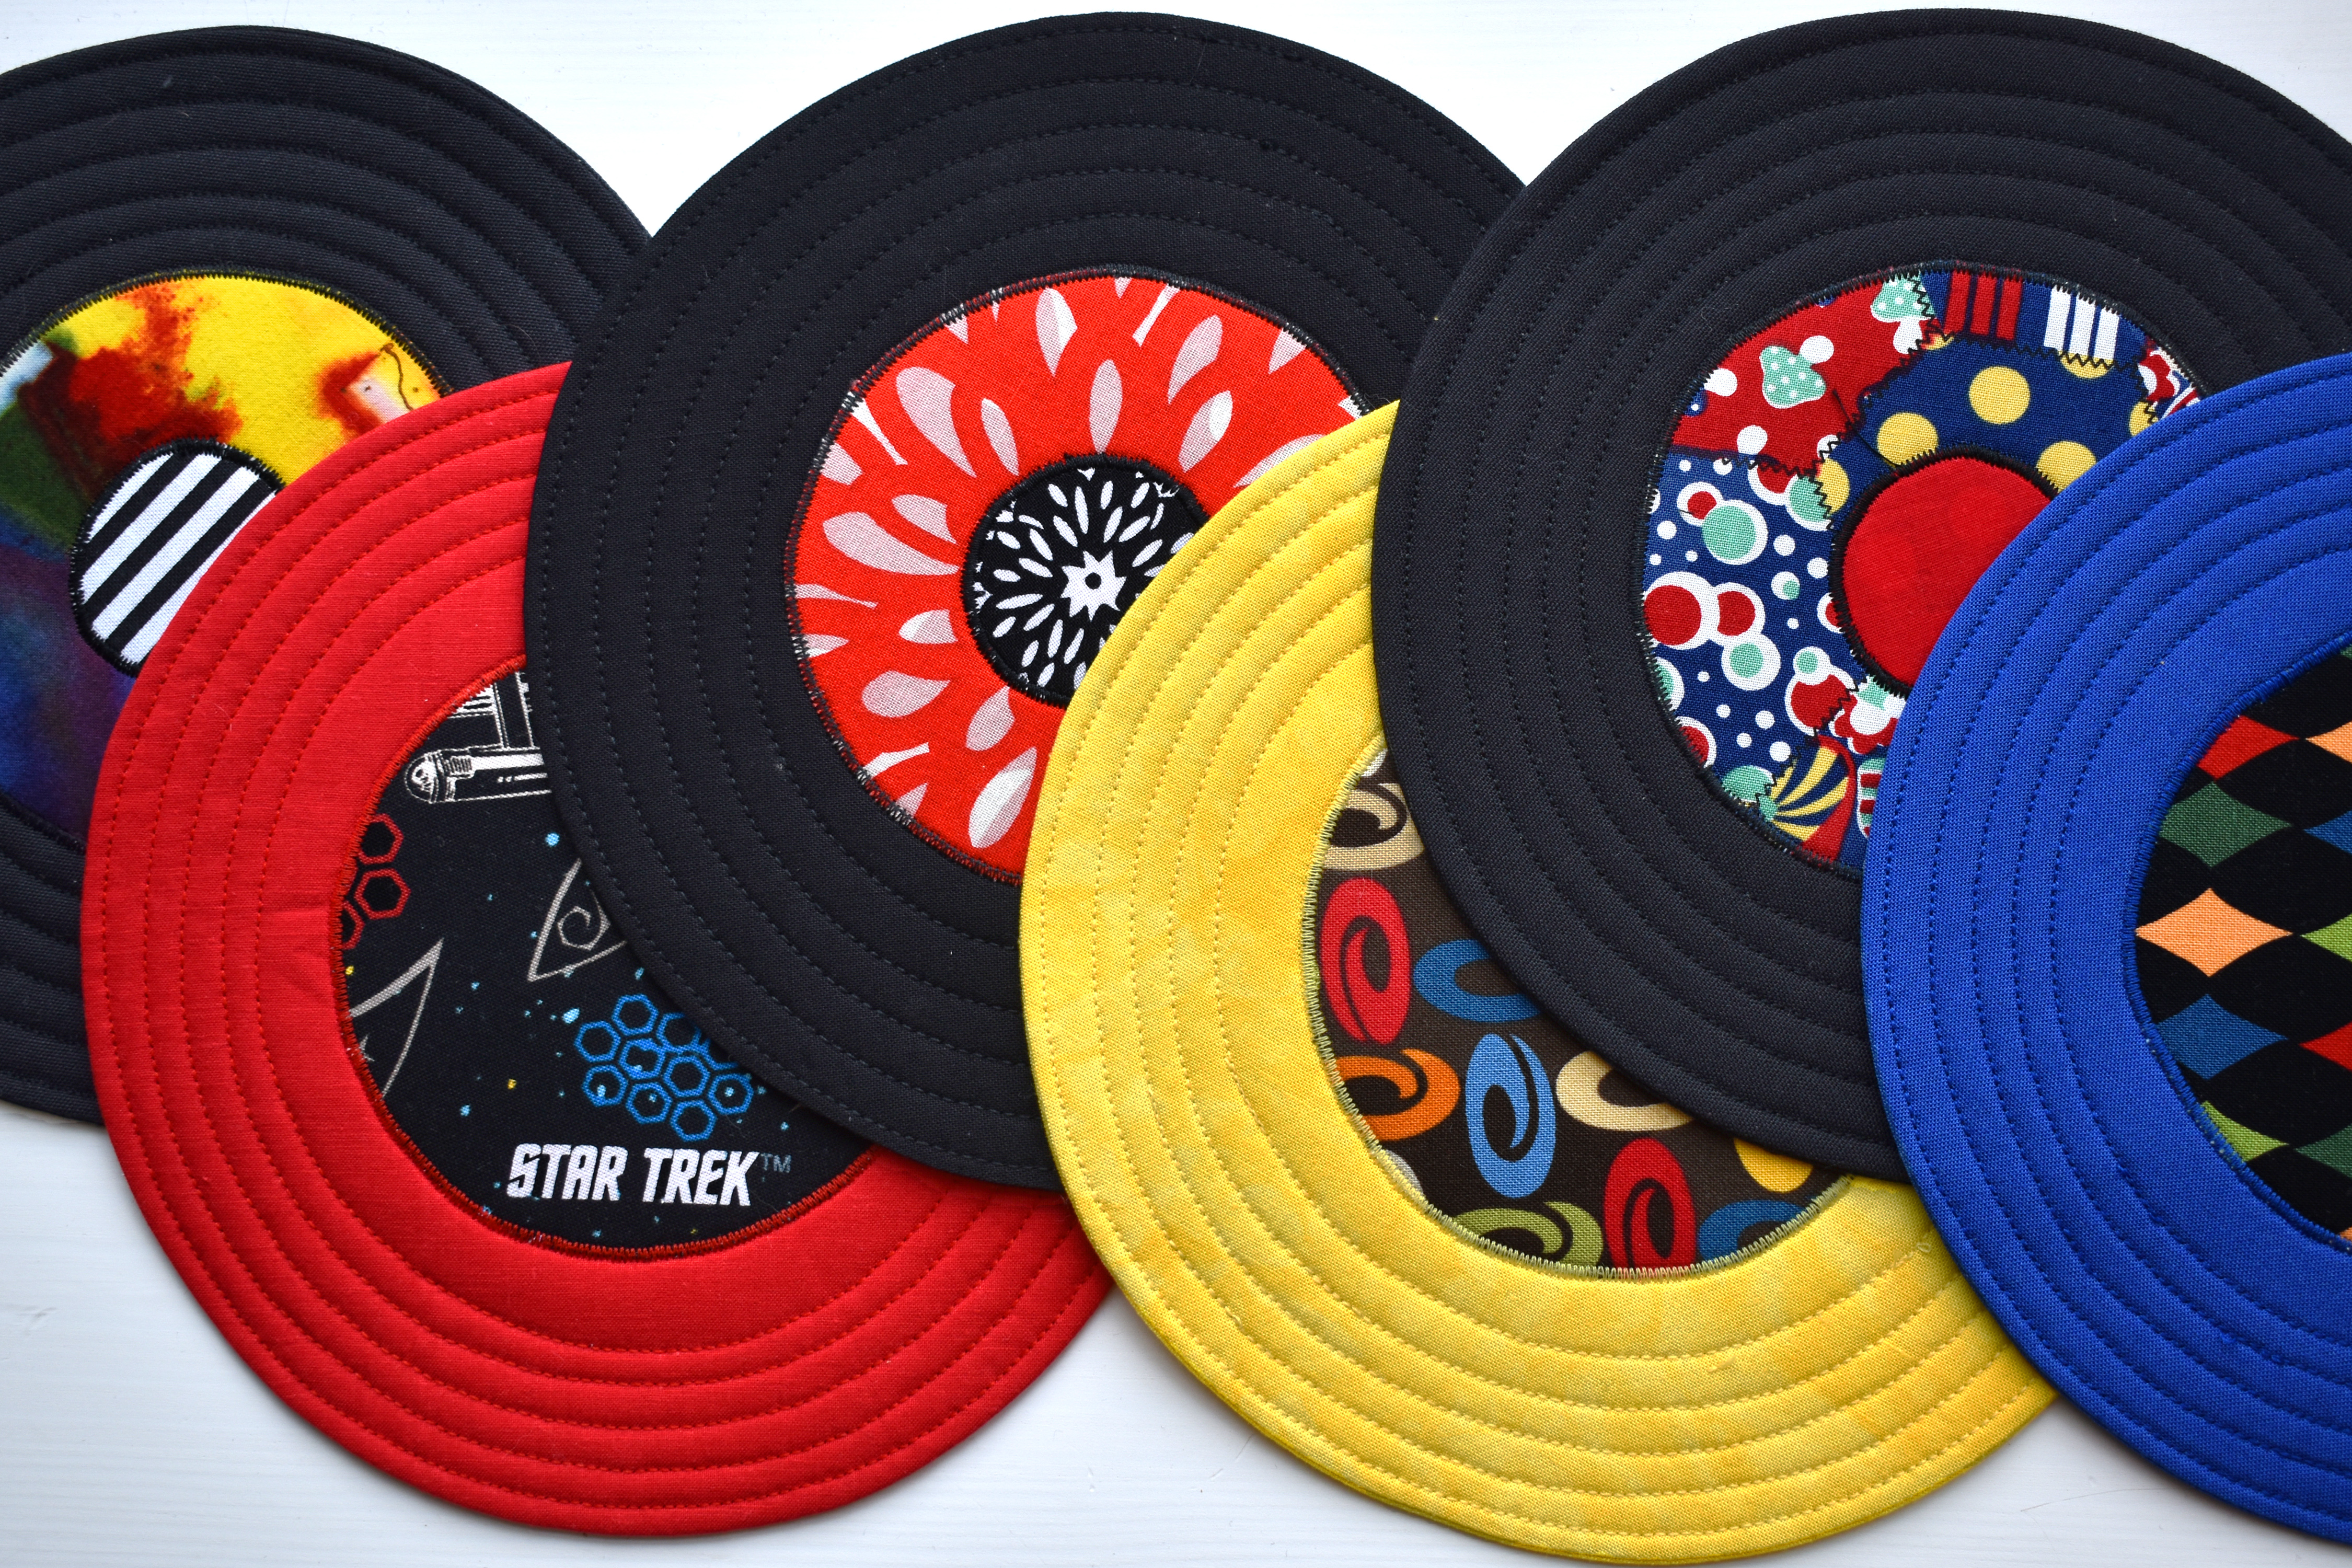
This project is the perfect opportunity to show off vibrant printed scraps from your stash, and once you see how easy they are to make you’ll want to sew a whole batch!
Materials to Sew a 45 RPM Record Coaster
- Two 8″ x 8″ squares of solid colored 100% cotton fabric for the 7″ record (use fat quarters or large scraps)
- One 4″ x 4″ square of bright printed 100% cotton fabric for the label
- One 2″ x 2″ square for the middle “adapter” (optional)
- One 8″ x 8″ square of fusible fleece
- One 8″ x 8″ square of medium weight fusible interfacing
- Small pieces or scraps of double-sided fusible webbing
- Thread to match record color
- Rotary cutter, ruler, and cutting mat
- Fabric shears
- Craft or paper scissors
- Fabric marking pencil
- Pins
- Point turner or chopstick with rounded end
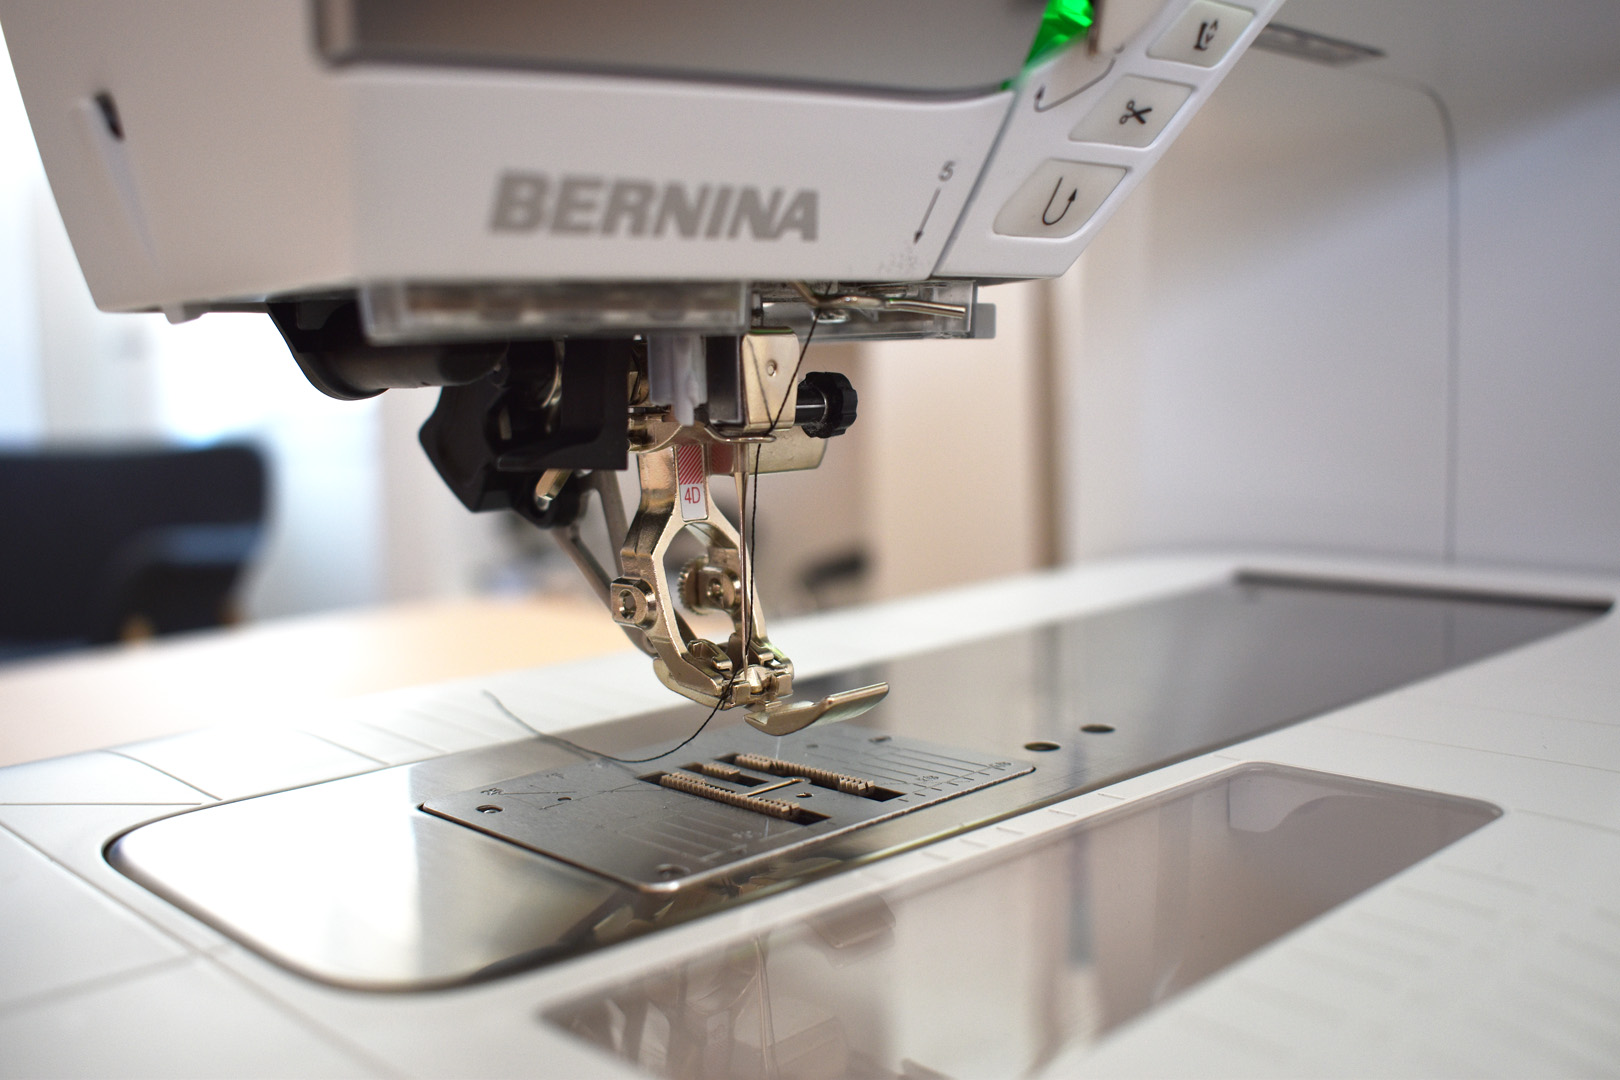
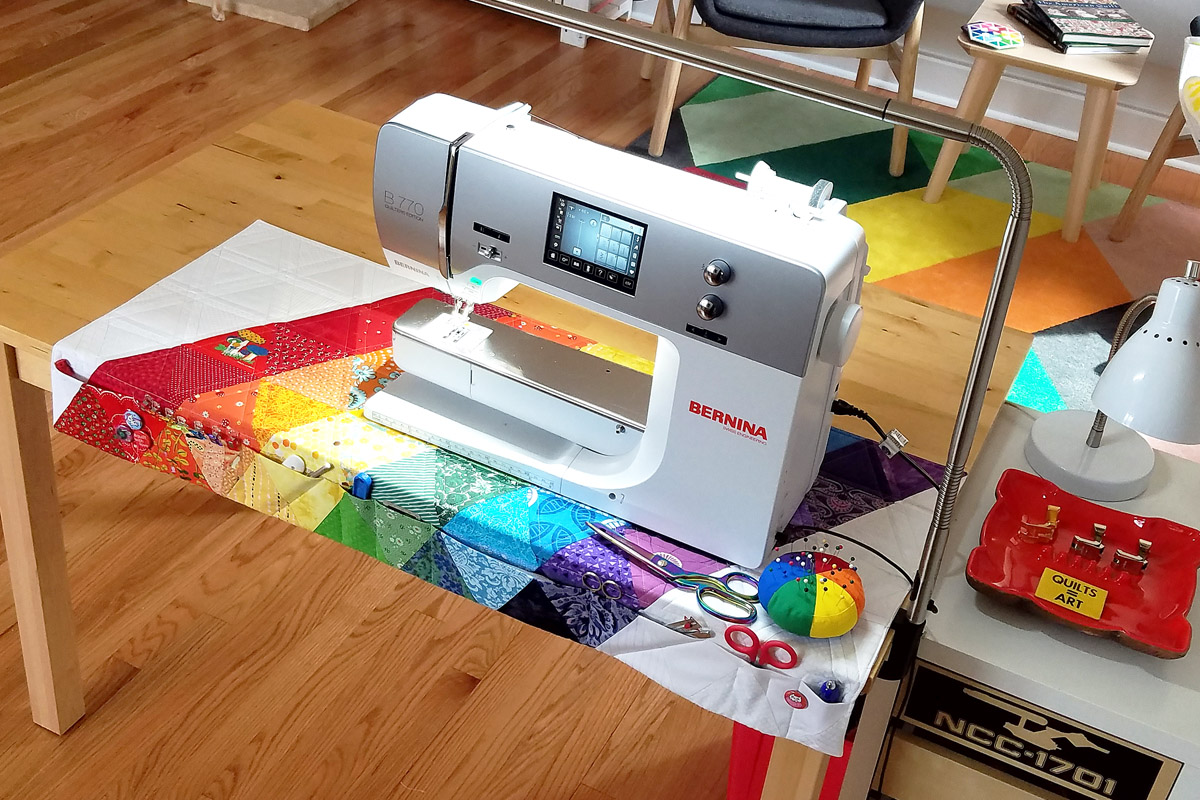
- Sewing machine (I sew with a BERNINA 570 QE)
- Straight stitch foot (I use BERNINA Patchwork foot #97D)
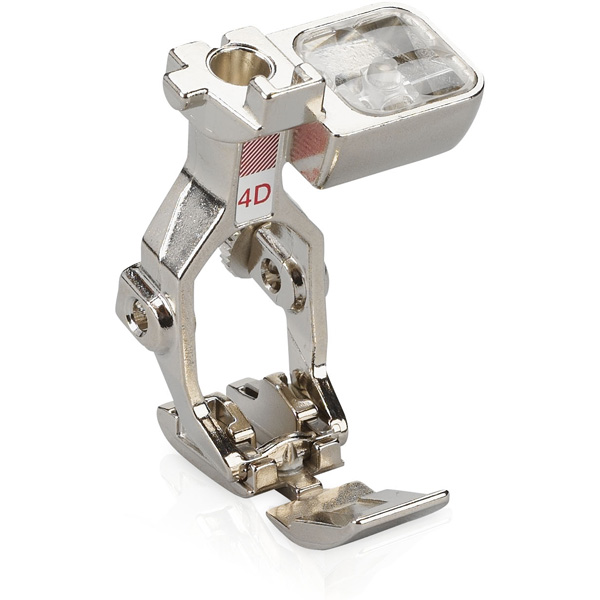
- Zipper foot (I use Zipper foot #4D)
- Zigzag foot (I use Open embroidery foot #20C)
- 45 RPM Record Coaster pattern printed at actual size (do not stretch or shrink to fit)
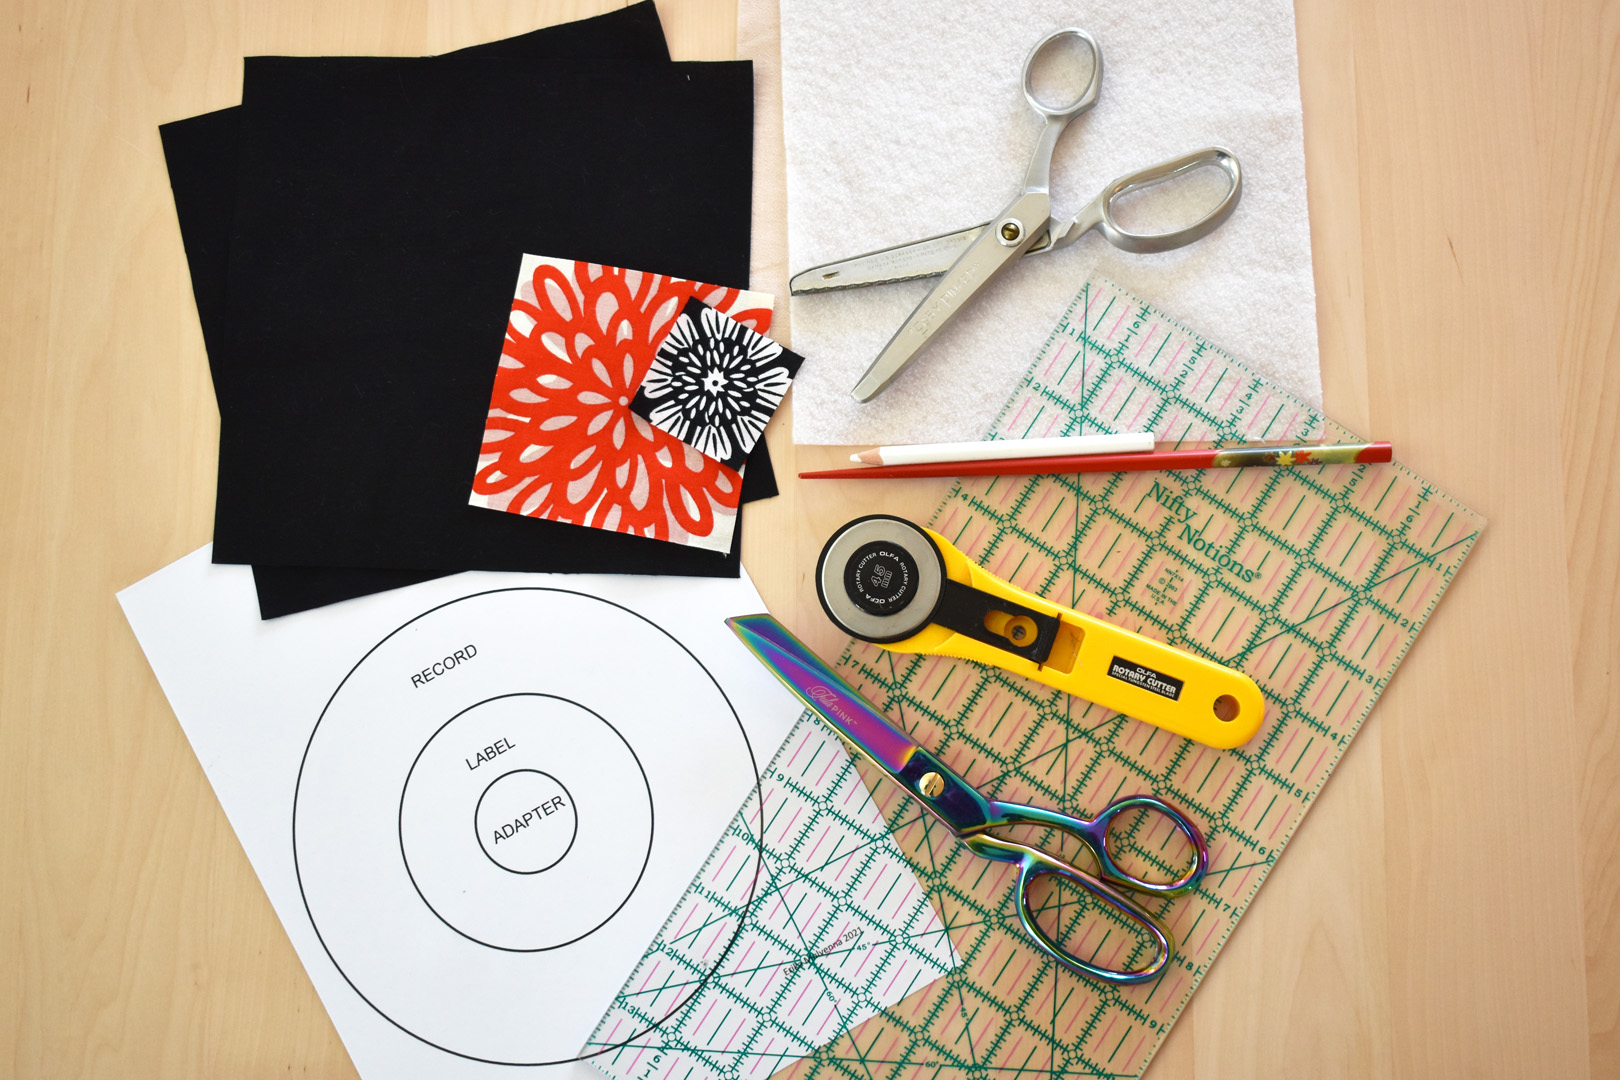
Prepare the materials before sewing.
Gather together all the tools and materials needed to create a coaster. Cut the fabrics, fleece, and interfacing into squares sized in the materials list above with a rotary cutter, ruler, and cutting mat.

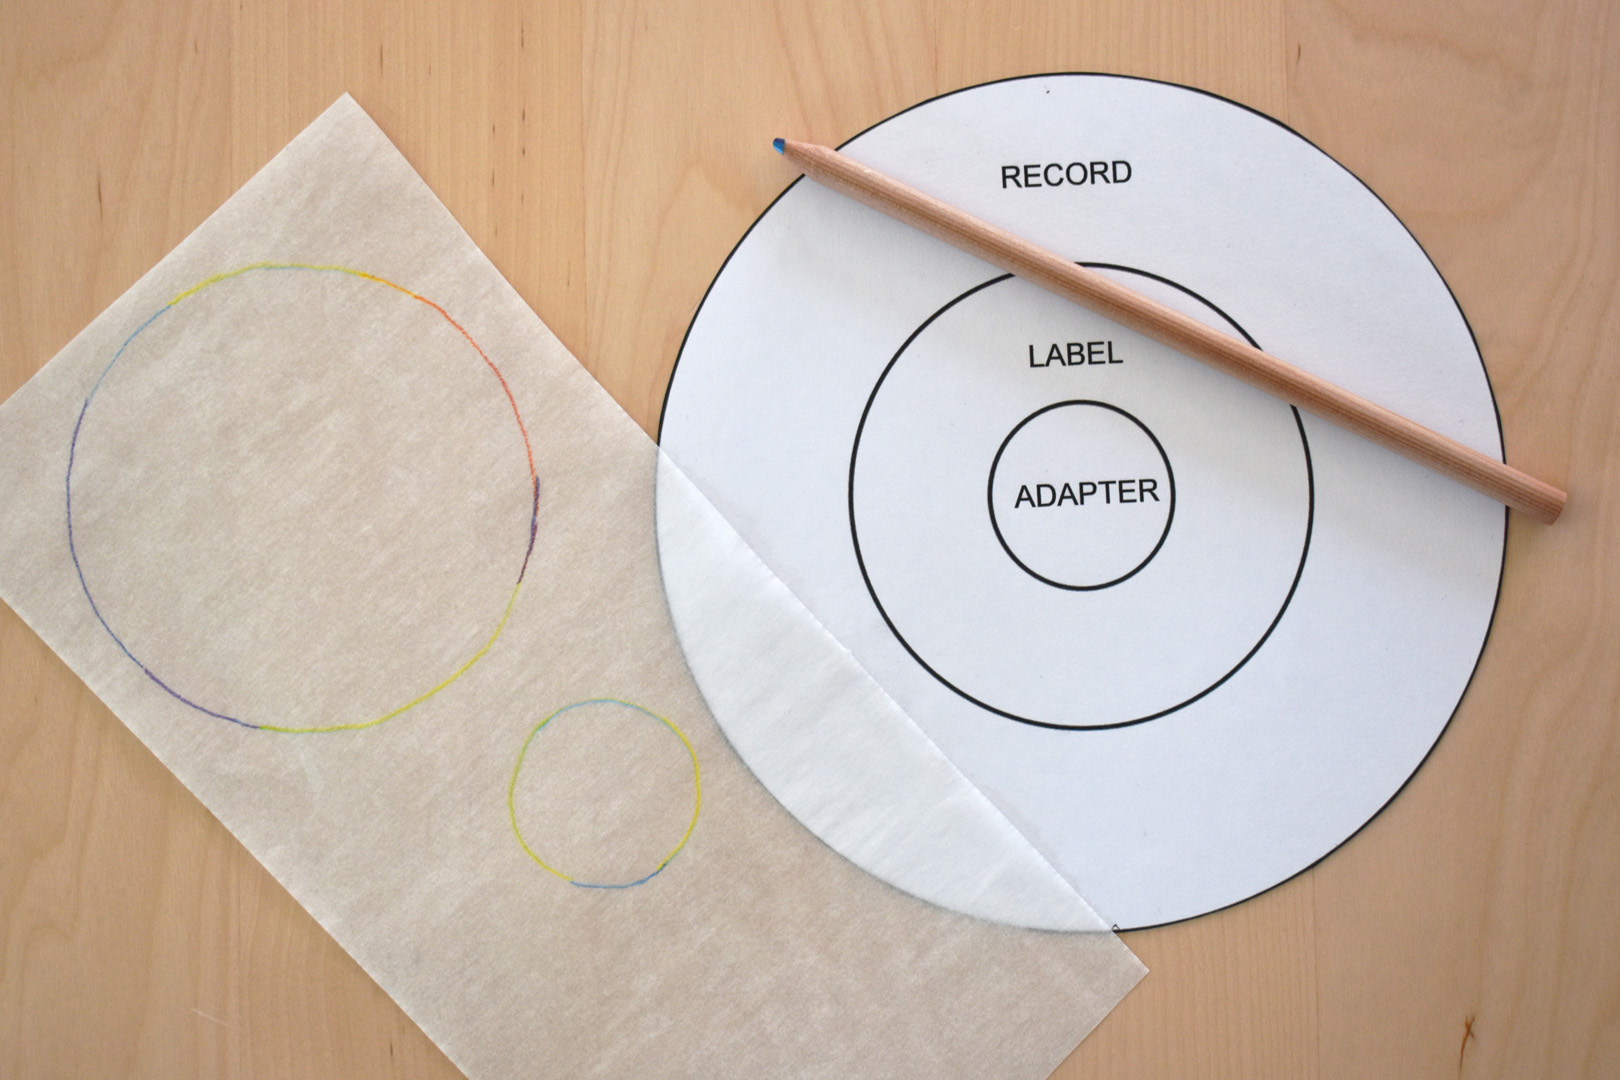
Print the pattern on heavy card stock, and cut out the shape with paper or craft scissors along the outside black line.
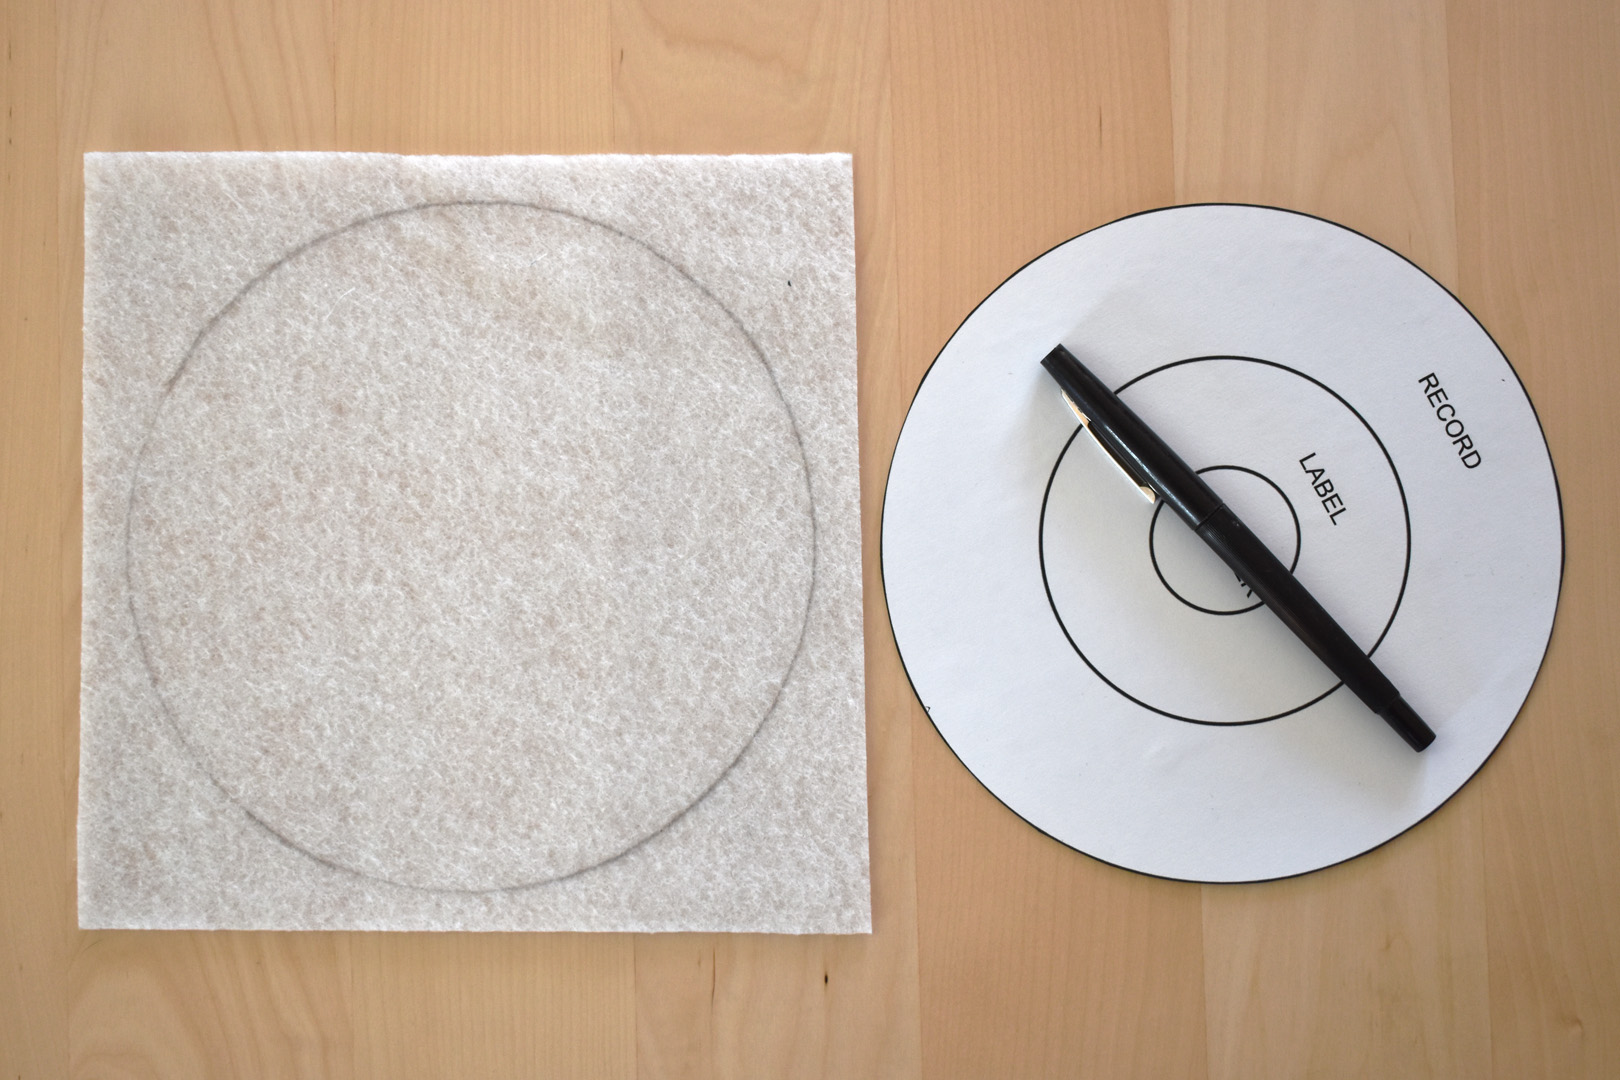
Using the pattern, trace the record circle shape on the back (non-fusible) side of the fusible fleece with a fabric marking pencil or marker.
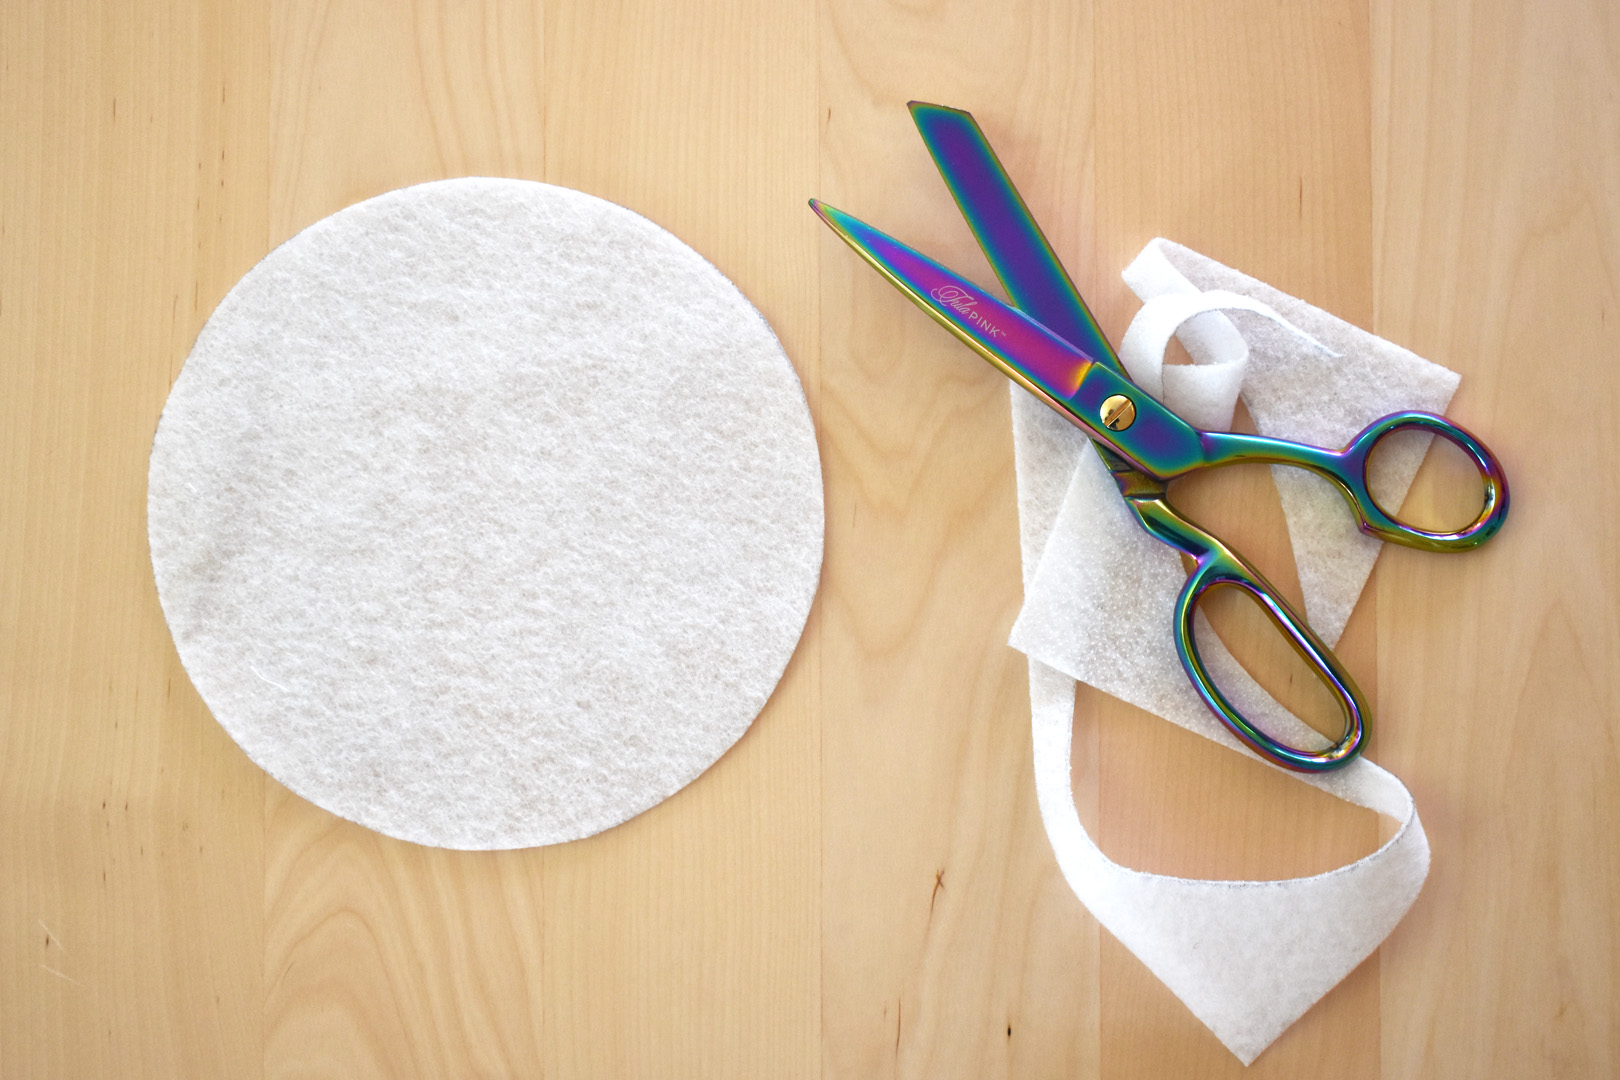
Carefully cut the circle shape from the fusible fleece.
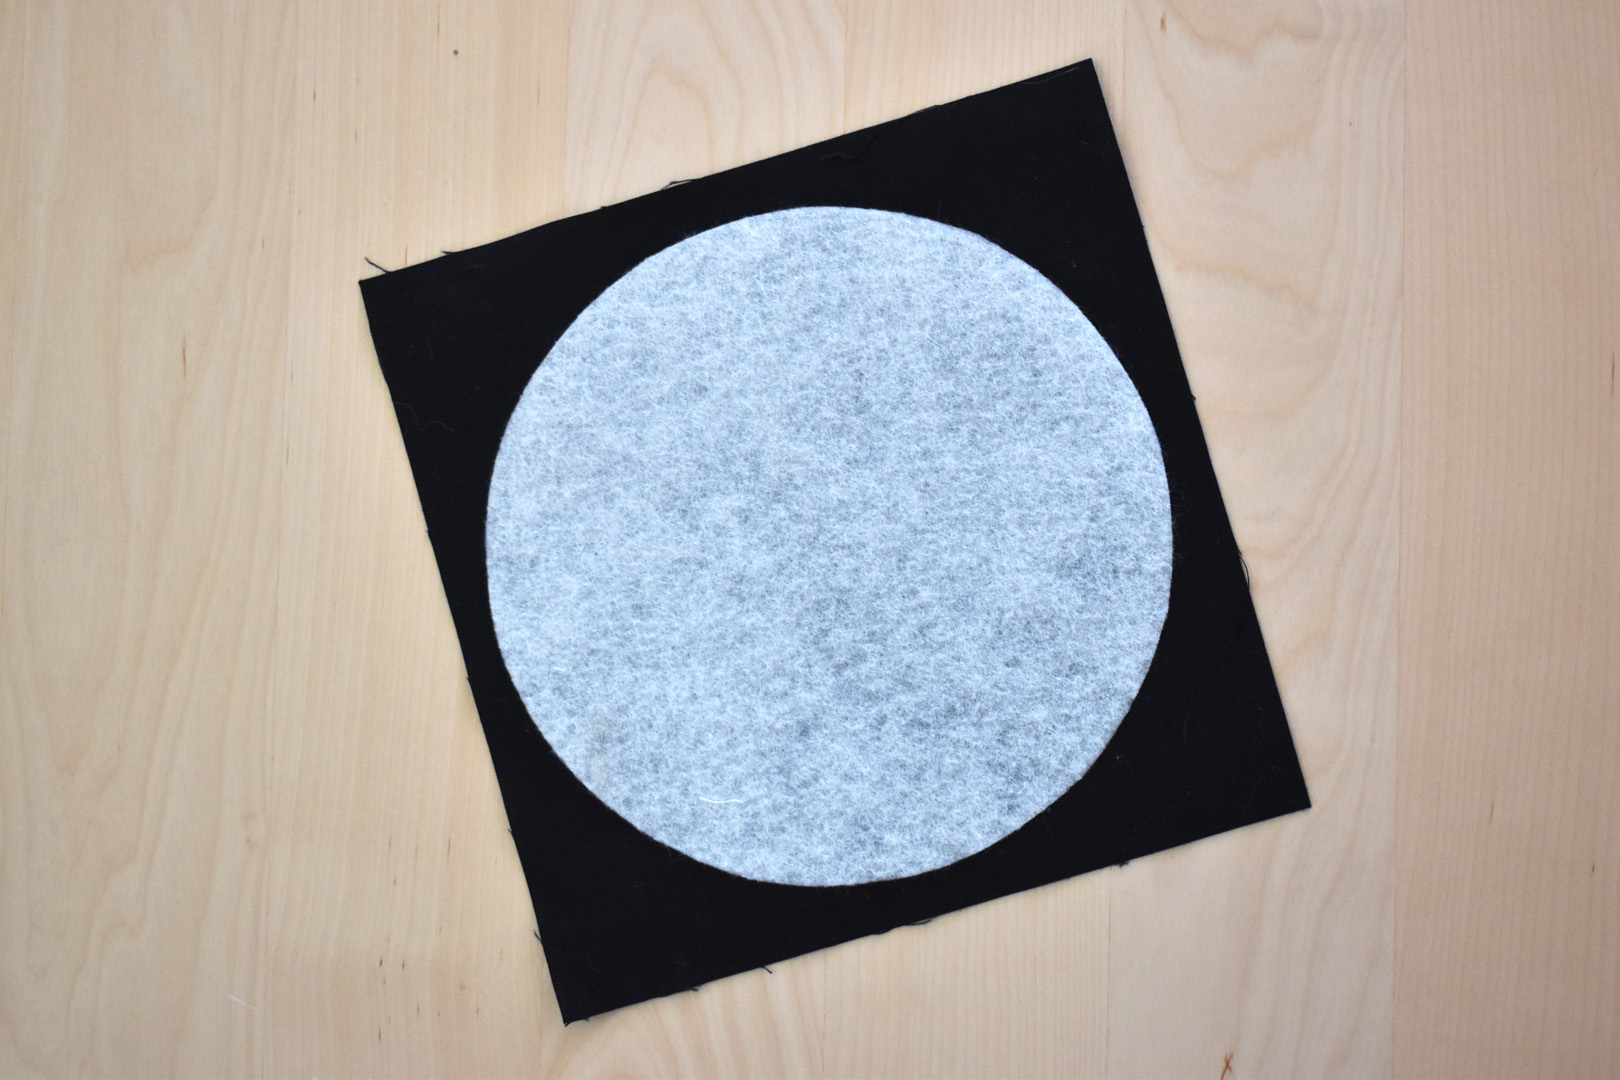
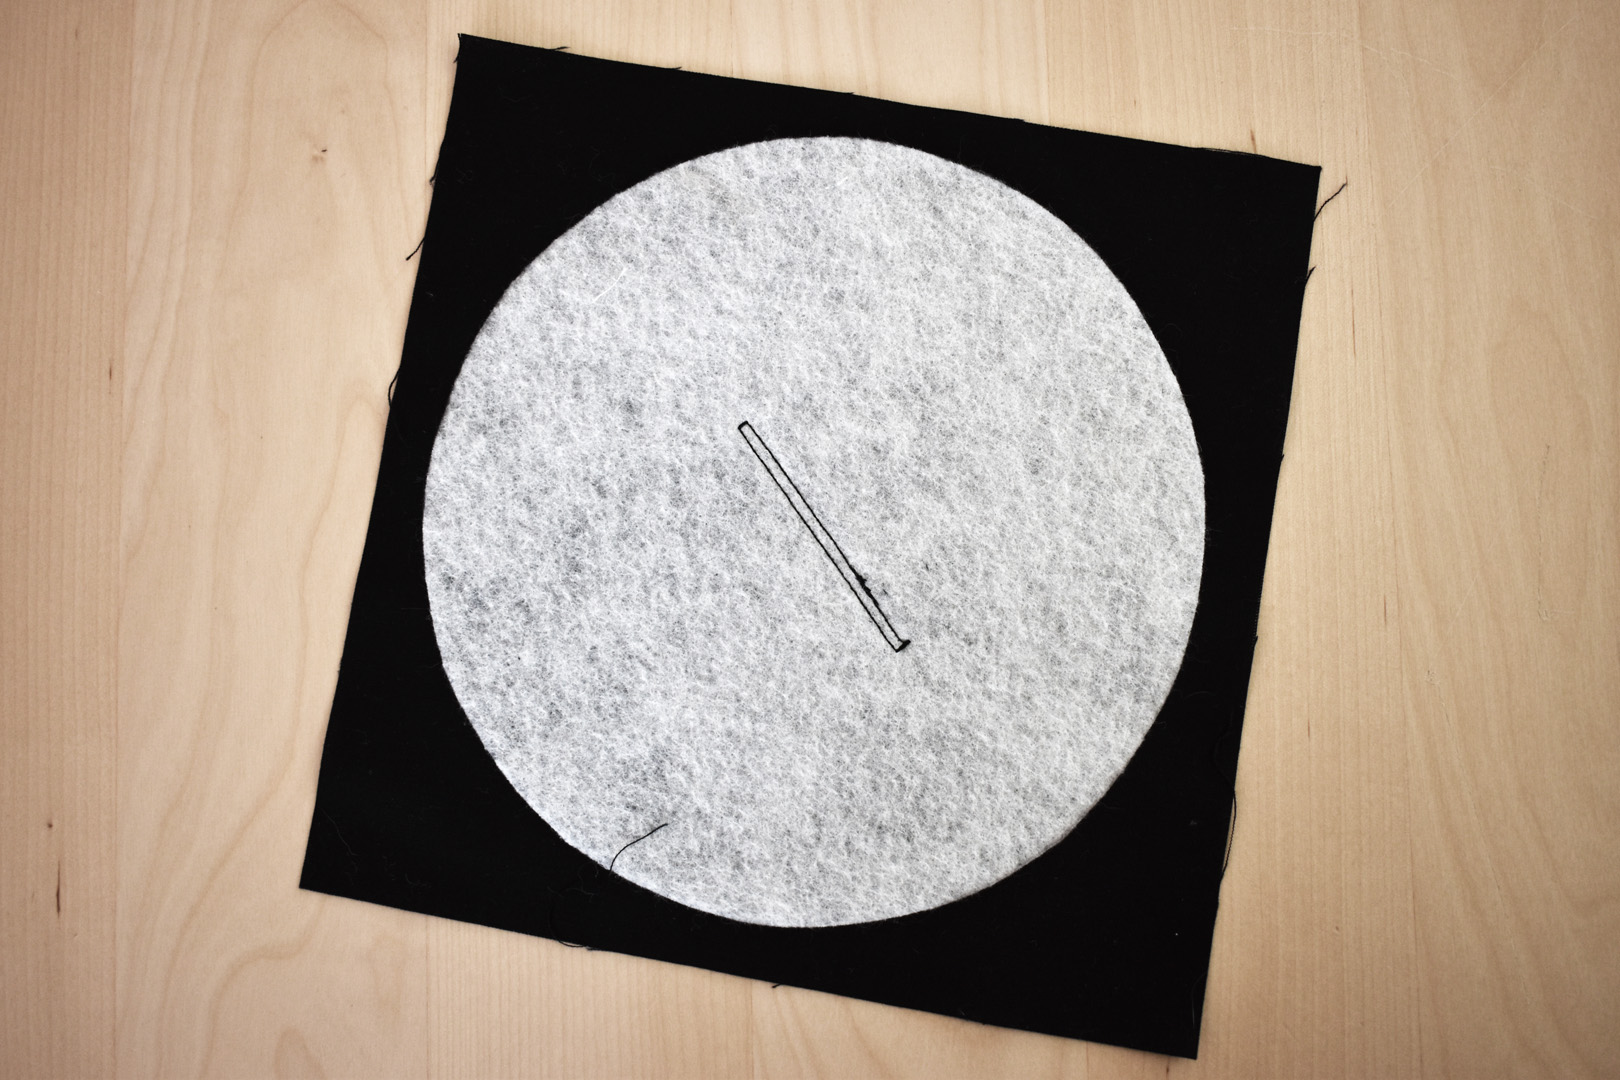
Following the manufacturer’s instructions, fuse the fleece to the wrong side of one 8″ x 8″ fabric square. Flip the square over for the next step.
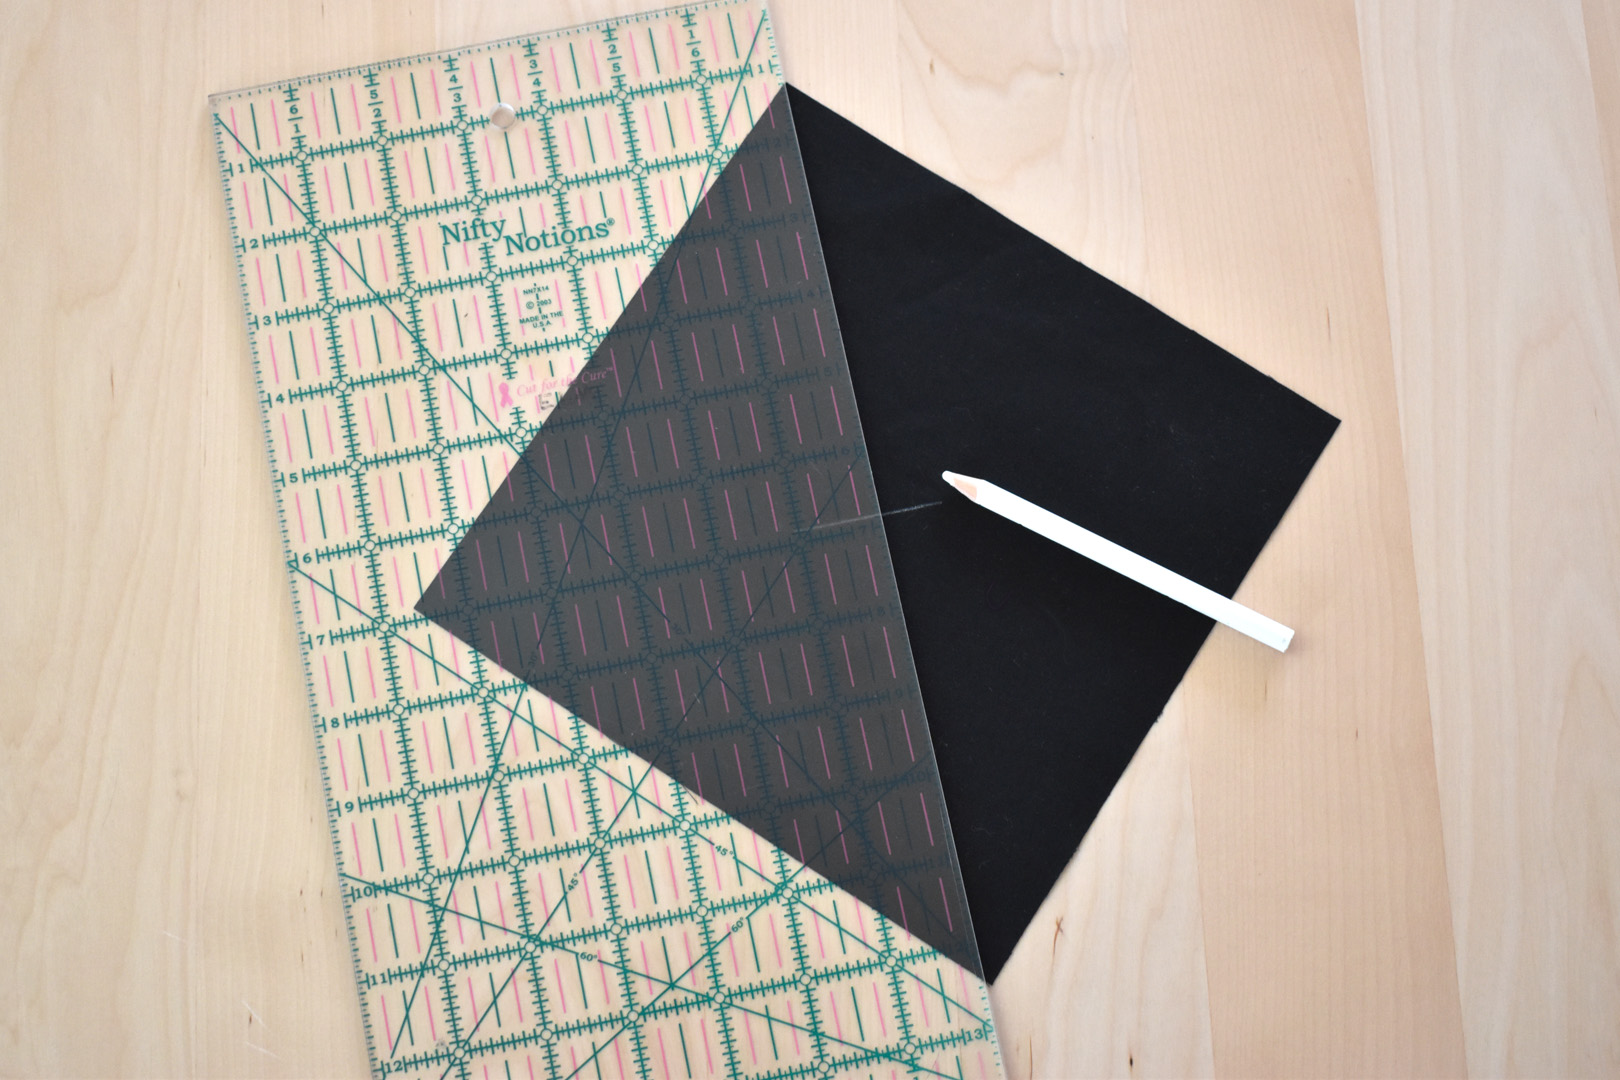
Make a 2 3/4″ long line centered on the right side of the fabric square. To do this, use a ruler to measure from corner to corner; make a small line to mark the center of the square.
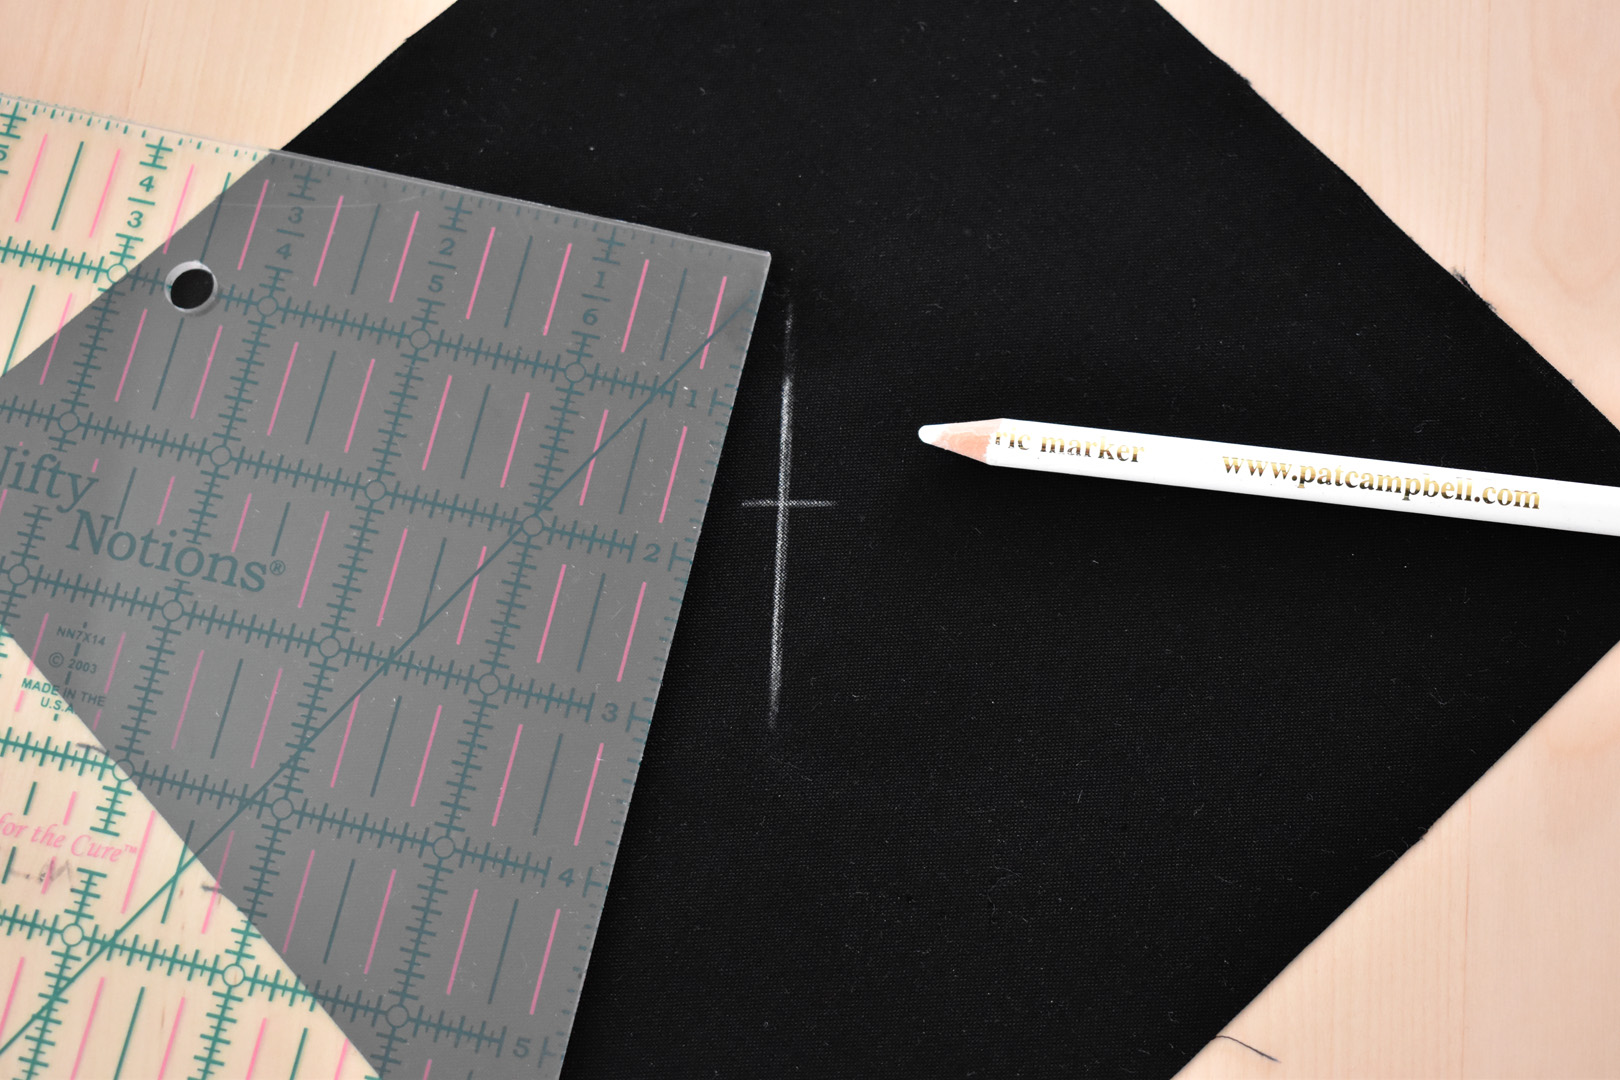
Next, move the ruler to the opposite corners and mark a line about 1 1/4″ long from each side of the center mark. Make sure the final line does not measure longer than 2 3/4″ total.

And finally, fuse the 8″ x 8″ square of medium weight interfacing to the back of the other 8″ x 8″ fabric square. Using the interfacing will keep your circle from distorting during sewing, turning inside out, and pressing.
Sewing the 45 RPM Record Coaster.
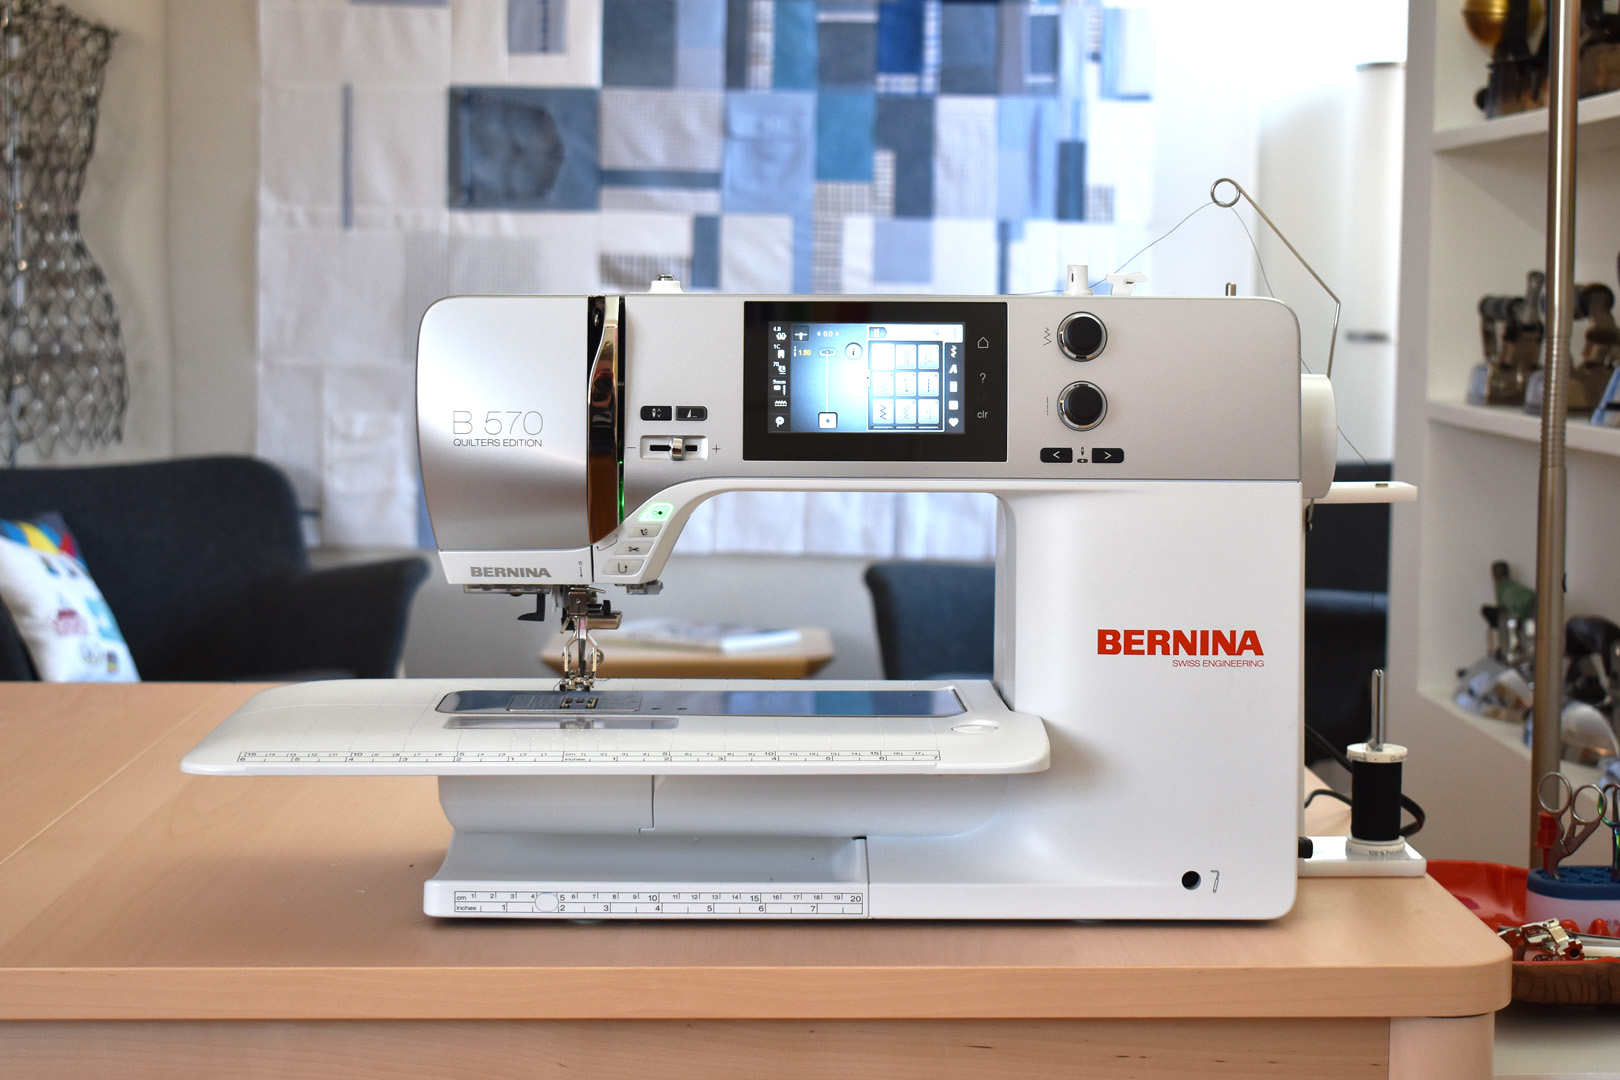
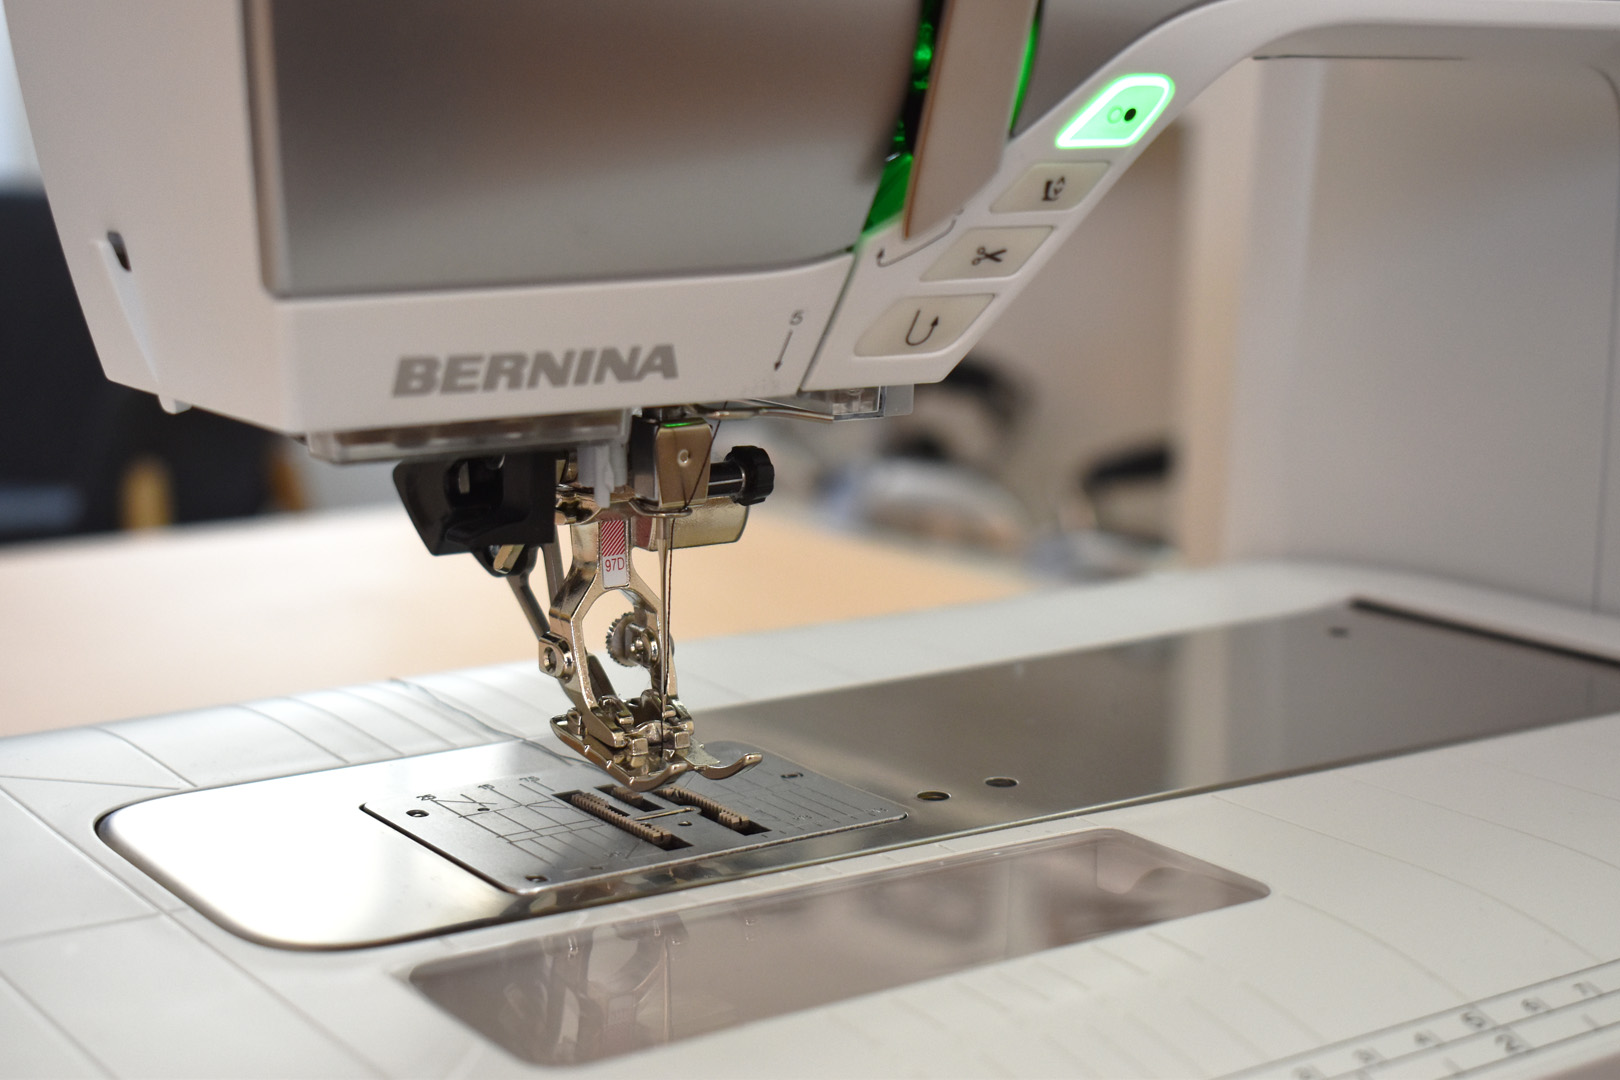
Set up your sewing machine with a straight stitch foot (I am using the Patchwork foot #97D) and thread that matches your record fabric.
This step entails stitching a very tight straight stitch all around the mark you made on the top of the fabric square with the fleece circle fused to the back, then cutting the slit open. The tightly sewn stitches around the opening allow for turning the coaster inside out with very little distortion. The label shape of the record will be fused directly over this slit, and you won’t see it at all in the finished coaster.
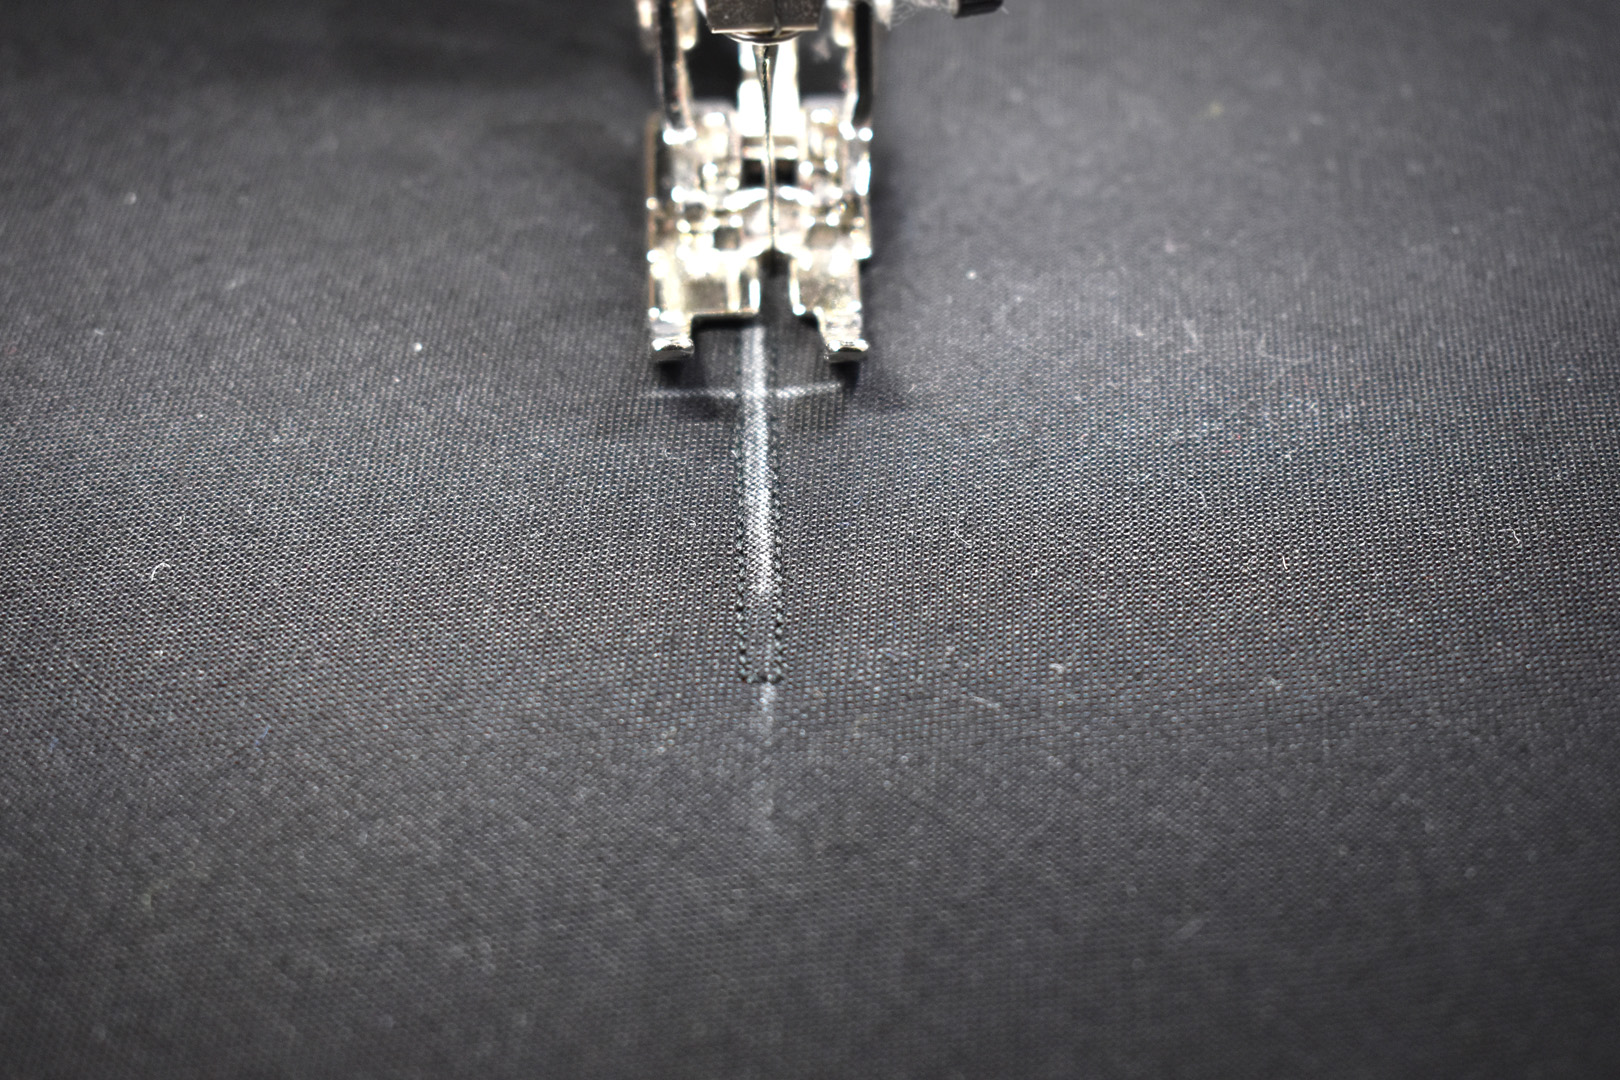
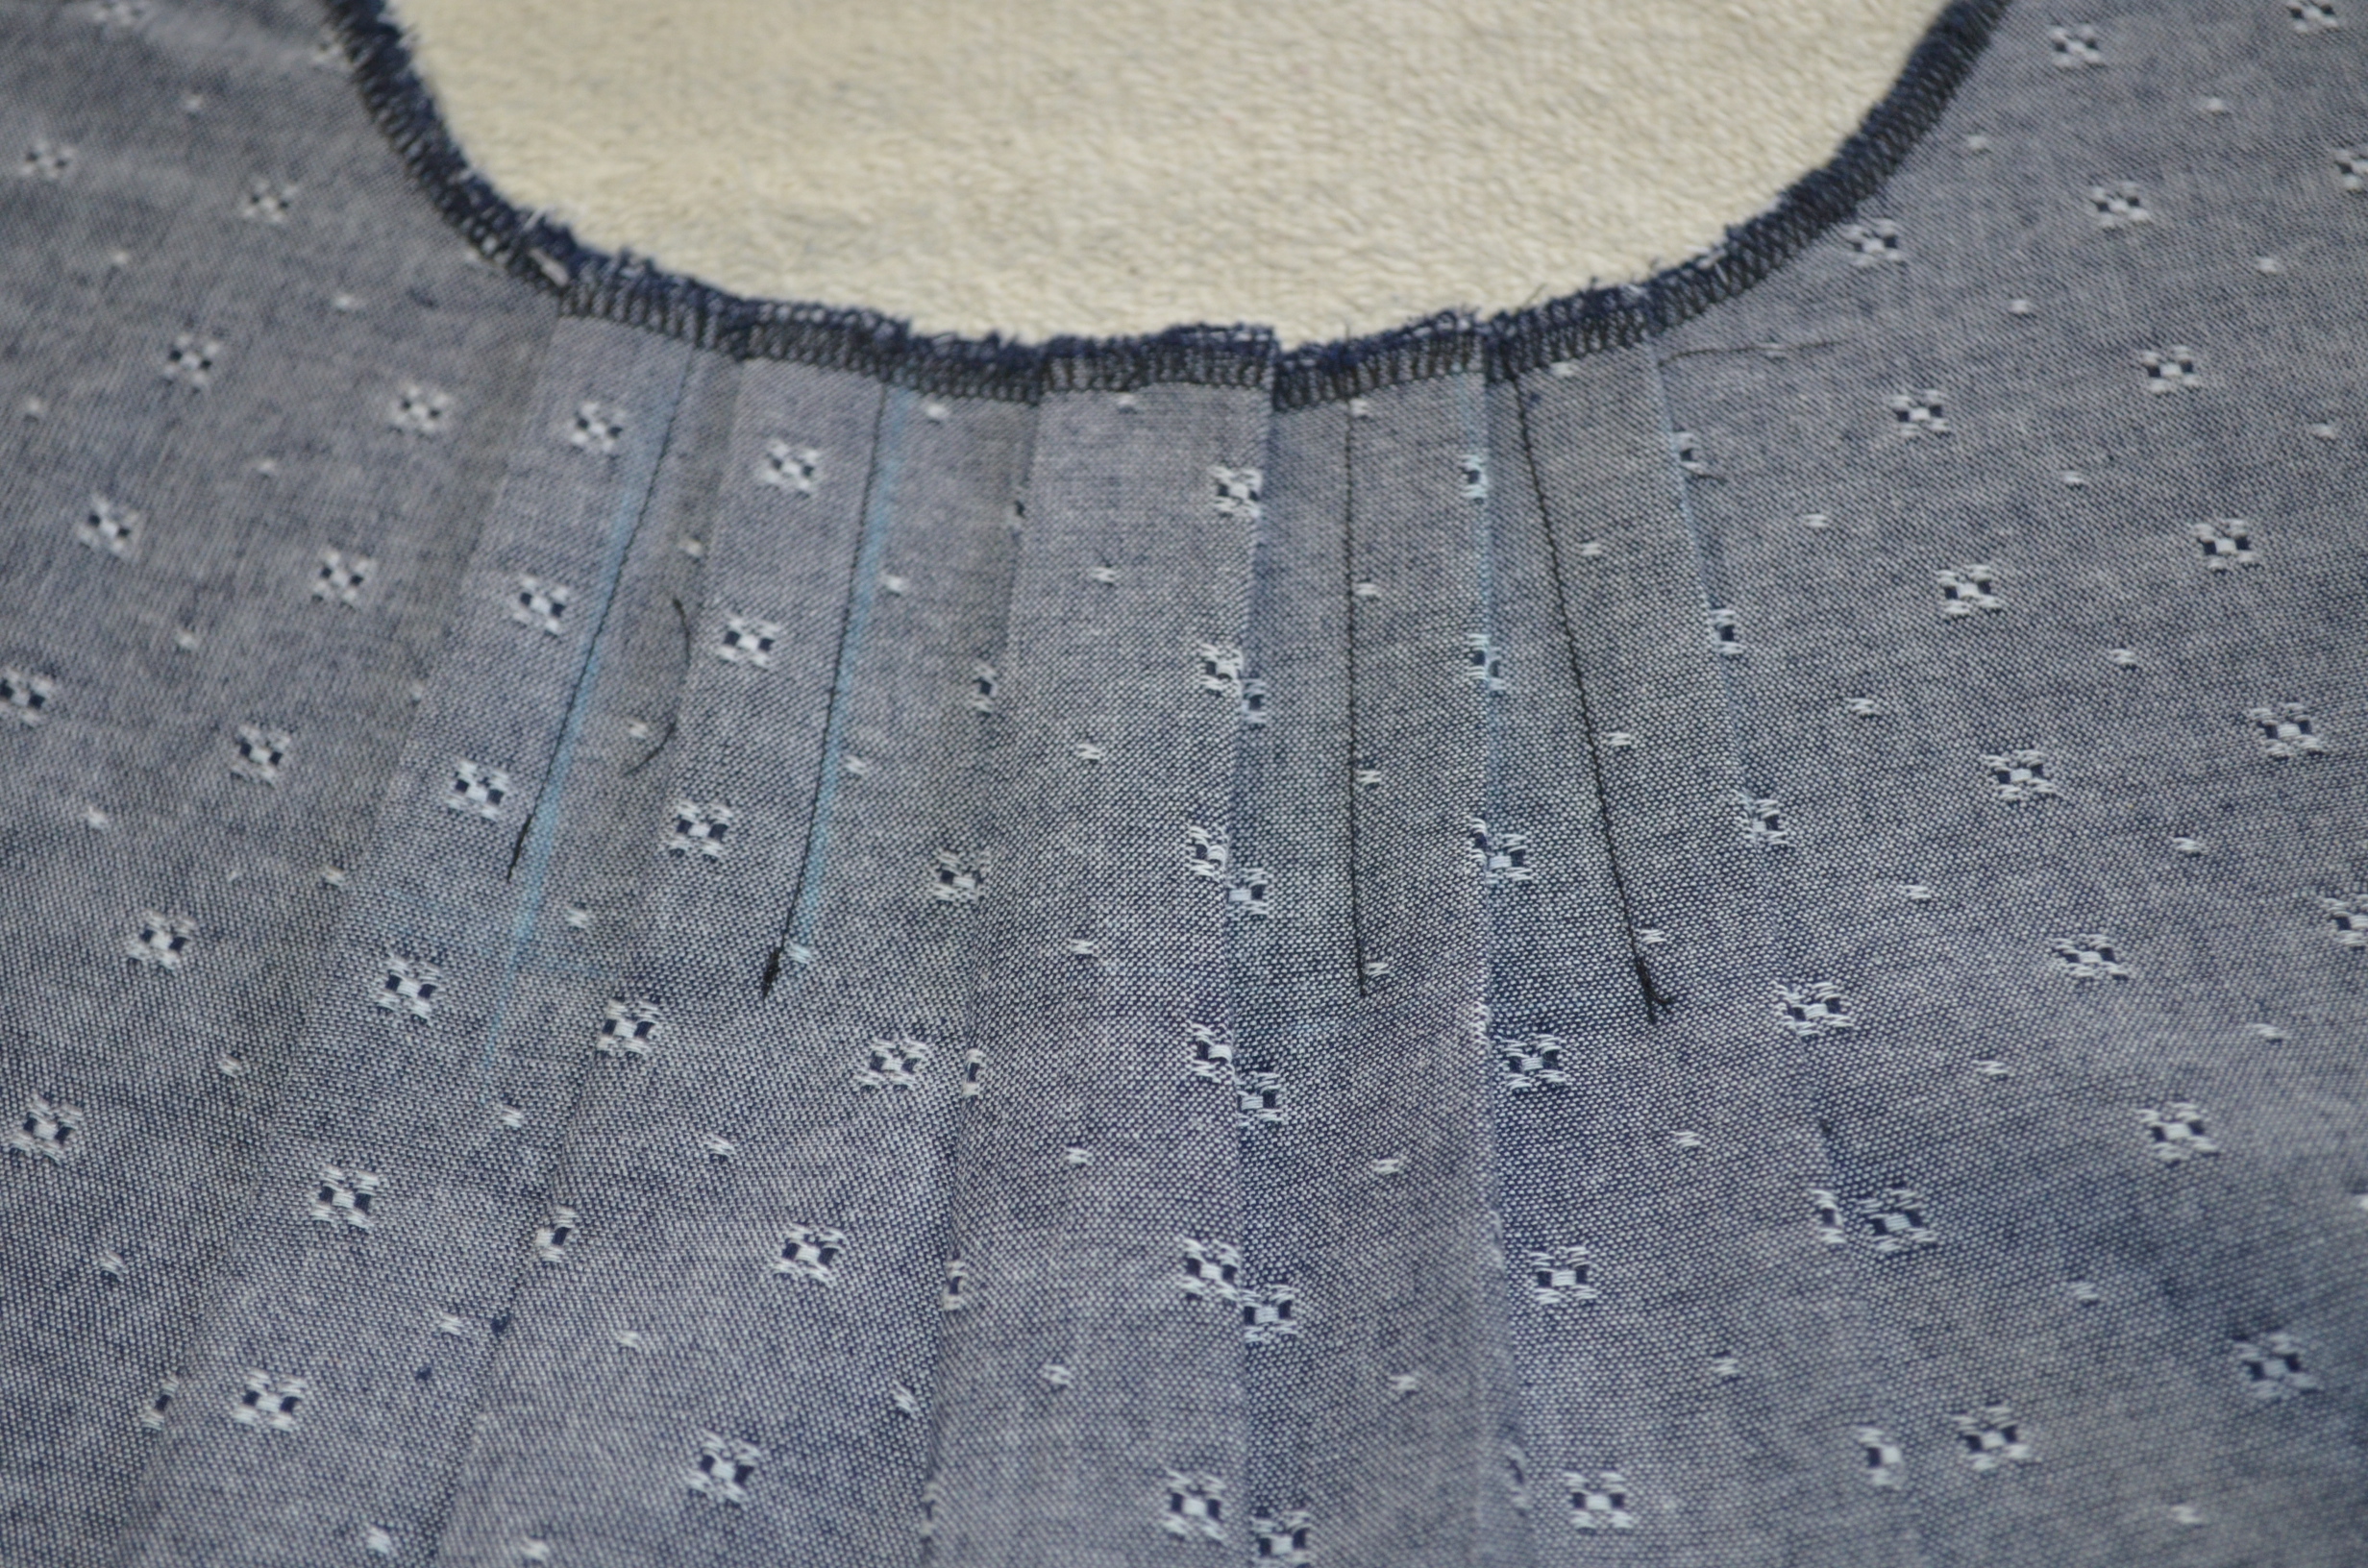
Change your sewing machine straight stitch to a short 1.5 mm stitch. Stitch about 1/8″ from the marked line all the way around, backstitching at both short ends.
This is what the stitches will look like from the back of the fabric, sort of like a very long buttonhole.
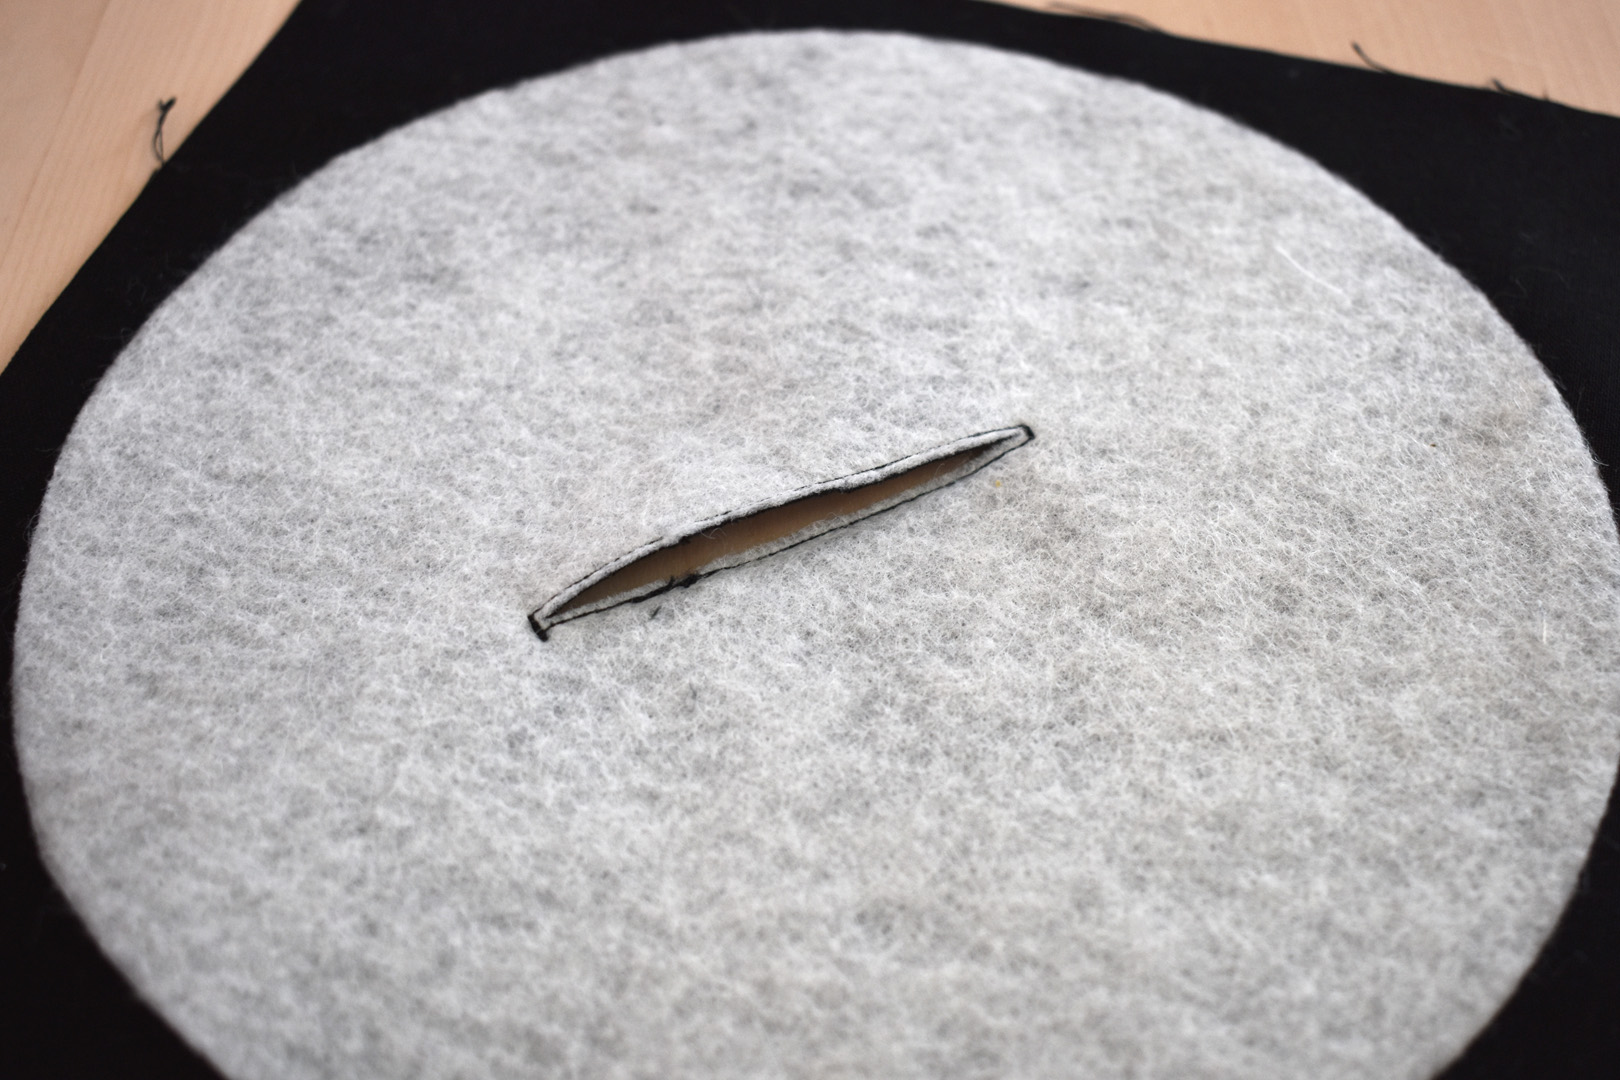
With a sharp pair of scissors, cut open the fabric inside the stitching.
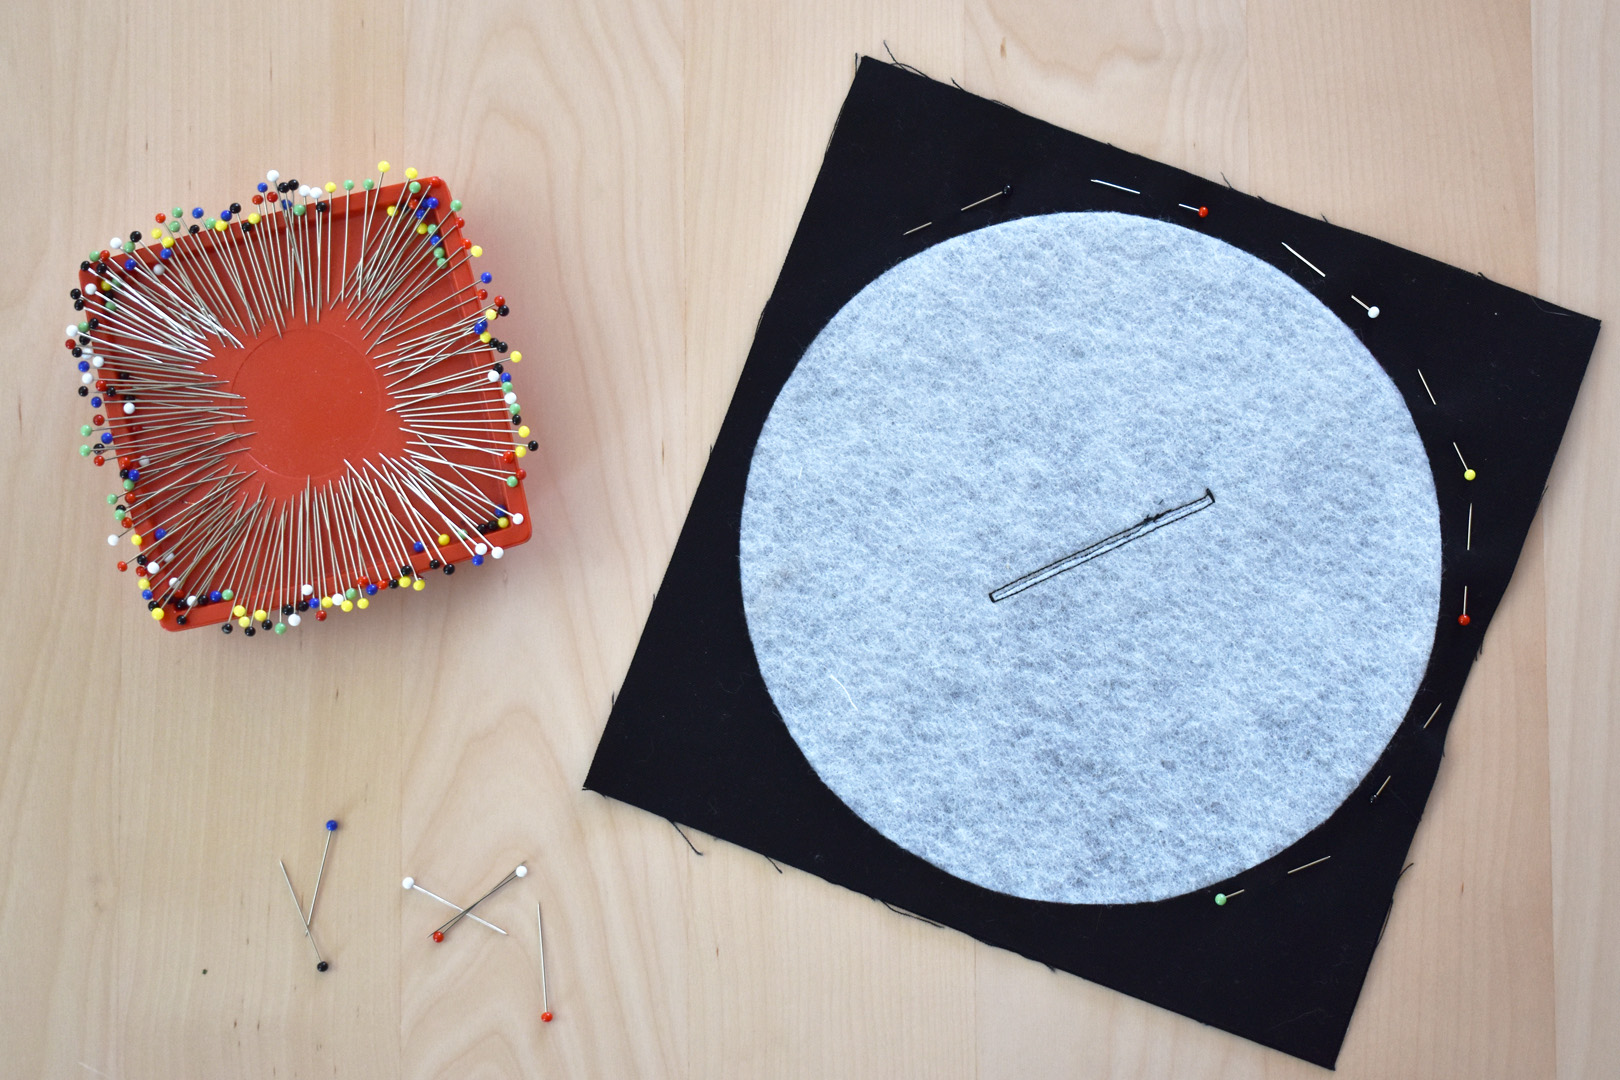
Place both 8″ x 8″ pieces of fabric right sides together with the fused fleece circle facing you. Pin through both pieces all around the circle shape.
Change out the straight stitch foot and insert your zipper foot to sew the next step. Move the needle position all the way to the left. Increase your straight stitch to a 2 mm stitch.
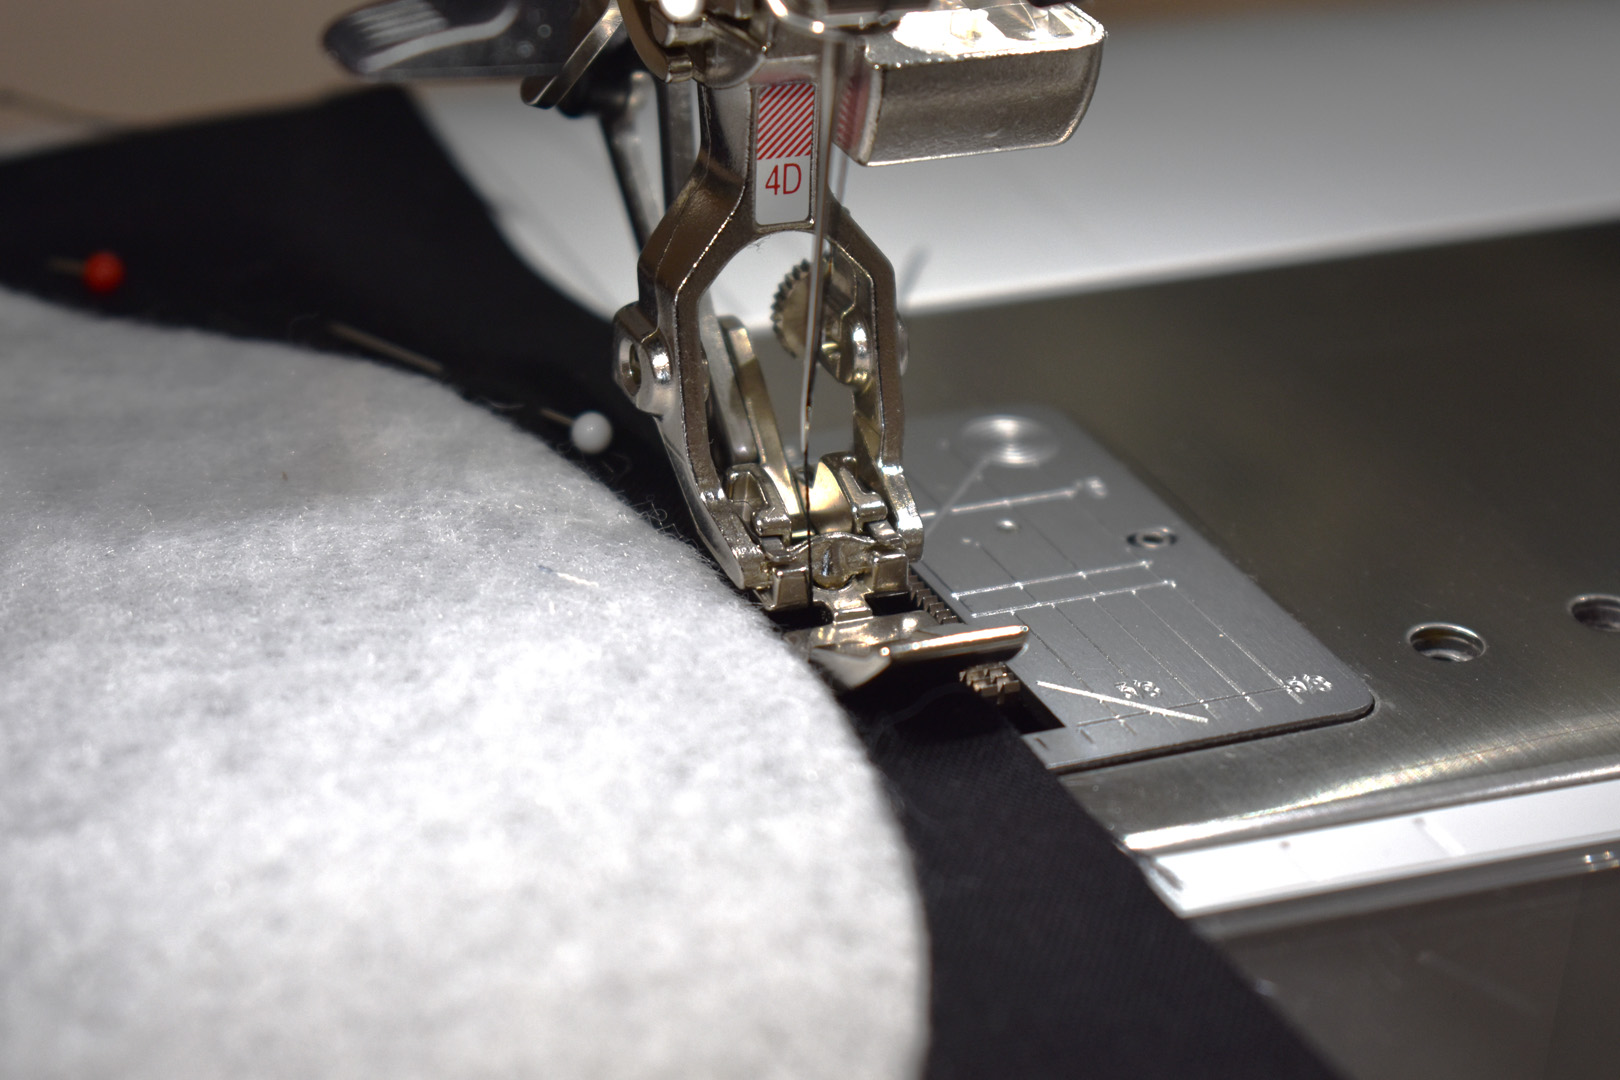
Place the left edge of the zipper foot against the circle of fleece, and very carefully stitch all the way around the circle. Remove the pins as you sew.
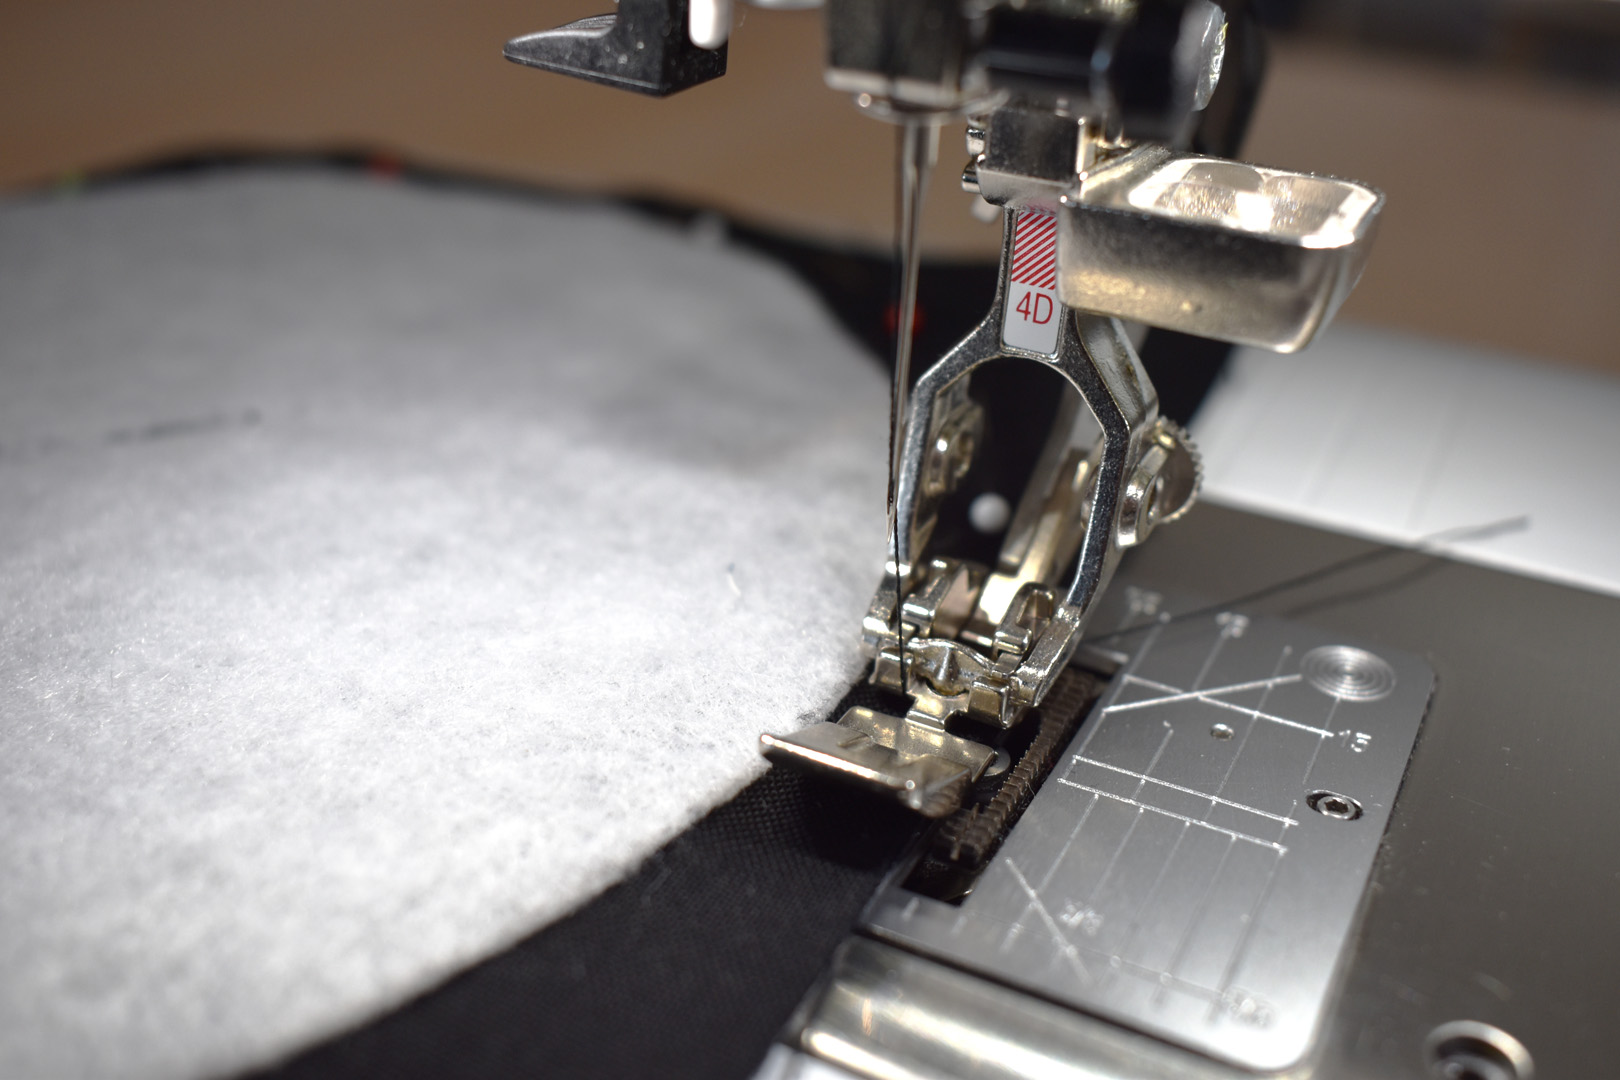
Be slow and deliberate at this step, if your stitches stray away from the circle it will show up in your final coaster.
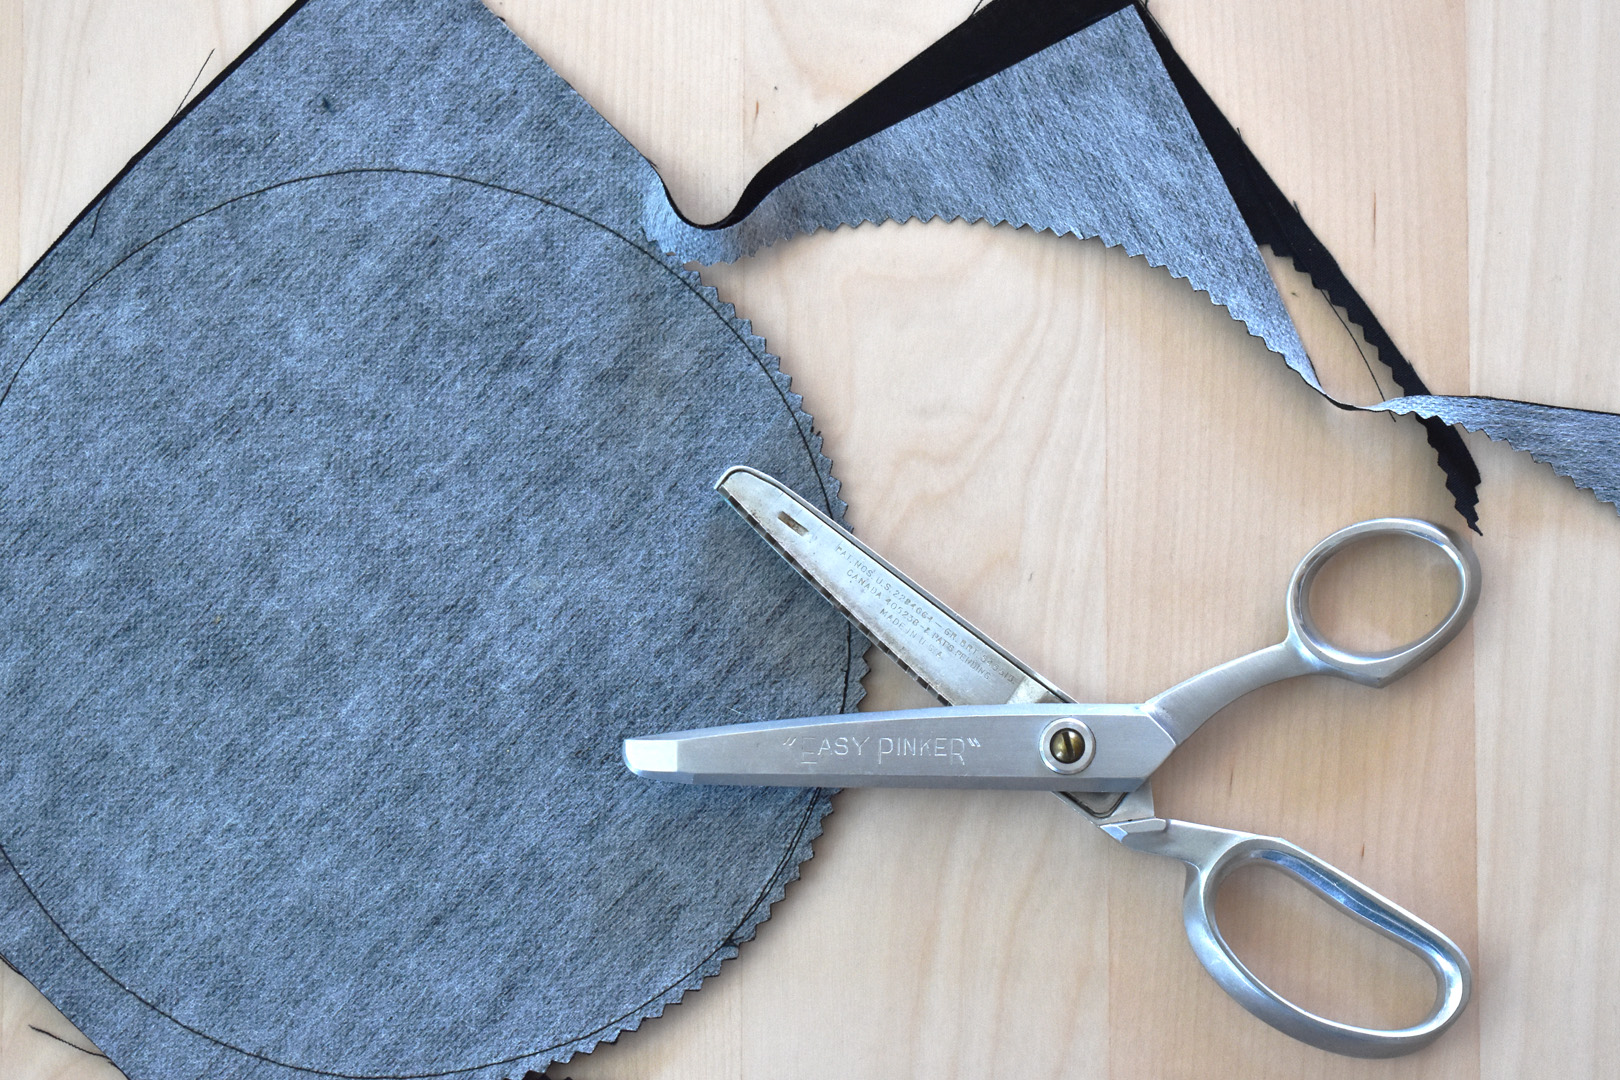
After stitching, turn the fabric to the back side and use pinking shears to cut close to the stitching. If you do not have pinking shears, cut the seam allowance to 1/4″ and use sharp shears to clip notches into the seam allowance all the way around the circle.
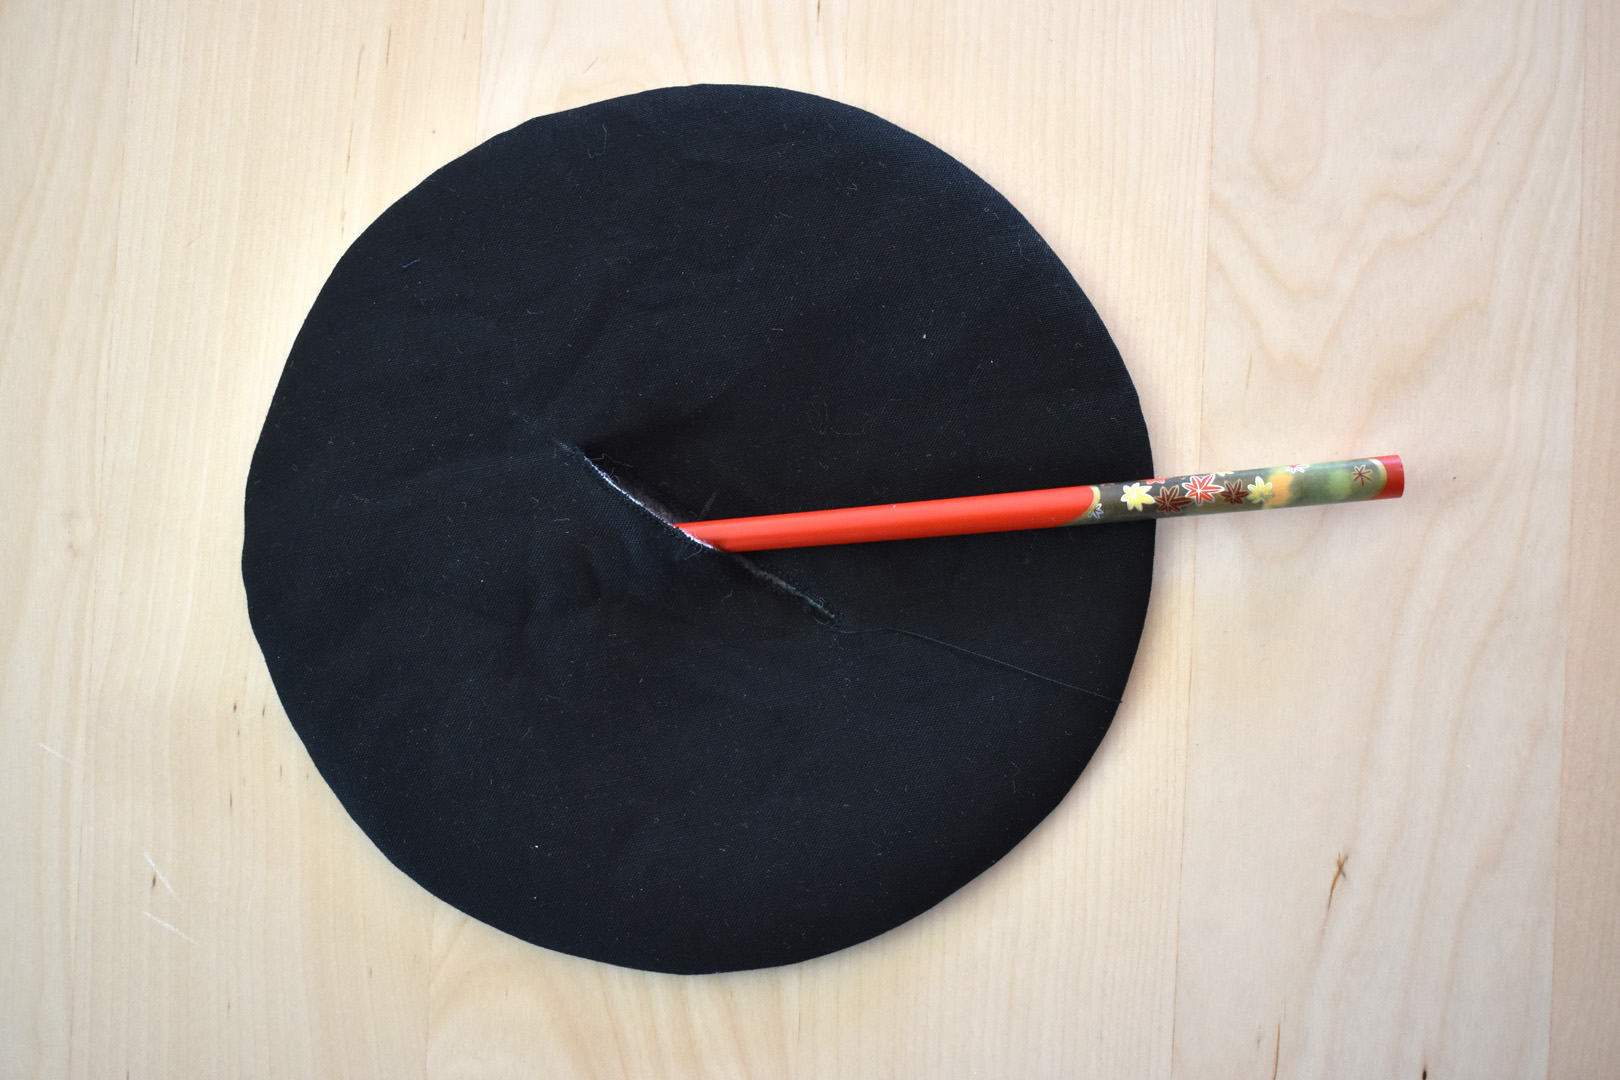
Turn the circle inside out through the opening, being careful not to rip or overly stretch out the fabric. Very gently push out the round edges with a point turner or rounded chopstick.
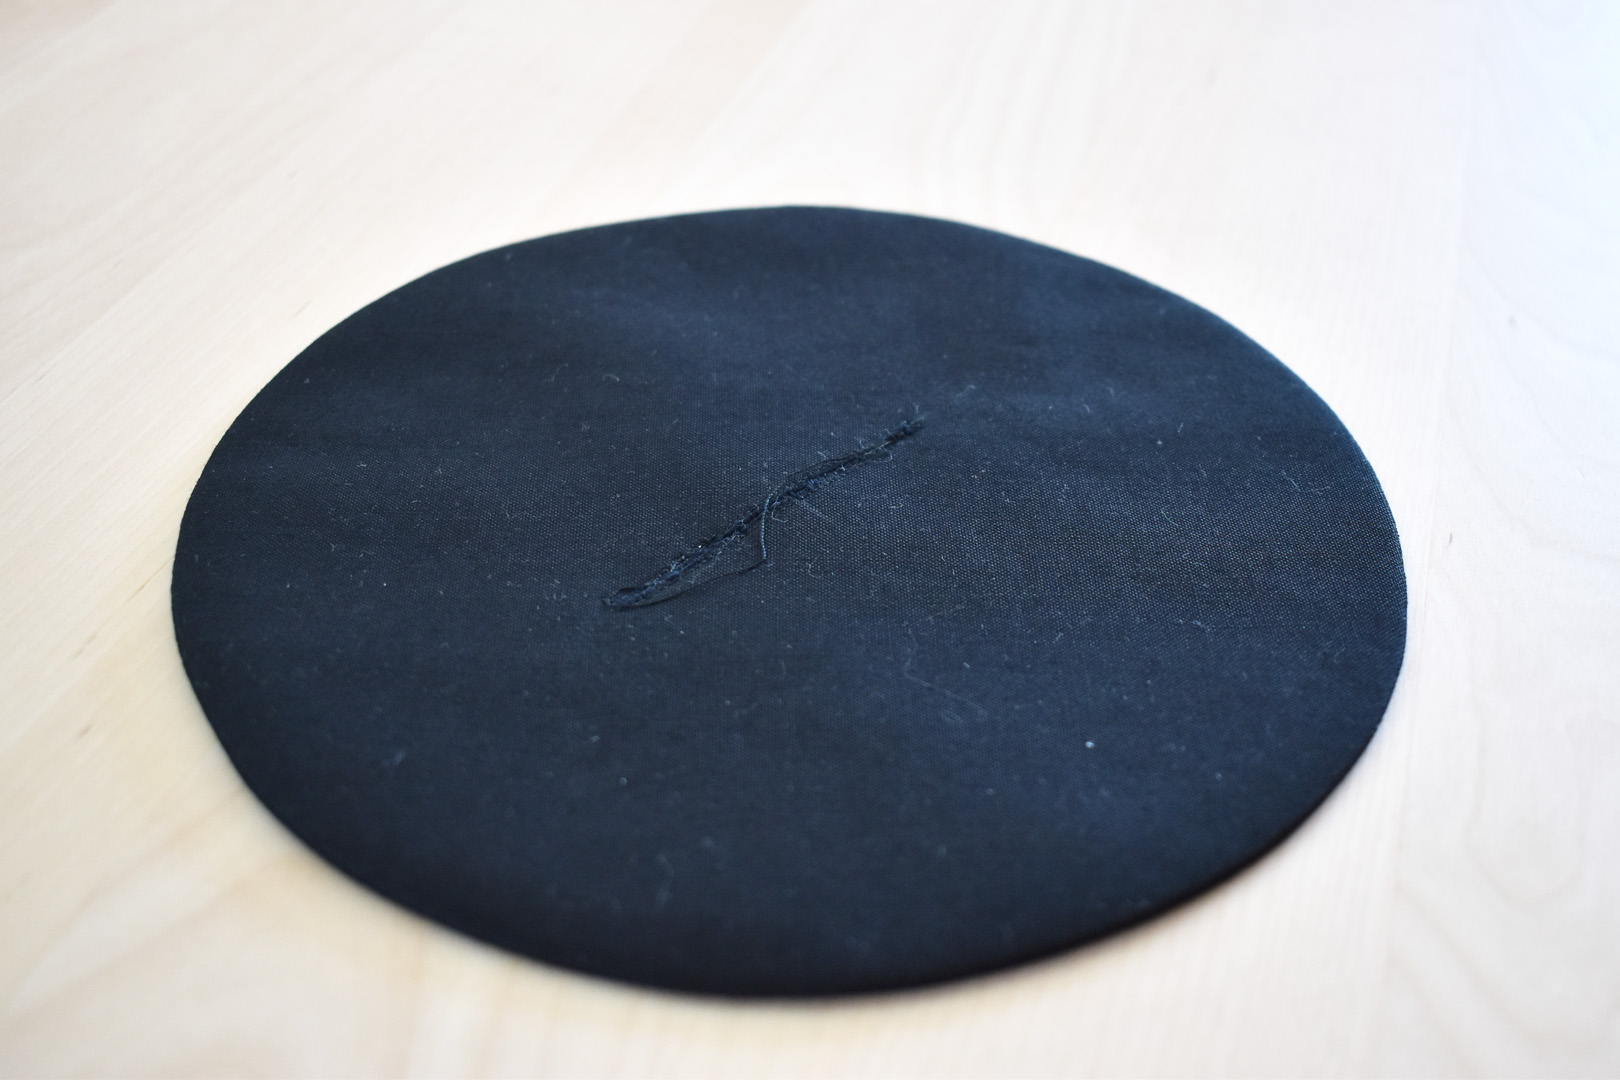
Press the circle well with your iron. Steam press the opening down so it is very flat.
Most 7″ records have a large opening in the middle, while some have a smaller hole to fit on a record player. The larger holes needed an insert, or record adapter, to fit on most regular turntables. Some of these adapters were fun shapes and bright colors. You can choose to create your record coaster with just the label, or add a fun adapter as well!
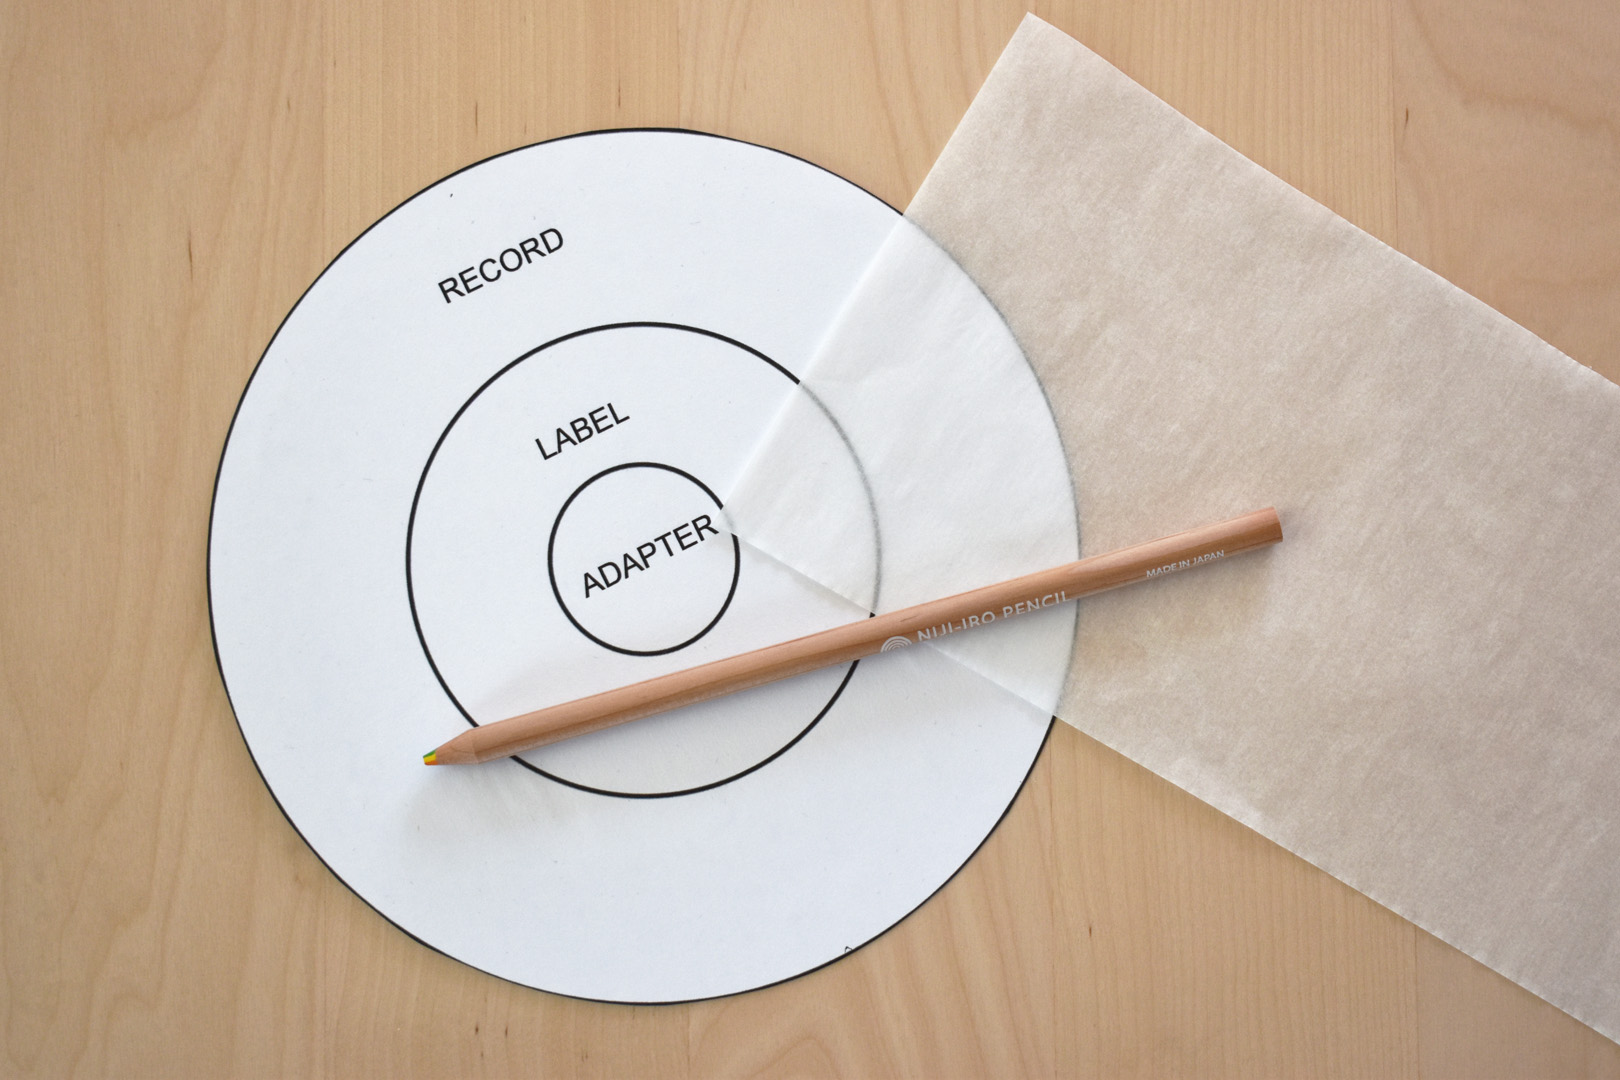
To add the label and adapter, use the “LABEL” and “ADAPTER” sized circles on the pattern. Grab the fusible webbing and a pencil.
Trace the circles on the paper backing side of the fusible webbing. Cut the webbing in large squares around the circle shapes.
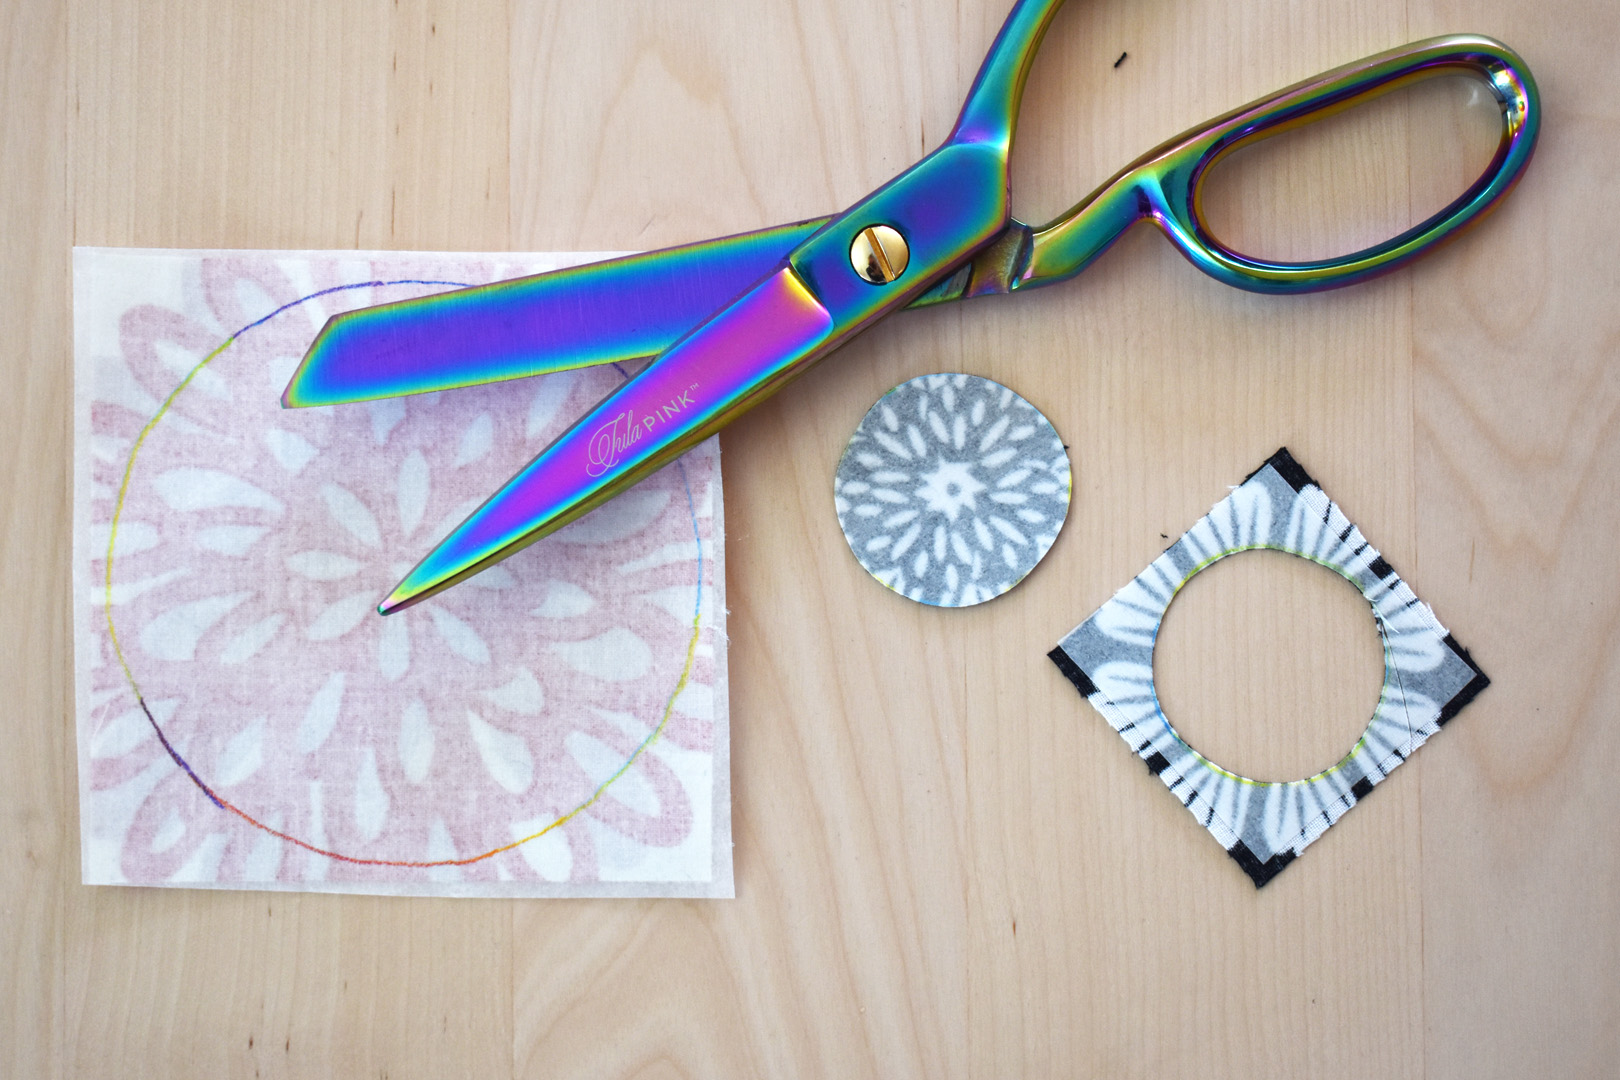
Following the manufacturer’s instructions, first fuse the shapes to the wrong side of the fabric. Cut the shapes to size carefully along the pencil lines. Then peel the paper backing away.
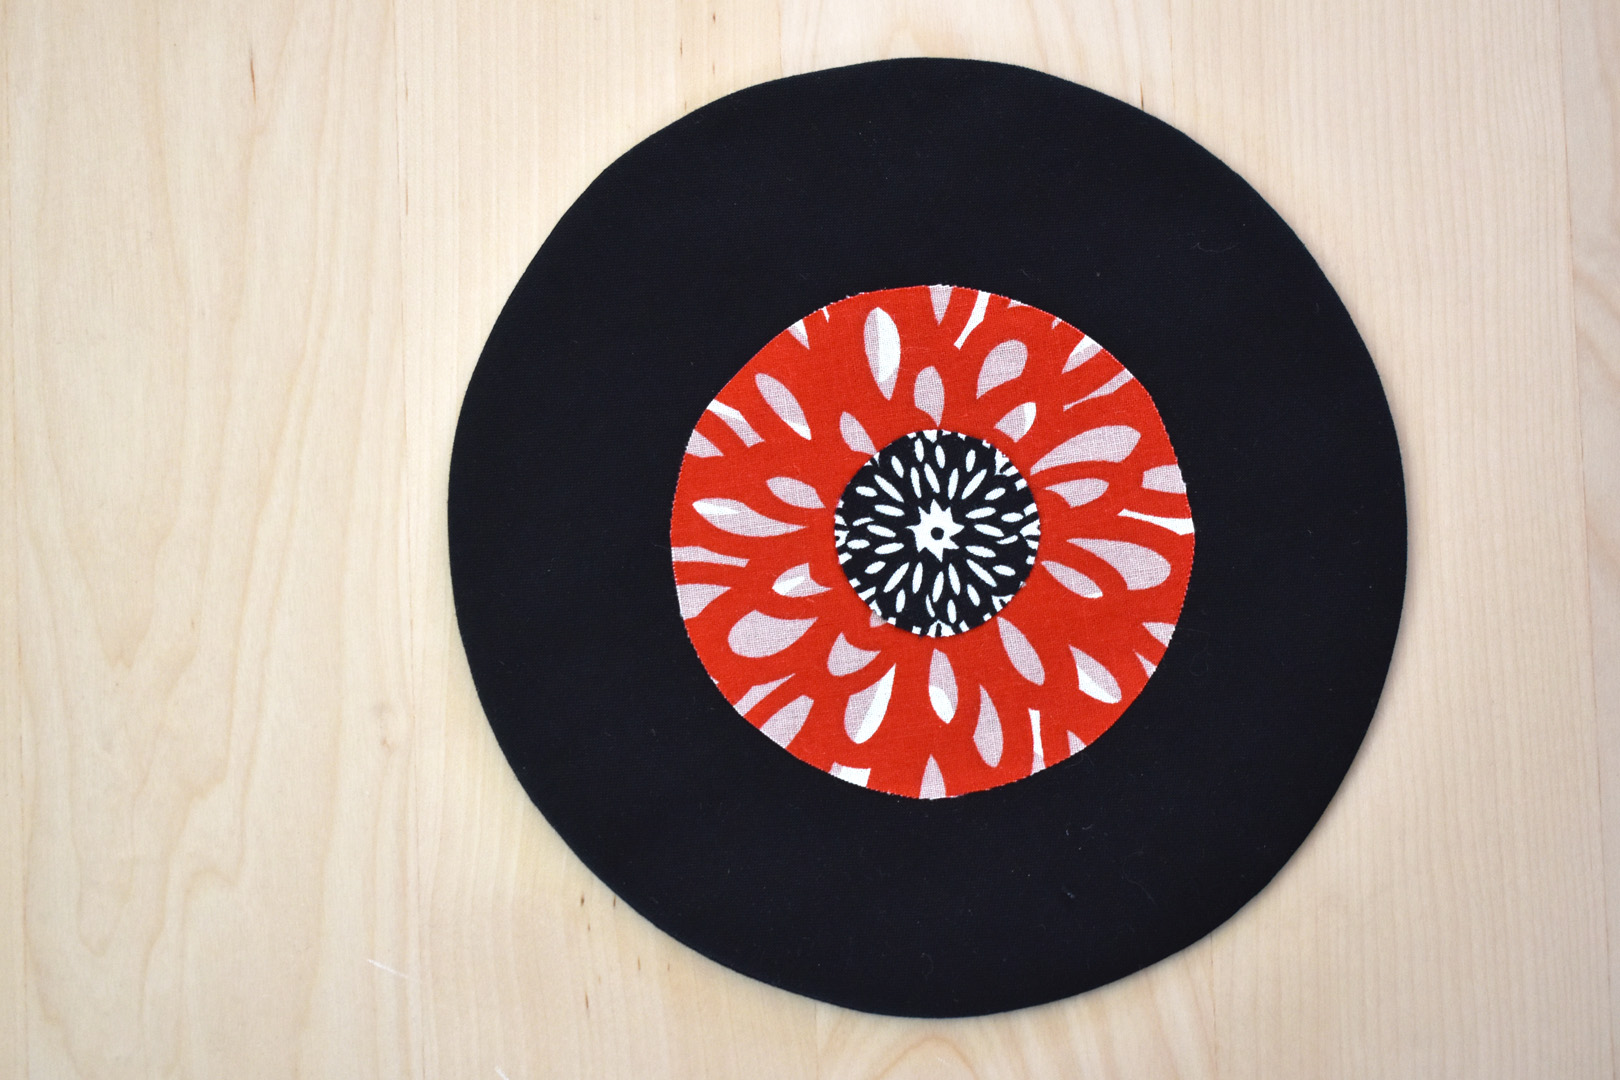
Center the shapes on your record over the slit used to turn the shape inside out, and finish fusing with your iron.
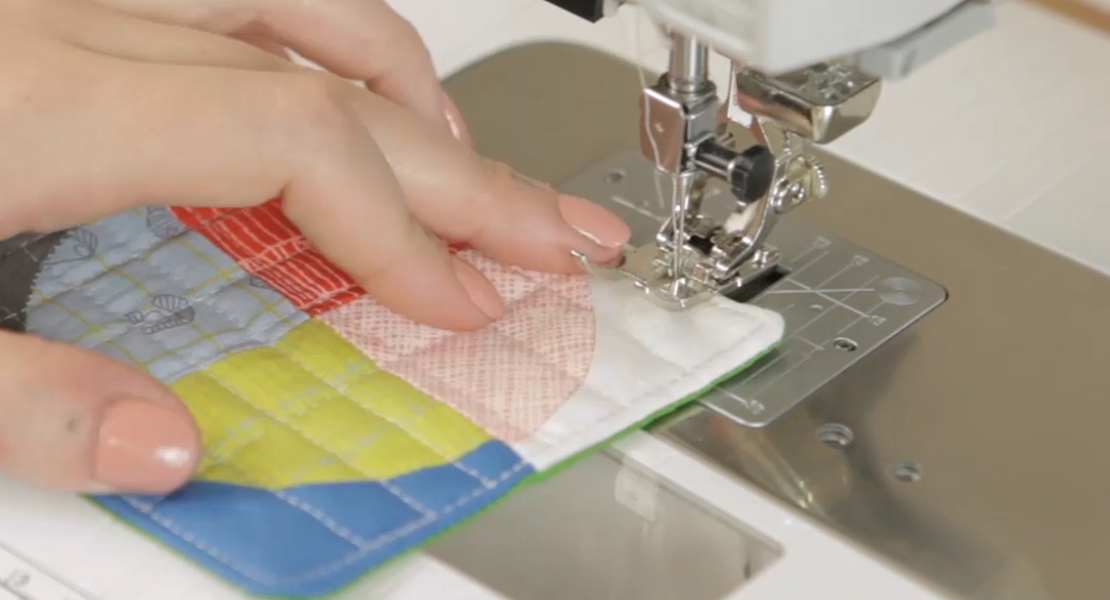
For next steps, I am using the Patchwork foot #97D with Dual Feed. If you do not have the Dual Feed feature on your machine, use a Walking Foot #50 for this step to help keep the fabric layers from puckering or shifting during sewing.
Use a straight stitch set about 2 mm in length for topstitching the coaster.
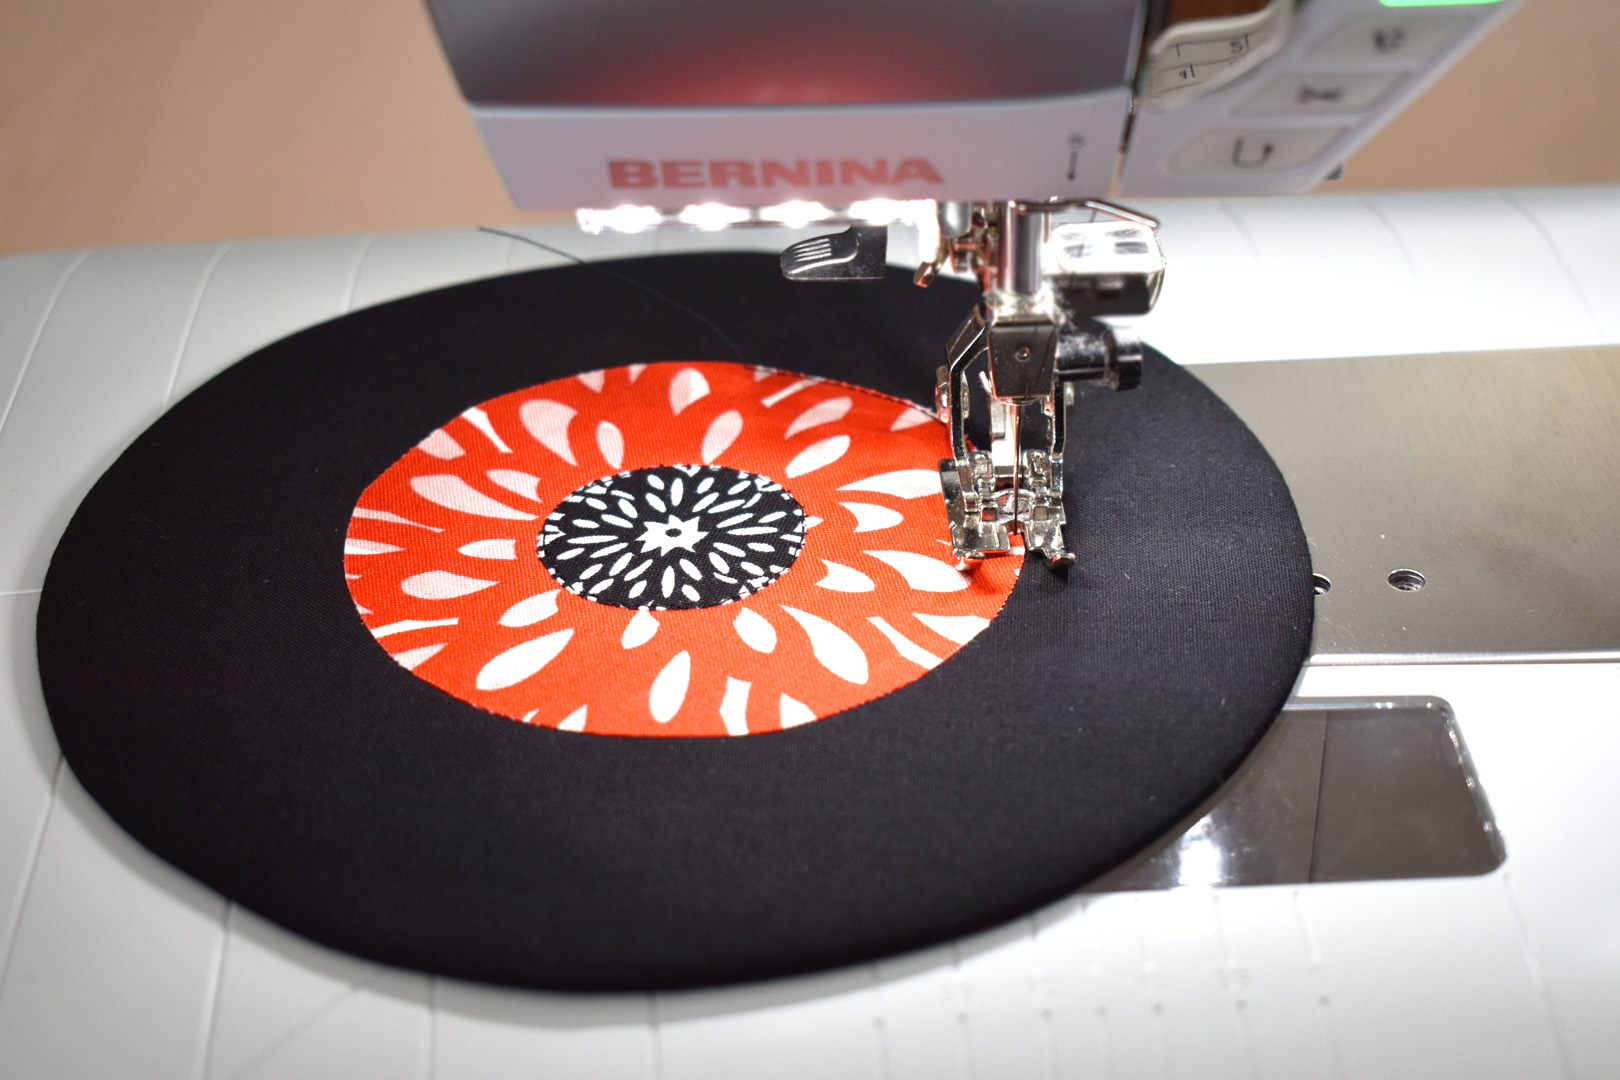
First, sew a straight stitch very close to the edges of the fused shapes.
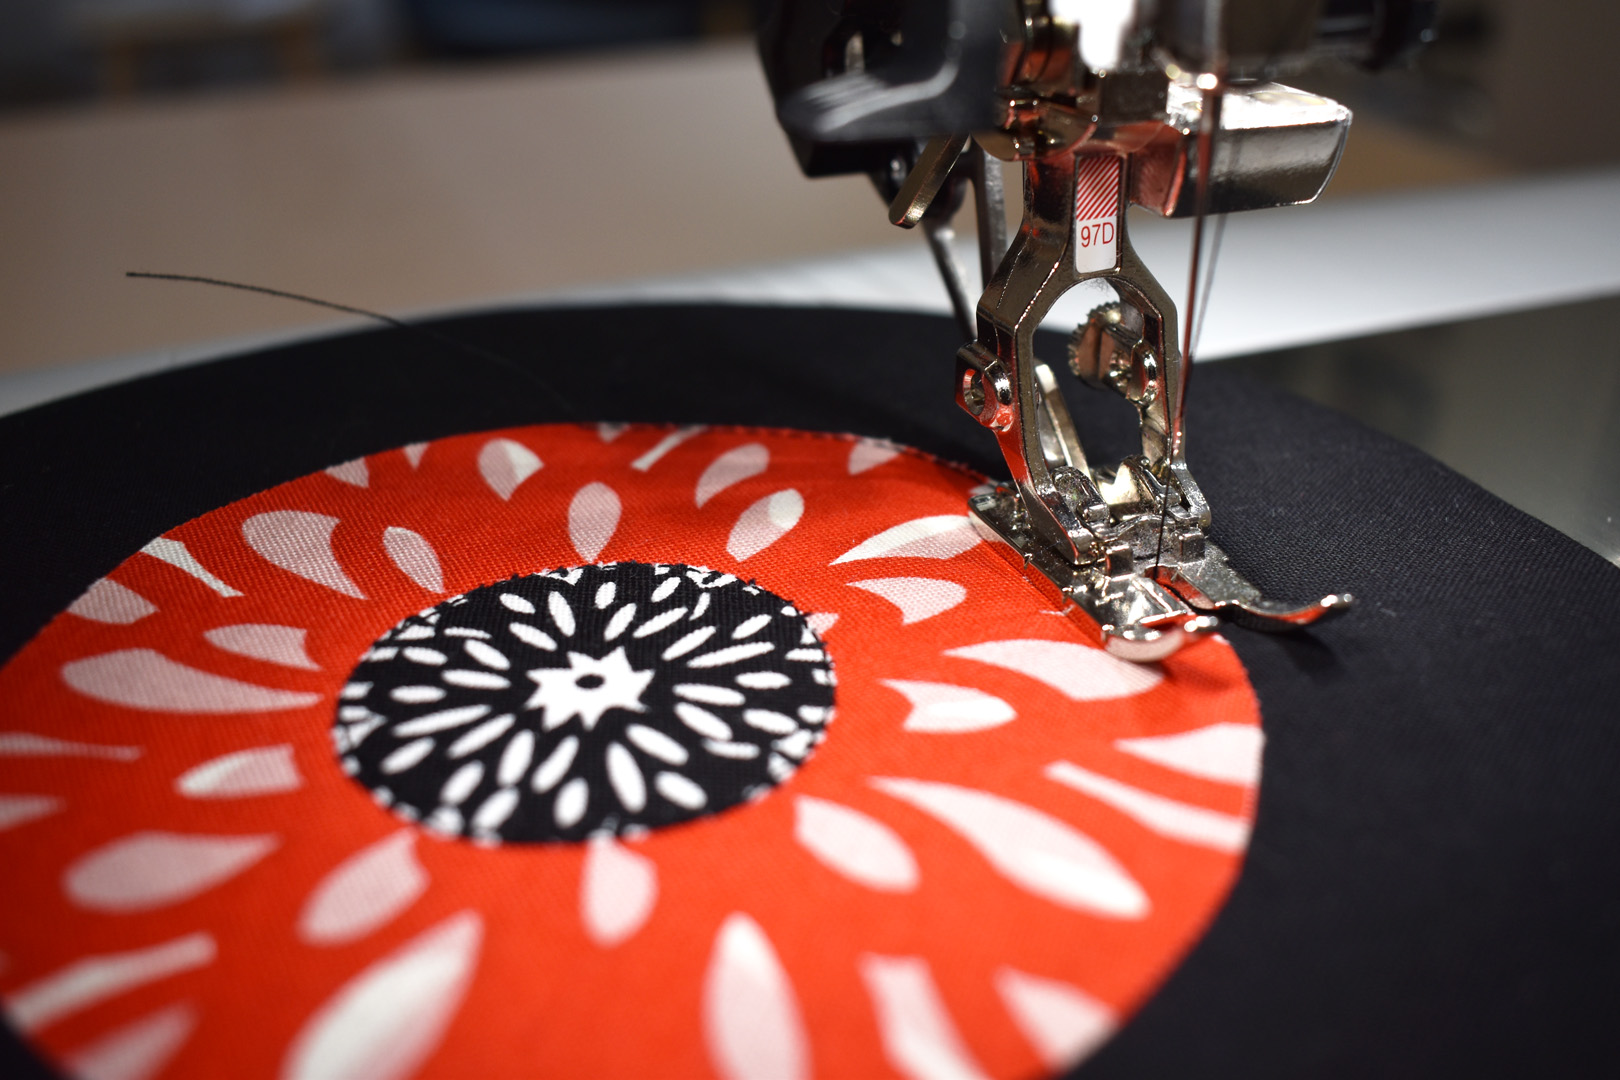
Stitch the label, and if you added an adapter, remember to also stitch around this circle shape.
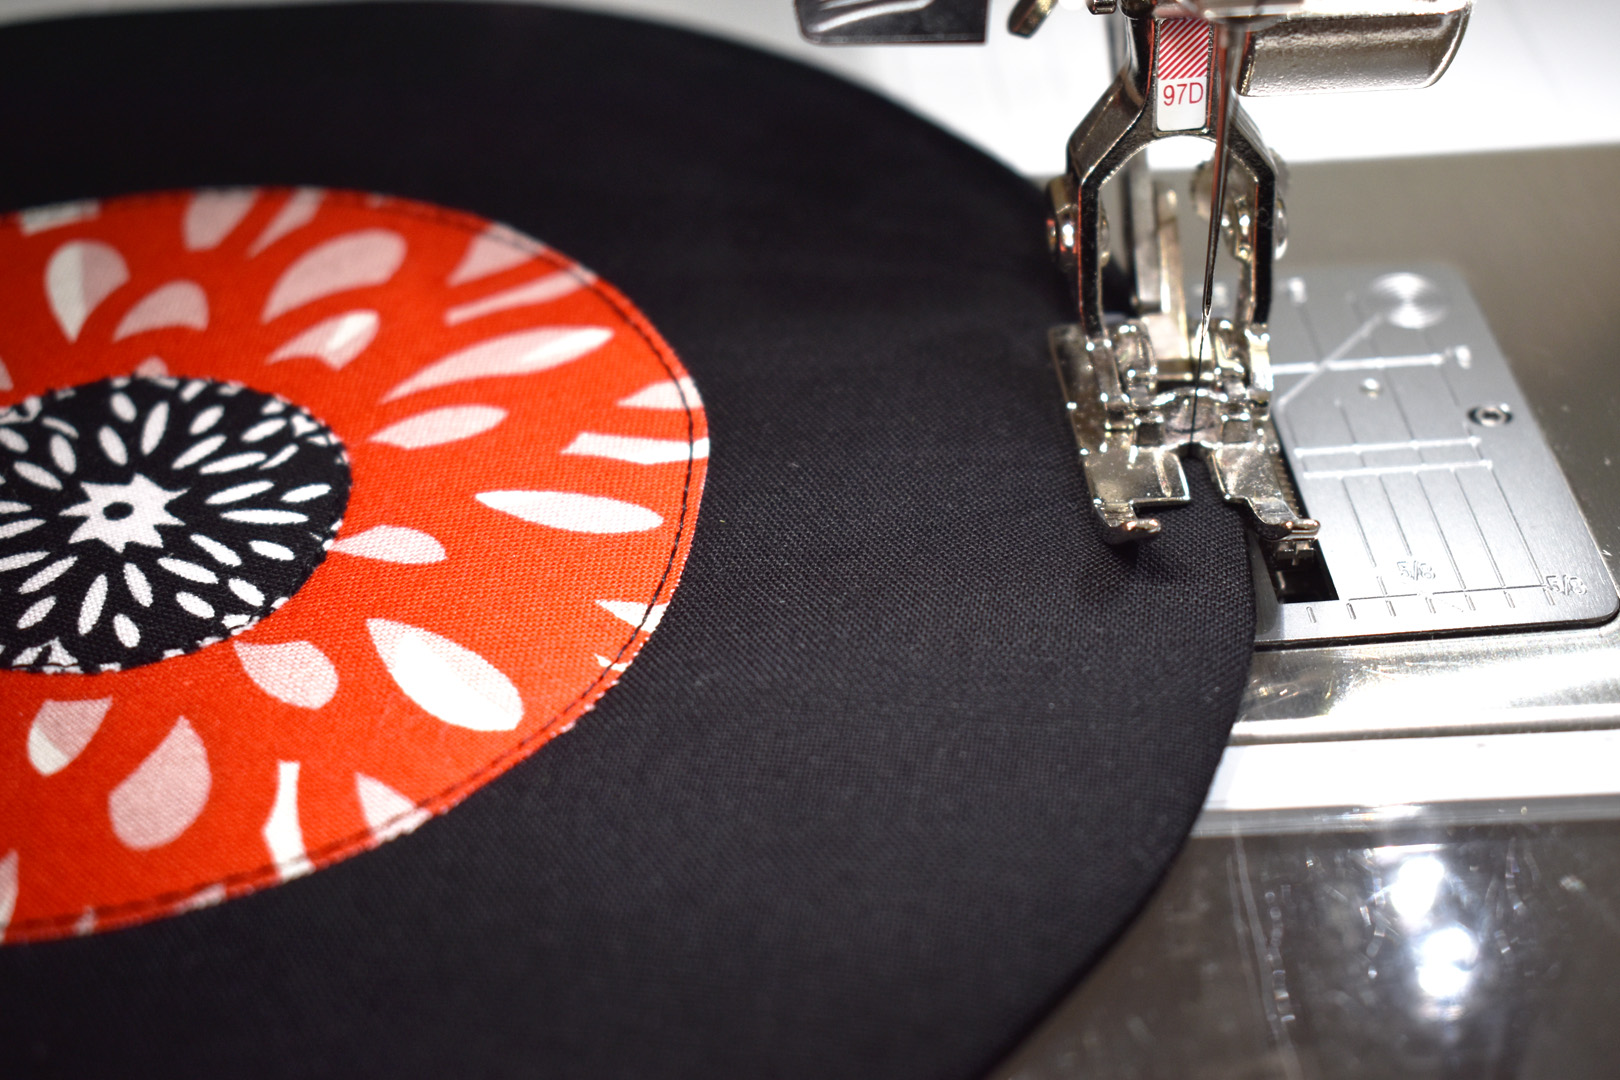
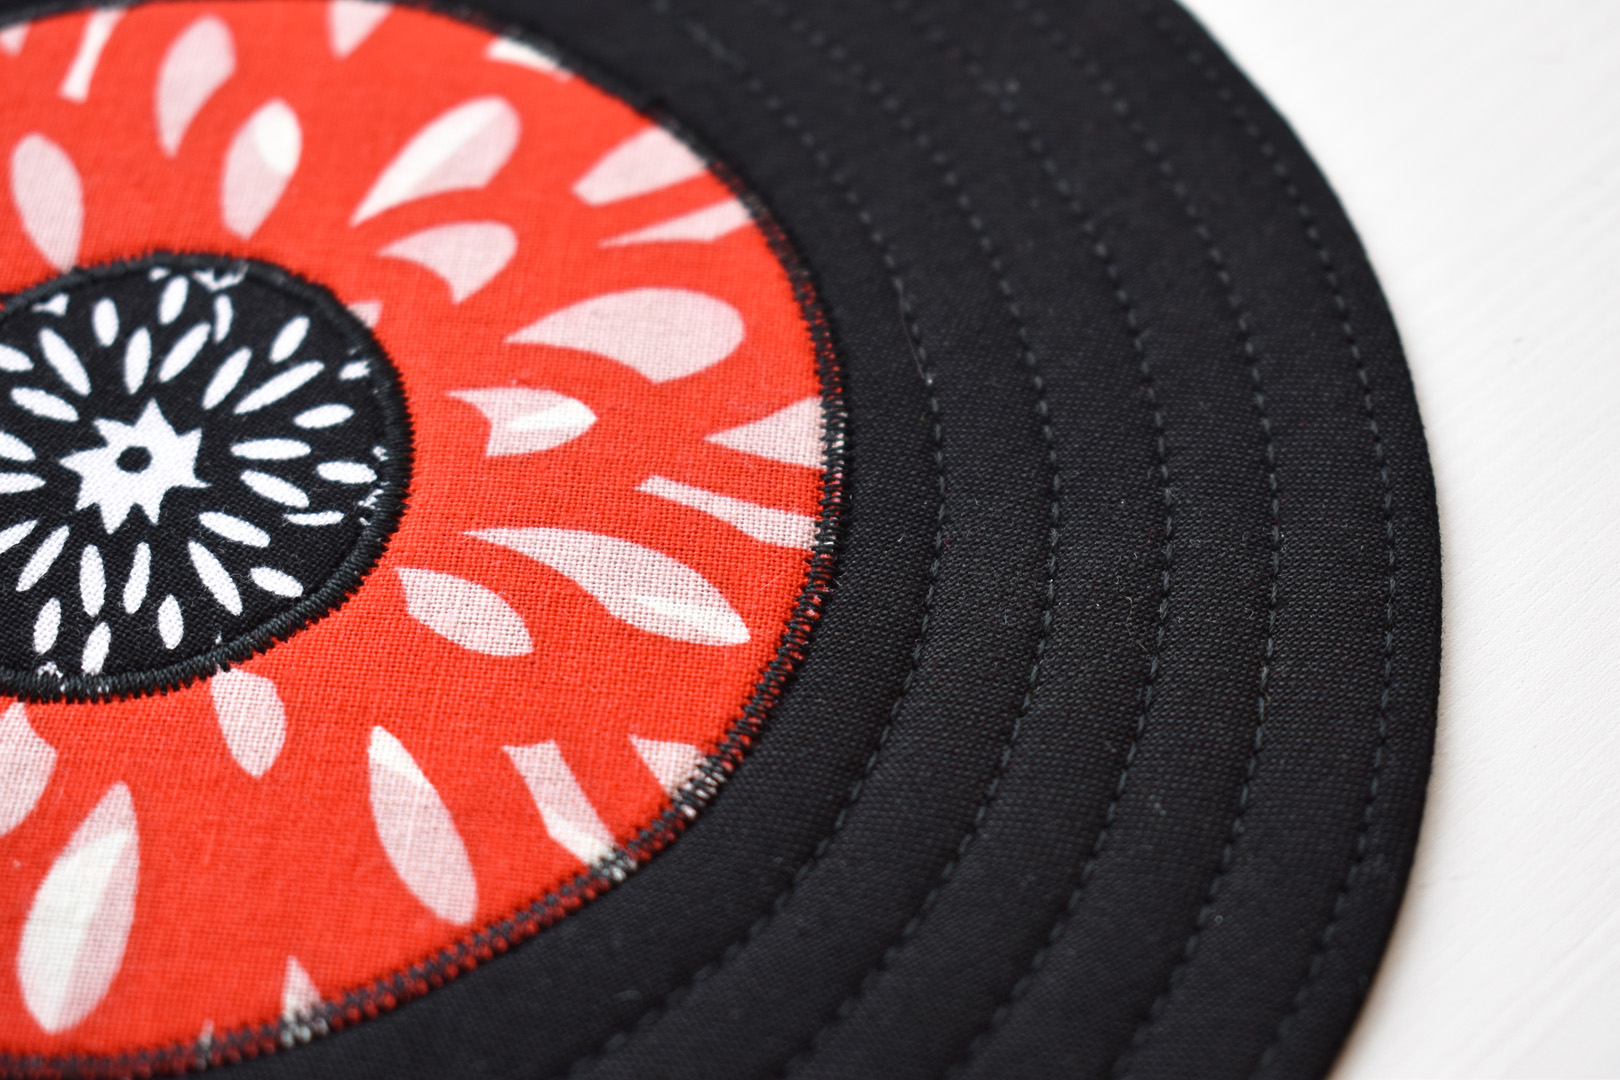
Next, stitch about 1/8″ to 1/4″ from the very edge of the coaster.
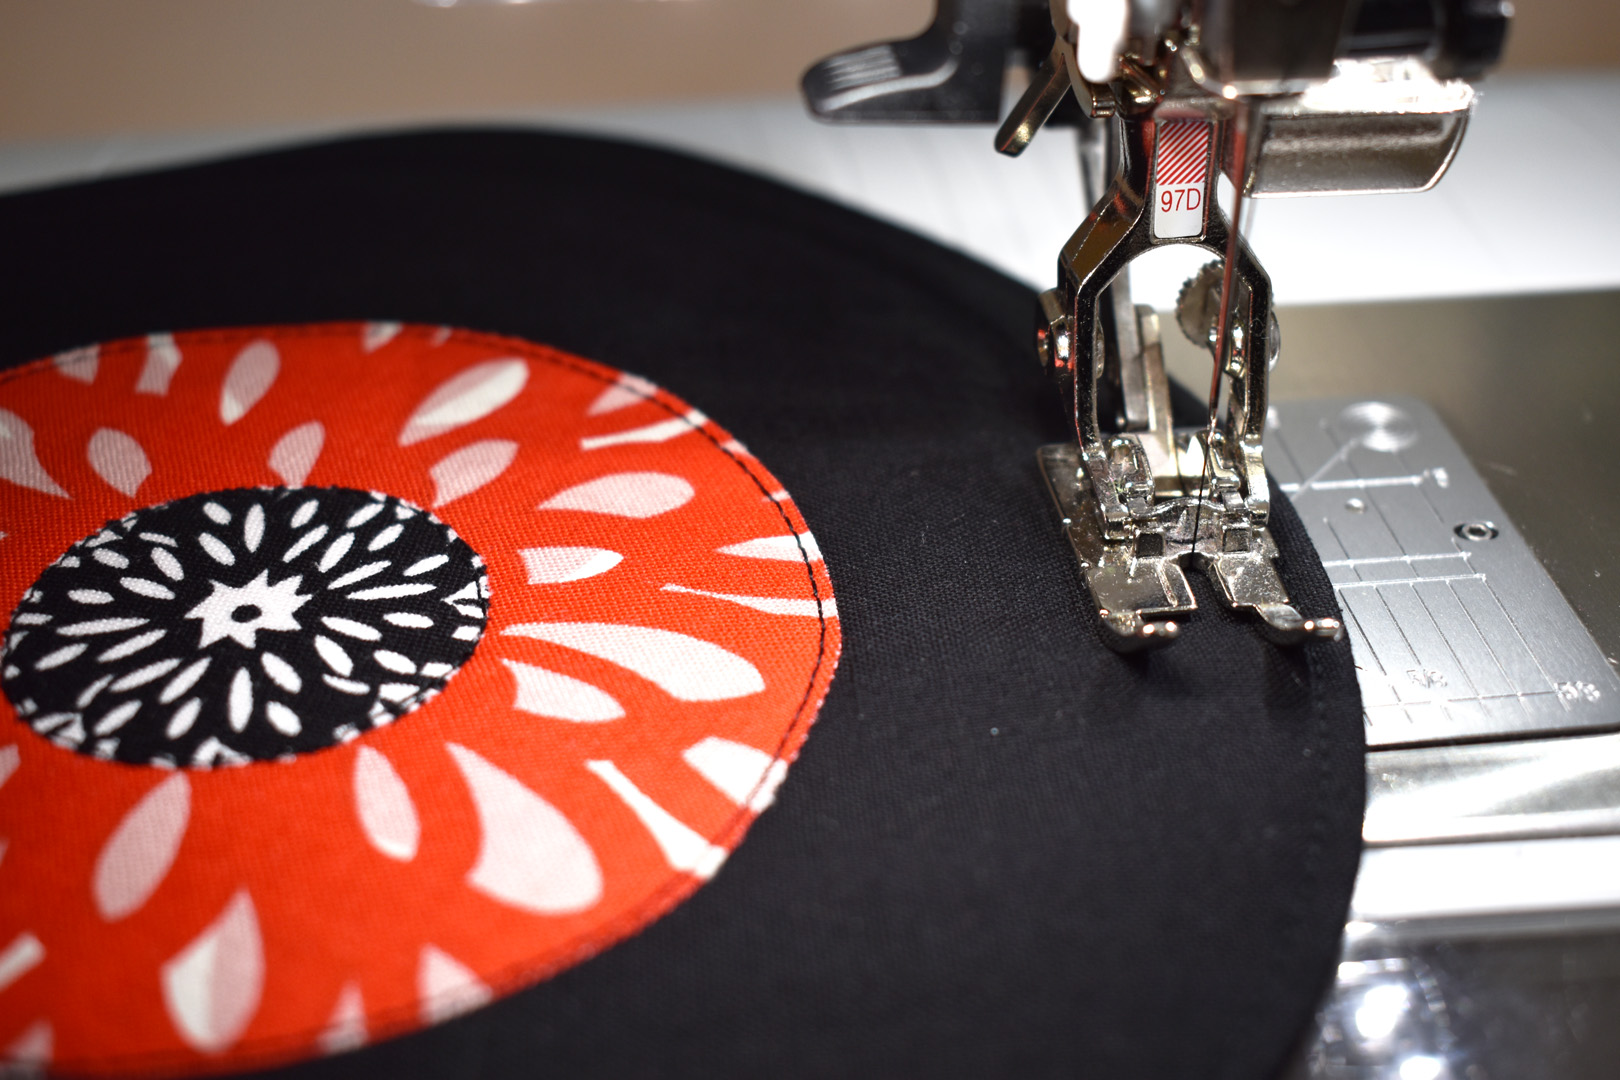
I added consecutive lines of stitching, each 1/4″ away from the last line. It’s easy to follow the edge of the Patchwork foot #97D to make 1/4″ spaced stitches.
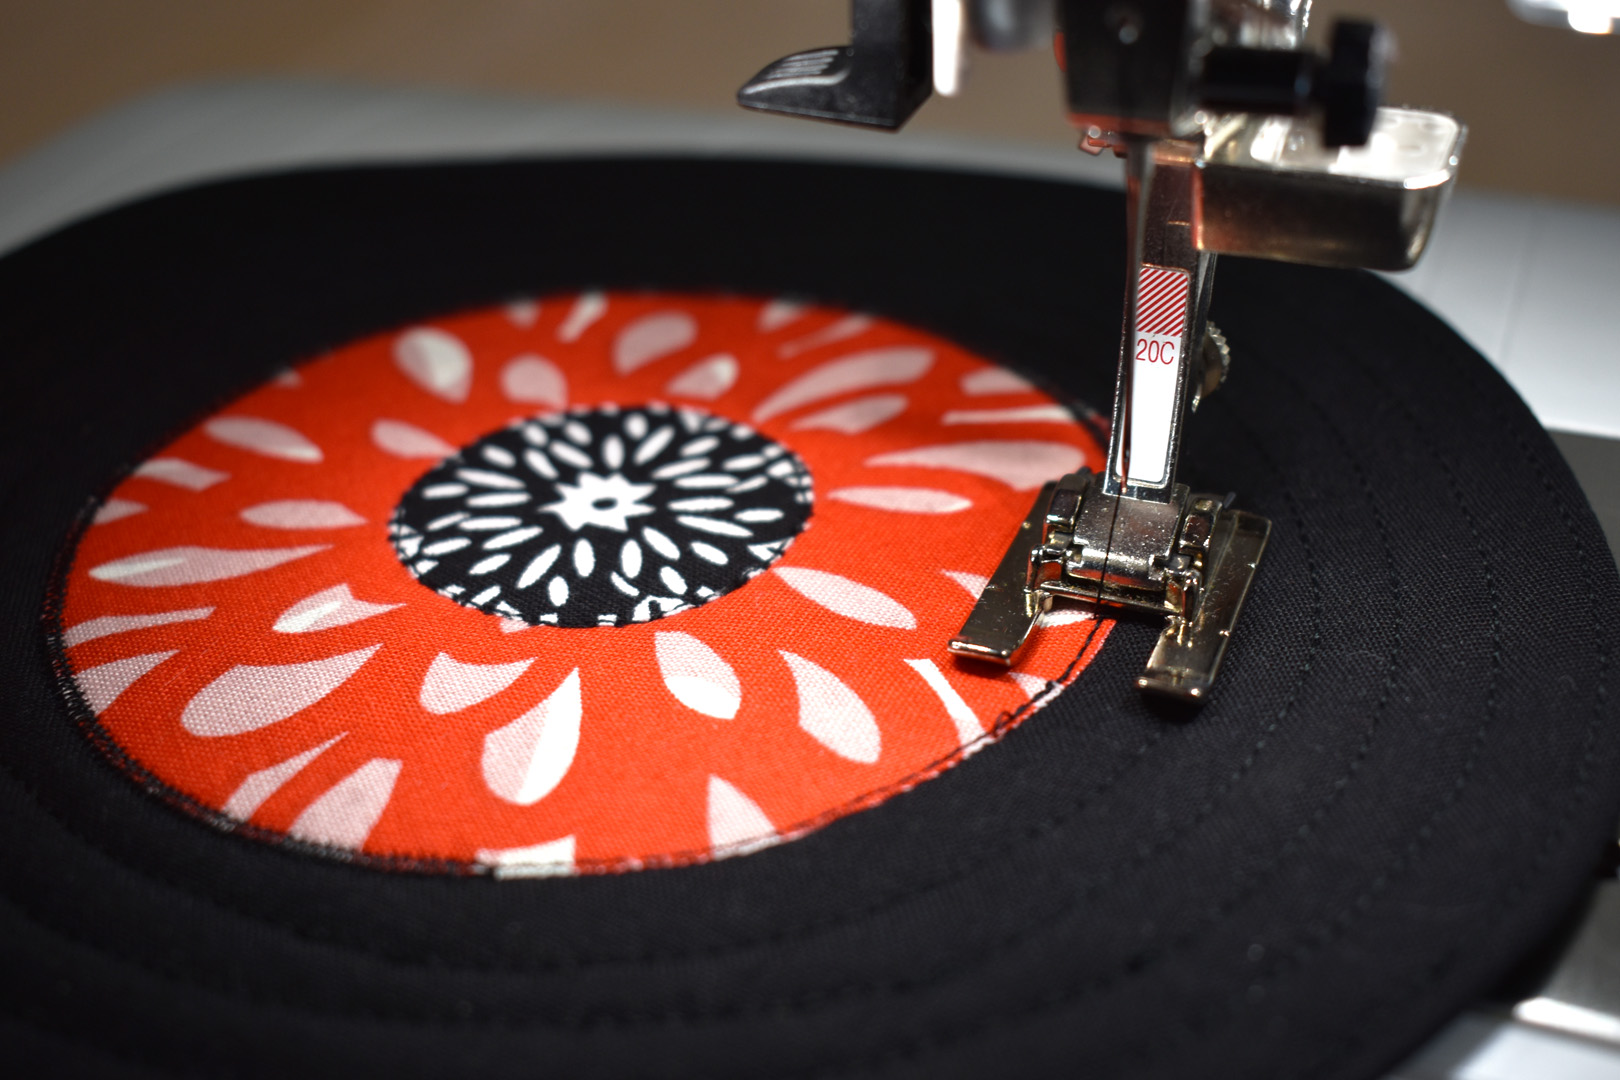
And finally, add a narrow zigzag stitch to finish off the fused circles. You can use any zigzag foot, but the Open embroidery foot #20 gives you a really nice, open view of what you’re sewing.

I sampled some zigzag stitches, playing around with stitch width and length until I found a stitch I liked. I used a zigzag stitch at .5 mm long and between 2 mm and 2.5mm wide.
When finished stitching, give your coaster a good steam pressing to make it nice and flat.
Enjoy!


What you might also like


12 comments on “Record Coaster Sewing Tutorial”
-
-
Hello! Please click here to download the pattern: 45 RPM Record Coaster pattern (printed at actual size)
-
-
Love these! Thanks!
-
I just made four of these. They turned out great! After making the first one as described, I thought I would try sewing the circle using the circular embroidery attachment. It made for a more precise “45” record. I didn’t bother cutting out the fleece. Just sewed the 8 inch squares through the 4 layers, trimmed and turned. Couldn’t be easier. Thank you for creating and sharing such a really cool nostalgic pattern.
-
I just got this attachment and haven’t tried it yet. What size circle did you set it for?
-
-
what is the dimension of the record supposed to be? My circle pattern is 8″, it seems like that is too large if the squares are supposed to be 8″ to begin with. I want to make these for Christmas gifts. Please clarify. Thank you.
-
Hello @sjmontag, thanks for checking out my 7″ record coaster tutorial! The diameter of the large circle is 7″ when printed correctly. You may want to look at your printer settings, and print the page at 100% – do not “print to fit area” or the pattern will print out larger. Cheers! – Erika
-
Thanks so much, I figured it out – printer error. You were right. Thanks a million. I’m about to start making these for a gift for my music loving sister!
-
Awesome!
-
-
-
-
Have a meeting in Detroit and we often make little items to share. This is the perfect item to take, so thank you for sharing the instructions.
I actually laminated the record shape to make it sturdier to trace around and will do the same with the label and adaptor.
Now to get down to work!
Thanks again for the wonderful tutorial.
Anna in IL-
Hi Anna, thanks for checking out my project! Great idea for making a sturdy pattern, I’m so happy you enjoy making these little coasters. Cheers!
-
-
This is a timeless classic. Just discovered it in 2025 and already making several for friends and family.
Leave a Reply
You must be logged in to post a comment.

So where is the pattern.