Decorative Stitched Holiday Cards
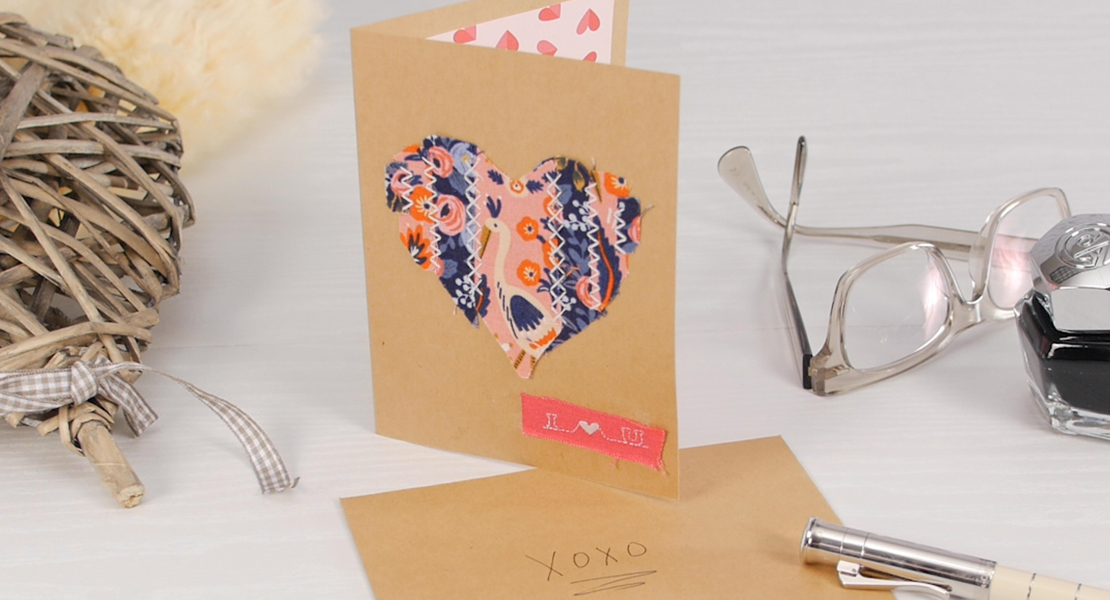
Many machines come with an assortment of built-in decorative stitches that go unused. Decorative Stitches add character with minimal effort and can be used to create your own fabric designs. This is a quick and easy project to put those stitches to use as you become comfortable with what your machine has to offer.
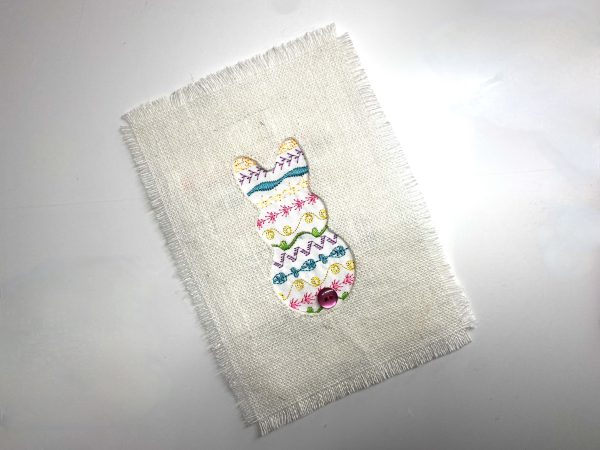
Easter Mug Card
Materials Needed
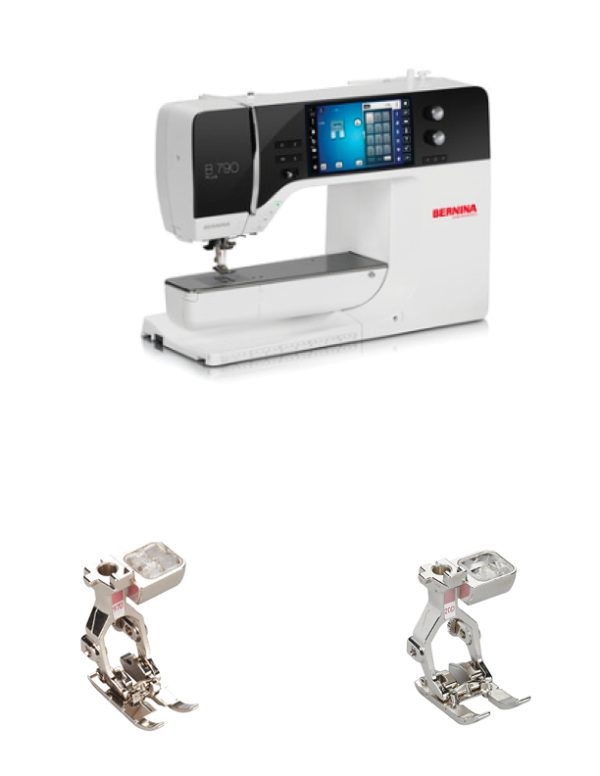
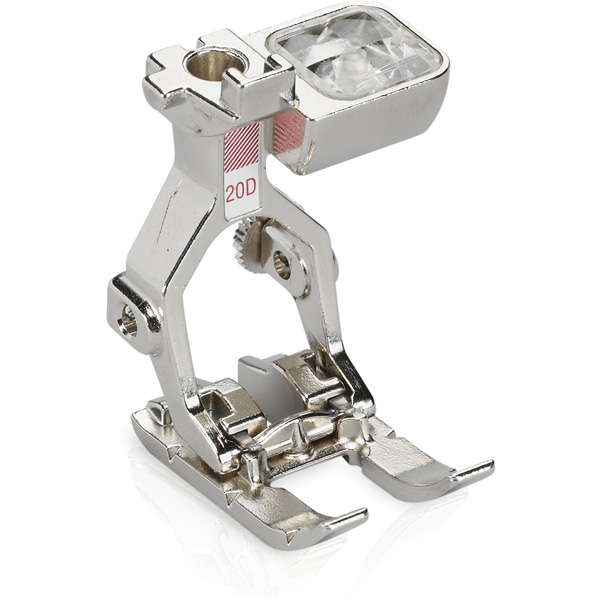
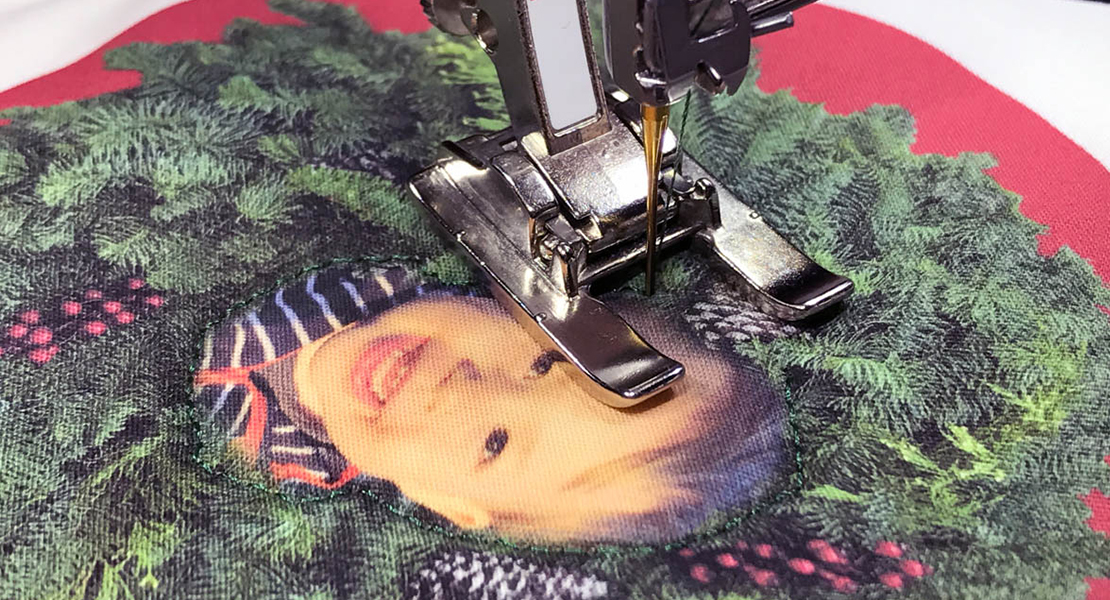
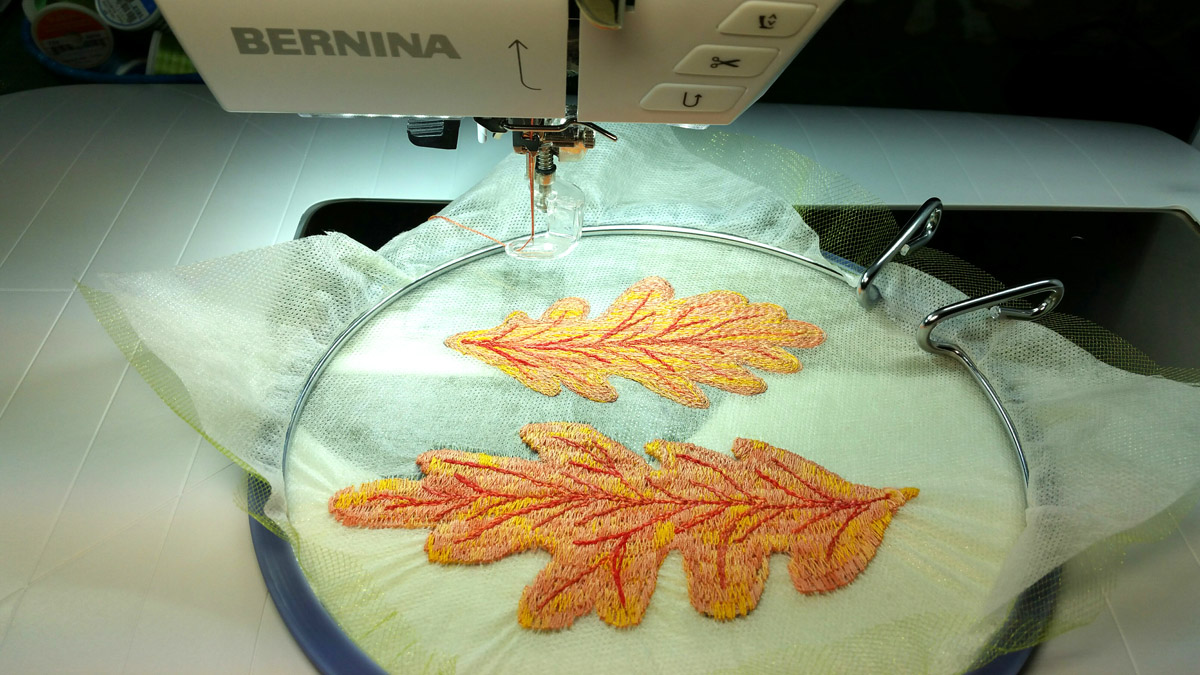
I used the built-in decorative stitches on the BERNINA 790 PLUS machine for this project. Decorative stitches were created using the Open Embroidery Foot #20D. The Patchwork Foot #97D for the construction.
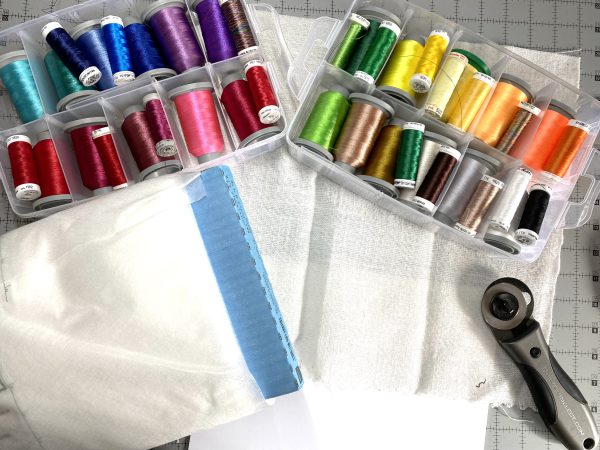
- Embroidery thread – I used 40 wt polyester
- Fusible stabilizer
- Loosely woven fabric
- White cotton
- 1/4 inch Steam-A-Seam 2 or other fusible web
- Rotary cutter, ruler and mat
- Iron & ironing board
- Card stock and envelopes
Preparing Materials
- Cut card stock the length of envelope and twice as wide. I used 5-1/2 X 7-1/2 inch envelopes. Card stock cut 7-1/2 X 11 inches.
- Fold card stock in half to fit envelope. Set aside.
- Cut loosely woven fabric one inch smaller than folded card. I cut fabric 4-1/2 X 6-1/2 inches. Set aside.
- Cut two white fabric pieces and one stabilzer two inches smaller than folded card. I cut these 3-1/2 X 5-1/2 inches. The second white fabric will become the facing.
- Fuse stabilizer to wrong side of one white fabric.
Decorative Stitching
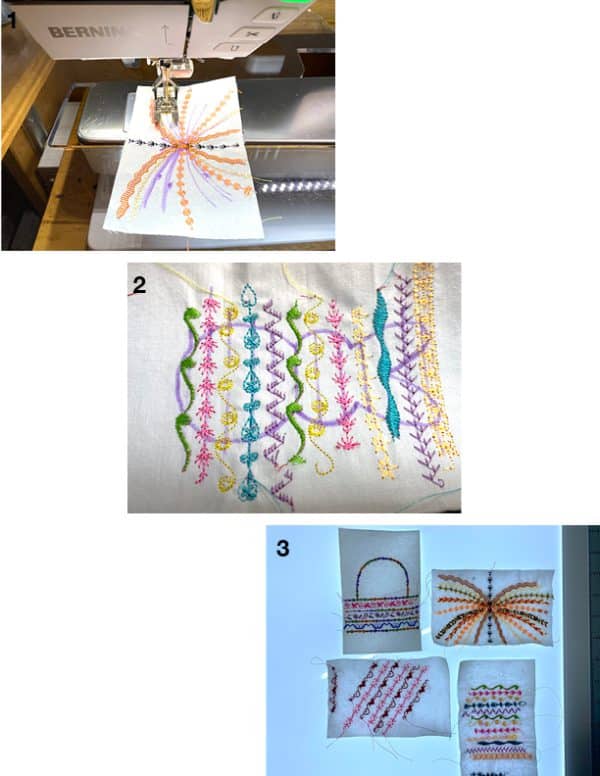
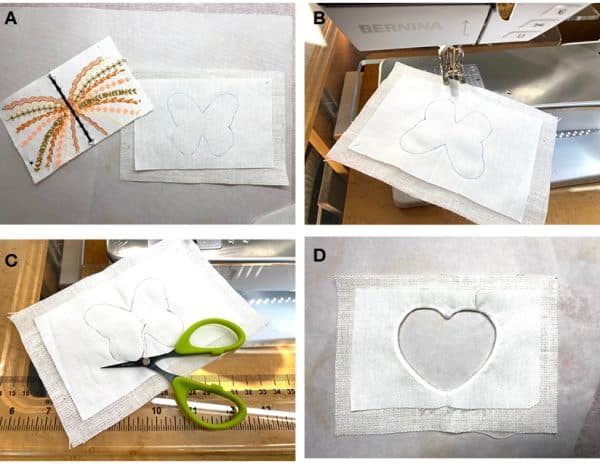
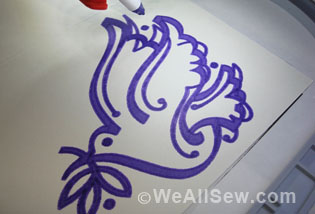
- Use removable marker to draw a design outline on right side of stabalized white fabric. Designs can be hand drawn or traced from coloring books or cookie cutters.
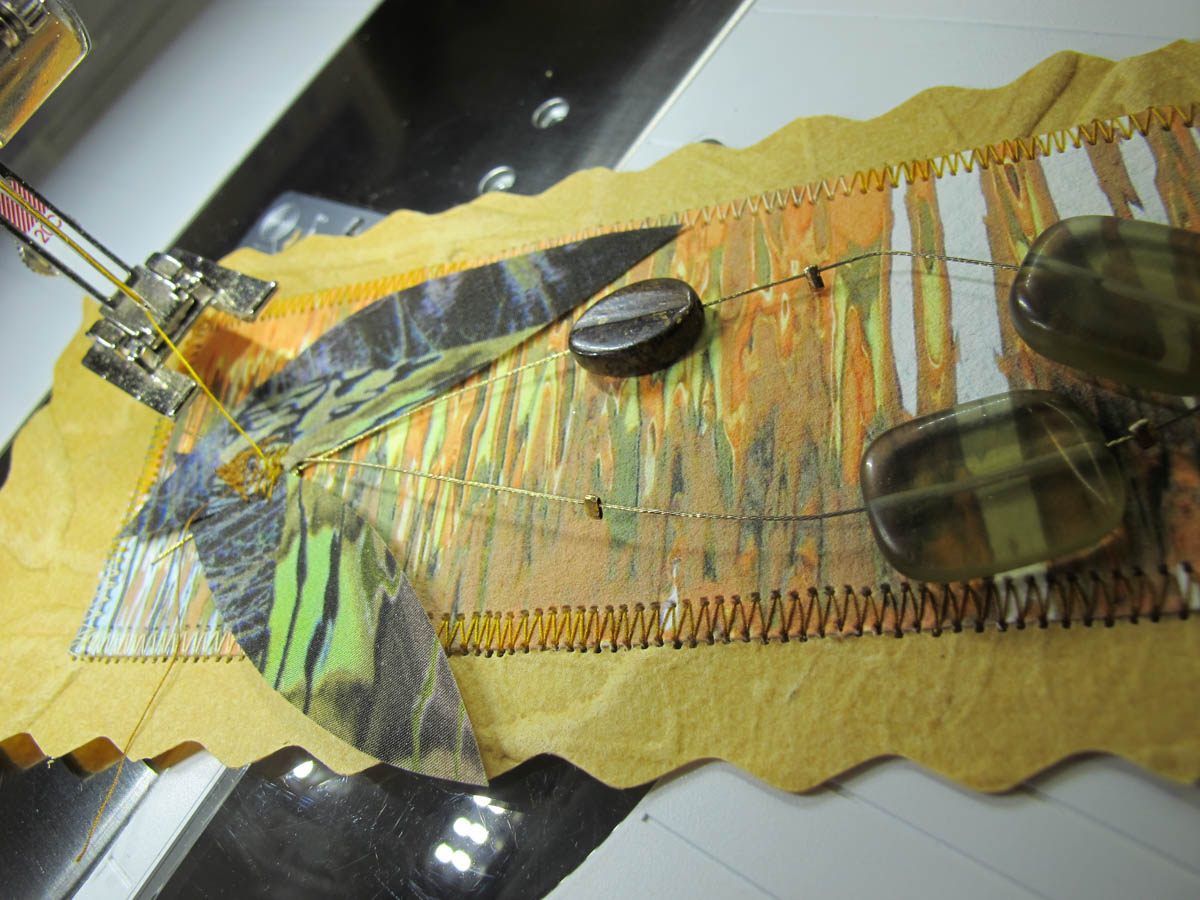
- Using open toe foot and your choice of decorative stitches, stitch rows. Extend the rows or patterns past drawn outline.
- Change thread colors and stitch designs as desired.
Creating the Frame
A. Trace desired design on wrong side of facing fabric square (3-1/2 X 5-1/2 inches). Center on loosely woven fabric with right sides together.
B. Stitch on traced line.
C. Cut inside stitched line a scant 1/4 inch. Clip curves and miter corners.
D. Turn facing to wrong side and press. Fuse strips of 1/4 inch Steam-A-Seam 2 between facing and loosely woven fabric. This will hold facing in place.
Checking Stitching Placement and Fringing Edges
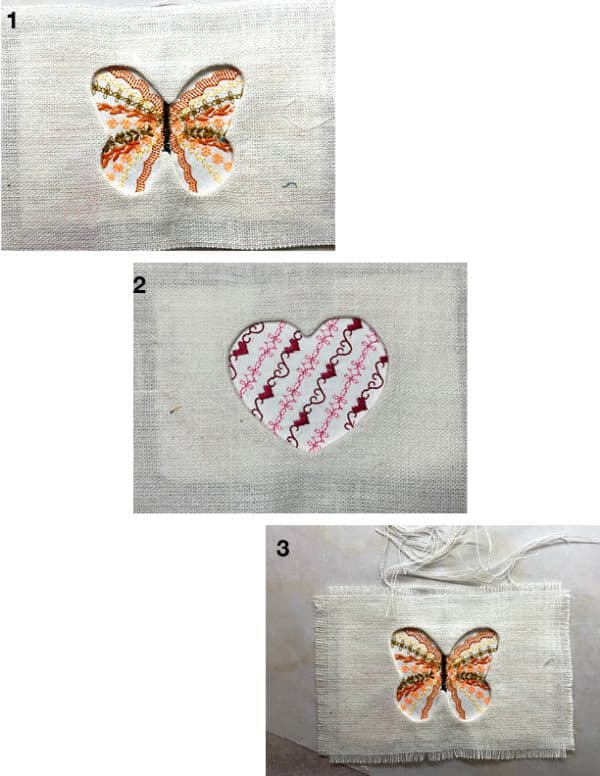
Newly created frame is placed over stitched design. If more stitching is needed to fill design, do it now.
Create fringed edge by removing the same number of threads from all four edges. I pulled six on each side.
Fuse small pieces of 1/4 inch Steam-A-Seam 2 on the corners on the wrong side of loosely woven fabric. This will prevent additional fraying.
Place frame over design. Fuse small pieces of 1/4 inch Steam-A-Seam 2 between design and frame. Steam in place.
Edge Stitching & Creating Card
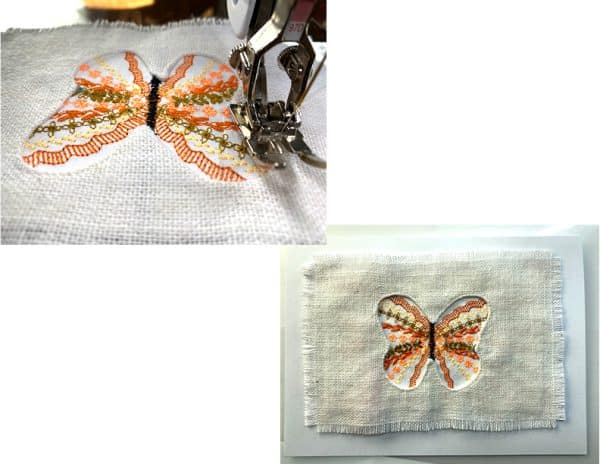
Carefully top stitch 1/8 inch in from edge around design through all layers.
Center on folded card stock. Adhere with a fabric glue.
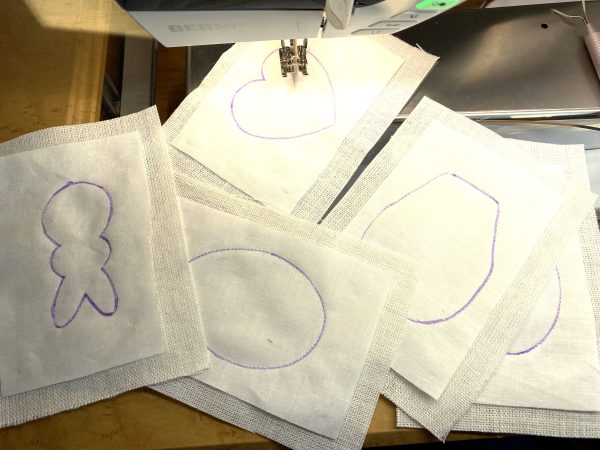
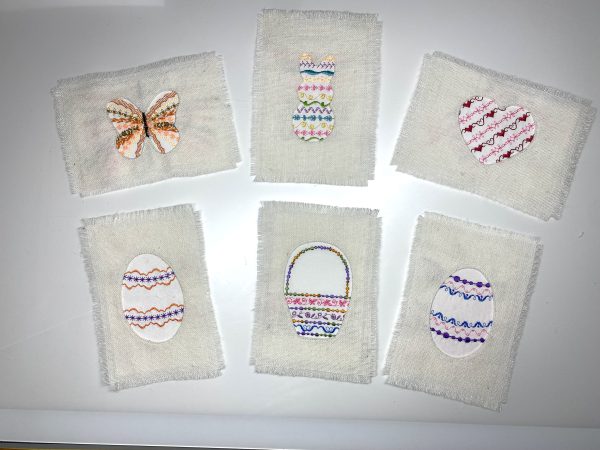
Creating additional designs as there are six grandchildren.
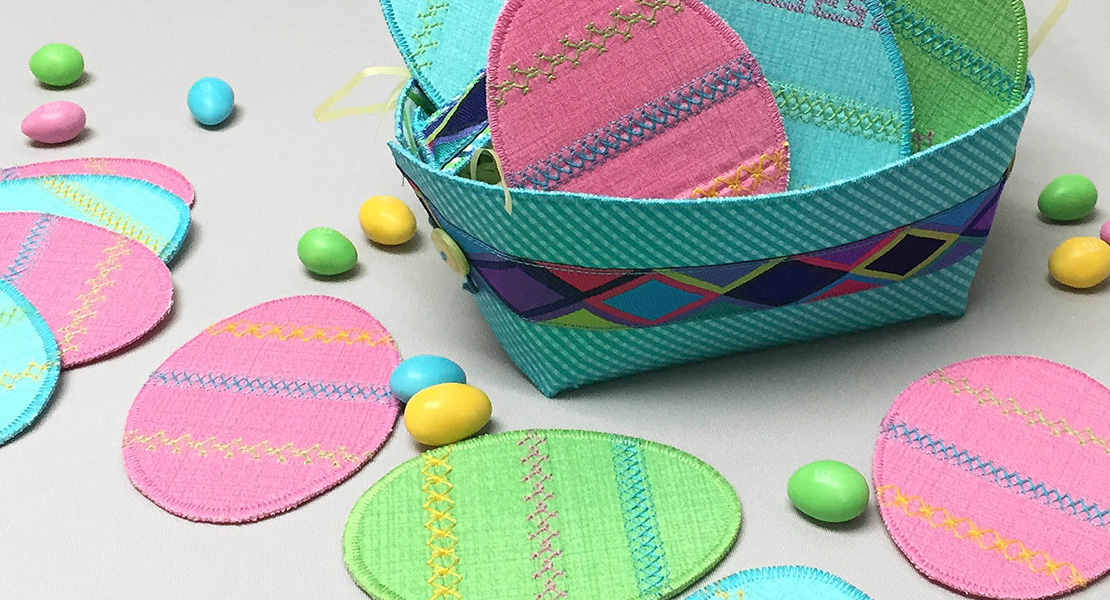
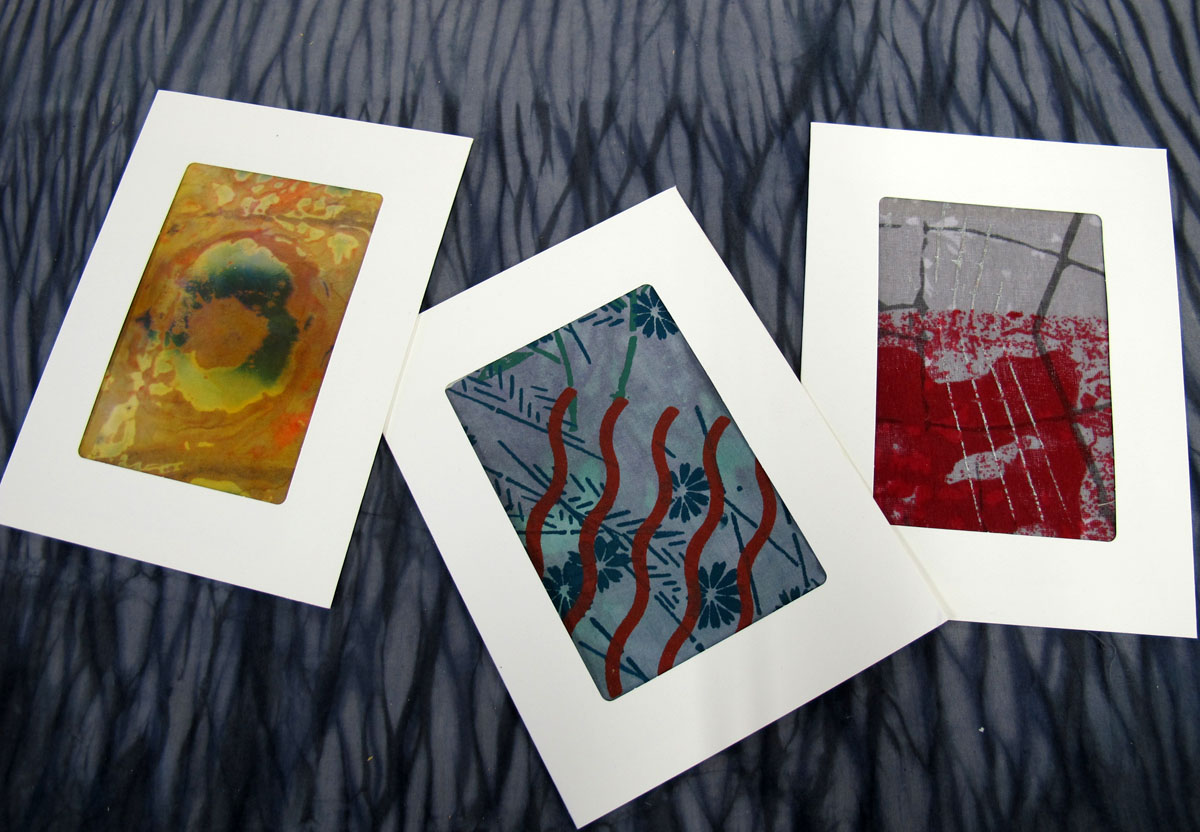
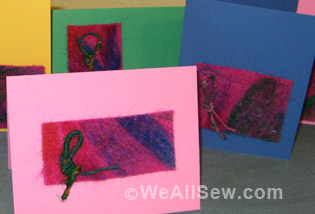
Six completed designs for holiday cards created with the built-in decorative stitches. This project would work for any holiday.
Another Option
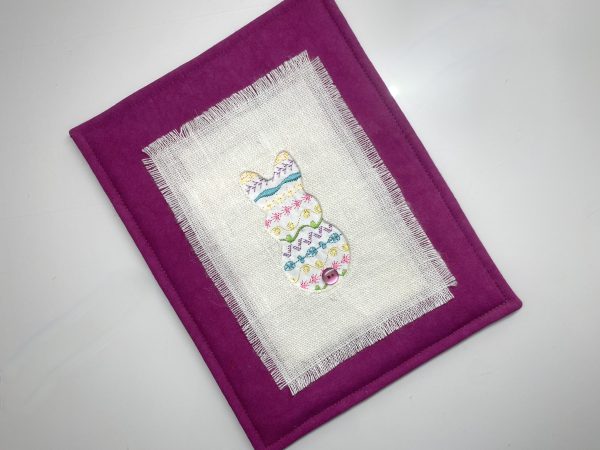
This mug rug uses the same technique but is stitched to a quilted mug rug rather than card stock.
What you might also like
2 comments on “Decorative Stitched Holiday Cards”
-
-
Hello…thanks for stopping by with a great question. I use 60 weight thread in my bobbin for almost everything and didn’t change it our for these. Depending on the color stitching it is either Superior Bottomline or Glide 60 wt. Use what your machine likes best. 🙂
Leave a Reply
You must be logged in to post a comment.






Hello. Does the 40wt embroidery thread also go in the bobbin or should the bobbin just be the recommended metrosene thread?