Dog Coat-ure with the Q Series
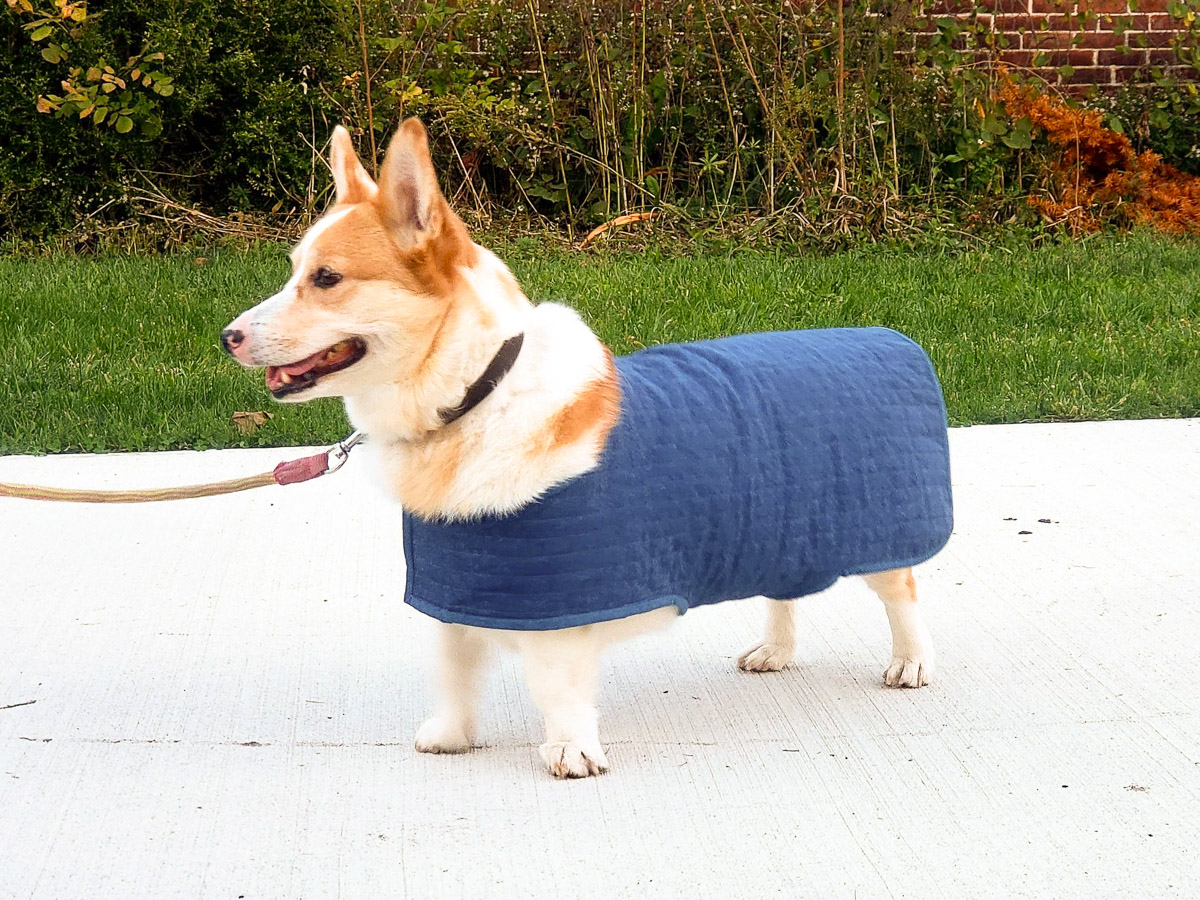
Many of us enjoy sharing our quilted creations with family and friends, but don’t forget our 4-legged friends. They can enjoy your beautiful quilting too. As the temperature starts dropping, now is the perfect time to make a fun quilted jacket for your favorite canine. The process is easy — draft a pattern using your dog’s measurements, quilt some fabric, cut it out, bind the edges, add closures to the front and belly band, and you are finished! Your pooch will be ready to hit their favorite trail modeling their custom-made doggy couture.
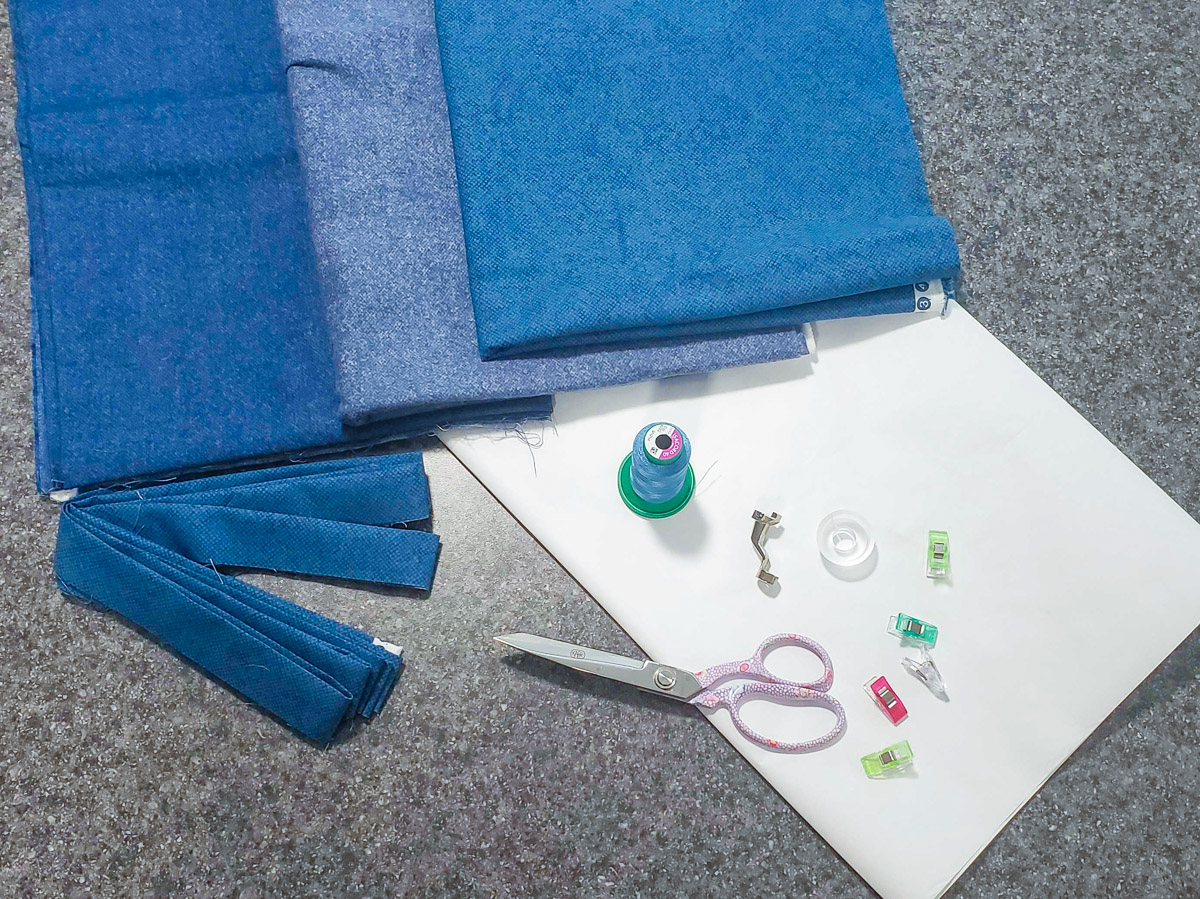
Materials for Making a Dog Coat-ure
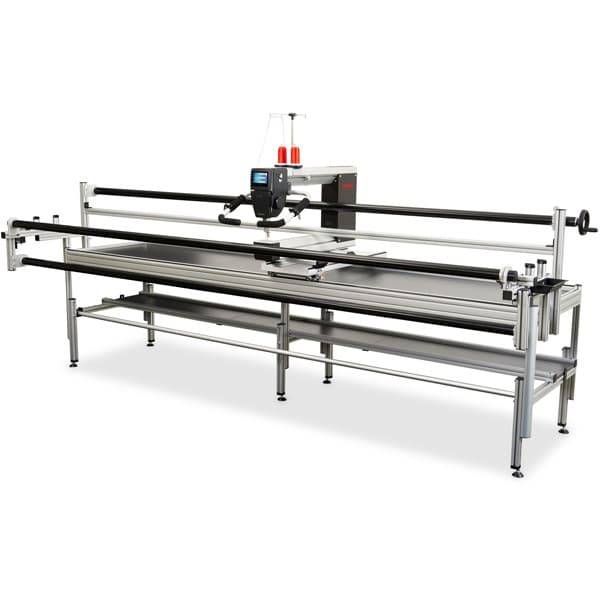
- BERNINA Q 24 on a PRO Frame with Q-matic
- Ruler Foot #96 with Cup Clip
- Pattern drafting paper
- Fabric:
- Top*: 1 yd x 42-44” wide
- Backing*: 1 1/8 yd x 42-44” wide
- Batting*/**: 1 1/8 yd x 42-44” wide
- 4 yards* of prepared 2-1/2” double-fold binding cut on the bias
- Quilting thread to match fabric
- 12” Hoop and Loop Tape
- Basic sewing supplies and quilting tools
* These quantities are what I used for a medium-sized 35-pound dog. If your dog is significantly smaller or larger, then you may need different amounts.
** Since Ruby is double-coated, I used flannel for the batting so it wouldn’t be too warm for her. Depending on your dog’s fur and where you live, you can adjust the type of batting as needed.
Step 1: Prepare the Pattern
Begin by taking a few measurements of your dog to draft a pattern that fits their body. If you already have a dog coat that fits well, you can use it as a pattern instead.
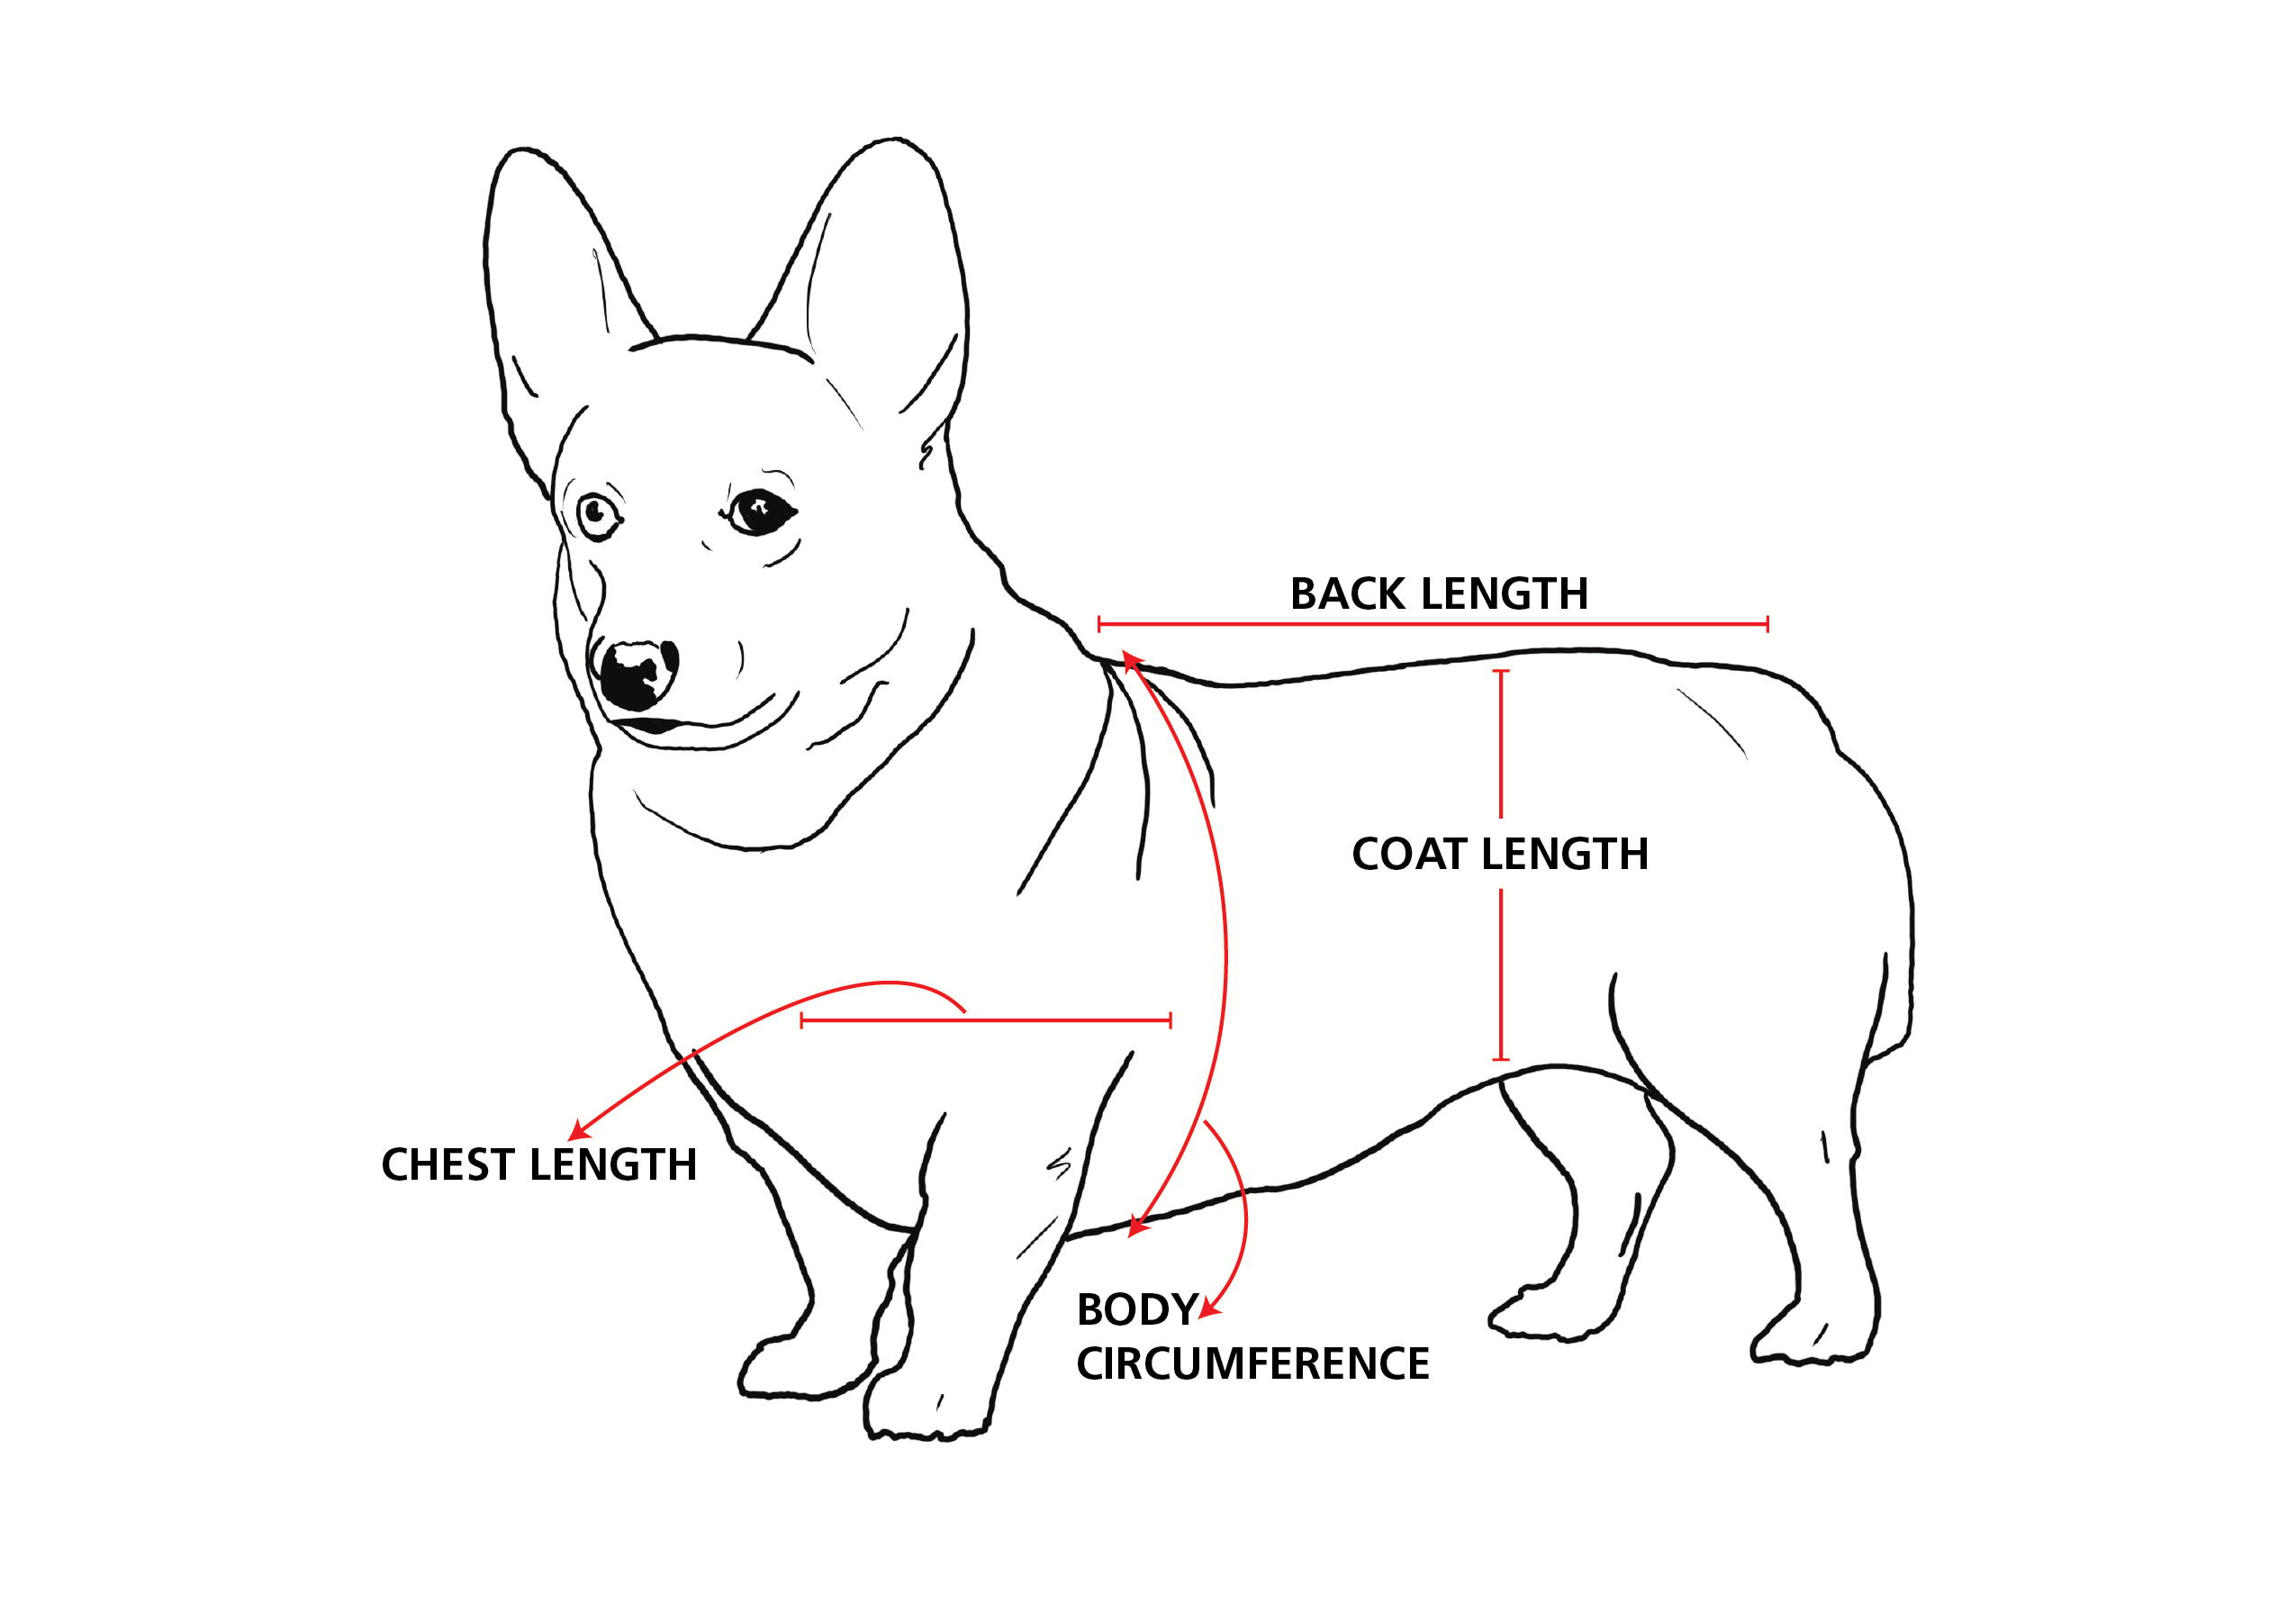
Here are the measurements that I took to draft Ruby’s pattern:
- Back Length: back of neck to base of tail.
- Coat Length: middle of back to where the coat stops along the side.
- Body Circumference: around the largest part of the rib cage. measuring the largest place around her rib cage.
- Chest Length: center of chest to behind the front leg.
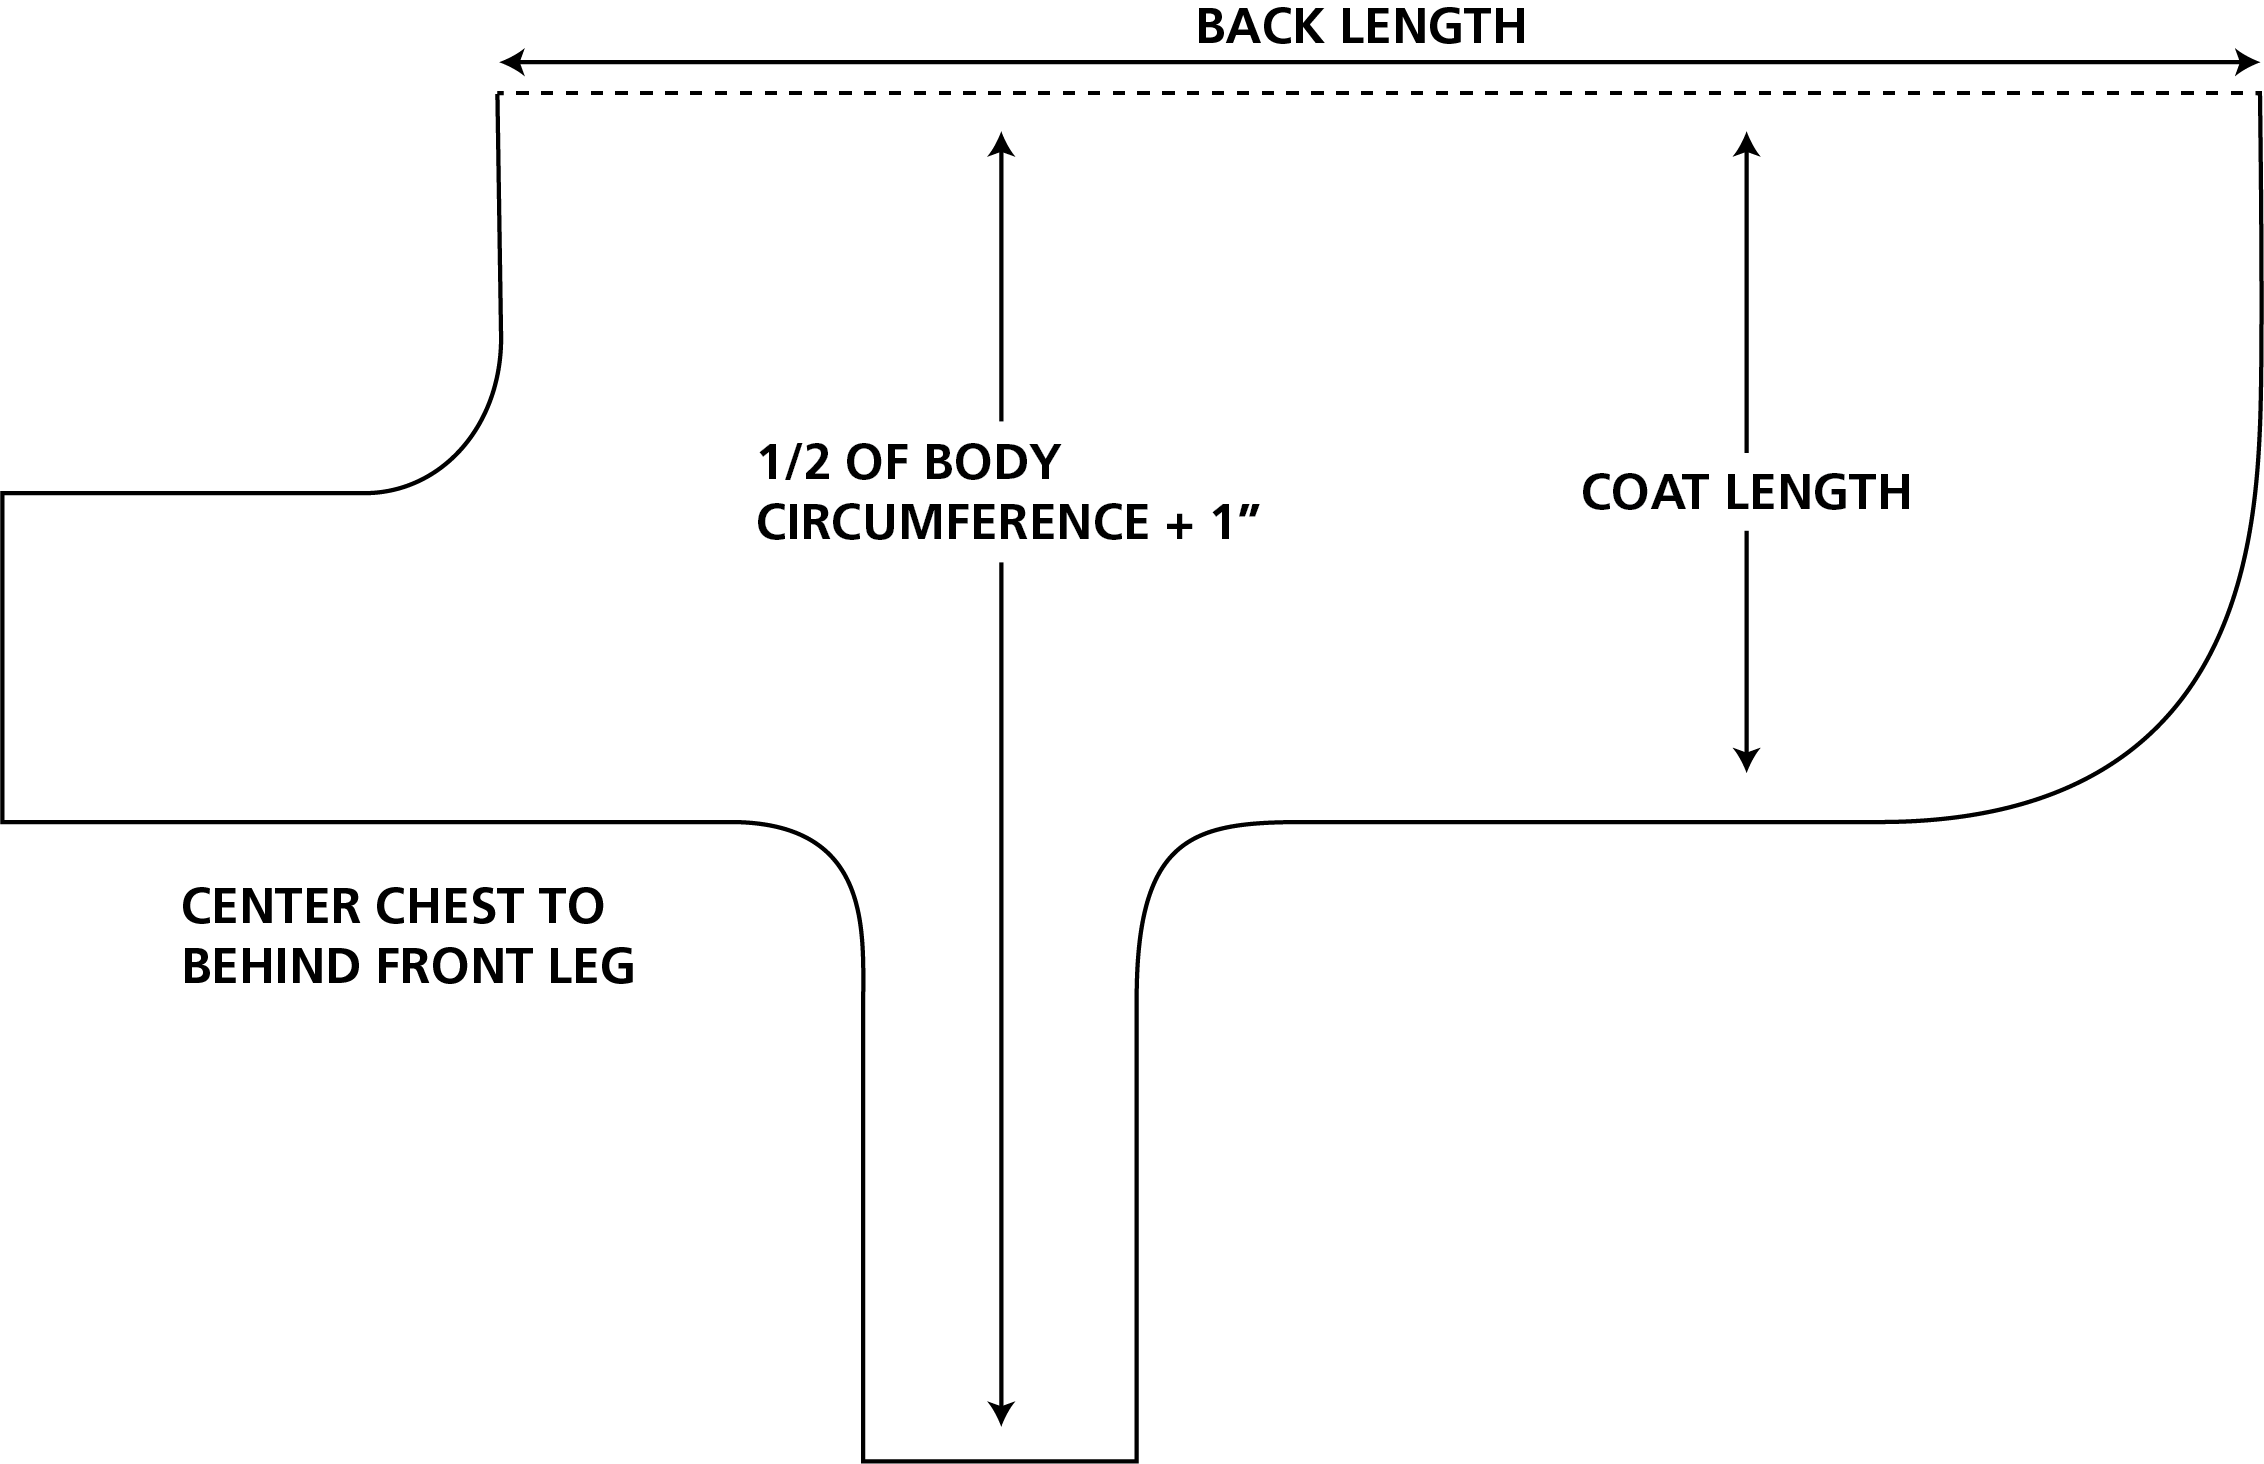
I then transferred these measurements onto pattern drafting paper to create the pattern with the fold line along the center back. I rounded all the edges. Don’t worry if your pattern isn’t exact at this point. You will be able to fit and trim it further before you apply the binding, so oversized at this point is better than undersized.
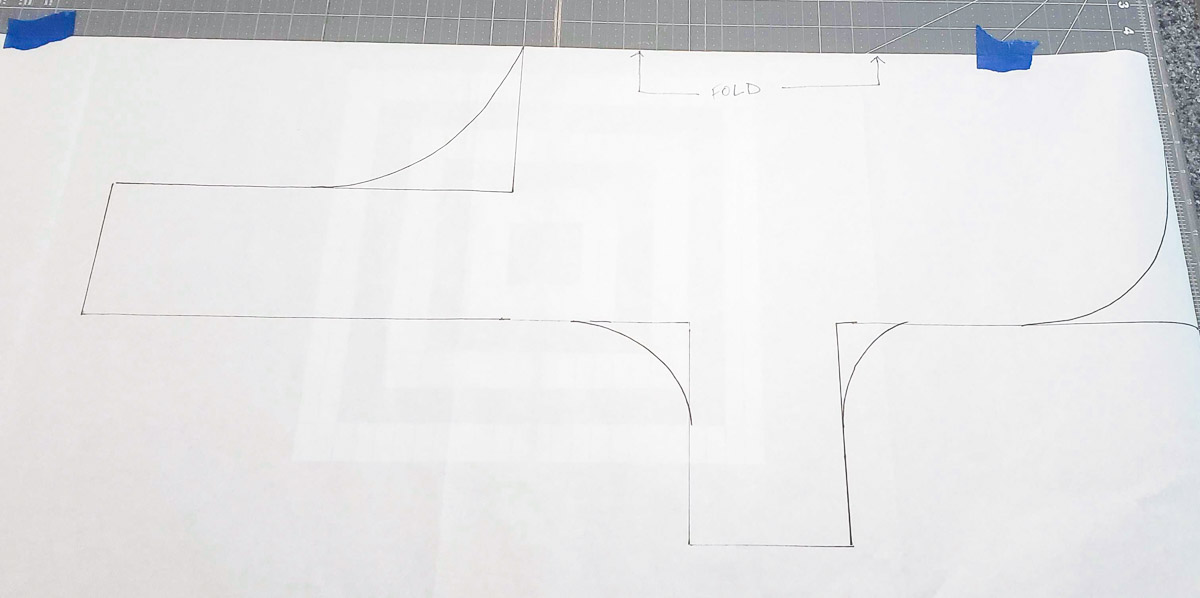
If this is your first time drafting a pattern, don’t stress about it. By taping the pattern paper onto my cutting mat, I could reference the measurements along the sides and use the grid lines for orientation.
Step 2: Quilting the Fabric
The BERNINA Q 24 on a PRO Frame with Q-matic made quilting the fabric a quick and easy process. I selected a simple straight-line edge-to-edge design, but you can select any design you like. The fabric could also be quilted on a Q Series Sit-Down model or domestic sewing machine.
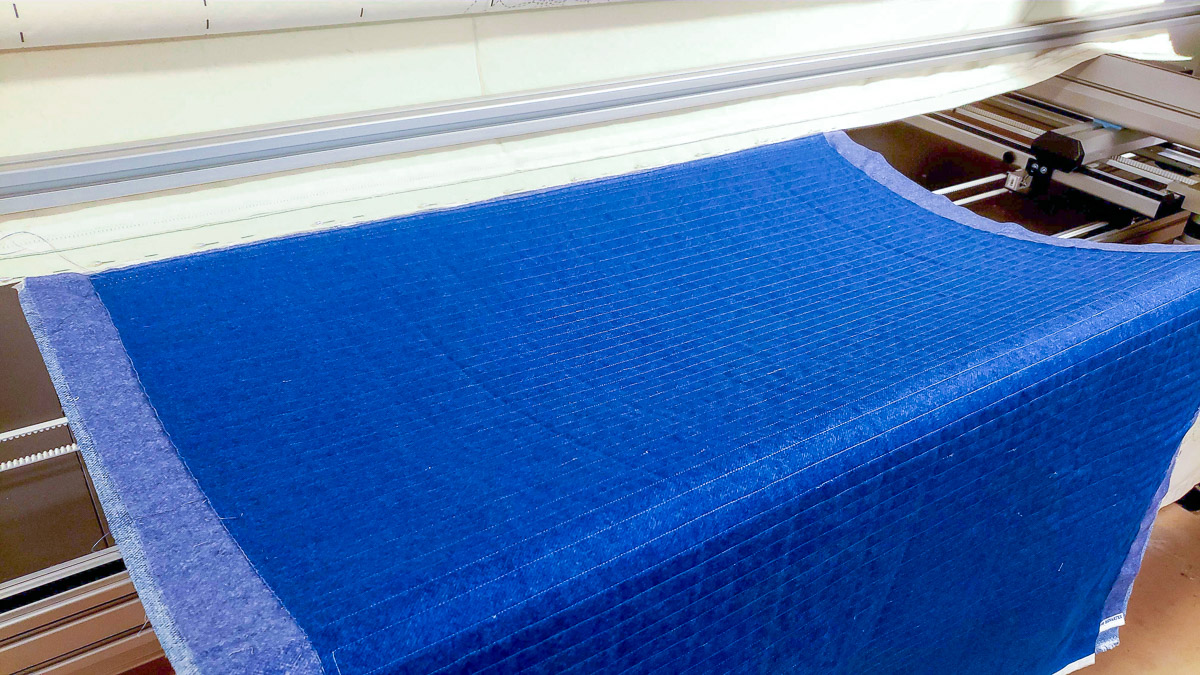
Step 3: Cut Out and Test Fit
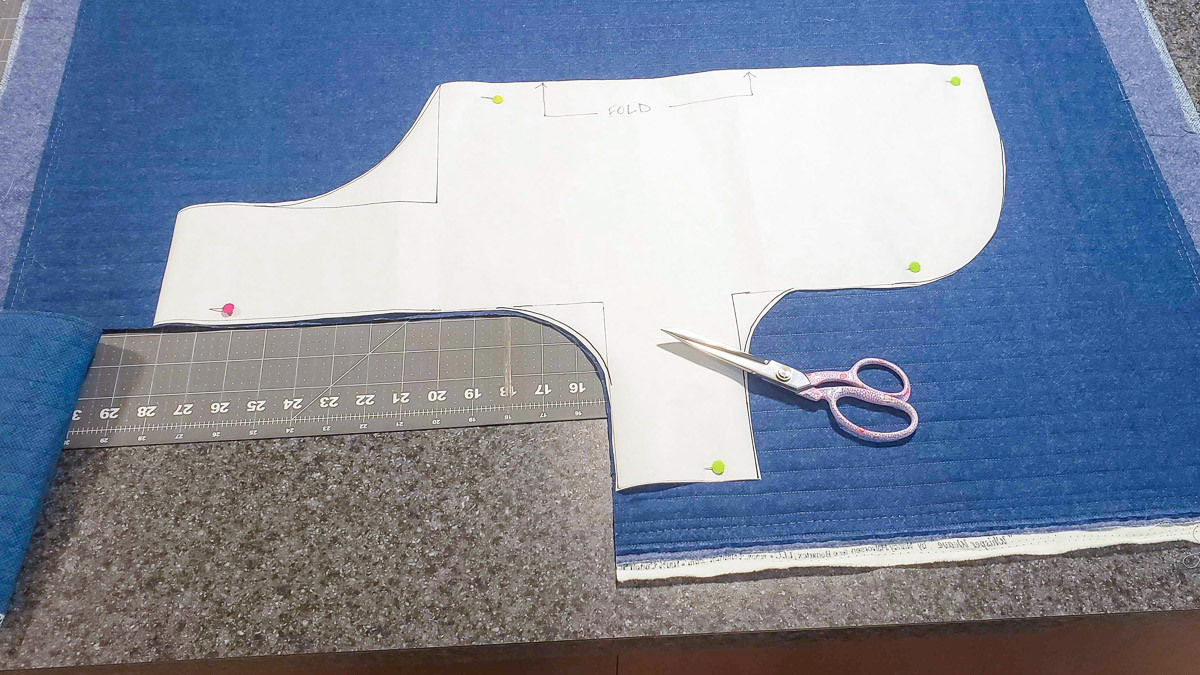
The next step is cutting out the fabric. Since a double layer of quilted fabric would be difficult to cut accurately, I positioned the fold line of the pattern along a straight quilting line and cut out one side at a time. Just flip the pattern over and re-align on the same quilting line to cut the opposite side.
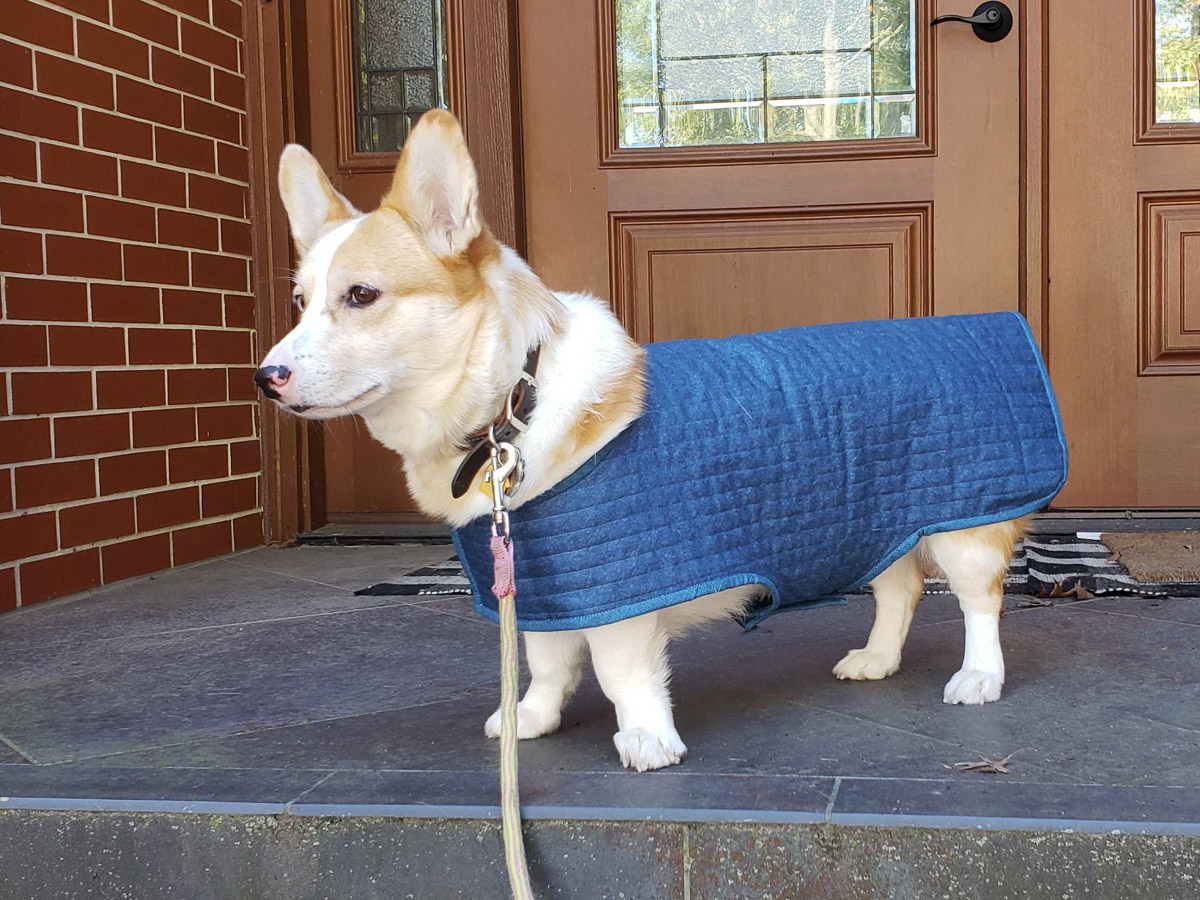
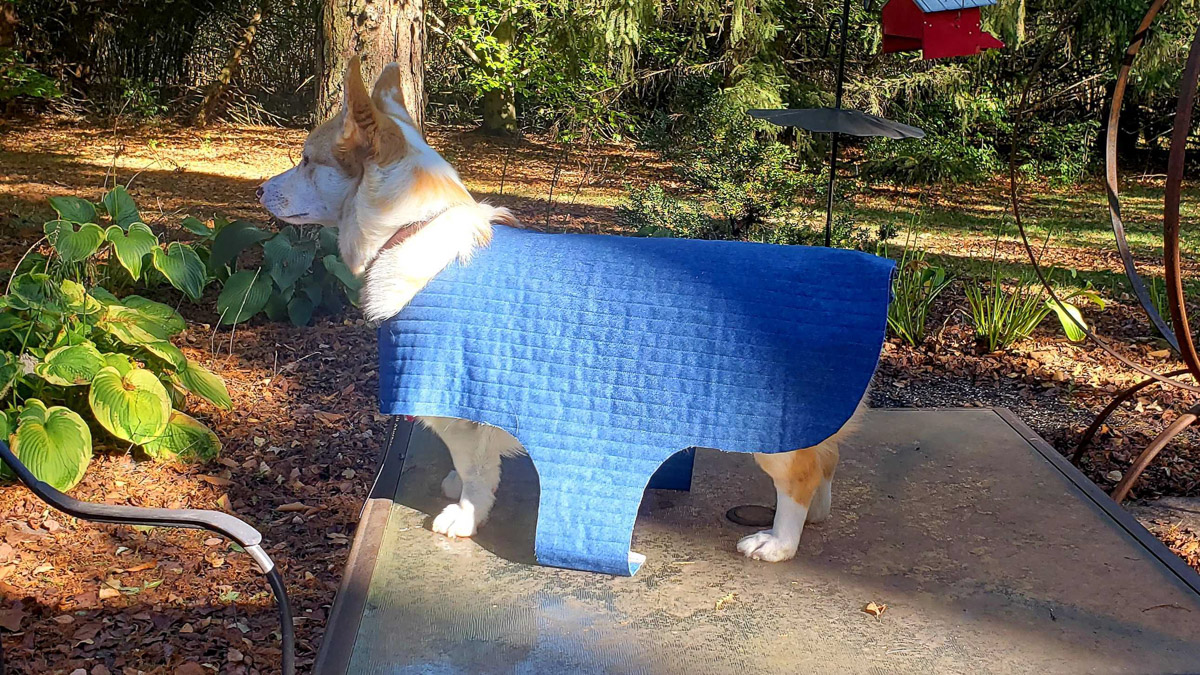
Now we are ready for the test fit. This was Ruby’s least favorite part of the process. You can easily see that it’s a bit too long over her tail and the belly bands need shortening. These are easy fixes. I also shortened the front chest band to give her a snugger fit.
Step 4: Bind the Edges and Add Closures
Once you have made any final fit adjustments on the coat, machine-bind the edges as you would for a quilt. Add hook-and-loop tape to the chest and belly bands to make it easy to take the coat on and off.
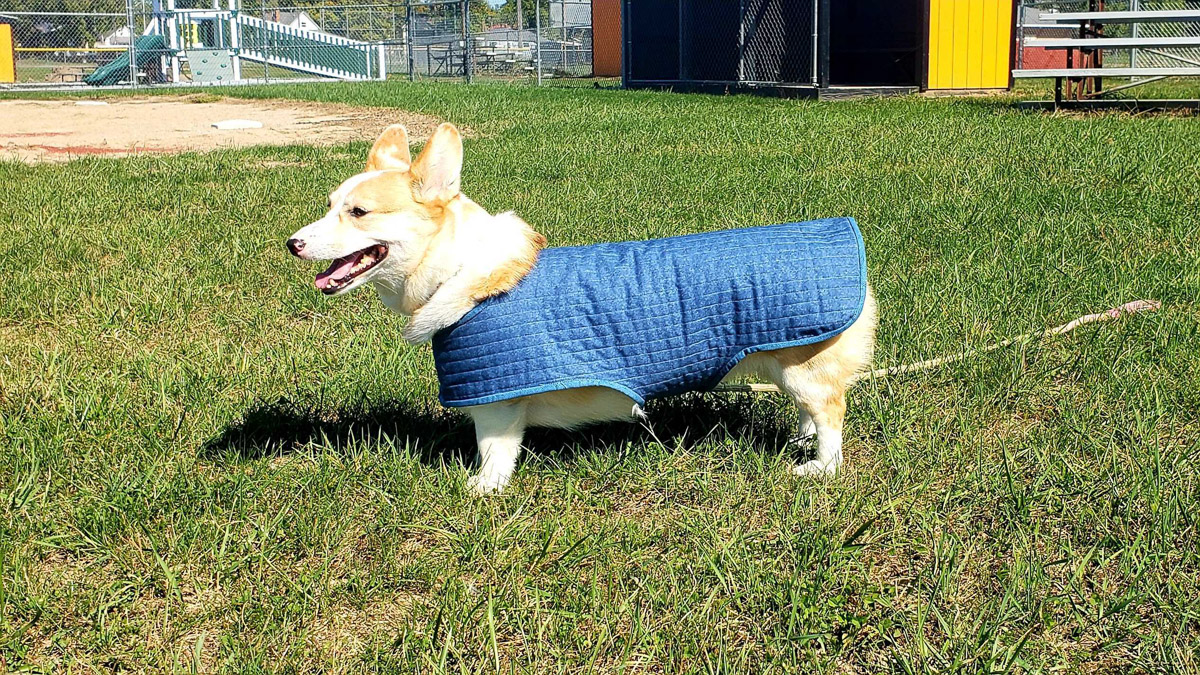
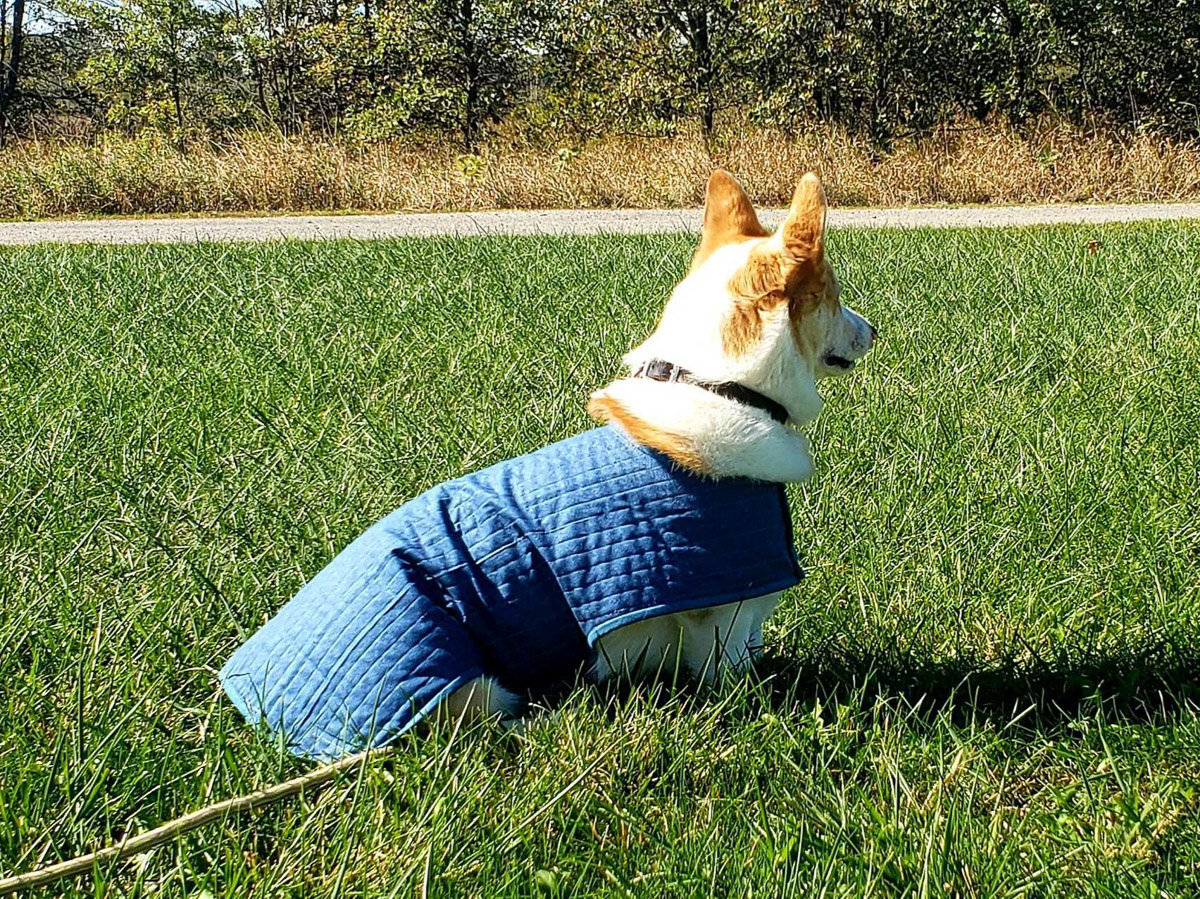
And now it’s time to enjoy. Grab the leash, don the coat, and take your pooch for a walk to show off their custom-made dog coat-ure.
