Christmas in July: Regency Gown Sewing Tutorial, Part One

When you say Christmas Dress, I think of luxurious red velvet, a large circle skirt that swishes when you walk, and how warm that fabric is–especially for July!
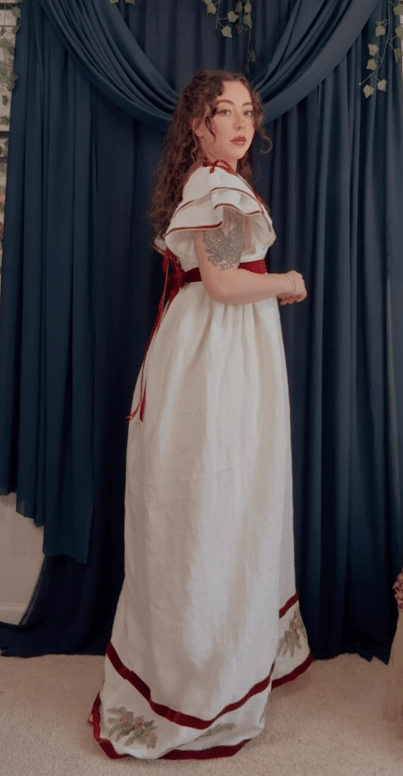
Happy Christmas in July! When I started making a reproduction of my FAVORITE Christmas dress back in December of 2025, I didn’t finish it in time, but I thought to myself, “That’s okay, it’s perfect for Christmas in July.”
And why is that, you may ask–well, it’s because it is a Regency Gown and those dresses were made using lightweight cotton or muslin fabric, so it’s perfect for this hot weather!
The Story Behind This Regency Christmas Gown
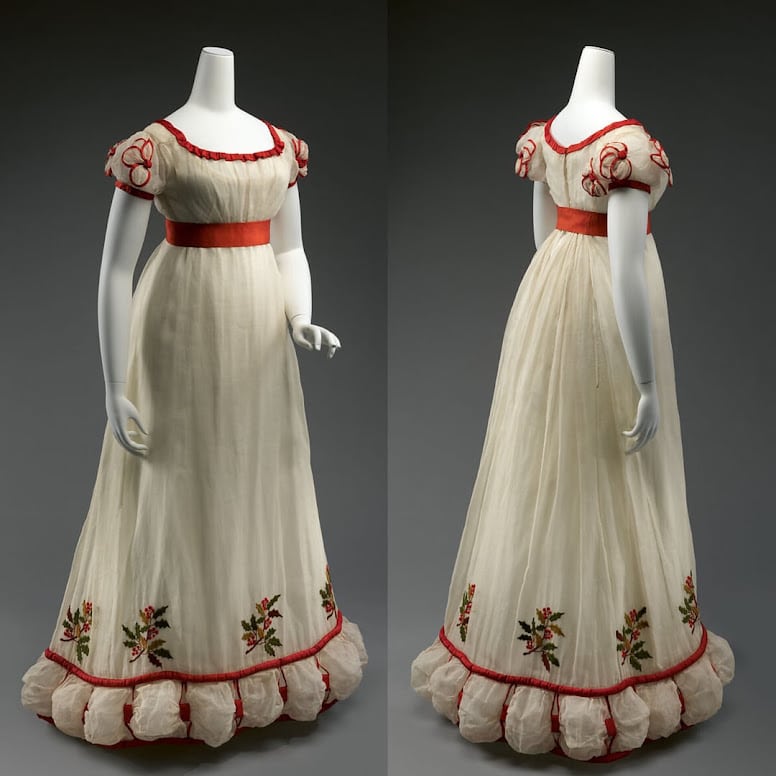
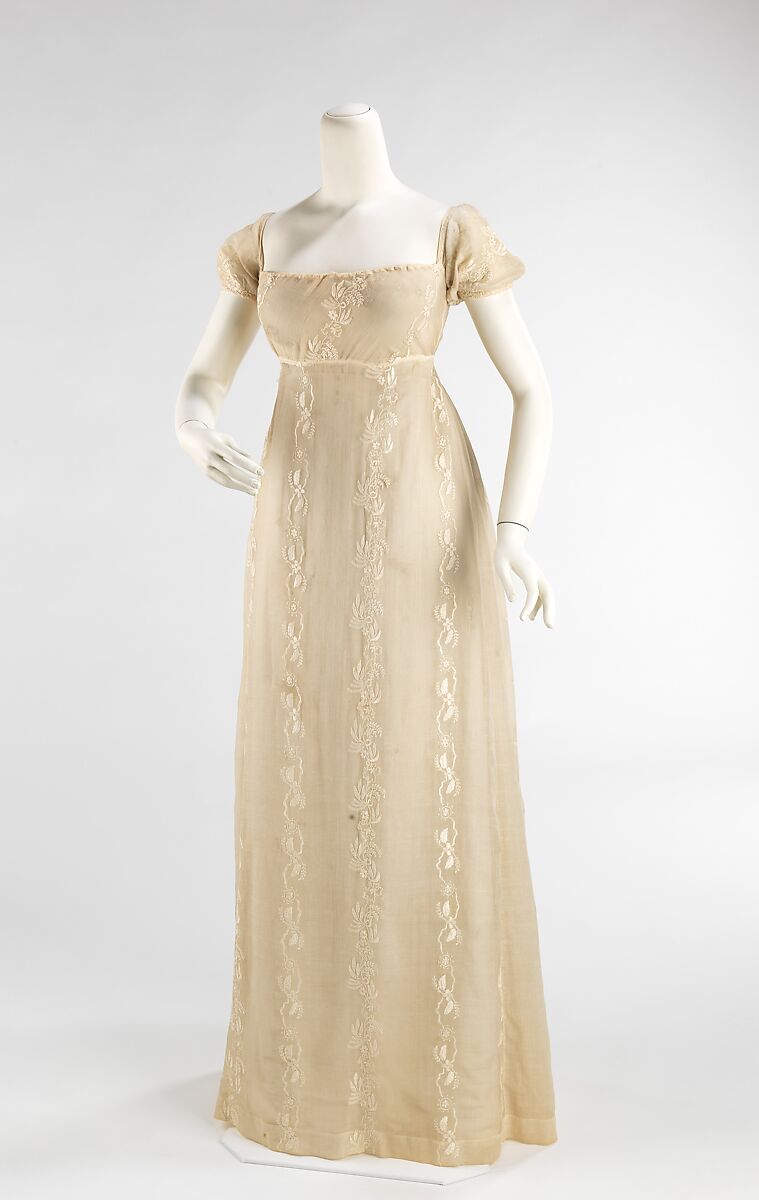
This 1824–1826 evening dress was designed for a Regency Christmas, and I can only imagine how spectacular that ball must have been based on this ensemble!
Decorated with crewel‑embroidered holly leaves and red silk berries, it most likely echoed the holly used to decorate mantelpieces, banisters, and tables during the festive period. Mixed with the warm glow of candles, the atmosphere must have been breathtaking.
Early nineteenth-century dress often looked to the past, and here the puffed bouillons around the hem have been inspired by sixteenth-century slashed sleeves (think of the 16th-century Lords and Ladies with slashed sleeves with contrasting fabrics peeking out).
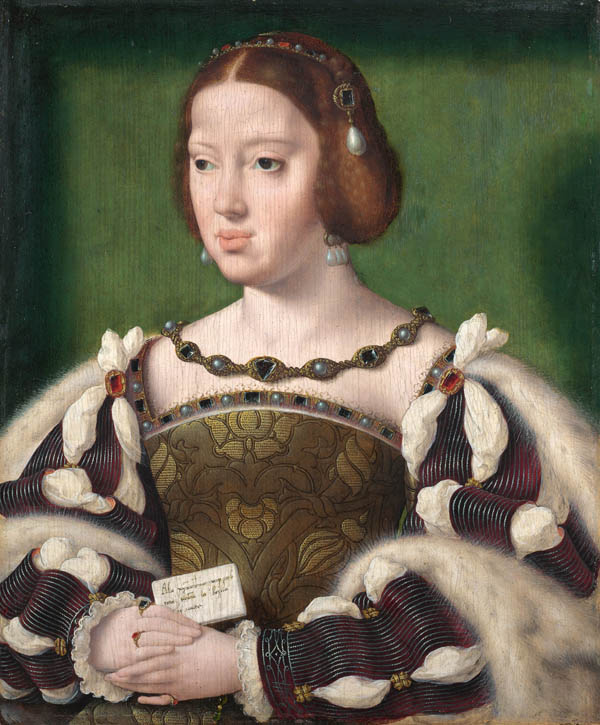
The Regency Christmas gown feels both festive and stylish, showcasing the fashion ideals of the time. The use of lightweight gauzy fabric, a fashion that was a trend, was largely started by French tastemakers—notably Marie Antoinette and later Empress Joséphine, who popularized the “chemise à la reine”.
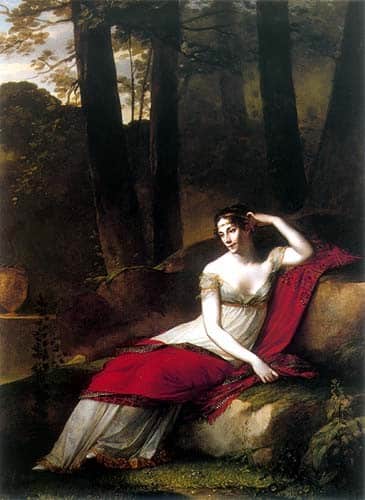
Inspired by neoclassical art and Greco-Roman drapery, these styles favored these lightweight imported cottons over heavy, restrictive silks. The decoration of these dresses usually consisted of tonal embroidery. Decorative, light, and delicate.
How I Brought This Dress to Life
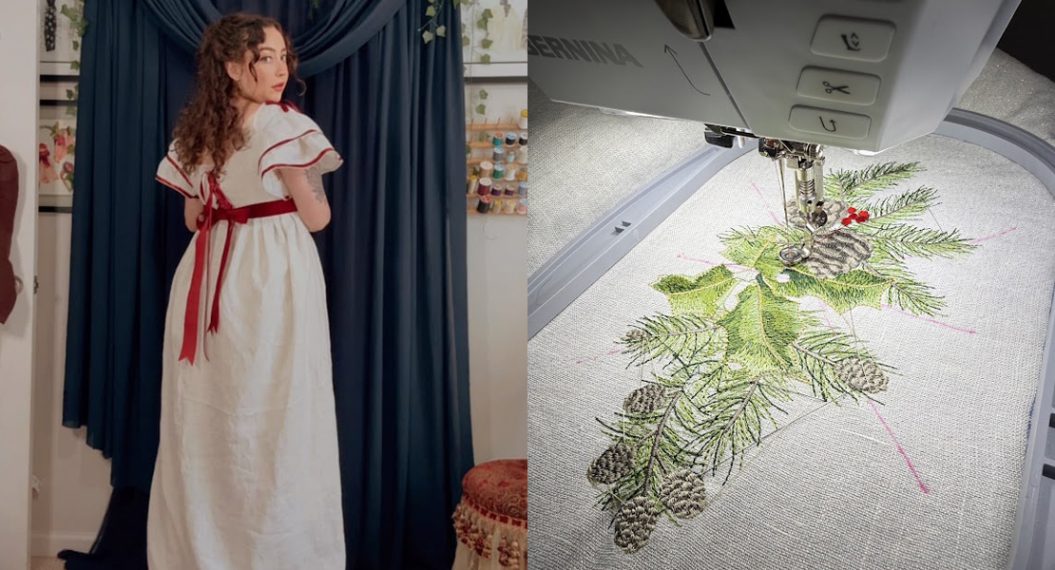
I didn’t want to make the same dress, but one that was inspired by it, so I chose to find the best matching embroidery and pattern that would lend itself to the whimsical nature of the original dress design.
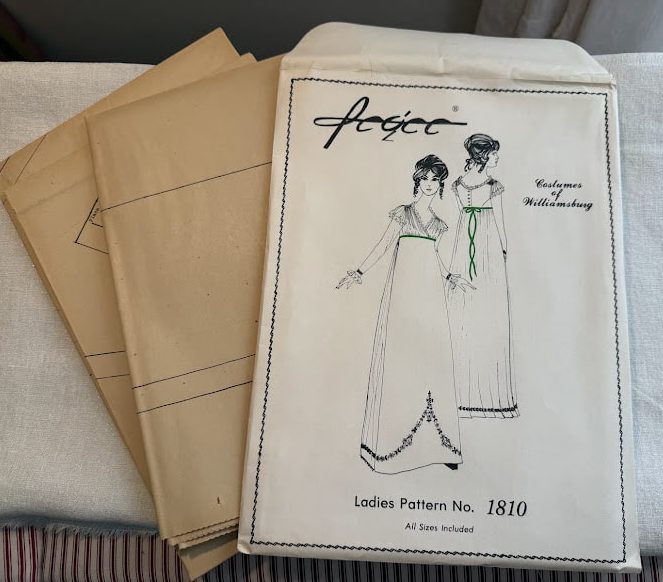
The dress pattern I used was supplied by Pegee of Williamsburg–a historical pattern company whose patterns I greatly enjoy using. I found the Embroidery on OESD.com, which I thought was absolutely lovely, so I bought the whole set!
Next was to get my fabric and supplies ready. The fabric I used was left over from a project I did in grad school, which was this lovely, loosely woven linen with silver lurex in it.
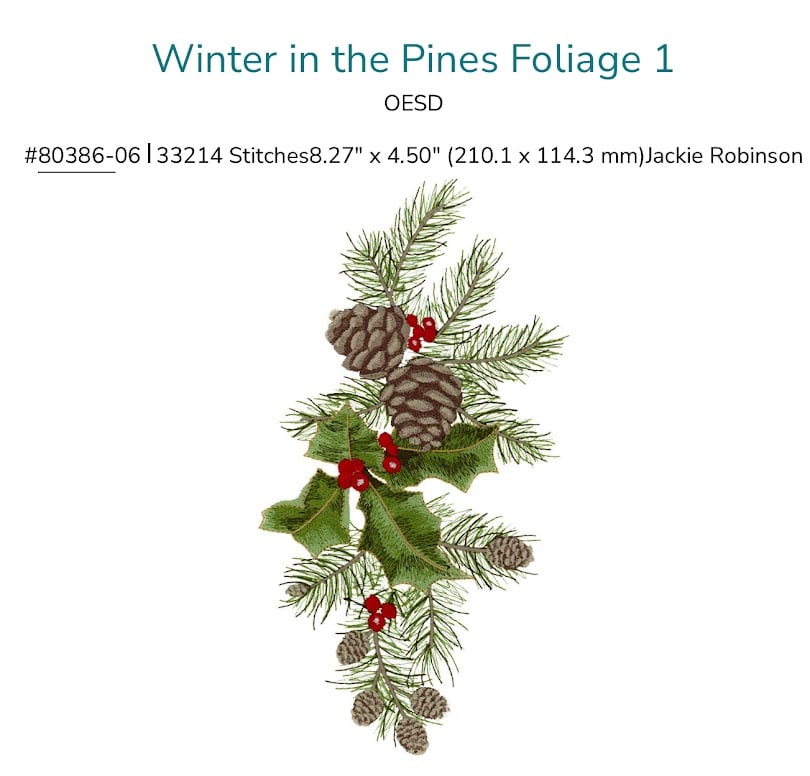
The metallic threads make this unassuming fabric feel special. I also acquired all the Isacord embroidery thread needed for the project–this information is listed on the OESD website with the embroidery specifications.
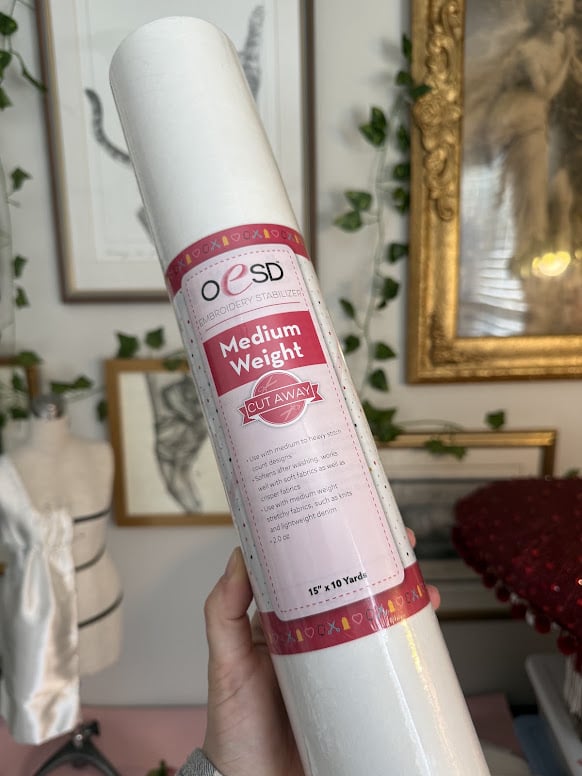
I also picked up some medium-weight stabilizer, choosing this weight to give extra support to the loosely woven fabric I was working with.
I learned a few things along the way with this project. In hindsight, a washaway stabilizer probably would have been the better choice — cutting away the cutaway stabilizer piece by piece turned out to be tedious, and I don’t think I removed all of it as thoroughly as I’d hoped. As a result, the embroidery felt a bit stiff (I haven’t washed it yet, and CutAway stabilizer does soften with washing). But that’s all part of the process — you live and learn!
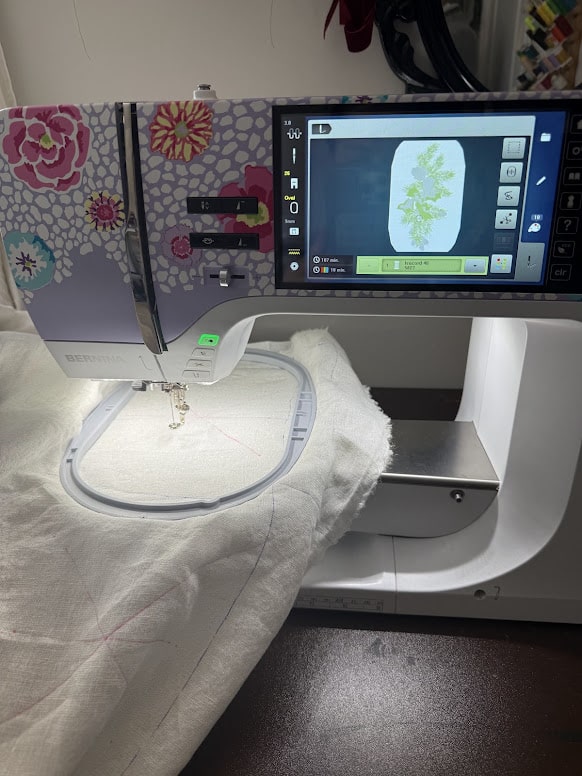
Then I prepped my machine, switching my B 770 QE PLUS into embroidery mode, changing out the bobbin to the white embroidery bobbin thread, changing the needle to the embroidery needle, oiling the machine up, and getting ready for the upcoming 15ish hours of embroidery!
Come back for part two, where we discuss fabric prep and the embroidery process!
Jessica Cronin is a costume designer, historical fashion enthusiast, and cosplayer. If you enjoy more projects like this, you can find her on YouTube, Instagram, Facebook, Patreon, and TikTok (@jesscronindesigns)


What you might also like



One comment on “Christmas in July: Regency Gown Sewing Tutorial, Part One”
Leave a Reply
You must be logged in to post a comment.

This is a fabulous dress! I hadn’t thought of using extensive embroidery on a dress like this. Now, I’m reconsidering what could be added to a few dresses on my list to make for at home (house dress?). They are simple styles but some embroidery would enhance them. I particularly like the second Regency dress in cream with the same color embroidery running down the skirt. Many ideas are coming from that one, too. Or small sprigs scattered about the dress skirt.