Paper Piecing Tips: Sewing Y Seams
Hello! I’m Penny Layman, here to share a few tips and hints about paper piecing. This will be a three part series giving you ideas and info for your paper piecing process, read the first post here to find my favorite paper piecing hints and tips, and the second post here to find my tips on securing tools. I’m letting you in on my best tips that help to keep me sane while I paper piece. I hope they do the same for you!
Unlike template or improv sewing where one can sew straight, Y, or curved seams, with paper piecing there are only two types of seams. Straight seams and Y seams.
As I design patterns, there are times when a pattern will be enhanced if a y-seam is used instead of a straight seam.
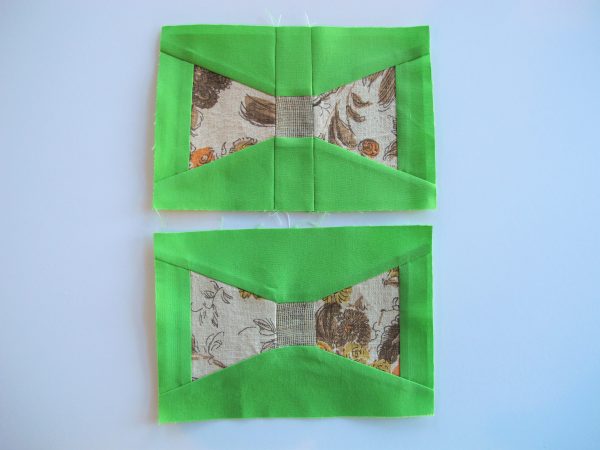
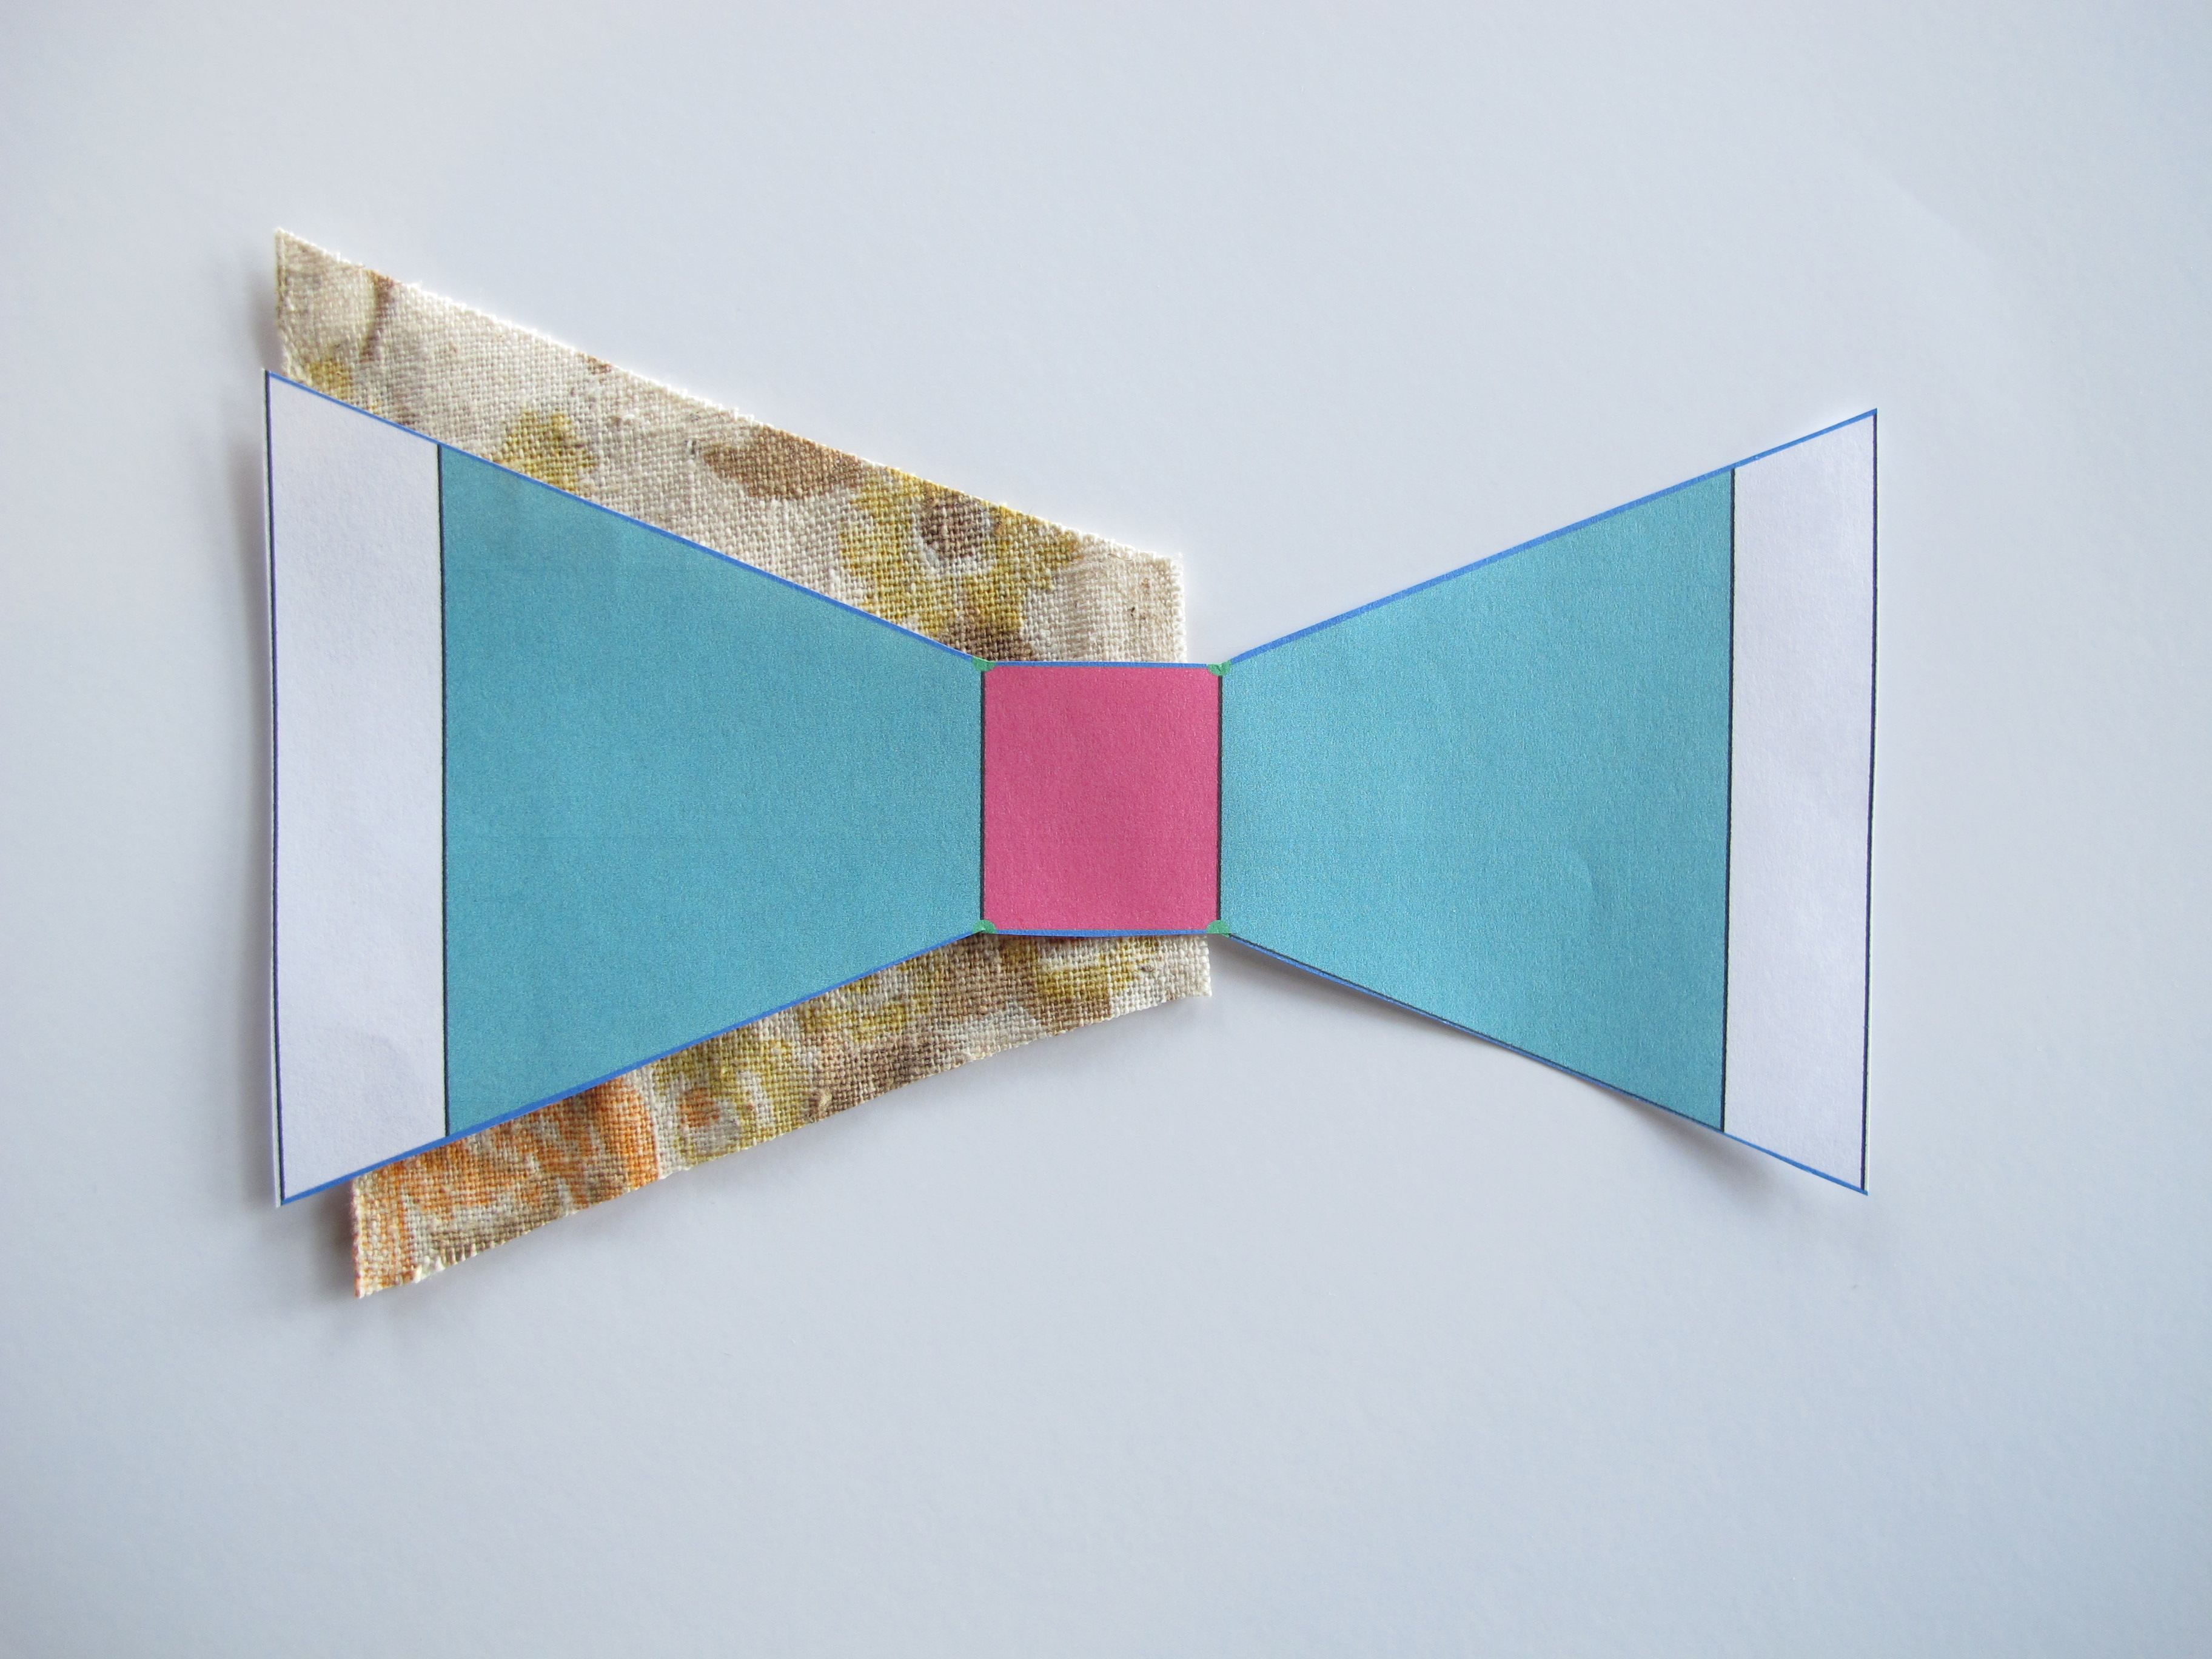
In this example, the top bowtie pattern utilizes straight seams, and the bottom one, Y seams. The arrows in the bottom pattern indicate where the green dots are located on the pattern.
In my opinion, the Y seam pattern is more visually appealing because of fewer seamlines and the seams that are there follow the shape of the bowtie more consistently than the straight seam pattern. As you can see, the Y seams points are marked with green dots.
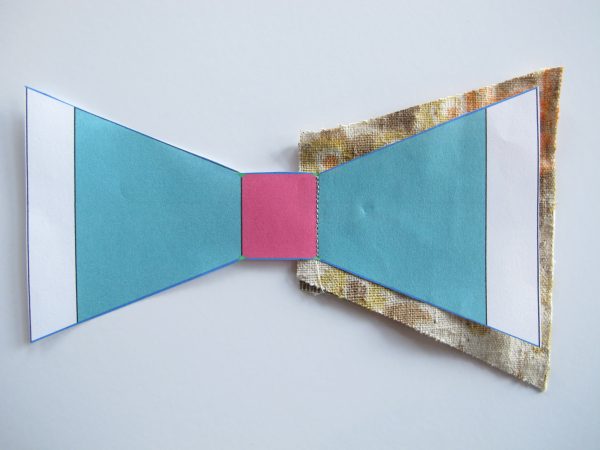
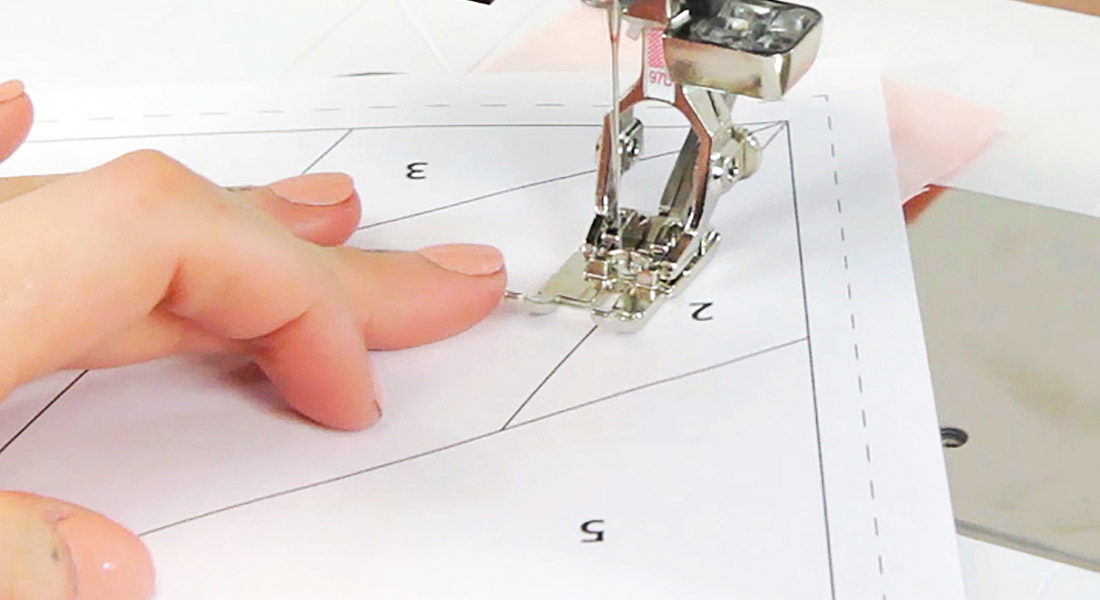
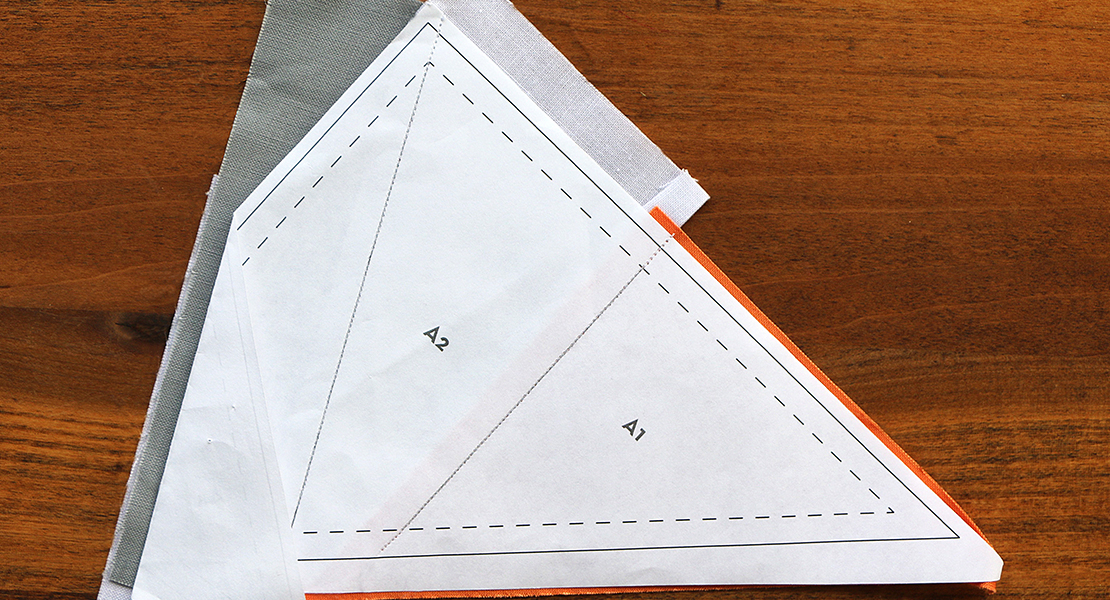
When sewing a straight seam while paper piecing, one must start sewing and end sewing at least ¼” outside of the pattern section to allow for the seam allowance. You can see this on the right side of this pattern section.
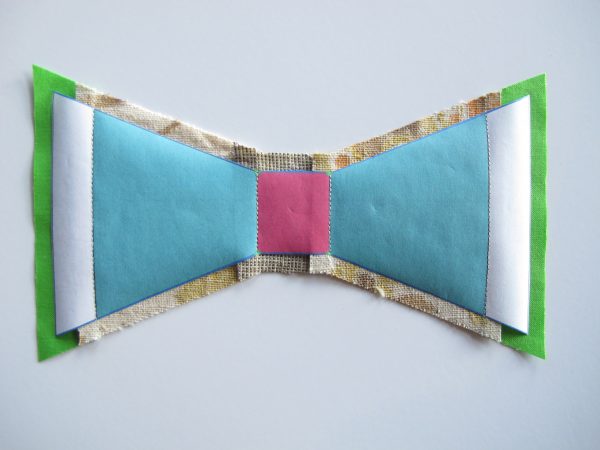
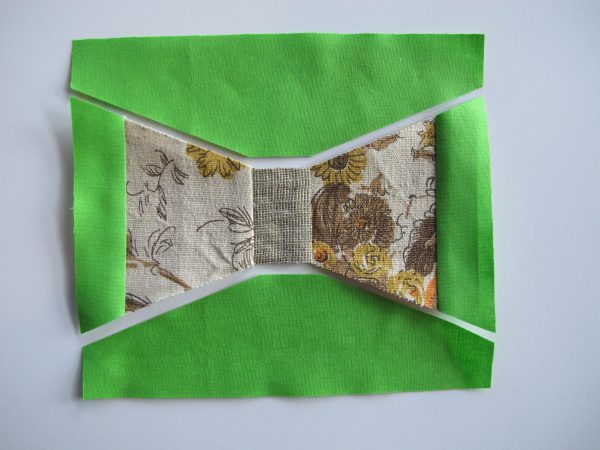
When sewing a pattern with a Y seam, you must start and end sewing on the pattern sewing line and not go over into the seam allowance, shown here on the right side of the bowtie center.
This will allow you to manipulate the sections and sew the Y seam.
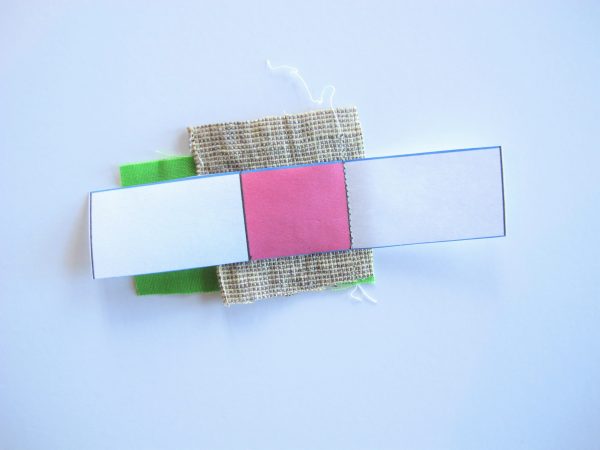
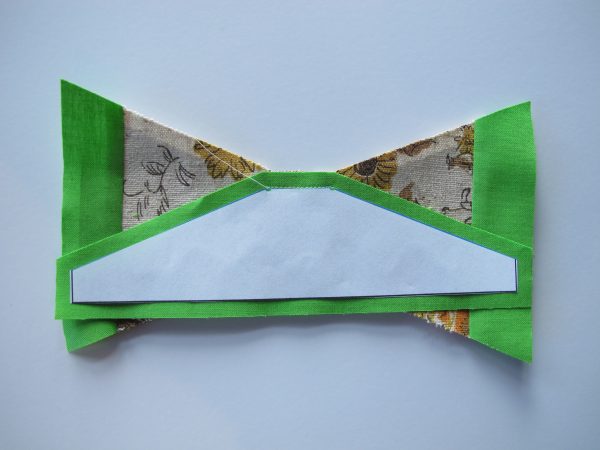
If the Y seam is similar to this pattern and has three sections, sew the middle part of the seam first, from green dot to green dot on the pattern.
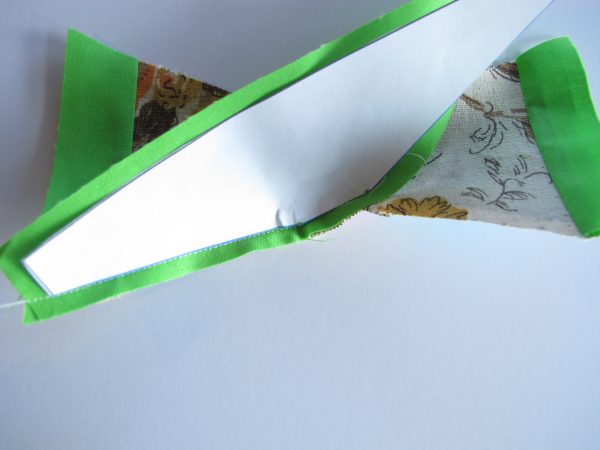
Then manipulate the sections to align one of the outer sections of the seam and sew from one of the center seam green dots on the pattern to the outer edge of the pattern.
Repeat the last step with the remaining section of the Y seam.
If your pattern has a Y seam with only two seam sections, then you’ll skip sewing the center part of the seam and start sewing from the center apex (green dot) of the seam in one direction, then repeat to sew the remaining section of the Y seam.
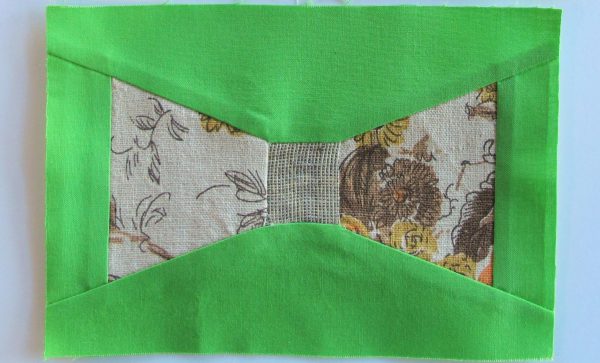
The reason I choose to start sewing Y seams from the center out, is to reduce puckers in the block. If you sew from the center out, any extra fabric will be along the outer edge of the block and can easily be trimmed. And as you can see, Y seams although fiddly, are pretty simple. So don’t fear the Y-seam, use it to your advantage!
What you might also like
One comment on “Paper Piecing Tips: Sewing Y Seams”
Leave a Reply
You must be logged in to post a comment.






Very good information. I wish I had received this information a long time ago.