Accurate Piecing Basics: Quarter-inch Seams
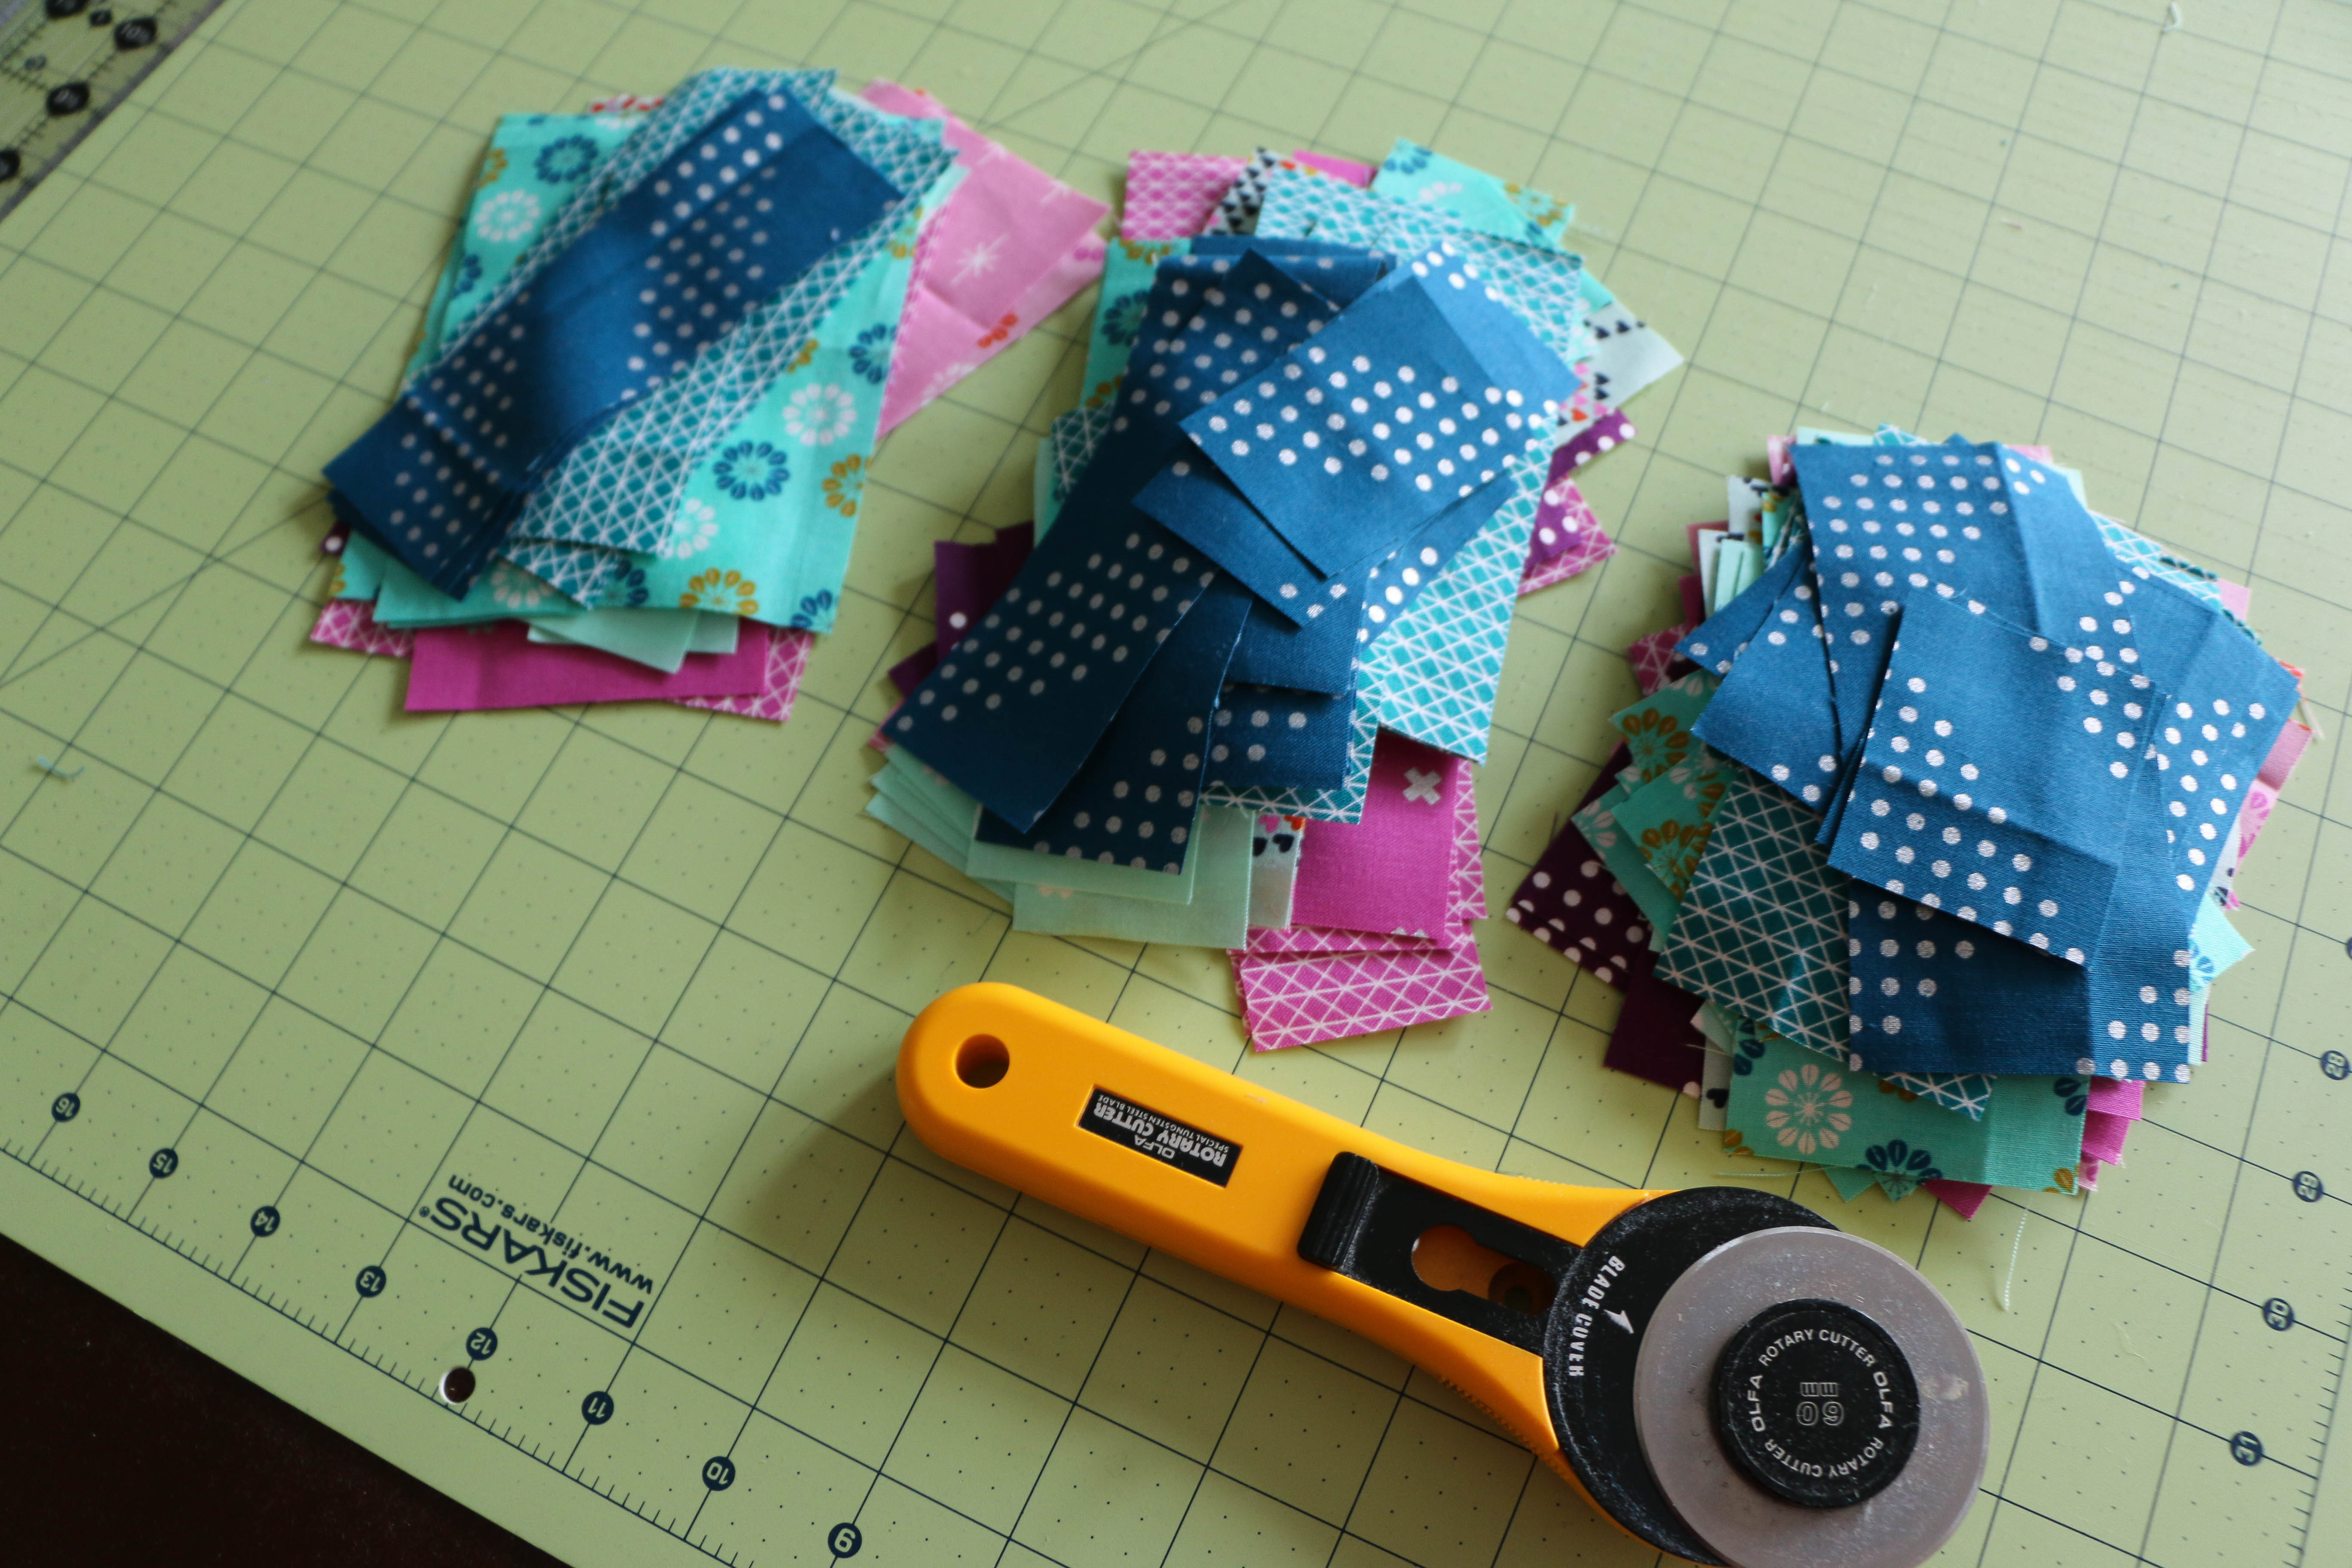
In my last post, we discussed how to use your rotary cutter to cut perfectly accurate fabric pieces, since that’s always the starting point for accurate piecing! Today, we’re going to talk seams. Because all the accurate cutting in the world won’t matter if you’re not sewing with a perfect scant 1/4″ seam.
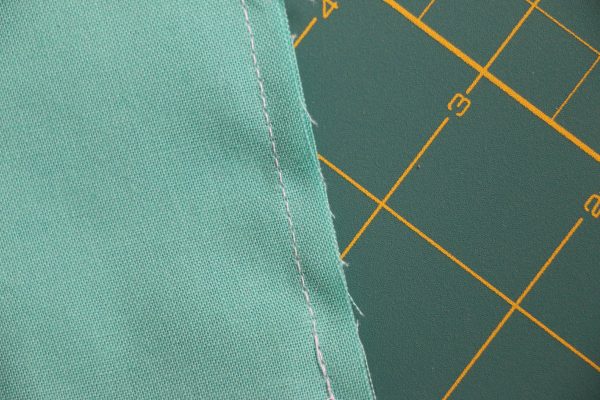
And yes, that seam needs to be scant. What does “scant” mean? A scant 1/4″ seam is just a thread or two short of exactly 1/4″. And why sew with a scant 1/4″ seam? Because you need to account for the width taken up by the seam itself. Being just a thread-width off may not seem like a big deal at first, but when you add up that thread-width for every seam in your block (or in the entire quilt), it can make a huge difference in the size of your blocks. So remember to keep it scant!
Easier said than done though, right? Let’s talk about how to achieve that perfect scant 1/4″ seam. BERNINA offers a variety of feet and tools that will get you that perfect seam.
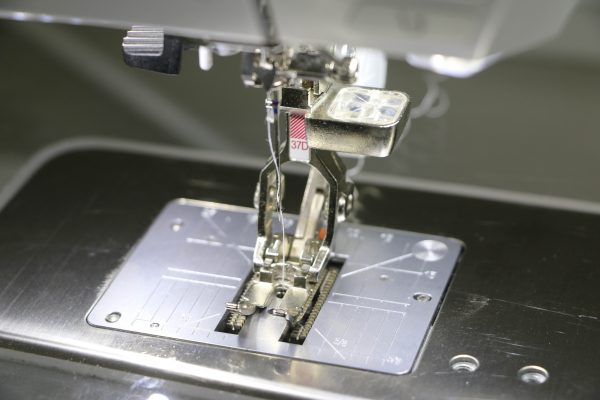
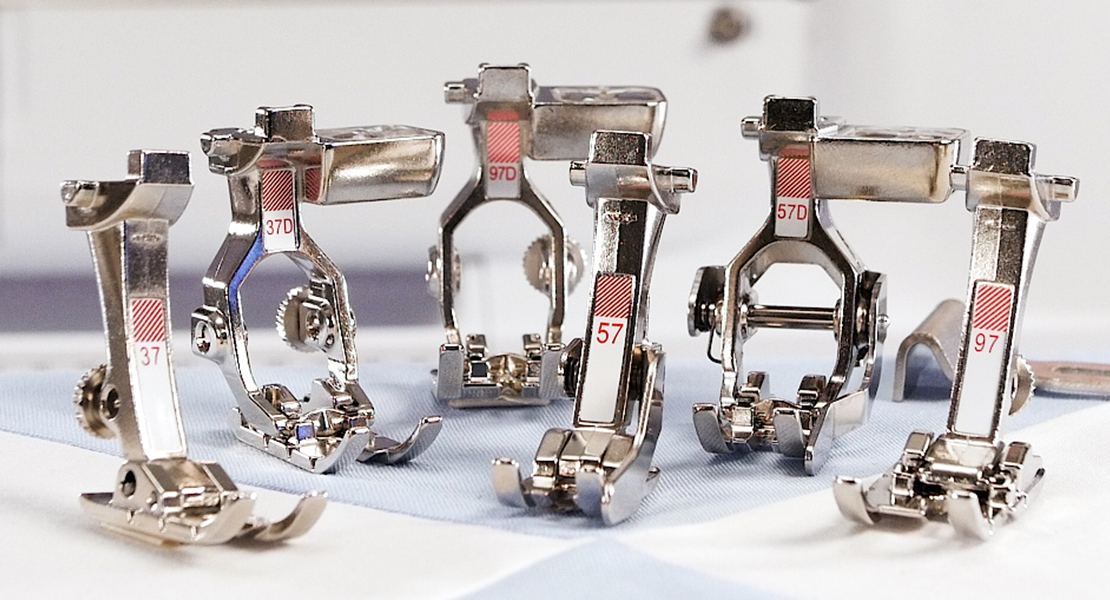
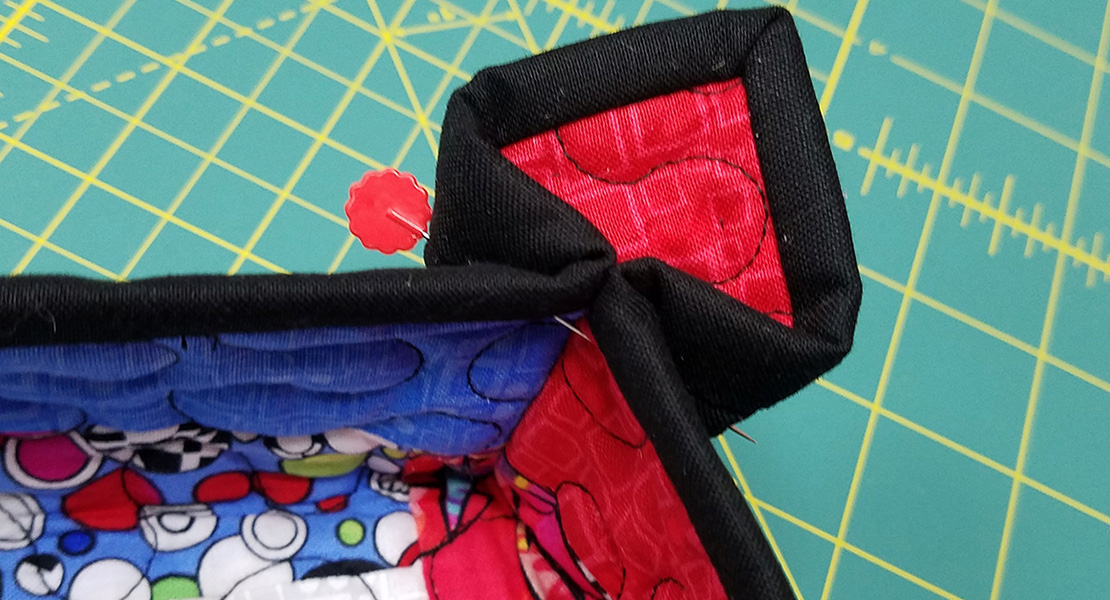
Patchwork foot #37/#37D is the most basic 1/4″ foot and is included with many BERNINA machine models. Just line up the outer edge of the foot with the edge of your fabric, and the 1/4″ seam is done for you. The Patchwork foot #37 foot also features markings on the sides of the foot—three markings spaced 1/4″ apart—that help with pivoting around corners (great when sewing on quilt bindings!).
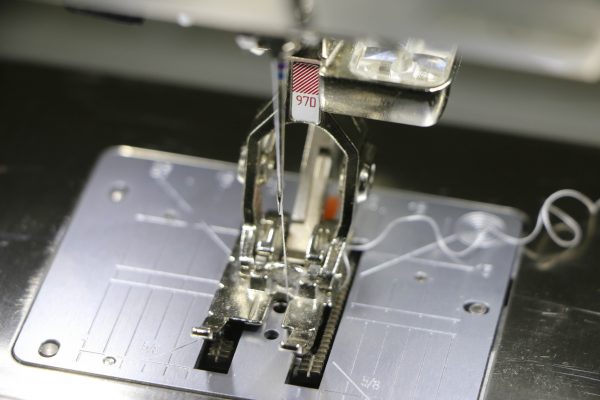
For those of you with 9mm stitch width machines, Patchwork foot #97/#97D is another 1/4″ option, and my personal favorite! This foot is just like the #37, except that the left side of the foot is wider. This allows you to get that 1/4″ seam using the right side of the foot, while the wider left side of the foot is aligned better with the feed dogs on your machine. Fabric will feed through a 9mm stitch-width machine more smoothly and easily using this foot.
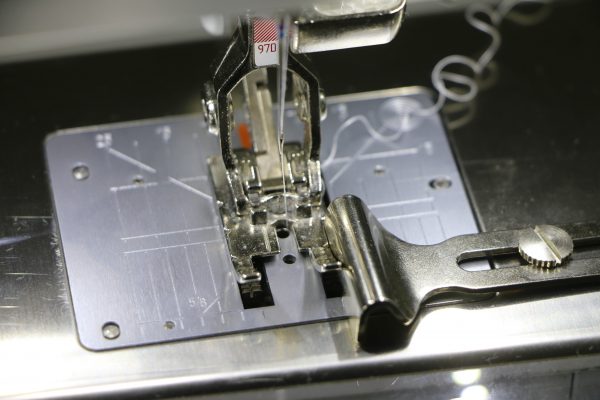
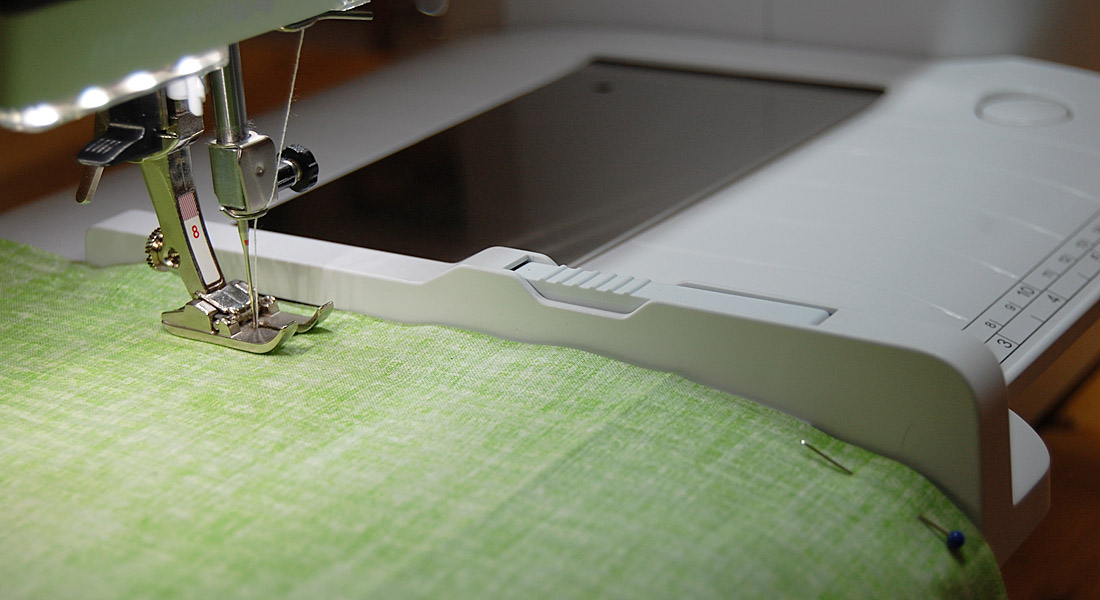
The Patchwork foot #97 foot also comes with a movable Patchwork seam guide that screws down onto the bed of your machine, which can be very helpful as well.
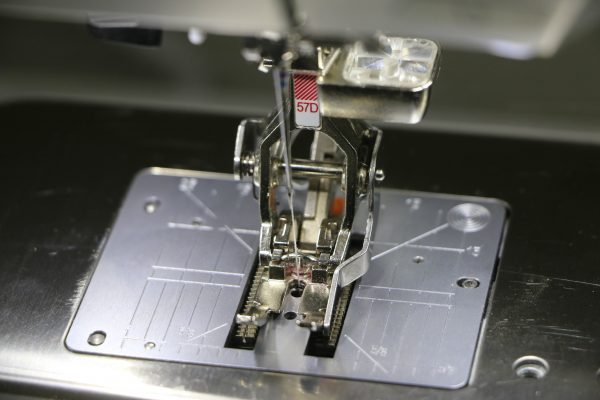
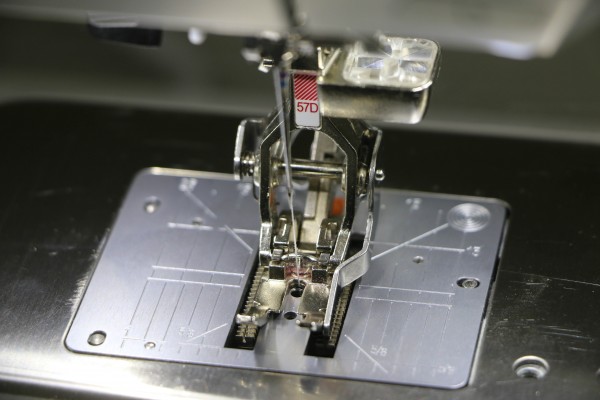
There’s also Patchwork foot #57/#57D, which comes with a built-in fabric guide. Some people swear by these fabric guides, while others find the guide unhelpful, because it can be difficult to tell if you’re pushing the fabric up against the guide too much. Either way, you should experiment to see which of these 1/4″ feet works best for you.
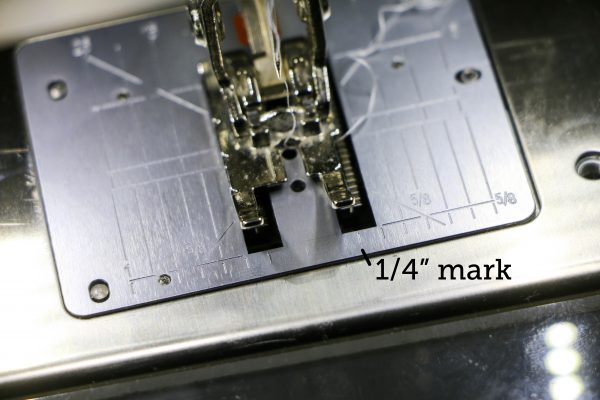
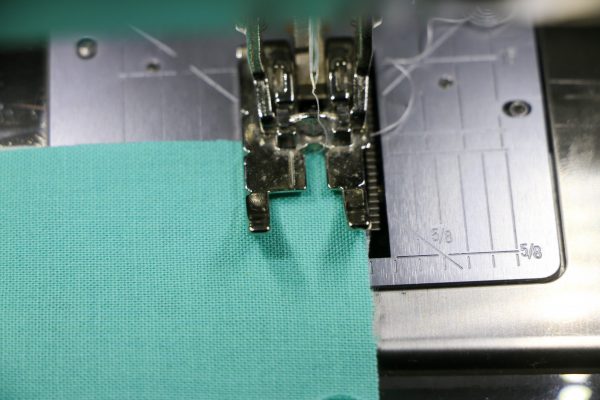
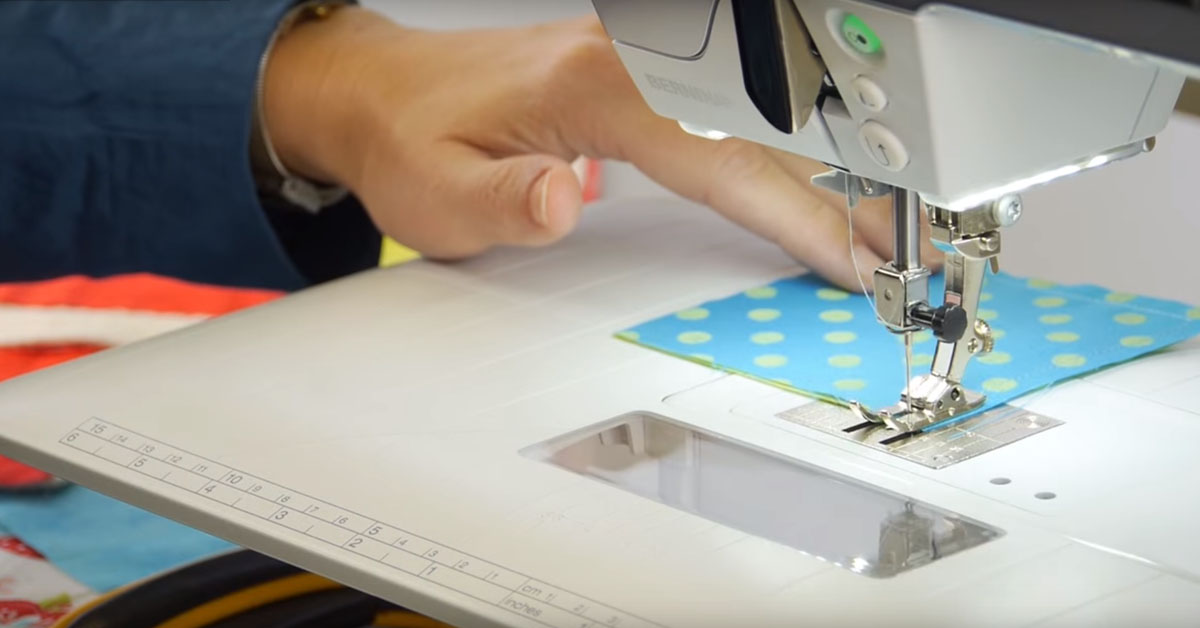
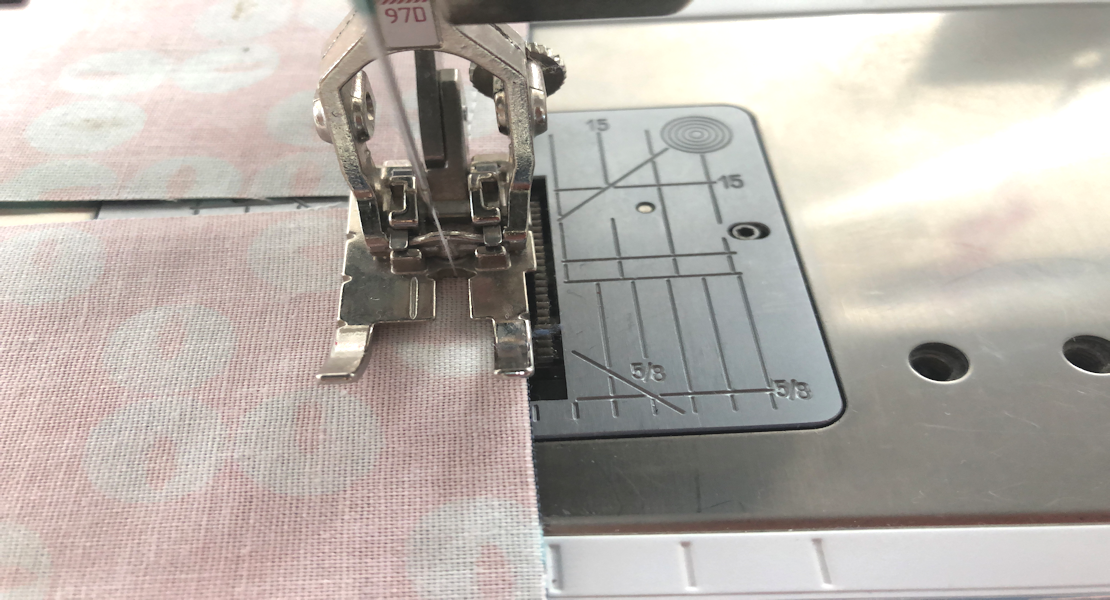
Last but not least, don’t forget that you can also use the markings on your stitch plate to get that scant 1/4″ seam. I find that I get my best scant 1/4″ seam by using my Patchwork foot #97D, lining up the fabric just to the right-hand edge of the foot, and also keeping an eye on the 1/4″ seam mark on my stitch plate, which I’ve pointed out in the photo above.
I find that by looking just ahead of the foot, and lining up my fabric with that 1/4″ seam mark (and occasionally checking that it’s lined up with the edge of the foot as well), I can get a perfect scant 1/4″ seam.
Once you’ve got the foot and the method that works best for you, it’s an excellent idea to test your 1/4″ seam, to make sure you’ve got that perfectly perfect scant width. Sometimes, your needle can get slightly out of position and may need to be adjusted in order to achieve a scant 1/4″. Here’s how to test your seam width:
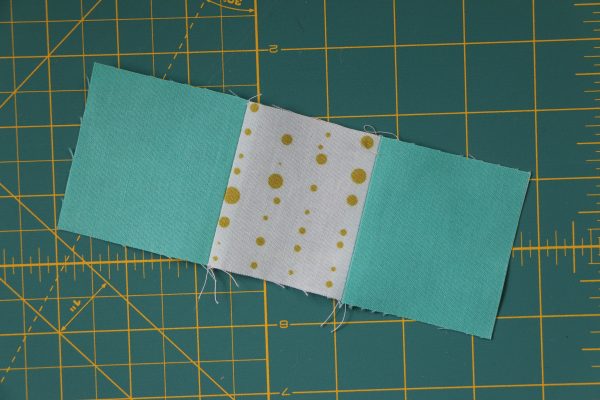
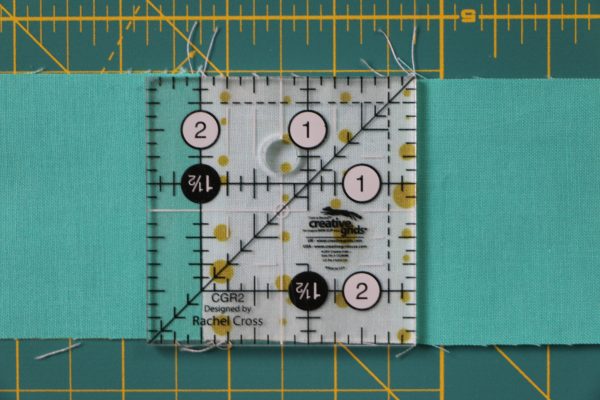
Cut 3 squares, 2-1/2″ x 2-1/2″. (I like to cut two squares from one print and one square from a contrasting print, to make measuring easier later.
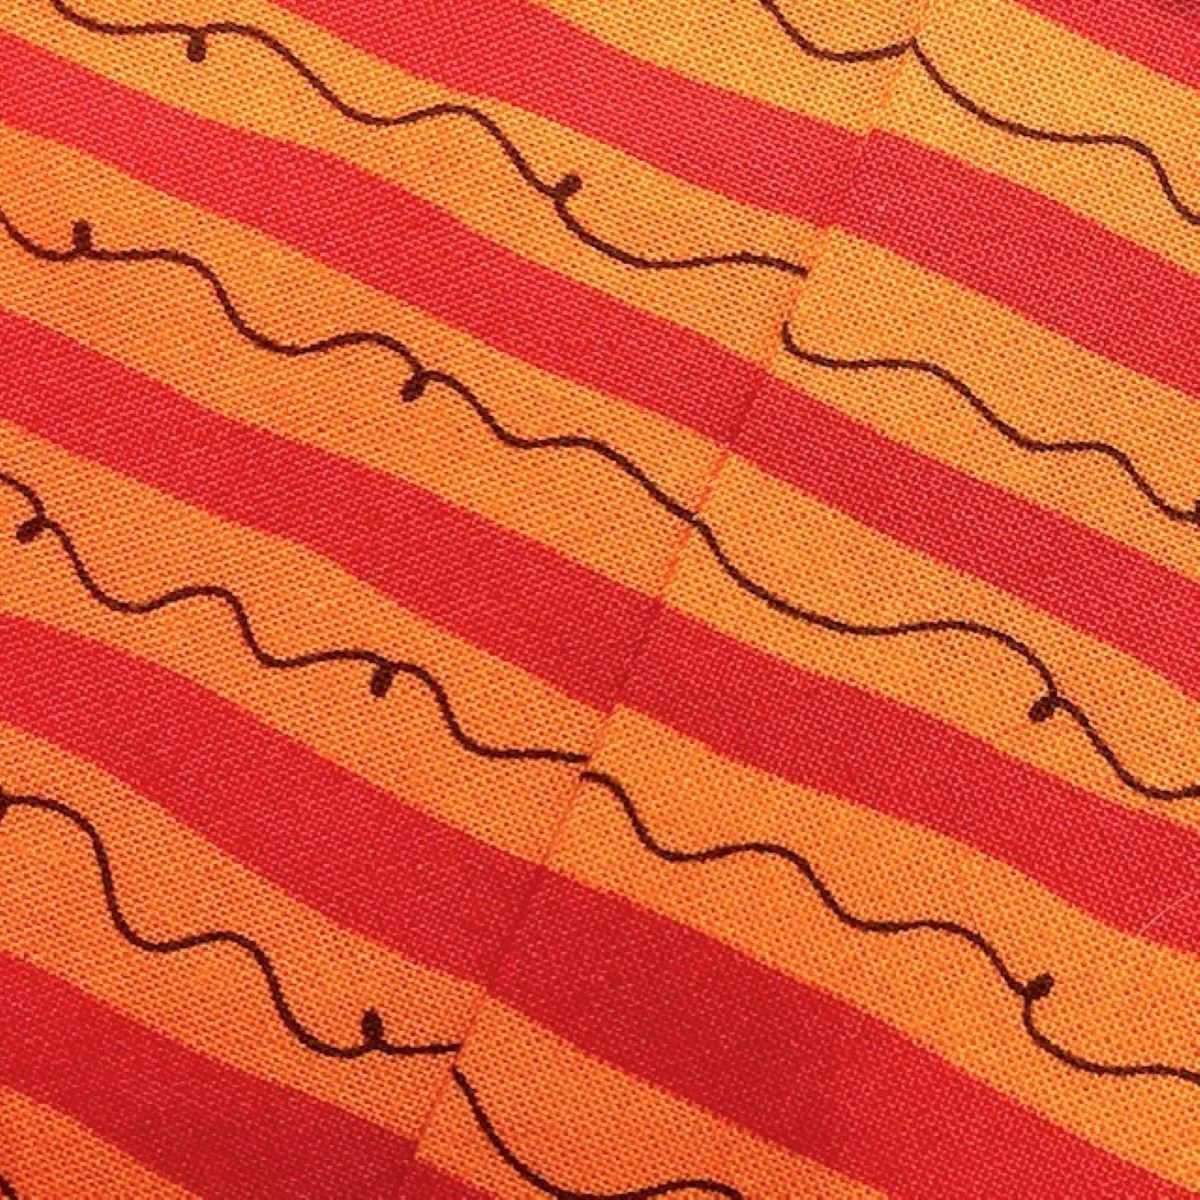
Sew the squares together, using your preferred method for achieving a scant 1/4″ seam. Press seams as you normally would. (I generally like to press seams open for the most accurate results—but that may be a discussion for another post!)
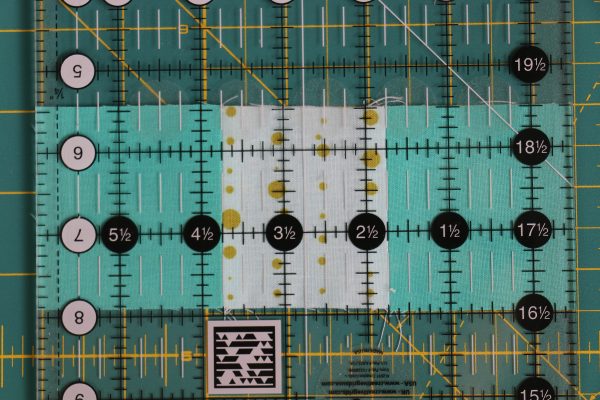
Now measure. The square in the middle should be exactly 2″ wide.
And all three squares together should measure exactly 6-1/2.”
If everything measures up precisely, congratulations! You’ve got a perfect scant 1/4″ seam. If you find your squares aren’t measuring exactly as they should be, your needle position may need to be adjusted. This can be corrected by your BERNINA Dealer, or you can manually adjust the needle position on your machine. (Though if you’re using a single-hole stitch plate, you will want to be cautious about manually changing the needle position.) If your sewn pieces are measuring too large, your needle should be moved to the left. If your sewn pieces are measuring too small, your needle should be moved to the right.
I hope my “Accurate Piecing Basics” series has been helpful, and is allowing you to piece more accurately already! Happy sewing!
What you might also like
17 comments on “Accurate Piecing Basics: Quarter-inch Seams”
-
-
The information provided is correct. By moving the needle to the left you are taking a slightly deeper seam, therefore, the center square is slightly smaller. For center squares that are too small, by moving the needle to the right you are taking a slightly less deep seam, therefore making the center square slightly larger. Probably best to test all three, needle in the center, one to the left and one to the right and see which one gives you a 2″ center square. Hope this helps. Cindy
-
Exactly! If your piece is too large, moving your needle to the left gives you a slightly larger seam allowance, which results in a smaller finished piece. If your piece is too small, moving your needle to the right gives you a slightly smaller seam allowance and a larger finished piece. It’s counter-intuitive when you read about it, but if you sit down at your machine and try it I think you’ll see why it works. : )
-
-
I have spent my quilting life trying to get that perfect quarter inch then along comes a pattern that says scant. It was too hard to sew my scant evenly 3 threads over. I cut my pieces on my outside ruler line, (add the scant while cutting) then sew as usual with my 1/4″. I fine that easier and more accurate for ne.
-
This is a great idea, Zinnia! : )
-
-
-
A wonderfully, demonstrated tutorial. I think that ruler is priceless and the size is great. I agree with R.O. above, can you clarify if which statement is correct? TFS.
-
Hi Juanita – Yes, the information as stated in the blog post is correct. If your piece is too large, moving your needle to the left gives you a slightly larger seam allowance, which results in a smaller finished piece. If your piece is too small, moving your needle to the right gives you a slightly smaller seam allowance and a larger finished piece. I hope that makes sense! Thanks for reading! : )
-
-
I can see that there is a plate on the machine used in the pictures that has inches on the front instead of in the back. I can’t understand why all the machines sold in the US don’t have inches. We don’t do metric. Help! It would certainly help to have the ¼” mark on the front of the plate on my 200E
-
If the machines were made in the US then they wouldn’t have metric sizing on them. It’s like that on alot of things.
-
-
Really liked these tips on “scant” 1/4 inch seams. I have a 580 & use the #37 foot and try to follow the 1/4 inch mark on the plate. Does this give me a scant 1/4 inch automatically or should I adjust my needle to the right?
-
Hi Cheryl, you may want to follow along with the suggestions in this post to test your quarter-inch seam, and then follow the tips to adjust if you find that you need to.
-
-
I am so happy I found this post. I just purchased the 560 and my 1/4 inch piecing is not functional. The fabric is not feeding accurately with the 37 foot. You informed us of the 97D foot. I think this will be my solution. I’ll purchase one this week. My Bernina dealer did not inform me of this option. I love you! Thank you kindly.
-
Is there a certain walking foot I need to purchase for the 9mm stitch width?
-
Hi Jamie – Your machine needs to have 9mm stitch width capability, the foot itself does not give you that capability. Some models have 9mm stitch widths and some only go up to 7mm. I’m not sure whether the 560 has 9mm stitch width, but the 97D foot may be helpful anyway if the problem is with how the fabric is feeding. If it doesn’t help, I would definitely visit your dealer to see if there’s any adjustments they can do to fix your problem.
97D is also a dual-feed foot, so in many cases it takes the place of a walking foot. Again, the D feet are for machines with the dual-feed function, and I don’t know whether your model has that. If it does not, you want #97 instead of #97D. I hope this helps!
-
-
-
I have a 750QE Bernina and use a 57D 1/4 inch foot. I am sewing a number of strips in both directions in different colours to form like a grid/bars with the background in white. The strips are different lengths. (from Modern Patchwork, E Hartman, “Escape artist) When I come to sew the 13 “blocks” together to make up the big block, my needle slips at times over the seams and I end up with uneven blocks. When I came to sew each block to sashing and the other blocks I ended up with unaligned blocks/seams. It seems that the needle jumped or slid despite the accurate cutting of fabric and slow careful sewing.Sometimes the machine chewed the material. The fabric is Kona but has frayed. On this occasion I did not starch the fabric. I live in the UK and am just beyond a beginner. Any ideas about what I have done wrong or is it the machine…..?
-
I am using the 97D foot with the guide but am experiencing a problem when I stitch over a seam. My fabric pushes out to the left giving me a crooked seam. I’ve increased my foot pressure several times with no improvement. Does anyone have any suggestions on how to correct this problem?
-
Thanks for the tip. My blocks are always small, I have resorted to drawing a scant quarter onto fabric. I will try a few of your tips.
Leave a Reply
You must be logged in to post a comment.




“If your sewn pieces are measuring too large, your needle should be moved to the left. If your sewn pieces are measuring too small, your needle should be moved to the right.”
It seems to me like the above is incorrect. Would moving the needle to the left just make the measurement a bit larger? And the reverse would be true for the “too small pieces”? Sincerely, Rosemarie Ouellette