Bias Facing Tutorial
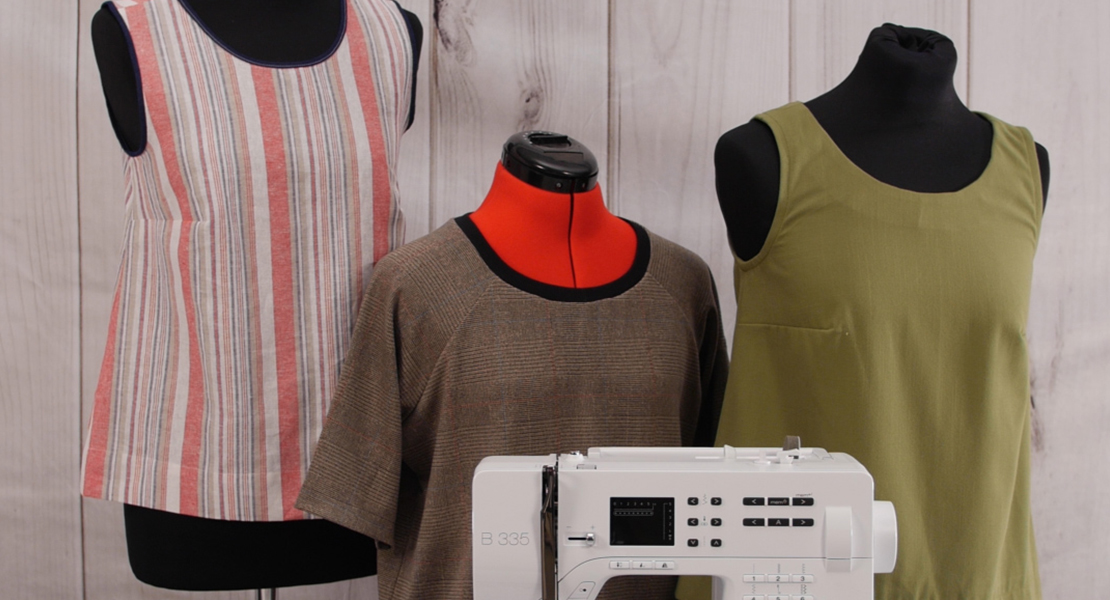
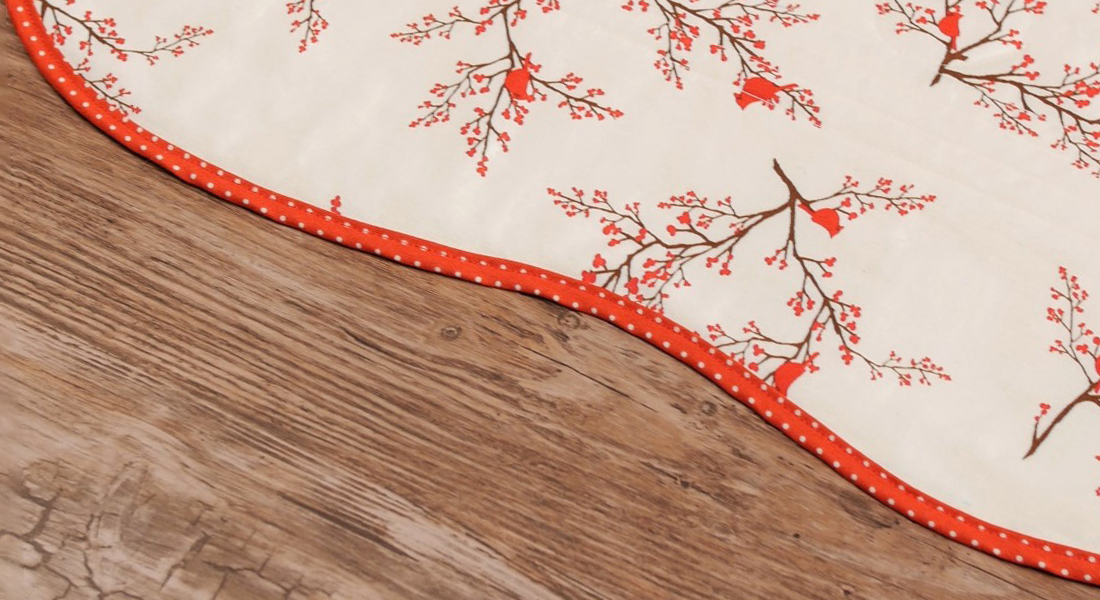
I love bias binding. I especially love to use it in the place of facings at the neckline and armholes. It’s my preferred finish when constructing garments sewn in sheer fabrics. Bias facing provides a cleaner finish without having a facing that shows through. And it’s simple to do. In these easy steps, I’ll walk you through how it’s done.
Materials Needed to Make a Bias Facing
- Raw edge of a garment (i.e. neckline, armhole or hem)
- 2″ bias binding (made by hand or purchased)
- Pins
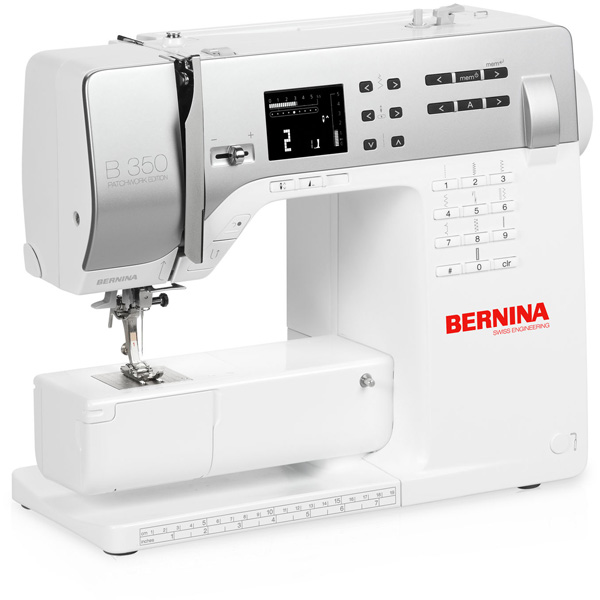
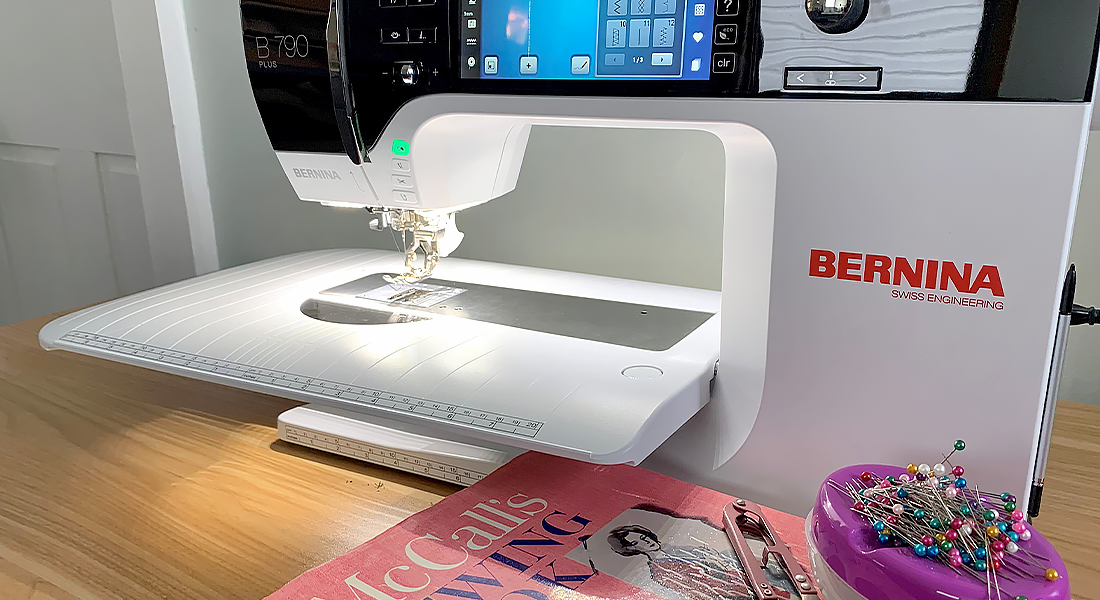
- Sewing machine (I used my BERNINA 350PE)
- Reverse Pattern Foot #1
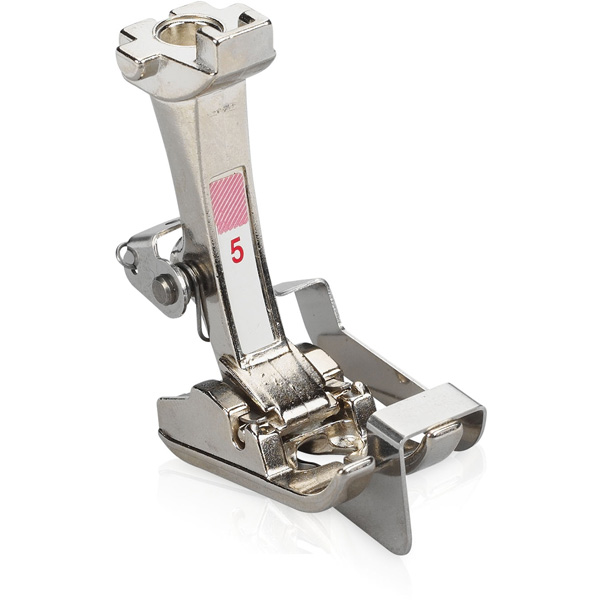
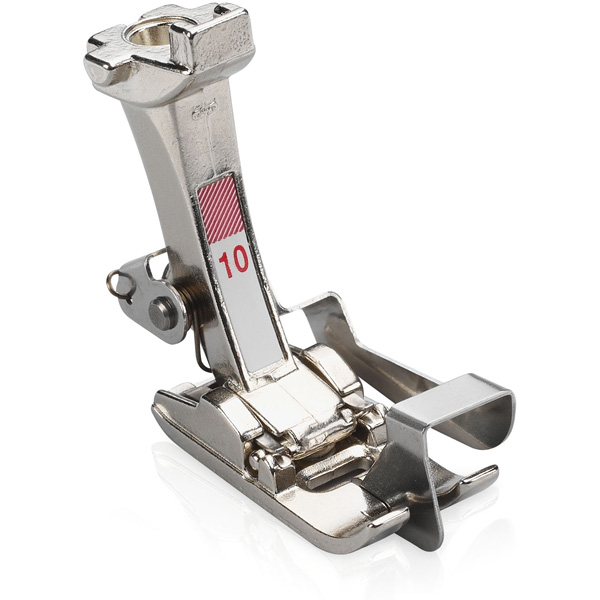
- Edgestitch Foot #10D or Blindstitch Foot #5
Step 1
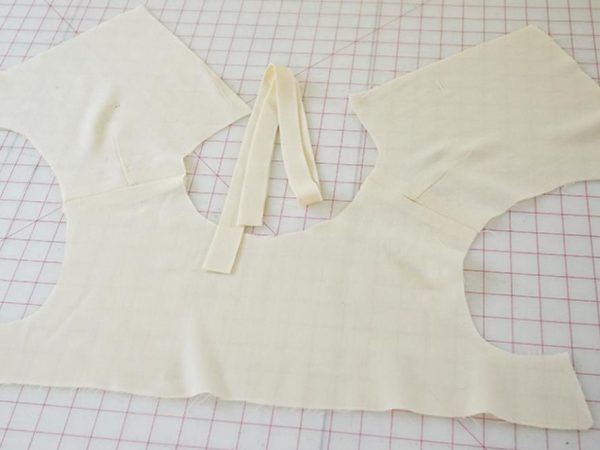
When using a commercial pattern that was not originally drafted for a bias bound finish, you will need to make adjustments. Typically, seam allowances are drafted at 5/8″. To attach the bias binding, you will need a 1/4″ seam allowance. So, you will need to reduce the original seam allowance by 3/8″.
Step 2
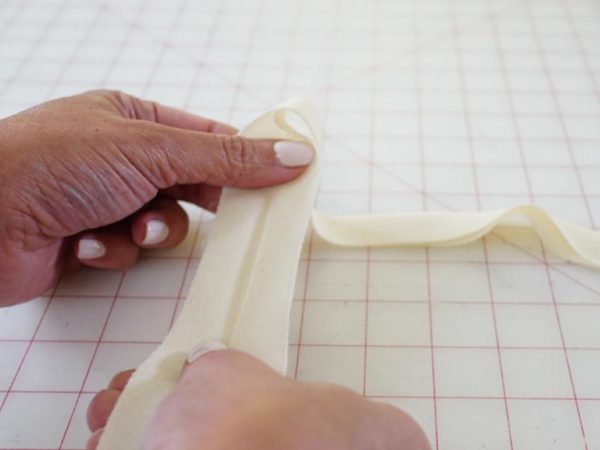
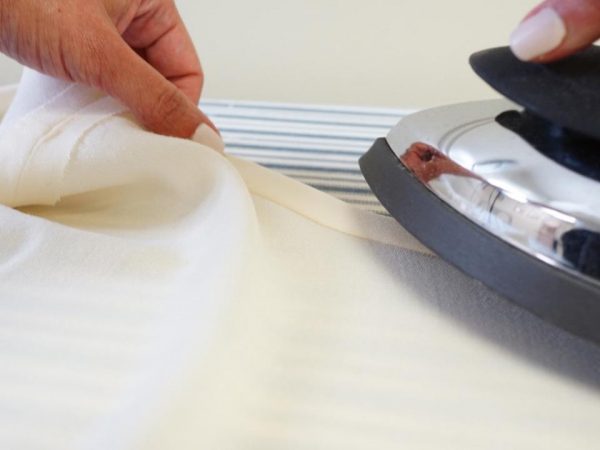
Your bias strips should be two inches wide and the length of your garment’s edge. Press them in half lengthwise with wrong sides together, using a warm iron. Too much heat will cause the bias strips to stretch.
Step 3
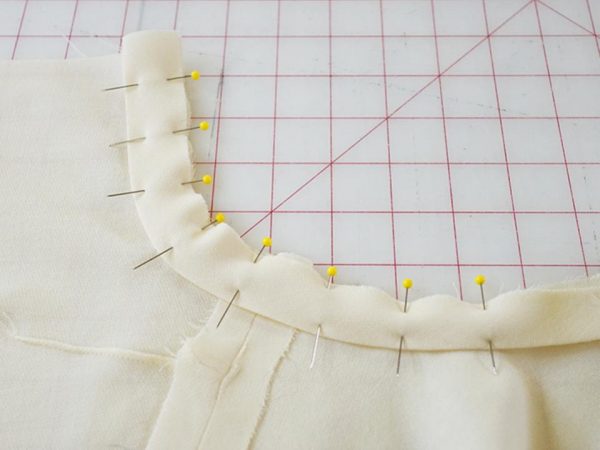
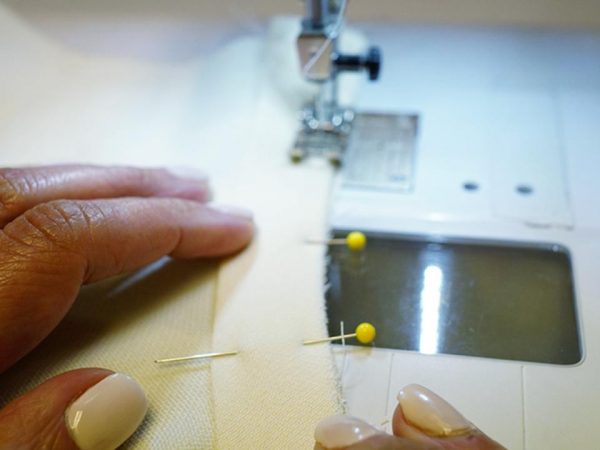
Pin your folded bias strips to the wrong side of the neckline or armhole, matching the raw edge and secure with pins.
Step 4
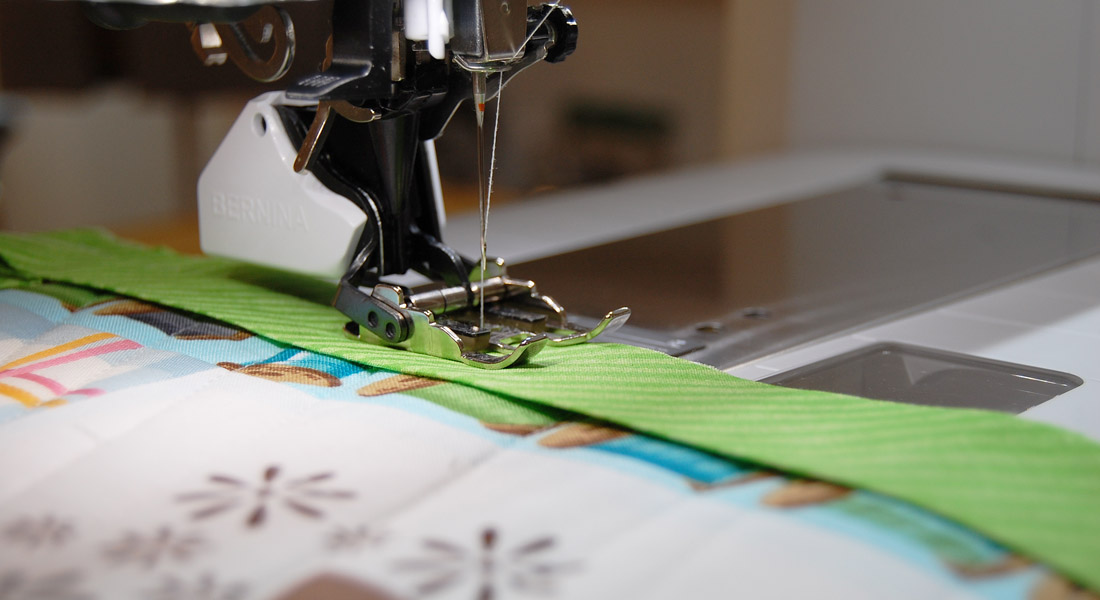
Stitch the binding to the neckline using a scant 1/4″ seam allowance.
Step 5
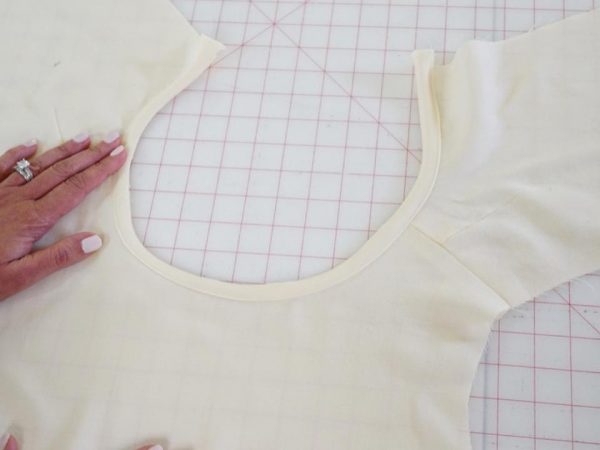
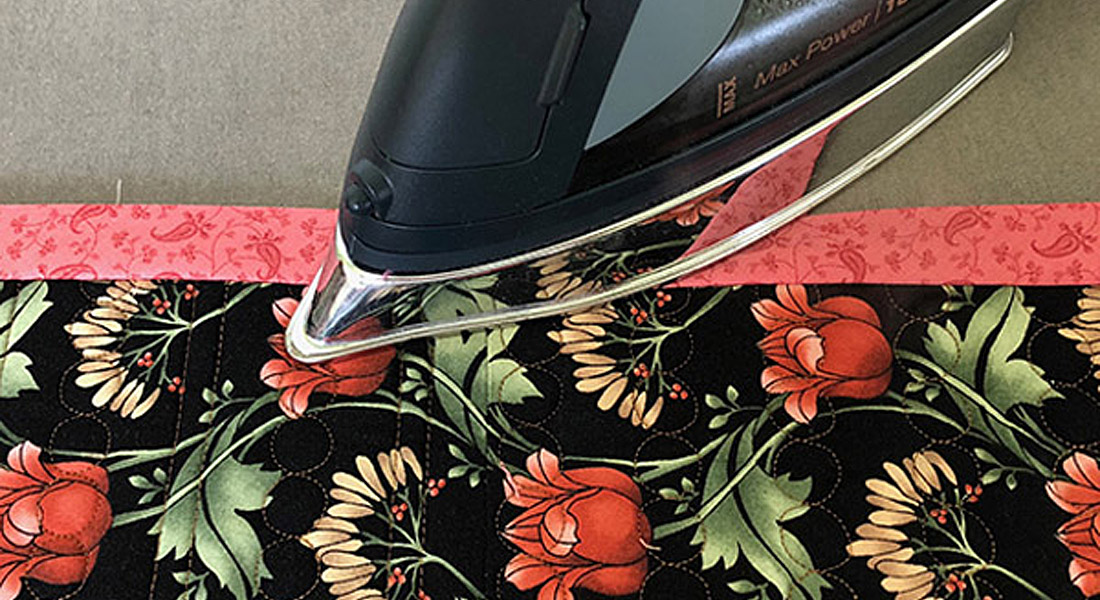
Press the bias binding and the seam allowances up and away from the neckline or the armhole.
Step 6
Fold the binding over to the right side and press.
Step 7
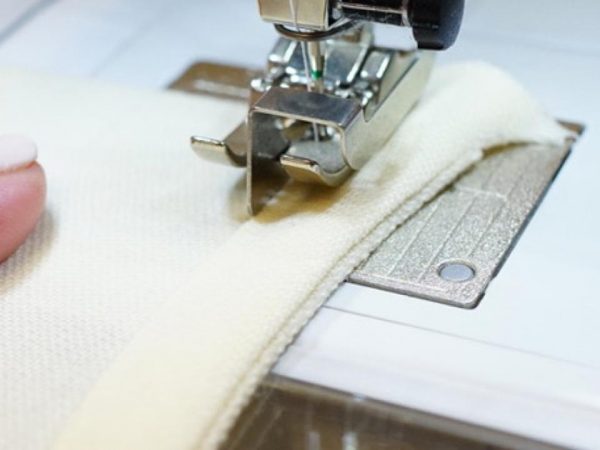
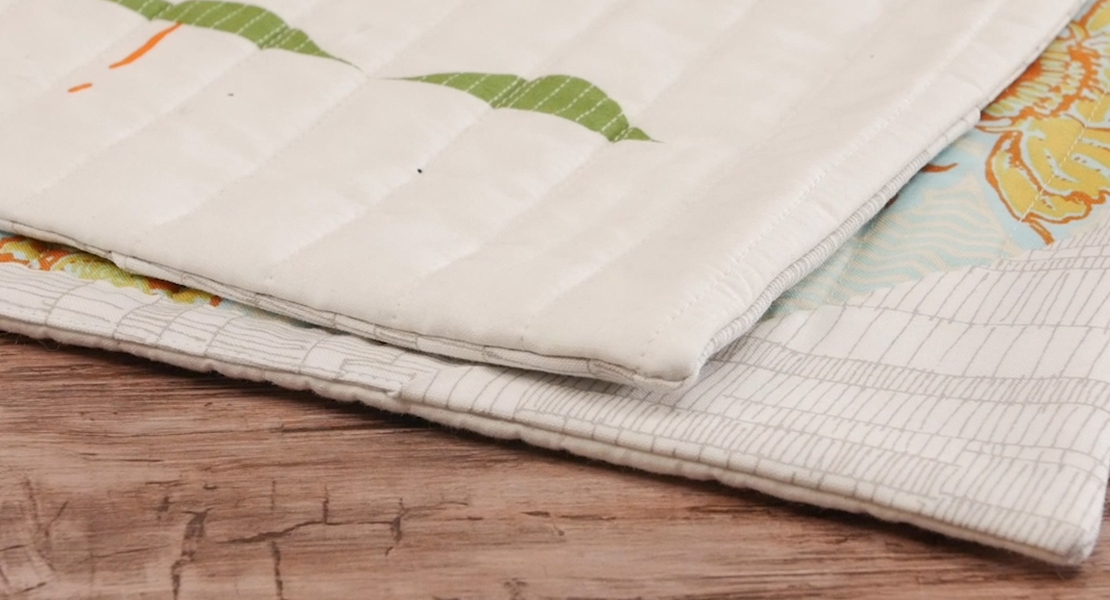
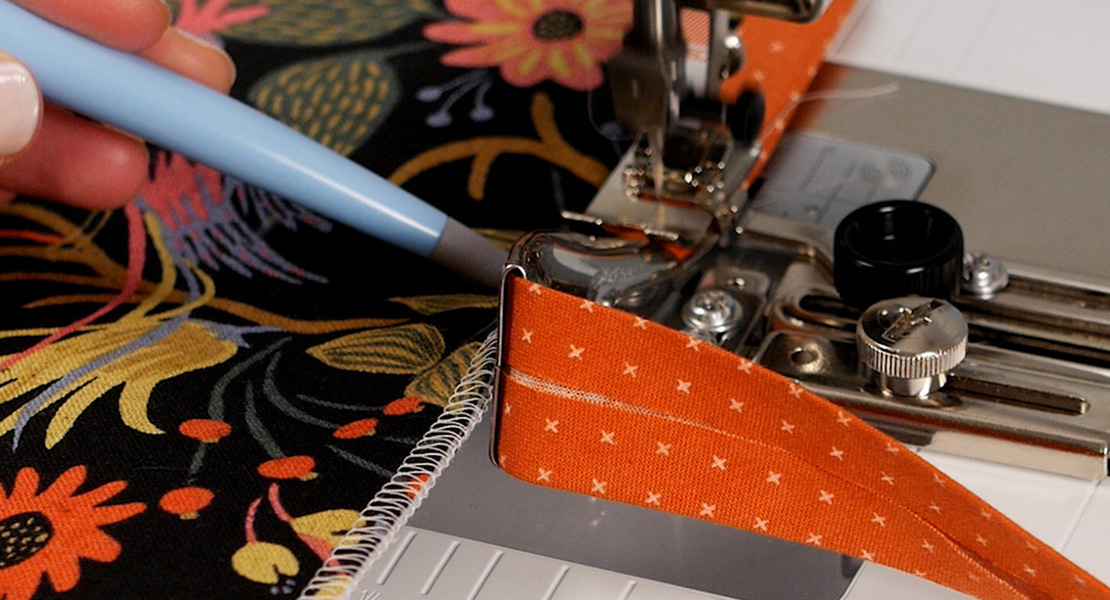
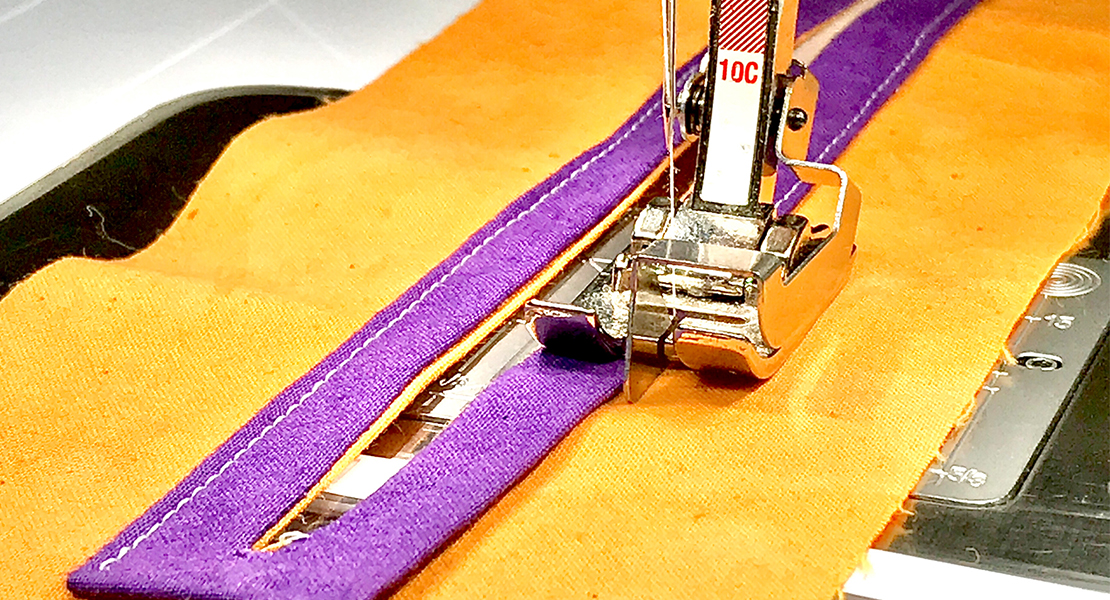
Using an edgestitch foot or a blindstitch foot, edgestitch the binding very close to the folded edge.
 Step 8
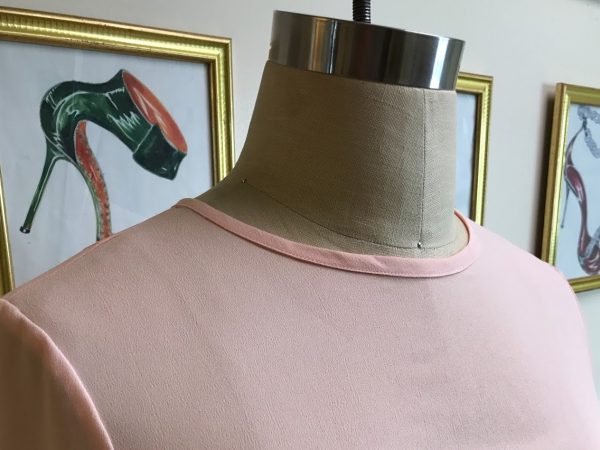
Give a final press and you’re all done!
What you might also like
3 comments on “Bias Facing Tutorial”
-
-
Might try showing a sample where the finished product isn’t puckered and the bonding width is even all around. Looks homemade!
-
I agree. Poor examples.
-
Leave a Reply
You must be logged in to post a comment.




Thank you – https://weallsew.com/ for sharing this!