Creating Embroidery Placement Guidelines in My Label 3D Pattern Software
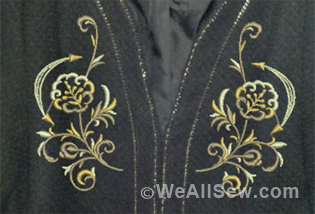
The jeans pattern for My Label 3D Fashion Pattern Software provides a perfect canvas for the new “Flores de Mexico” embroidery collection #12351 from OESD. The beautiful embroidery looks like it was created by hand. It is amazing to watch the machine embroider each design!
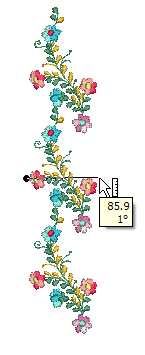
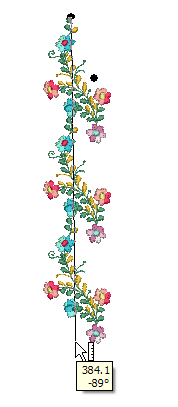
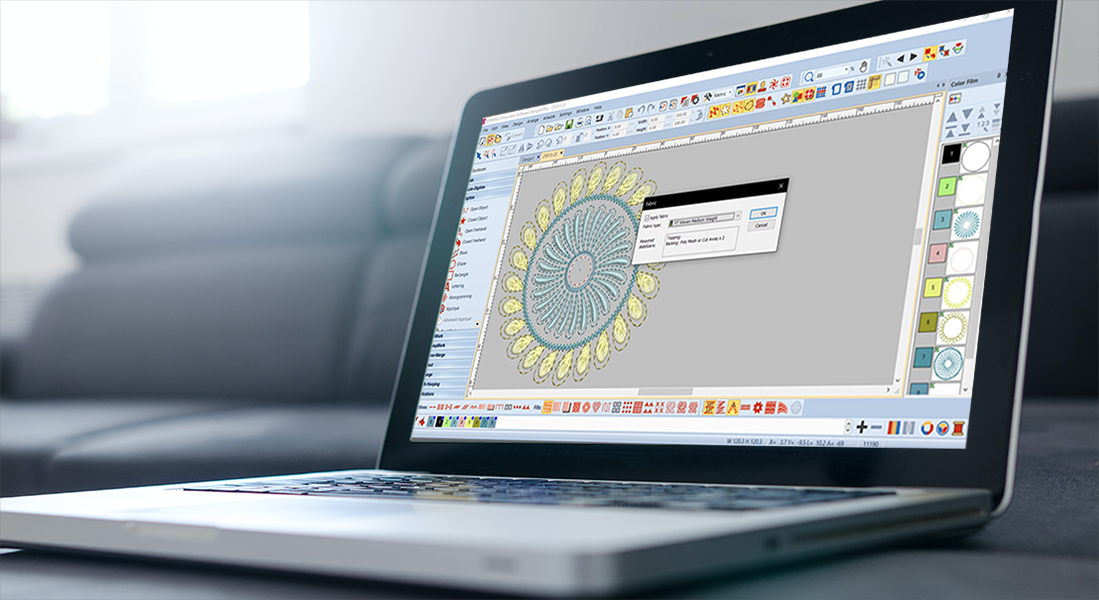
When planning embroidery placement on My Label patterns, first print a template of your final design to measure the size of the design or use the measuring tool in V6 BERNINA Embroidery software.
Next, locate a design in the Embroidery drawer of My Label that is a similar shape to the design you intend to use—a square, a circle, a rectangle, a triangle. Locate a design that is approximately the same size as the design you wish to embroider. If necessary, you can increase the scale of the selected embroidery design in Embroidery Properties.
Compare the proportions of the selected design with the proportions of the embroidery design. Click and drag the embroidery design onto the jeans and place the design as desired.
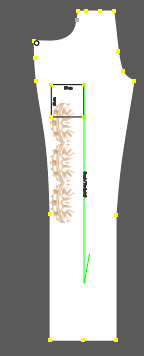
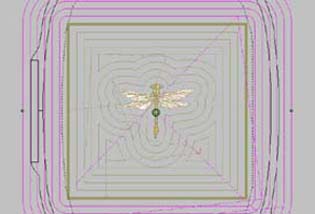
For the right pant leg on the jeans, the embroidery design #NZ847 was the proper shape for the design—a long, narrow rectangle. After dragging the design to the pant leg to place the pant, I rested my cursor on the design to display the size at a scale of 1. I used the angle dial to change the angle of the design to a vertical orientation. Then I moved the design with the Move Internal icon.
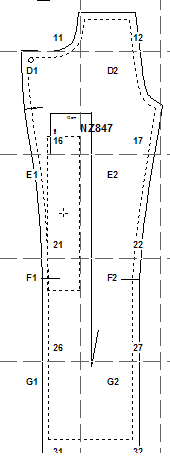
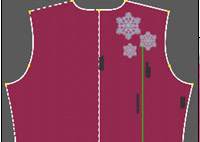
When the pattern printed, the center mark of the design was printed on the pattern piecesas a placement guideline. marking the center of the design on the pant leg to stitch out.
It makes a great way to place your designs accurately in My Label software!

