Bobbinwork Journal Cover
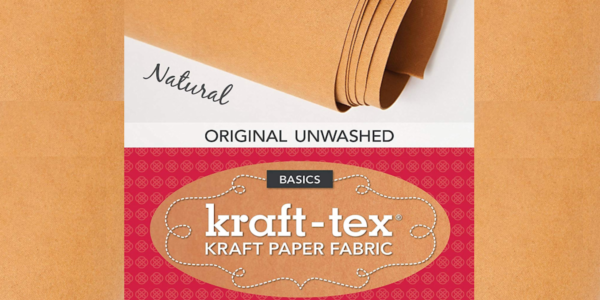
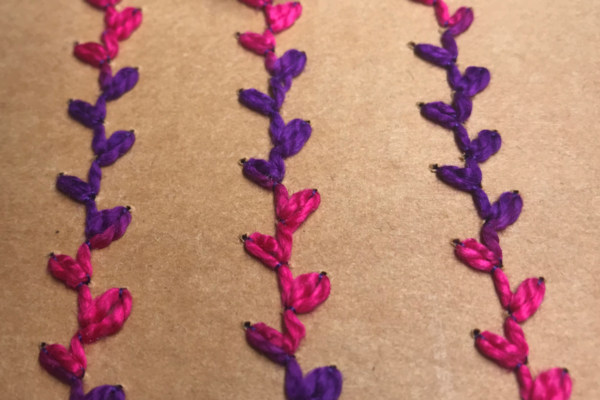
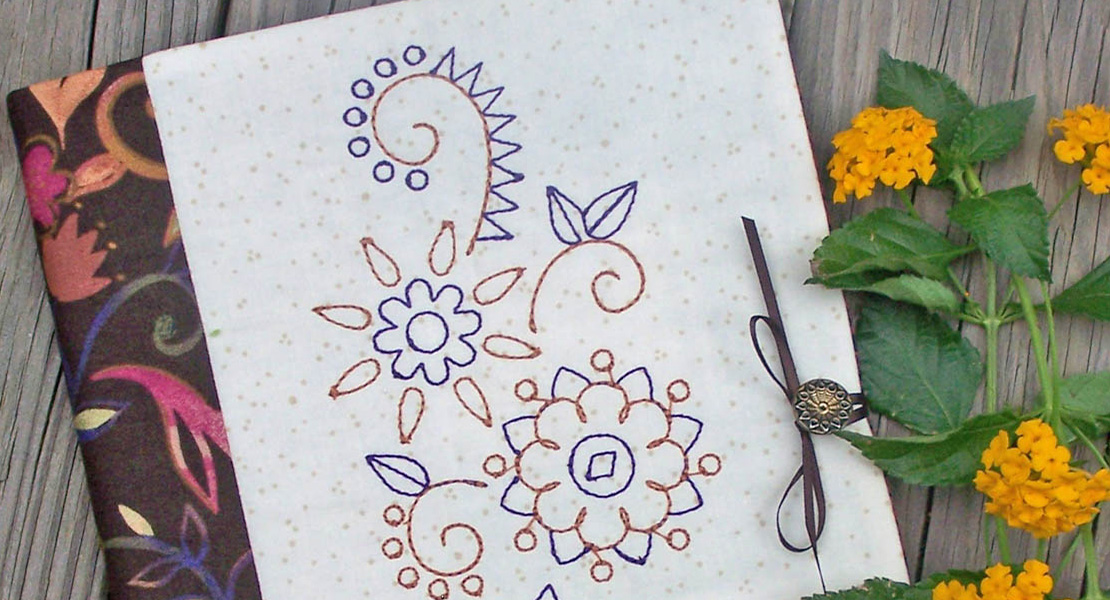
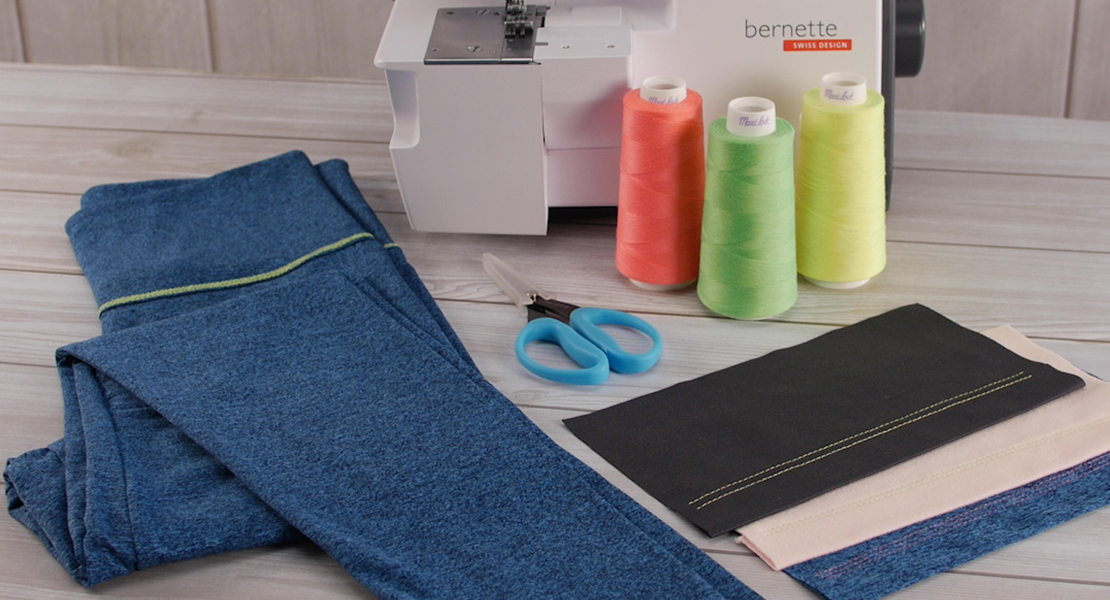
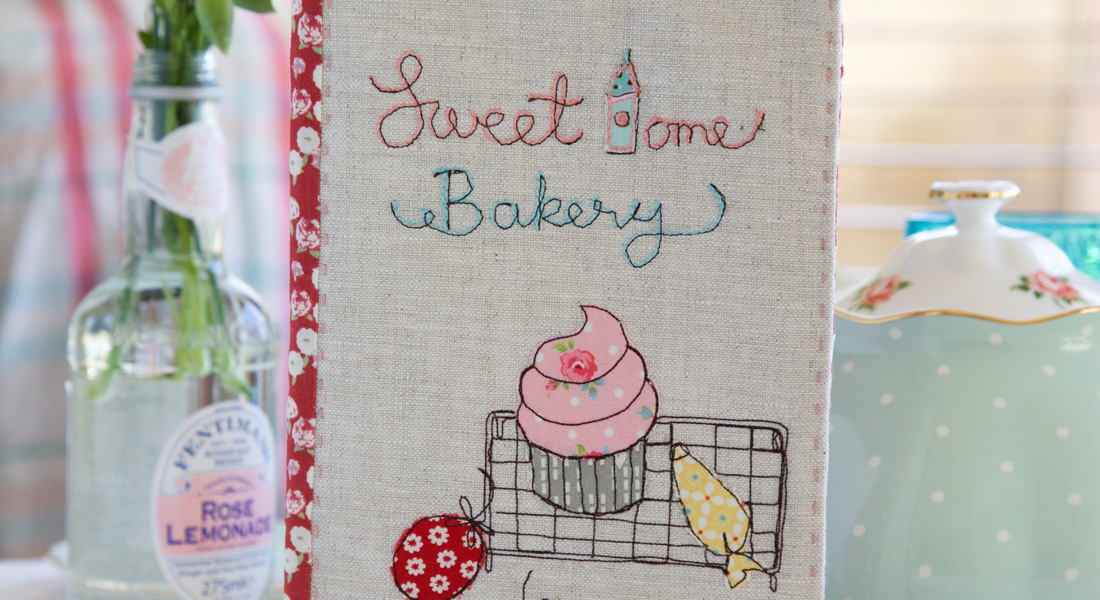
Make a custom cover for your journal, combining bobbinwork and kraft-tex, a rugged paper that looks and feels like leather, but sews, cuts, and washes like fabric. It is thick and sturdy, so you won’t need any stabilizer to stitch with heavy threads on the bobbin. Bobbinwork adds texture to your stitching, making bold and beautiful for all types of projects. Heavy decorative threads are wound on the bobbin for bobbinwork. A 40-50 weight thread, usually in a matching color, is used in the needle. Decorative thread choices for bobbinwork are plentiful. Most thread companies have several options of heavy decorative threads in cotton, metallic, polyester, etc. You’ll know which threads are suitable for bobbinwork; just look for ones that are too large to go into the eye of the needle. I used a multi-colored heavy thread for my Bobbinwork Journal Cover.
The cover is made to fit a 5″ x 7″ x ¼” journal; it measures about 5¼” x 7½” when closed.
Materials to Make a Bobbinwork Journal Cover
- Two rectangles of kraft-tex, 18″ x 9″ (outer cover) and 5½” x 9″ (inside front cover)
- Heavy decorative threads for the bobbin
- 40-weight, color coordinated thread (with the bobbin thread) for the needle
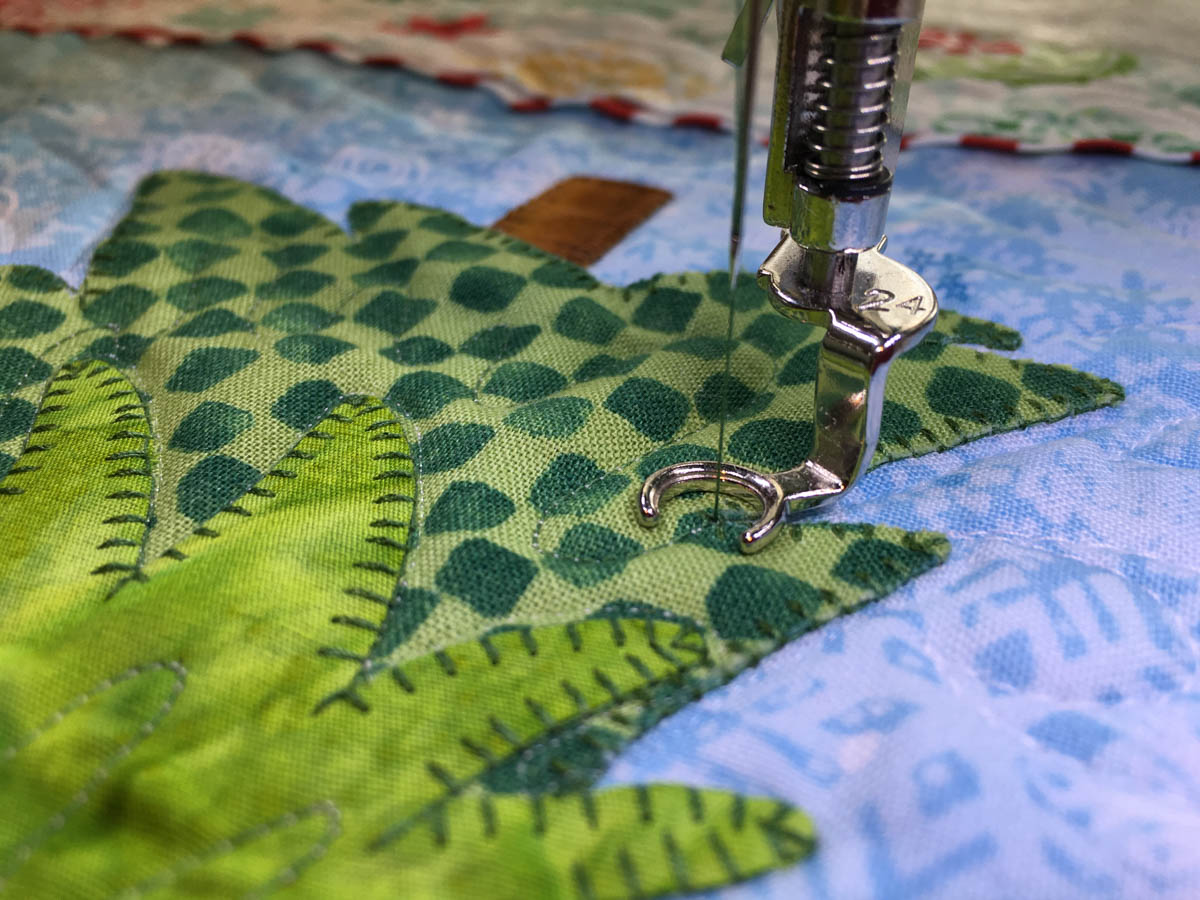
- Open Embroidery Foot #20/#20C/#20D
- Construction thread in a color to match the kraft-tex
- Three decorative buttons of various sizes (2- or 4-hole buttons)
- Additional buttons if desired
Bobbin Cases
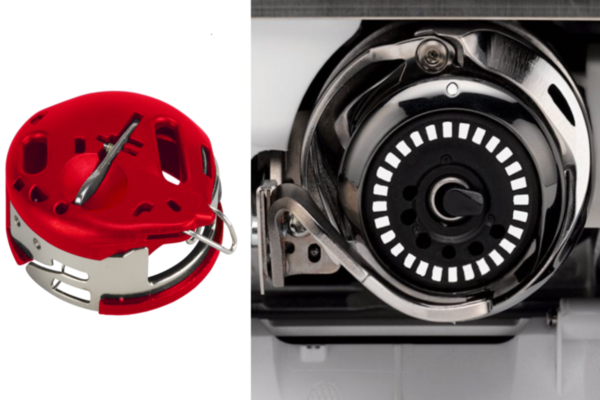
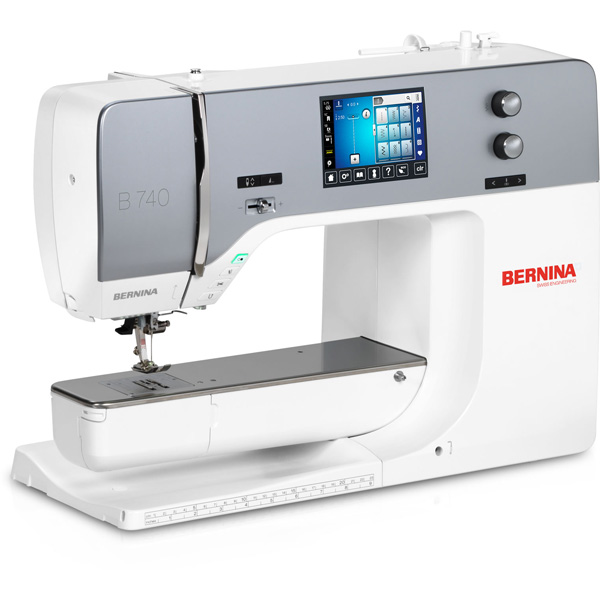
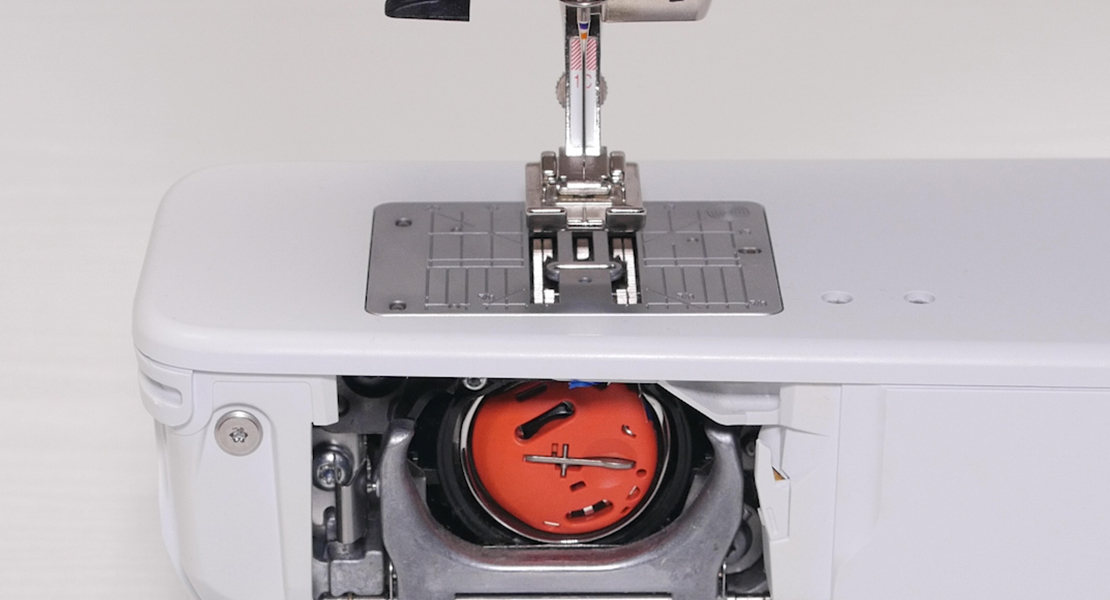
It is recommended that you use a separate bobbin case for bobbinwork. Select the appropriate bobbinwork bobbin case for your machine:
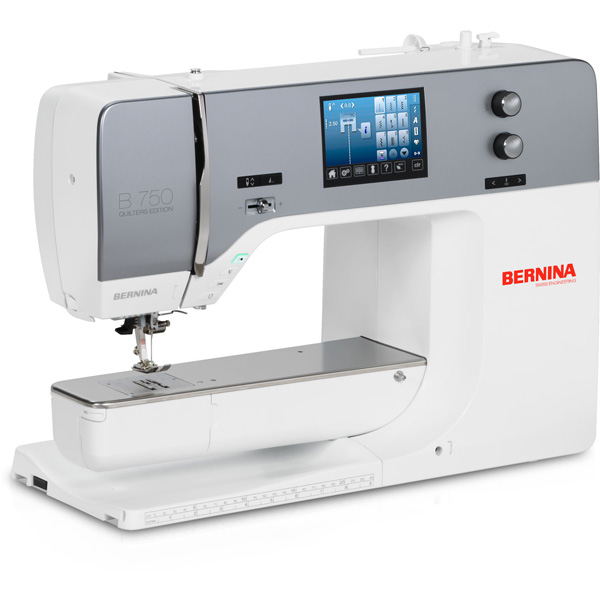
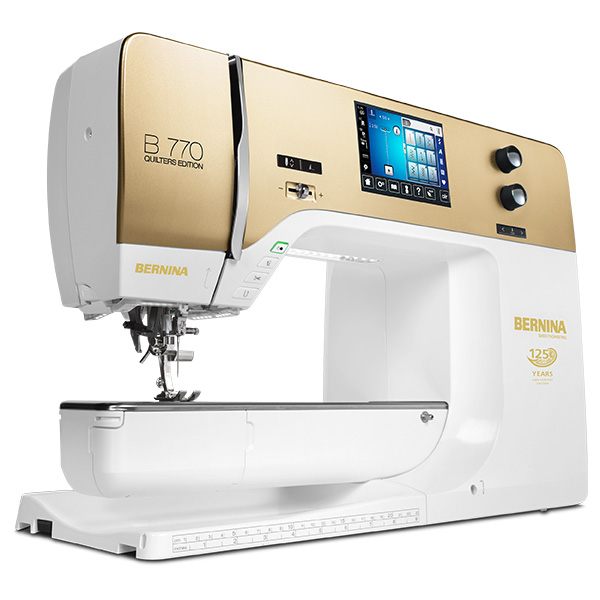
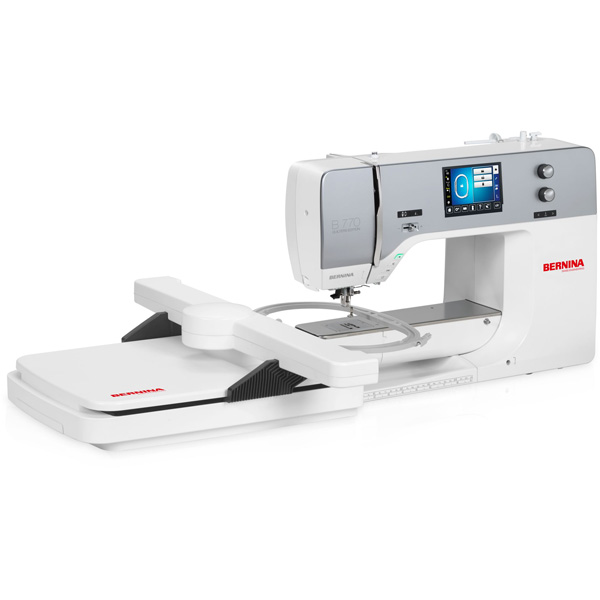
BERNINA B9 Hook models (jumbo bobbin) – Red bobbin case
B 880 model – No external bobbin case needed
Machine Setup for Bobbinwork Journal Cover
Wind the bobbin with the desired decorative thread and insert it into the bobbin case (7 Series) or directly into the machine (880).
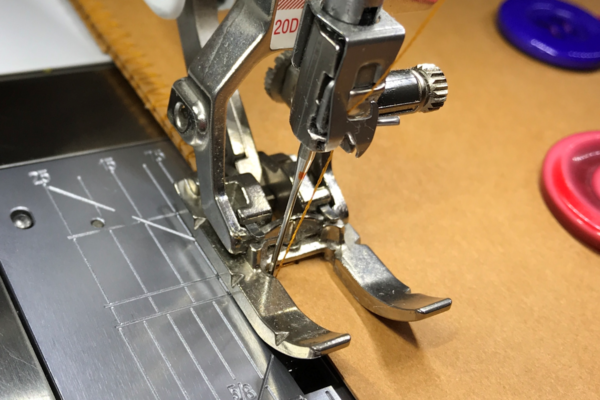
Attach Open Embroidery Foot #20/20C/20D to the machine.
Go into the Setup Menu and turn off the Securing Functions feature.
Set the motor at ½ to ¼ speed.
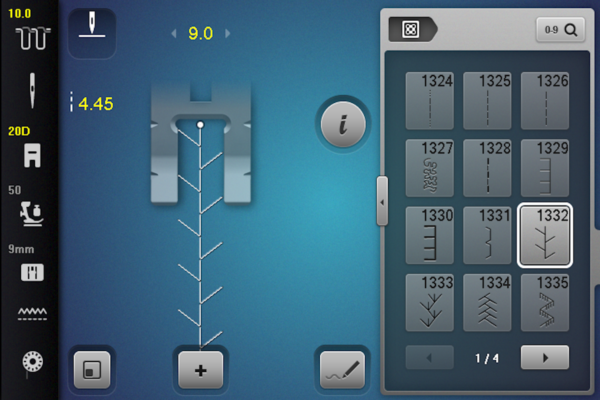
Select the feather stitch and increase the width and length as needed. Test the stitch on a swatch of kraft-tex and make any adjustments needed to the length, width and needle tension settings. Continue testing and adjusting until the stitch looks the way you want.
Instructions for Bobbinwork Journal Cover
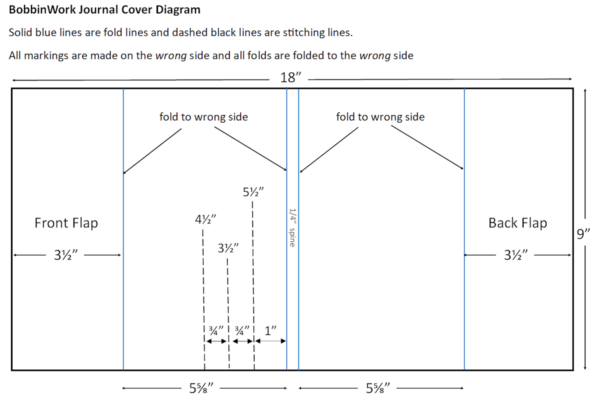
Mark the wrong side (both sides are the same, so pick one to be the wrong side) of the large rectangle of kraft-tex. Before making the folds, wrap the kraft-tex around your journal to make sure it is a good fit. Adjust the markings as necessary and then fold the paper to the wrong side, creasing the folds. Kraft-tex may be pressed with a medium, hot, dry iron if desired.
 Bobbinwork Stitching
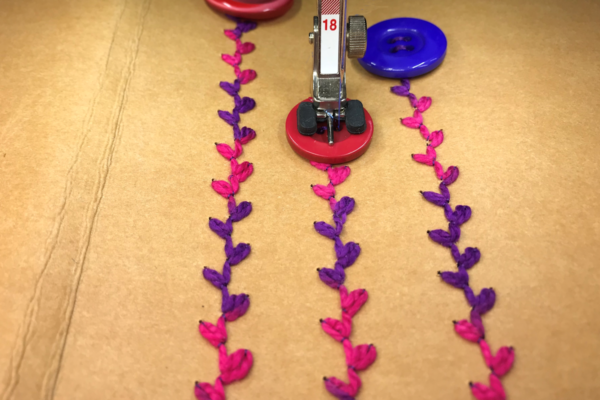
Stitching from the marked wrong side, sew along the dashed lines shown on the diagram. Trim the threads at each end of the stitching.
Attaching Buttons
Position a button at the upper end of each line of stitching and sew it in place. Add other buttons as desired. Click here for instructions to sew the buttons on by machine the Button Sew-On Foot #18. For directions to sew on buttons, click here.
Journal Cover Construction
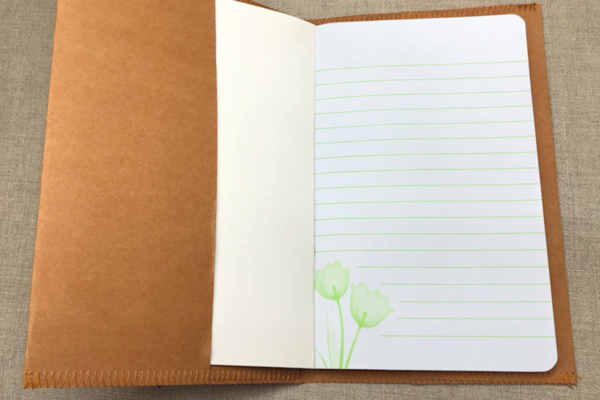
The small piece of kraft-tex is used to cover the stitching on the wrong side of the front of the journal cover. Use glue stick or other adhesive along the side edge of the rectangle (the upper and lower edges will be stitched). Position the piece over the stitches and glue in place.
Trim ½”-1” from the lower edge of the cover to clean it up. Fold the flaps to the inside of the cover. Set the machine for a zigzag stitch (W=5mm; L=2-3mm). Adjust the needle position to the far left or right, depending on how you place the project under the needle. Guiding the edge of the cover along the inside edge of the presser foot toe, stitch across the lower edge with the flaps folded in, securing them with the stitching.
Place the book inside the cover and determine how much, if any, should be trimmed. My cover ended up being 7½” tall for a 7” book. Trim as needed, making sure you leave ¼”-½” ease so the book will fit. Stitch across the upper edge, securing the flaps as before.
For more projects using kraft-tex, see:
